Seamless Crochet Kitten Pattern: A One-Piece Amigurumi Guide
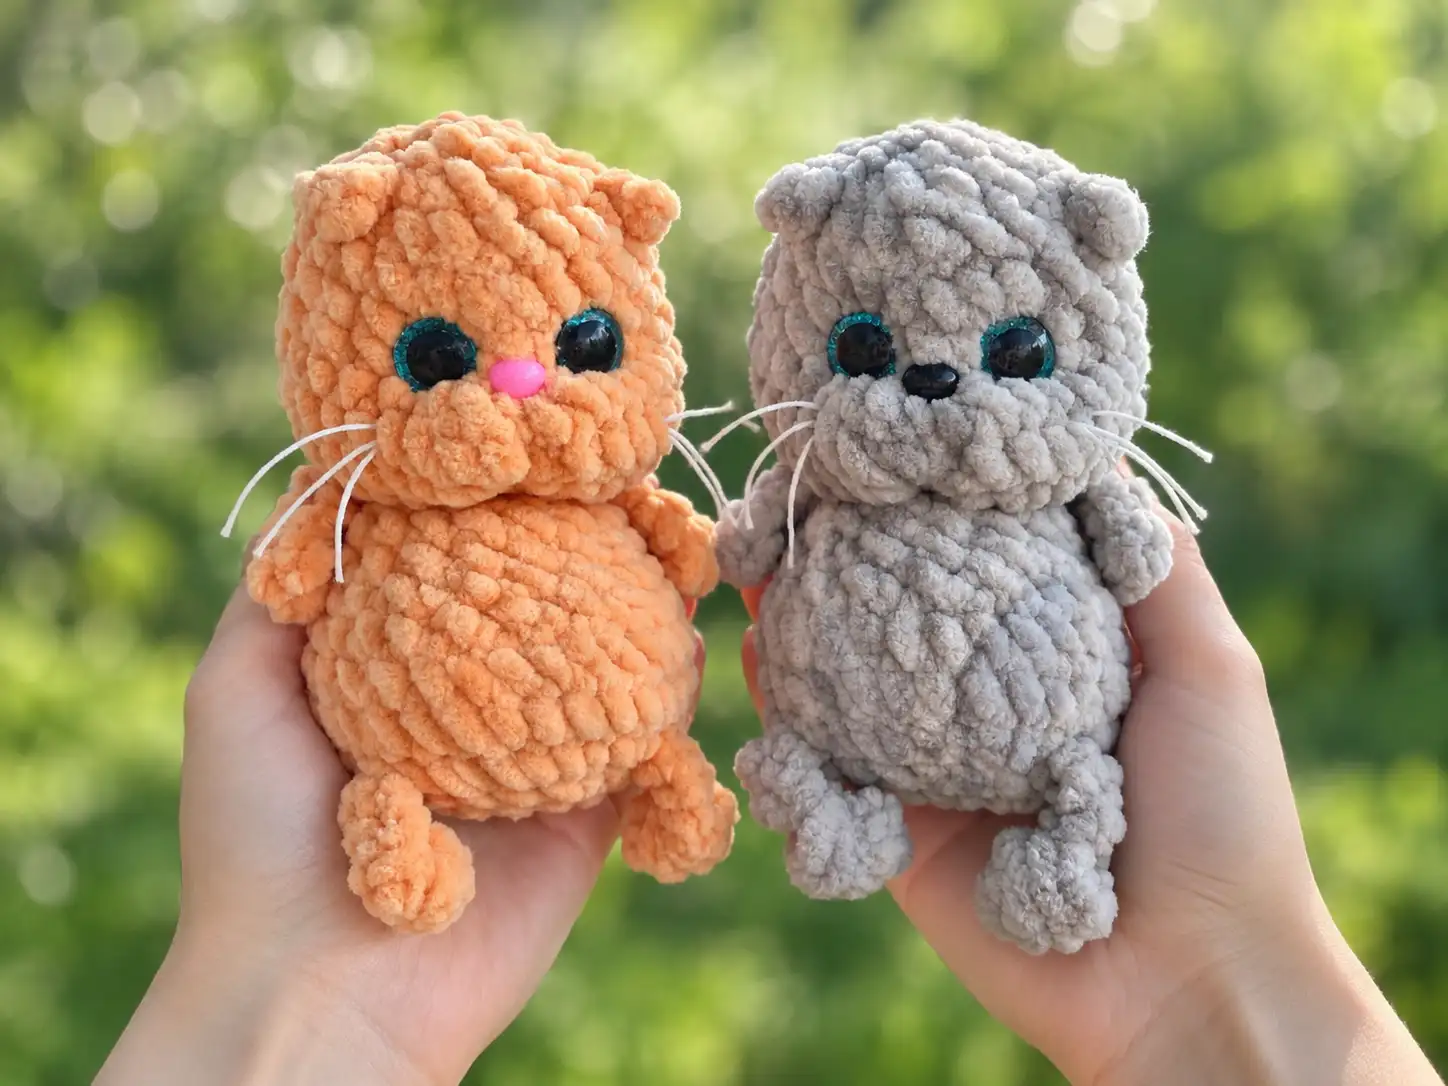
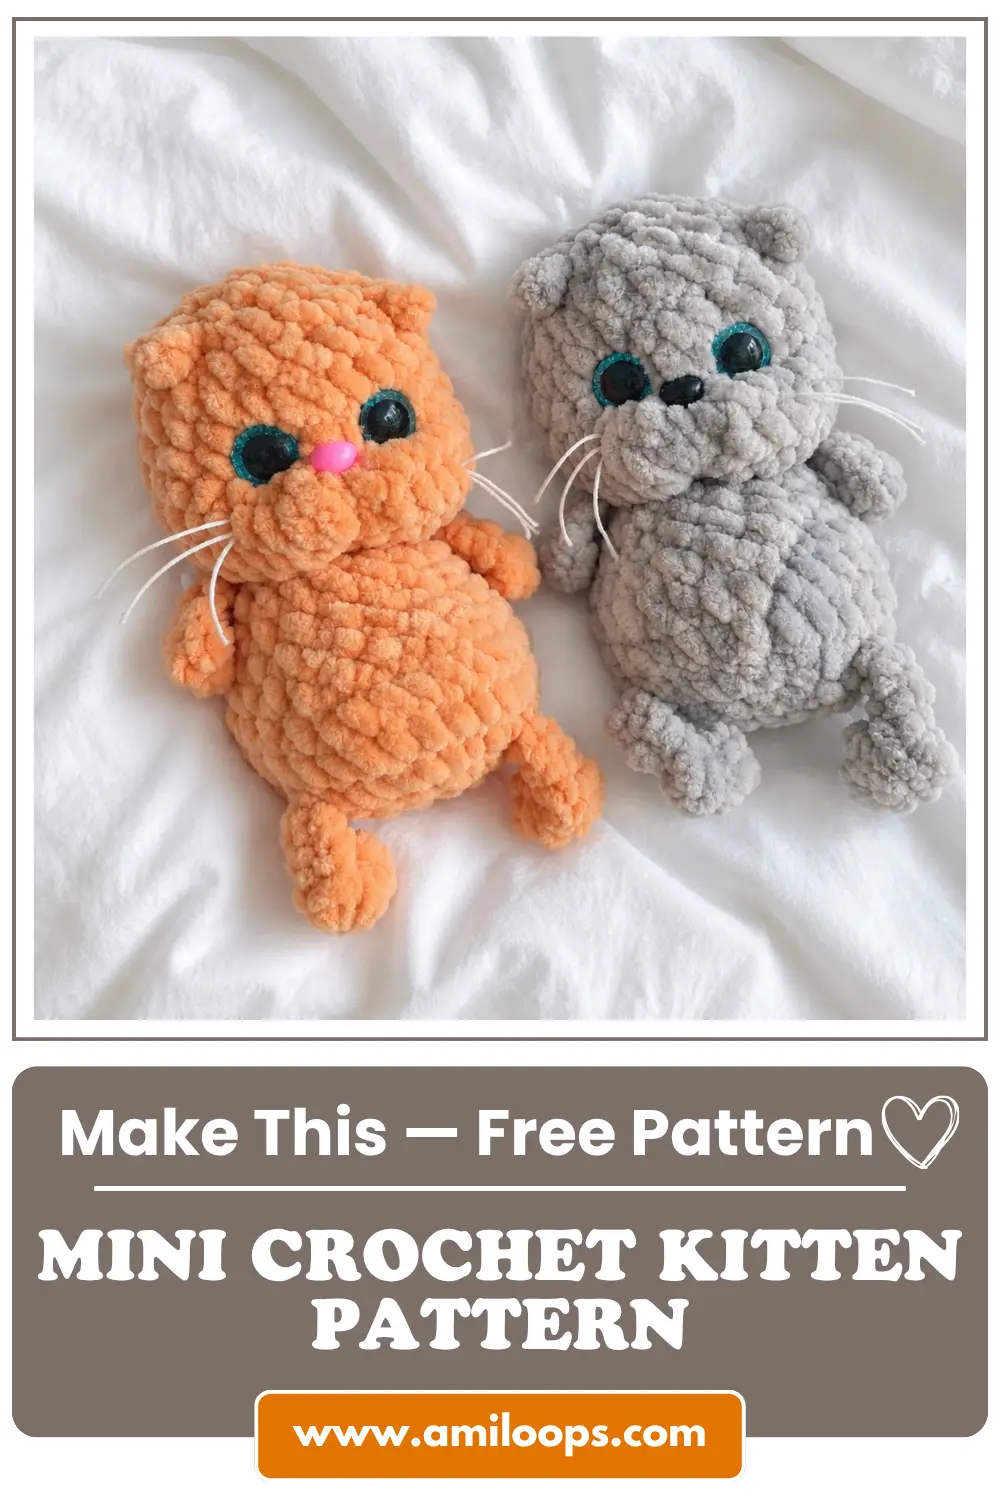
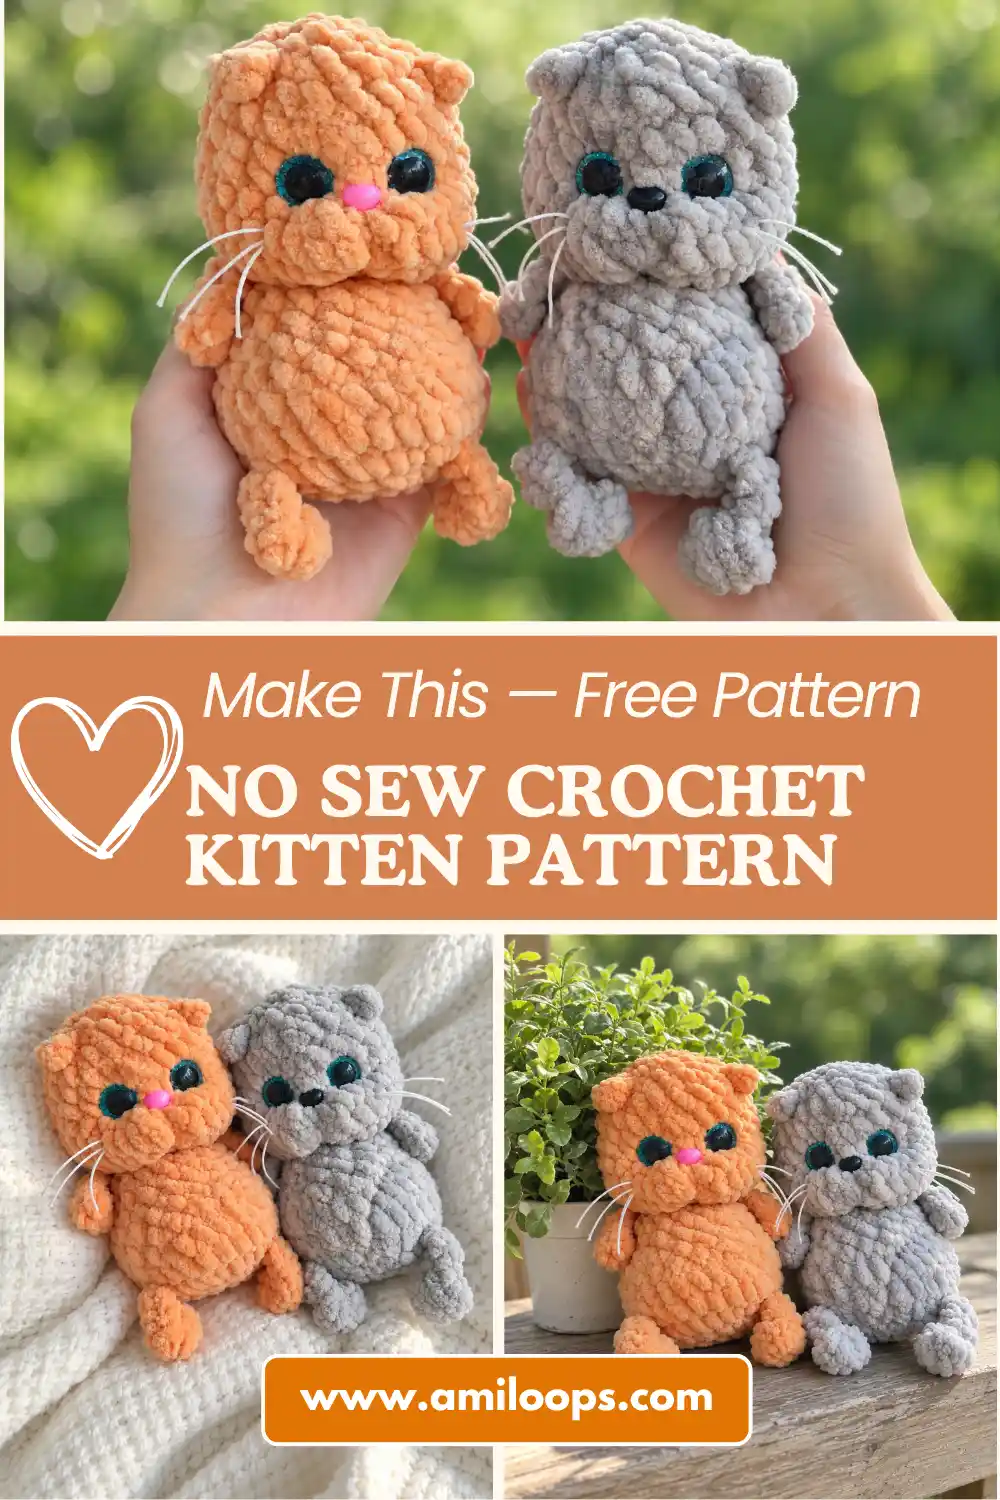
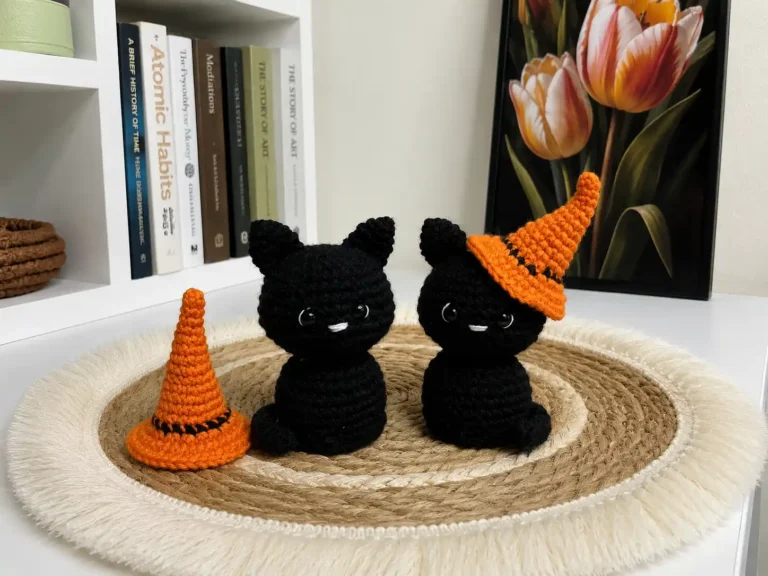
Many amigurumi animals start as a pile of separate parts that all have to be joined later. This kitten does not. This seamless crochet kitten pattern grows as a single piece from the base upward, so the finished kitten arrives with its folded ears, paws, and tail already attached. There is no seam to line up along the neck, no second leg to pin twice before the pair looks even, and no head to balance on a body it was never joined to. You work one continuous kitten, and the limbs appear as you go instead of waiting in a heap beside you.
The build has a clear rhythm. The rounded body climbs for a dozen rounds and then tapers toward the neck in Round 12, which is exactly where the shape stops being a ball and starts being a cat. Round 13 adds the front legs with a chain extension worked straight off the round, so they hang off the shoulders without a single stitch of sewing. From there the head opens quickly, reaching its widest point at Round 15 and giving the cheeks the room they will need later.
About This Kitten Crochet Pattern
What makes this kitten unusual is where its limbs come from. The paws, the tail, and the ears are not separate pieces at all; each one is built directly on the main body from a short chain extension, with a bobble stitch supplying the plump little tip on the hind paws. When a round reaches the spot where a limb belongs, you chain away from the work, travel back along that chain, and rejoin the round as though nothing happened. The limb stays behind, standing out from the body on its own, and the round continues at full count.
The face is the other place where this design does something deliberate. Prominent sculpted cheeks sit at the widest part of the head, which reaches 30 stitches at Round 15 before the decreases begin, so there is real width to work with at the sides. Those cheeks are what separate a rounded ball with eyes from something that reads as a kitten, and they come from stuffing shaped by thread rather than from any change in the stitch pattern. The rounds themselves stay plain across the whole face; every bit of character arrives from underneath.
Scale matters here too, because everything happens inside a small envelope of stitches. The whole body narrows to 12 stitches at Round 12 before the front legs arrive in Round 13, so the neck is genuinely tight, and the entire toy takes only 10 to 20 g fiberfill from start to finish. That small budget is a hint about technique: you are not packing in as much stuffing as will fit, you are placing modest amounts exactly where the shape needs support, then keeping the plush surface smooth over the top of it.
Materials and Tools
The yarn choice is doing real work in this design. The pattern calls for a plush or velvet yarn, which is what gives the finished kitten its soft surface. You will need 25 to 30 g of it, worked with a 4 mm hook. If you are weighing options while choosing yarn for amigurumi, the listed equivalents are Himalaya Dolphin Baby and YarnArt Dolce. The remaining items are small but specific: sparkle safety eyes in 12 mm, a 7×9 mm nose, a needle with strong thread for face sculpting, and PVA glue for the whiskers at the very end.
- Plush yarn Wolans Bunny Baby (100g/120m), requires 25 to 30 g (shade #33, or equivalent like Himalaya Dolphin Baby / YarnArt Dolce)
- 4 mm crochet hook
- Sparkle safety eyes, 12 mm
- Small safety nose, 7×9 mm
- Fiberfill stuffing (requires 10 to 20 g)
- Stitch marker (as needed)
- Scissors
- Needle and strong thread for face sculpting
- PVA glue (for stiffening whiskers)
Crochet Abbreviations
Every instruction below uses standard US crochet abbreviations, and two of them deserve a closer look before you begin. An increase (inc) here means two single crochet (sc) stitches worked into one stitch, and a decrease (dec) means single crochet two together, worked the ordinary way rather than by any substitute method. The bobble stitch (bobble st) is the one that shapes the hind paws: three double crochet (dc) stitches worked into the same stitch, sharing a base and a top so they bunch into a single rounded bump.
- MR — magic ring
- ch — chain
- sl st — slip stitch
- sc — single crochet
- hdc — half double crochet
- dc — double crochet
- inc — increase (2 sc in one stitch)
- dec — decrease (single crochet 2 together)
- FLO — front loops only
- bobble st — bobble stitch (3 double crochet stitches worked into the same stitch with a shared base and top)
Construction Overview
Start at the base and the geography makes sense quickly. Rounds 1 through 3 open a flat circle, and then Round 4 does two jobs at once: it keeps increasing the rim while pausing twice to send out a hind paw on a five-chain extension. Round 5 uses the same trick for the tail, this time built from slip stitches rather than single crochet, which keeps it slim. In each case the next stitches are worked behind the new limb, which lets the body wall close cleanly over the spot where the chain left the round.
The neck is the pivot point of the whole piece. After the body tapers to 12 stitches in Round 12, Round 14 works 12 increases into the front loops only, jumping straight back to 24 stitches in a single round. Working in the front loops leaves the back loops exposed as a visible ridge, and that ridge is the neckline: a crisp horizontal line that separates the body from the head instead of a vague slope. Round 15 then widens the head unevenly, placing its increases in clusters rather than spacing them around the round.
The front legs arrive at an unexpected point in the sequence. They are not worked from the shoulders downward as separate tubes; they appear in Round 13, right after the taper, as two more chain extensions with a small cluster of single crochet at the tip and slip stitches running back along the chain. Because they sit at the narrowest part of the piece, they frame the chest exactly where the head will sit. The head then rises straight out of that same round, doubling to 24 stitches at Round 14 and widening again at Round 15 before two plain rounds hold the shape and the decreases carry it down to a six-stitch opening at Round 23.
Before You Start
The first thing to gather is not yarn at all. Face sculpting pulls hard on a small area of fabric, and plush yarn will snap if you pull it tightly, so a sturdy thread with no stretch in it is essential before you reach that stage. A fine, firm sewing thread handles the five-pass sequence far better than the working yarn does. Cut a generous length, because the same thread continues past the face: it tacks the ears into their folded position and then forms the whiskers that get trimmed and stiffened at the very end.
Set out the rest of the small items now, since several of them appear at moments when your hands are already full. PVA glue belongs on that list if you plan to stiffen the whiskers as the pattern instructs, and it should be somewhere you can reach without unthreading a needle. A stitch marker earns its place here, because the limb extensions interrupt the round and make it easy to lose your place. If working a magic ring in slippery plush yarn worries you, Round 1 supplies a chain-2 alternative.
Kitten Crochet Pattern
This seamless crochet kitten pattern is written as a single part, worked from the base of the body to the top of the head without a break. Watch two rounds in particular: Round 14 turns 12 neck stitches into 24 by working two single crochet into every front loop, and Round 21 builds both ears in passing. Counts listed as main stitches refer to the round itself, not to the paws or tail standing out from it.
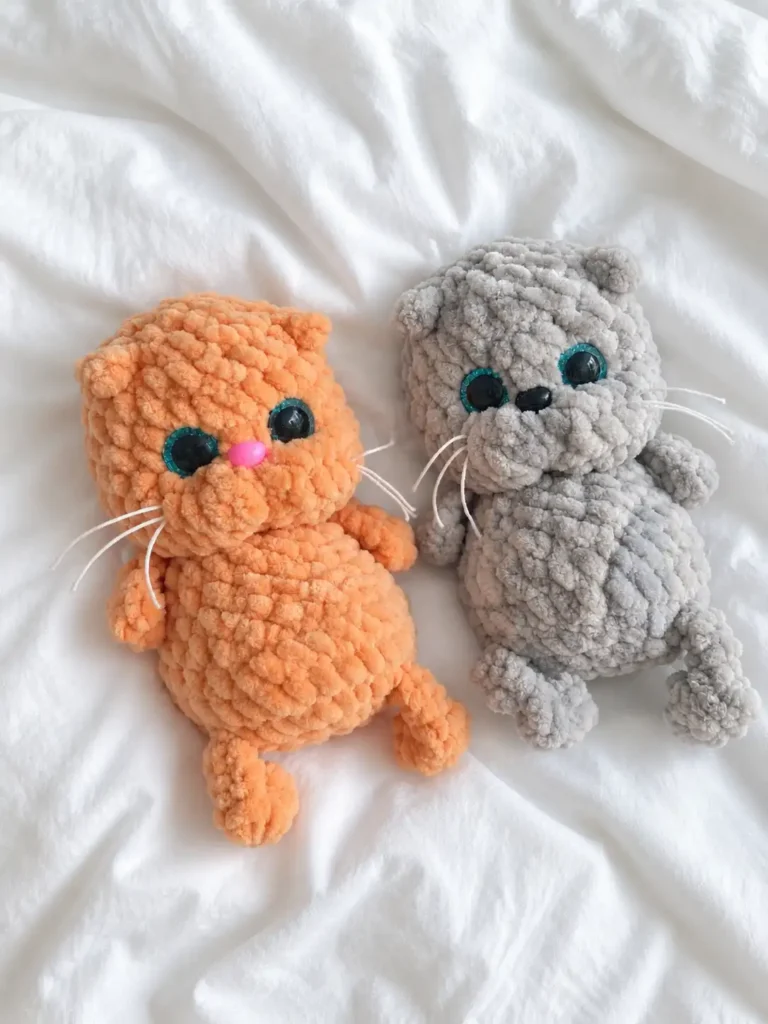
Kitten
Count check: At the end of Round 4 you should count 24 stitches around the rim, with the two hind paws standing free of that total.
Round 1: 6 sc in a MR, or ch 2 and work 6 sc in the 2nd ch from hook. (6 sts)
Round 2: 6 inc. (12 sts)
Round 3: (1 sc, inc) * 6. (18 sts)
Round 4: (2 sc, inc) * 2, 1 sc, make Paw (ch 5, starting in 2nd ch from hook: 1 bobble st, 3 sc, then work 1 sc into the base of the previous sc), 1 sc, inc, 2 sc, inc, make Paw (ch 5, starting in 2nd ch from hook: 1 bobble st, 3 sc, then work 1 sc into the base of the previous sc), (2 sc, inc) * 2. (24 main sts)
Round 5: 1 sc, make Tail (ch 5, starting in 2nd ch from hook: 4 sl st, then work 1 sl st into the base of the previous sc), 8 sc, 1 sc working behind the paw, 4 inc, 2 sc, 8 sc working behind the paw. (28 main sts)
Round 6: 1 sc, 27 sc working behind the tail. (28 sts)
Round 7: 28 sc. (28 sts)
Round 8: 10 sc, 4 dec, 10 sc. (24 sts)
Round 9: (2 sc, dec) * 6. (18 sts)
Round 10: 18 sc. (18 sts)
Round 11: 18 sc. (18 sts)
Round 12: (1 sc, dec) * 6. (12 sts)
Round 13: 4 sc, make Paw (ch 5, starting in 2nd ch from hook: 3 sc in 1 ch, 3 sl st, then work 1 sl st into the base of the previous sc), 5 sc, make Paw (ch 5, starting in 2nd ch from hook: 3 sc in 1 ch, 3 sl st, then work 1 sl st into the base of the previous sc), 3 sc. (12 main sts)
Round 14: 12 inc in FLO. (24 sts)
Round 15: 8 sc, inc, 2 sc, 2 inc, 2 sc, 2 inc, 2 sc, inc, 4 sc. (30 sts)
Round 16: 30 sc. (30 sts)
Round 17: 30 sc. (30 sts)
Round 18: 8 sc, dec, 2 sc, 5 dec, 2 sc, dec, 4 sc. (23 sts)
Round 19: 23 sc. (23 sts)
Round 20: 23 sc. (23 sts)
Round 21: (2 sc, dec) * 2, 2 sc, make Ear (ch 2, starting in 2nd ch from hook: 1 hdc, then work 1 sc into the base of the previous sc), dec, (2 sc, dec) * 2, make Ear (ch 2, starting in 2nd ch from hook: 1 hdc, then work 1 sc into the base of the previous sc), 3 sc. (18 main sts)
Round 22: (1 sc, dec) * 6. (12 sts)
Round 23: 6 dec. (6 sts)
Assembly and Finishing
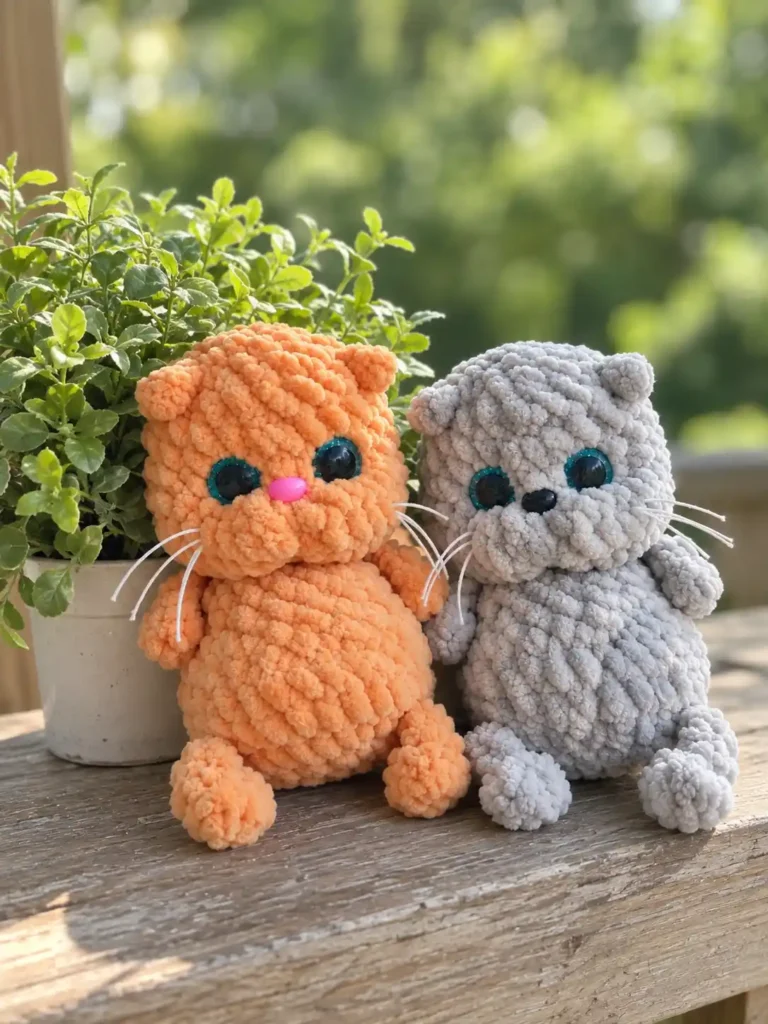
None of the paws or the tail needs sewing on, but the finishing still decides how the kitten looks. The eyes come first in sequence: attaching safety eyes securely means setting the 12 mm sparkle pair between Rounds 18 and 19 with three single crochet between them, while the head is still open and your fingers can reach the inside of the face. Once the backs are pushed on, they do not come off again, so check the spacing against the front of the face before you commit.
Stuffing happens twice, and both moments are easy to miss because they fall inside the pattern rather than after it. The body is filled firmly once Round 13 is done, and the head is filled again during Round 22, so neither one waits until the piece is closed. Aim for stuffing amigurumi evenly through the body, while the cheeks are the one place you deliberately push the fiberfill outward. After the head closes at Round 23, the sculpting thread runs its five passes, the same thread tacks each ear flat with a single stitch so it stays folded, and the whiskers are drawn through points 1, 2, and 3.
- Fill the body firmly with fiberfill after completing Round 13.
- Insert the 12 mm sparkle safety eyes between Rounds 18 and 19, leaving a space of 3 sc between them.
- Fill the head with fiberfill during Round 22, paying special attention to stuffing the kitten’s cheeks.
- Close the remaining hole after Round 23.
- Use strong thread and needle for face sculpting according to the 5-pass sequence, anchoring points 1 and 6 near Round 14.
- Using the remaining thread from the face sculpting, sew the ears flat to the head with a single stitch each.
- Pass thread through points 1, 2, and 3 to create whiskers.
- Trim the whiskers to your desired length and lightly coat them with PVA glue.
Pattern Notes and Troubleshooting
When the Head Wobbles on the Neck
A head that tips or flops usually points back to Round 13. The body is meant to be filled firmly before the neck narrows, and once those 12 stitches close over the top, there is no comfortable way back in. Loose stuffing at that stage leaves the shoulders soft, and a soft shoulder cannot hold a stuffed head upright. If yours wobbles, feed a little more fiberfill down through the neck opening in small pieces before you work Round 14, pressing it toward the taper at Round 12 rather than into the neck itself.
Flat Cheeks After the Head Closes
Cheeks are not automatic. If the finished face looks flat across the sides, the fiberfill went straight up the middle of the head instead of out toward the edges. Round 22 is the last round where the opening is still wide enough to reach into, so work small pinches of stuffing sideways with the blunt end of a hook and check the silhouette from the front as you go. The sculpting thread that comes later will pull those cheeks into shape, but it cannot invent volume that is not already inside the head.
Thread That Snaps During Sculpting
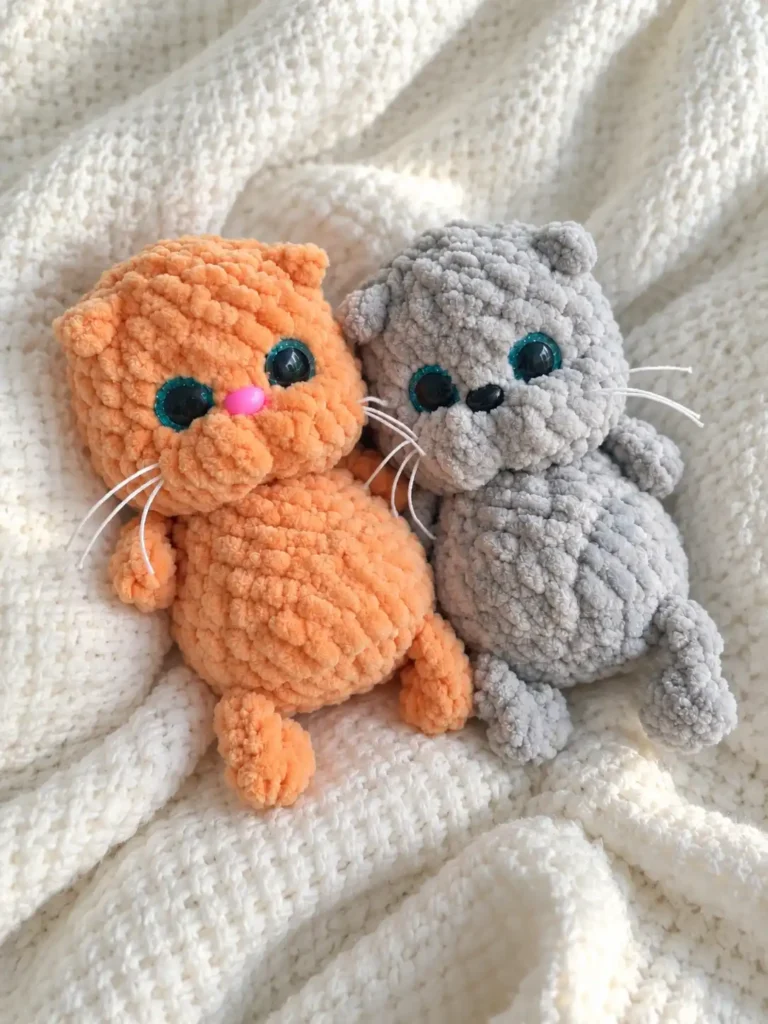
If the sculpting thread breaks partway through the five passes, check what is actually in your needle. The most common cause is using the plush yarn itself, which is soft, slightly stretchy, and not built to survive being pulled tight through a stuffed head several times. Strong cotton or nylon thread takes that tension without giving way. If it does break, do not knot the broken ends together inside the head; start fresh with a new length, bring it in from a spot that the finished sculpt will cover, and work the remaining passes with steady tension instead of sharp tugs.
Keeping Count Around the Chain Extensions
Chain extensions make counting tricky because the stitches that create a paw do not belong to the round total. In Round 13 the two front legs grow from the round itself, yet the count stays at 12 main stitches, and the same logic applies at Rounds 4, 5, and 21. Count only the stitches that sit in the round, treat each limb as a detour, and place your marker in a main stitch on either side of a paw before you chain away, so you can find the round again afterward.
Finishing Checklist
Run through the list below before you call the kitten finished, since two of its items cannot be corrected once the piece is closed: the cheeks and the sculpting thread. Everything else on the list is about anchoring: a firmly stuffed body under a narrow neck, thread buried deep rather than knotted at the surface, ears tacked so they hold their fold, whiskers coated in PVA glue and trimmed to the length you want, and the six-stitch opening at Round 23 pulled completely shut.
- Check that the body is firmly stuffed before the neck narrows.
- Check that the cheeks are rounded out with fiberfill before closing the head.
- Ensure the face sculpting thread is anchored deeply (even passing through the bottom MR on the final pass).
- Verify the ears are tacked down with one stitch so they stay folded.
- Ensure the whiskers are coated in PVA glue and trimmed to the desired length.
- Confirm the hole at the top of the head (Round 23) is completely woven shut.