Little Beaver Amigurumi Pattern: A Plush Buck-Toothed Beaver in Simple Rounds
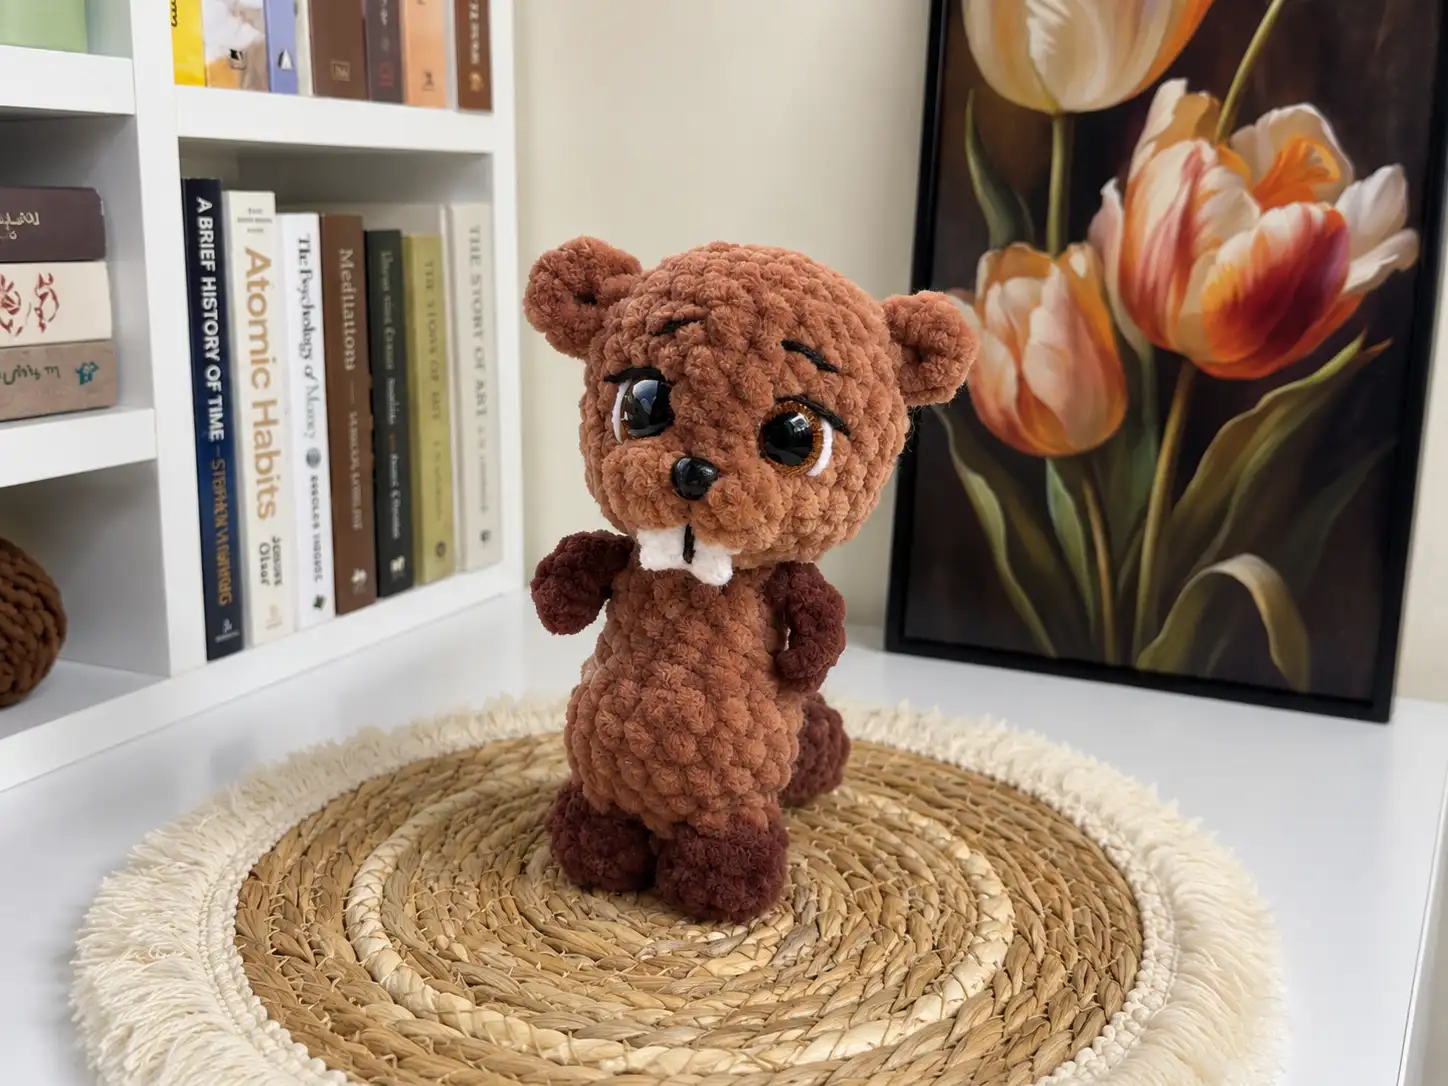
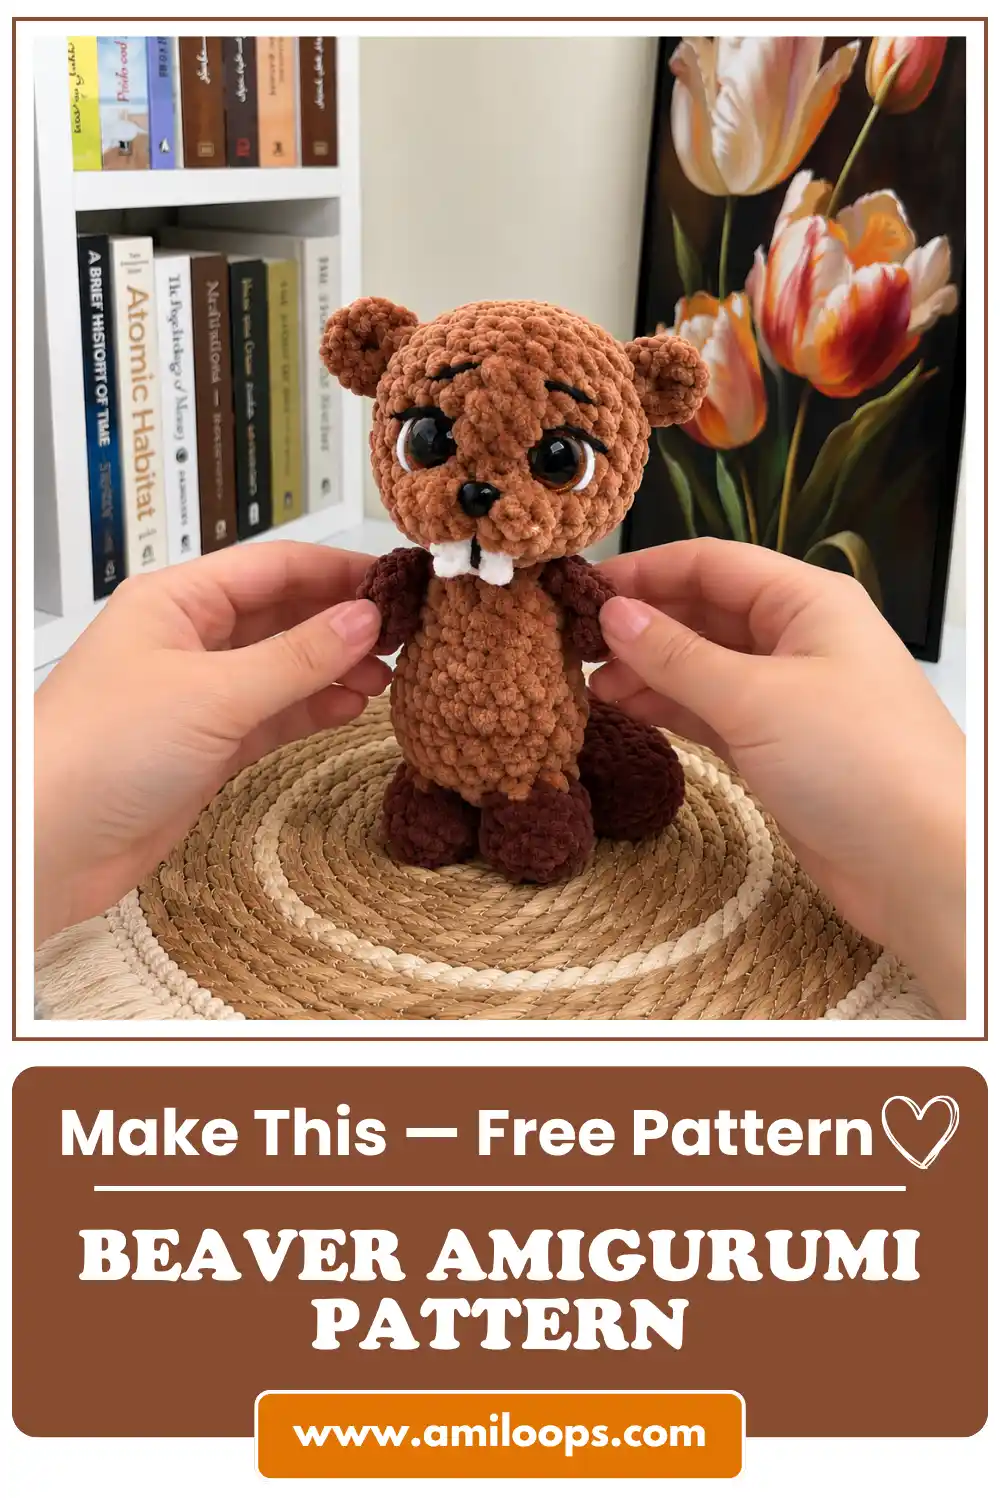
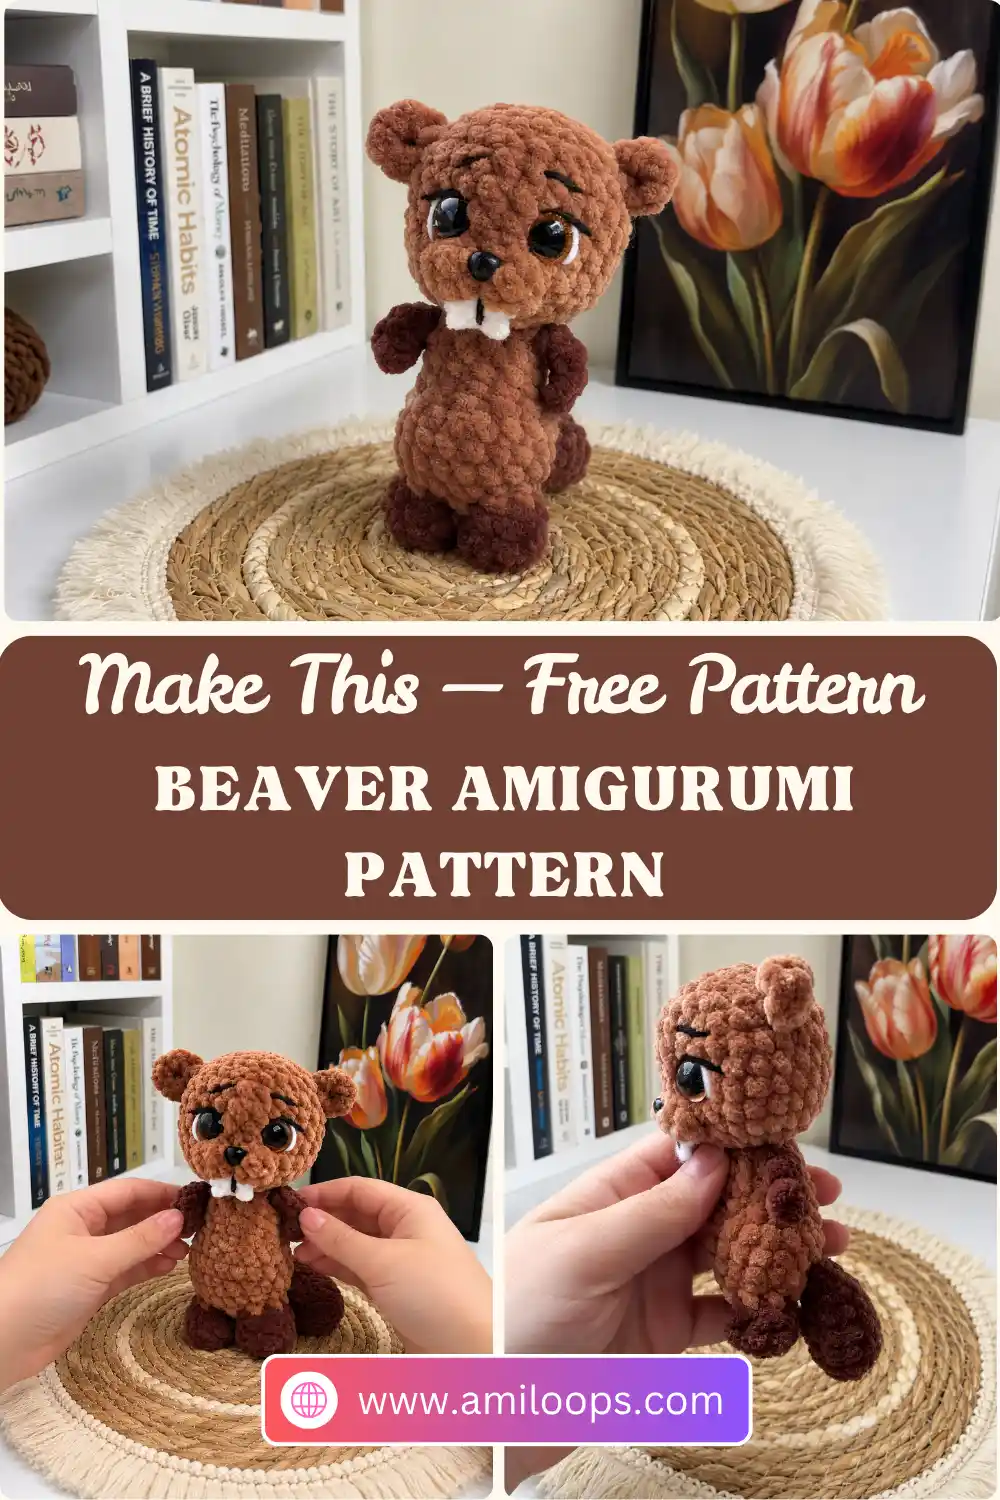
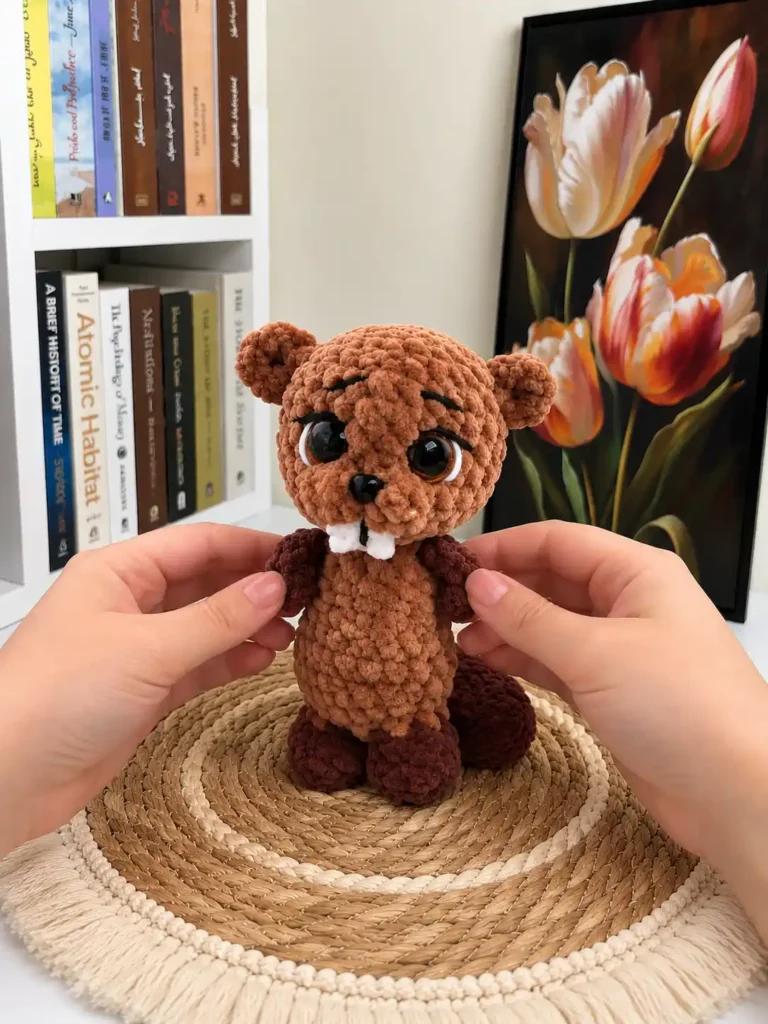
This beaver amigurumi crochet pattern makes a little plush beaver with a rounded head, a crocheted tooth piece peeking out under its muzzle, and embroidered eyebrows that give it a wonderfully expressive face. The recommended materials are Wolans Bunny Baby plush yarn and a 3.5 mm hook, and almost every round is plain single crochet, so the character comes from a few well-placed details.
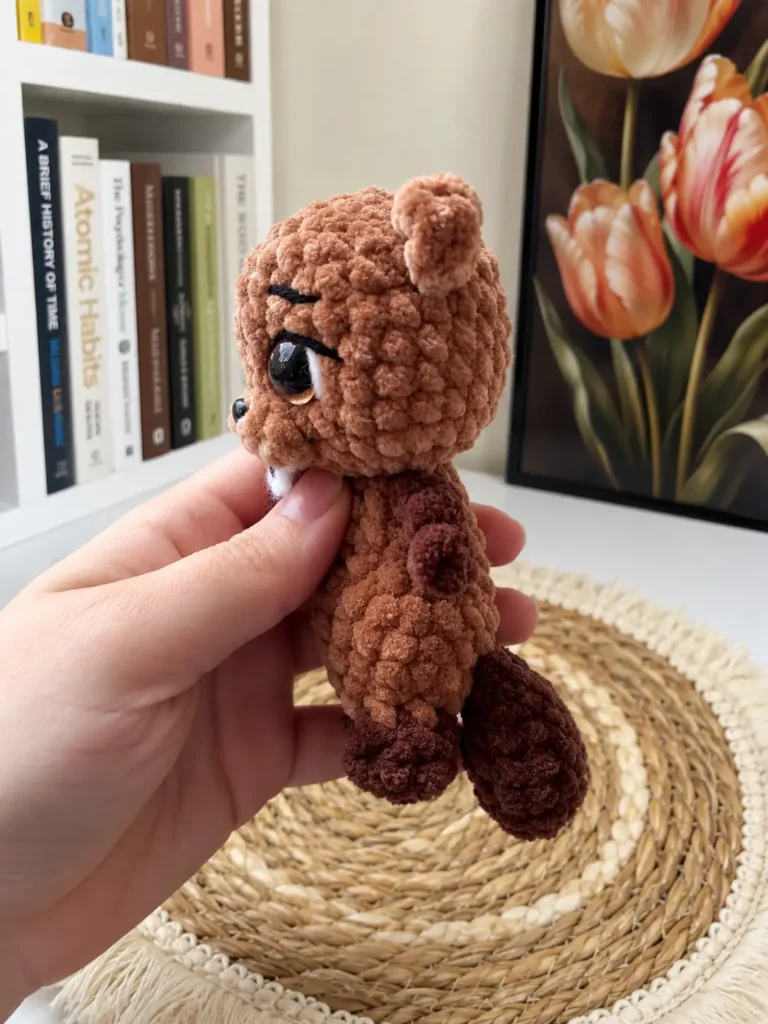
What makes it satisfying to crochet is how much of the toy grows as one piece. Two short legs are joined straight into the body, the tail is crocheted in at Rnd 6, and the arms appear in Rnd 12 as short chains worked right off the body. The head, ears and teeth are sewn on.
Materials Abbreviations Head Ears Tail Legs and Body Teeth Finishing FAQ
Before your first stitch: Crochet the tail before you start the legs. The tail is closed flat with 3 sc, and those 3 stitches are worked into the body in Rnd 6, so it needs to be ready and waiting.
Keep your marker in place: The tail in Rnd 6 and both arms in Rnd 12 are positioned by counting stitches from the start of the round. Moving your stitch marker up to the first stitch of every round keeps those placements lined up.
Materials
- Yarn: Wolans Bunny Baby plush yarn
- Eyes: 12 mm safety eyes
- Thread: for embroidery and for sewing on the head
- Hook: 3.5 mm crochet hook
- Fiberfill
- Plastic stitch marker
- Needle
- Scissors
These materials are recommendations, so you’re free to choose your own yarn and supplies for your beaver.
Abbreviations
This pattern uses US crochet terms.
| Abbreviation | Meaning |
|---|---|
| Rnd(s) | round(s) |
| st(s) | stitch(es) |
| MR | magic ring |
| sc | single crochet |
| sl st | slip stitch |
| ch | chain |
| hdc | half double crochet |
| inc | increase: 2 sc in the same stitch |
| dec | decrease: work the next 2 stitches together as 1 |
| 4-hdc cluster | work 4 hdc into the same stitch and close them together at the top. For each hdc, stop before the final pull-through. Then yarn over and pull through all loops on the hook. |
Helpful references: Every piece here except the teeth starts in a magic ring, so it’s worth brushing up on how to crochet a magic ring if it’s new to you. For the standard US stitch names side by side, the Craft Yarn Council keeps a handy list of crochet abbreviations.
Head
Rnd 1: 6 sc in MR (6)
Rnd 2: 6 inc (12)
Rnd 3: [sc, inc] 6 times (18)
Rnd 4: [2 sc, inc] 6 times (24)
Rnds 5–8: Sc in each st around (24)
About Rnd 9: This round places two 4-hdc clusters with a sl st between them to shape the muzzle. In finishing, the teeth are sewn just below this round.
Rnd 9: 11 sc, 4-hdc cluster in the next st, sl st, 4-hdc cluster in the next st, 11 sc (24)
Draft note: Instruction pending clarification.
Rnd 10: Sc in each st around (24)
Eyes: Fit the 12 mm safety eyes now, while the head is still wide open, because their backs go on from the inside. The pattern doesn’t give an exact position, so place them above the muzzle where they look right to you. Here’s a guide to attaching safety eyes to amigurumi.
Rnd 11: [2 sc, dec] 6 times (18)
Rnd 12: [sc, dec] 6 times (12)
Fiberfill: Rnd 13 closes the head down to 6 stitches, so this is your last easy chance to add fiberfill. These tips on stuffing amigurumi without lumps can help the head keep a smooth, round shape.
Rnd 13: 6 dec (6)
Ears (make 2)
Ears: 6 sc in MR, then pull the ring closed. Pull the yarn tight and trim the excess.
Placement: Sew the ears to the head between Rnds 4 and 5.
Tail
Rnd 1: 6 sc in MR (6)
Rnd 2: 6 inc (12)
Rnds 3–6: Sc in each st around (12)
Rnd 7: 6 dec (6)
Rnd 8: Flatten the opening and sc through both layers: 3 sc (3)
Set it aside: These 3 closing stitches are the ones you’ll crochet through in Body Rnd 6.
Legs and Body
How the numbering works: The round numbers carry on from the legs into the body, so the body begins at Rnd 4.
Legs (make 2)
Rnd 1: 6 sc in MR (6)
Rnds 2–3: Sc in each st around (6)
Fasten off the first leg. Make the second leg the same way, but don’t cut the yarn. You’ll go straight on to the body.
Body
Optional color change: Rnd 4 is where you can switch colors if you’d like the body to contrast with the legs. The Yarnspirations color-change tutorial shows how to finish the last pull-through of a stitch with the new yarn.
Rnd 4: Join the second leg to the first leg. Change yarn color here if you like. Work 6 sc around the first leg, then 6 sc around the second leg (12)
Rnd 5: [sc, inc] 6 times (18)
Joining the tail: Hold the flattened edge of the tail against the body so its 3 closing stitches line up with the next 3 body stitches. Each of the first 3 sc in Rnd 6 goes through a tail stitch and a body stitch together.
Rnd 6: Join the tail: work 3 sc through the tail stitches and the body stitches together, then 15 sc (18)
Rnds 7–8: Sc in each st around (18)
Rnd 9: [sc, dec] 6 times (12)
Rnds 10–11: Sc in each st around (12)
Arms ahead: The arms are worked in the next round. Each one is a ch 5 with 4 sc worked back along the chain; when you reach the base of the chain, carry on into the next body stitch. The arm stitches aren’t part of the round’s total of 12, which counts the body stitches only.
Rnd 12: 4 sc. For the first arm, ch 5 and work 4 sc along the chain, starting in the 2nd ch from the hook. Work 5 sc in the body. For the second arm, ch 5 and work 4 sc along the chain, starting in the 2nd ch from the hook. Work 3 sc in the body (12)
Rnd 13: Sc in each st around (12)
Fasten off, secure the yarn and cut it. The top of the body stays open; add fiberfill through this opening before the head goes on.
Teeth
Teeth: Ch 5. Starting in the 2nd ch from the hook, work 4 sc along the chain. Turn, ch 1, 4 sc.
Fasten off and trim the excess yarn.
Second Tail Piece
Draft note: Instruction pending clarification. The source prints this second tail piece here and stops after Rnd 4.
Rnd 1: 7 sc in MR (7)
Rnd 2: 7 inc (14)
Rnd 3: Sc in each st around (14)
Rnd 4: [sc, inc] 7 times (21)
Finishing
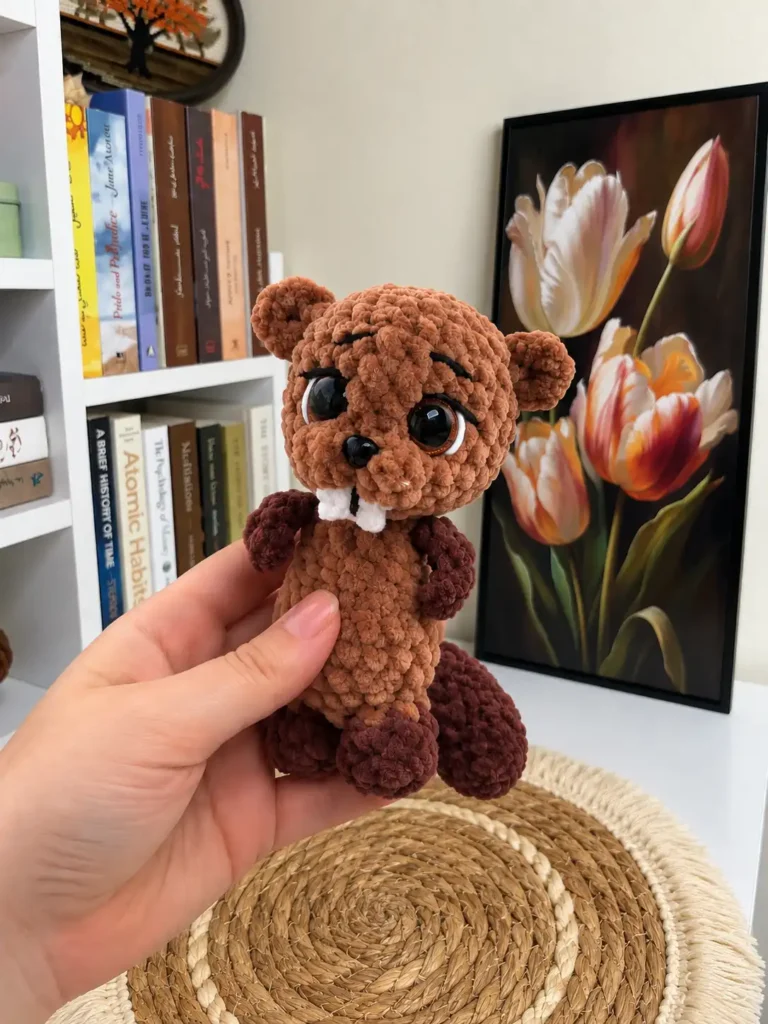
Sewing it together: The teeth, head and ears are all sewn on, so a neat, tight seam makes a big difference. This walkthrough on sewing amigurumi parts together covers the basics.
- Sew the teeth to the head below the muzzle, under Rnd 9.
- Sew the head to the body.
- With the embroidery thread, add the eye details and the eyebrows, and embroider a line on the teeth.
More buck-toothed and round-eared friends
Questions about this project
Why should I make the tail before the body?
The tail isn’t sewn on. Its opening is flattened and closed with 3 sc, and in Body Rnd 6 you work 3 sc through those tail stitches and the body stitches together. Having the tail finished before you reach Rnd 6 lets you crochet it in without stopping.
Do the arms need to be sewn on?
No. Both arms are made during Body Rnd 12: you ch 5, work 4 sc back along the chain starting in the 2nd ch from the hook, and then continue into the body. Rnd 13 is then worked around the 12 body stitches.
How do I work the 4-hdc cluster?
Work 4 hdc into the same stitch, stopping each one before its final pull-through so the loops stay on your hook. Then yarn over and pull through all loops on the hook to close them together at the top. The clusters appear only in Head Rnd 9.
When do the safety eyes go in?
Fit the 12 mm safety eyes while the head is still open, before the decreases in Rnds 11 to 13 close it, because their backs go on from the inside. The pattern doesn’t give an exact position, so place them above the muzzle. The embroidery thread is used later for the eye details and the eyebrows.
Can the body be a different color from the legs?
Yes. The pattern offers an optional color change at Body Rnd 4, the round where the two legs are joined. The legs stay in your first color, and the body continues in the new one.