Bunny and Bear Amigurumi Pattern: One Simple Body, Two Cuddly Friends
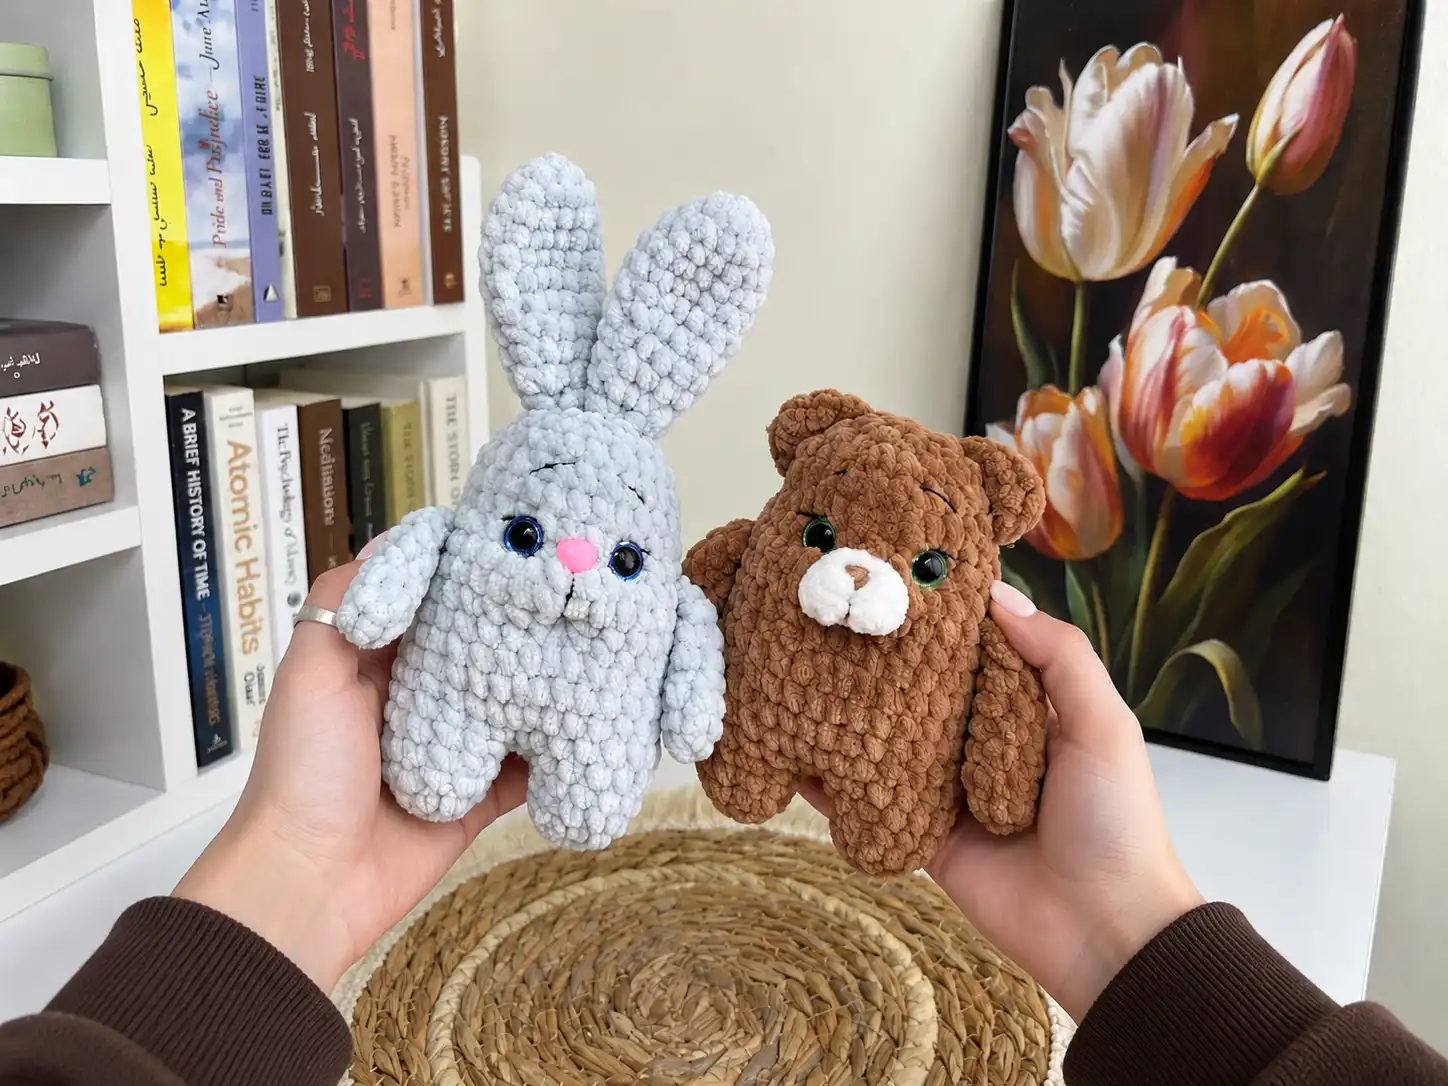
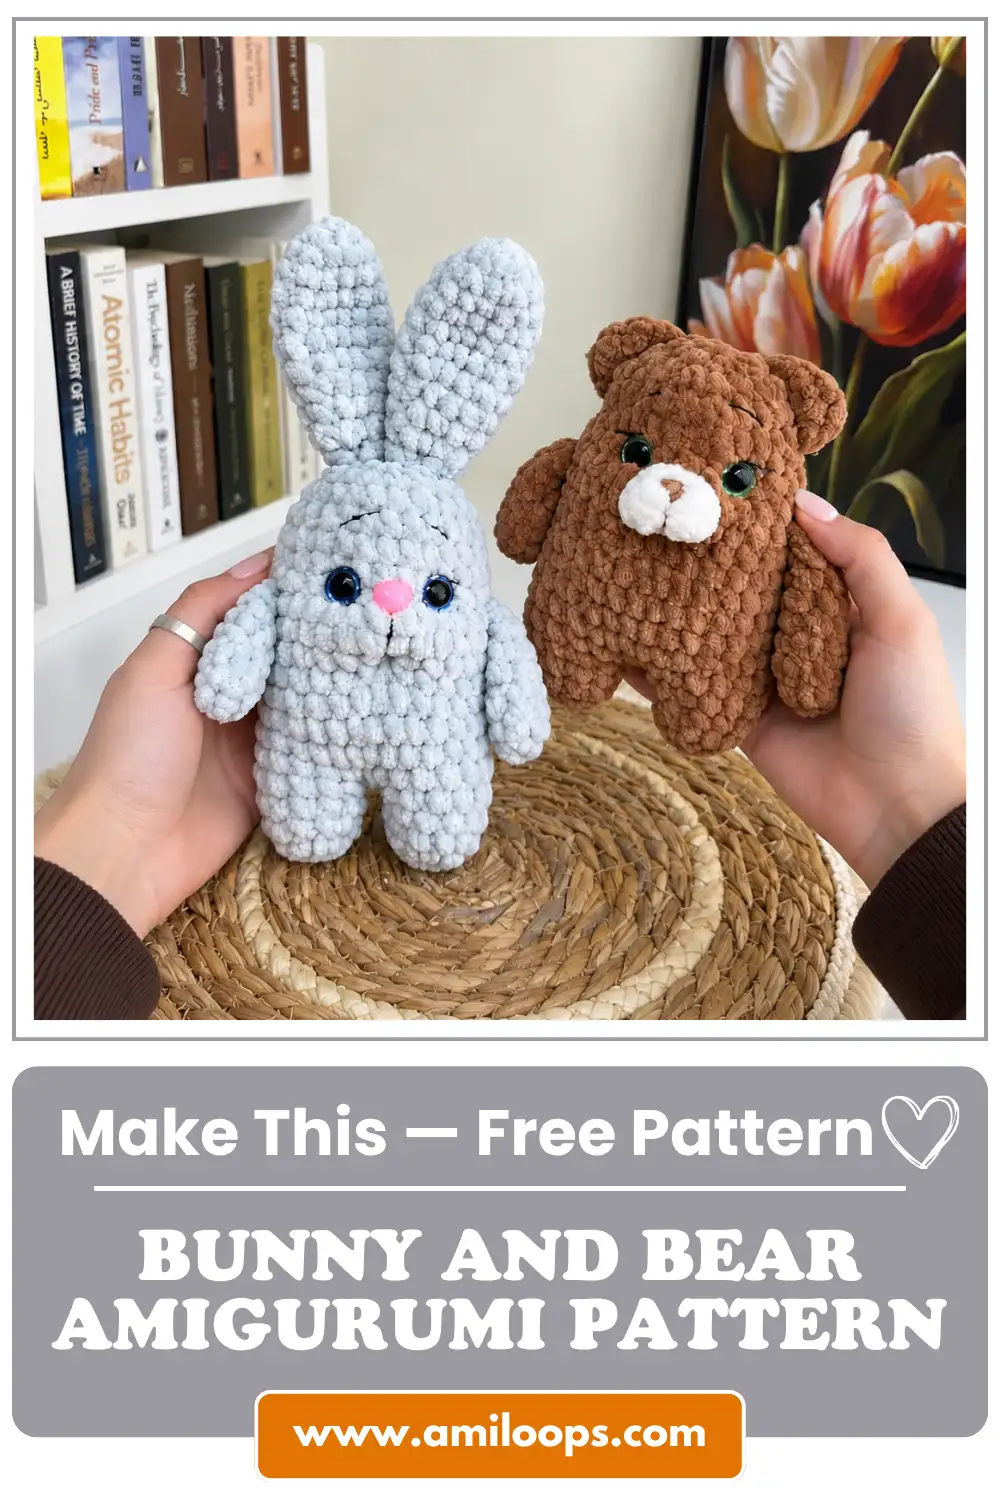
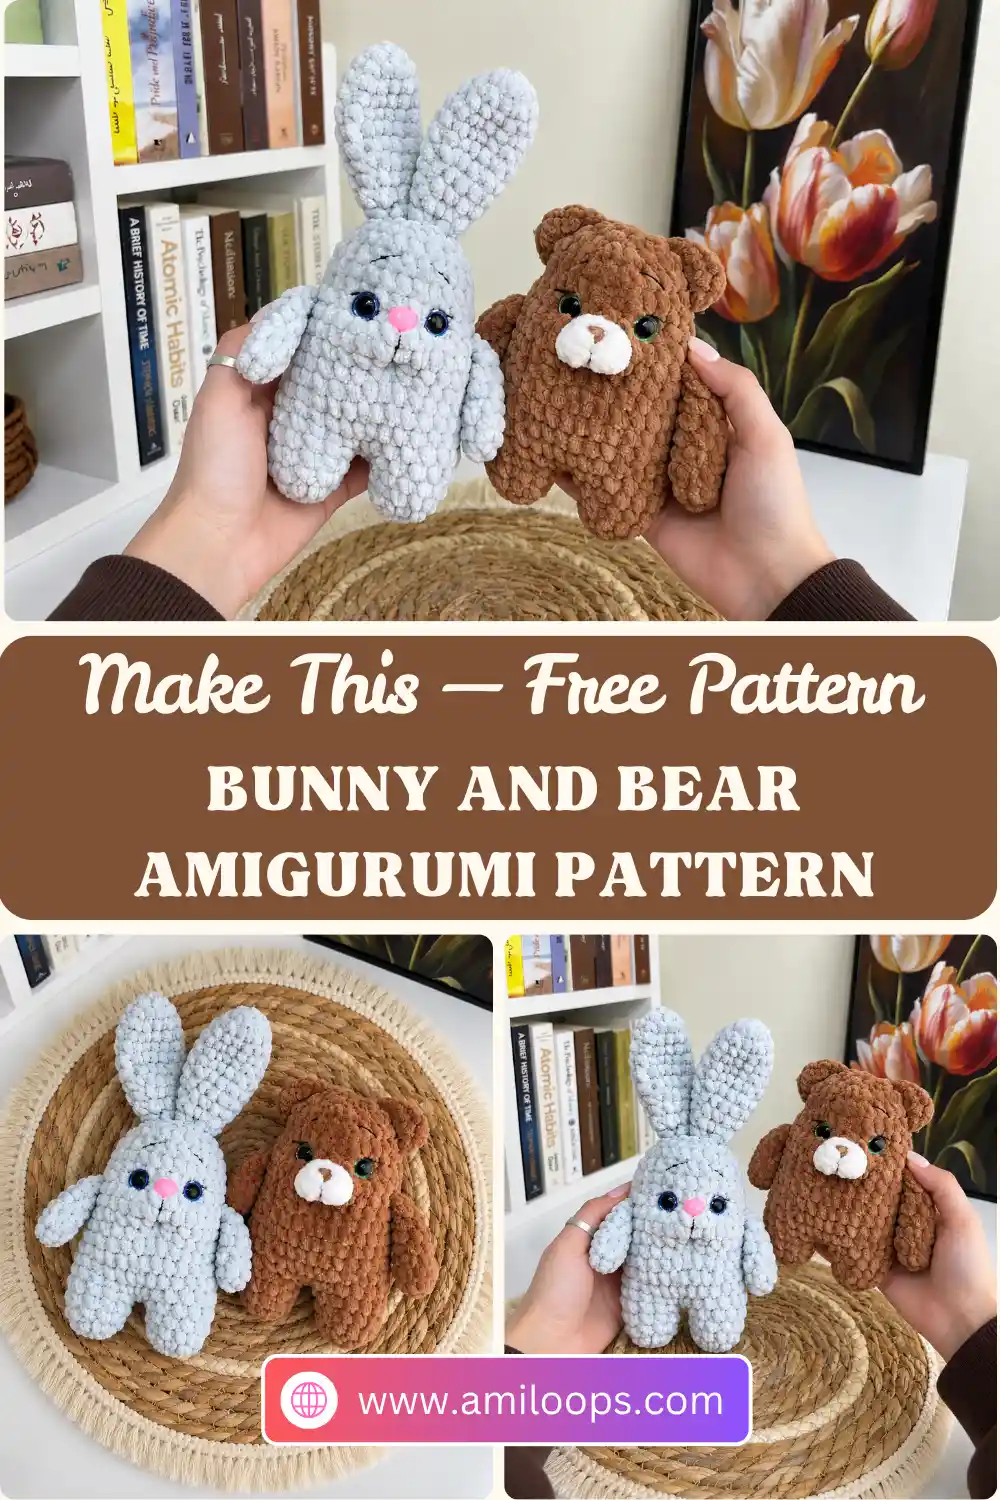
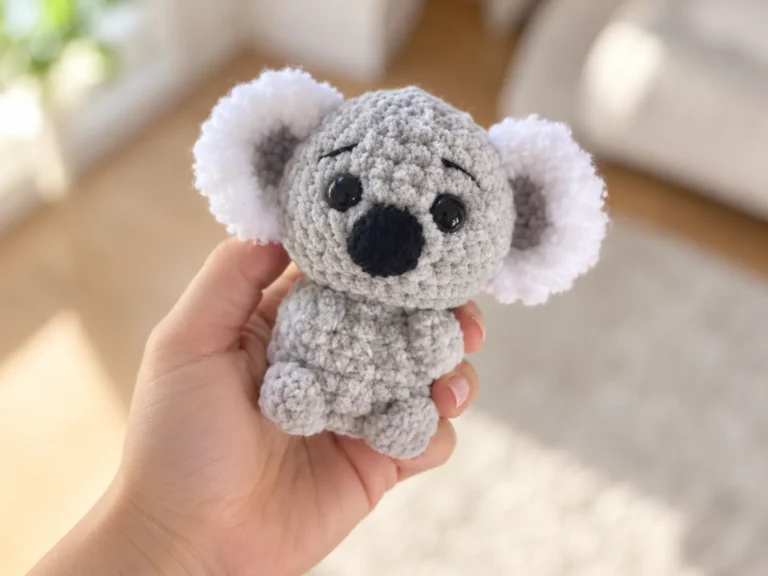
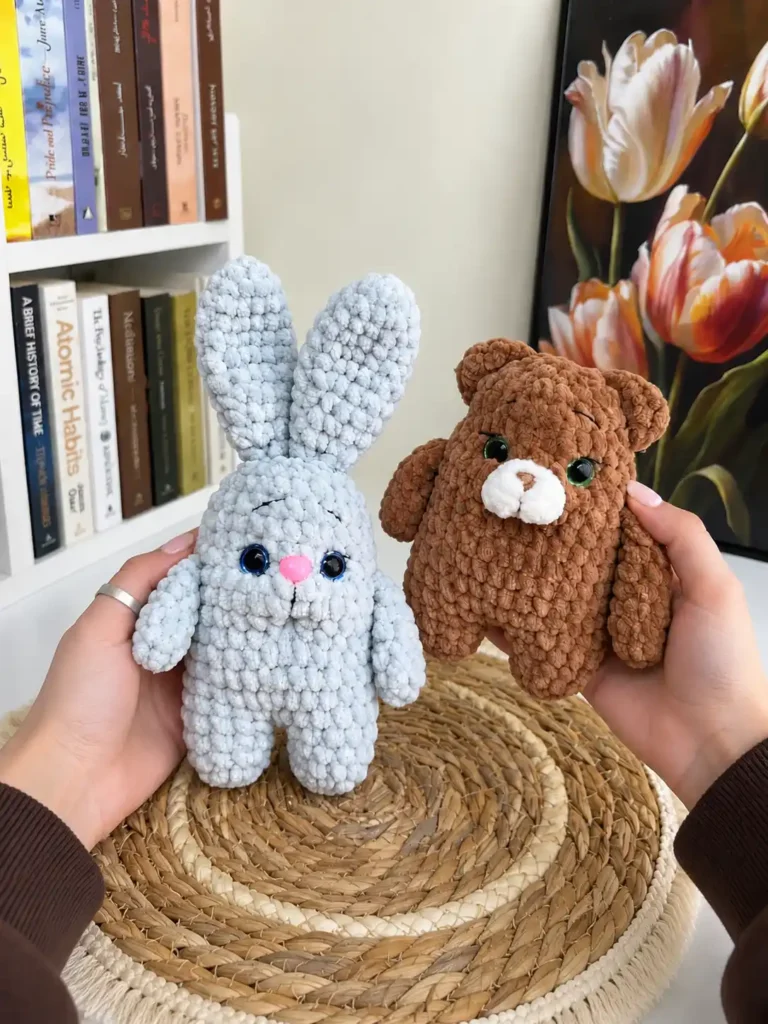
This bunny and bear amigurumi pattern gives you two small friends that start out the same way. The bunny gets long, gently shaped ears and a nose. The bear gets small rounded ears and a white muzzle. Both share the same short legs, little arms and tiny tail.
The legs, body and head are worked as one piece. You crochet two small legs, join them with a short chain, and keep going round by round up through the head. Because the body and head take most of the work, you can make it once and then finish it as either animal with the ears and face pieces.
Materials · Abbreviations · Legs, Body and Head · Arms · Tail · Bunny Ears · Bear Ears · Bear Muzzle · Assembly · FAQ
Materials
- Crochet hook: 4 mm
- Yarn: WoLans yarn, half a skein of each color
- Matching thread for sculpting
- Tapestry needle with a large eye
- Eyes: 12–14 mm
- Nose for the bunny
About the hook: The pattern gives the hook size in millimeters. If your hooks are labeled with US letters, use the Craft Yarn Council hook size chart to find the 4 mm hook.
Abbreviations
This pattern uses US crochet terms. To compare these names with UK terms, see the Craft Yarn Council crochet abbreviations list.
| Abbreviation | Meaning |
|---|---|
| ch | chain |
| sc | single crochet |
| inc | increase (2 sc in the same st) |
| dec | decrease (sc the next 2 sts together, so 2 sts become 1) |
| st(s) | stitch(es) |
| Rnd | round |
Reading the rounds: The pattern uses no slip-stitch joins or turning chains, so work the rounds as a continuous spiral; a stitch marker helps you find the start of each round. The number in parentheses at the end of a round is its stitch count. Each piece simply begins with its first round of sc, so start it the way you usually begin amigurumi rounds, such as a magic ring. If you have not worked in spirals before, this guide to continuous rounds vs. joined rounds explains the difference.
Legs, Body and Head (worked in one piece)
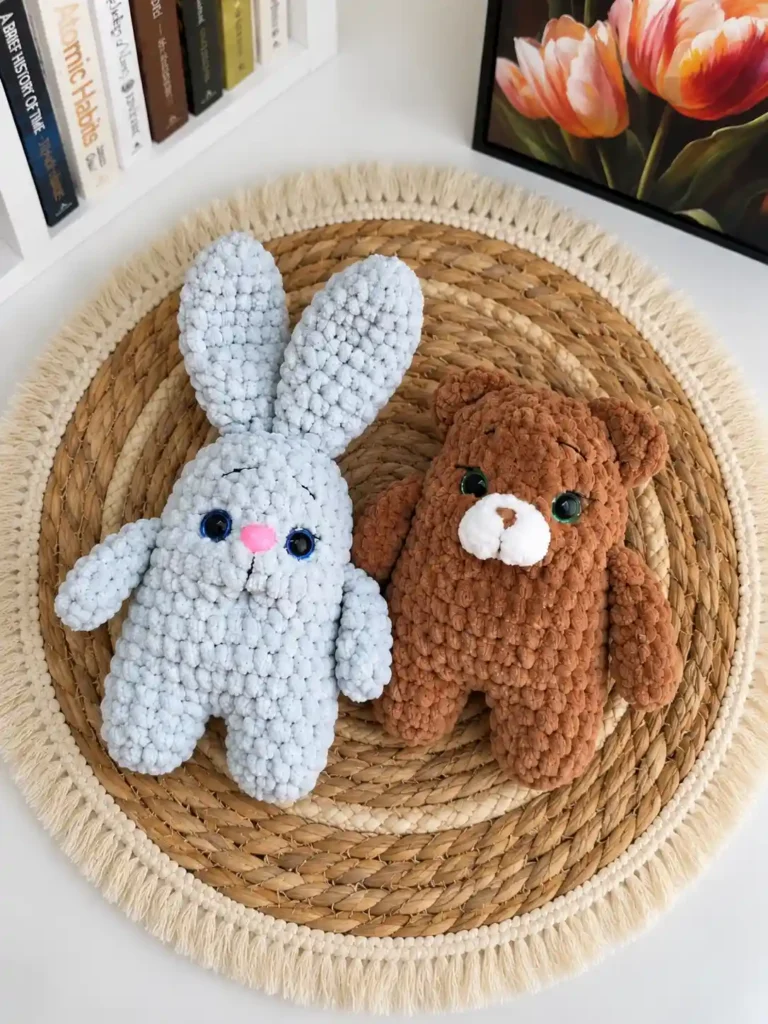
How this piece is built: Rnds 1–4 make one small leg. Make 2 legs. Rnd 5 joins them: a ch-2 bridge connects the two legs, and you work stitches around each leg and along both sides of the chain. The rest of the body and the head grow from that joined round, and Rnd 20 closes the top.
Rnd 1: 6 sc (6)
Rnd 2: 6 inc (12)
Rnds 3–4: 12 sc
Make 2 legs. You will join them in the next round. The pattern doesn’t say which leg to fasten off; a common approach is to fasten off the first leg and keep the second leg on your hook to make the ch-2.
Rnd 5: Ch 2, 12 sc around the first leg, 2 sc along the ch-2, 12 sc around the second leg, 2 sc along the other side of the ch-2 (29 sc)
Draft note: This round needs clarification before working it.
Rnds 6–14: 29 sc
Rnd 15: 12 sc, [3 sc, dec] 5 times, 2 sc (24)
Draft note: This round needs clarification before working it.
Rnds 16–17: 24 sc
Rnd 18: [2 sc, dec] 6 times (18)
Rnd 19: [1 sc, dec] 6 times (12)
Before Rnd 20: If your eyes are fixed from the inside, place them now (see the eye placement note below). The pattern doesn’t give a stuffing point for the body, so stuff it now while the opening is still wide enough to reach inside.
Rnd 20: 6 dec (6)
Fasten off, close the opening and weave in the end. If you need a refresher on finishing, see fastening off and weaving in ends in amigurumi.
Eye placement: Insert the eyes between Rnds 15 and 16, 4 sts apart. Check your own toy to decide where the eyes look best, because everyone’s crocheting is different.
Arms
Rnd 1: 4 sc (4)
Rnd 2: 4 inc (8)
Rnds 3–8: 8 sc
Stuff the arms very lightly.
Tail
Rnd 1: 4 sc (4)
Rnd 2: 4 inc (8)
Rnd 3: 8 sc
Add a little stuffing and sew the tail to the body. For tips on neat attachment with the tapestry needle, see how to sew amigurumi parts together.
Bunny Ears
Shaping the ear: The ear widens to 14 sts in Rnd 4, holds that width for two rounds, then narrows gradually to 8 sts. This gives it a soft, rounded shape that is wider in the middle.
Rnd 1: 6 sc (6)
Rnd 2: 6 inc (12)
Rnd 3: 12 sc
Rnd 4: [5 sc, inc] 2 times (14)
Rnds 5–6: 14 sc
Rnd 7: [5 sc, dec] 2 times (12)
Rnd 8: [4 sc, dec] 2 times (10)
Rnd 9: 10 sc
Rnd 10: [3 sc, dec] 2 times (8)
Rnd 11: 8 sc
Flatten the opening and work 4 sc through both layers.
Bear Ears
Rnd 1: 5 sc (5)
Rnd 2: 5 inc (10)
Flatten the opening and work 5 sc through both layers.
Bear Muzzle
Use white yarn.
Rnd 1: 5 sc (5)
Rnd 2: 5 inc (10), then sc in the next 4 sts
The extra 4 sc add no stitches. They simply carry the end of the round a little farther around the circle before you finish the piece.
Putting your bunny or bear together
The pattern sews the tail to the body but doesn’t give exact positions for the other pieces, so place them by eye on your own toy. Sew the arms to the sides of the body and the ears to the top of the head with the tapestry needle. For the bunny, add the nose centered between the eyes. For the bear, sew the white muzzle centered on the face, just below the eyes.
More bunnies and bears to make
Questions about this bunny and bear
Do the bunny and the bear use the same body?
Yes. The pattern gives one set of instructions for the legs, body and head, plus shared arms and tail. The bunny is finished with its own ears and a nose. The bear is finished with its own ears and a white muzzle.
How are the two legs joined into the body?
After making 2 legs, you chain 2 at the start of Rnd 5 to bridge them. Then you work around the first leg, along one side of the chain, around the second leg, and along the other side of the chain. This turns the two legs into one round for the body.
Where should the eyes go?
The pattern places the eyes between Rnds 15 and 16, 4 sts apart. Because everyone’s crocheting is different, check your own toy and adjust the position to whatever looks best on your piece.
How much stuffing do the arms and tail need?
Not much. The arms are stuffed very lightly, and the tail gets only a little stuffing before you sew it to the body.