Free Halloween Black Cat Amigurumi Pattern — Witch Hat
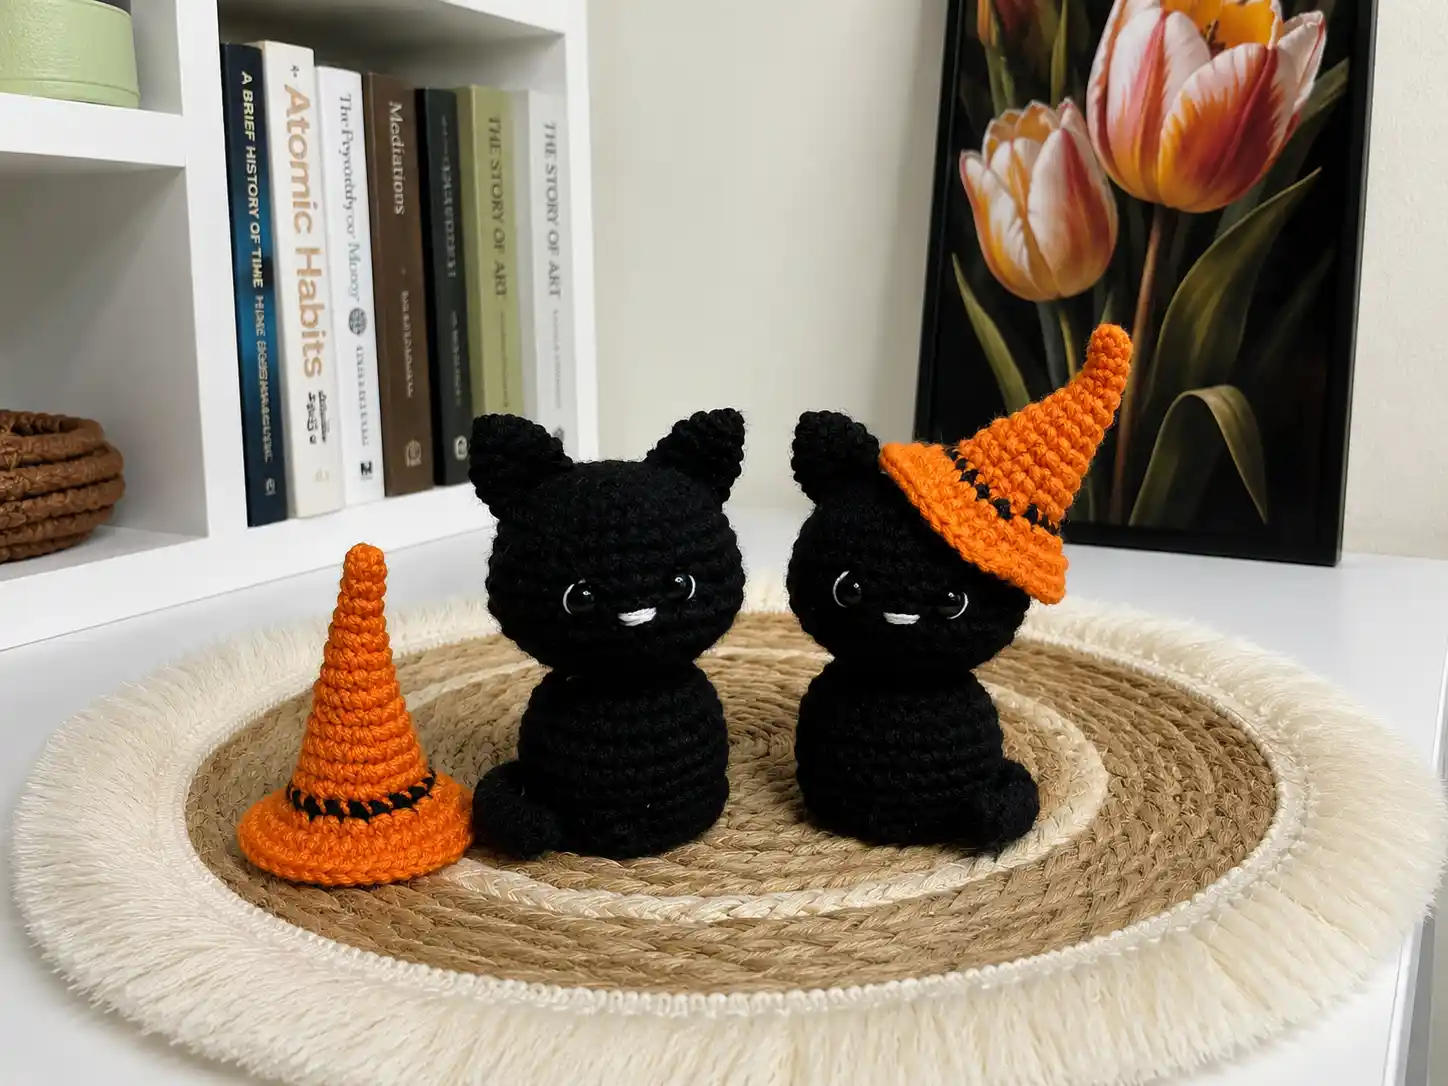
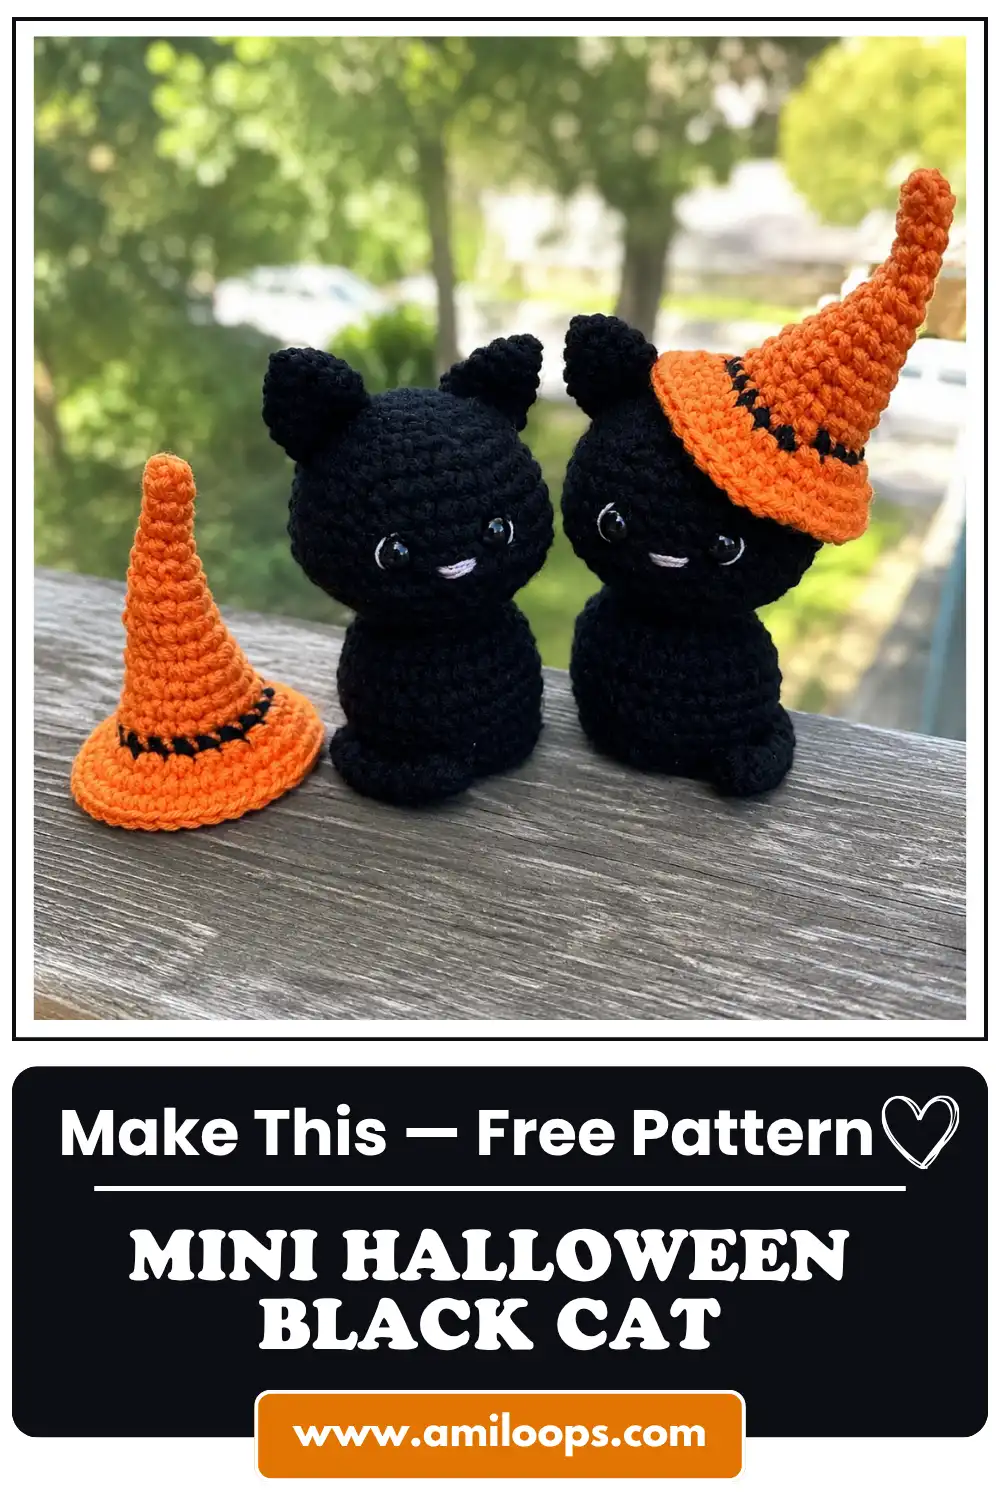
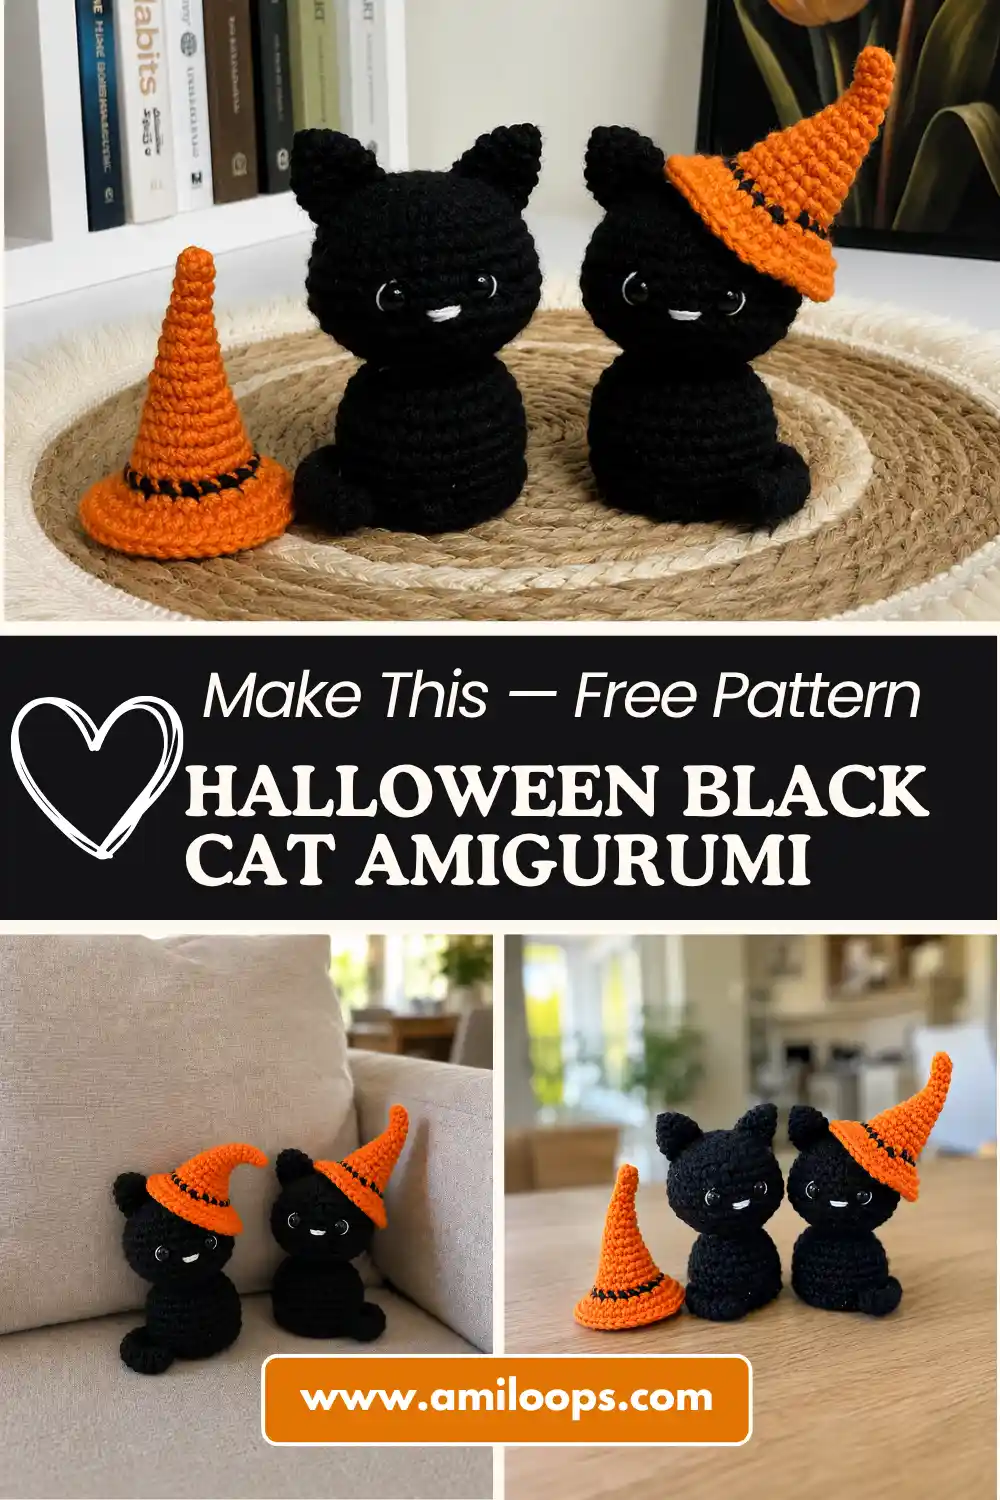
This free halloween black cat amigurumi pattern turns out impossibly sweet — a round little black kitty with glossy eyes, tucked-up triangular ears, a long curling tail, and the tiniest orange witch hat perched just so. The soft black yarn keeps every stitch looking neat and velvety, while that pop of orange makes it feel properly spooky-cute. Let me show you how she comes together.
🩷 Pattern Highlights
- Cuteness Rating: 🩷🩷🩷🩷🩷
- Finished Size: approx. 4 in tall (10 cm) (editorial estimate — not specified in source)
- Difficulty: Intermediate (editorial estimate — not specified in source)
- Hook Size: 1.5 mm steel hook (no direct US letter equivalent — below the standard chart)
- Yarn Palette: jet black and pumpkin orange
- Key Detail: glossy safety eyes, embroidered whisker face, and a tiny orange witch hat with a black stripe
- Estimated Time: 4-6 hours (editorial estimate — not specified in source)
What You’ll Need for This Halloween Black Cat Amigurumi Pattern
This little witch-hat kitty is worked entirely in a fine, smooth Light (3) weight yarn — think DK / Light Worsted (3) — which is exactly what gives her that crisp, defined stitch texture. You want two colors here: a true jet black for the body, ears, and tail, and a warm pumpkin orange for the hat.
- Yarn: Light (3) weight yarn in jet black and pumpkin orange. The source pattern doesn’t list exact yardage, but given the small finished size, a single small skein of each color comfortably covers the whole project.
- Hook: 1.5 mm steel crochet hook. This is a genuinely fine gauge — below the standard US letter chart, so there’s no US letter size to reach for here. Go slow and let the tiny stitches do their thing.
- Stuffing: Polyester fiberfill, added a little at a time so the shape stays smooth and round instead of lumpy.
- Safety Eyes: Two glossy black safety eyes — I’d reach for 8mm (editorial estimate; exact size wasn’t specified in source — size up or down slightly based on how big you’d like her expression). If this one’s headed to a home with little ones, it’s worth a quick look at the CPSC’s toy safety guidance before you finalize eye size and placement.
- Tapestry needle for sewing all the pieces together and weaving in ends.
- White yarn (any leftover fine yarn works) for embroidering the nose, mouth, and whiskers.
- Pink embroidery thread for the blush — my signature little finishing touch, more on that below.
- Stitch marker to track the start of each round.
Abbreviations Used in This Pattern
| Abbreviation | Meaning |
|---|---|
| mr | magic ring |
| sc | single crochet |
| inc | increase (2 sc in same stitch) |
| dec | decrease (invisible decrease) |
Before You Begin — Tips for the Cutest Result
A few little things make a big difference on this one, so let’s talk through them before you pick up your hook.
🩷 Chloe’s Detail Tip: Every round here starts with a magic ring, and that’s non-negotiable for a piece this small — a chain-start would leave a visible little hole right where you don’t want one, especially on the hat’s tiny crown.
All of the shaping decreases in the head-body use the invisible decrease rather than a standard sc2tog. It’s slightly slower to work, but it’s the difference between a smooth, seamless curve around the face and a row of visible little gaps — and on a piece this small, every gap shows.
🩷 Chloe’s Detail Tip: The eyes go in between rounds 10 and 11 of the head-body, spaced 5 stitches apart. Before you snap the washers in, hold the piece up under a bright light and check the spacing from straight on — I always do one more check than feels necessary, because once those washers click there’s no adjusting. Our safety eyes tutorial walks through exactly how to test placement before committing.
Last thing — the hat has two quick color swaps packed close together (black at row 14, back to orange at row 15), which is what creates that little black stripe right at the base of the crown. If color changes aren’t second nature yet, it’s worth a quick refresher first so the switch stays clean and doesn’t leave a gap in the round.
Let’s Crochet This Halloween Black Cat Amigurumi Pattern
Everything here is worked in continuous rounds — no joining, no turning, just a steady spiral. Use your stitch marker to keep track of where each round starts, since it’s easy to lose your place at this gauge.
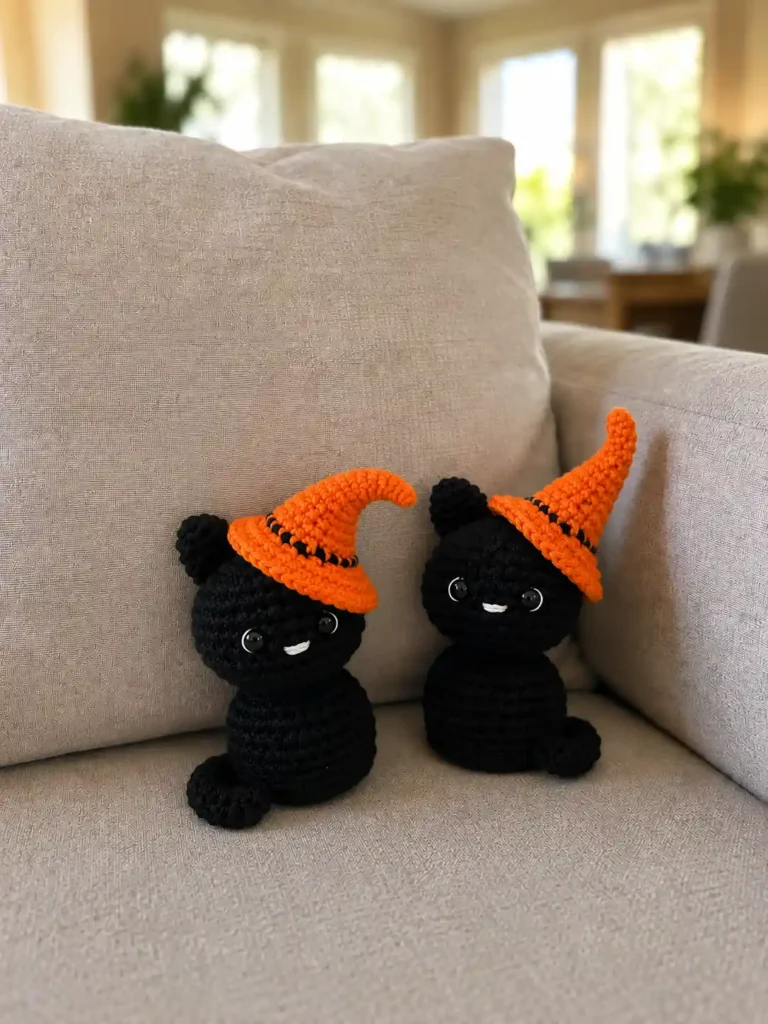
Head & Body (make 1, black)
Row 1: 6 sc in mr (6)
Row 2: inc in each st around (12)
Row 3: (1 sc, inc) 6 times (18)
Row 4: (2 sc, inc) 6 times (24)
Row 5: (3 sc, inc) 6 times (30)
Row 6: (4 sc, inc) 6 times (36)
Rows 7–11: sc around, 5 rounds even (36)
This is the part where she really starts looking like a little round head instead of a flat circle — so satisfying to watch it cup inward.
Note: Insert the safety eyes now, between rounds 10 and 11, spaced 5 sc apart, before continuing.
Row 12: (4 sc, dec) 6 times (30)
Row 13: (3 sc, dec) 6 times (24)
Row 14: (2 sc, dec) 6 times (18)
Row 15: (1 sc, dec) 6 times (12)
Stuff the head firmly here before it closes up any further — you want it nice and round, not soft and floppy. This is also your last easy chance to double-check the eyes are sitting even.
Row 16: inc in each st around (24)
Row 17: sc around (24)
Row 18: (3 sc, inc) 6 times (30)
Rows 19–21: sc around, 3 rounds even (30)
Row 22: (3 sc, dec) 6 times (24)
Row 23: sc around (24)
Finishing: Leave a long tail — you’ll use it to single crochet the bottom piece on and close up the body.
Bottom (make 1, black)
Row 1: 6 sc in mr (6)
Row 2: inc in each st around (12)
Row 3: (1 sc, inc) 6 times (18)
Row 4: (2 sc, inc) 6 times (24)
Finishing: Fasten off, leaving a short tail for sewing (editorial estimate — not specified in source).
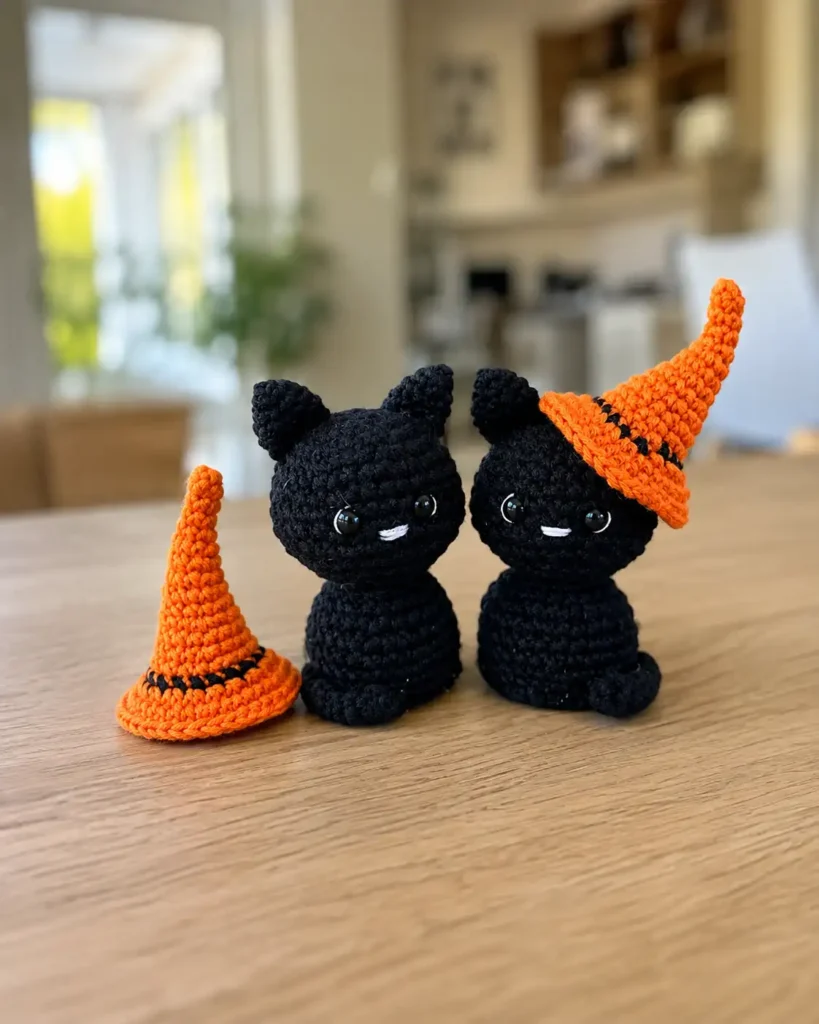
Ears (make 2, black)
Row 1: 3 sc in mr (3)
Row 2: inc in each st around (6)
Row 3: (1 sc, inc) 3 times (9)
Rows 4–5: sc around, 2 rounds even (9)
Finishing: Fold the ear flat and single crochet across the opening, working 4 sc through both layers to close it into a neat little triangle. Leave a tail for sewing.
Two of these, and you’ll already start seeing her personality show up.
Tail (make 1, black)
Row 1: 5 sc in mr (5)
Rows 2–16: sc around, 15 rounds even (5)
Finishing: Fasten off, leaving a tail for sewing (editorial estimate — not specified in source). I like to leave this one unstuffed or only very lightly stuffed so it keeps a soft curl instead of standing stiff.
Witch Hat (make 1, orange with a black stripe)
Row 1: 5 sc in mr [orange] (5)
Rows 2–3: sc around [orange], 2 rounds even (5)
Row 4: inc, 4 sc [orange] (6)
Row 5: sc around [orange] (6)
Row 6: (1 sc, inc) 3 times [orange] (9)
Row 7: sc around [orange] (9)
Row 8: (2 sc, inc) 3 times [orange] (12)
Row 9: sc around [orange] (12)
Row 10: (3 sc, inc) 3 times [orange] (15)
Row 11: sc around [orange] (15)
Row 12: (4 sc, inc) 3 times [orange] (18)
Row 13: sc around [orange] (18)
Row 14: sc around [black] (18)
Row 15: inc in each st around [orange] (36)
Rows 16–17: sc around [orange], 2 rounds even (36)
Note: Switch to black before row 14, then back to orange before row 15 — this is what gives the hat its little black stripe right where the crown meets the brim.
Watching that brim flare out in row 15 is genuinely one of my favorite moments in this whole pattern — one round and suddenly it looks like an actual tiny witch hat.
Finishing: Fasten off, leaving a tail for attaching to the head (editorial estimate — not specified in source).
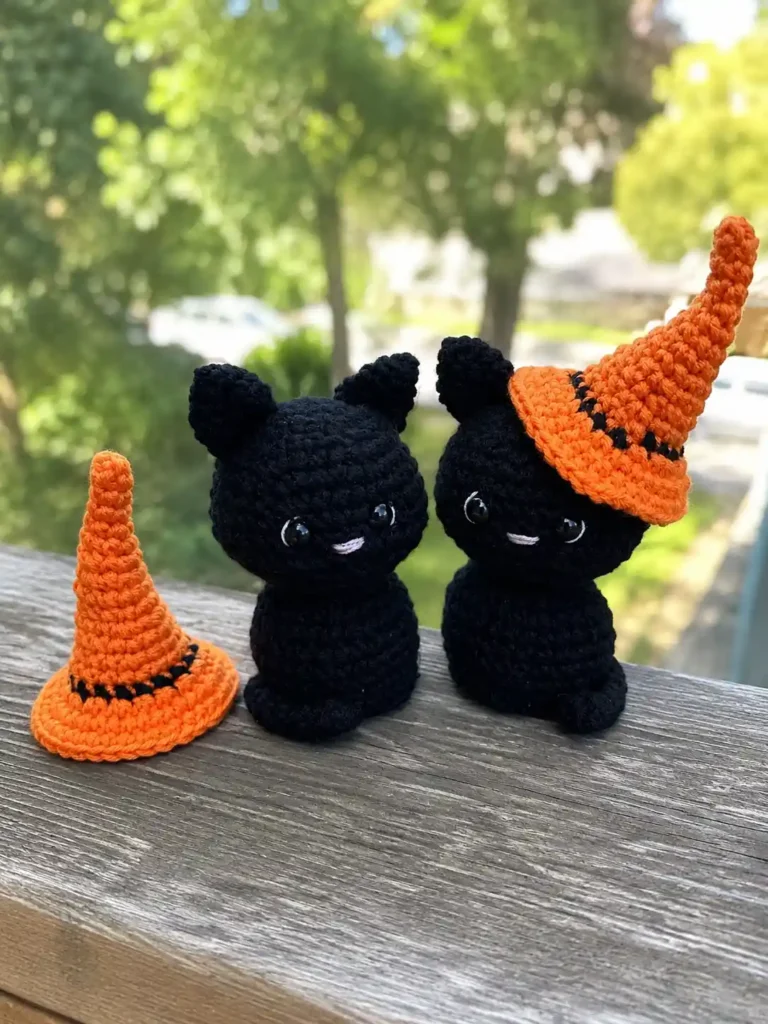
Putting It All Together
- If you haven’t already, insert the safety eyes into the head-body between rounds 10 and 11, spaced 5 sc apart, checking symmetry before you snap the washers closed.
- Stuff the head-body firmly, adding fiberfill gradually so the shape stays round rather than lumpy.
- Using the long tail left at the base of the head-body, single crochet the Bottom piece onto the open edge to close the body completely.
- Sew the two ears to the top of the head, spaced evenly apart on either side (exact placement wasn’t specified in source beyond “based on the final photo” — adjust to taste and check against your reference image). Our sewing tutorial is a good refresher on keeping stitches invisible here.
- Sew the tail to the lower back of the body, near the bottom seam.
- Perch the hat on one ear at a jaunty tilt, tacking it lightly in place so it stays put.
- Using white yarn, embroider a small nose, mouth, and a few whiskers on the face for that classic kitty expression.
Making It Extra Cute — The Finishing Details
This is where it goes from nice to irresistible. Once the whiskers are in, I always add a soft dusting of pink blush right on the cheeks — just a few small stitches of embroidery thread in a loose circle under each eye, a shade or two lighter than the yarn itself. It’s such a tiny addition, but it’s the thing that turns “cat with a hat” into a character with a whole personality.
🩷 Chloe’s Detail Tip: For the whiskers, three short straight stitches per side, angled very slightly upward, reads as much more expressive than whiskers worked perfectly horizontal. Little details like that are what make people stop scrolling.
For the eyes, I always step back and look at the whole face together — hat on, ears in place — before I call it finished. Sometimes what looks level up close shifts once the hat’s tilt is factored in, so it’s worth one last check with everything assembled.
If you want to play with the palette, this one adapts beautifully — try a deep purple hat instead of orange for a more mystical look, or swap the black body for a soft charcoal gray if you want something a little less spooky and a little more everyday-adorable.
Chloe’s Final Look on This Halloween Black Cat Amigurumi Pattern
I’ve had this little witch cat sitting on my desk for days now and I still smile every time I look over at her. That glossy stare, the tiny black stripe on the hat, the whiskers tilted just so — it’s such a small project with so much personality packed in. Try making a little coven of them in different hat colors and lining them up on a shelf for the season. 🩷
FAQ
What yarn is best for this halloween black cat amigurumi pattern?
A fine, smooth Light (3) weight yarn (like DK or Light Worsted) works best to give the black cat crisp stitch definition and a neat texture.
How long does it take to crochet this black cat?
It generally takes about 4 to 6 hours to complete, making it a great weekend project for intermediate crocheters.
What hook size is needed for this pattern?
You will need a very fine 1.5 mm steel crochet hook to keep the stitches tight and prevent the stuffing from showing through the black yarn.