Cute Bunny Amigurumi — Free Crochet Pattern with Outfit
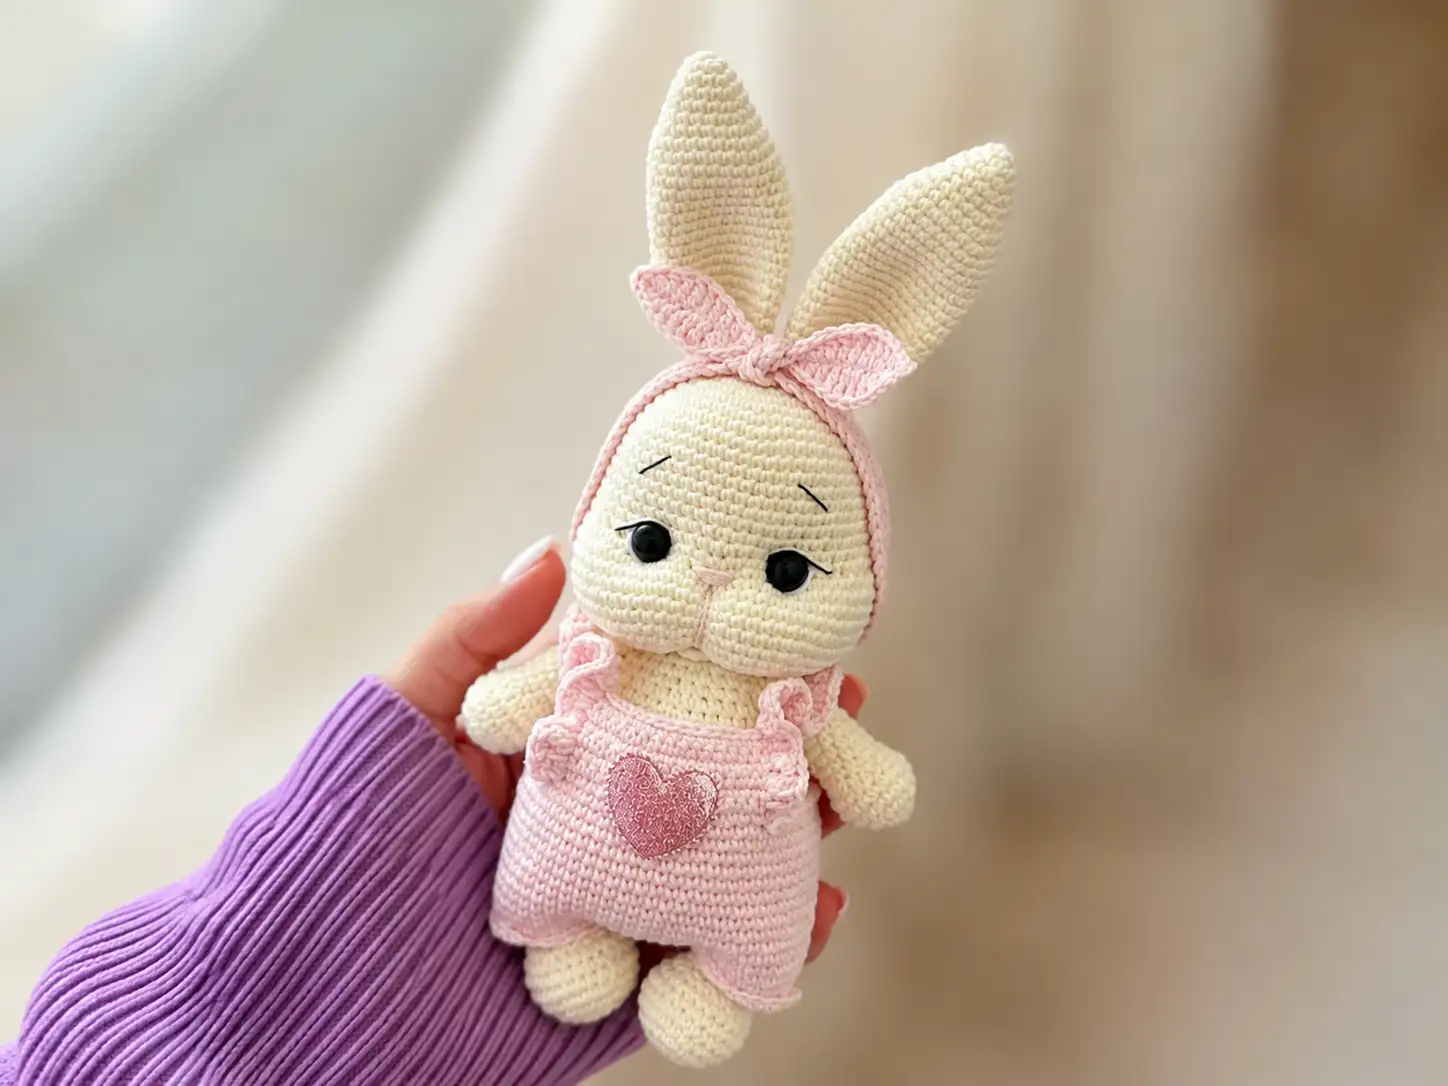
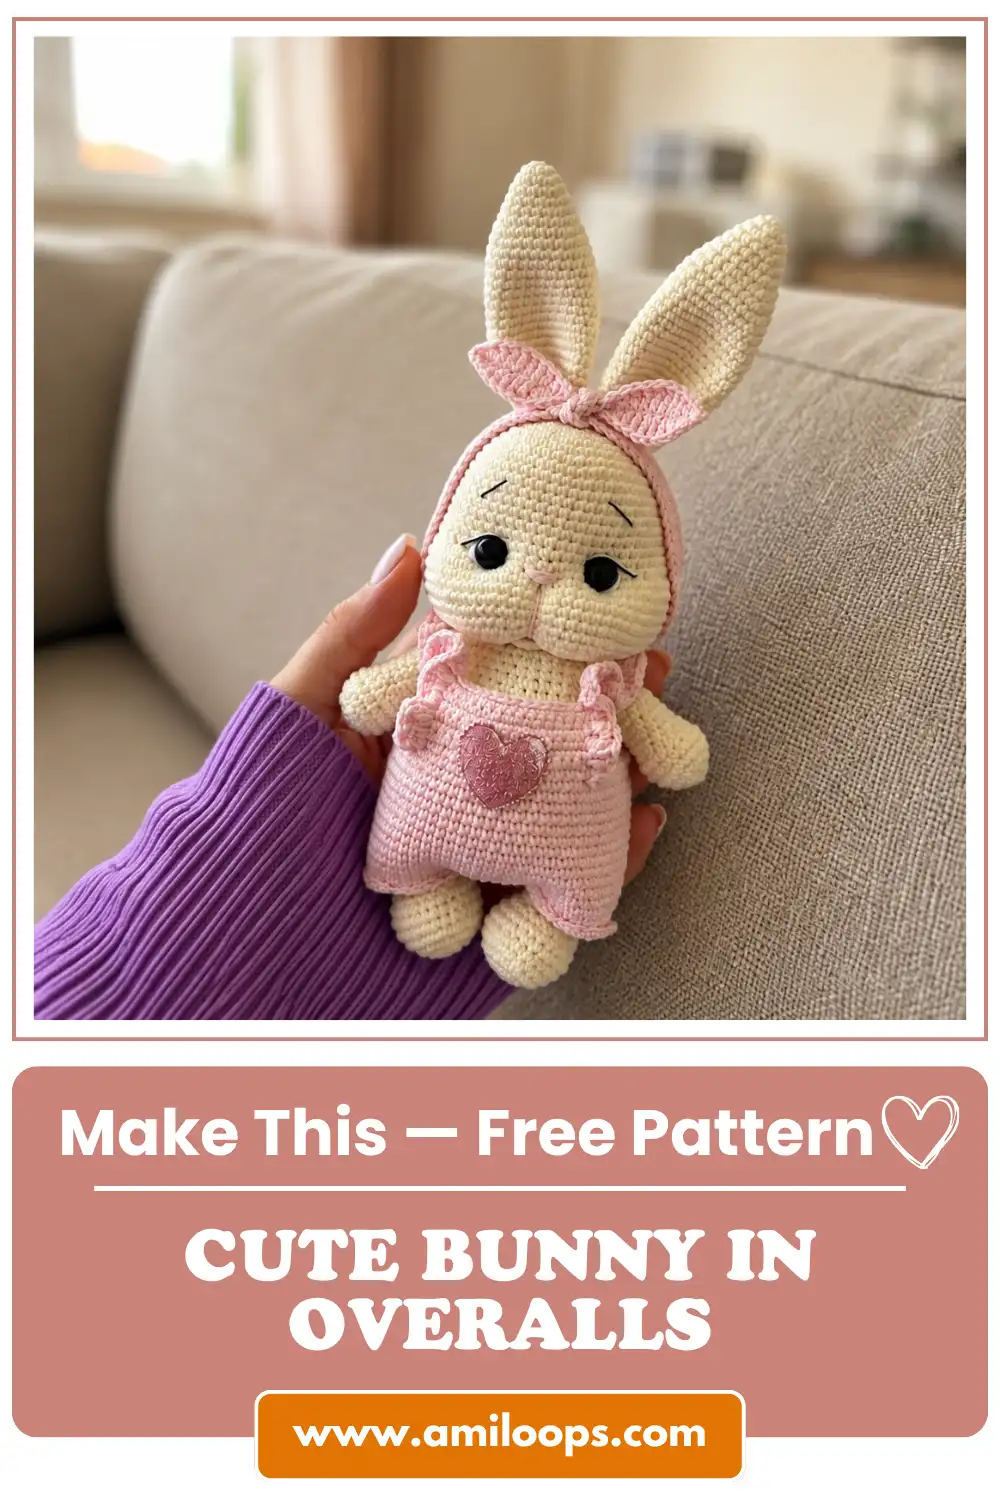
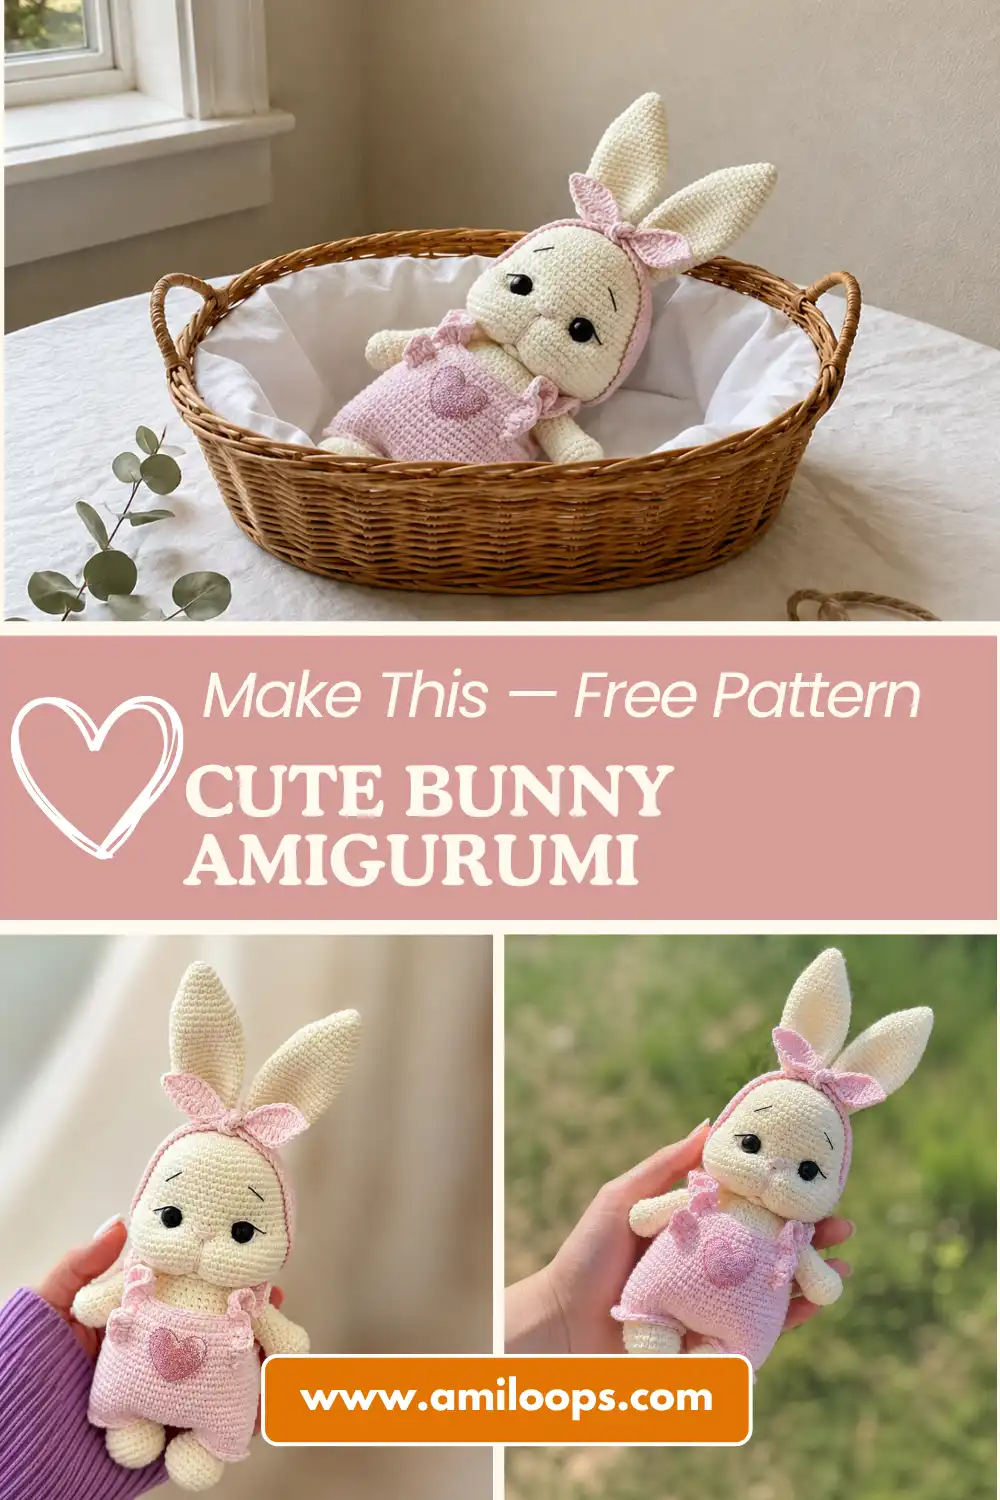
This cute bunny amigurumi free pattern has been three months and four frogged ears in the making, and I’m thrilled to finally share her with you. Every stitch count in this cute bunny amigurumi free pattern has been checked twice, complete with her own tiny T-shirt and overalls. She’s got long floppy ears and plump cheeks, worth every frogged attempt. Grab your hook, and let’s get started.
📋 Pattern Quick Stats
- Difficulty: Intermediate (editorially assessed — not stated in the source pattern)
- Finished Size: approximately 8.7 in (without ears)
- Hook Size: 2.0mm steel hook (finer than the standard US letter range — no direct US letter equivalent)
- Yarn Weight: DK / Light Worsted (3) for the body; Lace/Thread (0) black yarn for facial embroidery
- Techniques: magic ring, increase, invisible decrease, continuous rounds, joined rounds (overalls), safety eyes, sewing parts, basic garment construction (dc, hdc)
- Estimated Time: 8-12 hours (editorially assessed — not stated in the source pattern)
Materials You’ll Need for This Cute Bunny Amigurumi Free Pattern
This bunny amigurumi comes together in two yarn weights, so gather your supplies before you sit down with your hook.
- Main yarn: A DK / Light Worsted (3) weight cotton-acrylic blend, such as Drops Muskat or Paintbox Cotton DK, in three colors — the source pattern references shade groups #03/#74 (Color A), #05/#75 (Color B), and #62 for the eye whites. The original pattern doesn’t specify which color goes where on the bunny, so I’d treat Color A as your main body/head shade and Color B as your accent (ears, clothing) unless you’d rather mix it up.
- Black embroidery yarn: A comparable size 0 / lace-weight black cotton thread (the source calls for YarnArt IRIS #935) for the nose, eyelids, eyelashes, and eyebrows. This fine-weight thread is worth checking for at Joann, Michaels, or Hobby Lobby.
- Hook: 2.0mm steel hook for the main pieces.
- Stuffing: Polyester fiberfill (Poly-Fil by Fairfield works beautifully here).
- Safety eyes: 12mm, one pair.
- Button: One 15mm button for the T-shirt closure (or substitute with ties — I’ve included both options below).
- Stitch marker: Essential for tracking your rounds — this isn’t explicitly listed in the source, but I never start amigurumi without one.
- Tweezers: For stuffing the small parts (arms, legs) evenly.
- Tapestry needle for sewing, plus a regular sewing needle for the facial embroidery.
- Scissors and, optionally, a lighter for sealing synthetic yarn ends (use caution and good ventilation if you go this route).
The main yarn falls into the DK / Light Worsted (3) category on the Craft Yarn Council yarn weight system, while the embroidery thread sits down at Lace/Thread (0) — a big difference in thickness, so don’t mix them up mid-project.
Note: the source pattern doesn’t specify total yardage for any of the yarns. I’d recommend having a generous supply of your main color on hand, since this bunny has quite a few parts.
Abbreviations
| Abbreviation | Meaning |
|---|---|
| mr | magic ring |
| sc | single crochet |
| inc | increase (2 sc in same stitch) |
| inv dec | invisible decrease |
| dc | double crochet |
| dc-inc | double crochet increase (2 dc in same stitch) |
| hdc | half double crochet |
| ch | chain |
| sl st | slip stitch |
Special Techniques Used in This Pattern
This bunny amigurumi uses a handful of techniques that are worth reviewing before you begin, especially if you’re newer to amigurumi.
Every part starts with a magic ring — it closes completely and keeps your center tight, which matters a lot on a piece with this many rounds. If you need a refresher, our step-by-step magic ring tutorial walks through it slowly.
I’ve converted every decrease in the original pattern to an invisible decrease. The source pattern calls for a standard “dec,” but I always use the invisible method in my own work — it eliminates that visible gap you get with a regular decrease, and it doesn’t change a single stitch count. If invisible decrease is new to you, our invisible decrease tutorial covers the technique in detail.
Because this pattern makes a fairly large head, take your time with the stuffing — I’ll flag the exact point in the pattern where you should start. Our guide to stuffing amigurumi without lumps is a good companion for this project.
The overalls are worked a little differently than the rest of the bunny — instead of continuous rounds, you’ll join at the end of each round with a slip stitch. If you’re not sure why or how that’s different, our continuous vs. joined rounds tutorial explains it well.
💡 Emma’s Tip: This isn’t a beginner project — between the fine embroidery thread, the safety eye placement, and two separate garments, give yourself more than one sitting to finish her properly.
Crochet Pattern: Cute Bunny Amigurumi Free Pattern, Part by Part
Lip (Mouth) — make 1
Starting method: mr
Row 1: 6 sc in mr (6)
💡 Emma’s Tip: After you close the ring, take your tapestry needle and work a couple of small stitches through the back to nudge the center of this little piece into place. It keeps the mouth sitting flush instead of puckering when you sew it onto the head later.
Head — make 1
Starting method: mr
Row 1: 6 sc in mr (6)
Row 2: 6 inc (12)
Row 3: (1 sc, inc) ×6 (18)
Row 4: (2 sc, inc) ×6 (24)
Row 5: (3 sc, inc) ×6 (30)
Row 6: (4 sc, inc) ×6 (36)
Row 7: (5 sc, inc) ×6 (42)
Row 8: (6 sc, inc) ×6 (48)
Row 9: (7 sc, inc) ×6 (54)
Rows 10-21: 54 sc (10 rows) (54)
Row 22: 10 sc, (1 sc, inc) ×6, 10 sc, (inc, 1 sc) ×6, 10 sc (66)
After this row: place your stitch marker at the back, in the middle.
Rows 23-27: 66 sc (5 rows) (66)
After this row: insert your 12mm safety eyes now, spaced 10 sc apart, between rows 19 and 20 — use the increases from rows 3-9 as your guide, placing the eyes just above the first and last increase of that section.
Row 28: (9 sc, inv dec) ×6 (60)
Row 29: (8 sc, inv dec) ×6 (54)
Row 30: (7 sc, inv dec) ×6 (48)
Row 31: (6 sc, inv dec) ×6 (42)
Row 32: (5 sc, inv dec) ×6 (36)
Row 33: (4 sc, inv dec) ×6 (30)
Row 34: (3 sc, inv dec) ×6 (24)
💡 Emma’s Tip: Start stuffing firmly now. Work from the center out to the sides first, then fill the center — and give real attention to the cheeks, shaping them until they’re perfectly plump. If you plan to sew the head onto the body rather than closing it separately, fasten off here and leave a long tail for sewing. If you’d rather close the head completely first, keep going with rows 35-37 below.
Row 35: (2 sc, inv dec) ×6 (18)
Row 36: (1 sc, inv dec) ×6 (12)
Row 37: 6 inv dec (6)
Finishing: Close the opening, fasten off, cut yarn, weave in ends.
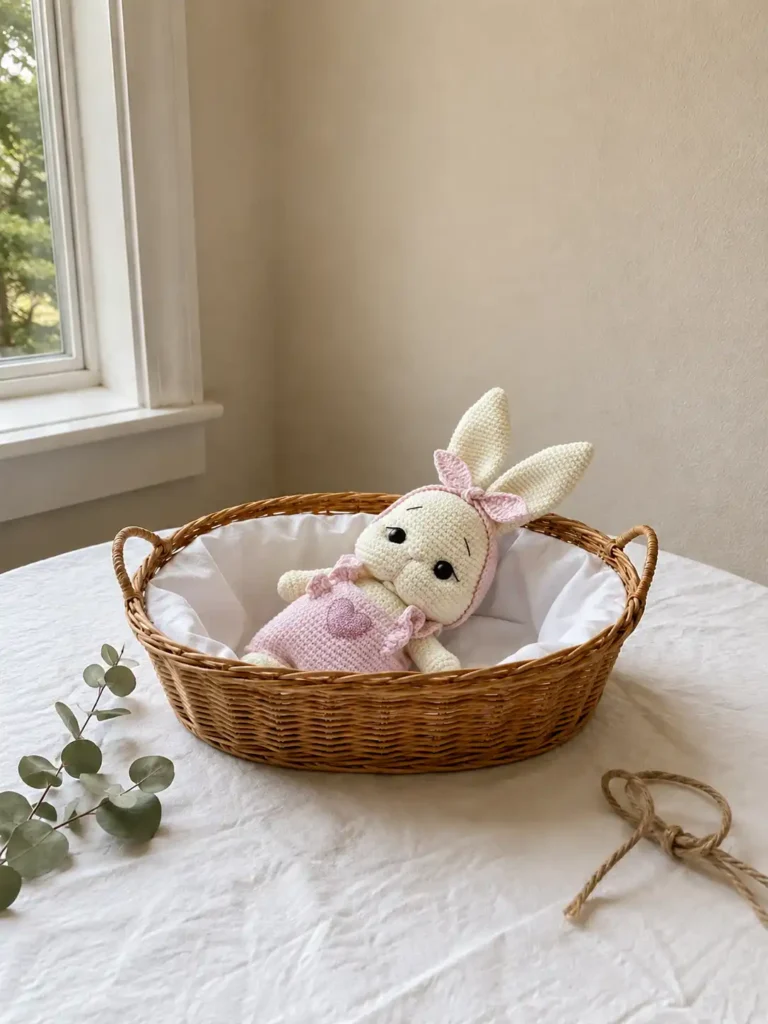
Ears — make 2
Starting method: mr
Row 1: 6 sc in mr (6)
Row 2: 6 inc (12)
Row 3: 12 sc (12)
Row 4: (5 sc, inc) ×2 (14)
Row 5: 14 sc (14)
Row 6: (6 sc, inc) ×2 (16)
Row 7: 16 sc (16)
Row 8: (7 sc, inc) ×2 (18)
Row 9: 18 sc (18)
Row 10: (8 sc, inc) ×2 (20)
Row 11: 20 sc (20)
Row 12: (9 sc, inc) ×2 (22)
Row 13: 22 sc (22)
Row 14: (10 sc, inc) ×2 (24)
Rows 15-24: 24 sc (10 rows) (24)
Row 25: (10 sc, inv dec) ×2 (22)
Row 26: (9 sc, inv dec) ×2 (20)
Row 27: (8 sc, inv dec) ×2 (18)
Row 28: (7 sc, inv dec) ×2 (16)
Finishing: Fold the ear flat and single crochet through both loops to close the last round, then work single crochet around the outer edge for a clean, tidy finish. (The source instructions here were brief — “crochet through both loops, and the edges” — so this is my best interpretation using the standard amigurumi ear-finishing method.)
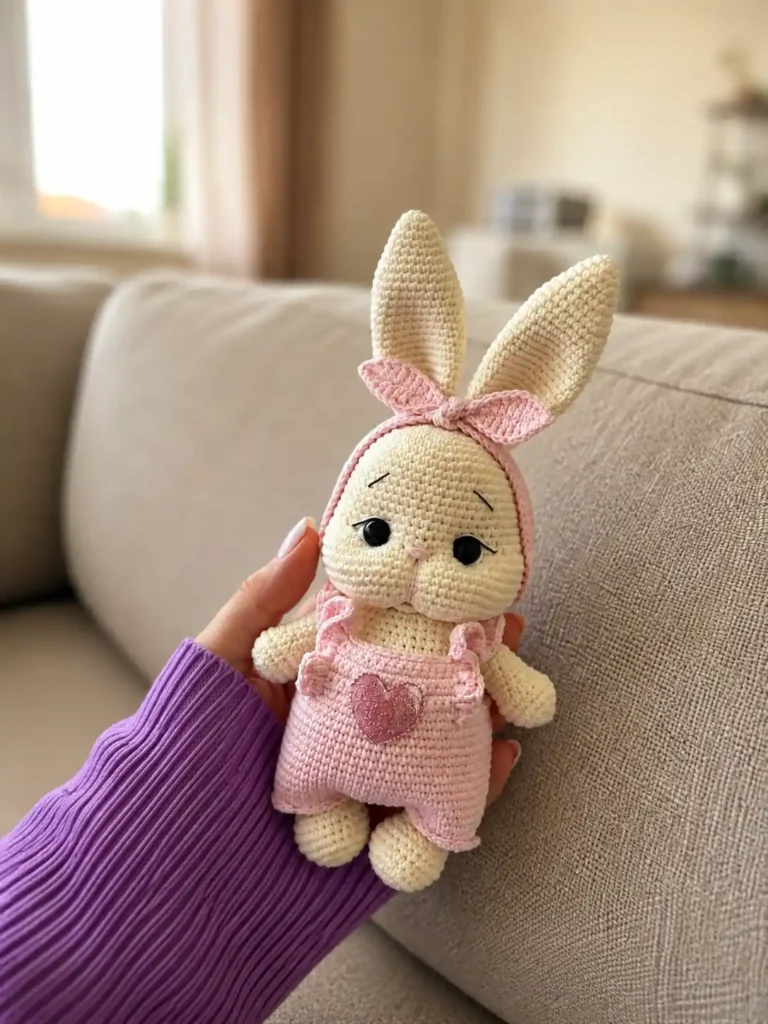
Body — make 1
Starting method: mr
Row 1: 6 sc in mr (6)
Row 2: 6 inc (12)
Row 3: (1 sc, inc) ×6 (18)
Row 4: (2 sc, inc) ×6 (24)
Row 5: (3 sc, inc) ×6 (30)
Row 6: (4 sc, inc) ×6 (36)
Row 7: (5 sc, inc) ×6 (42)
Row 8: (6 sc, inc) ×6 (48)
Row 9: (7 sc, inc) ×6 (54)
Row 10: (8 sc, inc) ×6 (60)
Rows 11-17: 60 sc (7 rows) (60)
Row 18: (8 sc, inv dec) ×6 (54)
Row 19: 54 sc (54)
Row 20: (7 sc, inv dec) ×6 (48)
Row 21: 48 sc (48)
Row 22: (6 sc, inv dec) ×6 (42)
Rows 23-24: 42 sc (2 rows) (42)
Row 25: (5 sc, inv dec) ×6 (36)
Rows 26-27: 36 sc (2 rows) (36)
Row 28: (4 sc, inv dec) ×6 (30)
Rows 29-30: 30 sc (2 rows) (30)
Row 31: (3 sc, inv dec) ×6 (24)
Row 32: 24 sc (24)
💡 Emma’s Tip: Begin stuffing the body once you’re a few rows past the widest point, and keep it dense — this bunny needs to hold her shape under her T-shirt.
Finishing: Fasten off, cut yarn, leaving approximately 10-12 in for sewing. (The source specifies 25-30 cm; converted to US measurement here.)
Arms — make 2
Starting method: mr
Row 1: 6 sc in mr (6)
Row 2: 6 inc (12)
Row 3: (1 sc, inc) ×6 (18)
Rows 4-6: 18 sc (3 rows) (18)
Row 7: 6 inv dec, 6 sc (12)
Rows 8-17: 12 sc (10 rows) (12)
Finishing: Using tweezers, stuff to about two-thirds full, fold in half, and single crochet 6 sc through both loops to close. Leave a yarn tail for sewing.
Legs — make 2
Starting method: mr
Row 1: 6 sc in mr (6)
Row 2: 6 inc (12)
Row 3: (1 sc, inc) ×6 (18)
Row 4: (2 sc, inc) ×6 (24)
Rows 5-8: 24 sc (4 rows) (24)
Row 9: 9 inv dec, 6 sc (15)
Rows 10-19: 15 sc (10 rows) (15)
Finishing: Using tweezers, stuff to about two-thirds full, fold in half, and single crochet 7 sc through both loops to close. Leave a yarn tail for sewing.
T-Shirt — make 1
Starting method: ch 31, ch 1, turn
Row 1: 30 sc, ch 2 (30)
Row 2: (1 dc, dc-inc) repeat to end of row, ch 2 (45)
Row 3: (2 dc, dc-inc) repeat to end of row, ch 1 (60)
Row 4: 10 sc, ch 6, skip 9 dc, 22 sc, ch 6, skip 9 dc, 10 sc (54)
(Row 4 forms the armholes — the chain-6 spaces skip over 9 stitches on each side.)
Row 5: 54 dc, ch 2 (54)
Row 6: 54 dc, ch (54)
Finishing: Crochet the edge and form loops for the button: 1 sc, ch 3, skip 3 ch, 3 sc, ch 3, skip 3 ch, 1 sc. Fasten off, cut yarn. Sew the 15mm button opposite the loop. If you’d rather skip the button, replace it with ties — chain 55, attach the yarn to the T-shirt, work 30 sc, then chain another 55.
Overalls — make 1
Starting method: ch 62, join to work in joined rounds
Rows 1-3: 62 sc (3 rounds, joined) (62)
Rows 4-11: 62 hdc (8 rounds, joined) (62)
Row 12: 62 sc (62)
Front bib: Attach yarn and work 12 sc (the first sc goes into the same stitch where you attached the yarn), ch 1, turn, 12 sc, ch 1, turn, 12 sc. Fasten off, cut yarn.
Back bib and straps: Attach yarn and work 12 sc (first sc into the same stitch where attached), ch 1, turn, 12 sc, ch 1, turn, 12 sc — but this time, don’t cut the yarn. For the straps: chain 17 (try the overalls on your bunny first, since sizing can vary — add or remove chains as needed), attach to the front bib and work 12 sl st along the top edge, then chain 17 again, attach to the back bib, and work 12 sl st. Fasten off, cut yarn.
Edging: Attach yarn at the back, at the point where you started the bib, and work a round of slip stitches around the raw edge, working in the same direction as your original rounds. Repeat on the other side.
Girl’s version (ruffled straps): For a ruffled look, follow the same bib and strap construction, but instead of slip-stitching along the straps, alternate a 2-dc increase and a 3-dc increase into each stitch. The sides are worked the same as the original version, with slip stitch. Try the overalls on your bunny, straighten everything out, and sew the bottom gusset between the legs neatly so the overalls stay removable. (The source note here mentions closing this seam with “7 stitches” — the exact placement wasn’t fully clear in translation, so use your judgment and try the overalls on as you sew.)
Finishing: Fasten off, cut yarn.
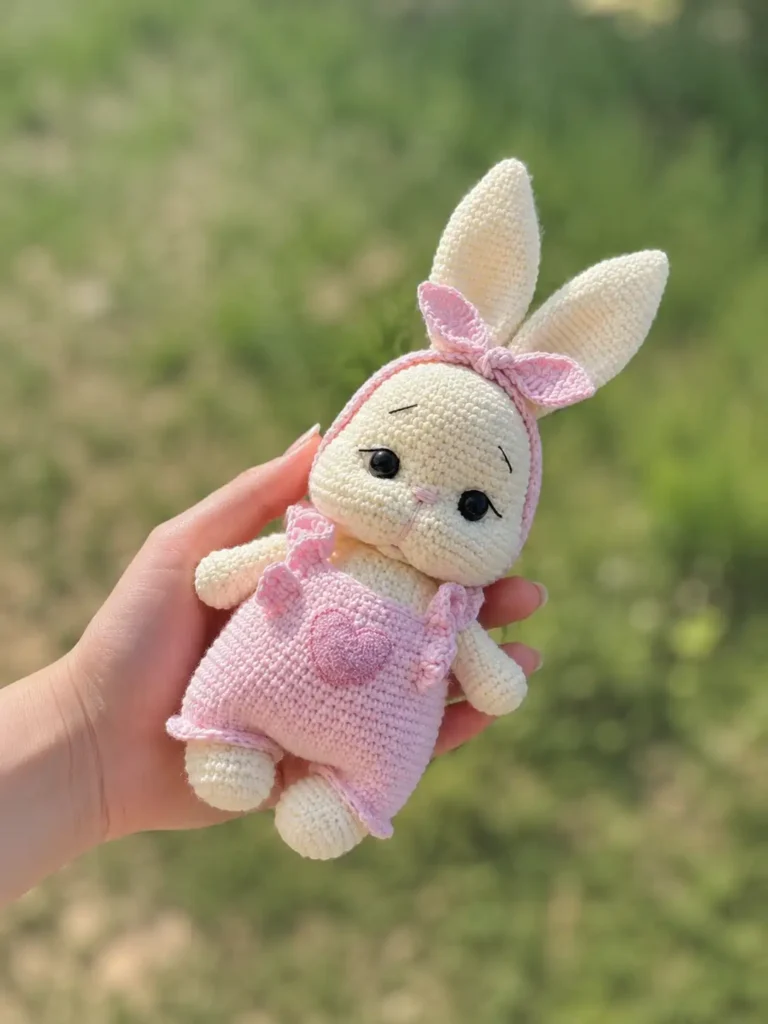
Assembly
- If you closed the head separately, embroider the face details now before attaching it (see Decoration below).
- Sew the head to the body.
- Sew the arms and legs to the body.
- Sew the ears to the head.
- Dress your bunny in her T-shirt and overalls.
For a refresher on getting clean, secure seams, our guide to sewing amigurumi parts together is worth a look before you start pinning everything in place.
Finishing & Details
Once your bunny is assembled, it’s time for her face. Gently indent where the eyes and nose sit — however feels natural to you — then use your fine black thread to embroider the nose, the whites of the eyes, the eyelids, eyelashes, and eyebrows.
💡 Emma’s Tip: Because the safety eyes and the button are both small parts, this piece is best suited as a display or collector’s amigurumi rather than a toy for very young children. If safety eyes for a child’s toy are your goal, take a look at the U.S. Consumer Product Safety Commission’s toy safety guidance before you decide on final placement and hardware.
Emma’s Note on This Cute Bunny Amigurumi Free Pattern
I frogged this bunny’s ears more times than I’d like to admit before I got the shaping right, and honestly, that’s just how it goes sometimes — if your count is off, don’t panic, just frog back to the last correct round. What I love most about this project is the little outfit; there’s something about a tiny T-shirt and overalls that makes a finished piece feel so much more like a character. If you enjoyed making her, you might also like my amigurumi bunny plush pattern or this other bunny amigurumi pattern for your next project. Happy hooking! 🧶
FAQ
What yarn is best for this cute bunny amigurumi free pattern?
A DK or Light Worsted (3) cotton-acrylic blend works beautifully for the body and clothes, providing great stitch definition. You will also need a Lace-weight black thread for the fine facial embroidery.
How long does it take to crochet this bunny?
This is an intermediate-level project with several parts and detailed garments. Expect it to take around 8 to 12 hours of total crocheting and assembly time.
Are safety eyes safe for baby toys?
Safety eyes can pose a choking hazard for very young children and babies. If you are making this bunny as a baby toy, it is highly recommended to embroider the eyes directly onto the face instead.