Crochet Acorn Amigurumi Pattern with a Bobble Cap and Oak Leaf
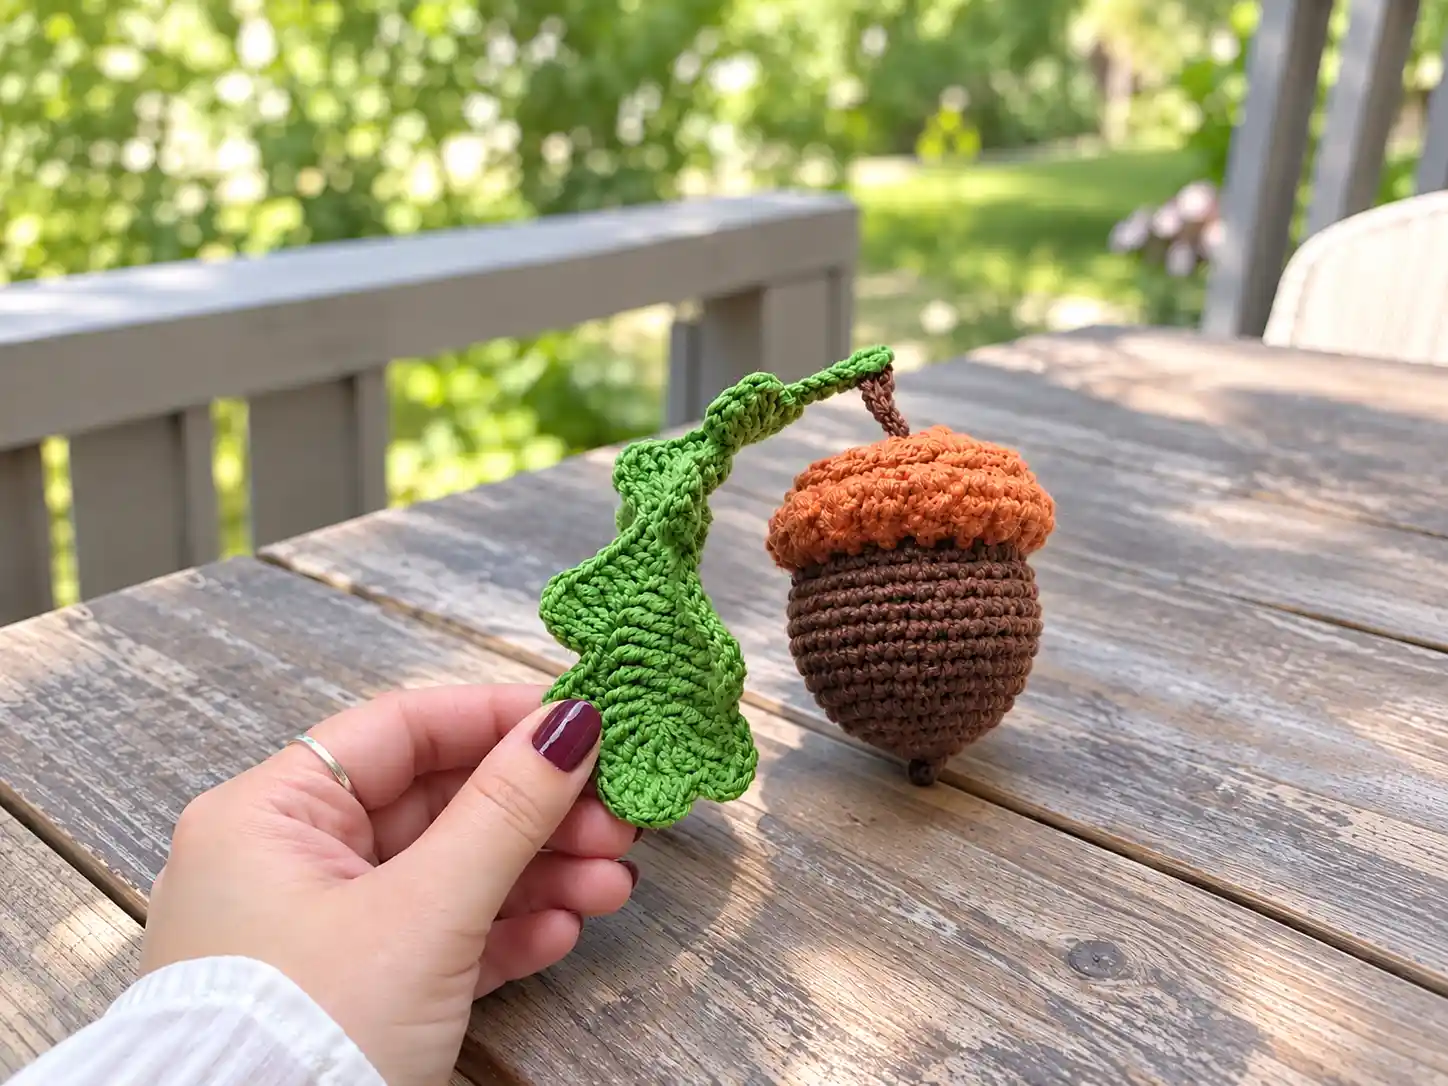
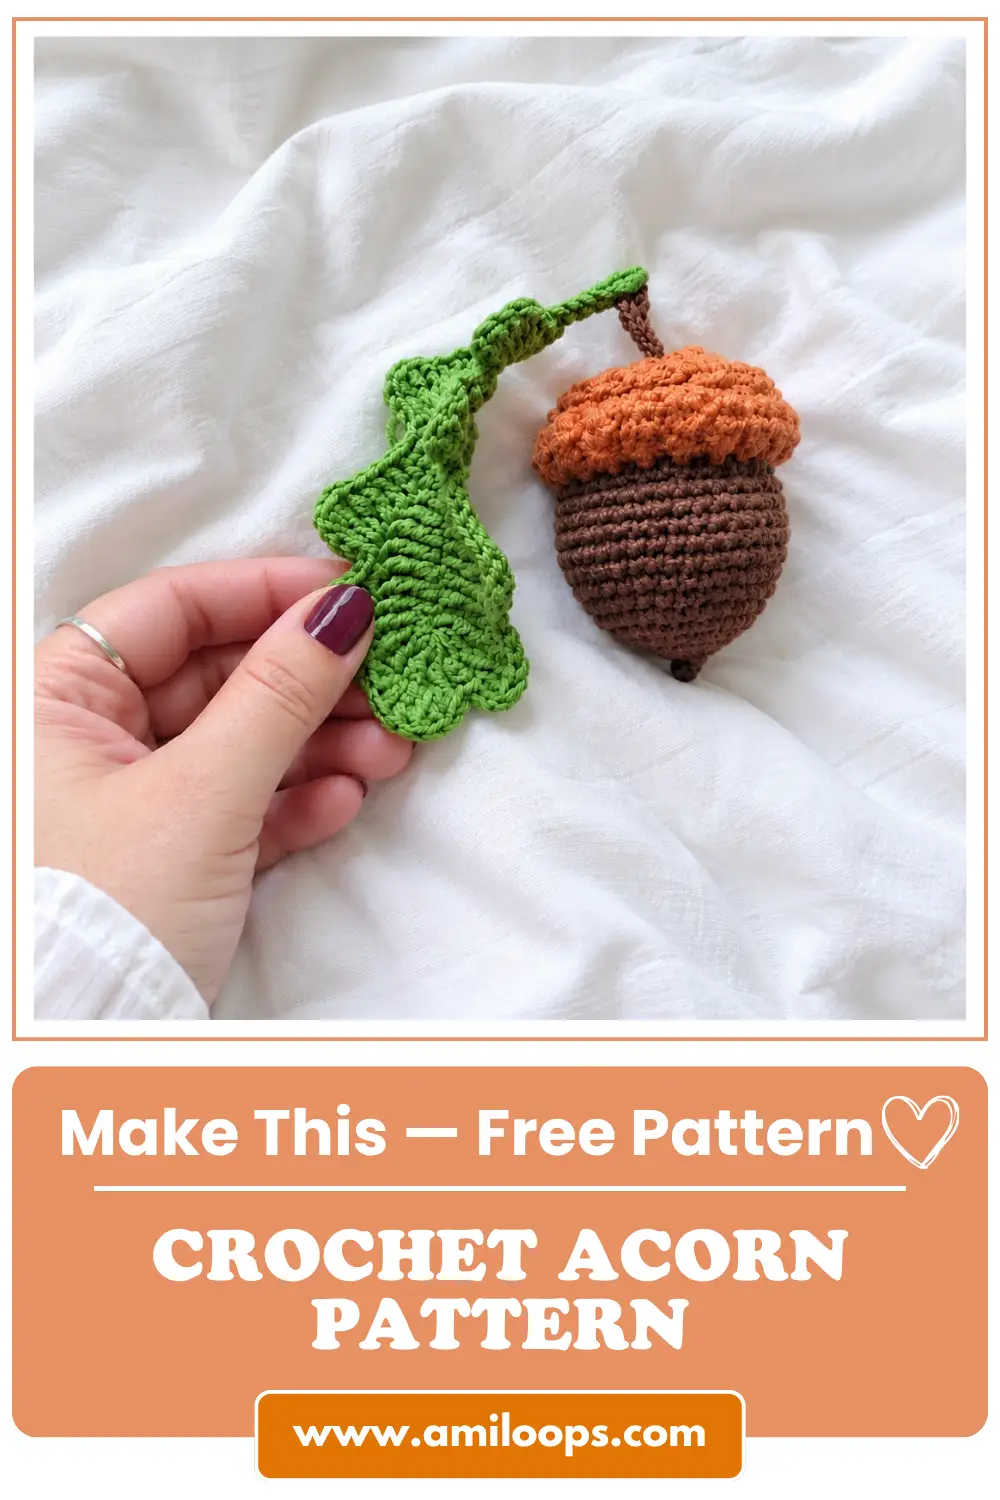
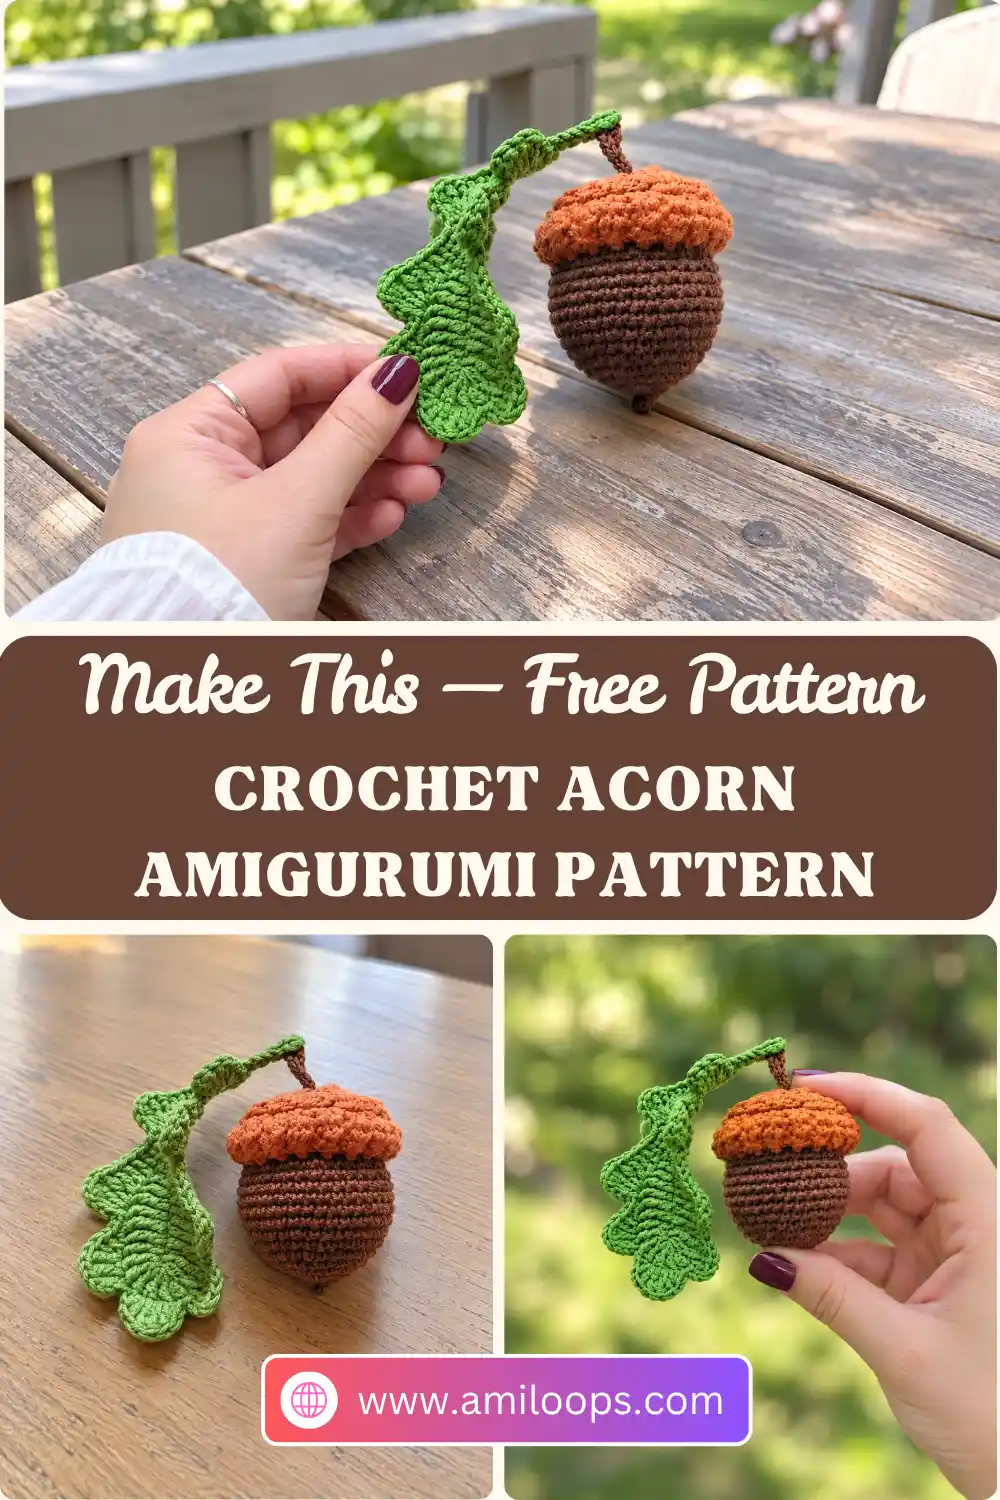
This crochet acorn pattern pairs a bumpy, bobble-textured cap with a smooth, rounded nut. Rows of puffy bobbles give the cap plenty of texture, while plain single crochet rounds build the full, round body below. It’s a small, tactile project that fits right in with fall and woodland makes, and the pattern adds an oak leaf worked from a chart.
You work two pieces in the round from a magic ring, and each one ends with 36 stitches. The Top Part (the cap) alternates bobble rounds with single crochet rounds. The Bottom Part (the nut) saves its starting tail for a small finishing detail: a short chain worked through the center of its magic ring. Then you stuff the acorn and sew the two pieces together.
Materials Abbreviations Top Part Bottom Part Finishing Leaf FAQ
Before your first stitch: both pieces finish at the same count. The Top Part ends Rnd 7 with 36 sts, and the Bottom Part keeps 36 sts through Rnds 8–13. Checking your totals as you go makes the final seam much easier to line up.
Save the tail: the Bottom Part begins with a 15 cm (about 6 in) starting tail. Leave it hanging free, because you’ll use it during finishing.
What you’ll need
- Yarn for the cap and the nut, plus yarn for the leaf if you make it. The pattern photo shows a ginger-orange cap, a brown nut and a green leaf.
- A crochet hook that suits your yarn
- Stuffing
- A yarn needle for sewing the pieces together
- Scissors
Abbreviations (US terms)
| Abbreviation | Meaning |
|---|---|
| ch | chain |
| sl st | slip stitch |
| sc | single crochet |
| hdc | half double crochet |
| dc | double crochet |
| tr | treble (triple) crochet; the leaf chart’s US key writes it as trc |
| st(s) | stitch(es) |
| rnd(s) | round(s) |
| inc | increase: 2 sc in the same st |
| bobble | 4 dc worked together in the same st: work 4 unfinished dc in one st, then yarn over and pull through all 5 loops on the hook |
| [ ] X times | repeat the instructions in brackets the stated number of times |
If you’re more used to UK terms, the Craft Yarn Council’s list of standard crochet abbreviations compares US and UK stitch names side by side.
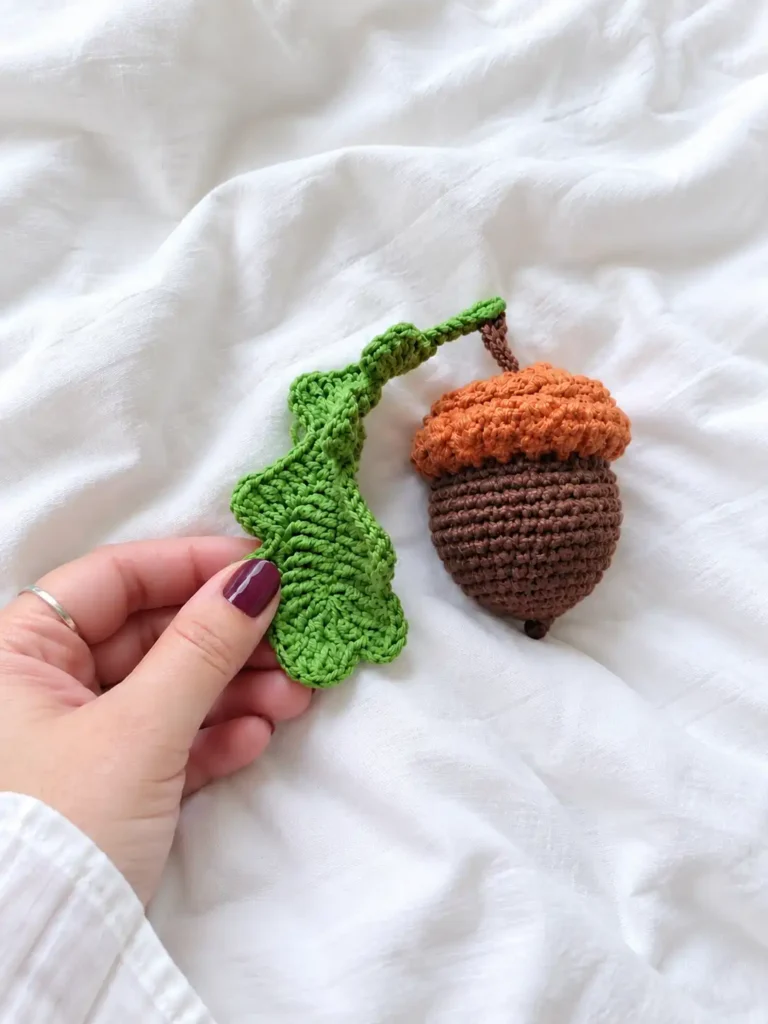
Top Part: the Cap
Both pieces start with six single crochets in a magic ring. If you’d like a refresher, see how to crochet the magic ring step by step.
Rnd 1: 6 sc in a magic ring (6 sts).
How the bobble works: work 4 dc into the same stitch, but stop each one before its final pull-through. You’ll have 5 loops on the hook. Yarn over and pull through all 5 to close the cluster into one puffy stitch. In Rnd 2, the bobble and the hdc go into the same stitch. That pair turns 6 stitches into 12.
Rnd 2: [Bobble and hdc in the same st] 6 times (12 sts).
Counting bobbles: each bobble counts as one stitch. In Rnd 3, work an inc into each of the 12 stitches from Rnd 2, including the top of every bobble and every hdc.
Rnd 3: Inc in each st around (24 sts).
Rnd 4: [Bobble in the next st, hdc in the next st] 12 times (24 sts).
Rnd 5: [Sc in the next st, inc] 12 times (36 sts).
Rnd 6: [Hdc in the next st, bobble in the next st] 18 times (36 sts).
Rnd 7: Sc in each st around (36 sts).
Fasten off.
A helpful look: bobbles usually puff out more on one face of the fabric than on the other. Before you stuff and sew, check both sides of the finished cap so you can pick the face you want on the outside.
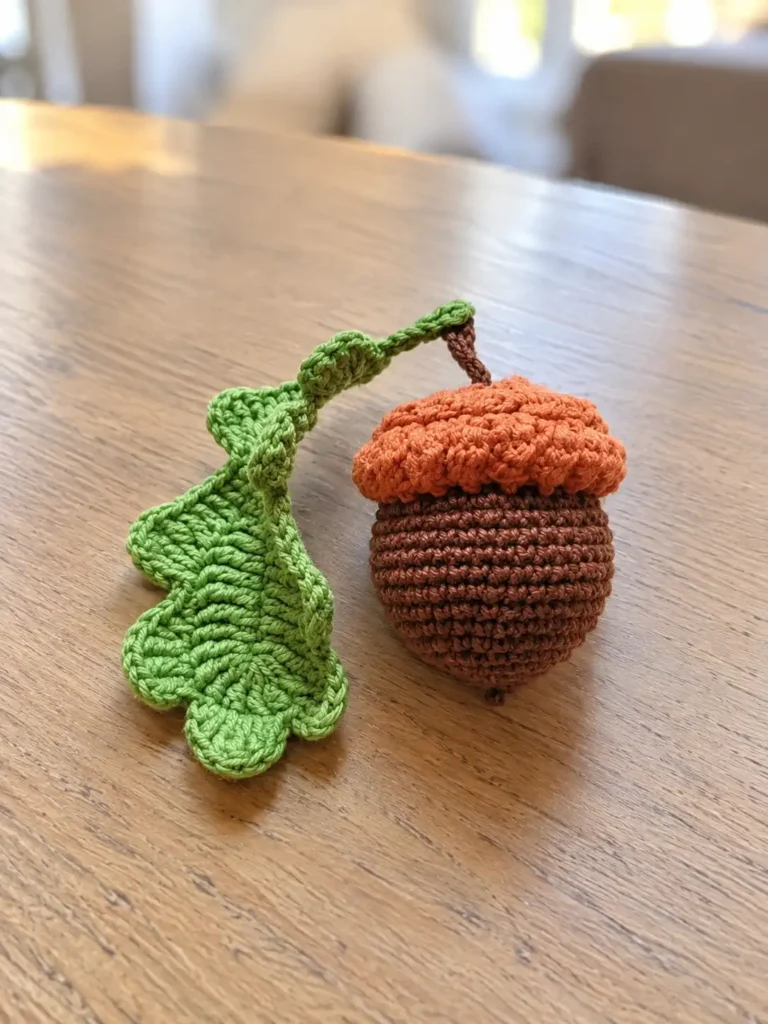
Bottom Part: the Nut
Leave a 15 cm (about 6 in) starting tail.
Rnd 1: 6 sc in a magic ring (6 sts).
Rnd 2: Inc in each st around (12 sts).
Rnd 3: [Sc in the next st, inc] 6 times (18 sts).
Rnd 4: [Sc in the next 2 sts, inc] 6 times (24 sts).
Rnd 5: [Sc in the next 3 sts, inc] 6 times (30 sts).
Rnd 6: Sc in each st around (30 sts).
Rnd 7: [Sc in the next 4 sts, inc] 6 times (36 sts).
Rnds 8–13: Sc in each st around (36 sts). That’s 6 rounds in total.
Fasten off.
Finishing
The starting tail you saved on the Bottom Part now becomes a small chain detail at the center of its magic ring, the tip of the nut. After that, the acorn is stuffed and the two pieces are sewn together.
- Go back to the 15 cm (about 6 in) starting tail of the Bottom Part. Bring it out to the right side through the center of the magic ring.
- Ch 3 with that tail.
- Push the yarn back into the center of the ring to hide it.
- Stuff and sew the pieces together.
Stuffing and joining: add stuffing evenly so the round shape stays smooth. This guide on how to stuff amigurumi without lumps covers the basics. Both edges have 36 stitches, so you can line them up stitch for stitch. Sew them with a yarn needle, using the method in how to sew amigurumi parts together. If you’d like a sewing tail ready ahead of time, leave a longer end when you fasten off either piece.
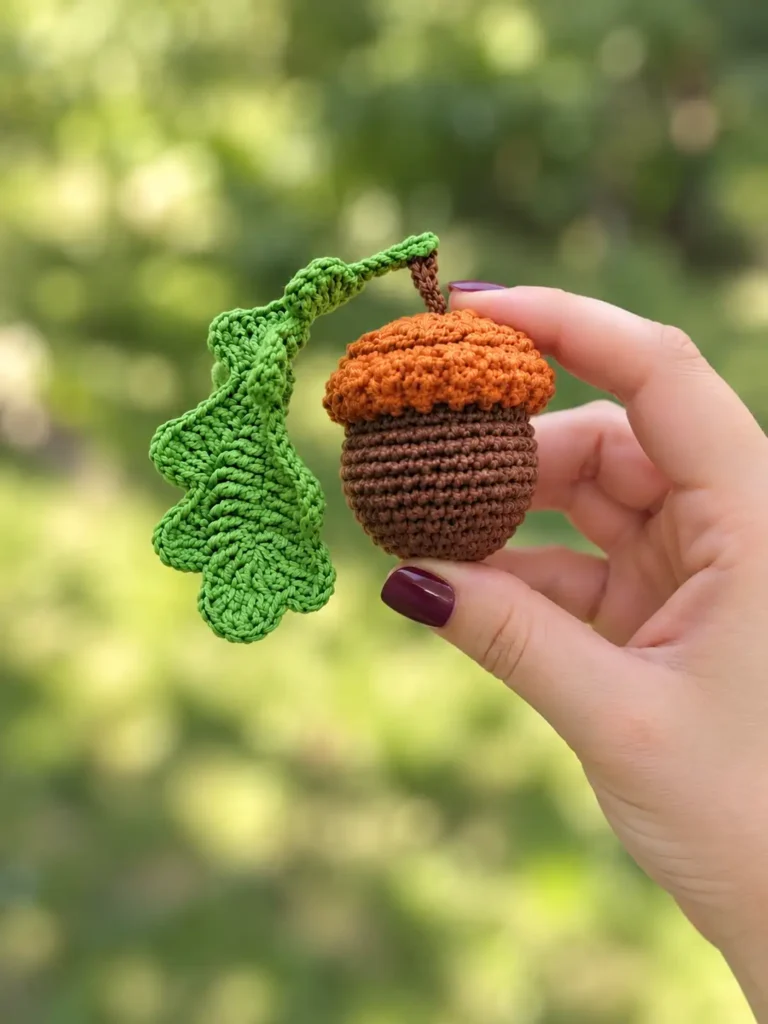
Oak Leaf
The leaf is worked from a chart rather than written rounds. It’s built on a foundation chain that forms the central vein. Row 1, drawn in red, runs along both sides of that chain: it starts with single crochet near the base, moves up through hdc, dc and tr, and fans around the tip. Row 2, drawn in black, shapes the scalloped edge. Each side lobe starts from a slip stitch and a short chain, then steps down through shorter stitches to a single crochet. A short chain stem sits at the base of the leaf.
Draft note: the leaf chart image goes here before publishing.
Chart key:
- Oval (0): ch
- Dot (•): sl st
- Cross (+): sc
- Plain T: hdc
- T with one diagonal bar across the stem: dc
- T with two diagonal bars across the stem: tr (trc on the chart’s US key)
If you’re new to working from diagrams, the Craft Yarn Council’s guide to standard crochet chart symbols shows how common stitches are usually drawn. Always follow the key that comes with the chart itself.
The acorn is finished!
Questions about this acorn
Does a bobble count as one stitch in this pattern?
Yes. The stitch totals count each bobble as one stitch. For example, Rnd 4 of the Top Part is [Bobble in the next st, hdc in the next st] 12 times, which gives 24 sts.
How do I work Rnd 3 of the Top Part after a bobble round?
Work an inc (2 sc in the same st) into each of the 12 stitches from Rnd 2. That means one inc in the top of each bobble and one in each hdc, for 24 sts.
What is the 15 cm starting tail on the Bottom Part for?
You use it during finishing. Bring the tail out to the right side through the center of the magic ring, ch 3, and then push the yarn back into the center of the ring to hide it.
How do the two pieces fit together?
Both pieces end with 36 stitches: the Top Part after Rnd 7 and the Bottom Part through Rnds 8–13. Stuff the acorn and sew the pieces together along those edges.
How do I tell dc from tr on the leaf chart?
Both look like a T. A dc has one diagonal bar across its stem, and a tr has two. A plain T with no bar is an hdc.