Barsik the Cat Amigurumi Pattern
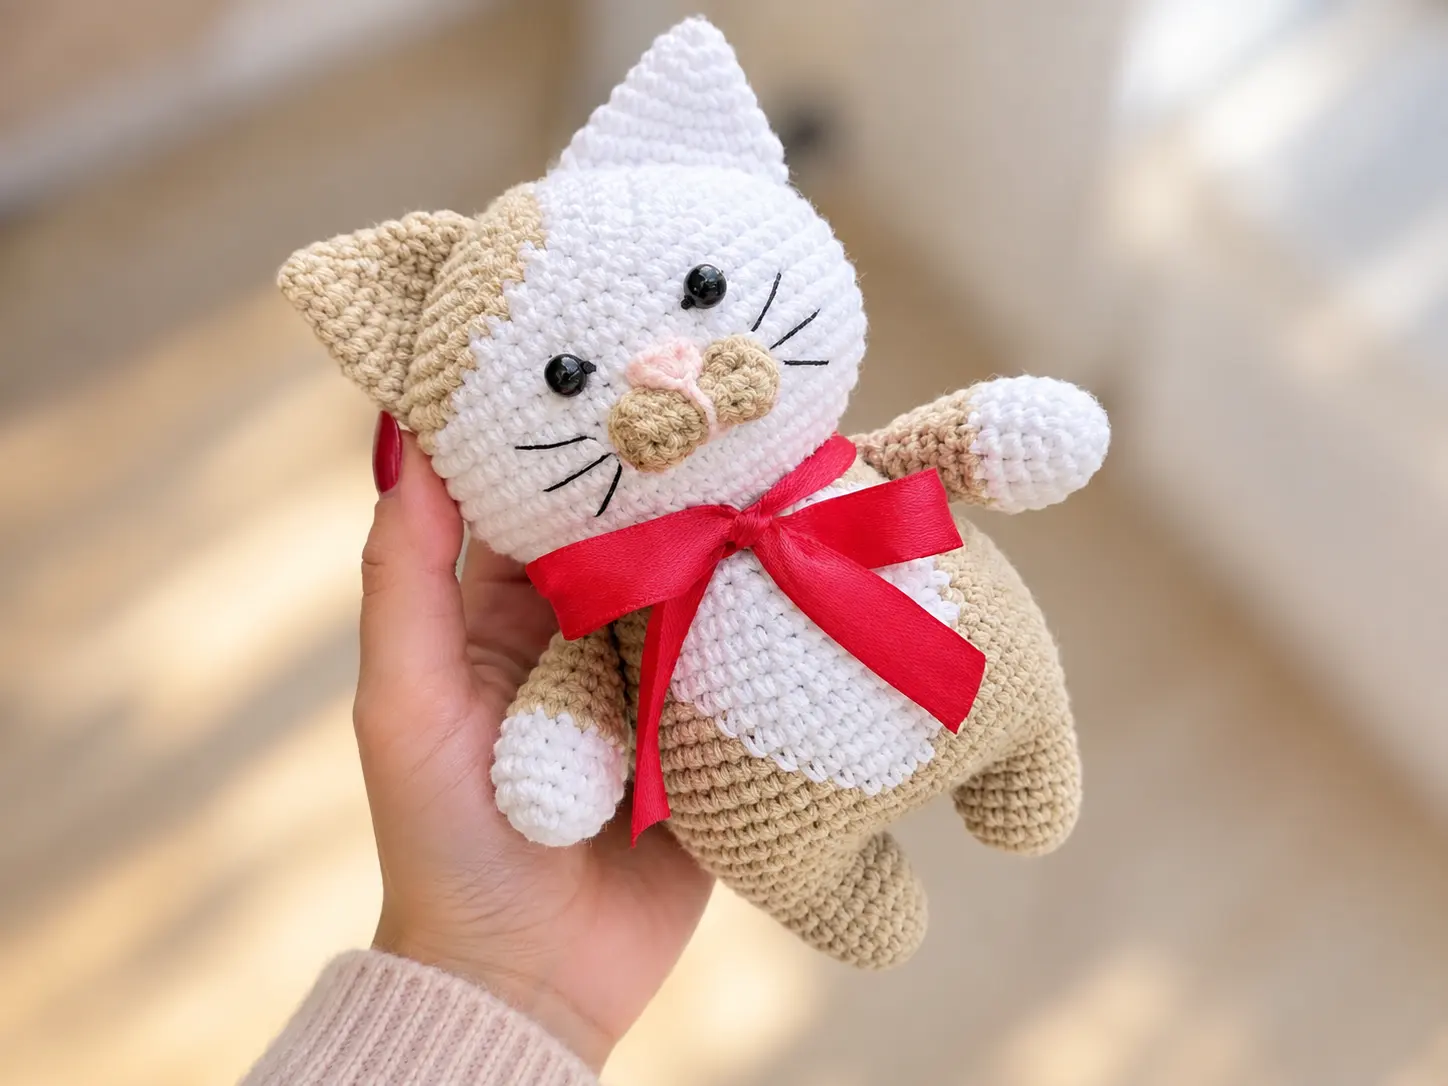
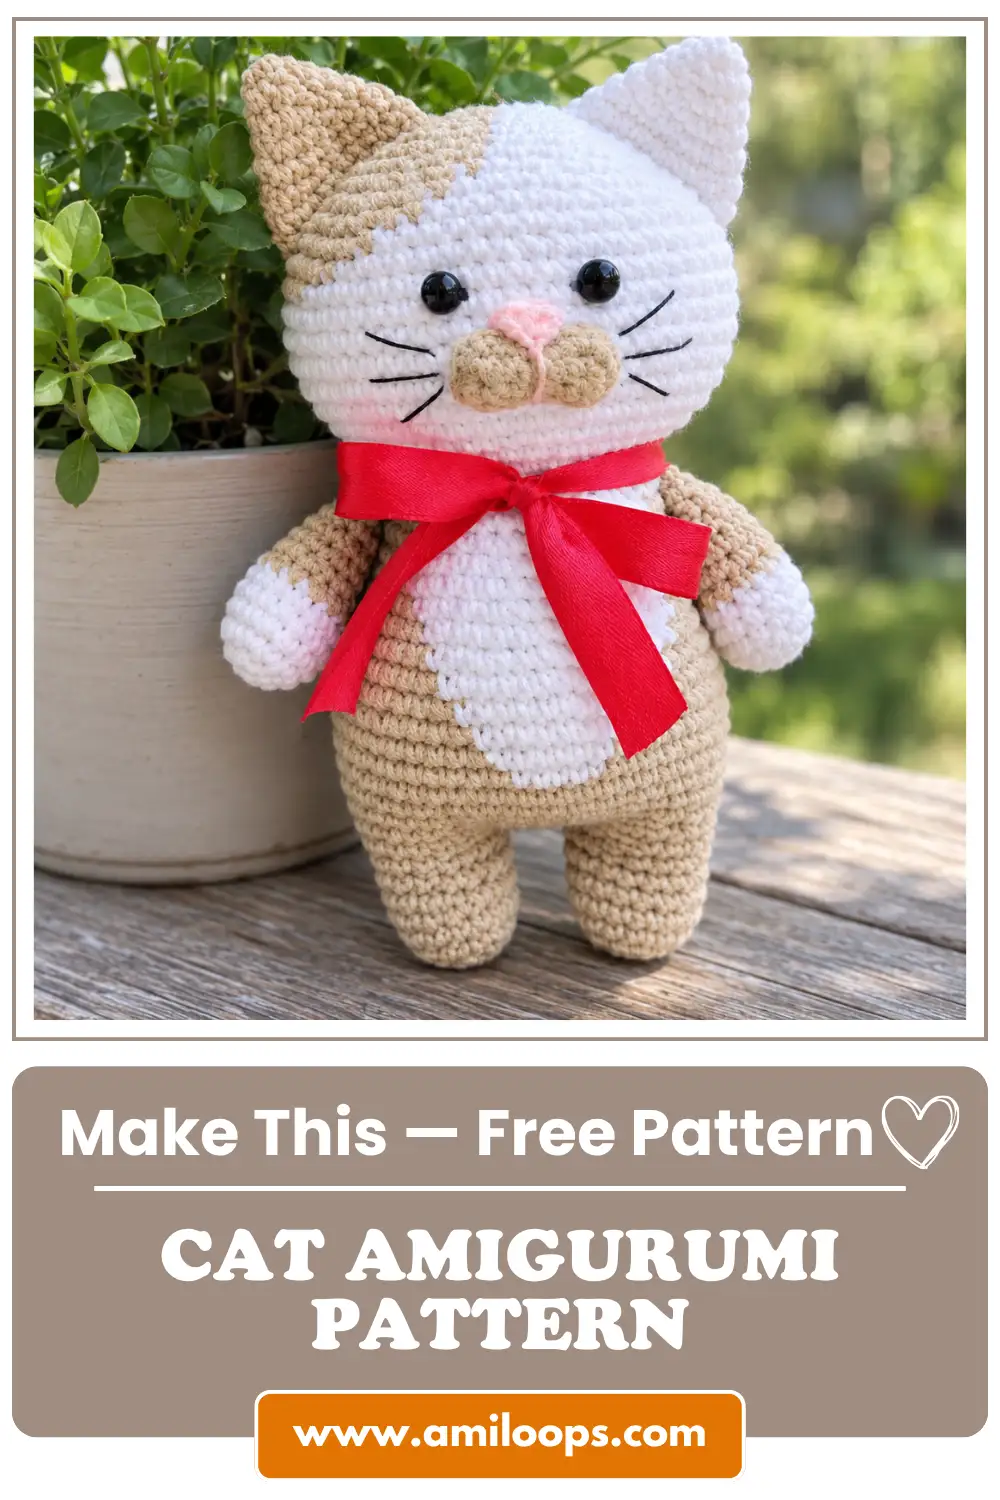
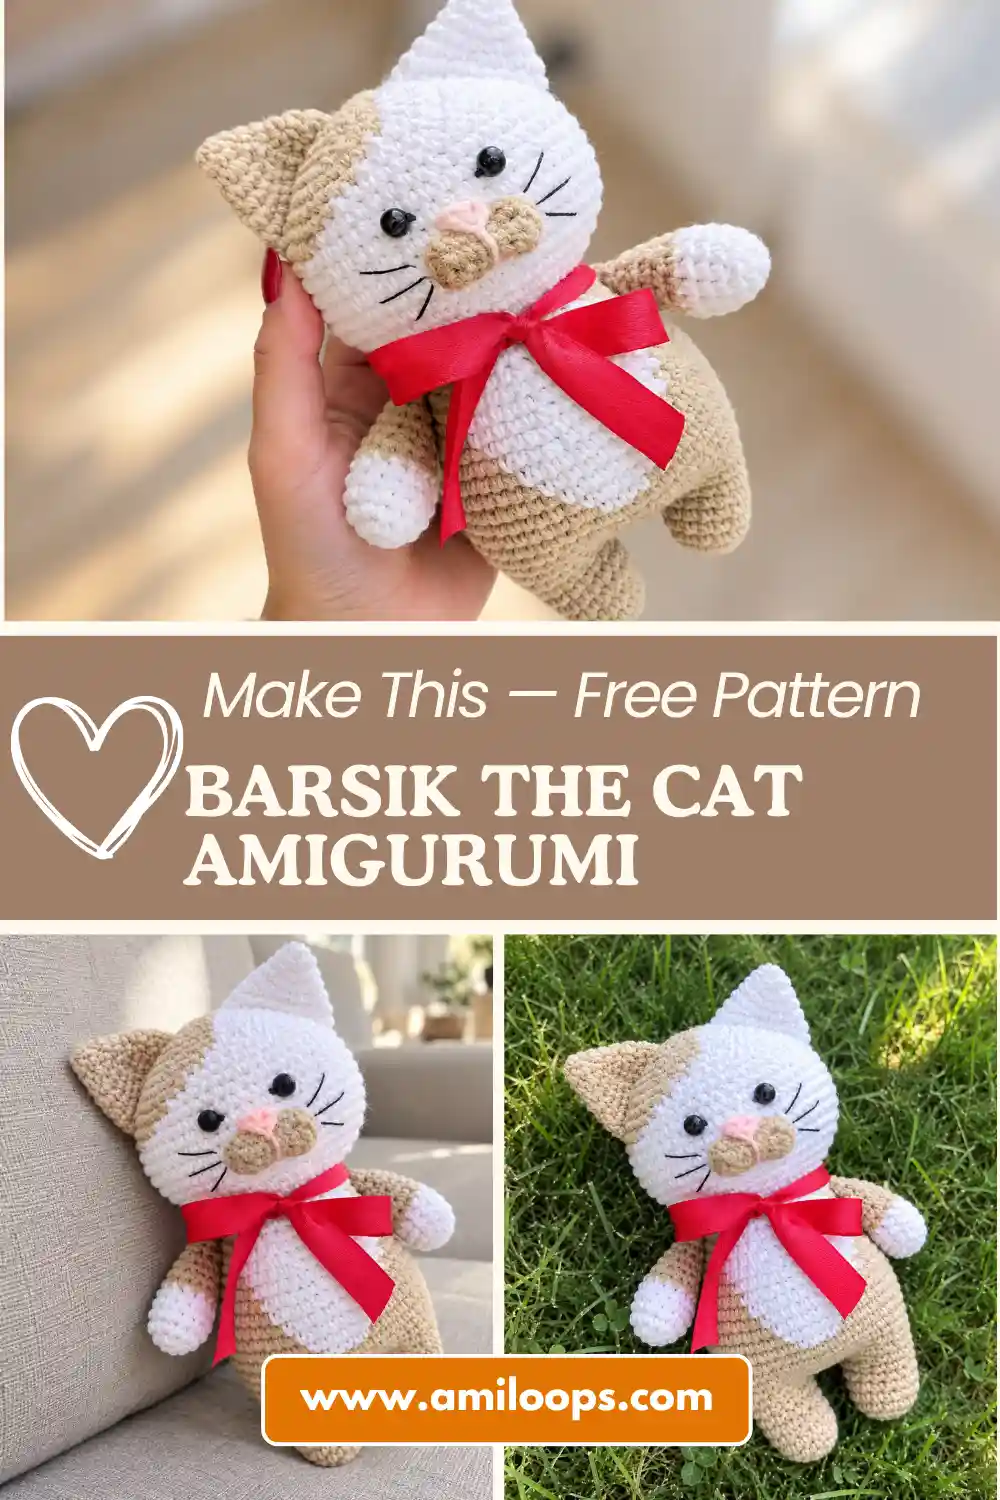
Barsik the cat amigurumi pattern brings together simple shaping and a satisfying, uninterrupted build from feet to ears. This finished plush measures approximately 14 cm in height, making it a compact companion that fits comfortably in one hand once stuffed and assembled. Instead of piecing together a head and body separately, the design increases directly out of the torso, so the silhouette forms in one continuous piece. That seamless transition is part of what gives the finished cat its rounded, balanced posture, and it’s the detail this pattern walks through most carefully.
This guide walks through every stage of the project in order, from the two arms and ears made separately to the seamless legs-body-head piece, the tail, and the small sewn-on face details. Each stage is explained with an eye toward why particular counts and transitions matter, not just what to stitch next. Readers who want a project that rewards attention to checkpoints, rather than raw speed, will find the pacing here suited to that approach. By the end, all the pieces come together into one finished, huggable cat ready for stuffing and assembly.
About This Barsik the Cat Amigurumi Pattern
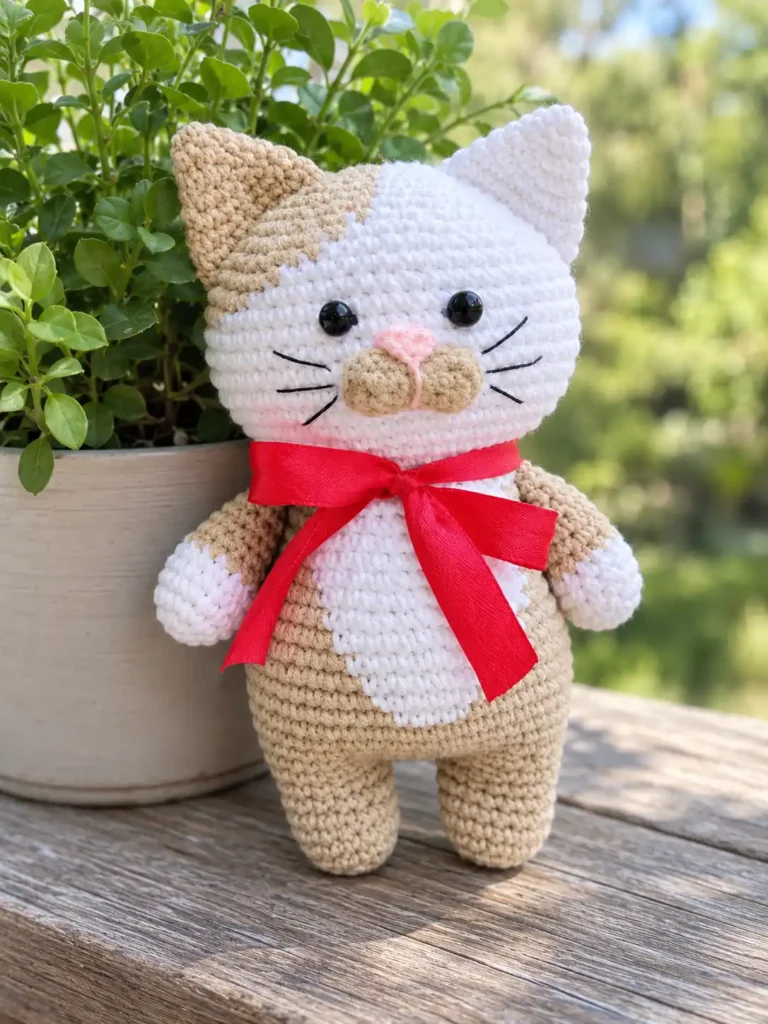
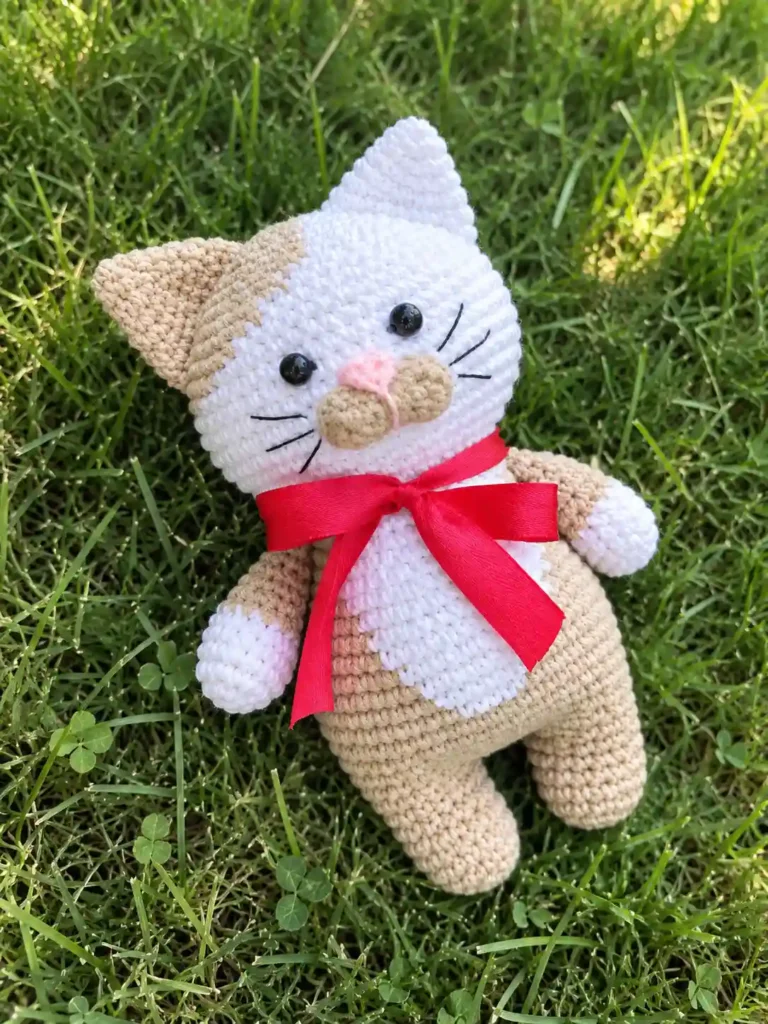
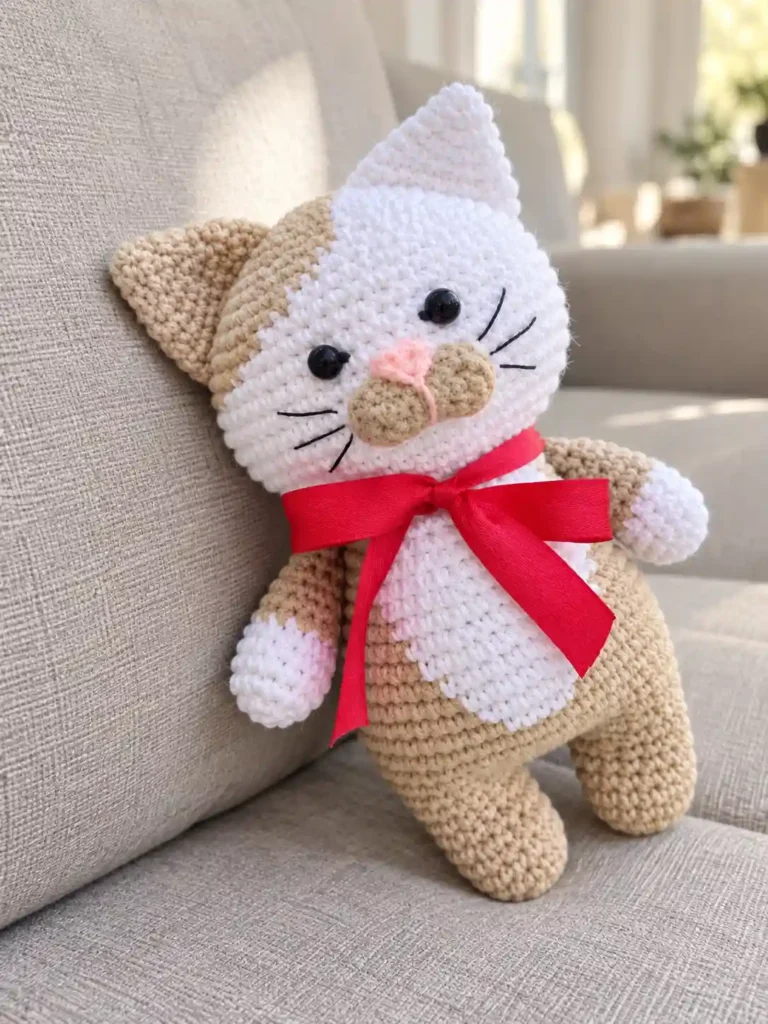
This project is built around one idea: a cat that emerges as a single continuous shape rather than several joined pieces. Starting from the legs, the stitching increases steadily upward through the body and into the head without a break, which keeps the silhouette smooth and avoids a visible seam at the neck. Finished, the amigurumi stands about 14 cm tall, a size that keeps it easy to handle while still leaving room for confident, well-defined shaping in the face and ears.
Because the body and head share one uninterrupted round count, paying attention to the transition rounds matters more here than in patterns built from separate pieces. The seamless approach rewards careful counting at each stage rather than corrective seaming afterward. Readers comfortable with basic single crochet shaping will find the overall shape logical to follow, and the finished 14 cm cat holds its posture well once the checkpoints along the way are respected.
Materials and Tools
The materials list here is short and deliberately unspecific about color, since the pattern calls for YarnArt Jeans yarn without dictating which shades to use — that choice is left entirely to the maker. Hook sizing does matter, though: the project calls for two different hook sizes, a 2.5 mm hook for the main body sections and a slightly larger 3.0 mm hook reserved specifically for the ears. Keeping both hooks within reach before starting avoids an interruption partway through a round.
- YarnArt Jeans yarn (colors of your choice)
- 2.5 mm crochet hook (for the main parts)
- 3.0 mm crochet hook (for the ears)
- Stuffing material (implied)
- Tapestry needle for assembly
Crochet Abbreviations
Every abbreviation used in this pattern follows standard US terminology, so magic ring, single crochet, increases, and decreases all carry their conventional meanings without any regional substitution. Readers newer to amigurumi can cross-check any of these against the standard crochet abbreviations maintained by the Craft Yarn Council if a refresher is useful before starting. The list below covers exactly the shorthand that appears in the rounds ahead, nothing more.
- ch — chain
- dec — decrease (sc 2 together)
- inc — increase (2 sc in one stitch)
- mr — magic ring
- sc — single crochet
- sl st — slip stitch
Construction Overview
Construction begins with the two arms, made first and then set aside so they can be crocheted directly into the body later rather than sewn on afterward — a shortcut that saves considerable finishing time. Every individual piece, from the arms to the legs, begins with the same magic ring technique before increasing outward into a small circle. That shared starting point keeps the early rounds consistent across every part of the cat.
The lower body starts as two separate legs, each worked as its own small tube before being joined by a short chain of four stitches that forms the base of the torso. From that join, the round count climbs steadily, widening through the body and then increasing sharply to form the head with no break in the stitching. This is the single most distinctive structural choice in the whole pattern, and it’s worth watching for as the rounds progress.
Before You Start
Before picking up the main body, prepare the small appendages first. The two arms should be finished and set aside, ready to be crocheted directly into the body during a later round rather than attached with a needle afterward. It’s also worth keeping both hook sizes within reach from the start, since the ears require a switch from the 2.5 mm hook used everywhere else to a 3.0 mm hook partway through the project.
If a striped or patched color scheme is part of the plan, decide on the yarn colors before casting on rather than partway through a round. Because the yarn brand and fiber are already determined, color is really the only creative decision left to make, and settling on it early prevents an awkward color change appearing in the middle of a shaping round later on.
Barsik the Cat Crochet Pattern
A few rounds in this pattern act as checkpoints worth double-checking as you go. Round 7 is the foundational joining round for the body and should land at exactly 38 stitches once the two legs are connected. Round 27 marks the narrowest point of the neck at 24 stitches, and it’s also the round where the arms are attached to the body. From there, the head widens quickly, reaching its broadest point at Round 31 with 66 stitches.
Arms
| Round | Instructions | Stitch Count |
|---|---|---|
| Round 1 | 6 sc in a magic ring. | 6 sts |
| Round 2 | 6 inc. | 12 sts |
| Round 3 | (3 sc, inc) * 3. | 15 sts |
| Rounds 4-7 | 15 sc. | 15 sts |
| Round 8 | (3 sc, dec) * 3. | 12 sts |
| Rounds 9-10 | 12 sc. | 12 sts |
| Round 11 | (4 sc, dec) * 2. | 10 sts |
| Round 12 | 10 sc. | 10 sts |
Ears
| Round | Instructions | Stitch Count |
|---|---|---|
| Round 1 | 4 sc in a magic ring. | 4 sts |
| Round 2 | 4 inc. | 8 sts |
| Round 3 | (1 sc, inc) * 4. | 12 sts |
| Round 4 | (3 sc, inc) * 3. | 15 sts |
| Round 5 | (4 sc, inc) * 3. | 18 sts |
| Round 6 | (5 sc, inc) * 3. | 21 sts |
Legs, Body, and Head
| Round | Instructions | Stitch Count |
|---|---|---|
| Round 1 | 6 sc in a magic ring. | 6 sts |
| Round 2 | 6 inc. | 12 sts |
| Round 3 | (3 sc, inc) * 3. | 15 sts |
| Rounds 4-6 | 15 sc. | 15 sts |
| Round 7 | (15 sc along the stitches of the first leg, 4 sc along the chain) * 2. | 38 sts |
| Round 8 | (15 sc, inc, 2 sc, inc) * 2. | 42 sts |
| Round 9 | (6 sc, inc) * 6. | 48 sts |
| Rounds 10-11 | 48 sc. | 48 sts |
| Round 12 | (7 sc, inc) * 6. | 54 sts |
| Rounds 13-18 | 54 sc. | 54 sts |
| Round 19 | (7 sc, dec) * 6. | 48 sts |
| Round 20 | 48 sc. | 48 sts |
| Round 21 | (6 sc, dec) * 6. | 42 sts |
| Rounds 22-23 | 42 sc. | 42 sts |
| Round 24 | (5 sc, dec) * 6. | 36 sts |
| Round 25 | 36 sc. | 36 sts |
| Round 26 | (4 sc, dec) * 6. | 30 sts |
| Round 27 | (3 sc, dec) * 6. | 24 sts |
| Round 28 | 24 inc. | 48 sts |
| Round 29 | (7 sc, inc) * 6. | 54 sts |
| Round 30 | (8 sc, inc) * 6. | 60 sts |
| Round 31 | (9 sc, inc) * 6. | 66 sts |
| Rounds 32-34 | 66 sc. | 66 sts |
| Round 35 | (9 sc, dec) * 6. | 60 sts |
| Rounds 36-37 | 60 sc. | 60 sts |
| Round 38 | (8 sc, dec) * 6. | 54 sts |
| Round 39 | 54 sc. | 54 sts |
| Round 40 | (7 sc, dec) * 6. | 48 sts |
| Round 41 | (6 sc, dec) * 6. | 42 sts |
| Round 42 | (5 sc, dec) * 6. | 36 sts |
| Round 43 | (4 sc, dec) * 6. | 30 sts |
| Round 44 | (3 sc, dec) * 6. | 24 sts |
| Round 45 | (2 sc, dec) * 6. | 18 sts |
| Round 46 | (1 sc, dec) * 6. | 12 sts |
| Round 47 | 6 dec. | 6 sts |
Tail
| Round | Instructions | Stitch Count |
|---|---|---|
| Round 1 | 6 sc in a magic ring. | 6 sts |
| Round 2 | (2 sc, inc) * 2. | 8 sts |
| Rounds 3-12 | 8 sc. | 8 sts |
Muzzle
| Round | Instructions | Stitch Count |
|---|---|---|
| Base | Chain 6, start working in the 2nd chain from the hook. | – |
| Round 1 | 4 sc, 3 sc in the last chain, continue on the opposite side of the foundation chain, 3 sc, inc. | 12 sts |
| Round 2 | inc, 3 sc, inc, 1 sc, inc, 3 sc, inc, 1 sc, sl st. | 16 sts |
Nose
| Row | Instructions | Stitch Count |
|---|---|---|
| Row 1 | Chain 2, work 2 sc in the first chain (2nd chain from the hook). | – |
Assembly and Finishing
Sewing amigurumi parts together neatly at this stage is what gives the finished cat its expression and balance. Assembly relies on a mix of folding, closing, and sewing rather than any single fastening method. The tail is folded flat and single crocheted closed before it’s sewn to the lower back, and the muzzle needs to be pinched or cinched at its center so it holds a bow-like shape before it’s sewn to the face. The small two-stitch triangle nose is sewn onto that muzzle rather than embroidered on directly.
- Fold the arm openings in half and single crochet closed, attaching them to the body in Round 27.
- Join the legs with a chain of 4 to create the base of the body.
- Fold the tail opening in half and single crochet closed, sewing it to the back.
- Sew the ears to the top of the head.
- Cinch the muzzle in the center like a bow and sew to the face.
- Sew the crocheted triangle nose to the muzzle.
- Pull the final head hole closed, fasten off, and weave in ends.
Pattern Notes and Troubleshooting
Keeping the Joining Round Accurate
If the stitch count feels off anywhere in the body, the joining round is usually the place to check first. Round 7 depends on an accurate stitch count along both legs and the connecting chain, and if that count drifts even slightly, the entire body above it will end up leaning or twisting rather than sitting straight. It’s worth counting stitches at the end of this specific round before continuing upward, since later rounds build directly on it.
Getting Firm, Well-Shaped Ears
Ears that come out floppy or too small are almost always a hook-size issue rather than a tension problem. This pattern deliberately calls for a larger 3.0 mm hook for the ears, sized up from the 2.5 mm hook used everywhere else, and skipping that switch is the most common reason ears end up undersized or overly stiff. Double-checking the hook before starting Round 1 of each ear avoids having to redo them later.
Stabilizing a Wobbly Head
A head that wobbles or leans once assembled usually points back to stuffing rather than stitching. The neck area needs noticeably firmer stuffing than the rest of the body before the head increases begin, since that firmness is what supports the wider rounds above it. Adding stuffing gradually as you approach the neck, rather than all at once afterward, makes it much easier to judge when the base feels solid enough.
Shaping the Muzzle’s Bow Fold
If the finished muzzle looks like a plain rounded ball instead of a bow, the center cinch step was likely skipped or done too loosely. That center pinch is what pulls the two rounded lobes of the muzzle together into the bow-like shape the pattern is aiming for. Taking a moment to gather and stitch through the center point firmly, before moving on to sew the muzzle to the face, makes the shape hold permanently.
Finishing Checklist
Before setting this cat aside as finished, it’s worth running through a short final check. The top opening of the head should be pulled completely closed with no visible gap, and the tail needs to be firmly anchored to the lower back so the finished cat can sit or stand without tipping. These two points are quick to check but easy to overlook once the sewing feels finished.
- Top opening of the head is securely closed.
- Both ears are symmetrically attached to the head.
- Arms are firmly crocheted into the body round.
- Muzzle has the correct bow shape and is sewn on.
- Nose is attached to the muzzle.
- Tail is attached to the lower back.
- All loose ends are woven in or hidden inside the project.