Free Carrot Amigurumi Crochet Pattern With Arms and Bobble Eyes
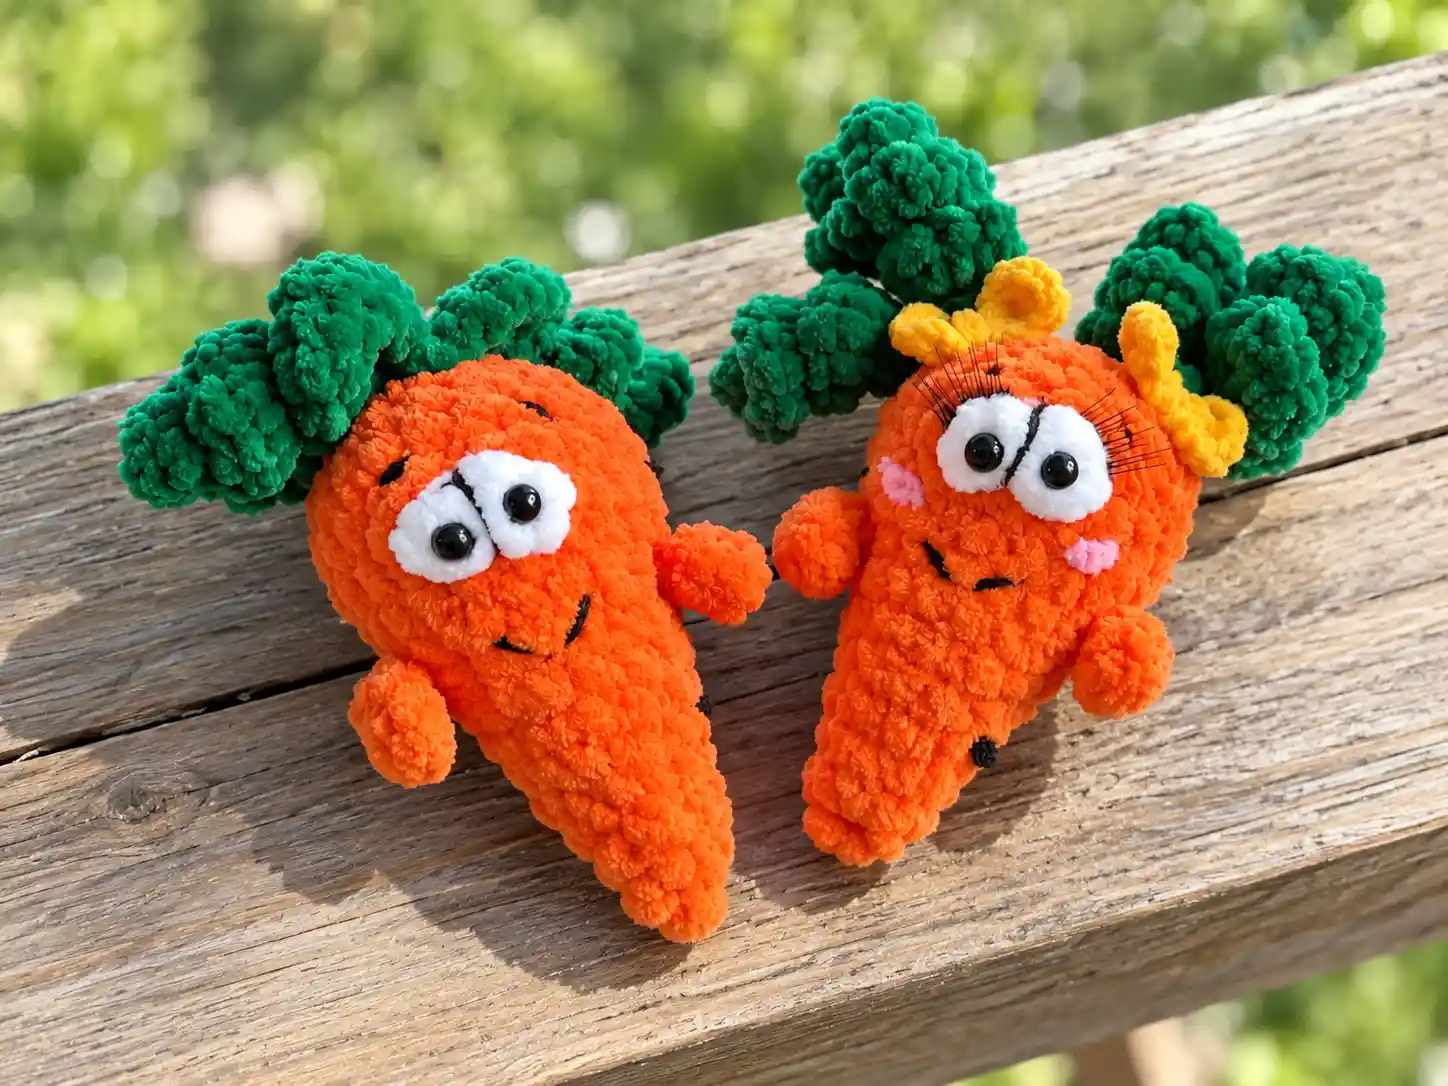
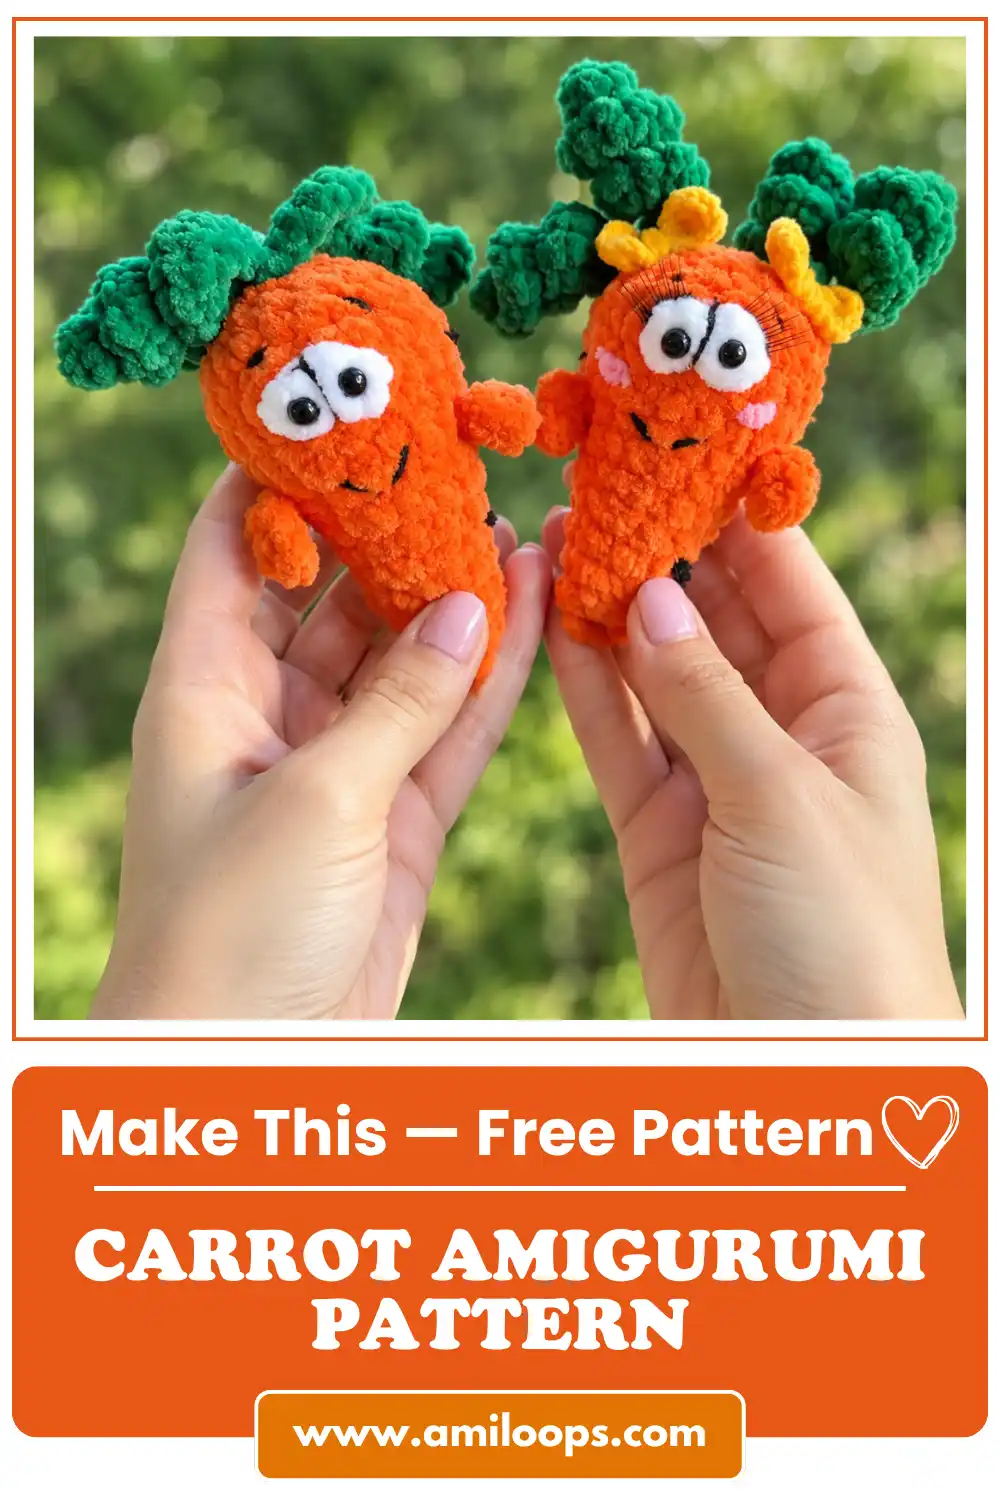
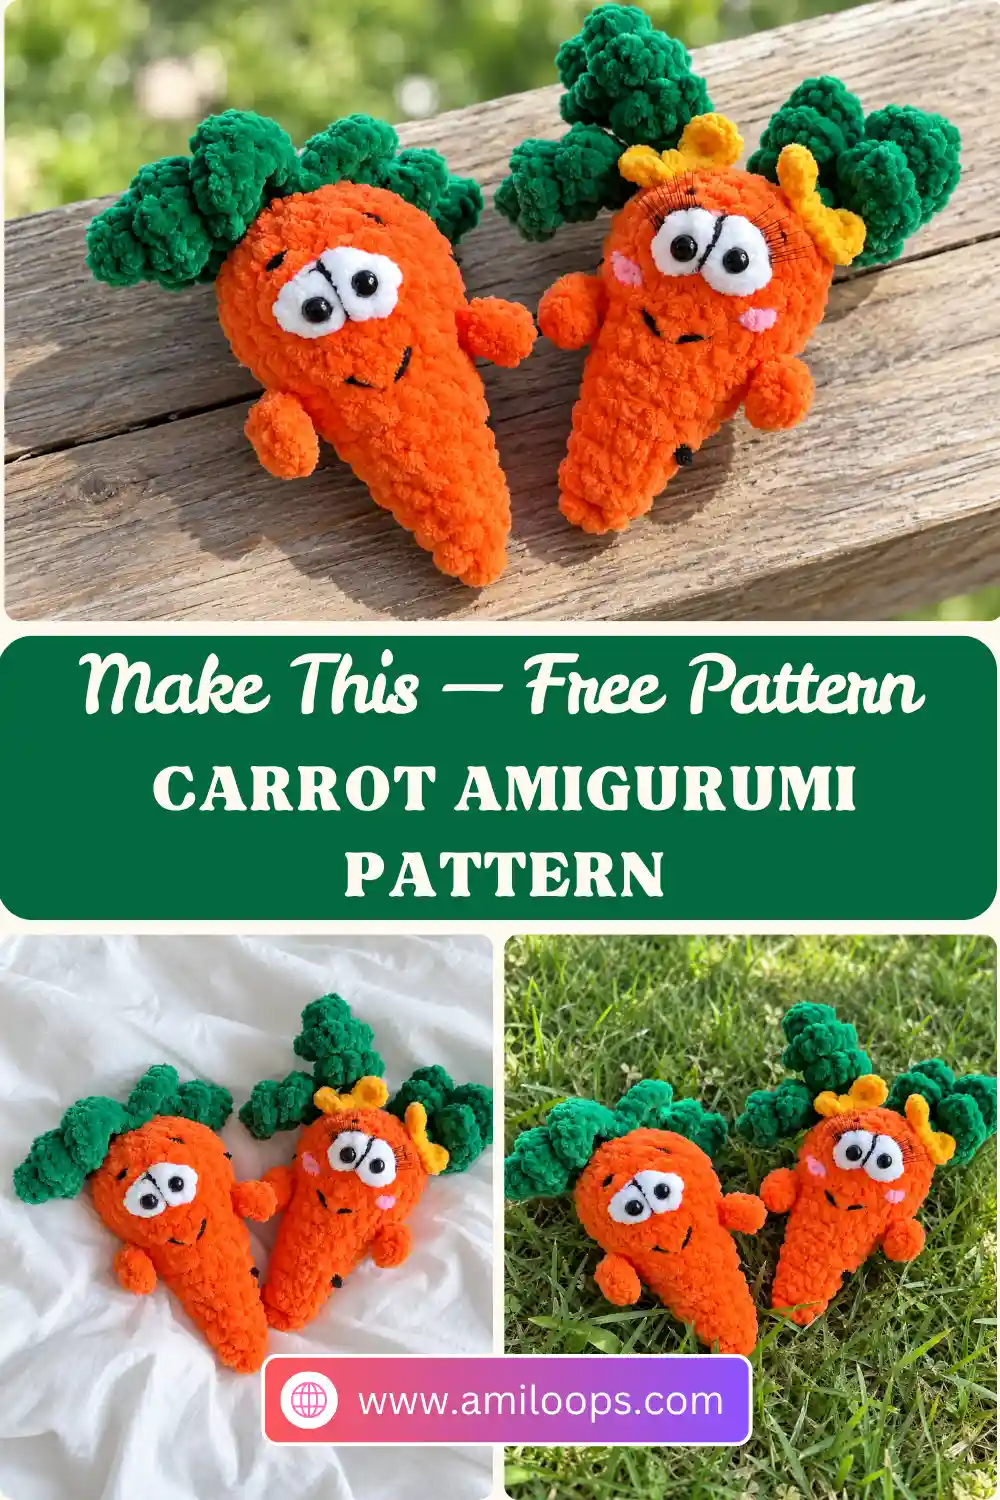
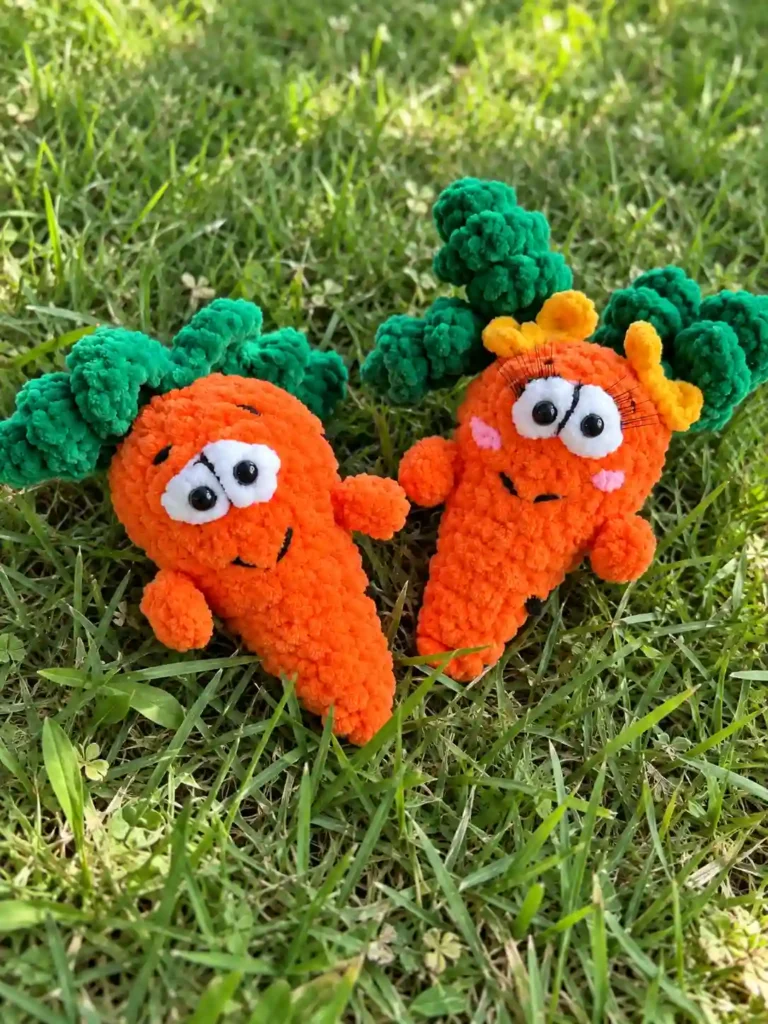
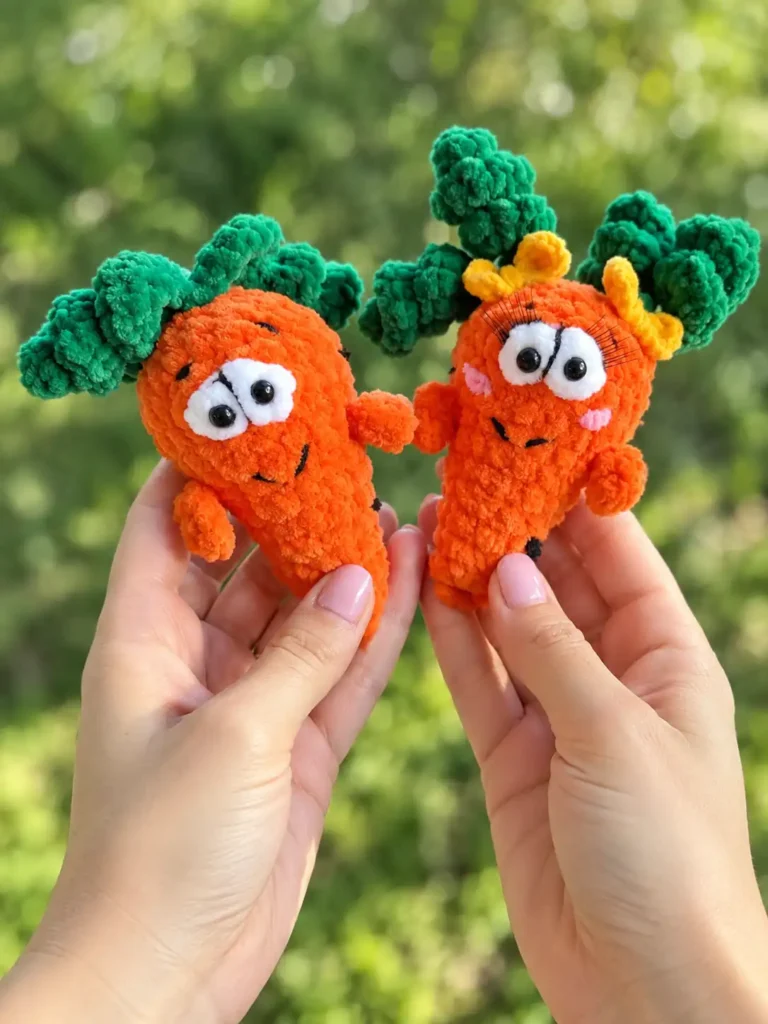
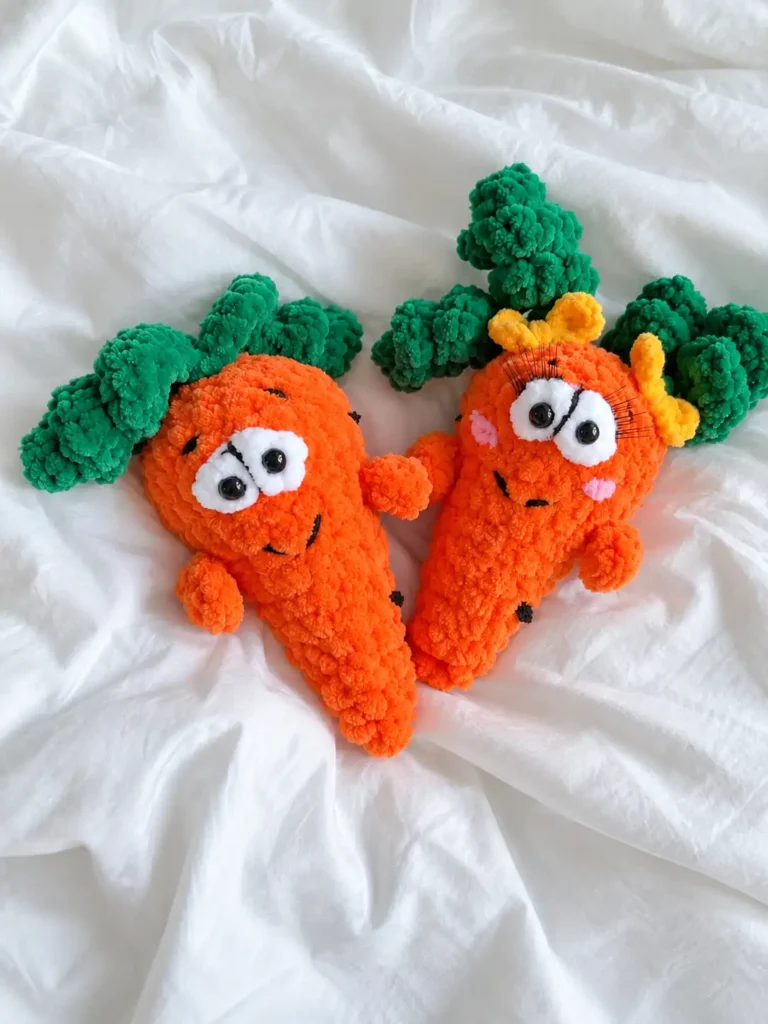
This carrot amigurumi pattern turns a vegetable into a little character. It starts as a slim point and widens into a rounded top. Along the way you add two small arms, a pair of white bobble eyes worked right into the fabric, and a crown of curly green leaves.
Almost all of it is one continuous piece. You begin at the tip with a magic ring. From Rnd 3 through Rnd 11 you add only two increases per round, so the body tapers gently. You work the arms and eye bobbles as you reach them, and three quick decrease rounds close the top. The leaves are short chains filled with increases. Glue-on eyes and an embroidered mouth and eyebrows finish the face.
Materials · Stitches · Carrot · Leaves · Finishing · FAQ
Before your first stitch: Keep the white yarn within reach. You need it for just two stitches in Rnd 11, and then you go back to the main color to finish the round.
Good to know: The totals in parentheses count only the carrot’s round stitches. The arms in Rnd 8 are small extras worked along a short chain, so they don’t change that round’s total of 18.
Materials
- Main color yarn: for the carrot body and arms (orange in the pattern photo).
- White yarn: for the eye bobbles.
- Green yarn: for the leaves.
- A crochet hook that suits your yarn. Our guide to choosing the right crochet hook size for amigurumi can help you pick one.
- Large-eye needle
- Eyes to glue on, plus glue to attach them
- Yarn or thread for embroidering the mouth and eyebrows
- Optional: a little fiberfill, if you’d like a fuller carrot (see the note after Rnd 14).
Abbreviations and special stitches
This pattern uses US crochet terms throughout. For the standard US stitch names, see the Craft Yarn Council’s crochet abbreviations list.
| Abbreviation | Meaning |
|---|---|
| ch | chain |
| sc | single crochet |
| hdc | half double crochet |
| dc | double crochet (used inside the bobble) |
| sl st | slip stitch |
| MR | magic ring |
| st(s) | stitch(es) |
| inc | increase: 2 sc in the same stitch |
| dec | decrease: work the next 2 stitches together as 1 sc |
| [ ] … times | repeat the instructions in brackets the stated number of times in total |
Bobble: 3 dc joined at the top, worked into one stitch. Work 3 dc in the same stitch, leaving the last loop of each dc on the hook. Yarn over and pull through all 4 loops on the hook. The 4 loops are the one you started with plus one left by each partial dc.
Arm: Ch 4. Starting in the 2nd ch from the hook, work 1 hdc in each of the next 2 ch, then sl st in the last ch. After the sl st, carry on with the next stitch of the round as written.
Carrot
The pattern has no joins or turning chains between rounds, so work straight on into the next round in continuous rounds. The total stitch count for each round is in parentheses. The carrot starts at its pointed tip with a magic ring. If you’d like a refresher, follow our step-by-step magic ring tutorial.
Rnd 1: With the main color, work 6 sc in a MR (6)
Rnd 2: Sc in each st around (6)
Rnd 3: Sc in the next st, inc, sc in the next 2 sts, inc, sc in the next st (8)
Rnd 4: [Sc in the next 3 sts, inc] 2 times (10)
Rnd 5: Sc in the next 2 sts, inc, sc in the next 4 sts, inc, sc in the next 2 sts (12)
Rnd 6: [Sc in the next 5 sts, inc] 2 times (14)
Rnd 7: Sc in the next 3 sts, inc, sc in the next 6 sts, inc, sc in the next 3 sts (16)
Arms ahead: Rnd 8 opens with the first arm and places the second one after 7 sc, so the two arms sit on roughly opposite sides of the carrot. Work each arm as described under Abbreviations and special stitches, then keep going with the round.
Rnd 8: Arm, sc in the next 7 sts, arm, inc, sc in the next 7 sts, inc (18)
In Rnd 9, leave the arms free and work only into the 18 round stitches.
Rnd 9: Sc in the next 4 sts, inc, sc in the next 8 sts, inc, sc in the next 4 sts (20)
Rnd 10: [Sc in the next 9 sts, inc] 2 times (22)
Color change in Rnd 11: After the first 3 sc, switch to white yarn for two bobbles, one in each of the next 2 sts. Then switch back to the main color for the rest of the round.
Optional technique: A common way to change colors is to use the new color for the last pull-through of the stitch before the change, as shown in Yarnspirations’ color-change tutorial. Here, you would finish the third sc with white and the final pull-through of the second bobble with the main color. For more help, see our guide to changing colors in amigurumi.
Rnd 11: Sc in the next 3 sts. For the eyes, switch to white yarn and work 1 bobble in each of the next 2 sts. Switch back to the main color and work sc in the next 5 sts, inc, sc in the next 10 sts, inc (24)
Each bobble counts as one stitch. That’s how Rnd 11 reaches 24.
Rnd 12: Sc in each st around (24)
Rnd 13: [Sc in the next 2 sts, dec] 6 times (18)
Rnd 14: [Sc in the next st, dec] 6 times (12)
Optional: The pattern doesn’t include a stuffing step. The carrots in the pattern photo look nicely filled out, so if you want that shape, add a little fiberfill now, before Rnd 15 draws the top in.
Rnd 15: Dec 6 times (6)
Close the top: Fasten off, leaving a tail. Thread the tail onto the large-eye needle and draw the opening closed. Weave in the tail.
Leaves (make 3)
Placement: The leaves are worked straight onto the carrot by joining the green yarn. They form the carrot’s green top, so join the yarn at the closed top, where Rnd 15 gathered the stitches.
Each leaf: Join the green yarn and ch 13. Starting in the 2nd ch from the hook, work 11 inc, then 1 sc.
Why so many increases? Putting 2 sc in each of 11 chains crowds extra stitches onto a short chain, so the leaf tends to curl and ruffle instead of lying flat like a plain strip. Make 3 leaves in total at the top, then weave in the green ends.
Finishing
The white bobbles in Rnd 11 were worked for the eyes, so they show you where the face sits. In the pattern photo, the eyes are glued onto the white bobbles.
- Glue on the eyes.
- Embroider the mouth and eyebrows.
More produce with personality
Questions about this carrot
Do the arms in Rnd 8 count toward the stitch total?
No. The total of 18 comes from the sc and increases worked into the 16 stitches of Rnd 7. Each arm is a ch 4 worked back with 2 hdc and a sl st, so it sits outside the count, and Rnd 9 is worked only into the 18 round stitches.
How do the white bobbles keep Rnd 11 at 24 stitches?
Each bobble goes into one stitch and counts as one stitch, just like an sc. With 3 sc, 2 bobbles, 5 sc, an increase, 10 sc and a final increase, the round comes to 24.
Why does the carrot taper so gradually?
Rnd 2 adds no stitches, and Rnds 3 through 11 add only two increases each. That takes the carrot from 6 stitches at the tip to 24 at its widest. After one plain round, Rnds 13 to 15 decrease quickly to close the top.
Do I need to stuff the carrot?
The pattern doesn’t include a stuffing step. If you’d like the plump shape shown in the pattern photo, add a little fiberfill after Rnd 14, before Rnd 15 closes the top.
How is the face finished?
The white bobbles from Rnd 11 are worked for the eyes. Once the carrot and leaves are done, glue on the eyes and embroider the mouth and eyebrows with yarn or thread.