Koala Amigurumi Crochet Pattern: A No-Sew, Fluffy Eared Project
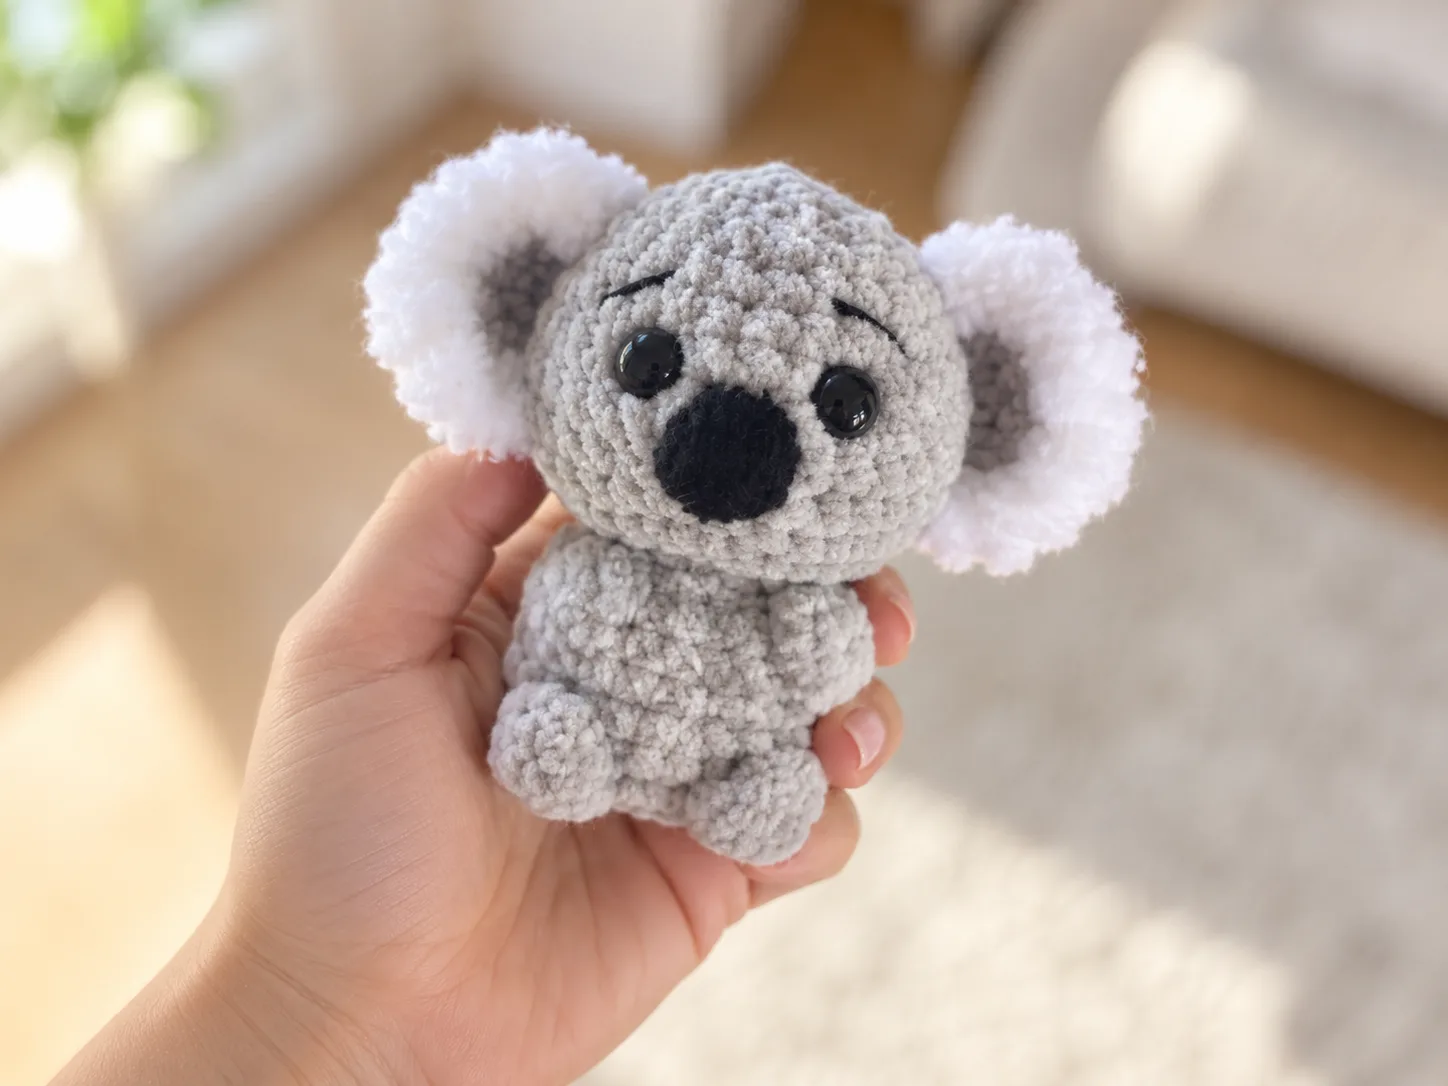
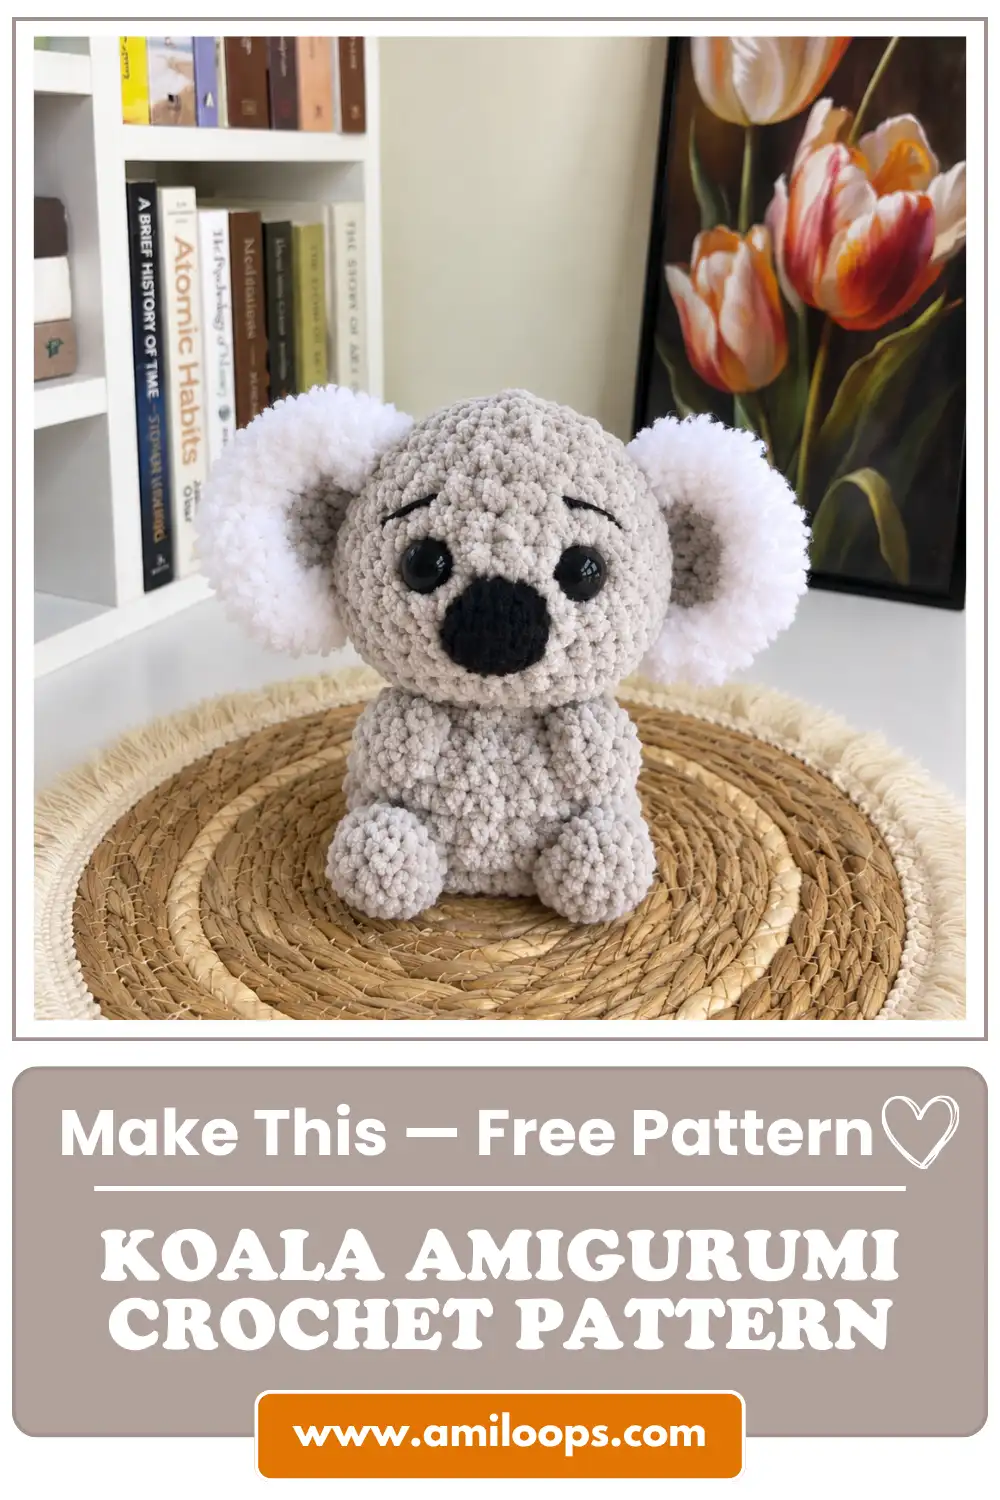
There is something quietly appealing about a koala that arrives in a single continuous piece. This koala amigurumi crochet pattern builds the body and the head as one uninterrupted spiral, so there is no separate torso waiting to be attached and no seam circling the neck. Everything from the first round to the last belongs to the same piece of fabric, which means the shape you end up with is decided entirely by where the increases and decreases fall. Only the ears are worked apart from it, and they join the finished form later.
That one-piece approach changes how the project feels while it is on your hook. Instead of stacking up a set of finished components and hoping they line up later, you watch a single continuous tube change shape under your hands, section by section, until the whole animal has arrived. Nothing needs to be matched or repositioned, because the shaping has already made those decisions for you. It also means very little sewing is waiting at the end, which is a pleasant place to be once the final round closes.
About This Koala Crochet Pattern
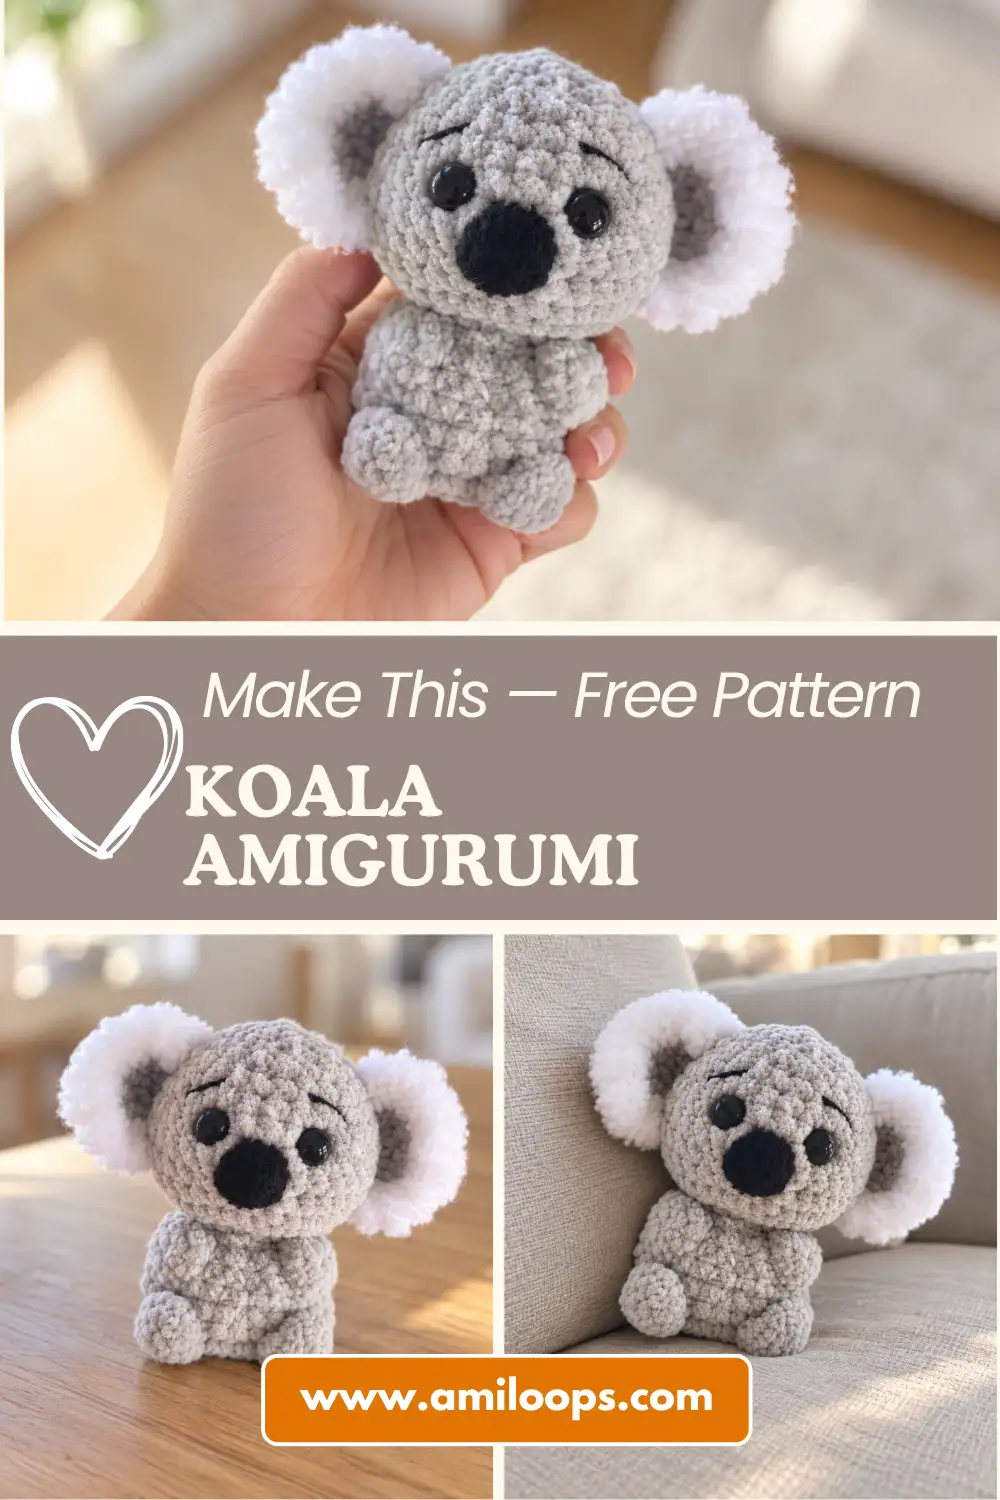
The most distinctive feature of this koala amigurumi crochet pattern is that the arms and legs are never crocheted separately. They are built directly into the body using bobble-style stitches, so each limb appears as a raised cluster pushed out from the surface of the fabric rather than as a tube sewn on afterward. You work the round as usual, drop a bobble where the pattern tells you to, and keep going. By the time the body is finished, all four limbs are already in position and permanently anchored, with no thread joins to hide.
Integrated limbs also shape the finished koala in a particular way. Because the bobbles sit flush against the body and cannot be repositioned later, the figure stays compact, with limbs that hug the sides instead of hanging loose. That constraint is part of the look. It also means the placement rounds carry real weight: the exact stitch you choose for each bobble decides where a limb lives for good, so counting carefully through those rounds matters more than it does in a plain round of single crochet.
Materials and Tools
Two yarns do the work here. A main gray yarn carries the whole body, head, and the base of each ear, while a fluffy novelty yarn of the mink or koala type is used to edge the ears and give them their soft, slightly wild outline. The pattern also calls for a pair of 10mm safety eyes, the two-part kind that lock into place with a washer pushed on from the inside. Because the eyes go in before the head is closed, it is worth having them within reach rather than hunting for them mid-round.
The nose is not crocheted. It is embroidered afterward in black yarn or thread, sitting centrally between the eyes, and that dark central marking is what reads immediately as koala rather than as a bear or a mouse. Because it is added at the finishing stage, keep the black strand set aside from your two working yarns so it stays clean and easy to find when the face is ready. Stuffing material rounds out the list, and the complete set of supplies appears below.
- Main yarn (gray)
- Fluffy additional yarn (Mink or Koala type)
- 10mm safety eyes
- Stuffing material
- Black yarn/thread for the nose
Crochet Abbreviations
Most of the shorthand below will already be familiar, since the body is built almost entirely from single crochet (sc), but two entries deserve a closer look before you begin. A 4-dc bobble is one stitch made from four double crochets (dc) worked into a single stitch and gathered at the top; the pattern uses exactly one of these to form each arm in Round 9. Its counterpart, dc4tog, closes four double crochets together into one stitch, and that is how each leg is completed in Round 5 after four double crochets were opened up in the stitch below. Everything else follows standard US crochet abbreviations.
- mr — magic ring
- ch — chain
- sc — single crochet
- inc — increase
- dec — decrease
- dc — double crochet
- dc4tog — double crochet 4 together
- 4-dc bobble — bobble stitch made of 4 double crochets
- st(s) — stitch(es)
- rnd(s) — round(s)
Construction Overview
The body is worked from the bottom up, which is worth knowing before you start because it changes how you read the early rounds. Round 1 is not the top of the head; it is the underside the koala sits on. From there the base widens quickly, then holds steady through the torso, then narrows hard for the neck before flaring out again into the head. Reading the rounds in that order makes the shaping intuitive: every increase is building a wider surface below you, and every decrease is drawing a section closed above.
The ears break that pattern completely. Instead of spiraling in continuous rounds like the body, they are crafted as flat half-circles, worked back and forth so the fabric spreads outward in a fan rather than climbing upward in a tube. That flatness is what lets the finished ear read as a soft half-disc standing off the side of the head instead of a cone. It also makes the fluffy edging possible, because working in rows leaves a clean outer curve for the novelty yarn to follow.
Before You Start
It helps to know how the ears begin, because their opening is unusual enough to trip you up if you meet it cold. Each ear starts with a chain of 2, and then all 5 single crochets go into the second chain from the hook. That single chain has to hold five stitches, so it will feel crowded and the fabric will want to curl. Work them in slowly and spread them evenly; that tiny cluster is the entire foundation of the half-circle, and an uneven start there shows up in the finished curve.
The second thing to prepare for is the yarn change. The ear edging requires turning the work and switching to the fluffy mink or koala yarn partway through, so have that second yarn within easy reach before you finish the second row. Novelty yarns of this kind shed and tangle readily, and joining one mid-row while you are also managing a turn is awkward. A little preparation here keeps the transition clean, the join hidden, and the outer edge of the ear tidy rather than lumpy.
Koala Crochet Pattern
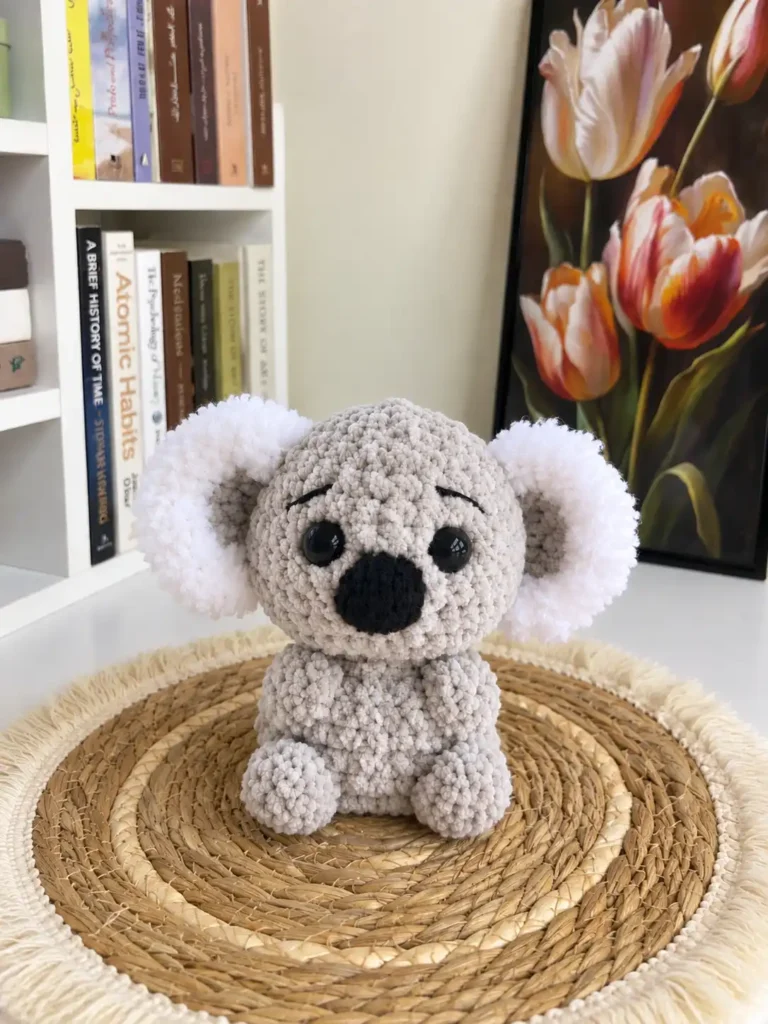
Read the counts as landmarks. Round 3 establishes the base width of the body at 24 stitches, and that number returns after each limb round. Round 10 pulls an entire round of decreases down to 12 stitches to form the neck, and Round 11 answers it with an entire round of increases to reopen the head. The widest part of the head then holds four consecutive rounds of 36 single crochets before the closing decreases begin. If those four numbers land correctly, the shape is on track.
Body and Head
Note – Limb rounds: The legs are formed across Rounds 4 and 5: four double crochets go into one stitch, then dc4tog closes those same four together in the round above. The arms need only a single stitch, where one 4-dc bobble in Round 9 makes each side.
Round 1: 6 sc in mr (6 sts)
Round 2: 6 inc (12 sts)
Round 3: 12 inc (24 sts)
Round 4: 9 sc, 4 dc in next st, 4 sc, 4 dc in next st, 9 sc (30 sts)
Round 5: 9 sc, dc4tog (across the 4 dc from the previous round), 4 sc, dc4tog (across the 4 dc from the previous round), 9 sc (24 sts)
Rounds 6-8: 24 sc (3 rounds) (24 sts)
Round 9: 10 sc, 4-dc bobble in next st, 4 sc, 4-dc bobble in next st, 8 sc (24 sts)
Round 10: 12 dec (12 sts)
Round 11: 12 inc (24 sts)
Round 12: (1 sc, inc) * 12 (36 sts)
Rounds 13-16: 36 sc (4 rounds) (36 sts)
Round 17: (4 sc, dec) * 6 (30 sts)
Round 18: (3 sc, dec) * 6 (24 sts)
Round 19: 24 sc (24 sts)
Round 20: (2 sc, dec) * 6 (18 sts)
Round 21: (1 sc, dec) * 6 (12 sts)
Round 22: 6 dec (6 sts)
Ears
Note – Count check: The ear reaches 10 stitches at its base before the final fluffy round goes on, so confirm that number at the end of Row 2 while the stitches are still easy to see.
Row 1: Ch 2, 5 sc in 2nd ch from hook, ch 1, turn (5 sts)
Row 2: 5 inc. Change to additional fluffy yarn (Mink or Koala type), ch 1, turn (10 sts)
Row 3: 10 sc (10 sts)
Assembly and Finishing
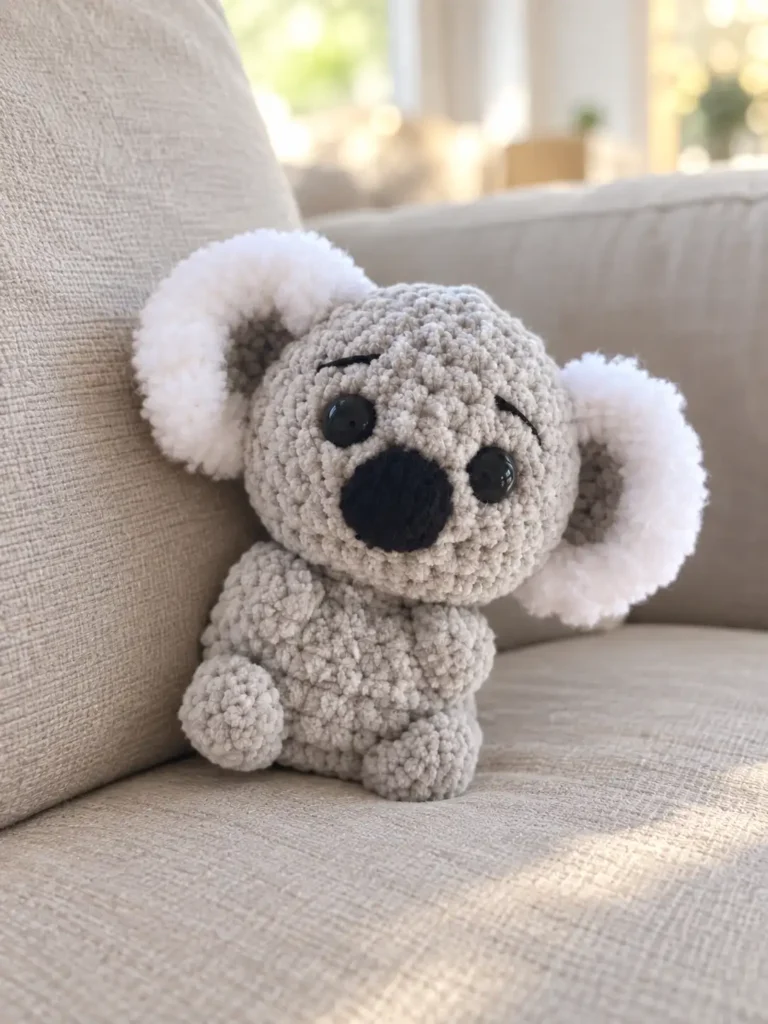
With the head shaped but still open, the eyes go in first. They belong between rounds 16 and 17, and the gap between them is exactly five single crochets. Take a moment to look at the piece straight on before you push the washers home, because once a post is seated it does not come out cleanly. That makes setting the safety eyes worth pausing over. Count the gap twice, then count it once more; an eye a single stitch off center changes the whole expression of the face.
Finding the front is easier than it looks, because the bobble arms and legs already decide it. Line the piece up so the four raised clusters face you, and that side becomes the front; the eyes and nose follow from there. Work out that orientation before anything is stitched down, then sew the ears in place along the sides of the head so they sit level with each other. Holding the koala at arm’s length while you position the ears gives a much better read on symmetry than looking straight down at it.
- Insert the 10mm safety eyes between rounds 16 and 17, spaced 5 single crochets apart.
- Sew the ears to the sides of the head.
- Embroider a black nose centrally between the eyes.
Pattern Notes and Troubleshooting
Stuffing Ahead of the Closing Rounds
This is a project where stuffing the body firmly has to happen as you go. Once the head decreases begin, the opening narrows fast, and by the last few rounds there is barely room for a fingertip. Add filling continuously as the piece grows, topping up every few rounds rather than waiting for a convenient moment. If you find yourself trying to force stuffing through a six-stitch opening, the head will end up soft at the crown and dense around the sides, and no amount of pushing afterward will even it out.
Pushing the Bobble Limbs Outward
A bobble does not always pop out on its own. As you complete each cluster, check which side of the fabric it has settled on and push it deliberately to the right side, away from the stuffing cavity. Bobble limbs that stay pushed inward disappear into the body and read as a lumpy round rather than an arm. A gentle nudge from the inside is usually enough while the piece is still open, and it is far easier to correct in the round where the bobble was made than to notice it twenty rounds later.
Keeping the Neck From Going Floppy
The neck narrows sharply to 12 stitches in a single round, which makes it the weakest point in the whole figure. Because the head above it is wide and carries the weight of its own filling, a loosely packed neck lets everything tip forward. Firm that section up before the head starts widening again, and add a little more than feels necessary, since the fibers compress as the piece is handled. Density here is what keeps the head upright rather than lolling against the shoulders.
Counting Through the Fluffy Ear Round
Fluffy yarn hides everything. Once you switch to the mink or koala strand, stitch definition disappears under the pile and the final ear row becomes surprisingly easy to miscount. Work that row slowly and count by feel as much as by sight, pausing every few stitches to confirm where you are. Running a fingertip along the base of the pile rather than across the surface makes the stitch tops easier to locate, and counting the row twice before you move on costs far less time than reworking it. Ten stitches is a small number to lose track of, but under that halo of fibers it happens.
Finishing Checklist
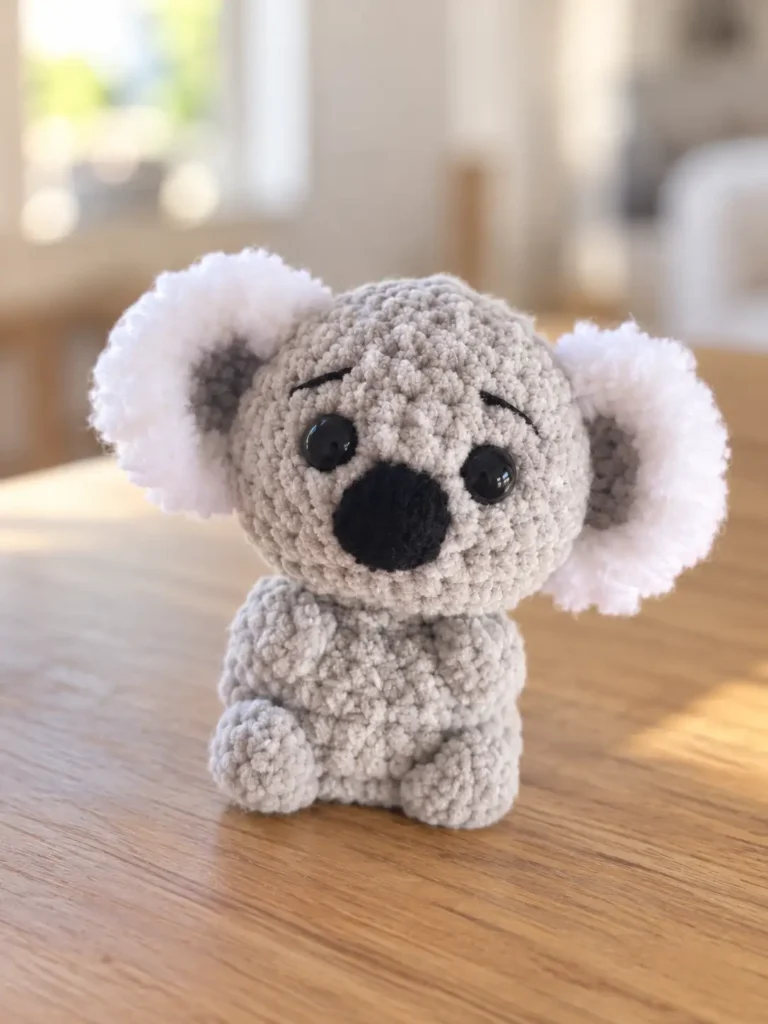
The very last round is six decreases in a row, and how you handle it decides whether the crown looks finished or gappy. Those 6 decreases at the top of the head need to be drawn tightly closed before you fasten off, because at that point the remaining opening is small enough that any slack shows as a visible dimple. Cinch the yarn tail through the final loops, pull it snug, and check the crown from directly above before you commit. Run through the rest of the checklist below while the piece is still in your hands.
- Ensure the eyes are secured with washers.
- Ensure the neck joint is fully stuffed to prevent a floppy head.
- Check that the 6 decreases at the top of the head are pulled tightly closed.
- Weave in all loose ends.