Free Alpaca Crochet Pattern — Cozy Scarf & Tiny Bells
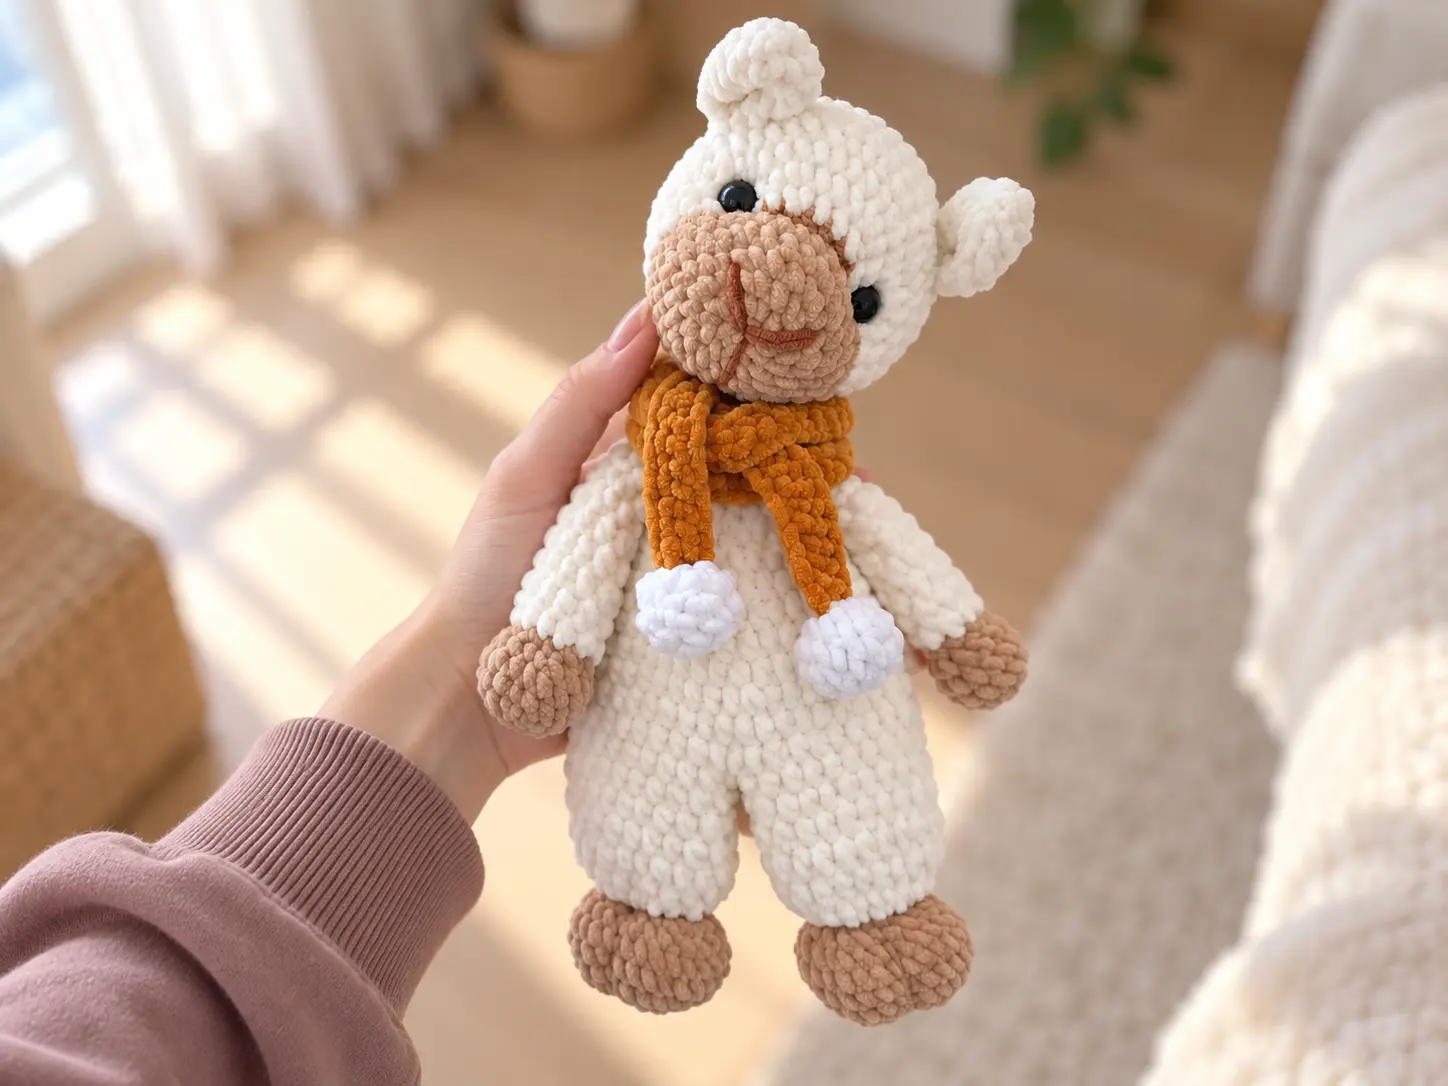
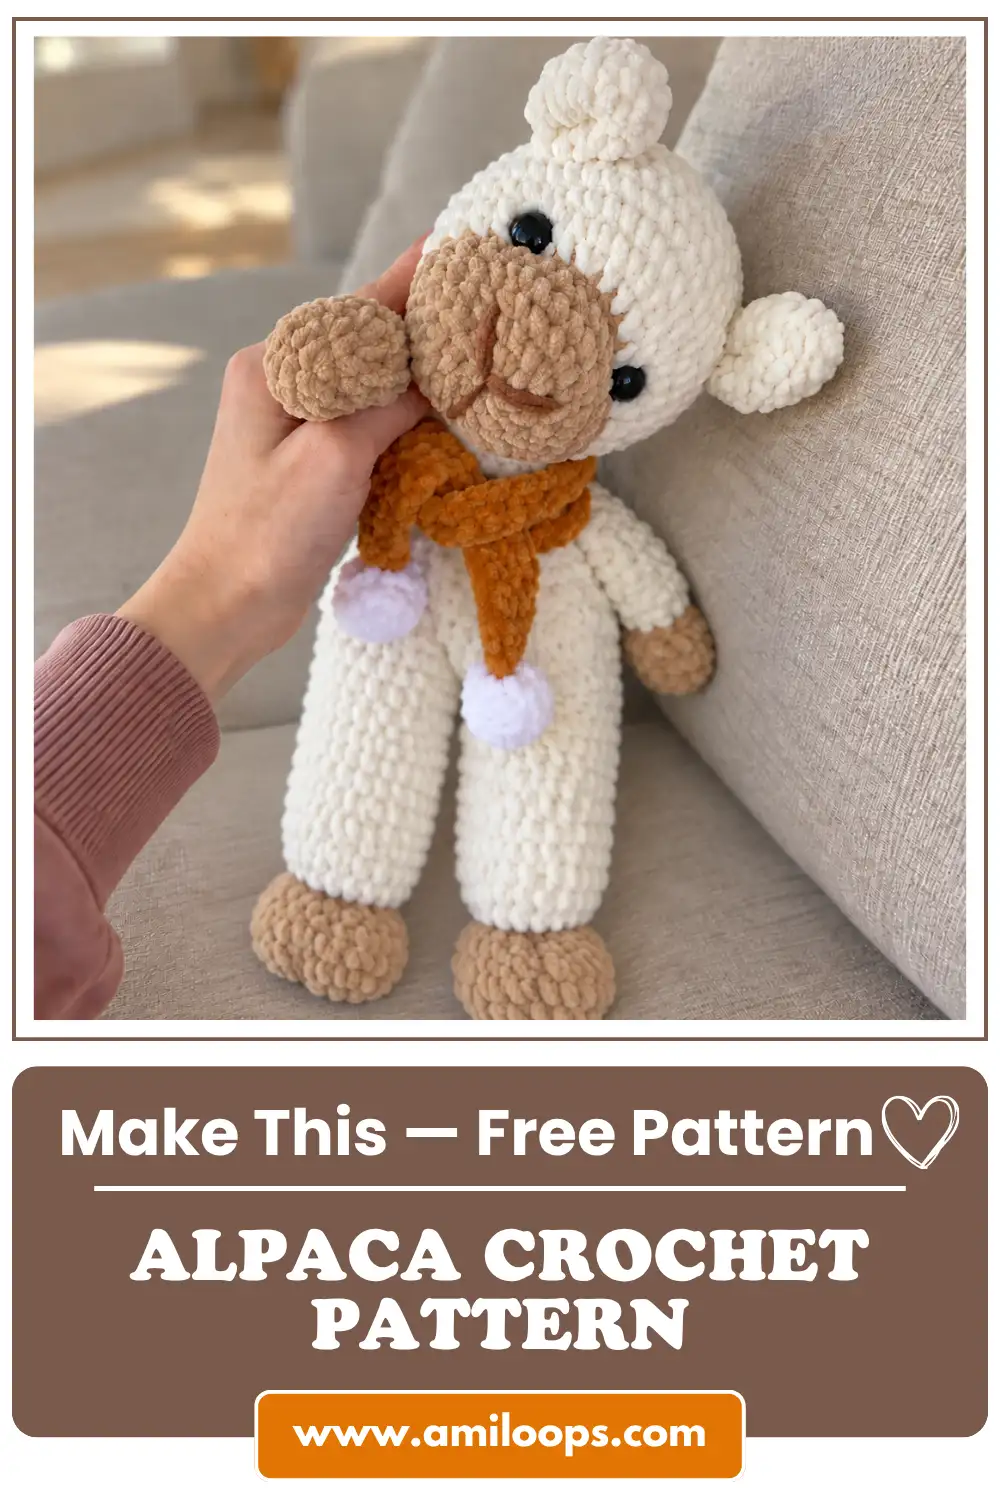
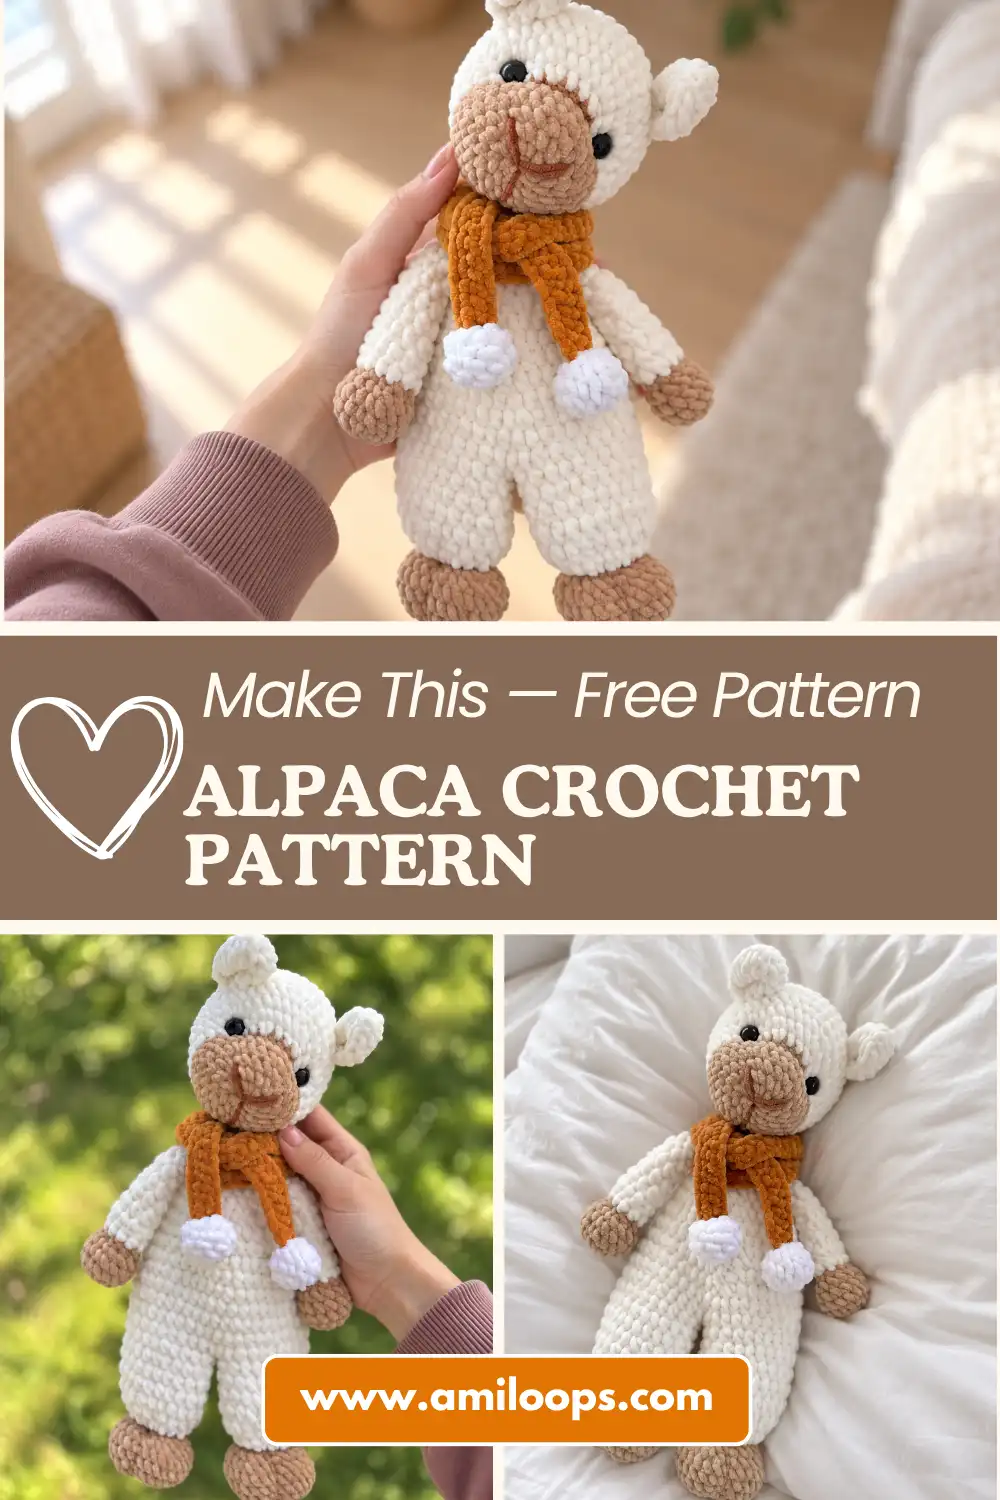
This alpaca crochet pattern introduces a gentle, two-tone creature with a cloud-white body, a warm tan face, and the quiet look of something that’s used to wandering high, cold places alone. I named mine Juniper somewhere around the third round of her head — there was already a tilt to her that felt curious rather than shy. She wears a hand-tied burnt-orange scarf with two small bells, and she’s in no hurry to be finished.
📖 Meet Juniper
- 🌟 Personality: quiet, curious, unhurried
- 🎨 Color Palette: soft cloud white with a warm light-coffee tan face and paws, finished with a burnt-orange scarf
- 📏 Size: about 15¾–16½ in (40–42 cm) tall with her legs tied together
- 🪝 Hook: 5 mm (US H/8) for the body, 4.5 mm (US 7) for the face and paws
- ⏱️ Time: best spread across a few unhurried sessions rather than one sitting
- ✨ Signature Detail: a ribbed scarf edge finished with two small bells stitched to the ends
- 💡 Difficulty: Intermediate
What You’ll Need for This Alpaca Crochet Pattern
Juniper is built from two main yarns and two hook sizes, and the two hooks matter more than they might seem to at first glance. The larger 5 mm hook is used for her plush, softly rounded body, letting the half double crochet stitches relax and open up just enough to feel squishy under your fingers. The smaller 4.5 mm hook comes out for her face, paws, and the other more sculpted areas, pulling the single crochet stitches in tighter so those parts hold their shape and stay crisp once she’s stuffed. If Himalaya Dolphin Baby or YarnArt Dolce aren’t sitting in your stash, look for a soft, plush worsted-to-bulky yarn in a similar white-and-tan pairing — Joann, Michaels, and Hobby Lobby all carry reasonable substitutes, and the color contrast matters more than the exact brand.
- Himalaya Dolphin Baby, color 363 (Main — soft cloud white) — 2 skeins
- YarnArt Dolce, color 747 (Contrast — warm light-coffee tan) — 1.5 skeins
- YarnArt Dolce, color 765 (a small amount, a touch deeper brown, for the nose embroidery)
- Wolans Bunny Baby, color 28 (a small amount, burnt orange, for the scarf)
- Plush yarn, white (a small amount, for the bells)
- Safety eyes, black, 14 mm — 2 pieces
- Fiberfill stuffing
- Crochet hook, 5 mm (US H/8)
- Crochet hook, 4.5 mm (US 7)
- Yarn needle
- Scissors
- Stitch marker
Crochet Abbreviations
One quick note before the table: a handful of rounds ask you to work a slightly different join, sometimes called a mixed or semi-X stitch, rather than a standard single crochet. It’s worked by taking the yarn over for the first pull-through and then under for the final pull, which gives the stitch a slightly denser, more braided look. If you’ve only ever worked a standard yarn-over, it’s worth practicing a few stitches on a scrap loop before you meet Juniper properly.
| Abbreviation | Meaning |
|---|---|
| MR | magic ring |
| ch | chain |
| sl st | slip stitch |
| sc | single crochet |
| hdc | half double crochet |
| inc | increase |
| dec | decrease |
| sc inc | single crochet increase |
| sc dec | single crochet decrease |
| hdc inc | half double crochet increase |
| hdc dec | half double crochet decrease |
Before the Story Begins
Every piece here starts the same way: with a magic ring. Juniper’s paws, tail, head, ears, and bells are all worked in continuous rounds from that same closed loop, so it’s worth having it feel automatic in your hands before you begin this alpaca crochet pattern in earnest. Our magic ring tutorial walks through it slowly if you want a refresher, and it eliminates the small hole at the center that a simple starting chain would leave behind.
The other thing worth settling before you start is the hook switch. This pattern moves between a 5 mm and a 4.5 mm hook at specific, deliberate points, to shift the tension between her plush body and her firmer face and paws. If two hook sizes for one project feels unfamiliar, our guide to choosing amigurumi hook sizes is a good primer, and the Craft Yarn Council’s hook size chart is a handy reference if you ever need to double-check a metric-to-US conversion mid-project.
Every decrease in this pattern is worth treating as an invisible decrease rather than a standard one — it keeps the tension even and avoids the small gap a regular decrease can leave behind, especially across the many decrease rounds that shape her head and haunches. If the technique is new to you, our invisible decrease tutorial covers it clearly. None of this needs to be rushed, either. Juniper has sixty-some rounds and rows ahead of her, spread across seven small pieces — there’s no reward for finishing quickly, only for finishing well.
The Alpaca Crochet Pattern, Piece by Piece
Every piece below is worked in continuous rounds unless noted otherwise — no joining, no visible seam, just a steady spiral that Juniper grows from a loop into something recognizable one round at a time. Watch for the two spots where the hook size changes; everything else follows the stitch counts exactly as written.
Upper Paws (make 2)
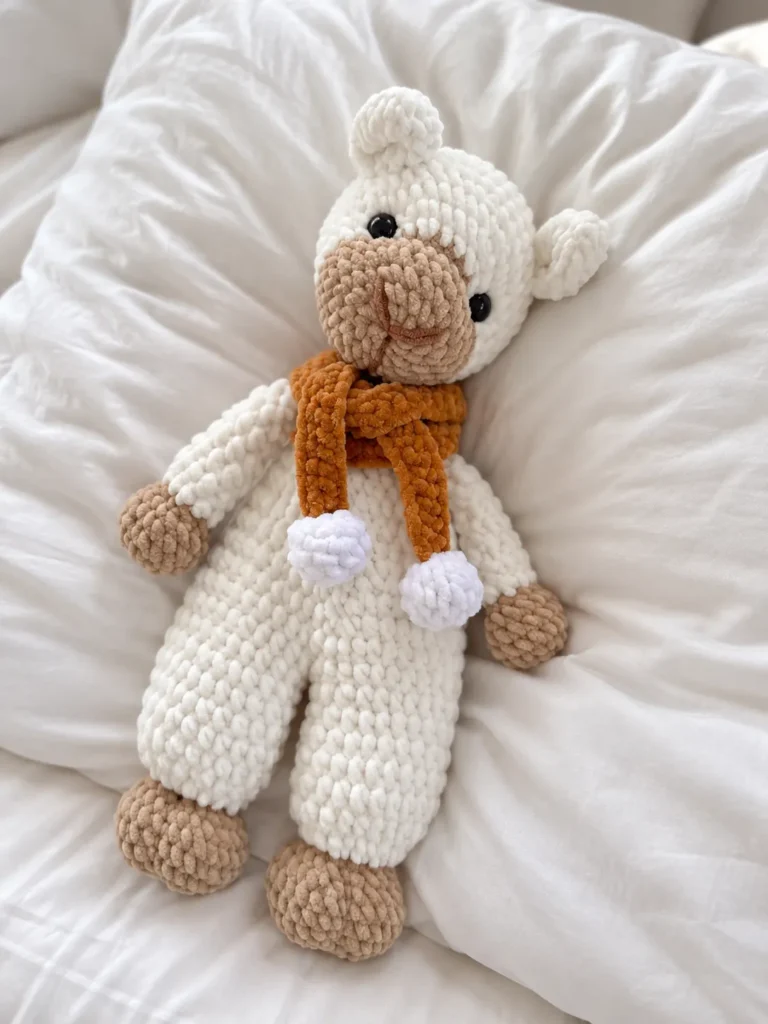
Start with Juniper’s smallest pieces. Each upper paw begins in that warm light-coffee tan — the same shade as her face — and shifts to white partway up, right where her tan hoof gives way to the arm that will disappear into her white body.
Round 1: 8 sc in MR. (8)
Round 2: 8 inc. (16)
Rounds 3-5: 16 sc. (16)
Round 6: (1 sc, dec) 5 times, 1 sc. Stuff lightly. (11)
Round 7: 1 sc dec (change to Main Color on this decrease), change to 5 mm hook, 9 hdc. (10)
Rounds 8-14: 10 hdc. (10)
Round 15: 2 hdc dec, 1 hdc. Fold the paw in half and crochet 4 sc through both layers to close. Fasten off.
Make two of these, identical, and set them aside. They’ll be crocheted directly into the body later, so there’s no sewing waiting for them at the end — just a little patience now.
Tail
The tail is the smallest piece of all, six rounds and done, and it’s worked entirely in white, since it disappears against her back.
Round 1: 6 sc in MR. (6)
Rounds 2-6: 6 sc. (6)
Round 7: 2 dec. Fold in half and crochet 2 sc through both layers to close. Fasten off.
Lower Paws & Body
This is the heart of Juniper — her legs and body worked as one continuous piece, with no seam between them. It starts with the first lower paw, worked tightly with the smaller 4.5 mm hook, before the fabric loosens up for the body itself.
✨ Sophie’s Note: This piece uses both hook sizes, so keep them close. The lower paws and the first several rounds of the body are worked with the 4.5 mm hook — watch for Round 9, where the pattern calls for the switch to the 5 mm hook and the looser hdc stitches that carry through the rest of the body.
Round 1: First Lower Paw: 8 sc in MR. (8)
Round 2: 8 inc. (16)
Round 3: (1 sc, inc) 8 times. (24)
Round 4: 4 sc, (1 sc, inc) 2 times, 8 sc, (1 sc, inc) 2 times, 4 sc. (28)
Rounds 5-6: 28 sc. (28)
Round 7: 4 sc, (1 sc, dec) 2 times, 8 sc, (1 sc, dec) 2 times, 4 sc. (24)
Round 8: (2 sc, dec) 6 times. Place a stitch marker on the heel. Stuff loosely. (18)
Round 9: 9 sc dec. Change to Main Color and switch to a 5 mm hook. (9)
Round 10: 9 hdc inc. (18)
Round 11: 4 hdc, hdc inc, 8 hdc, hdc inc, 4 hdc. (20)
Rounds 12-15: 20 hdc. (20)
Partial Round 1: Crochet 5-8 extra hdc, 1 sc, 1 sl st to align the joining point. Fasten off.
One paw down. Fasten off and set it aside — the yarn stays attached on the second one, since it flows straight into the join.
Partial Round 2: Second Lower Paw: Work exactly as the First Lower Paw through Round 15. Crochet 5-8 extra hdc to align the joining point. Do not cut the yarn.
Round 16: Join legs: 20 hdc around the second paw, 1 hdc in the joining space, 20 hdc around the first paw, 1 hdc in the joining space. Place a marker on the belly. (42)
This is the moment the two legs become one body. A single hdc bridges the gap on each side, and this is where Juniper starts to look less like separate parts and more like a whole animal.
Rounds 17-18: 42 hdc. (42)
Round 19: 19 hdc, 2 hdc together with the tail, 21 hdc. (42)
A few rounds in, the tail gets tucked in without any separate sewing — this round crochets right through it, attaching it invisibly as you go.
Rounds 20-23: 42 hdc. (42)
Round 24: (5 hdc, hdc dec) 6 times. (36)
Round 25: 36 hdc. (36)
Round 26: (4 hdc, hdc dec) 6 times. (30)
Round 27: (3 hdc, hdc dec) 6 times. (24)
Round 28: (2 hdc, hdc dec) 6 times. Re-align the marker to the center front/back. (18)
From here the body narrows toward the neck and shoulders — a steady run of decreases pulling everything in before her arms attach.
Round 29: 12 hdc, 4 hdc together with the first upper paw, 2 hdc. (18)
Round 30: 3 hdc, 4 hdc together with the second upper paw, 11 hdc. (18)
This is where the upper paws you set aside earlier finally rejoin the story, crocheted straight into the shoulder rounds with no sewing required.
Rounds 31-34: 18 hdc. (18)
Round 35: 18 sc, 1 sl st. Fasten off. (18)
Set the body down for a moment and look at it. Even without a head yet, the posture is already there — four limbs, a tail, and an opening at the top waiting to become a neck.
Head
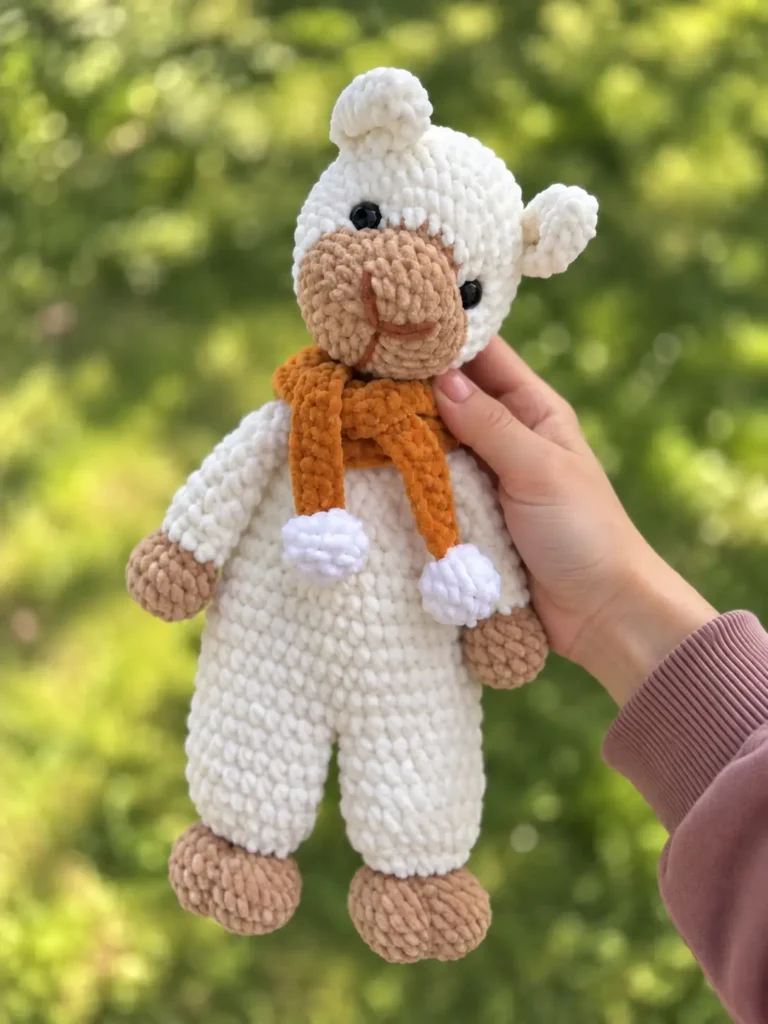
Unlike most amigurumi heads, this one starts at the muzzle rather than the crown, built forward-first in that same light-coffee tan before the color lightens to white around Round 7.
Round 1: 6 sc in MR. (6)
Round 2: 6 inc. (12)
Round 3: (1 sc, inc) 6 times. (18)
Round 4: (2 sc, inc) 6 times. (24)
Round 5: (3 sc, inc) 6 times. (30)
Rounds 6-7: 30 sc. Change to Main Color on the final sc of Round 7. (30)
Round 8: 6 sc, (2 sc, inc) 6 times, 6 sc. (36)
Round 9: 6 sc, (3 sc, inc) 6 times, 6 sc. (42)
Rounds 8 and 9 are where the head really opens up, widening drastically to build out the forehead. Keep the increases centered over the top of the muzzle rather than letting them drift to one side — this is also where the safety eyes will sit, spaced evenly across the increases you’re making right now.
Rounds 10-15: 42 sc. (42)
Round 16: (5 sc, dec) 6 times. (36)
Round 17: (4 sc, dec) 6 times. (30)
Round 18: (3 sc, dec) 6 times. (24)
Round 19: (2 sc, dec) 6 times. (18)
Round 20: (1 sc, dec) 6 times. (12)
Round 21: 6 dec. Fasten off and close the hole. (6)
By Round 21 the crown pulls almost shut on its own. Fasten off, close the hole, and set the head down next to the body. Even without a face yet, there’s already a shape to her that feels like someone.
Ears (make 2)
Two small ears, folded rather than fully rounded off — the fold and a base pinch are what give them their gentle, alert tilt once they’re sewn on.
Round 1: 6 sc in MR. (6)
Round 2: (1 sc, inc) 3 times. (9)
Round 3: (2 sc, inc) 3 times. (12)
Rounds 4-7: 12 sc. (12)
Set both aside. They won’t go on until the very end, once you can actually see where the eyes have landed.
Scarf
The scarf is worked flat, in rows rather than rounds, and it starts with a small but important detail: the first row of stitches is worked into the back bumps of the starting chain rather than the usual top loop. It’s a small technical choice with a real payoff — it’s what gives the finished scarf that neat, slightly ribbed V pattern along the edge instead of a curled, uneven one.
Row 1: Ch 81 loosely.
Row 2: Working in the back bumps of the chain, 80 sc, ch 1, turn. (80)
Row 3: 80 sc, 1 sl st. Fasten off. (80)
Fasten off, and set the scarf aside with the bells still to come.
Bells (make 2)
Two tiny bells, small enough to disappear into your palm, worked in a soft plush white yarn that gives them a slightly fuzzy, real-bell texture once they’re stuffed and sewn.
Round 1: 6 sc in MR. (6)
Round 2: 6 inc. (12)
Rounds 3-4: 12 sc. (12)
Round 5: 6 dec. Fasten off and cinch closed. (6)
Bringing Juniper Together
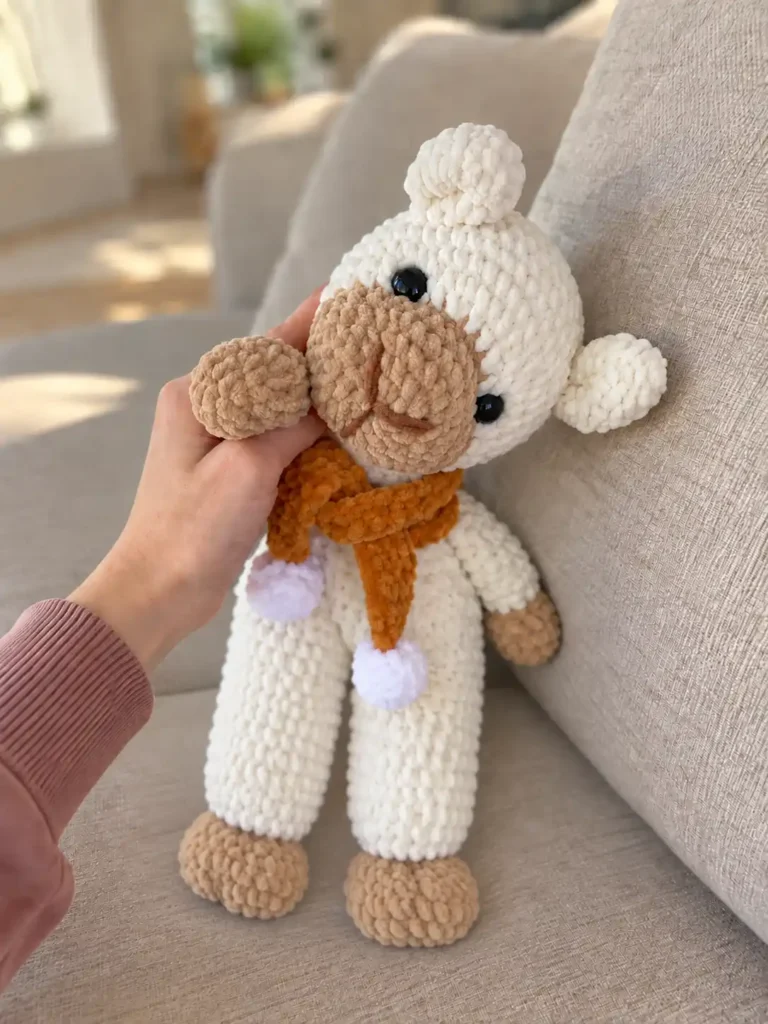
Assembly starts with the two pieces that haven’t been sewn in as you went: the ears and the safety eyes. Fold each ear once to close it, then pinch the base a second time before you sew it to the head — that double fold is what gives the ears their alert, listening tilt rather than letting them lie flat. Position them roughly level with the outer edges of the eyes, about 3 to 4 rounds higher up the head, and set the safety eyes symmetrically across the increases you built into Round 8, before you do any needle sculpting around them.
Sewing the head onto the body is its own small decision. Rather than lining the two pieces up flush, offset the head slightly and leave about a one-round gap between them, sewing through with a doubled strand of yarn for extra hold. That small offset is what keeps her from looking stiff — it lets the head settle at a slightly natural angle instead of sitting perfectly centered like a screwed-on lid. Once the head is in place, needle-sculpt around the eyes with a strong, doubled thread to pull the surrounding stitches in and give her face some real depth, then embroider a simple “Y” shape for the nose, keeping it centered between the two sculpted points.
- Join upper paws and tail directly into the body rounds.
- Sculpt the arms and legs tightly against the body using matching yarn.
- Sew folded ears to the head 3-4 rounds higher than the eyes.
- Sculpt the muzzle with needle and strong thread at designated points around the eyes.
- Embroider a “Y” shaped nose.
- Sew head to the body with a double strand of yarn, leaving a 1-round offset.
- Tie scarf and sew bells to the scarf ends.
The last two items on that list — tying the scarf and stitching on the bells — belong to Juniper’s outfit, which gets its own moment next.
Her Scarf and Bells
None of this is strictly necessary to finish an alpaca amigurumi, but it’s the part that turns Juniper from “a plush animal” into someone specific. Tie the finished burnt-orange scarf loosely around her neck rather than snugly — a little slack lets it drape instead of pulling at the silhouette — and stitch the two bells directly to its ends using their own yarn tails rather than a fresh length of thread. That keeps the finishing steps simple and avoids extra ends to weave in once everything else is done.
If you want to shift her mood entirely, the scarf is the easiest place to do it. A deep forest green in place of the burnt orange would give her a quieter, more wintry feel; a soft pink would lean younger and sweeter. The bells are small enough that even a slightly different plush yarn changes very little about the overall look, so don’t feel locked into the exact yarn listed if something else is calling to you from your stash. If Juniper is headed for a young child’s room rather than a shelf, it’s worth reviewing current U.S. Consumer Product Safety Commission guidance on toy safety before you finish her off — safety eyes and small bells are both worth a second look for very young children.
Meet Juniper
Meet Juniper. She’s sitting on my shelf right now, scarf slightly crooked the way scarves always end up on real animals, head tilted just enough to one side that she looks like she’s listening for something down the hall. That’s the strange, quiet magic of getting the eyes and the head placement just right — she stops being a pile of tan and white stitches and starts being someone specific, someone who was clearly out in the cold a while before she wandered in. Name yours whatever feels right the moment you look at her finished face. Put her somewhere she can watch the room — a windowsill, a bookshelf, next to a reading lamp — because creatures like this one are entirely too good at seeming like they’re paying attention. 🧶