A Silly Pumpkin Amigurumi Pattern Built Entirely From Scraps
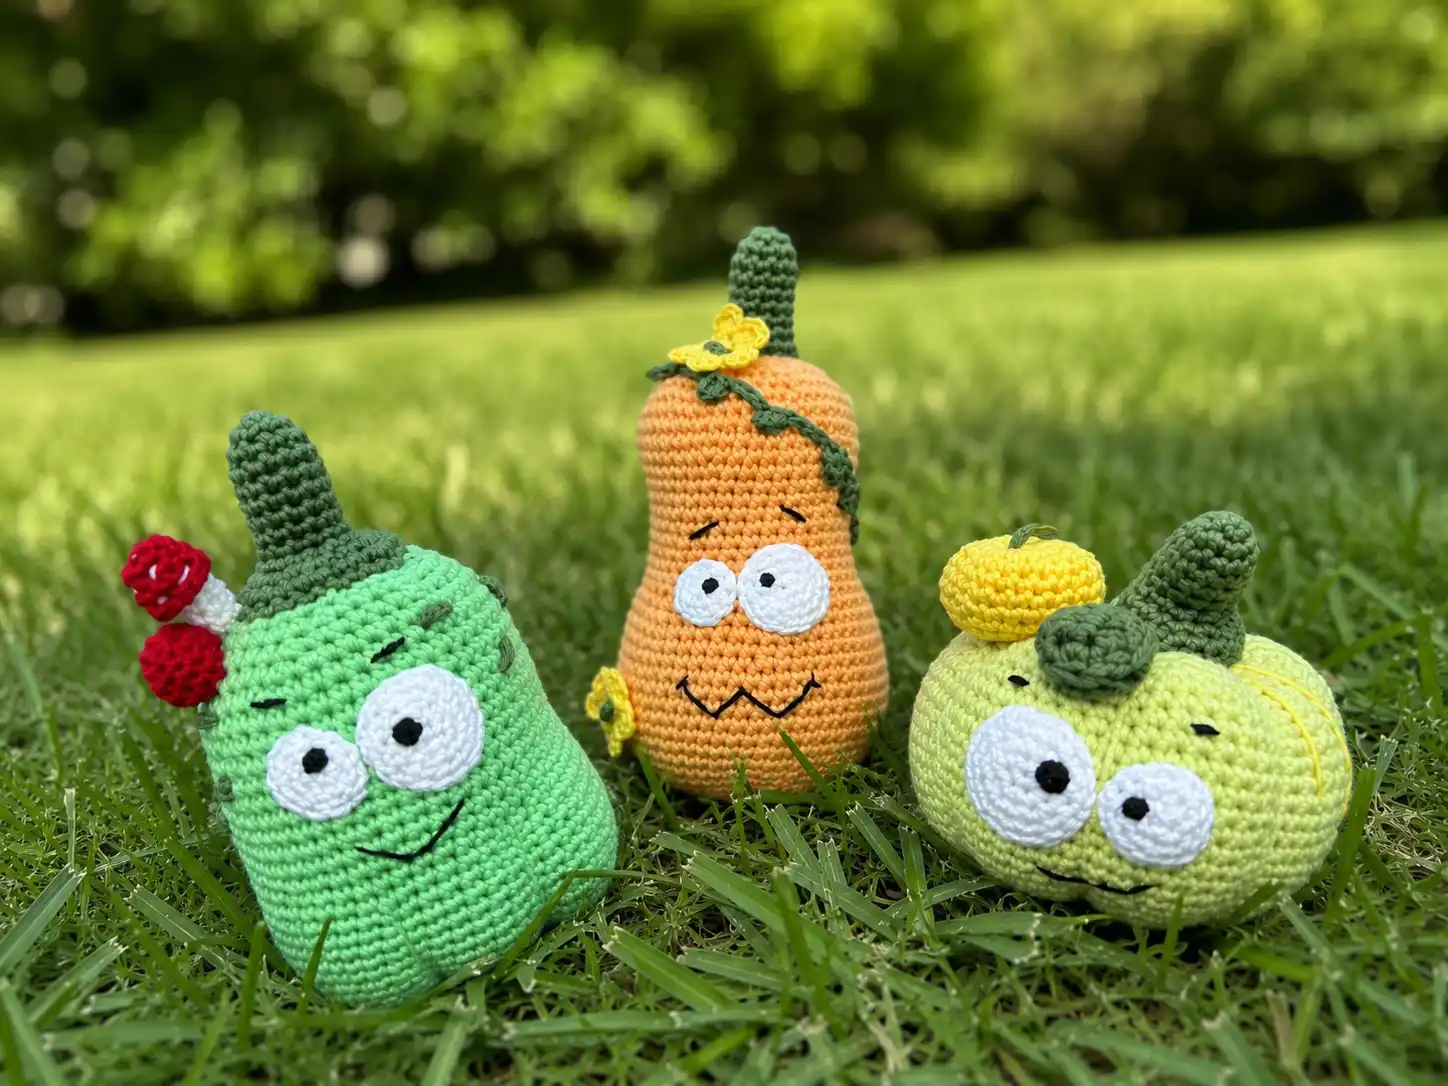
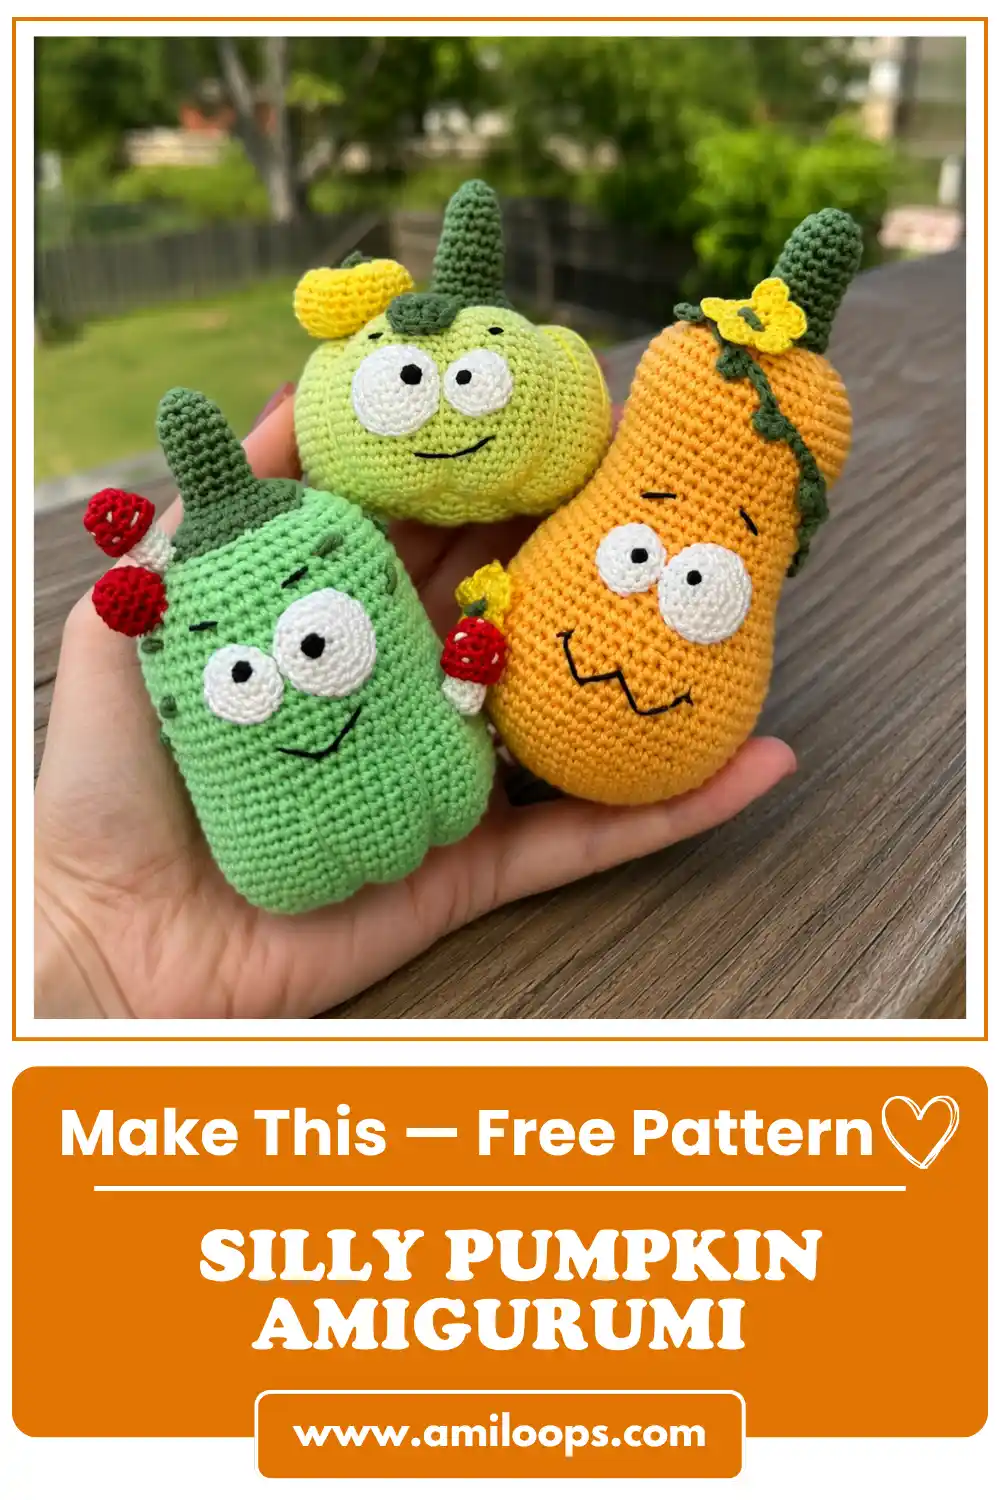
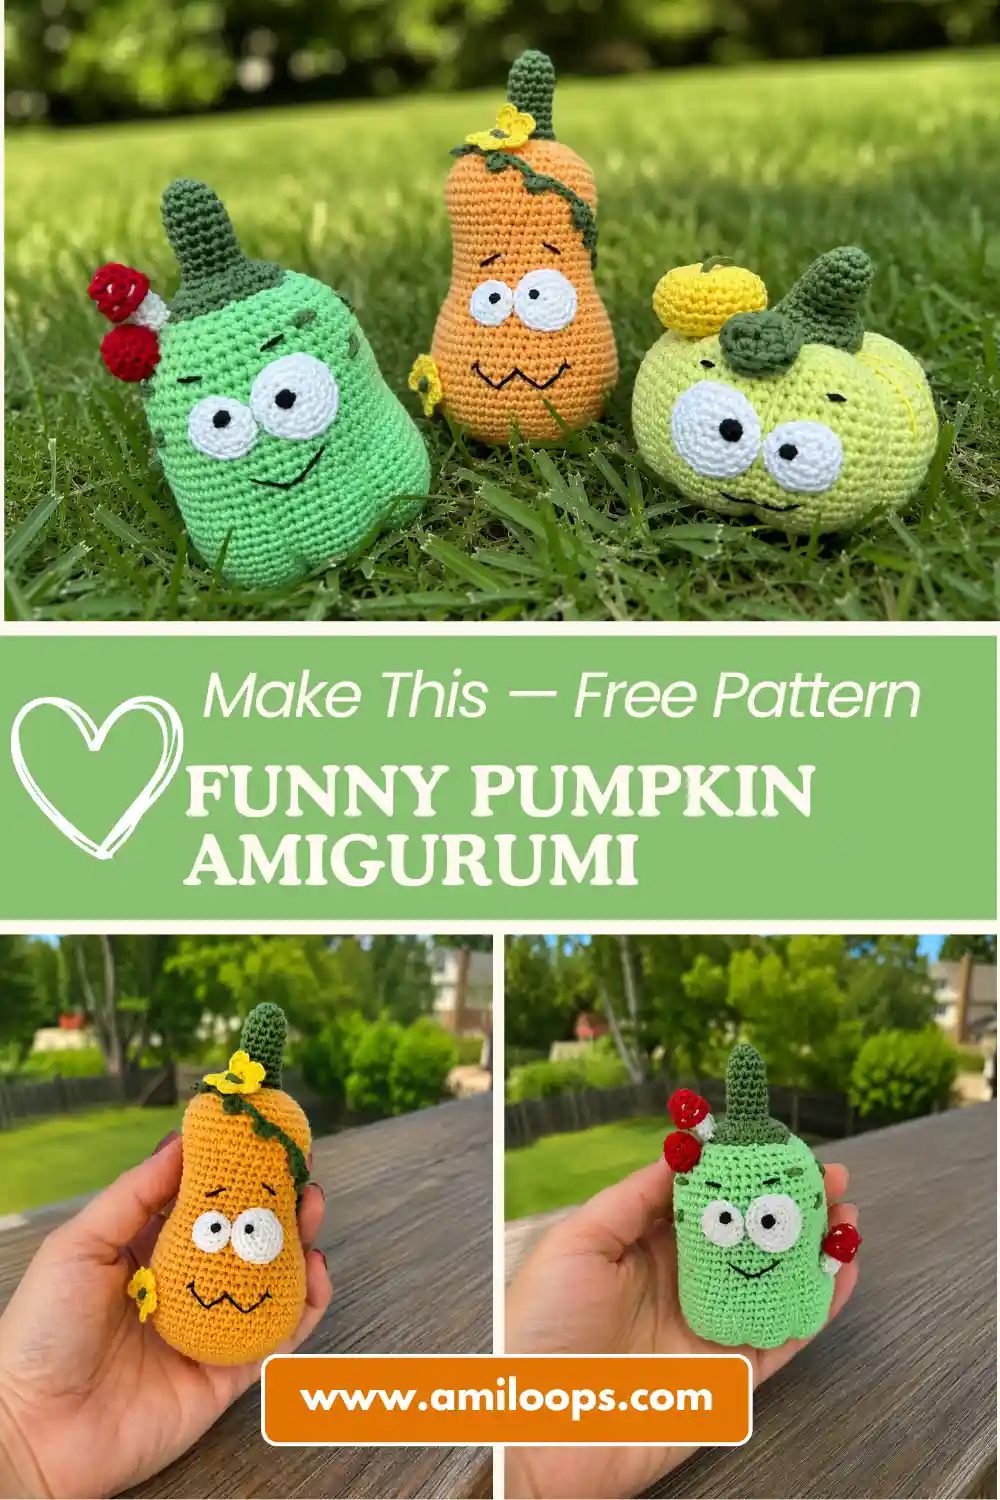
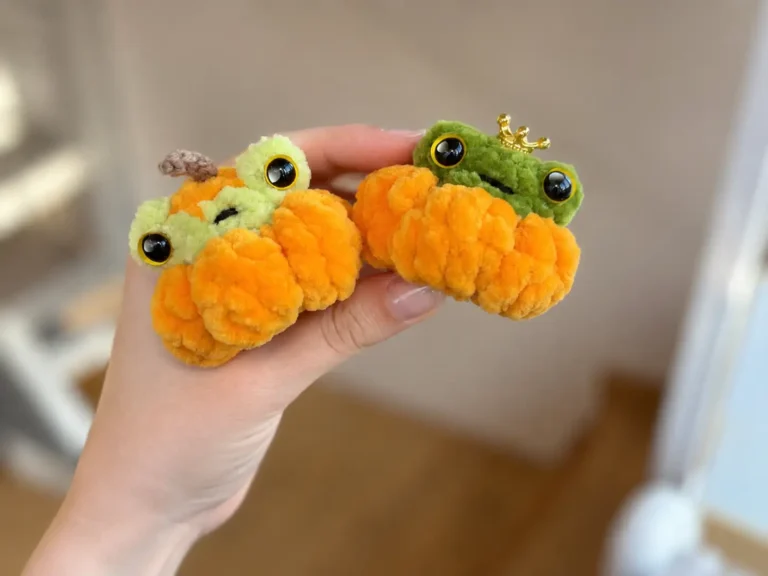
This free silly pumpkin amigurumi pattern is a stash-buster hiding inside a fall decoration — three pumpkins in different colors, each with a stem, a set of goofy eyes, and its own little sidekick (a mini pumpkin, a trio of mushrooms, or a curling vine with flowers). None of the individual pieces eat much yarn. Grab your green, orange, and mint scraps, plus whatever thin accent yarn you’ve got in yellow, red, and white, and work through this one piece at a time.
🧶 What You’ll Need
- 💰 Yarn Needed: a small amount in each color — this is a leftovers project, not a full-skein one (see the note in Materials below on why exact yardage isn’t listed)
- 🎨 Colors: grass green, mint green, dark green, light orange (medium-weight cotton or similar); white, red, and yellow-orange (thin, lace-weight cotton or similar) for the small accents — or whatever similar scraps are already in your stash
- 🪝 Hook: 1.6 mm for the pumpkins, 1.3 mm for the tiny decorations and eyes (no direct US letter size — see the flag on this below)
- ⏱️ Time: multi-session build — three pumpkins plus several small pieces means this isn’t a one-sitting project
- 📏 Finished Size: varies by piece — three good-sized pumpkins plus a handful of miniature accents
- 💡 Difficulty: Intermediate (my estimate — the original pattern didn’t list one)
- 🎁 Great For: fall and Halloween display, gift trios, market sets, and clearing out those odd little balls of leftover cotton
Materials for This Silly Pumpkin Amigurumi Pattern
Here’s what goes into the full trio, plus their tiny sidekicks:
- Medium-weight cotton yarn (Sport or Fingering weight works well) in grass green, mint green, dark green, and light orange — a small amount of each, no exact yardage available from the source pattern
- Thin, lace-weight cotton yarn in white, red, and yellow-orange for the eyes, mushrooms, and small decoration pumpkin — again, just a small amount of each
- A bit of yellow yarn for the two flowers (the source pattern doesn’t confirm whether this is the same yellow-orange used elsewhere or a separate shade — either will work fine)
- 1.6 mm hook for the three main pumpkins and stems
- 1.3 mm hook for the eyes, small pumpkin decoration, mushrooms, leaves, vine, and flowers
- Stuffing
- Sewing needle and scissors
- Black fabric paint, or small 3 mm safety eyes, for the pupils
This falls under Sport, Fingering, and Lace weight territory depending on the piece — the main pumpkins use the thicker of the two, and everything else uses the thinner. If you’re not sure what’s in your stash, hold it up next to a piece of regular worsted-weight cotton: if it looks noticeably thinner, it’ll work for the accent pieces here.
Abbreviations
| Abbreviation | Meaning |
|---|---|
| mr | magic ring |
| ch | chain |
| sc | single crochet |
| hdc | half double crochet |
| dc | double crochet |
| sl st | slip stitch |
| inc | increase (2 sc in the same stitch) |
| invisible dec | invisible decrease, worked through the front loops only of the next 2 stitches — AmiLoops’ standard decrease, since it leaves no visible gap |
Smart Crafter Tips for This Silly Pumpkin Amigurumi Pattern
First time working a magic ring? Every single piece in this pattern starts with one, so it’s worth having down before you start. Our magic ring tutorial covers it in under two minutes.
Here’s a trick that saves you a headache: the hook sizes on this pattern (1.6 mm and 1.3 mm) are both non-standard steel sizes without a clean US letter match. If you don’t own steel hooks that small, size down slightly from your closest US hook and check your gauge on a swatch before committing — our hook size guide walks through how hook size affects your finished piece, and the Craft Yarn Council’s hook size chart is a good reference if you want to see where these sizes fall relative to standard ones.
Because there’s so much sewing in this pattern — three stems, six eyes, a mini pumpkin, three mushrooms, two leaves, a vine, and two flowers — it’s worth reading our sewing amigurumi parts guide before you start attaching pieces. Pinning everything in place first, then sewing, saves you from a lopsided pumpkin.
Pattern
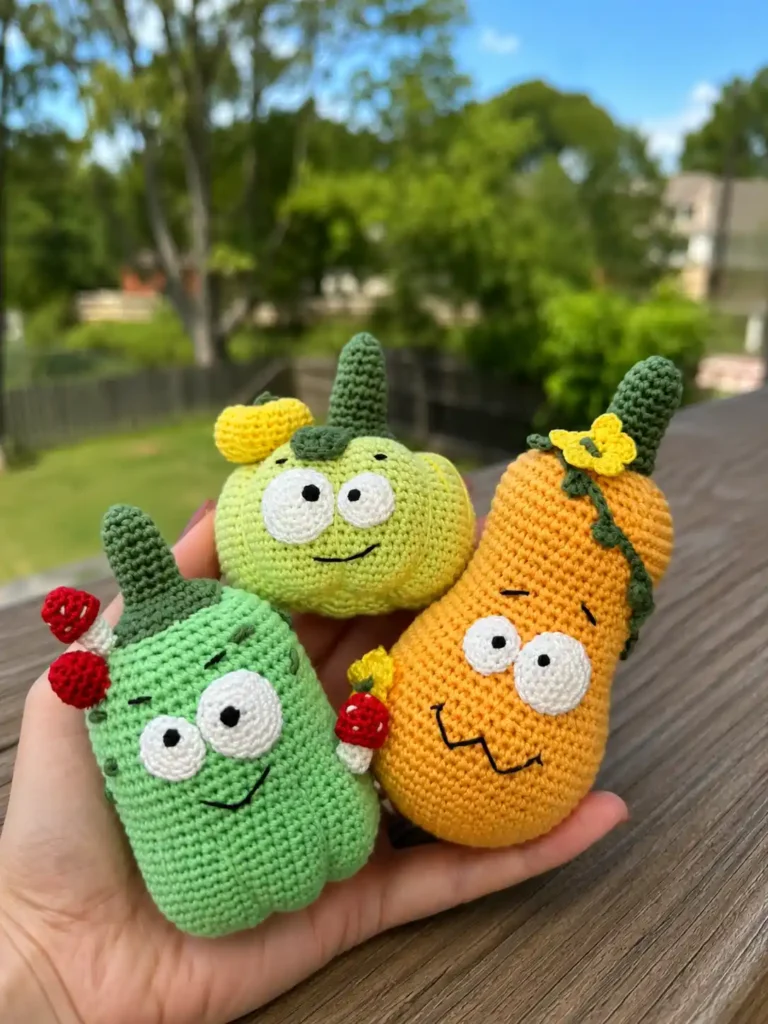
Pumpkin (Grass Green) — make 1
Yarn: grass green Starts: magic ring
Row 1: 6 sc in mr (6)
Row 2: inc around (12)
Row 3: (1 sc, inc) ×6 (18)
Row 4: (2 sc, inc) ×6 (24)
Row 5: (3 sc, inc) ×6 (30)
Row 6: (4 sc, inc) ×6 (36)
Row 7: (5 sc, inc) ×6 (42)
Row 8: (6 sc, inc) ×6 (48)
Row 9: (7 sc, inc) ×6 (54)
Row 10: (8 sc, inc) ×6 (60)
Rows 11–25: sc around, 15 rows even (60)
Row 26: (8 sc, invisible dec) ×6 (54)
Row 27: (7 sc, invisible dec) ×6 (48)
Row 28: (6 sc, invisible dec) ×6 (42)
Row 29: (5 sc, invisible dec) ×6 (36)
Row 30: (4 sc, invisible dec) ×6 (30)
Row 31: (3 sc, invisible dec) ×6 (24)
Row 32: (2 sc, invisible dec) ×6 (18)
Row 33: (1 sc, invisible dec) ×6 (12)
Row 34: invisible dec around (6)
Finishing: Stuff firmly before closing.
🧶 Scrap Check: This is the biggest piece in the whole pattern — 34 rounds — so it’s the one place where you actually want a full small ball of green rather than a tiny scrap. Everything else in this set uses noticeably less.
Stem (for grass green pumpkin) — make 1
Yarn: dark green Starts: magic ring
Row 1: 6 sc in mr (6)
Row 2: (1 sc, inc) ×3 (9)
Row 3: sc around (9)
Row 4: (2 sc, inc) ×3 (12)
Rows 5–8: sc around, 4 rows even (12)
Row 9: (1 sc, inc) ×6 (18)
Row 10: (2 sc, inc) ×6 (24)
Row 11: sc around (24)
Finishing: Stuff.
Eyes — Variant 1 (Small Eye) — make as needed
Yarn: white Starts: magic ring
Row 1: 6 sc in mr (6)
Row 2: inc around (12)
Rows 3–5: sc around, 3 rows even (12)
Row 6: invisible dec around (6)
Finishing: Do not stuff. Fold flat in half.
Eyes — Variant 2 (Big Eye) — make as needed
Yarn: white Starts: magic ring
Row 1: 6 sc in mr (6)
Row 2: inc around (12)
Row 3: (1 sc, inc) ×6 (18)
Rows 4–7: sc around, 4 rows even (18)
Row 8: (1 sc, invisible dec) ×6 (12)
Row 9: invisible dec around (6)
Finishing: Do not stuff. Fold flat in half.
The source pattern doesn’t specify which pumpkin gets which eye size — so treat it as your call. Mix big and small across the three pumpkins for a more “silly” look, or keep them consistent. Either reads fine.
Small Pumpkin Decoration — make 1
Yarn: yellow-orange Starts: magic ring
Row 1: 6 sc in mr (6)
Row 2: inc around (12)
Row 3: (1 sc, inc) ×6 (18)
Row 4: (2 sc, inc) ×6 (24)
Rows 5–10: sc around, 6 rows even (24)
Row 11: (2 sc, invisible dec) ×6 (18)
Row 12: (1 sc, invisible dec) ×6 (12)
Row 13: invisible dec around (6)
Finishing: Stuff, leaving a long tail for sewing on the indents and attaching it to the main pumpkin.
Leaf — make 2
Yarn: dark green Starts: chain
Row 1: Ch 7. Starting in the 2nd chain from the hook, work sc, hdc, dc, dc; work sc in the last chain; continuing down the other side of the chain, work dc, dc, hdc, sc; join with sl st to close the leaf shape. (stitch count not specified in the source pattern)
Finishing: Fasten off.
Pumpkin (Mint) — make 1
Yarn: mint green Starts: magic ring
Row 1: 6 sc in mr (6)
Row 2: inc around (12)
Row 3: (1 sc, inc) ×6 (18)
Row 4: (2 sc, inc) ×6 (24)
Row 5: (3 sc, inc) ×6 (30)
Row 6: (4 sc, inc) ×6 (36)
Row 7: (5 sc, inc) ×6 (42)
Row 8: (6 sc, inc) ×6 (48)
Rows 9–31: sc around, 23 rows even (48)
Row 32: (6 sc, invisible dec) ×6 (42)
Row 33: (5 sc, invisible dec) ×6 (36)
Row 34: (4 sc, invisible dec) ×6 (30)
Row 35: (3 sc, invisible dec) ×6 (24)
Row 36: (2 sc, invisible dec) ×6 (18)
Row 37: (1 sc, invisible dec) ×6 (12)
Row 38: invisible dec around (6)
Finishing: Stuff firmly.
Stem (for mint pumpkin) — make 1
Yarn: dark green Starts: magic ring
Row 1: 6 sc in mr (6)
Row 2: (1 sc, inc) ×3 (9)
Row 3: (2 sc, inc) ×3 (12)
Rows 4–9: sc around, 6 rows even (12)
Row 10: (1 sc, inc) ×6 (18)
Row 11: (2 sc, inc) ×6 (24)
Row 12: (3 sc, inc) ×6 (30)
Row 13: sc around (30)
Finishing: Stuff.
Mushroom Stem — make 3
Yarn: white Starts: magic ring
Row 1: 6 sc in mr (6)
Row 2: inc, 5 sc (7)
Rows 3–7: sc around, 5 rows even (7)
Finishing: Stuff only the stem — the cap doesn’t get stuffed.
Mushroom Cap — make 3
Yarn: red Starts: magic ring
Row 1: 6 sc in mr (6)
Row 2: (1 sc, inc) ×3 (9)
Row 3: (2 sc, inc) ×3 (12)
Row 4: (3 sc, inc) ×3 (15)
Row 5: sc around (15)
Finishing: Fasten off. Sew the cap over the unstuffed stem to finish each mushroom.
🧶 Scrap Check: Three mushroom stems plus three caps uses hardly any yarn at all — this is a great use for the tiny white and red bits too small for anything else.
Pumpkin (Light Orange) — make 1
Yarn: light orange Starts: magic ring
Row 1: 6 sc in mr (6)
Row 2: inc around (12)
Row 3: (1 sc, inc) ×6 (18)
Row 4: (2 sc, inc) ×6 (24)
Row 5: (3 sc, inc) ×6 (30)
Row 6: (4 sc, inc) ×6 (36)
Row 7: (5 sc, inc) ×6 (42)
Row 8: (6 sc, inc) ×6 (48)
Row 9: (7 sc, inc) ×6 (54)
Rows 10–16: sc around, 7 rows even (54)
Row 17: (7 sc, invisible dec) ×6 (48)
Rows 18–19: sc around, 2 rows even (48)
Row 20: (6 sc, invisible dec) ×6 (42)
Row 21: sc around (42)
Row 22: (5 sc, invisible dec) ×6 (36)
Rows 23–30: sc around, 8 rows even (36)
Row 31: (5 sc, inc) ×6 (42)
Row 32: (6 sc, inc) ×6 (48)
Rows 33–35: sc around, 3 rows even (48)
Row 36: (6 sc, invisible dec) ×6 (42)
Row 37: (5 sc, invisible dec) ×6 (36)
Row 38: (4 sc, invisible dec) ×6 (30)
Row 39: (3 sc, invisible dec) ×6 (24)
Row 40: (2 sc, invisible dec) ×6 (18)
Row 41: (1 sc, invisible dec) ×6 (12)
Row 42: invisible dec around (6)
Finishing: This one has a waist — it narrows through rows 17–30 before widening again, so stuff gradually as you go rather than all at once at the end. That keeps the curve smooth instead of lumpy.
Stem (for light orange pumpkin) — make 1
Yarn: dark green Starts: magic ring
Row 1: 6 sc in mr (6)
Row 2: inc around (12)
Rows 3–8: sc around, 6 rows even (12)
Row 9: (1 sc, inc) ×6 (18)
Row 10: sc around (18)
Finishing: Stuff, then sew to the top of the pumpkin.
Vine — make 1
Yarn: green Starts: chain
Row 1: Ch 5, then ch 4 and sl st back 3 chains (working into the 4th chain from the hook) to form a little curling loop, then ch 5 to continue the main vine. Repeat this sequence 11 times total. (stitch count not specified in the source pattern)
Note: your exact number of repeats may land slightly higher or lower than 11 depending on your gauge — that’s normal. Keep going until the vine looks as long and full as you want.
Finishing: Sew the beginning of the vine to the base of the pumpkin’s stem, wrap it around the pumpkin, and tack down the full length as you go.
Flower — make 2
Yarn: yellow Starts: magic ring
Row 1: 6 sc in mr (6)
Row 2: In each stitch around: ch 2, 3 dc, sl st — repeat 6 times total to form 6 petals. (stitch count not specified in the source pattern)
Finishing: Fasten off.
Assembling Your Silly Pumpkin Amigurumi Pattern
Grass Green Pumpkin
- Thread a needle with a long tail of yarn and insert it through the center of the bottom (where you worked the final invisible dec at row 34). Bring the yarn up through the center at the top (where row 2’s increases are), then back down into the center, pulling the yarn around the outside of the pumpkin to create an indent. Pull tight. Repeat evenly around to make 8 indents total.
- Sew the stem into the center of the top.
- Sew the eyes onto the pumpkin.
- Sew the small pumpkin decoration and the two leaves next to the stem — indent the small pumpkin the same way (8 indents) before attaching it.
Mint Pumpkin
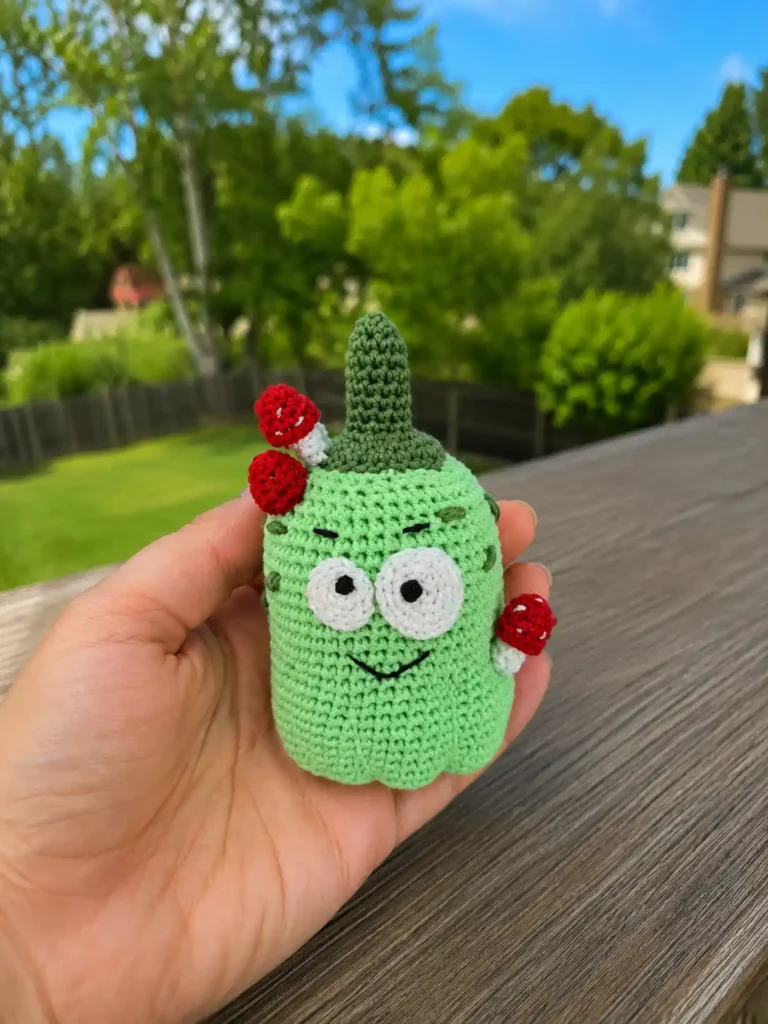
- Sew the stem to the top of the pumpkin.
- Add indents to the bottom portion of the pumpkin (same technique as above).
- Sew on the eyes.
- Sew the three mushrooms in place, wherever you like them.
Light Orange Pumpkin
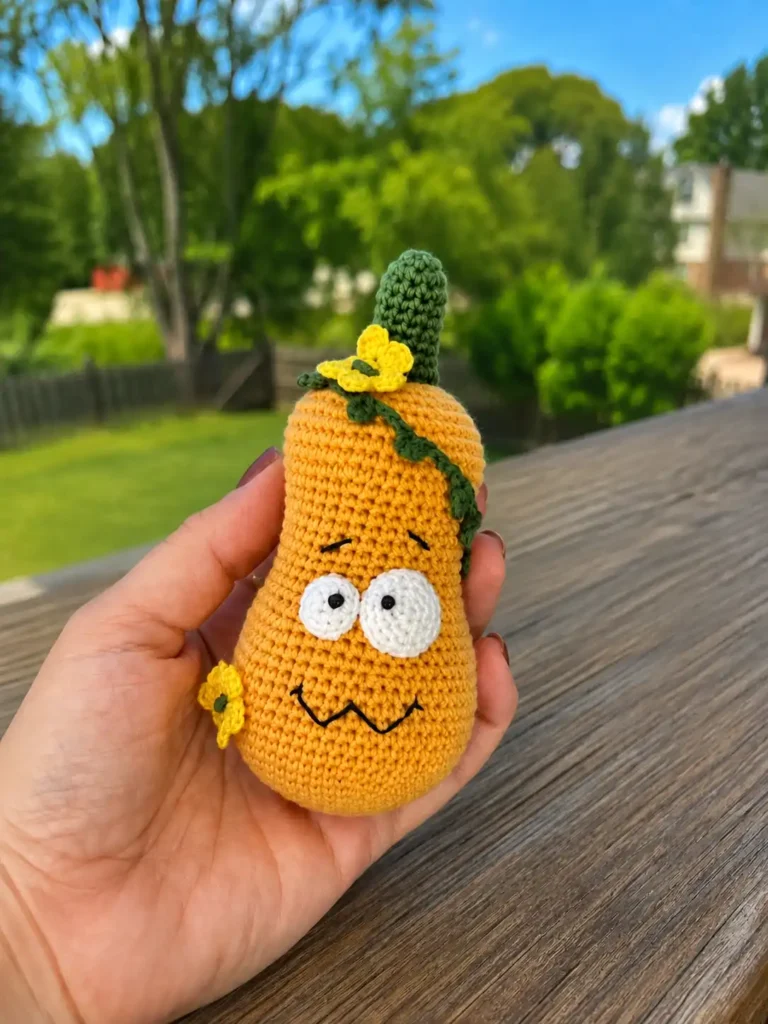
- Sew the stem to the top of the pumpkin.
- Sew on the eyes.
- Attach the vine: sew the starting end at the base of the stem, wrap it around the pumpkin, and tack the entire length down as you go.
- Sew the two flowers in place.
Faces & Finishing Touches
Grass Green Pumpkin: Embroider the mouth and eyebrows. Add black pupils, either with fabric paint or by inserting small 3 mm safety eyes — see the CPSC’s toy safety guidance if this pumpkin is headed to a child, since safety eyes and paint have different age recommendations depending on who’s playing with the finished piece.
Mint Pumpkin: Near the stem, add a few small bumps or bulges for texture. Embroider the mouth and eyebrows, then add pupils the same way as above.
Light Orange Pumpkin: Add pupils, then embroider the eyebrows and mouth.
💡 Stretch It Further: You don’t have to make all three at once. Start with the grass green pumpkin and its small sidekick pumpkin — that’s a complete mini scene on its own. Save the mint pumpkin and mushrooms, or the light orange pumpkin and its vine, for a second and third sitting whenever you’ve got more scrap time. Swap any of the three main colors for whatever you’ve actually got the most of — a deep purple or a mustard yellow would look just as “silly.” Bundle the finished trio in a small box with some raffia or twine for a ready-made fall gift set, or sell them individually as they’re finished — each pumpkin plus its accessory stands on its own.
Mia’s Take
This one’s a bigger commitment than my usual quick keychain, and I’m not going to pretend otherwise — three pumpkins, six eyes, a mini pumpkin, three mushrooms, two leaves, a vine, and two flowers is a real project. But look at what each individual piece actually costs you: a handful of rounds and a few yards of scrap. That’s the trick with a set like this — it only feels big because you’re looking at the whole thing at once. Break it into three sittings, one pumpkin per session, and it stops feeling like a project and starts feeling like three quick wins in a row. 🧶
FAQ
What yarn is best for this silly pumpkin amigurumi pattern?
Medium-weight cotton yarn (Sport or Fingering) works perfectly for the main pumpkins, while a thinner lace-weight cotton is ideal for the tiny accent pieces and eyes.
What size hook do I need to make these pumpkins?
You will need a 1.6 mm crochet hook for the main pumpkins and stems, and a smaller 1.3 mm hook for the tiny details like the eyes, mushrooms, and vines.
Is this silly pumpkin amigurumi pattern good for beginners?
This pattern is best for intermediate crafters. While the stitches are basic, working with tiny 1.3 mm hooks and sewing numerous small parts requires some amigurumi experience.