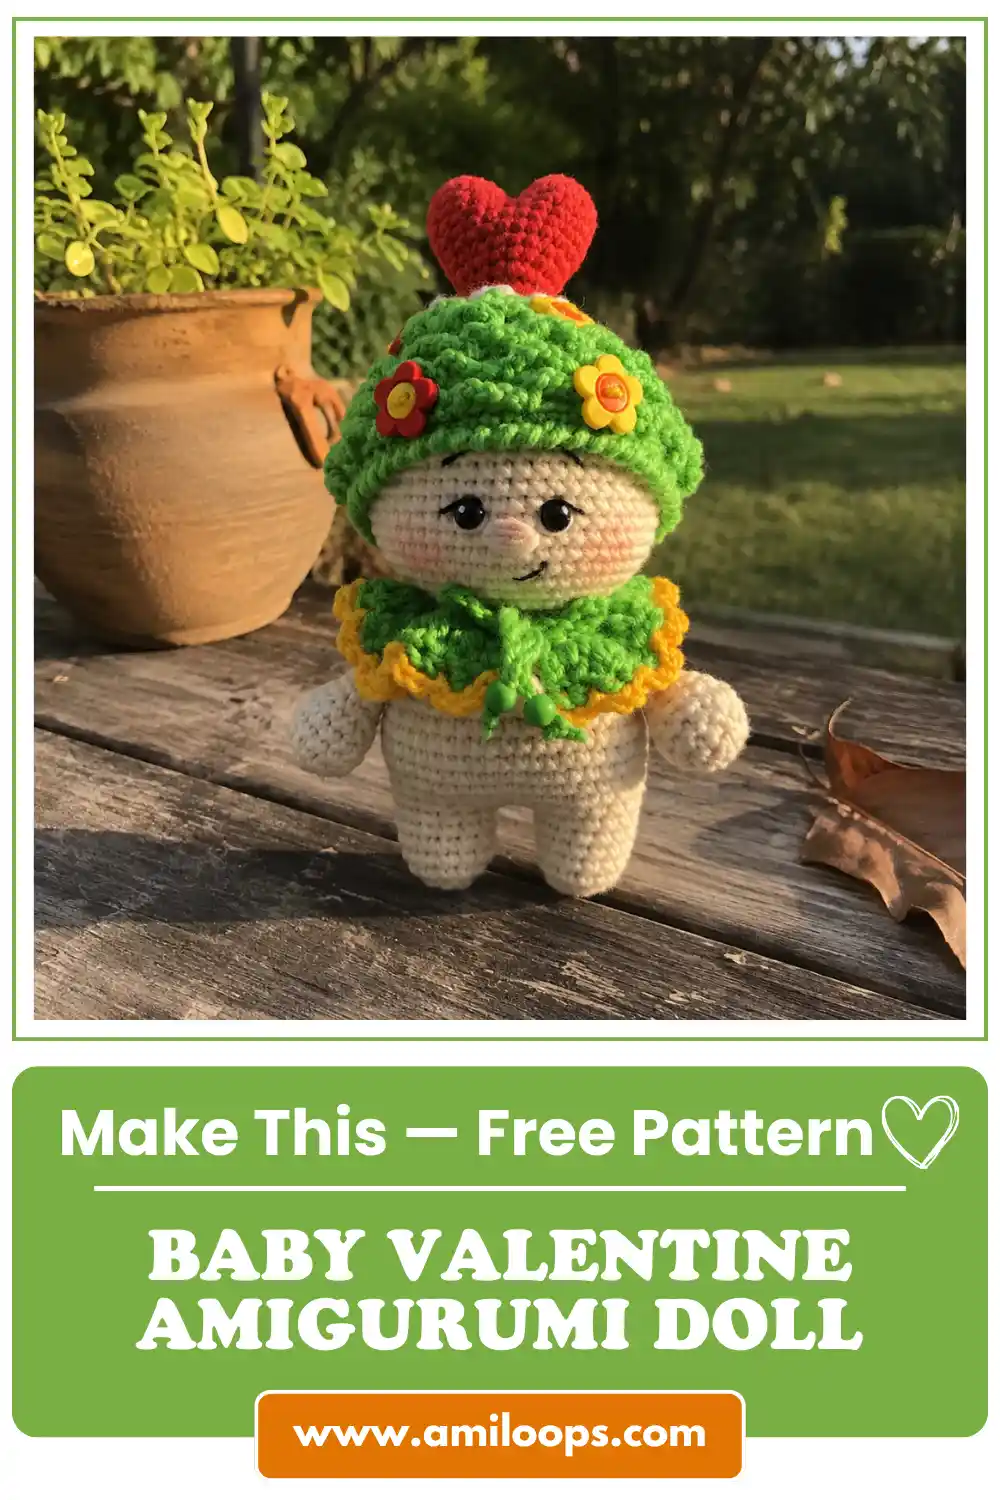
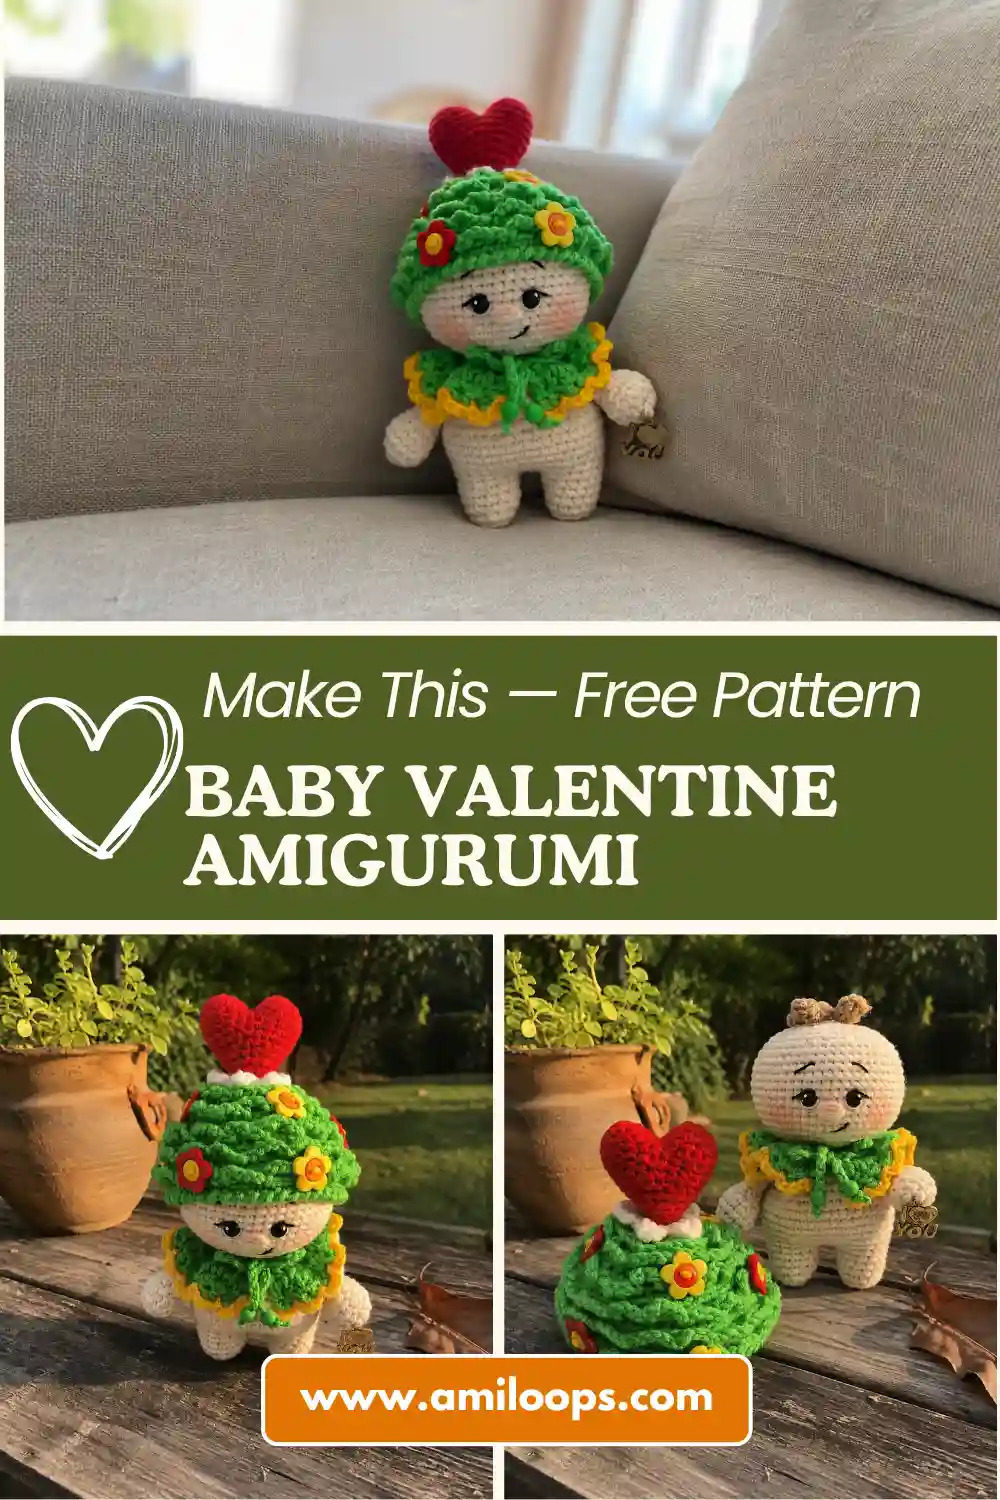
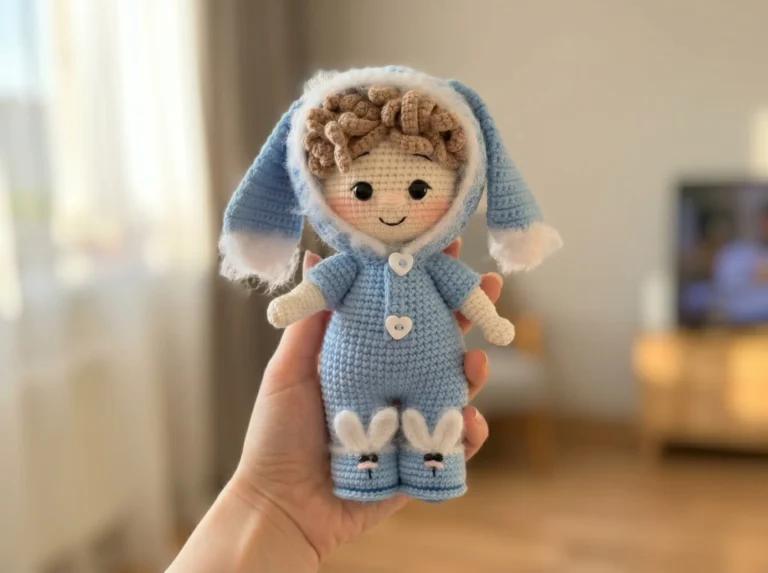
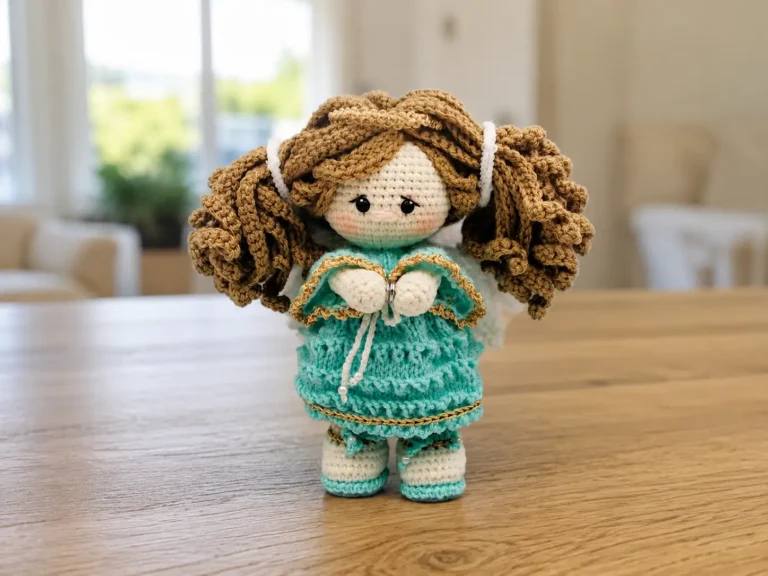
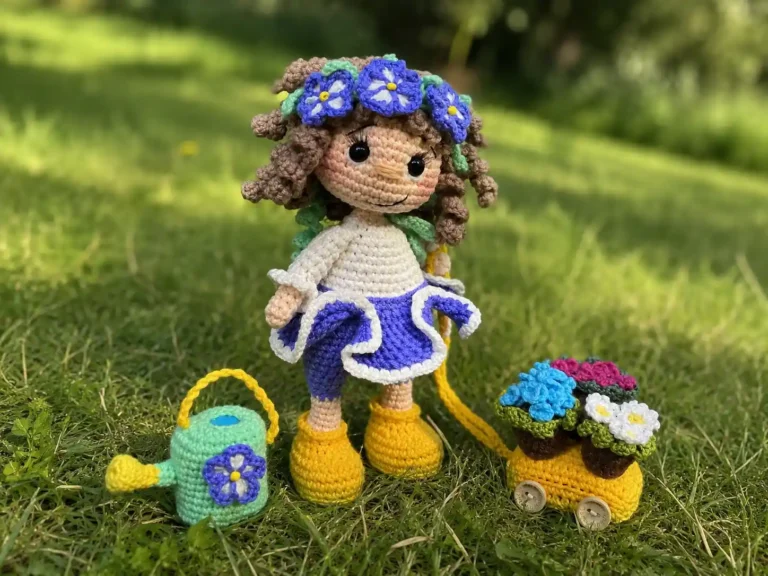
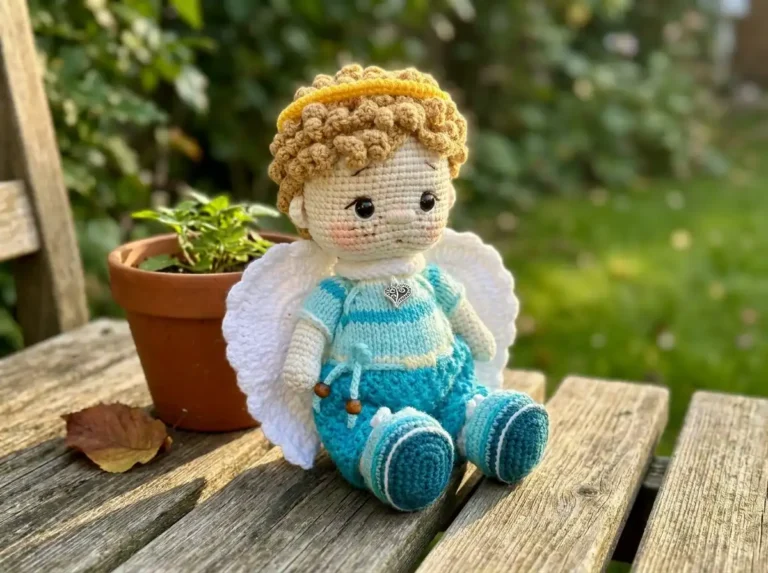
Baby Valentine Amigurumi Free Pattern — Baby Holding a Heart
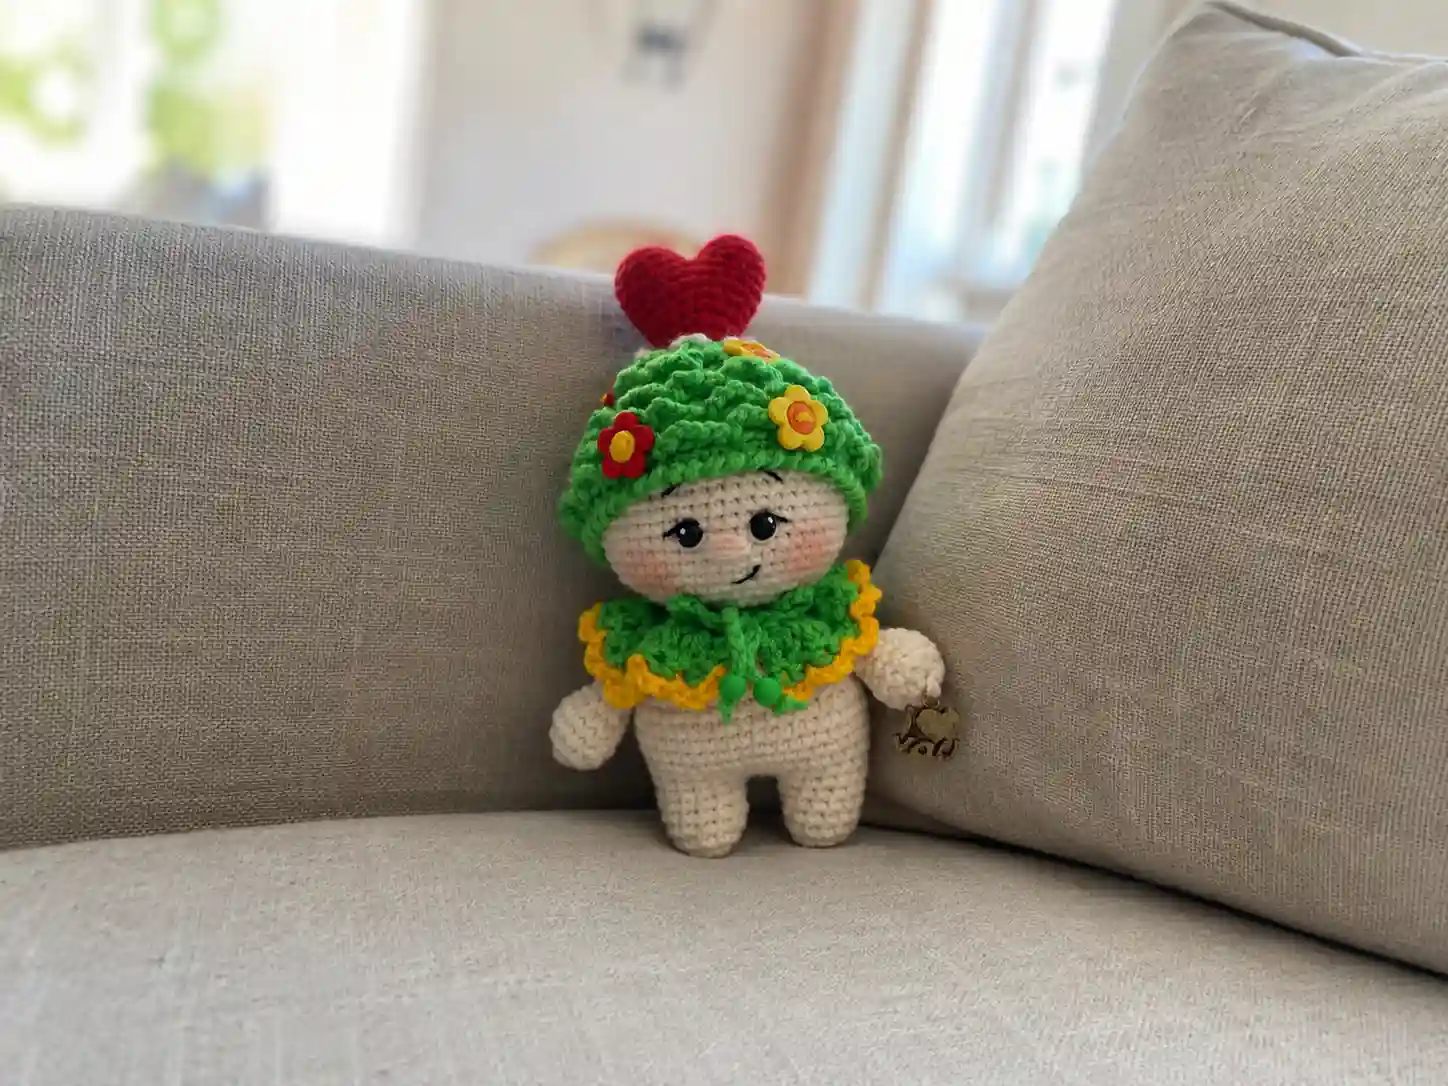
This baby valentine amigurumi free pattern turns a few skeins of DK-weight cotton into the sweetest heart-holding baby, complete with a textured hat and a beaded collar. I designed the shaping with dense, even rounds so the little heart sits proudly between her hands. Every stitch count here checked out twice before I trusted it. Grab your smallest hook and settle in — this one rewards patience.
📋 Pattern Quick Stats
- Difficulty: Intermediate (editorial estimate — not stated in the original pattern)
- Finished Size: 4.3 in (11 cm) tall, without hat
- Hook Size: 1.9 mm and 1.75 mm (no US letter equivalent at this size — see Materials)
- Yarn Weight: DK / Light Worsted (3)
- Techniques: magic ring, invisible decrease, increase, back loop only (BLO), front loop only (FLO), color changes, crab stitch edging, sewing/assembly
- Estimated Time: 6-8 hours (editorial estimate — not stated in the original pattern)
Materials for This Baby Valentine Amigurumi Free Pattern
Here’s everything you’ll need. I’ve swapped the original Russian yarn brands for accessible US alternatives — the weight and general look stay true to the source pattern.
- DK/Light Worsted (3) cotton yarn in a skin tone, for the body — try Drops Muskat or Paintbox Yarns Cotton DK as a US substitute
- DK/Light Worsted (3) yarn in red, for the heart — a cotton-blend option like Lion Brand 24/7 Cotton or Paintbox Simply DK works well
- DK/Light Worsted (3) yarn in white (or a soft variegated “exotic” colorway) and yellow, for the hat and collar
- DK/Light Worsted (3) yarn in gray — the source pattern lists this for a snowman-style hat and scarf variation, but no instructions for that variation were included; see the editorial notes below
- A small amount of yarn in a hair color, for the forelock
- Hook: 1.9 mm and 1.75 mm (no US letter equivalent — these fall below the standard US lettered range)
- Polyester fiberfill stuffing
- Bead eyes or safety eyes (see the safety note in the Decoration section)
- Black iris thread (or embroidery/crochet cotton) for sewing eyes and embroidering the mouth and eyebrows
- Sewing needle and tapestry needle
- Small flower buttons
- A few beads, for the collar ties
Both yarns used here fall into the DK / Light Worsted (3) category on the Craft Yarn Council yarn weight system. The hook sizes are noticeably smaller than what’s typically paired with DK weight — that’s intentional here, giving a dense, tight fabric that holds its shape without visible gaps.
Abbreviations
| Abbreviation | Meaning |
|---|---|
| mr | magic ring |
| st(s) | stitch(es) |
| ch | chain |
| sc | single crochet |
| inc | increase (2 sc in one stitch) |
| inv dec | invisible decrease |
| sl st | slip stitch |
| hdc | half double crochet |
| dc | double crochet |
| dc-inc | double crochet increase (2 dc in one stitch) |
| BLO | back loop only |
| FLO | front loop only |
| ( )* | repeat the instructions in parentheses the specified number of times |
Special Techniques Used in This Baby Amigurumi Pattern
A few techniques come up throughout this piece — take your time with each one, especially where the hat and heart come together.
This pattern starts every piece with a magic ring. If you haven’t worked one before, our step-by-step magic ring tutorial walks through it slowly.
Wherever the original pattern called for a standard decrease, I’ve converted it to an invisible decrease instead — it eliminates that little gap you sometimes see at the top of a decrease round. If you’re new to it, our invisible decrease tutorial is worth a look before you start the head.
You’ll be stuffing this piece in stages as you go, not all at once at the end. Our guide to stuffing amigurumi without lumps covers exactly this approach.
Assembly here involves several separate pieces — arms, eyes, and the heart all need to be sewn on cleanly. Our tutorial on sewing amigurumi parts together will help those seams disappear.
The hat also uses back loop only (BLO) and front loop only (FLO) crochet to create its textured relief pattern — this just means working into one loop of the stitch instead of both, so pay close attention to which loop each row calls for.
Pattern: Legs (make 2)
Yarn: body color (skin tone) | Start: magic ring
Row 1: 6 sc in mr (6)
Row 2: 6 inc (12)
Row 3: (3 sc, inc)*3 (15)
Rows 4-6: 15 sc (3 rows) (15)
Fasten off and cut the yarn on the first leg. Crochet the second leg the same way, but don’t cut the yarn this time — you’ll continue straight into the body from here.
Pattern: Body and Head
Yarn: body color (skin tone) | Start: continuing from the second leg
Row 7: ch 2, 15 sc along the first leg, 2 sc along the chain, 15 sc along the second leg, 2 sc along the chain (34)
Row 8: 15 sc, 2 inc, 17 sc (36)
Row 9: (5 sc, inc)*6 (42)
Row 10: 3 sc, inc, (6 sc, inc)*5, 3 sc (48)
Rows 11-13: 48 sc (3 rows) (48)
Row 14: (14 sc, inv dec)*3 (45)
Row 15: (13 sc, inv dec)*3 (42)
Row 16: (12 sc, inv dec)*3 (39)
Row 17: (11 sc, inv dec)*3 (36)
Row 18: 2 sc, inv dec, (4 sc, inv dec)*5, 2 sc (30)
Row 19: (3 sc, inv dec)*6 (24)
💡 Emma’s Tip: Start stuffing the legs and lower body firmly now, before the opening narrows any further. It’s much harder to pack stuffing in evenly once you’re past the waist.
Row 20: 1 sc, inv dec, (2 sc, inv dec)*5, 1 sc (18)
Row 21: (4 sc, inv dec)*3 (15)
Row 22: 15 sc (15)
💡 Emma’s Tip: Add a bit more stuffing here, then keep going straight into the head — there’s no break in the piece.
Row 23: 15 inc (30)
Row 24: 2 sc, inc, (4 sc, inc)*5, 2 sc (36)
Row 25: (5 sc, inc)*6 (42)
Row 26: 3 sc, inc, (6 sc, inc)*5, 3 sc (48)
Row 27: (7 sc, inc)*6 (54)
Rows 28-37: 54 sc (10 rows) (54)
Row 38: (7 sc, inv dec)*6 (48)
Row 39: 3 sc, inv dec, (6 sc, inv dec)*5, 3 sc (42)
Row 40: (5 sc, inv dec)*6 (36)
💡 Emma’s Tip: This is a good point to start stuffing the head — firmly, but check it still sits round and even before you close it up completely.
Row 41: 2 sc, inv dec, (4 sc, inv dec)*5, 2 sc (30)
Row 42: (3 sc, inv dec)*6 (24)
Row 43: 1 sc, inv dec, (2 sc, inv dec)*5, 1 sc (18)
Row 44: (1 sc, inv dec)*6 (12)
💡 Emma’s Tip: Top off the stuffing one last time before this final round closes the head.
Row 45: 6 inv dec (6)
Slip stitch to close the opening, fasten off, cut the yarn, and weave in your ends.
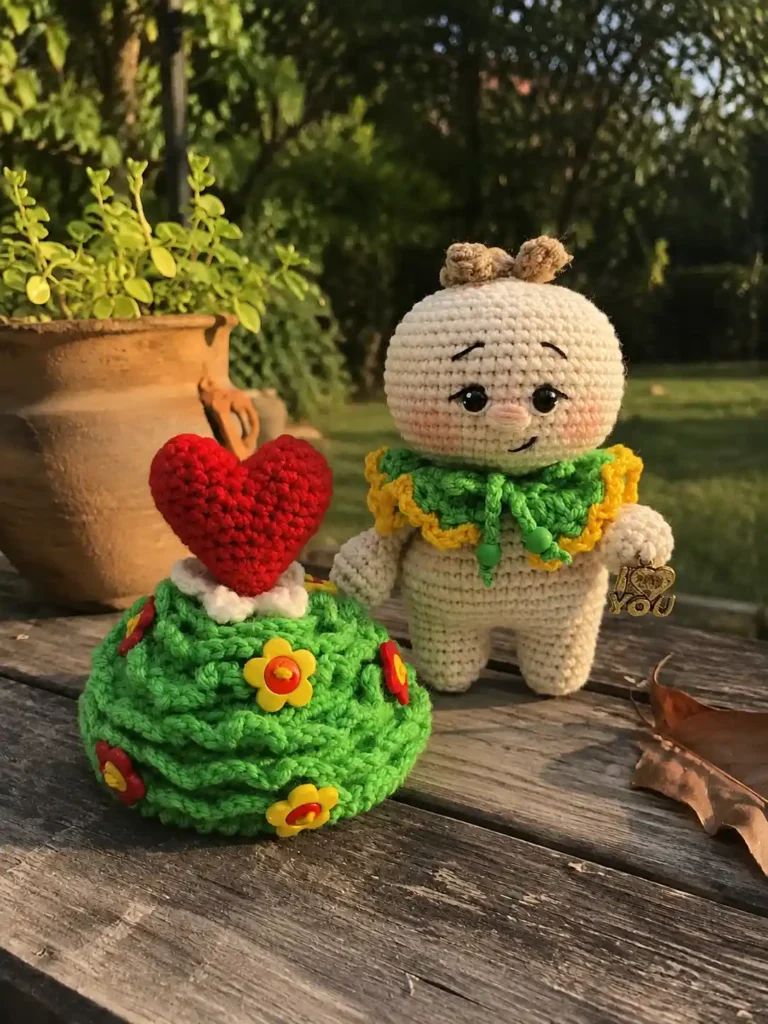
Pattern: Arms (make 2)
Yarn: body color (skin tone) | Start: magic ring
Row 1: 6 sc in mr (6)
Row 2: 6 inc (12)
Row 3: (3 sc, inc)*3 (15)
Row 4: 15 sc (15)
Row 5: (3 sc, inv dec)*3 (12)
Row 6: (4 sc, inv dec)*2 (10)
💡 Emma’s Tip: Tuck a small amount of stuffing into the fist now, before you crochet the rest of the arm. It keeps the little hand nice and round.
Rows 7-12: 10 sc (6 rows) (10)
Row 13: 5 inv dec (5)
Close the opening and cut the yarn, leaving a tail for sewing.
Pattern: Hat
Yarn: hat color (white/exotic colorway) | Start: magic ring, 1.9 mm hook
Row 1: 6 sc in mr (6)
💡 Emma’s Tip: From here through Row 14, work every stitch in the back loop only (BLO). It’s what creates the ridged texture on the crown.
Row 2: 6 inc (12)
Row 3: (1 sc, inc)*6 (18)
Row 4: 1 sc, inc, (2 sc, inc)*5, 1 sc (24)
Row 5: (3 sc, inc)*6 (30)
Row 6: 2 sc, inc, (4 sc, inc)*5, 2 sc (36)
Row 7: (5 sc, inc)*6 (42)
Row 8: 3 sc, inc, (6 sc, inc)*5, 3 sc (48)
Rows 9-14: 48 sc (6 rows) (48)
Row 15: Crochet around the edge with crab stitch (reverse sc).
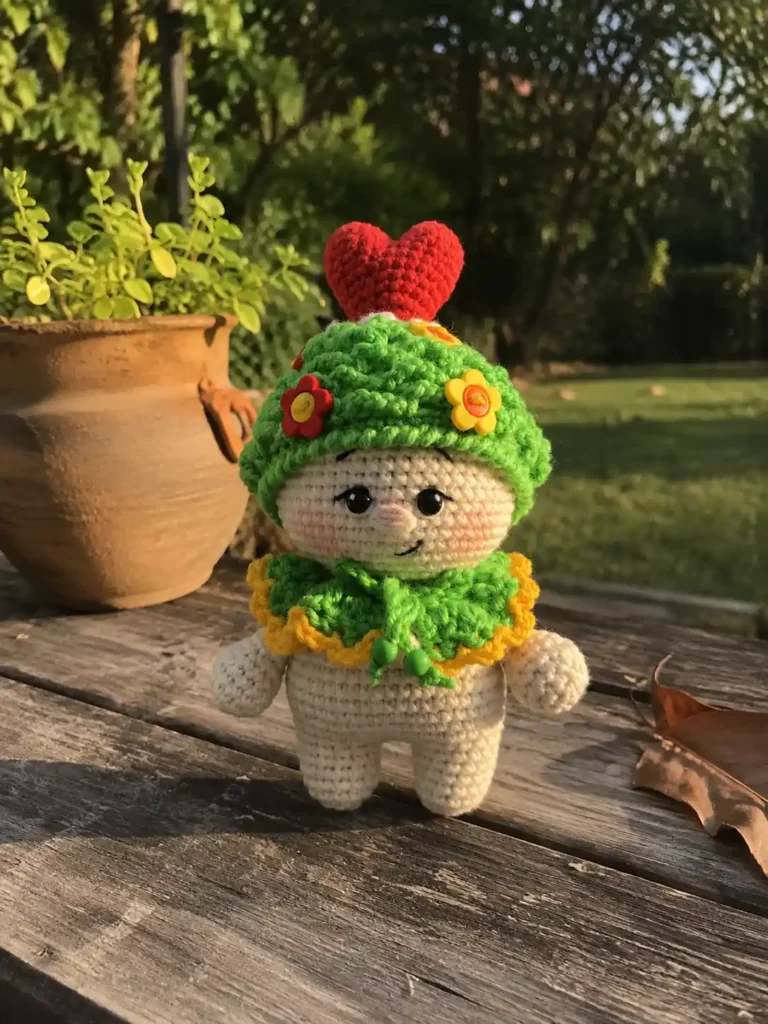
For the relief detail on the crown, attach a new strand of yarn into the front loop (FLO) of Row 14, holding the hat with the crown facing you. Work (5 sc, skip 2 sts, sl st)* across, then skip a row, transition with slip stitches to the next row, and repeat the same pattern — skipping every other row. Leave the last 2 rows of the crown unworked. Fasten off all ends and weave them in.
Pattern: Heart Cups (make 2)
Yarn: red | Start: magic ring, 1.9 mm hook
Row 1: 6 sc in mr (6)
Row 2: 6 inc (12)
Rows 3-4: 12 sc (2 rows) (12)
Leave a yarn tail for sewing, and leave the loop on your hook — don’t fasten off. Crochet the second cup exactly the same way.
Pattern: Small Heart (Joining the Cups)
Yarn: red | Start: joining both cups
Row 5: Place the loop left over from the first cup back onto your hook and crochet 11 sc along the first cup. Skip 1 sc from the beginning of the second cup, then crochet 11 sc along the second cup. (22)
From here you’ll be working in continuous rounds. Sew the small opening between the two cups closed using the tail left from the first cup, then fasten off that tail and continue crocheting in rounds.
Row 6: 22 sc (22)
Row 7: (3 sc, inv dec)*4, 2 sc (18)
Row 8: 18 sc (18)
Row 9: (4 sc, inv dec)*3 (15)
💡 Emma’s Tip: Start stuffing the heart now, in small pinches — it holds its shape better than one big handful pushed in later.
Row 10: (3 sc, inv dec)*3 (12)
Row 11: (2 sc, inv dec)*3 (9)
Row 12: (1 sc, inv dec)*3 (6)
Leave a yarn tail for sewing and cut — don’t close this opening, you’ll use it to attach the heart to the hat later.
Pattern: Collar
Yarn: white/exotic colorway, then yellow | Start: chain of 19, 1.75 mm hook
Row 1: Chain 19, leaving a tail of about 11.8–13.8 in (30–35 cm) for the tie. Starting from the third stitch from the hook, work 2 hdc in each stitch across.
Row 2: Ch 2, turn, and work (1 dc, dc-inc)* across.
Row 3: Attach the yellow yarn and work around the collar: (ch 3, skip one stitch, sl st)* to the end.
Fasten off and cut the yarn. Using the tail left at the start of the chain, crochet a chain of 25 for a tie. Attach a new strand to the other side and crochet a matching second tie. Thread a bead onto each tie end. Your collar is ready to put on the baby once assembly is complete.
Assembly
- Sew the arms to the body using a button joint, so they can move.
- Sew the bead eyes (or safety eyes) to the head.
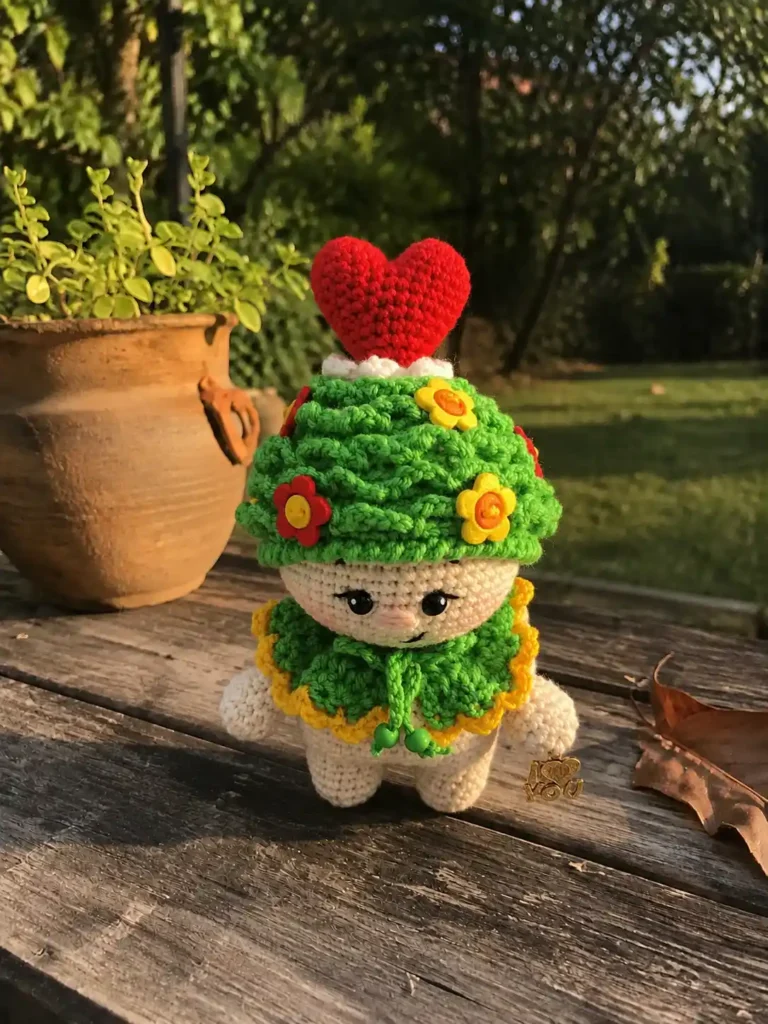
- Sew the heart to the front loop only (FLO) of the last unworked row on the crown of the hat.
Finishing & Details
Embroider the nose with flesh-colored yarn, and use black iris thread for a single small stitch each for the eyebrows and mouth. Add a little color to the cheeks for a soft blush.
For the forelock, attach hair-colored yarn at the crown and chain 11. Starting from the second chain from the hook, work 10 sc back along the chain. Repeat for 3–4 strands total, then fasten off and weave in the ends.
For the small white flower on the hat, attach white yarn to the second-to-last row of the hat and work (1 sc, 1 hdc, 1 dc, 1 hdc, 1 sc) into one stitch, sl st into the next stitch, and repeat this pattern across. Fasten off.
Sew the flower buttons onto the surface of the hat, then dress the baby in the collar and hat to finish.
⚠️ Safety Note: This pattern gives you the option of bead eyes or plastic safety eyes. Bead eyes and glued-on details don’t lock in place the way safety-eye washers do, so if you go that route, this piece is best treated as a display or collector’s item rather than a children’s toy — keep it out of reach of small children. If this will be handled by a young child, use plastic safety eyes with a secure locking washer instead, and see the U.S. Consumer Product Safety Commission for general toy safety guidance.
Emma’s Note
The heart on this one is my favorite detail — joining those two little cups into a single 3D shape feels fiddly the first time, but it clicks the moment you sew that small opening closed. If your tension runs tight like mine, the finished heart will hold its shape beautifully even with a small amount of stuffing. Take your time with the hat’s BLO rows; rushing that part is the easiest way to lose the texture. If you enjoyed the hat-and-scarf styling here, you might also like my snowman amigurumi pattern for another cozy seasonal make. Happy hooking! 🧶
FAQ
What yarn is best for this baby valentine amigurumi free pattern?
DK or Light Worsted (3) weight cotton yarn is ideal. Cotton creates firm, dense stitches that help the baby and the heart hold their shape beautifully.
Can beginners make this baby valentine amigurumi?
This pattern is rated Intermediate. While the shapes are small, it uses tight tension, very small hooks, and techniques like front/back loop only stitches that require some amigurumi experience.
What size hook do I need for this amigurumi?
You will need a 1.9 mm hook for the main body parts and hat, and a smaller 1.75 mm hook for the delicate collar details.