Mini Pug Crochet Pattern: A Little Two-Color Amigurumi Pug
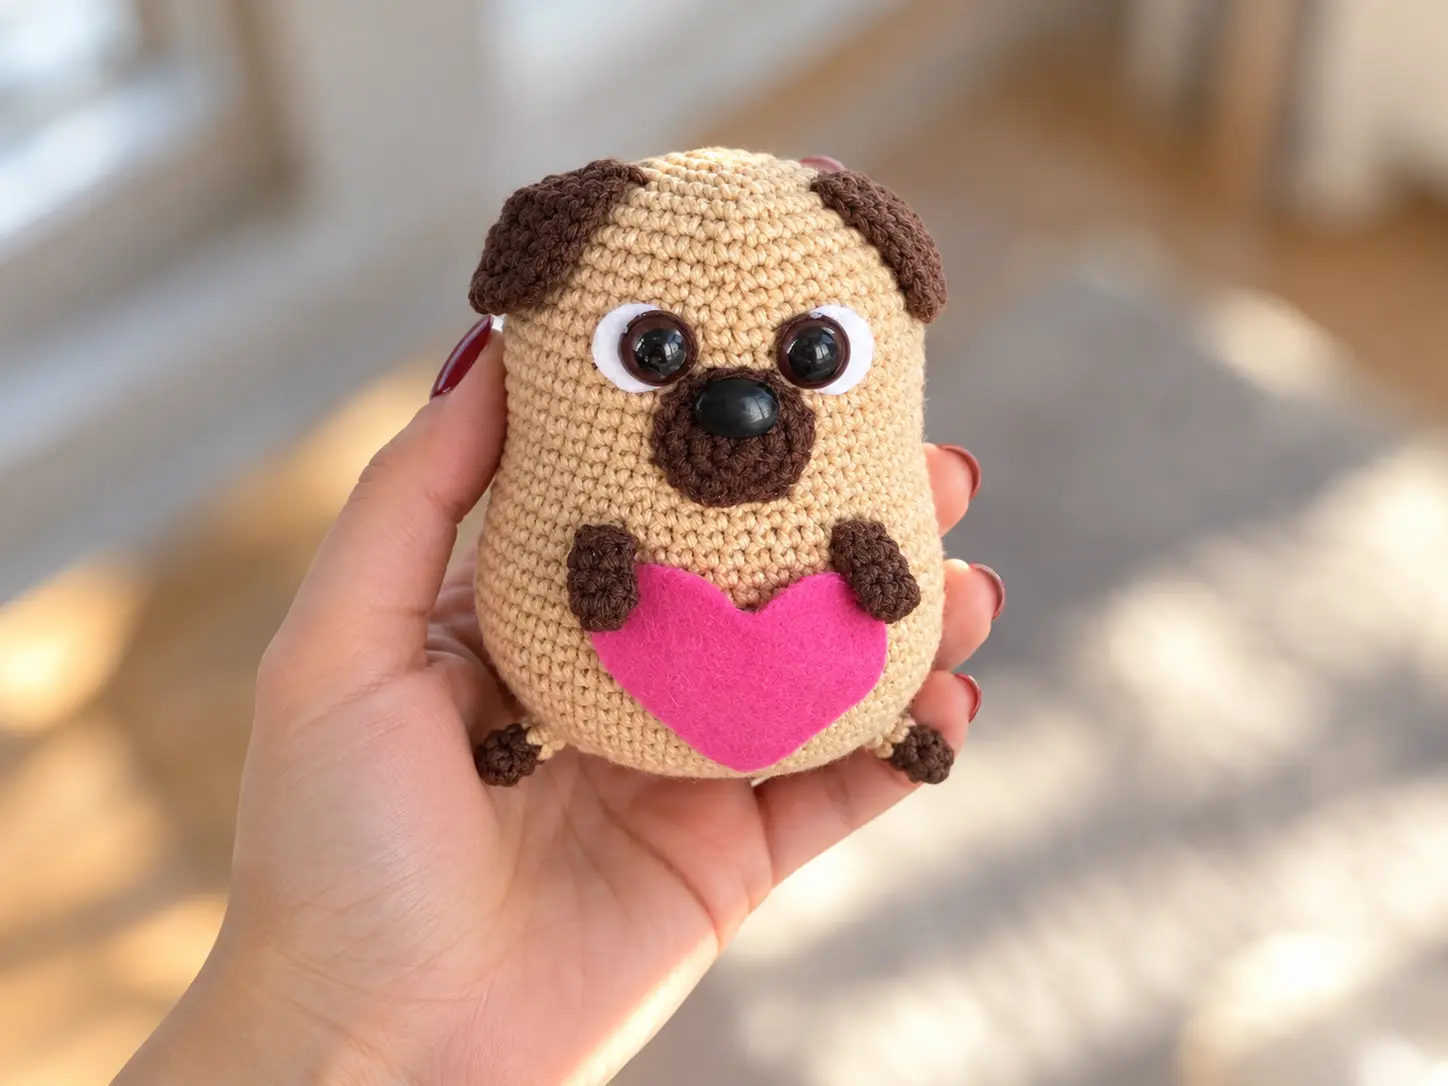
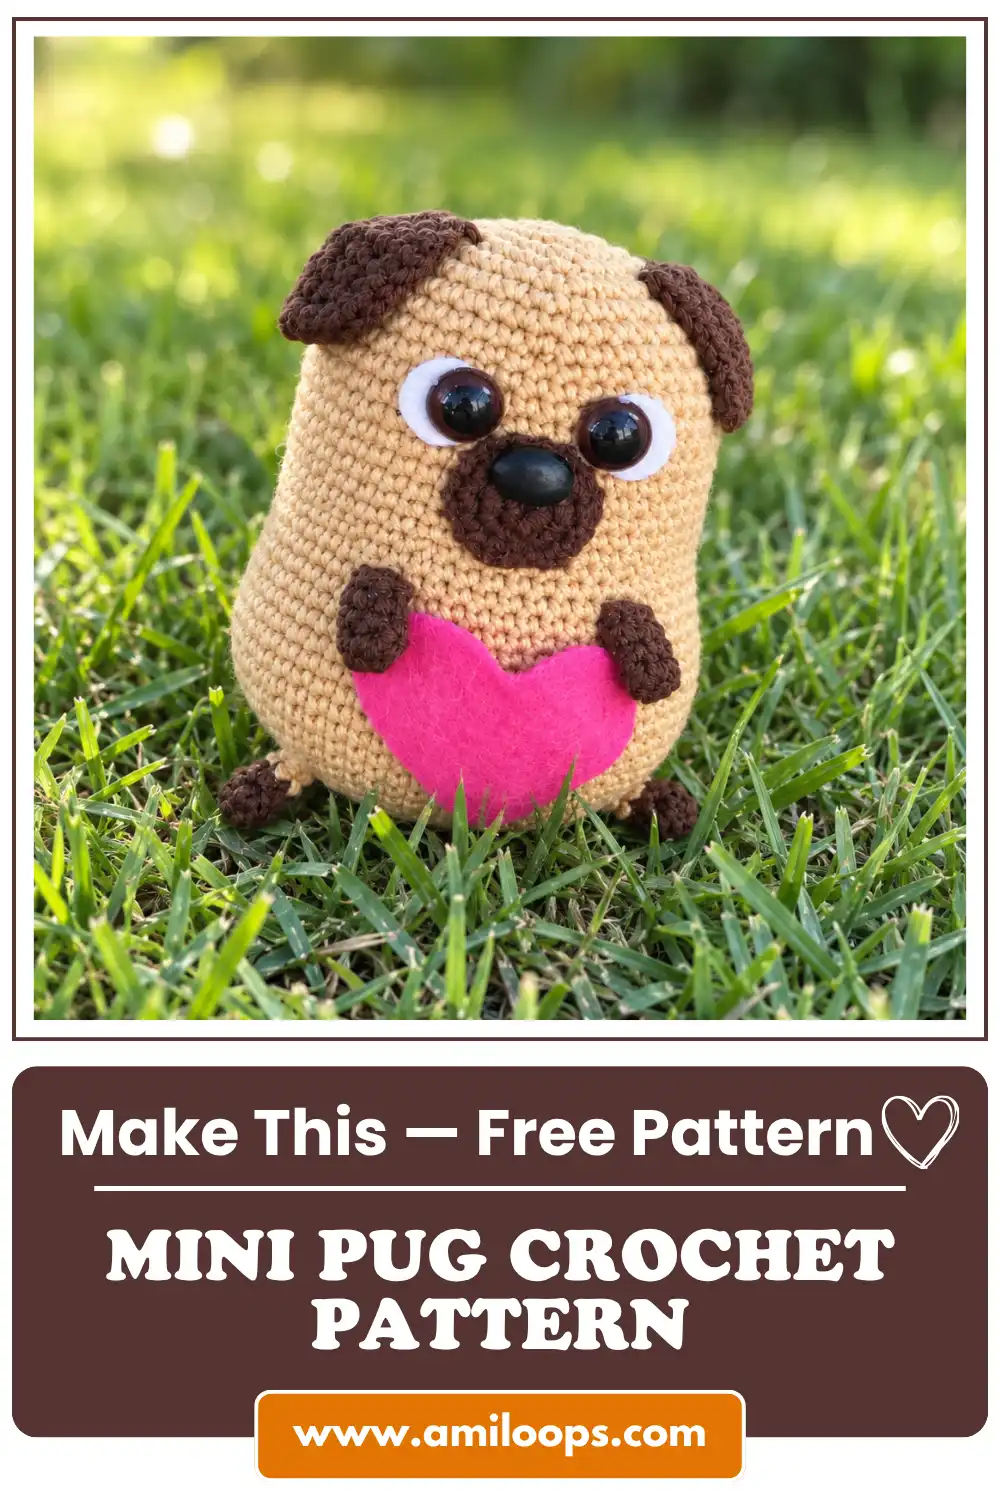
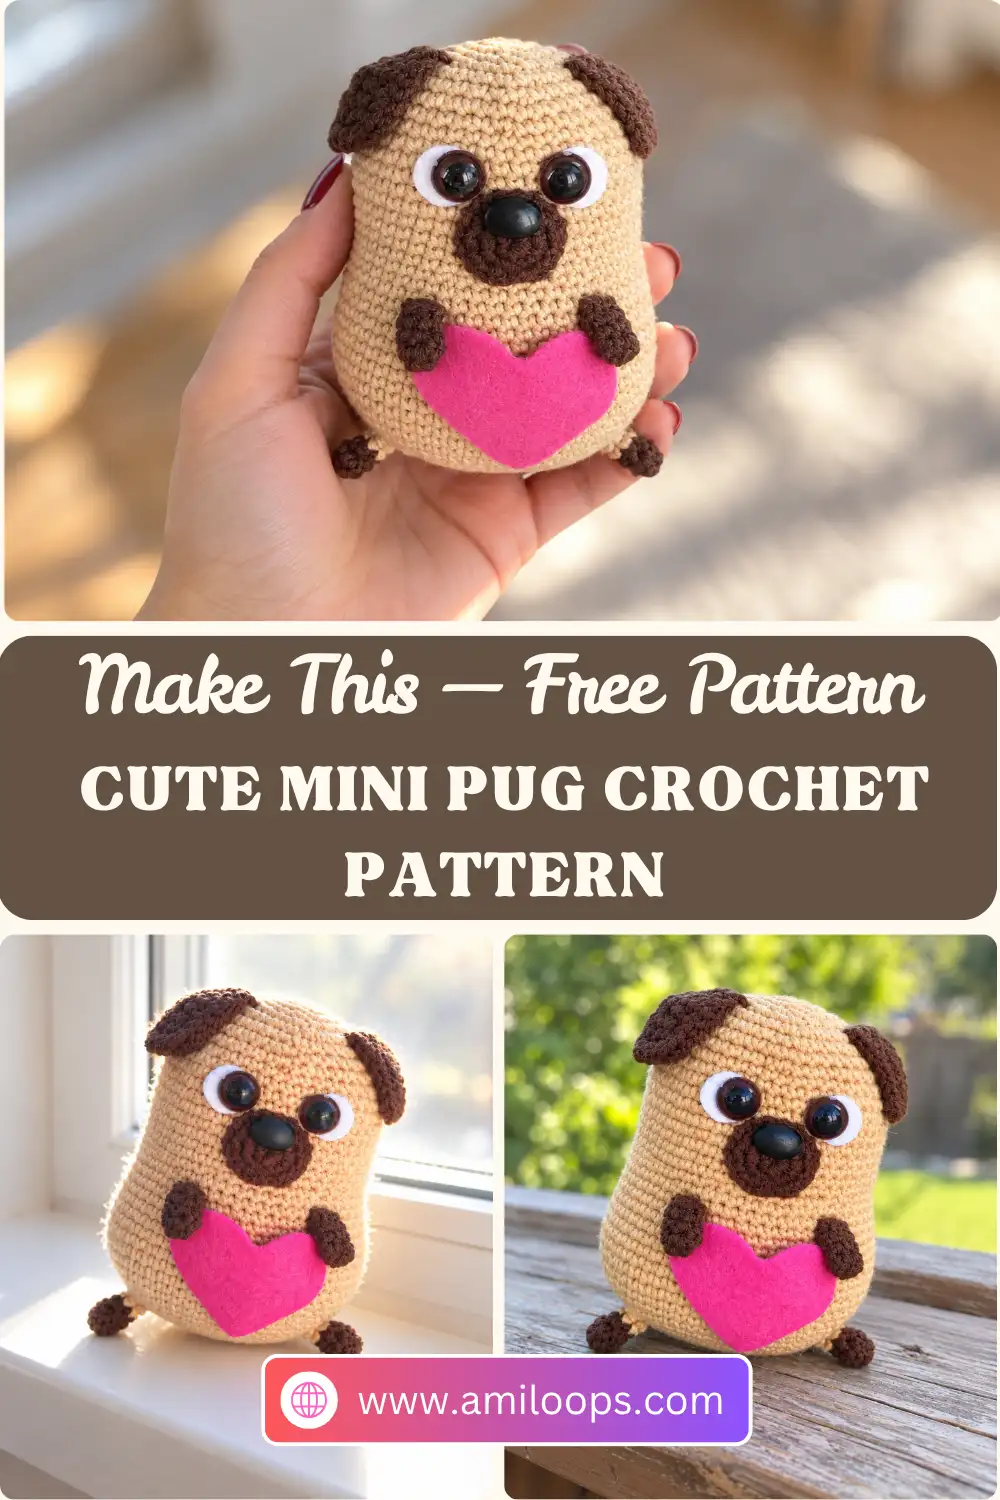
A soft beige body, brown ears and a round brown muzzle give this little pug the dark face that makes the breed easy to spot. This mini pug crochet pattern keeps that look simple: a short list of small pieces, two yarn colors and a few glued-on details.
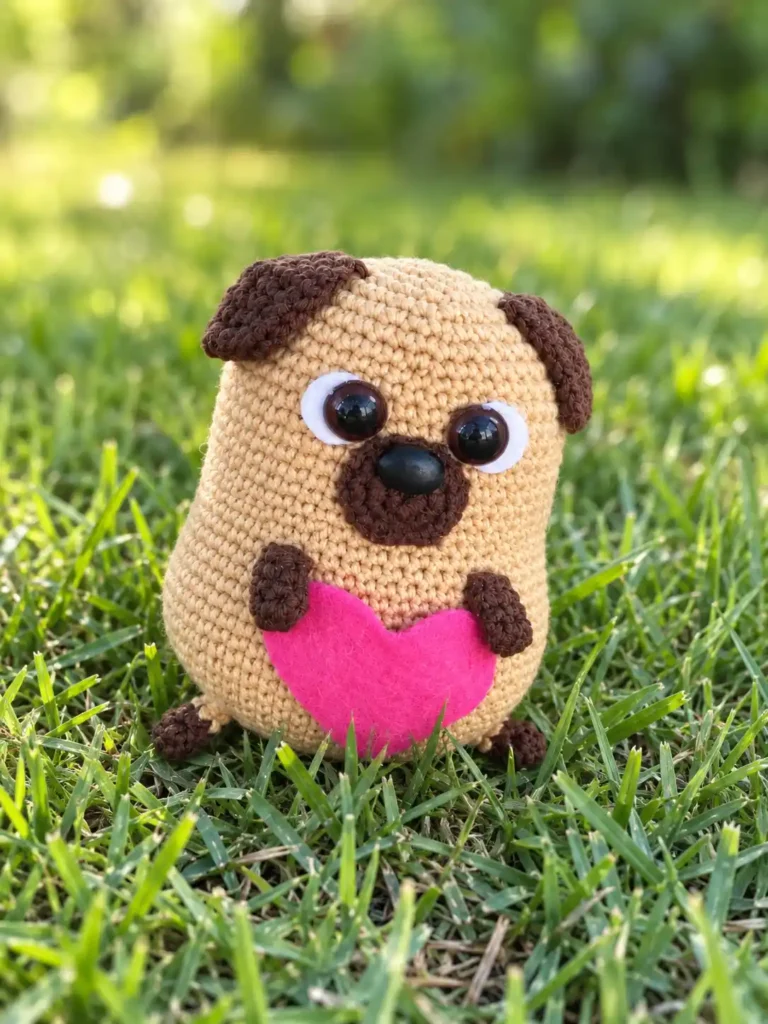
The head and body are one continuous piece. It starts from an oval chain base and rises into straight sides, so there’s no neck seam to sew. Around it you add slim unstuffed arms and legs, a flat muzzle circle, two flat ears worked in rows and a tiny tail worked on a short chain. Then you sew it all together and glue on the face.
Materials Abbreviations Arms Legs Head and Body Muzzle Ears Tail Assembly FAQ
Materials
- Yarn: beige and brown (YarnArt Jeans or Alize Cotton Gold)
- Eyes: 8 mm glue-on eyes
- Nose: 10 mm nose
- Crochet hook: size 2 (as given in the original pattern)
- Felt (optional): white and pink
- Stuffing: hollowfiber
- Glue: Kristall glue, used for the nose and eyes
- Scissors and a needle for sewing the pieces on
Before your first stitch: Besides the head and body, there are eight small pieces: 2 arms, 2 legs, 1 muzzle, 2 ears and 1 tail. The arms, legs, muzzle and ears all begin with a magic ring. If you’d like a refresher, see how to crochet the magic ring step by step. Every small piece ends with a yarn tail for sewing, so leave those ends long.
Abbreviations
This pattern uses US crochet terms. For standard US stitch names and abbreviations, see the Craft Yarn Council’s crochet abbreviations list.
| Abbreviation | Meaning |
|---|---|
| MR | magic ring |
| ch | chain |
| sc | single crochet |
| st(s) | stitch(es) |
| inc | increase: 2 sc in the same st |
| dec | decrease (sc2tog): work 2 sc together |
| [ ] … times | repeat the steps in brackets the number of times stated |
Arms (make 2)
Work with brown.
Rnd 1: 6 sc in MR (6)
Rnds 2–4: Sc in each st around (6)
Do not stuff. Leave a yarn tail for sewing.
Legs (make 2)
Work with brown. The legs start with brown at the tip and switch to beige for the last two rounds.
Rnd 1: 6 sc in MR (6)
Rnds 2–3: Sc in each st around (6)
Color change: Change to beige. For a neat switch, one common method is to finish the last pull-through of the stitch before the change with the new color, as shown in Yarnspirations’ color-change tutorial.
Rnds 4–5: Sc in each st around (6)
Do not stuff. Leave a yarn tail for sewing.
Head and Body
Work with beige. Ch 6. Start in the 2nd ch from the hook.
How the oval base works: Rnd 1 goes along one side of the chain, puts 3 sc into the last chain to turn the corner, then comes back along the other side. That gives you an oval instead of a circle. In Rnds 1–5 the increases sit around the two ends of that oval. From Rnd 6 they’re spread evenly around the piece.
Rnd 1: 4 sc, 3 sc in the next st, 3 sc, inc (12)
Rnd 2: Inc, 3 sc, 3 inc, 3 sc, 2 inc (18)
Rnd 3: Sc, inc, 4 sc, inc, [sc, inc] 2 times, 4 sc, inc, sc, inc (24)
Rnd 4: 2 sc, inc, 5 sc, inc, [2 sc, inc] 2 times, 5 sc, inc, 2 sc, inc (30)
Rnd 5: 3 sc, inc, 6 sc, inc, [3 sc, inc] 2 times, 6 sc, inc, 3 sc, inc (36)
Rnd 6: [5 sc, inc] 6 times (42)
Rnd 7: [6 sc, inc] 6 times (48)
Rnd 8: [7 sc, inc] 6 times (54)
Mark your placement rounds: You’ll sew the legs at Rnds 7–8 and the arms at Rnd 21. To find those rounds easily at assembly, thread a scrap of contrasting yarn through Rnd 8 now, and do the same at Rnd 21 when you get there.
Rnds 9–22: Sc in each st around (54)
Rnd 23: [7 sc, dec] 6 times (48)
Rnds 24–33: Sc in each st around (48)
Rnd 34: [6 sc, dec] 6 times (42)
Rnd 35: Sc in each st around (42)
A helpful note on stuffing: The pattern doesn’t mark a stuffing round, but the head and body is the piece that takes the hollowfiber stuffing, since the arms and legs stay unstuffed. Add stuffing as the next decrease rounds narrow the top, and finish before Rnd 41 closes the opening. For tips on an even, lump-free fill, see how to stuff amigurumi properly.
Rnd 36: [5 sc, dec] 6 times (36)
Rnd 37: [4 sc, dec] 6 times (30)
Rnd 38: [3 sc, dec] 6 times (24)
Rnd 39: [2 sc, dec] 6 times (18)
Rnd 40: [Sc, dec] 6 times (12)
Rnd 41: 6 dec (6)
Fasten off, leaving a tail. Use a needle to pull the opening closed, then weave in the end.
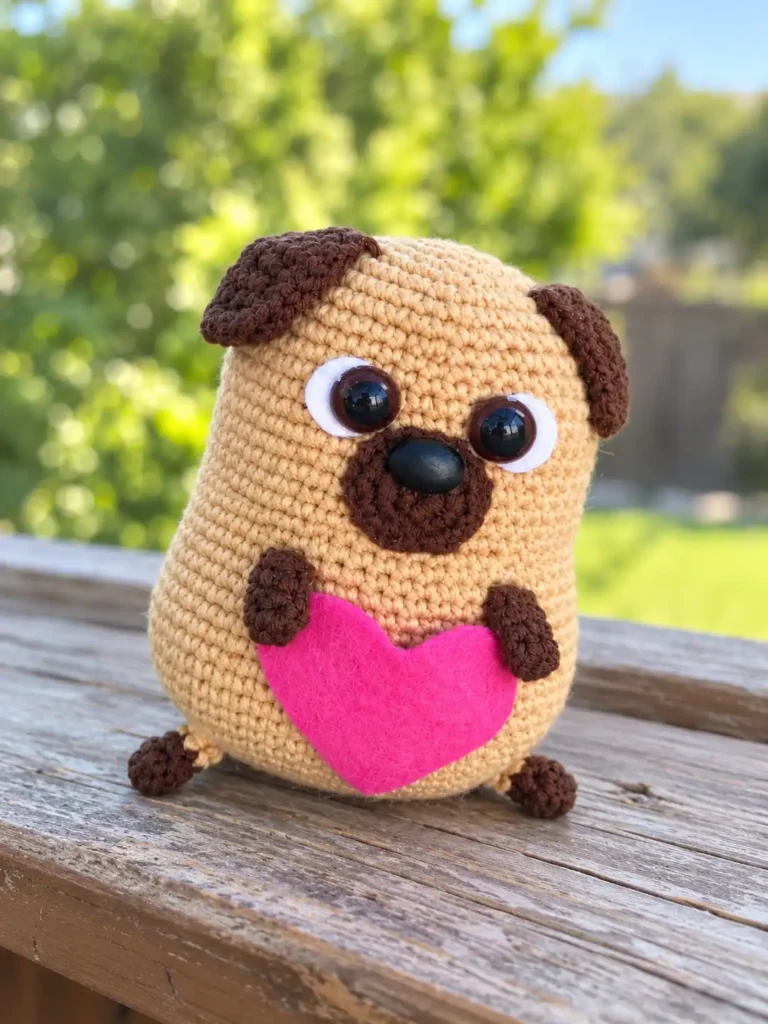
Muzzle
Work with brown.
Rnd 1: 6 sc in MR (6)
Rnd 2: 6 inc (12)
Rnd 3: [Sc, inc] 6 times (18)
Leave a yarn tail for sewing.
Ears (make 2)
Work with brown in turned rows. The ear is a flat piece. After the stitches of Row 1 go into the magic ring, you don’t work in the round: you ch 1 and turn, then work back across the row. The turning ch 1 doesn’t count as a stitch.
Row 1: 6 sc in MR (6). Ch 1, turn.
Row 2: 3 sc, inc, 2 sc (7). Ch 1, turn.
Row 3: 3 sc, 3 sc in the next st, 3 sc (9). Ch 1, turn.
Row 4: 4 sc, 3 sc in the next st, 4 sc (11). Ch 1.
In Rows 3 and 4, the 3 sc go into the center stitch of the row, so each row builds on the tip below it.
Edging: Sc around the edge of the ear. Work an inc at each corner and 3 sc in the same st at the tip. Leave a yarn tail for sewing.
Tail
Tail: Ch 6. Starting in the 2nd ch from the hook, work an inc in each ch. Leave a yarn tail for sewing.
Working two stitches into each of the five chains packs extra stitches onto a short base. That usually makes the strip ruffle or twist, which suits a pug’s tail. The original doesn’t name a tail color, so use whichever of your two yarns you prefer.
Assembly
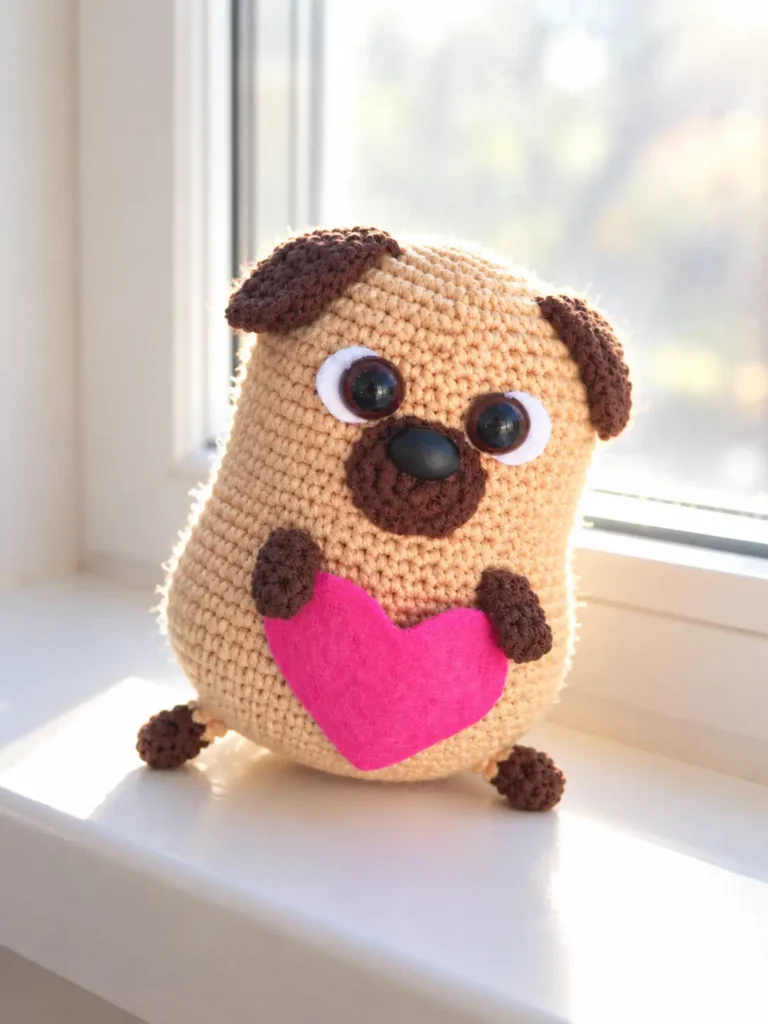
Use the yarn tails you left on each piece to attach it. For neat, secure seams, see how to sew amigurumi parts together.
- Sew on the legs at the level of Rnds 7–8 of the head and body.
- Sew on the arms at the level of Rnd 21.
- Sew on the muzzle and ears.
- Glue on the nose and eyes. If you like, add white felt behind the eyes.
- Cut a heart from the pink felt.
The pattern doesn’t give a position for the tail, so sew it on with its yarn tail wherever it looks best to you on the back of the body.
More little dogs to crochet
Questions about this mini pug
Why does the head and body start with a chain instead of a magic ring?
You work along both sides of the chain of 6, so the piece starts as an oval instead of a circle. In Rnds 1–5 the increases sit around the two ends of that oval. From Rnd 6 they’re spread evenly, building the base up to 54 stitches before the plain rounds begin.
Should I stuff the arms and legs?
No. The pattern says not to stuff the arms or the legs. They’re slim 6-stitch tubes, and you sew each one on with the yarn tail left at its end. The stuffing goes into the head and body before Rnd 41 closes the top.
How do the ears get their pointed tip?
Each ear is a flat piece worked in turned rows from a magic ring. Rows 3 and 4 each put 3 sc into the center stitch of the row, which builds a point, and the sc edging adds 3 sc at that tip and an inc at each corner.
Where exactly do the legs and arms go?
Sew the legs at the level of Rnds 7–8 of the head and body, and the arms at the level of Rnd 21. If you mark those rounds with a scrap of contrasting yarn while you crochet, they’re easy to find at assembly.
Can I leave out the felt?
Yes. The white and pink felt are optional. White felt can go behind the eyes, and the pink felt is for cutting a heart.