Frog in a Flower — Free Mini Frog Crochet Patter
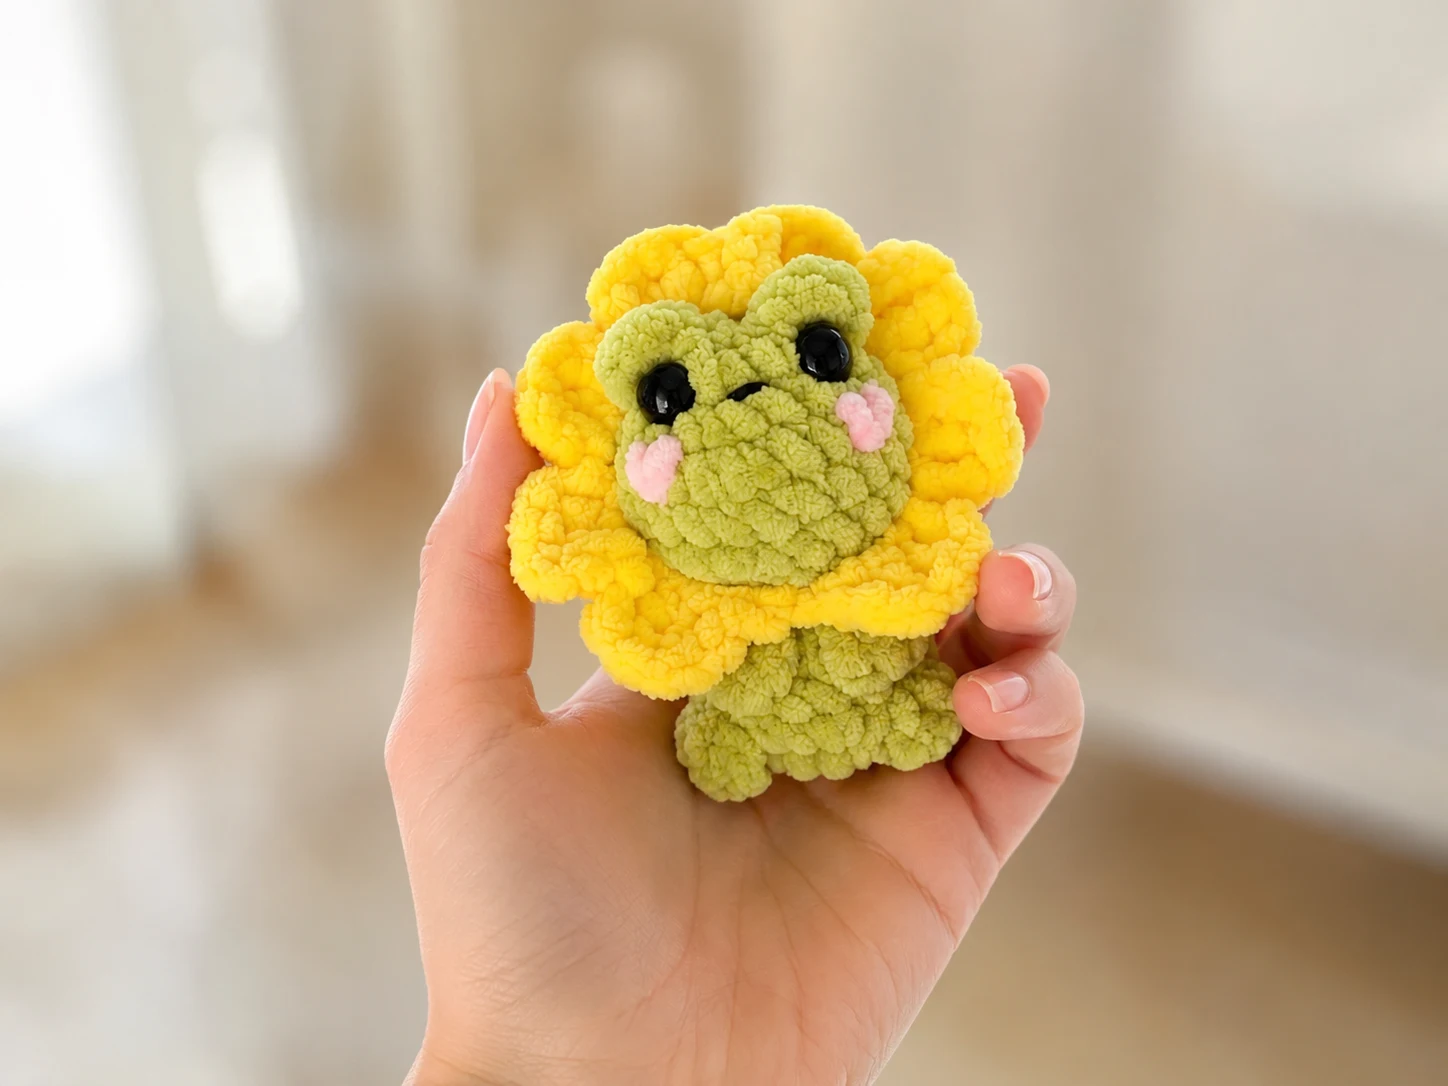
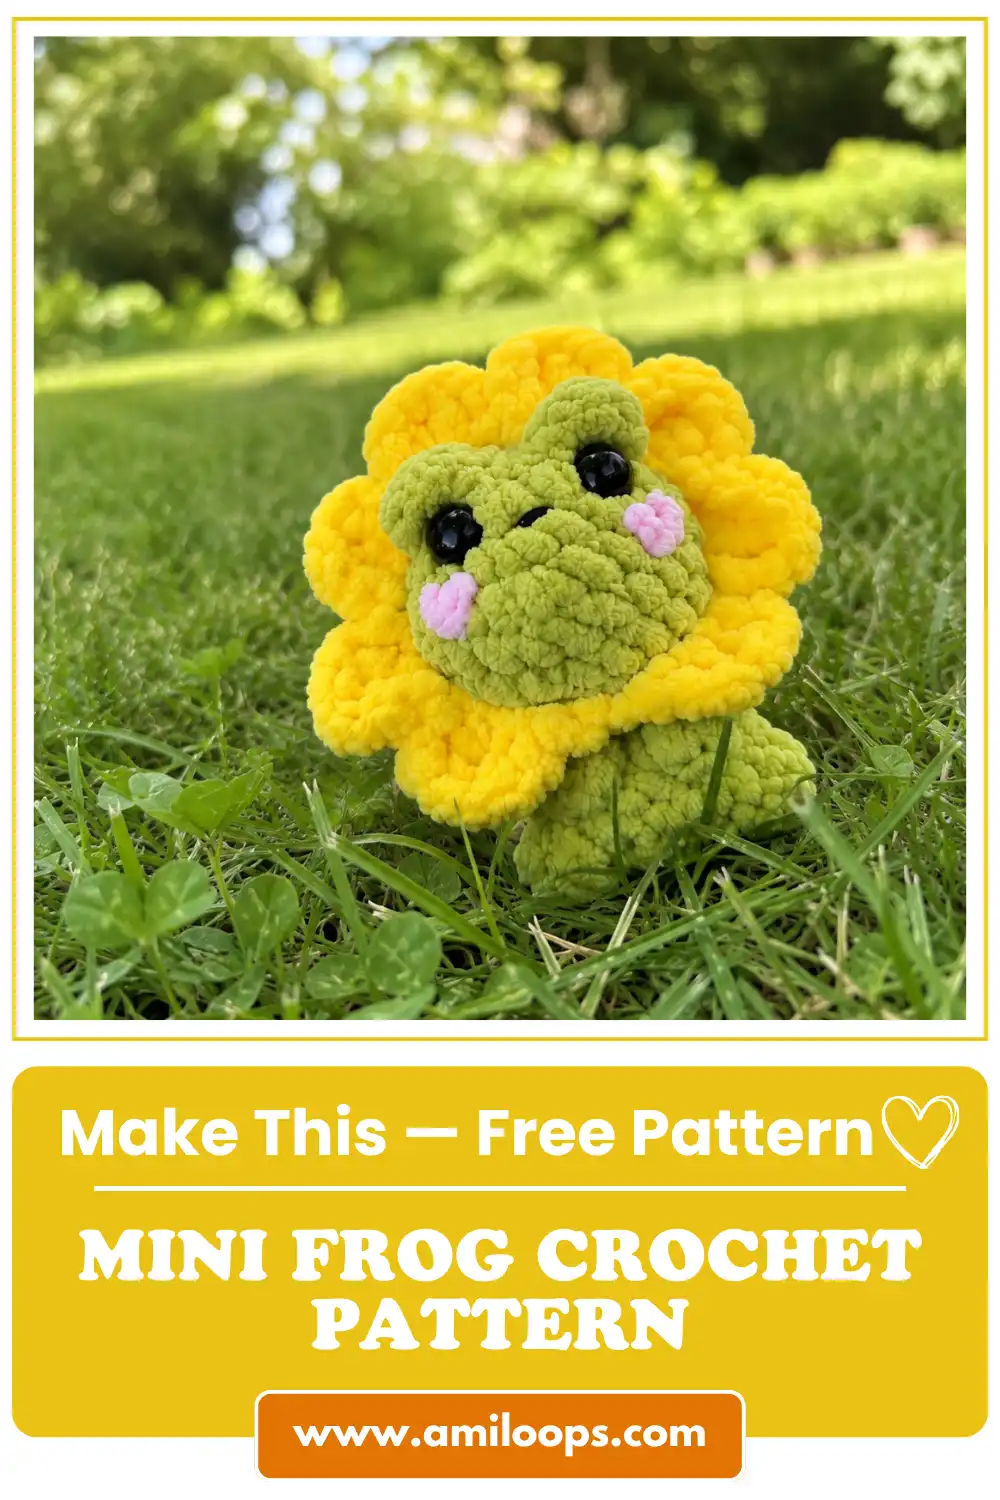
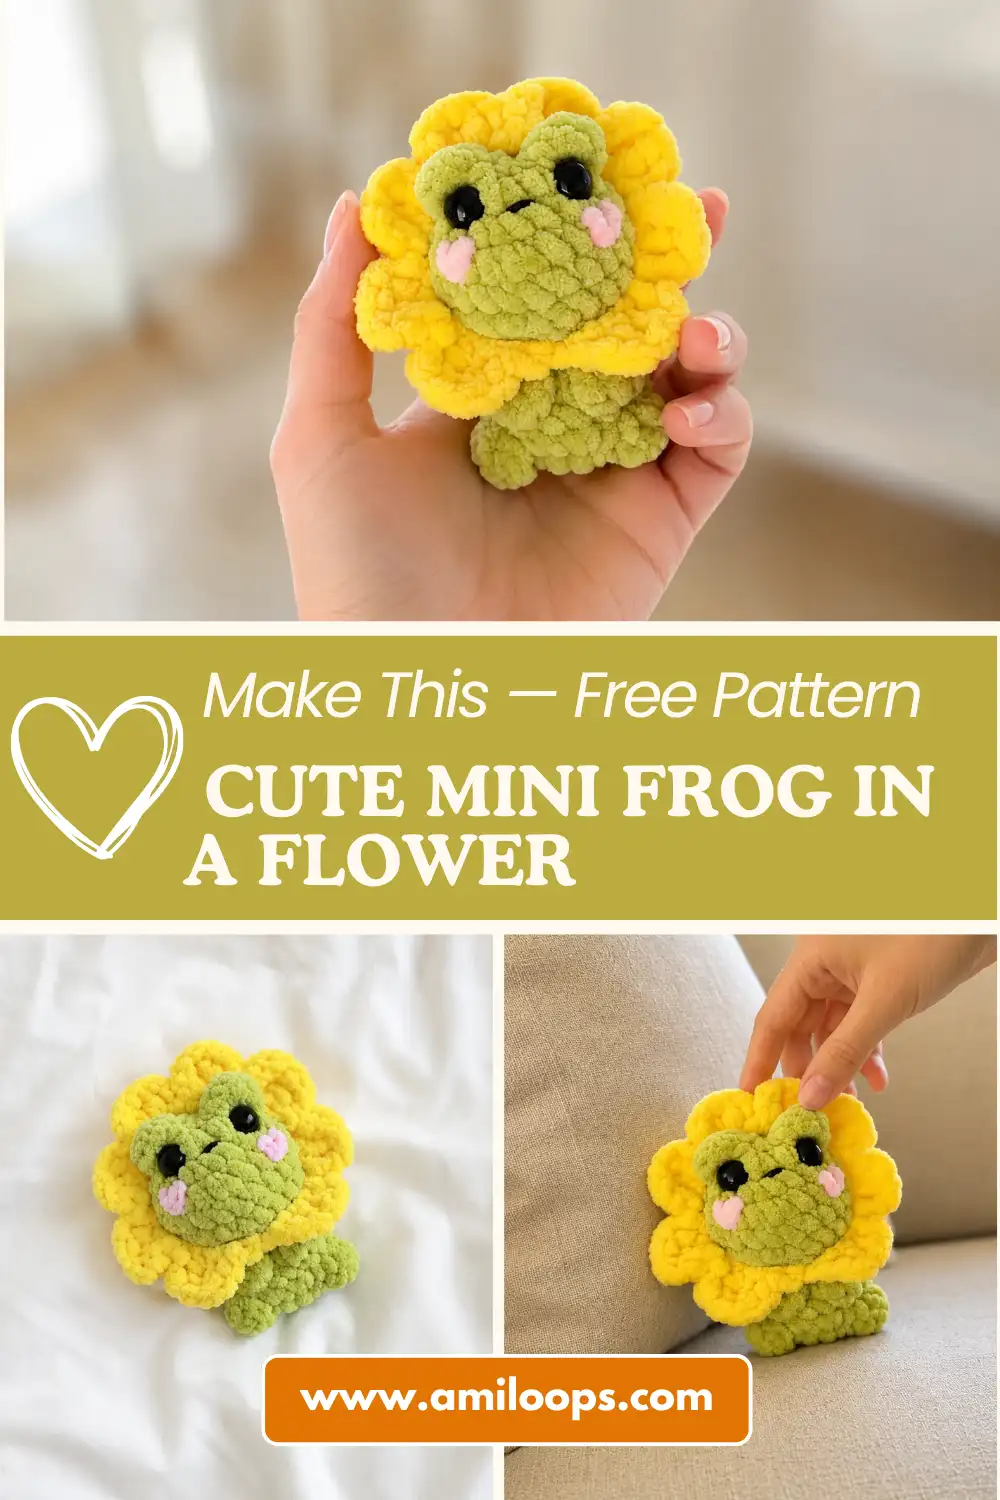
This mini frog crochet pattern has been sitting in my queue for weeks, and I finally understand why I kept coming back to it — the puff-stitch eyes and tiny attached legs give her a completely different construction than my other amigurumi. She’s small, just over 3 inches tall, and comes with her own little crochet flower to sit in. Every round below is counted and checked. Grab a 3.0mm hook and let’s get started.
📋 Pattern Quick Stats
- Difficulty: Intermediate (editorial estimate — not stated in the original pattern)
- Finished Size: 3.1 in (8 cm)
- Hook Size: 3.0mm (no direct US letter equivalent for this size)
- Yarn Weight: Bulky (5) — chenille/velvet
- Techniques: magic ring, invisible decrease, dc cluster stitches (eyes & legs), chain foundation, safety eyes
- Estimated Time: 2–3 hours (editorial estimate — not stated in the original pattern)
What You’ll Need for This Mini Frog Crochet Pattern
The original pattern was worked in YarnArt Dolce, shades 799 and 851 — a plush chenille yarn. If you’re shopping in the US, Bernat Baby Velvet is a close, widely available substitute in two coordinating colors. Chenille yarn like this is classified as Bulky (5) on the Craft Yarn Council yarn weight system, but I’d still recommend working it on a smaller hook than the weight category usually calls for — that’s exactly what gives chenille amigurumi its tight, no-gap fabric.
- Bulky (5) chenille yarn in two coordinating colors (e.g., Bernat Baby Velvet) — original: YarnArt Dolce 799 & 851
- 3.0mm crochet hook
- 10mm safety eyes
- Polyester fiberfill stuffing
- Stitch marker
- Tapestry needle
A quick note on the last three items: the source pattern didn’t list stuffing, a stitch marker, or a tapestry needle explicitly, but every piece here is a closed, stuffed amigurumi worked in continuous rounds, so I’ve added them as the standard tools you’ll need to actually finish the piece.
Special Techniques for This Mini Frog Crochet Pattern
This little frog uses a few techniques that go beyond basic single crochet, so take a moment to get familiar with them before you start.
The piece begins with a magic ring, which lets you close the starting hole completely instead of leaving a gap at the very center. If you haven’t worked one before, our step-by-step magic ring tutorial walks through it slowly.
For shaping, this pattern uses the invisible decrease throughout rather than a standard sc2tog. It’s a small technique that makes a real difference in how clean your rounds look — no visible gap where two stitches become one. If it’s new to you, our invisible decrease tutorial covers it in detail.
The technique that makes this pattern different from most of my other patterns is the dc cluster, used twice for the eyes in Row 2 and again for the legs in Rows 10 and 12. Where you see “EYE” or “LEG” in the instructions, you’re working several double crochets into the very same stitch, which raises up into a small puff or bump rather than lying flat like a regular round of single crochet. It’s the same double crochet stitch from our stitch fundamentals reference, just repeated multiple times in one spot. I don’t have every detail on whether these are meant to be joined at the top like a true bobble or simply worked as five (or three, or four) individual stitches into the same base — I’ve written it as the latter, since that’s the safest literal reading, but take your time and let the fabric guide you. If it looks too tight or too loose compared to the reference photo, adjust your tension rather than the stitch count.
Because this pattern uses safety eyes, I want to flag something important: safety eyes are for decorative pieces and adult collectors, not for children under 3, and should always be installed with the locking washer fully seated on the inside. If this frog is ever intended as a toy for a young child, embroidered eyes are the safer choice. You can find general toy safety guidance from the U.S. Consumer Product Safety Commission. Our safety eye tutorial covers installation step by step.
Mini Frog Crochet Pattern: Row-by-Row Instructions
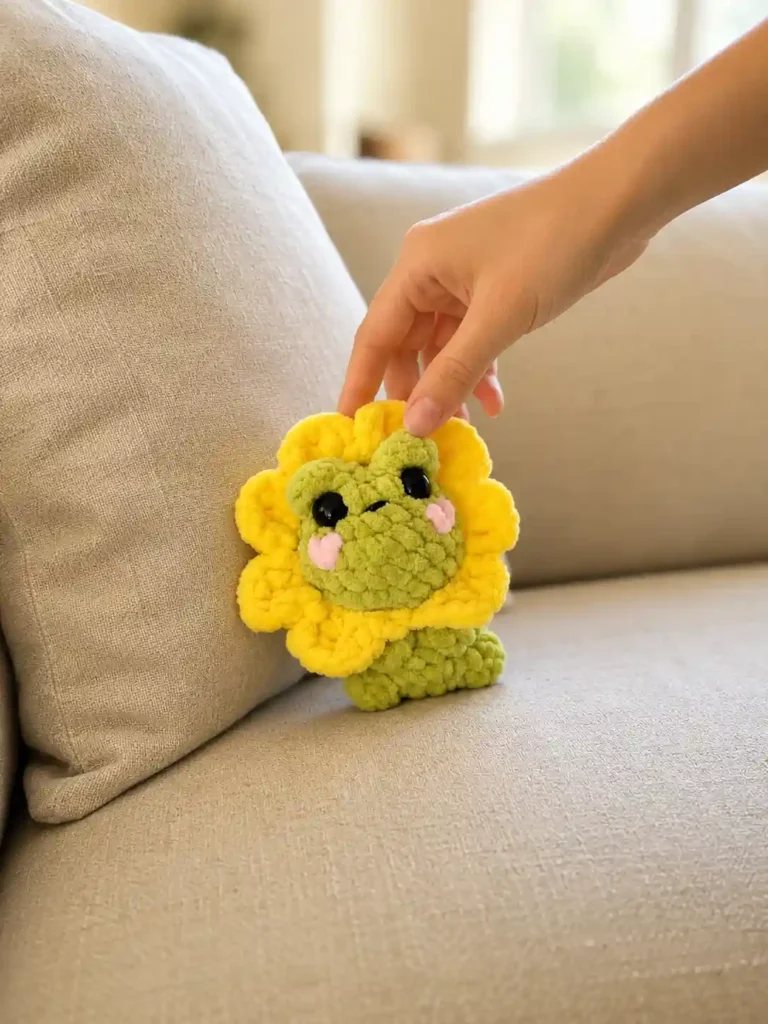
Frog (Main Piece) — worked in continuous rounds
Starting method: magic ring.
Row 1: 6 sc in mr (6)
Row 2: inc, EYE (5-dc cluster in same st), 1 sc in same st, 2 inc, EYE (5-dc cluster in same st), 1 sc in same st, inc (12)
Row 3: (sc, inc) × 6 (18)
Row 4: (2 sc, inc) × 6 (24)
📝 Pattern Note (after Row 4): This is where the original designer inserted the safety eyes, working them through the puff-stitch clusters made back in Row 2. Waiting until now gives you enough room to reach inside and secure the locking washers properly before the piece gets any smaller.
Rows 5–6: 24 sc (2 rows) (24)
Row 7: (2 sc, inv dec) × 6 (18)
Row 8: 9 inv dec (9)
Row 9: 9 inc (18)
📝 Pattern Note (after Row 9): The original pattern flags leg symmetry at this point, even though the leg clusters themselves aren’t worked until Rows 10 and 12 below. I’d read this as a checkpoint — pause here, and once you’ve placed the first leg in Row 10, check it against where the second leg will land before you commit to Row 12, shifting a stitch or two if needed to keep them even.
Row 10: 8 sc, LEG (3-dc cluster in same st), 2 sc, LEG (3-dc cluster in same st), 6 sc (18)
Row 11: 18 sc (18)
Row 12: 7 sc, LEG (4-dc cluster in same st), 4 sc, LEG (4-dc cluster in same st), 5 sc (18)
Row 13: 9 inv dec (9)
Row 14: (sc, inv dec) × 3 (6)
💡 Emma’s Tip: Stuff firmly as you work through the last few rounds — chenille hides seams well, but it also hides underfilled spots, so don’t be shy with the fiberfill before you close up Row 14.
Finishing: Pull closed to finish off the top opening.
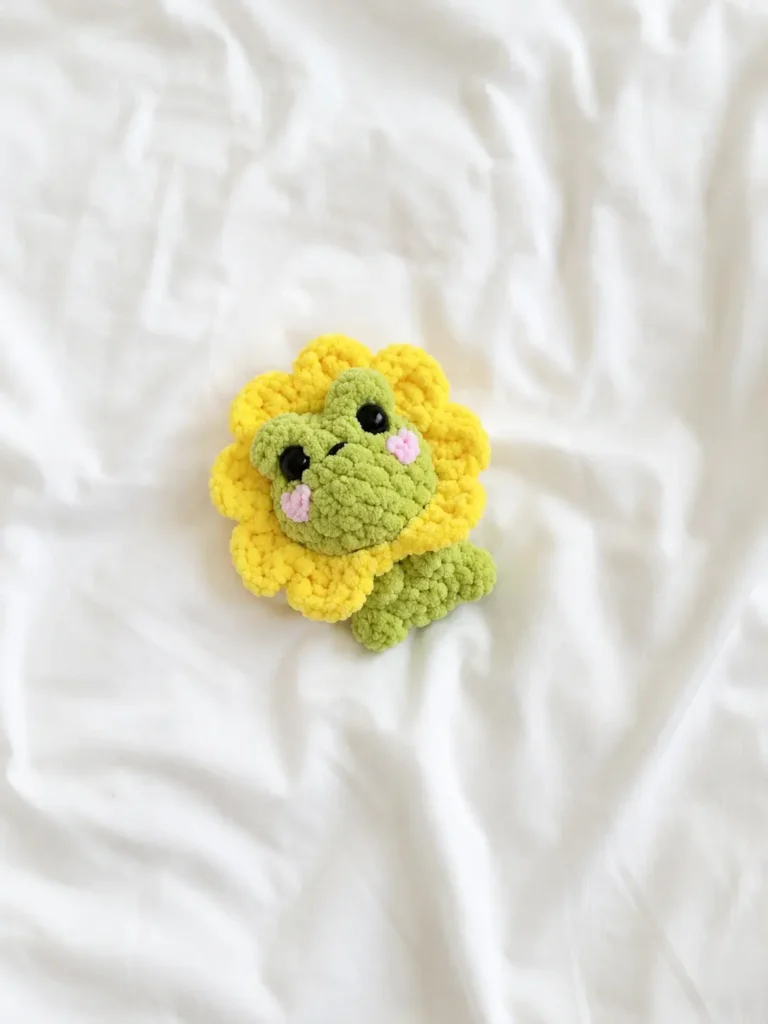
Flower
Starting method: 24 ch.
Row 1: (sl st, 2 ch, 2 dc in next st, 2 ch, sl st in next st) × 8 (8 petals)
Each repeat uses three chain stitches from your foundation, which is why 24 chains give you exactly eight petals. Take your time keeping the petals even in size — a little inconsistency here won’t ruin the piece, but I always find it worth the extra effort to get a nice, symmetrical bloom. If you enjoy pairing florals with your amigurumi, my butterfly amigurumi pattern has a similar garden feel.
Finishing: Weave in ends. The flower can be sewn directly to the frog or left as a separate, removable piece — the original pattern leaves this up to you, and so do I.
Assembling Your Mini Frog Crochet Pattern
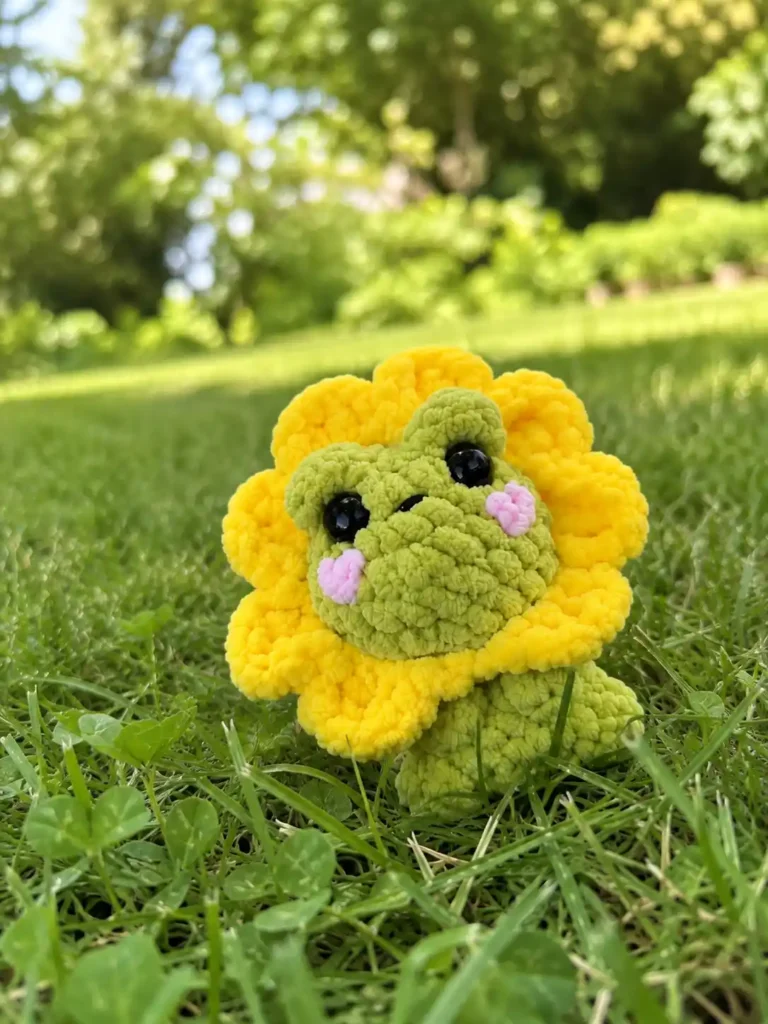
- After Row 4 of the frog, insert your 10mm safety eyes through the puff-stitch clusters formed in Row 2, and secure the locking washers firmly on the inside.
- Continue the body through Row 9, then check that the leg cluster placements in Rows 10 and 12 will sit symmetrically on either side of the body before committing to the stitches — shift by a stitch or two if needed.
- Work the 3-dc leg clusters directly into the body in Row 10, and the 4-dc leg clusters in Row 12. These legs are built straight into the body, so there’s no separate sewing required for them.
- Stuff the body firmly, especially in the last few rounds, before closing the top at Row 14.
- For the flower, sew it to the frog’s body wherever you’d like her to “sit” in it, or leave it as a loose, removable accessory.
Finishing Touches
The original pattern doesn’t call for any additional embroidery or surface detail beyond the eye clusters and safety eyes themselves — the puff stitches around each eye do double duty as both texture and a soft “eyelid” frame. Weave in any remaining ends with your tapestry needle, and give the chenille a gentle fluff with your fingers if any stitches look flattened from handling. If you’d like a refresher on tidy finishing, our fasten off and weave in ends tutorial is a good one to bookmark.
This mini frog crochet pattern comes together quickly once the leg and eye clusters click for you, and the removable flower means you get two little projects out of one pattern.
I’ll admit the leg clusters had me frogging (the other kind of frogging) my first attempt — I placed them a stitch too close together and she ended up a little knock-kneed. Once I got the spacing right, though, I loved how sturdy those built-in legs felt compared to sewing on separate pieces. Keep your tension tight and consistent, and don’t rush the eye placement — it’s worth getting her expression just right. Happy hooking! 🐸
FAQ
What yarn is best for this mini frog crochet pattern?
A plush chenille yarn like Bernat Baby Velvet (Bulky 5 weight) gives the best tight, no-gap fabric when paired with a 3.0mm crochet hook.
Are safety eyes safe for young children?
No, safety eyes are recommended for decorative pieces and adult collectors only. If making this frog for a child under 3 years old, embroider the eyes instead for safety.
How long does it take to crochet this mini frog?
Because of its small 3-inch size and quick built-in leg construction, this pattern takes an estimated 2 to 3 hours to complete.