Free Hamster Amigurumi Pattern: Orange Patch Design
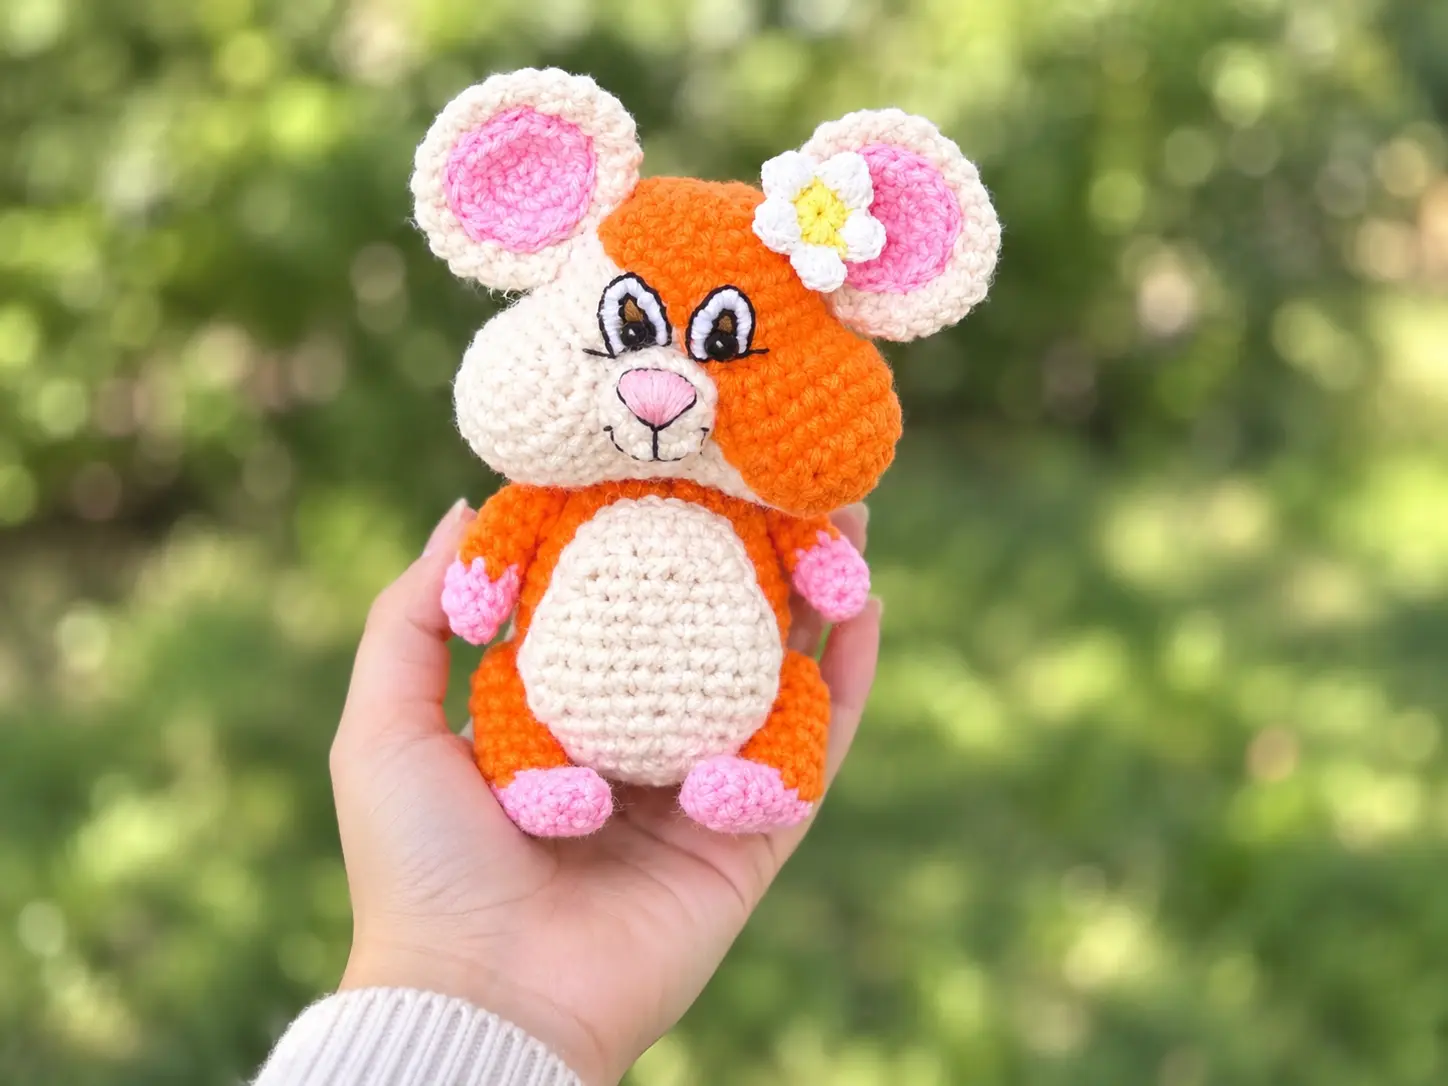
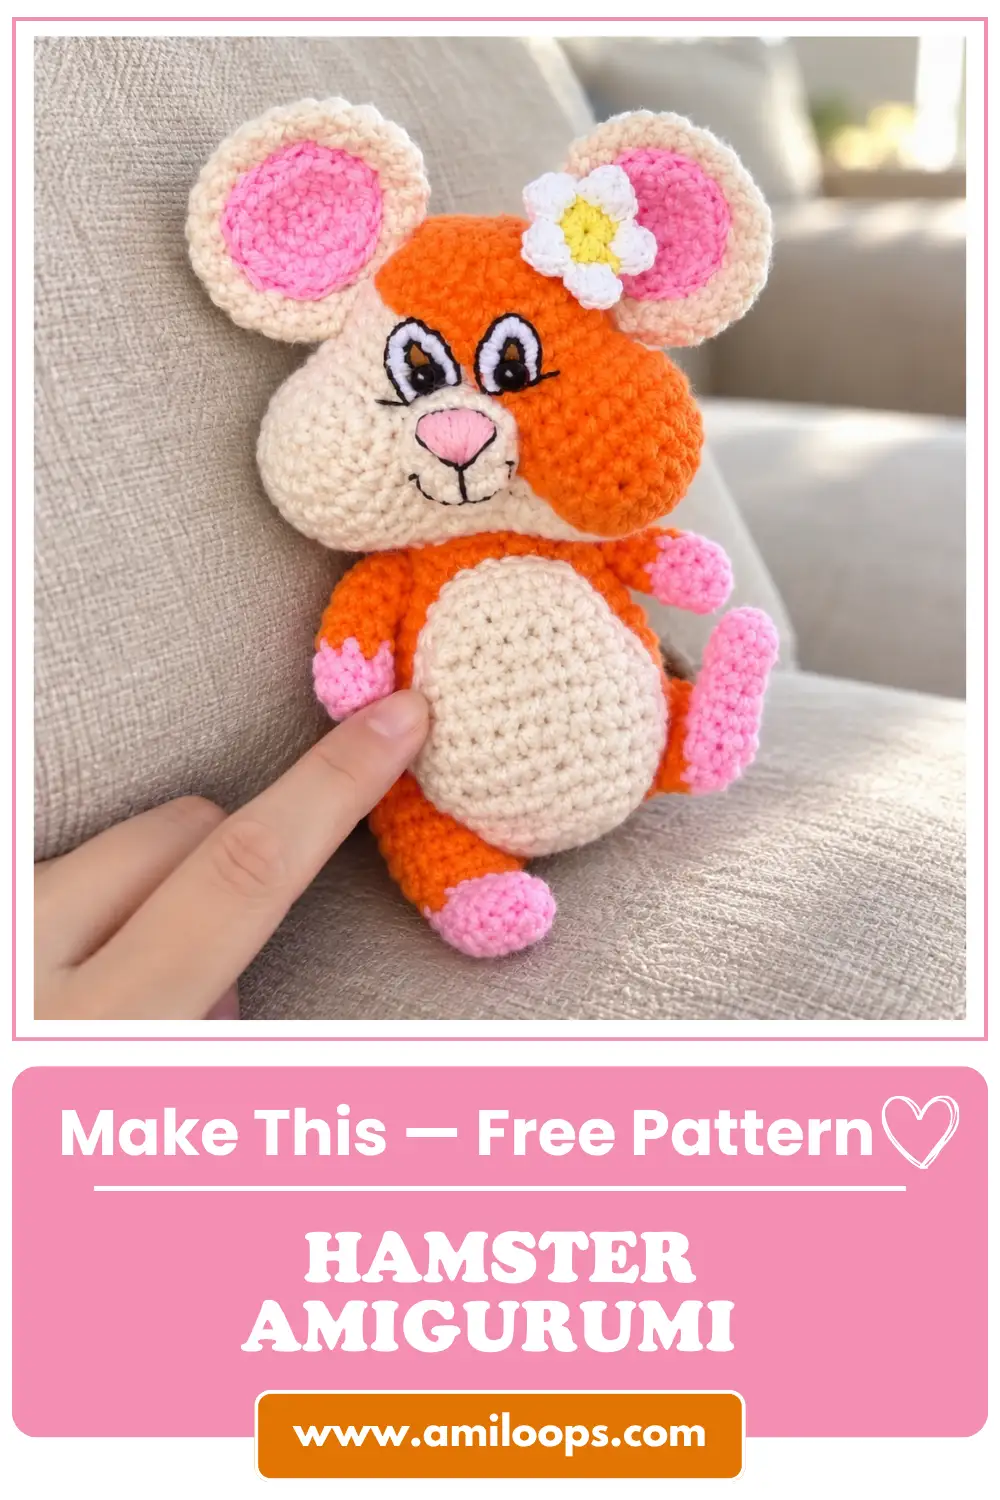
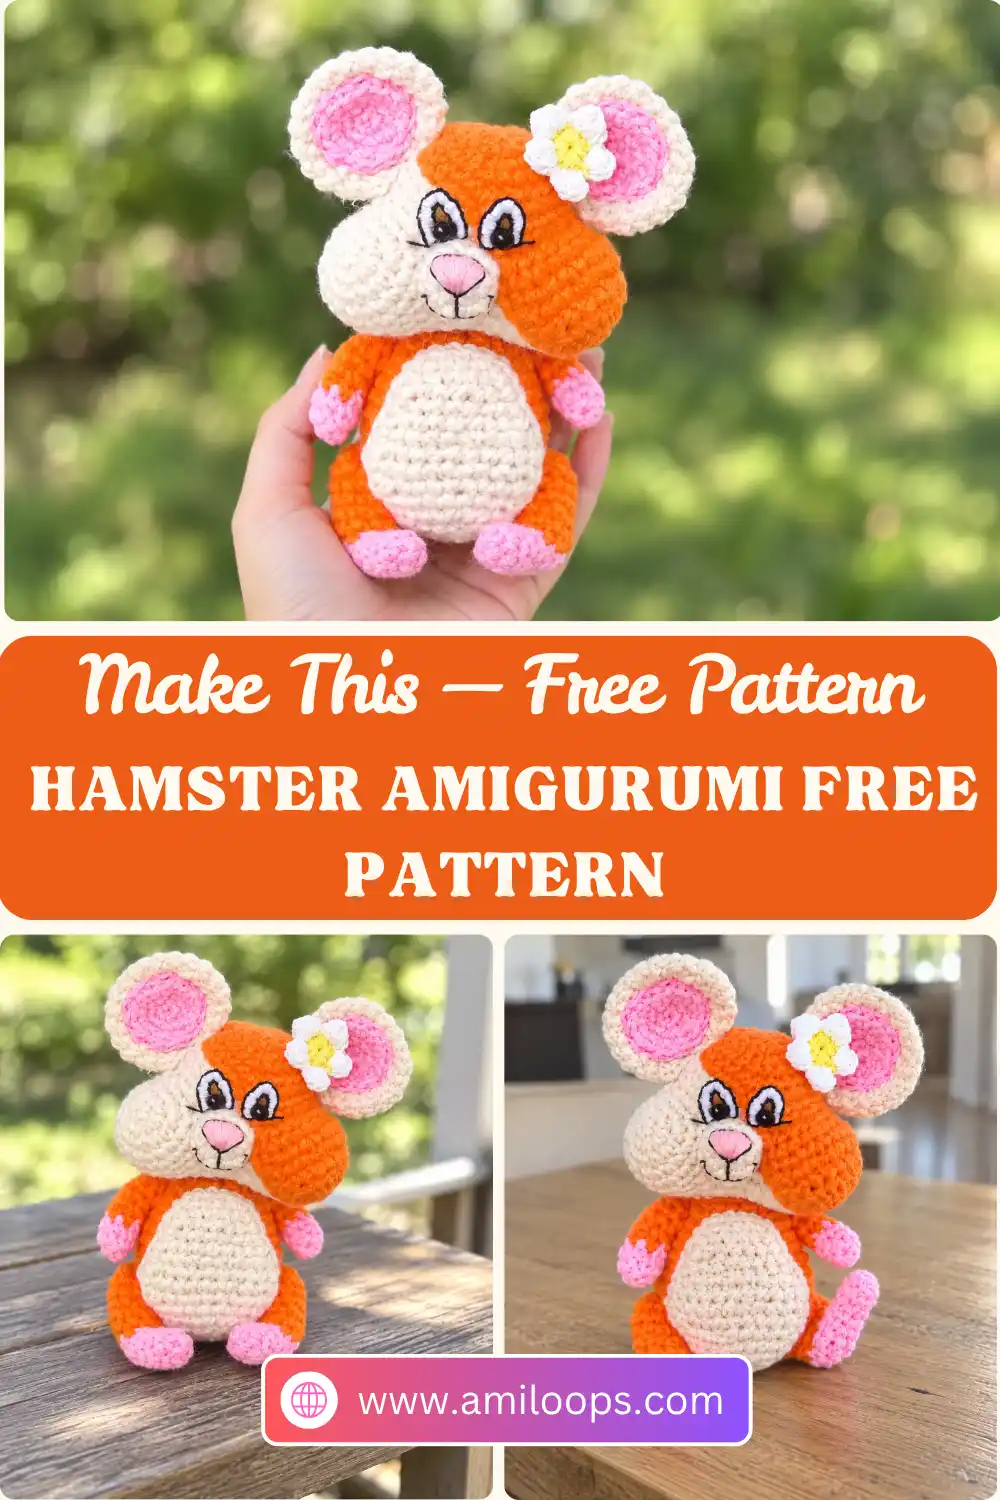
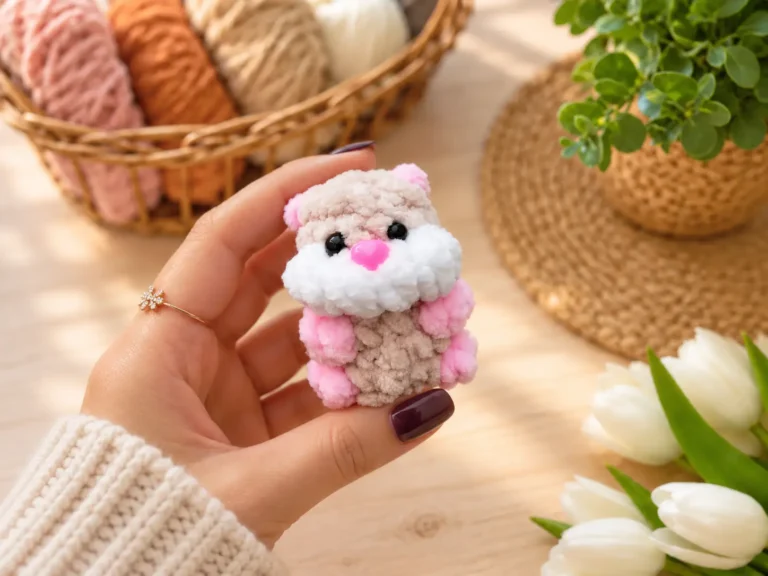
Some crochet animals are cute because they’re symmetrical. This one is cute because it isn’t. This hamster amigurumi free pattern builds a white hamster out of eleven separate pieces, including two cheek domes that get crocheted straight into the head rather than sewn on afterward. That single technique is what gives the face its round, stuffed-pouch look. Everything below is written out round by round and part by part, so you can work through the pieces in order without guessing what comes next.
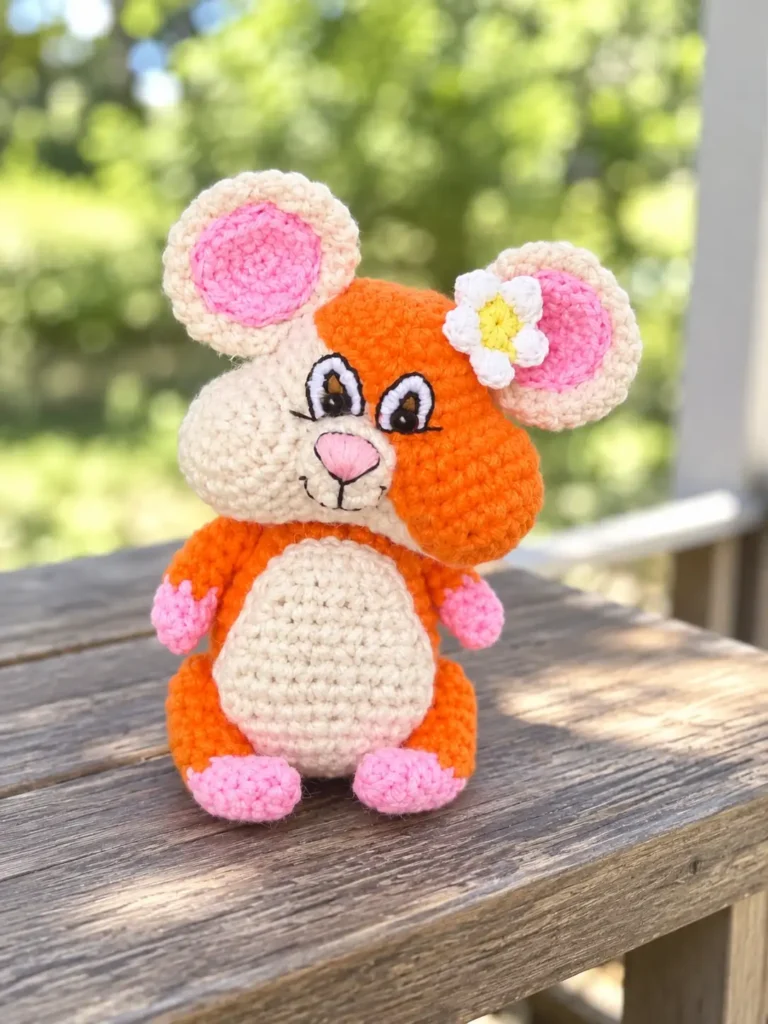
The other thing you’ll notice right away is the orange marking. Instead of a tidy stripe down the middle, a separate orange patch sits over the right side of the face, wrapping across one cheek and leaving the other side white. It’s worked as its own piece, starting in the round and then switching to rows so the edge can flare out and follow the curve of the cheek. The result is deliberately lopsided, and that off-center marking is what keeps the face from looking like every other crocheted rodent.
About This Hamster Crochet Pattern
Eleven pieces sounds like a lot, but most of them are short. You’ll make two cheeks, a head, a body, an orange head patch, two outer ears, two inner ears, a tummy, a muzzle, two arms, two legs, and a tail. Worked at the hook size listed below, the finished hamster measures 14-15 cm. The interesting work is concentrated in the face, where the cheeks and the patch do all the character-building while the rest of the pieces stay familiar.
The orange patch deserves a second look before you start, because it doesn’t behave like a normal appliqué. It begins as a flat circle in the round, then breaks into back-and-forth rows that widen, narrow, and widen again. Those shifts create a shape that can stretch diagonally across the right side of the face instead of lying flat like a coin. When it’s pinned in place, the center of the circle lines up with the center of the head, and the flared end reaches down over the cheek.
Materials and Tools
The hook size for this pattern is 3.0 mm, and the yarn only needs to suit that hook, so acrylic, cotton, or a cotton blend all work. Three colors carry the whole design: white for the head, cheeks, ears, tummy, and muzzle, orange for the body and the face patch, and pink for the inner ears and the tail, with the arms and legs combining pink and orange. The eyes have two routes. The simple version uses small black beads. The detailed version adds light brown felt and embroidery floss so the white of the eye can be stitched around them.
- Crochet hook size 3.0 mm
- Any yarn (acrylic, cotton, cotton blend) suitable for the hook size
- Yarn colors: white (or milky), pink, orange
- Light pink embroidery floss (white and black optional, for more complex embroidered eyes)
- Black beads or half-beads 4-5 mm in diameter
- Light brown felt (optional) for eyes
- Stuffing / Fiberfill
- Tapestry needle
- Embroidery needle (optional)
- Scissors
- Tweezers
Crochet Abbreviations
Everything here is written in standard US crochet abbreviations, so double-check the terms if you usually follow UK patterns. You’ll need a magic ring to start almost every piece, plus increases and decreases for the shaping. One less common abbreviation shows up in the tummy: sc3tog, or single crochet three together, which pulls three stitches into one and creates a sharper point than a regular decrease. The full list below matches the pattern exactly, so keep it open while you work through the rounds.
- sc — single crochet
- inc — increase (2 sc in next stitch)
- dec — decrease (single crochet 2 together)
- sc3tog — single crochet 3 together (decrease over 3 stitches)
- ch — chain
- MR — magic ring
- st/sts — stitch/stitches
- rnd/rnds — round/rounds
Construction Overview
The cheeks come first, and they’re the reason the face works. Each one is a shallow dome of four rounds, ending at eighteen stitches, and neither of them gets sewn on later. Instead, they wait until Round 8 of the head. At that point you crochet through both the head and a cheek at the same time, catching the cheek from the wrong side so its dome bubbles outward. Two cheeks join in that single round, and from there they’re structurally part of the head rather than an attachment sitting on top of it.
The body is worked from the bottom up and stays open at the neck, finishing with a small ring of stitches that later meets the head. The orange head patch follows a different logic entirely. Its first four rounds are ordinary circular increases, and then Row 5 stops the spiral, chains one, turns, and continues in rows. Those rows are where the flare happens: the piece narrows, widens sharply, then narrows again to a point, and a final pass of single crochet around the whole perimeter tidies the edge.
Before You Start
Make both white cheeks before you touch the head. Round 8 of the head assumes they’re finished and sitting next to you, and there’s no graceful way to add them afterward. Each cheek is only four rounds long, but skipping that step will stop you mid-head. While you’re at it, if you’re still fuzzy on how a magic ring works, practice one on scrap yarn, because nearly every piece in this pattern opens with six single crochet in a magic ring, and a loose start shows through the fabric.
Decide on the eyes now rather than at assembly. The simple option is a pair of black beads stitched onto the face, and it needs nothing beyond the beads and a needle. The complex option changes your shopping list, because it uses small ovals of light brown felt basted to the face, satin-stitched whites embroidered over the felt, a black outline, and the beads added last. Both belong to this design, but only one of them requires felt and embroidery floss on hand before you reach the final steps.
Hamster Crochet Pattern
Cheeks (White)
Round 1: 6 sc in a magic ring. (6 sts)
Round 2: (inc) 6 times. (12 sts)
Round 3: (1 sc, inc) 6 times. (18 sts)
Round 4: 18 sc. (18 sts)
Head (White)
Count check: Round 8 looks alarming on paper, but the arithmetic is simple: you work into the head and into the cheeks within the same round, and the stitch count rises to 47. Round 9 keeps all 47 stitches, so if you land anywhere else, recount before you start decreasing.
Round 1: 6 sc in a magic ring. (6 sts)
Round 2: (inc) 6 times. (12 sts)
Round 3: (1 sc, inc) 6 times. (18 sts)
Round 4: (2 sc, inc) 6 times. (24 sts)
Rounds 5-6: 24 sc. (24 sts)
Round 7: (7 sc, inc) 3 times. (27 sts)
Round 8: 4 sc together with the first cheek, grabbing it from the wrong side; 4 sc (along the head piece); 4 sc together with the second cheek; 15 sc. (47 sts)
Round 9: 47 sc, including the cheek stitches. In the joining spots, you can grab the already worked stitches, like in a decrease, to avoid holes. (47 sts)
Round 10: (dec, 6 sc) 5 times; 5 sc, dec. (41 sts)
Round 11: (dec, 5 sc) 5 times; 4 sc, dec. (35 sts)
Round 12: (dec, 4 sc) 5 times; 3 sc, dec. (29 sts)
Round 13: (2 sc, dec) 5 times; (1 sc, dec) 3 times. You can alternate decreases after 1 and after 2 stitches. (21 sts)
Round 14: (1 sc, dec) 7 times. (14 sts)
Body (Orange)
Neck opening: The final round leaves 14 stitches around the top of the body. Don’t cinch that opening closed, because the ring of stitches is what the head gets sewn onto once the limbs are jointed.
Round 1: 6 sc in a magic ring. (6 sts)
Round 2: (inc) 6 times. (12 sts)
Round 3: (1 sc, inc) 6 times. (18 sts)
Round 4: (2 sc, inc) 6 times. (24 sts)
Round 5: (3 sc, inc) 6 times. (30 sts)
Round 6: (4 sc, inc) 6 times. (36 sts)
Rounds 7-8: 36 sc. (36 sts)
Round 9: (7 sc, dec) 4 times. (32 sts)
Rounds 10-11: 32 sc. (32 sts)
Round 12: (6 sc, dec) 4 times. (28 sts)
Rounds 13-14: 28 sc. (28 sts)
Round 15: (5 sc, dec) 4 times. (24 sts)
Round 16: (2 sc, dec) 6 times. (18 sts)
Round 17: (1 sc, dec) 4 times; 6 sc. (14 sts)
Head Patch (Orange)
Round 1: 6 sc in a magic ring. (6 sts)
Round 2: (inc) 6 times. (12 sts)
Round 3: (1 sc, inc) 6 times. (18 sts)
Round 4: (2 sc, inc) 6 times. (24 sts)
Row 5: 12 sc, ch 1, turn the piece, and continue working in rows. (12 sts)
Row 6: 13 sc, ch 1, turn. (13 sts)
Row 7: 11 sc, dec, ch 1, turn. (12 sts)
Row 8: 12 sc, ch 1, turn. (12 sts)
Row 9: 10 sc, dec, ch 1, turn. (11 sts)
Row 10: 11 sc, ch 1, turn. (11 sts)
Row 11: 10 sc, inc, ch 1, turn. (12 sts)
Row 12: (inc, 1 sc) 6 times, ch 1, turn. (18 sts)
Row 13: 18 sc, ch 1, turn. (18 sts)
Row 14: (dec, 1 sc) 6 times, ch 1, turn. (12 sts)
Row 15: 12 sc, ch 1, turn. (12 sts)
Row 16: 6 dec, ch 1, turn. (6 sts)
Row 17: 3 dec; then without turning, sc around the entire perimeter of the piece. At the end, you can finish the edging with 2 more decreases (where you made the 3 decreases at the beginning) to round out the piece more on the cheek.
Ears (White)
Round 1: 6 sc in a magic ring. (6 sts)
Round 2: (inc) 6 times. (12 sts)
Round 3: (1 sc, inc) 6 times. (18 sts)
Round 4: (2 sc, inc) 6 times. (24 sts)
Rounds 5-7: 24 sc. (24 sts)
Round 8: (2 sc, dec) 6 times. (18 sts)
Round 9: (1 sc, dec) 6 times. (12 sts)
Inner Ears (Pink)
Round 1: 6 sc in a magic ring. (6 sts)
Round 2: (inc) 6 times. (12 sts)
Round 3: (1 sc, inc) 6 times. (18 sts)
Tummy (White)
Row 1: Ch 5, starting in the 2nd ch from the hook: 3 sc, inc, ch 1, turn. (5 sts)
Row 2: 4 sc, inc, ch 1, turn. (6 sts)
Row 3: 5 sc, inc, ch 1, turn. (7 sts)
Row 4: 6 sc, inc, ch 1, turn. (8 sts)
Row 5: 7 sc, inc, ch 1, turn. (9 sts)
Row 6: 8 sc, inc, ch 1, turn. (10 sts)
Row 7: 10 sc, ch 1, turn. (10 sts)
Row 8: 8 sc, dec, ch 1, turn. (9 sts)
Row 9: 7 sc, dec, ch 1, turn. (8 sts)
Row 10: 6 sc, dec, ch 1, turn. (7 sts)
Row 11: 2 sc, sc3tog, 2 sc. Without turning, continue to single crochet around the perimeter of the piece. Then make another row along the bottom edge (over the 11th row).
Row 12: dec, 1 sc, dec. Fasten off and leave a tail for sewing.
Muzzle (White)
Round 1: 6 sc in a magic ring. (6 sts)
Round 2: (inc) 6 times. (12 sts)
Round 3: 12 sc. (12 sts)
Arms (Pink and Orange)
Round 1: 6 sc in a magic ring. (6 sts)
Rounds 2-3: 6 sc. (6 sts)
Rounds 4-8: 6 sc. (6 sts)
Legs (Pink and Orange)
Shaping the heel: Rows 6 through 9 step out of the round to build the heel, narrowing down to a single stitch before Round 10 picks the work back up in the round with 10 sc around the opening. Read those four rows through once before you begin them.
Round 1: 6 sc in a magic ring. (6 sts)
Rounds 2-5: 6 sc. (6 sts)
Row 6: 4 sc, ch 1, turn, continue working in rows. (4 sts)
Row 7: 4 sc. (4 sts)
Row 8: 2 dec, ch 1, turn. (2 sts)
Row 9: dec, ch 1, turn, continue working in the round. (1 st)
Round 10: Crochet around the opening: 10 sc (3 sc on the sides, 3 sc in the front of the leg, + 1 sc in the back). (10 sts)
Round 11: 10 sc. (10 sts)
Round 12: 3 sc, dec, 5 sc. (9 sts)
Round 13: 3 sc, dec, 4 sc. (8 sts)
Round 14: (1 sc, inc) 4 times. (12 sts)
Round 15: 12 sc. (12 sts)
Round 16: 6 dec. (6 sts)
Tail (Pink)
Round 1: 6 sc in a magic ring. (6 sts)
Rounds 2-3: 6 sc. (6 sts)
Assembly and Finishing
Start with the orange patch, because it sets the face. Lay it over the head and find the magic ring at the center of each piece, since they’re meant to line up exactly. Pin through both centers first, then stretch the patch toward the right cheek so it covers that side fully, and pin the flared end down before you sew. Working around the perimeter comes after that. If you sew the edge before checking the centers, the marking ends up sitting too high or too far forward.
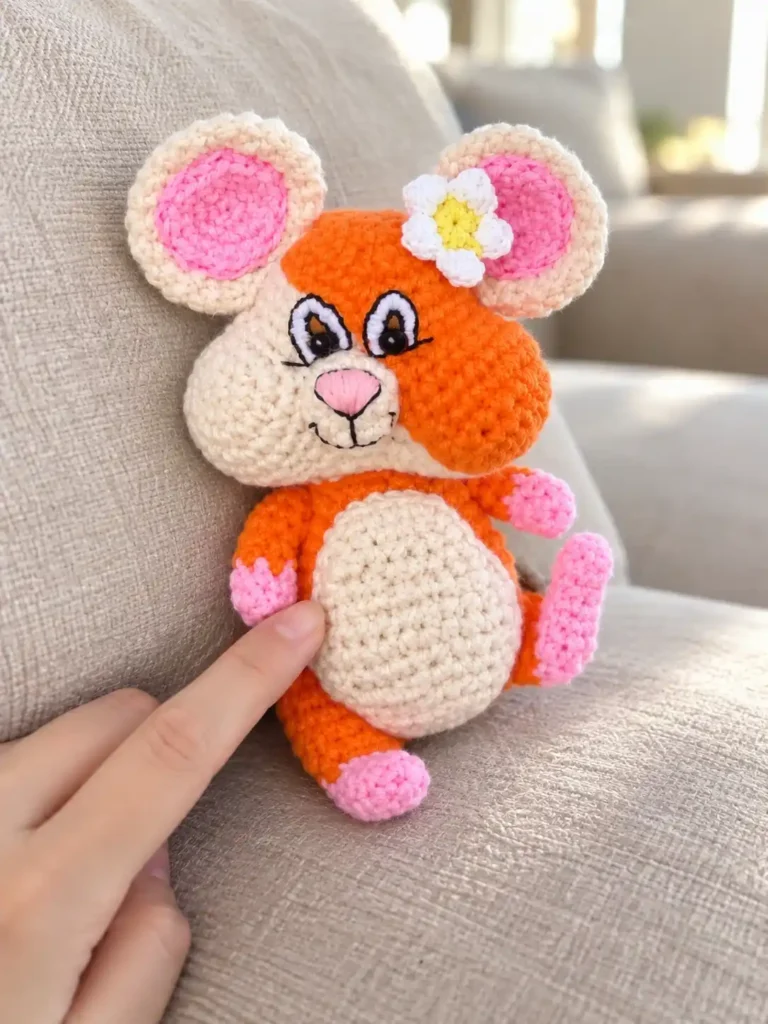
The ears are layered rather than shaped: each pink inner ear is centered on a white outer ear and stitched down, which leaves a white rim showing all the way around. Pin both ears to the head before committing to either one, since a pair reads as crooked much faster than a single ear does. The muzzle goes on the same way, with stuffing pushed in through the gap as you close it. If sewing amigurumi parts together is the step you dread, pinning everything first turns it into a checking job rather than a guessing one.
The arms and legs attach with thread jointing rather than plain surface sewing, so both sides are drawn toward each other through the body and the limbs end up hanging from a shared axis. That also lets the arms swing slightly instead of locking flat against the sides. The tail is sewn on with a pinch of stuffing tucked inside, and the head goes onto the open neck ring once the limbs are set. Check the arm and leg heights against each other before you fasten anything off.
- Sew the orange patch to the head. Align the magic rings of both pieces, pin in place. Stretch the patch over the right cheek, and sew around the perimeter.
- Sew the pink inner ear parts to the white ear parts.
- Sew the ears and muzzle to the head, pinning them evenly first. Stuff the muzzle while sewing.
- Assemble the body, attaching the arms and legs using thread jointing.
- Sew the tail on, adding a small amount of stuffing inside.
- Sew the head to the body.
- Muzzle Detailing (Simple Version): Sew on a pair of black beads and embroider a pink nose.
- Muzzle Detailing (Complex Version): Baste oval light brown felt pieces to the eye placement area. Outline and embroider the white part of the eye with satin stitch over the felt. Outline the eyes in black. Sew the black beads on top. Embroider the nose with satin stitch and outline in black.
Pattern Notes and Troubleshooting
Closing Gaps Where the Cheeks Join
The joining rounds are the two places holes tend to appear, because you’re crossing from head stitches into cheek stitches and back again. If you see a gap forming, don’t keep going and hope the stuffing hides it. At the joining spots, grab loops from the stitches you already worked and pull them in as if you were making a decrease. That draws the two fabrics together and closes the opening without changing your stitch count, which is what keeps the following rounds lining up.
Keeping the Patch Edges Flat
Curling edges on the orange patch almost always trace back to a missed chain. Every row in that section ends with a chain 1 before the turn, and it’s easy to skip when your attention is on the decreases. Without it the row height drops at the edge and the whole side rolls inward, which makes the patch fight you when you try to stretch it across the cheek. If a finished patch is already curling, check the turning edge row by row before assuming tension is at fault.
Getting the Cheeks to Bubble Outward
Direction matters when you catch the cheeks into the head. Hold each cheek from the wrong side against the head so the dome pushes out, away from the head fabric, rather than collapsing inward. It’s an easy thing to get backward, and the mistake doesn’t announce itself until several rounds later, when the face should be rounding out and instead looks flat. If you’re unsure which way a cheek is facing, pause and press the dome gently with your thumb, since it should want to pop toward you.
Finishing Checklist
Before the final check, look at the limbs on their own. Each arm and leg should be lightly stuffed rather than packed, and cinched closed at the top so the opening doesn’t gape once it’s jointed. Over-stuffed limbs go stiff and sit at odd angles, and an un-cinched top spreads out under the tension of thread jointing. Fixing either problem after attachment means undoing the joint, so it’s worth a minute of attention while the pieces are still loose.
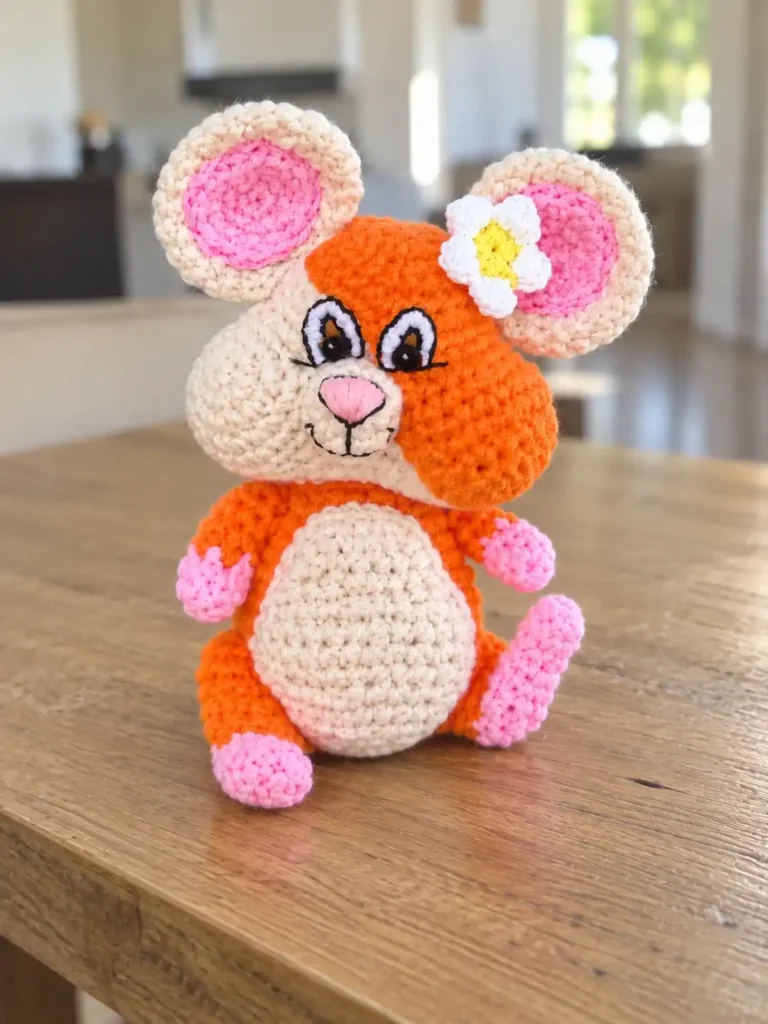
Tail placement is the last thing that changes how the finished hamster behaves. Sewn too high, it does nothing; sewn low on the back, it acts as a small third point of contact and lets the hamster sit upright instead of tipping. Set the piece down on a flat surface and adjust before the final stitches go in. Then run through the checklist below, which covers the face, the ears, the patch, the tail, and both sets of limbs.
- Both ears are securely attached with the pink sides facing forward.
- The orange patch fully covers the right side/cheek of the face.
- The muzzle is securely sewn and stuffed to create dimension.
- The arms and legs are attached symmetrically using thread jointing.
- The tail is positioned on the lower back of the body, allowing the hamster to sit.
- Facial embroidery (nose and eyes) is complete and secure.