Holiday Penguin Amigurumi: Free Crochet Pattern with Knitted Hats and Scarves
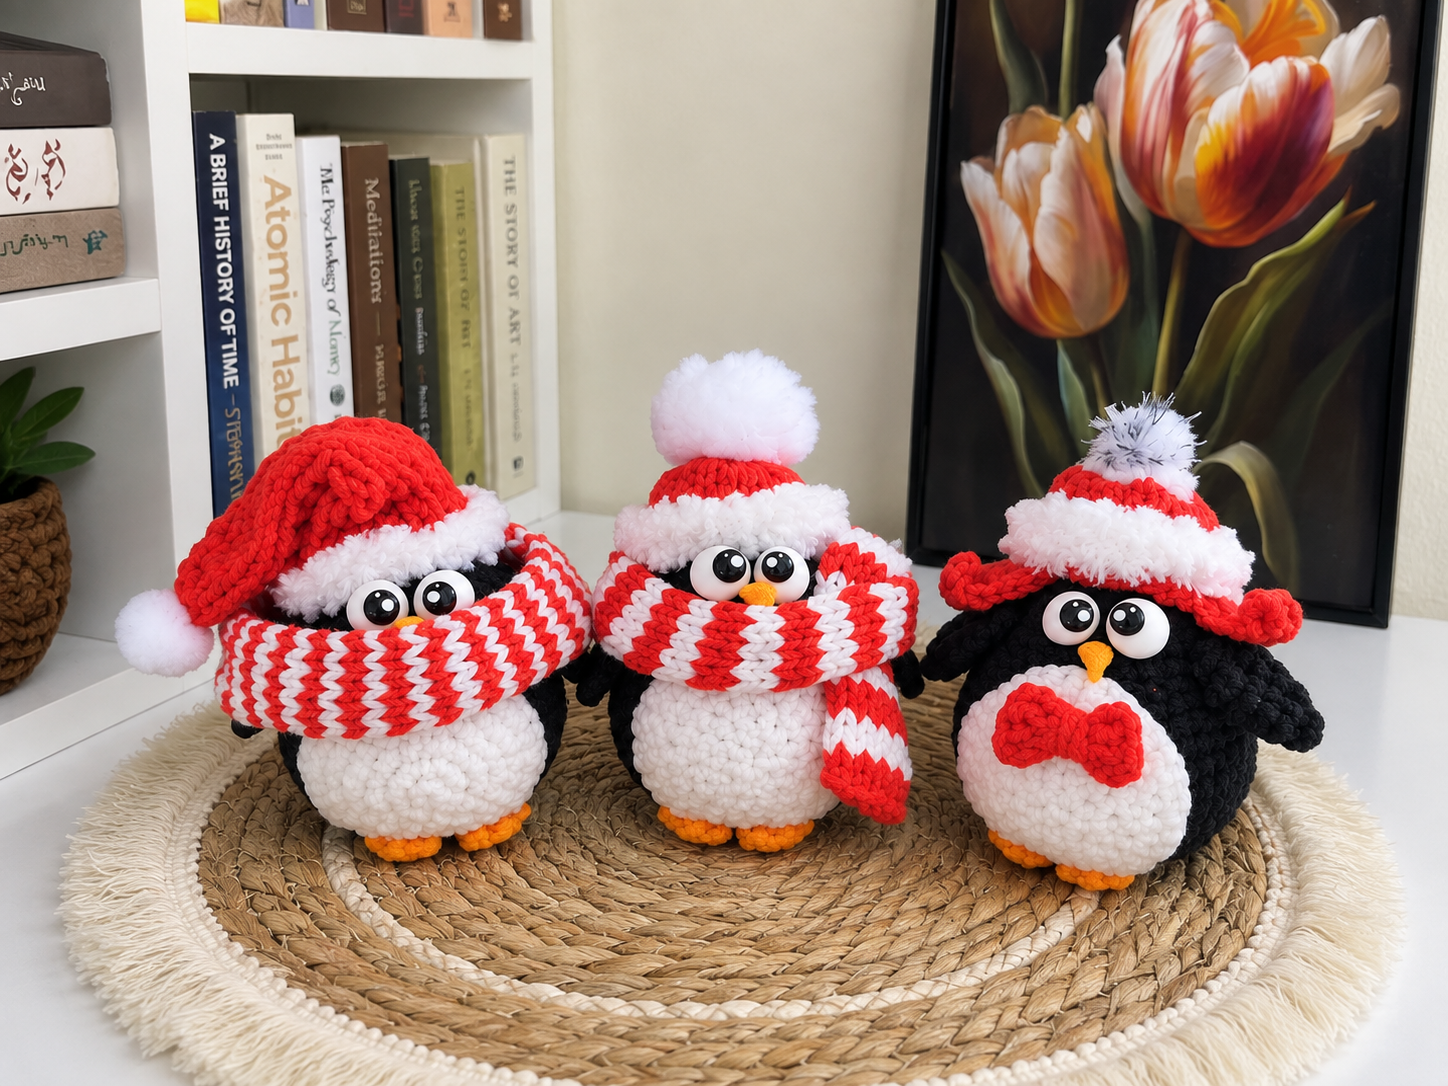
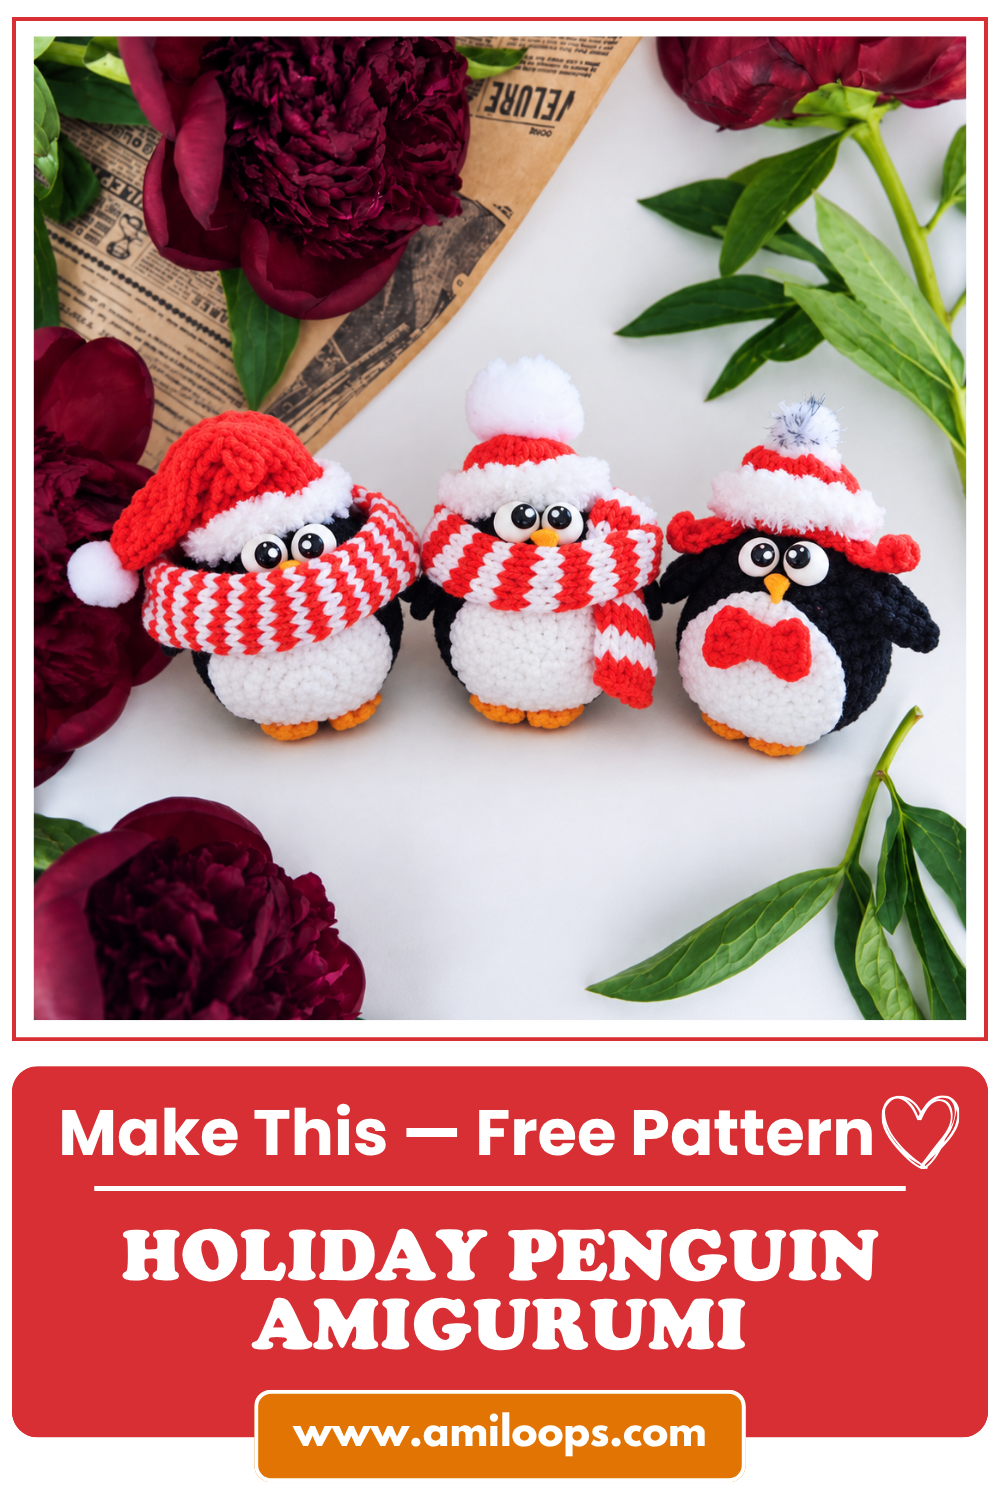
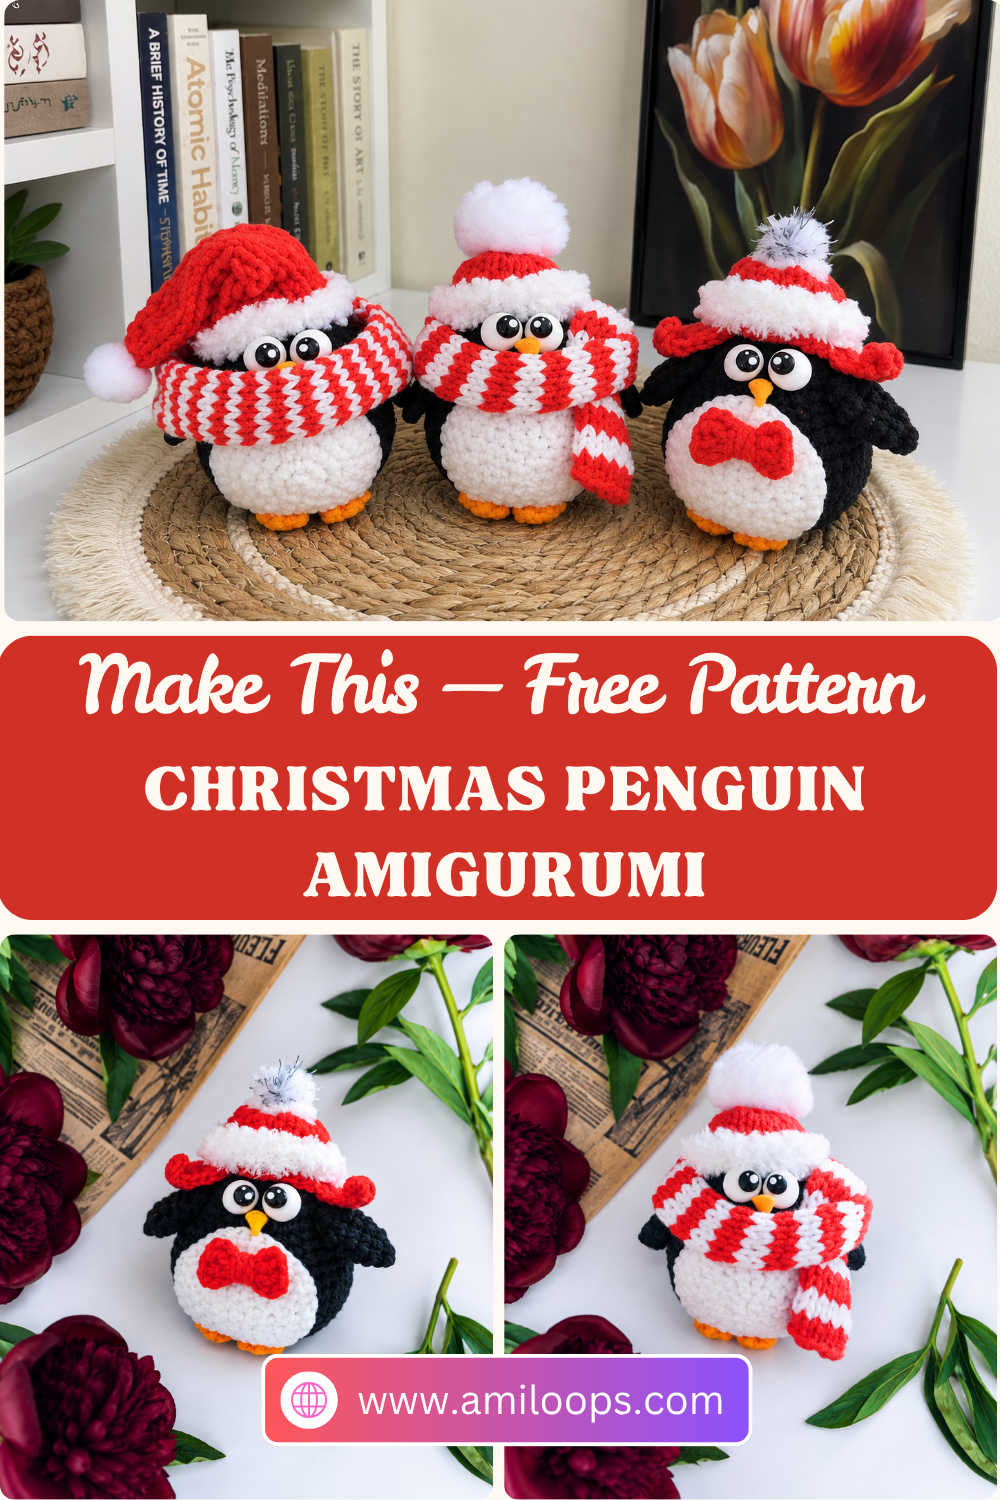
This holiday penguin amigurumi comes with a whole winter wardrobe. The penguin itself is a rounded, tapered body worked in single crochet, finished with a sewn-on belly, wings and feet. The fun really starts when you dress it: a red stocking cap with a soft white brim, a pom-pom hat, an earflap hat trimmed with red crochet, a striped snood or a classic scarf.
Because every hat and scarf is its own small piece, you can crochet several penguins from the same body pattern and give each one a different outfit. The penguin is crocheted with a No. 1.5 hook, while the hats and scarves are knitted on two No. 2.0 needles, then seamed where the pattern calls for it and sewn onto the penguin with monofilament thread.
Materials · Abbreviations · Body · Belly · Wings · Feet · Hats · Scarves · FAQ
Before your first stitch: This project uses both a crochet hook and knitting needles. If you plan to make every accessory, keep the white Softy and the red Jeans together: each hat begins with Softy before switching to red, and the earflap hat returns to Softy for its final row.
Colors: In the pattern’s photos, the body and wings are anthracite, the belly is white and the feet are pumpkin, the shade of the Alize Cotton Gold.
Face details: The eyes and beak are shaped from polymer clay. If you’d rather skip the clay, use ready-made eyes and embroider the beak instead.
Materials and tools
- YarnArt Jeans: No. 28 (anthracite), No. 01 (white) and No. 26 (red)
- Alize Cotton Gold: No. 83 (pumpkin)
- Alize Softy: white
- Crochet hook: No. 1.5
- Two knitting needles: No. 2.0
- Stuffing
- Needle
- Polymer clay for the eyes and beak (or ready-made eyes, with an embroidered beak)
- Small pom-poms
- Moment Crystal glue
- Monofilament thread, for sewing the hats and scarf onto the penguin
The polymer clay eyes and beak and the small pom-poms are tiny pieces. If your penguins will be within reach of young children, the U.S. Consumer Product Safety Commission’s small parts guidance for toys and children’s products explains how small parts are treated in children’s items.
Crochet abbreviations
The crocheted pieces use US crochet terms. For the full list of standard US abbreviations, see the Craft Yarn Council’s crochet abbreviations chart. The knitted hats and scarves are written out in plain words (knit, purl, cast on, decrease).
| Abbreviation | Meaning |
|---|---|
| MR | magic ring |
| ch | chain |
| sc | single crochet |
| sl st | slip stitch |
| st(s) | stitch(es) |
| inc | increase: 2 sc in the same st |
| dec | decrease: work the next 2 sts together as 1 sc |
| Rnd(s) | round(s) |
Body
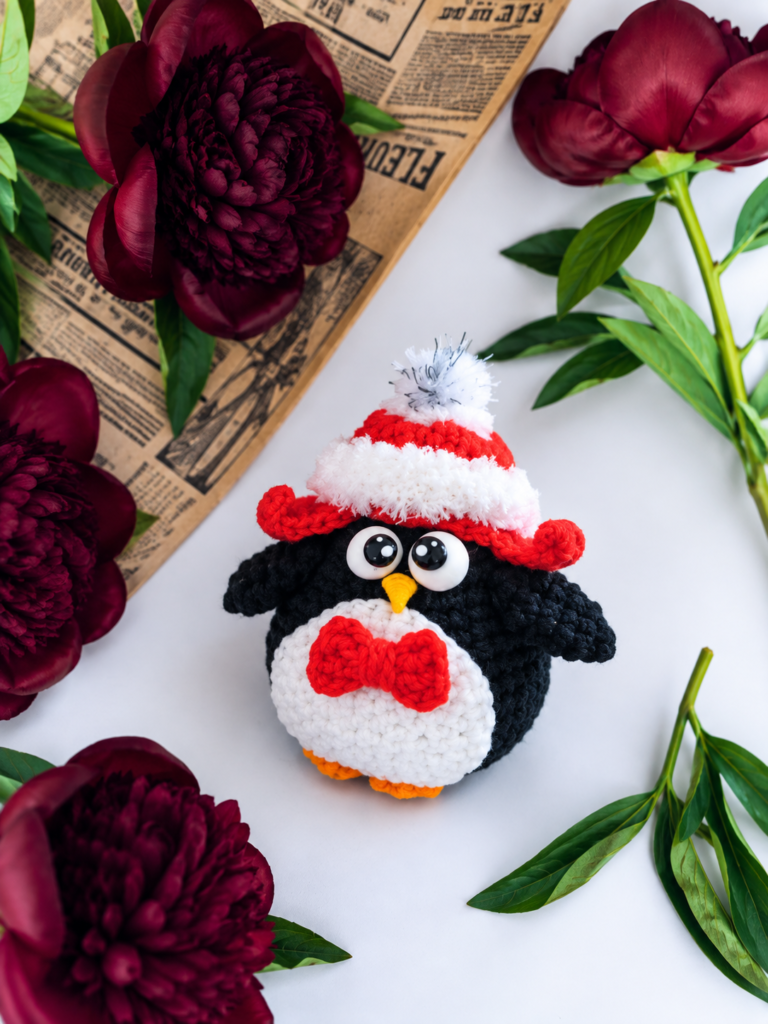
Each crocheted part of the penguin starts with 6 sc in a magic ring. If you need a refresher, this step-by-step magic ring tutorial walks through it. The body grows slowly, with plain rounds between the early increases, then narrows quickly in five decrease rounds.
Rnd 1: 6 sc in MR (6)
Rnd 2: Inc 6 times (12)
Rnd 3: [1 sc, inc] 6 times (18)
Rnd 4: Sc in each st around (18)
Rnd 5: [2 sc, inc] 6 times (24)
Rnds 6–7 (2 rnds): Sc in each st around (24)
Rnd 8: [3 sc, inc] 6 times (30)
Rnd 9: Sc in each st around (30)
Rnd 10: [4 sc, inc] 6 times (36)
Rnd 11: [5 sc, inc] 6 times (42)
Rnds 12–16 (5 rnds): Sc in each st around (42)
A helpful note: The body is closed completely at the end, so add stuffing while the decrease rounds are narrowing the opening and you can still reach inside.
Rnd 17: [5 sc, dec] 6 times (36)
Rnd 18: [4 sc, dec] 6 times (30)
Rnd 19: [3 sc, dec] 6 times (24)
Rnd 20: [2 sc, dec] 6 times (18)
Rnd 21: [1 sc, dec] 6 times (12)
Pull the opening closed and weave in the end.
Belly
The belly is a flat circle: six rounds of increases, finished with a slip stitch before you fasten off.
Rnd 1: 6 sc in MR (6)
Rnd 2: Inc 6 times (12)
Rnd 3: [1 sc, inc] 6 times (18)
Rnd 4: [2 sc, inc] 6 times (24)
Rnd 5: [3 sc, inc] 6 times (30)
Rnd 6: [4 sc, inc] 6 times (36), sl st.
Fasten off, leaving a long yarn tail for sewing.
Sew the belly to the body between Rnds 6 and 18. Counting those rounds on the body before you start makes placement easier; for neat seams, see how to sew amigurumi parts together.
Wings
Make 2.
Rnd 1: 6 sc in MR (6)
Rnd 2: [1 sc, inc] 3 times (9)
Rnds 3–4 (2 rnds): Sc in each st around (9)
Rnd 5: [1 sc, dec] 3 times (6)
Rnd 6: Sc in each st around (6)
Leave a long yarn tail for sewing. Pull the opening closed and bring the yarn out below Rnd 2.
Sew the wings to the body just below Rnd 6.
Feet
Make 2.
Rnd 1: 6 sc in MR (6)
Rnd 2: (Sl st, ch 1, sl st) in the next st; repeat 2 more times.
Fasten off, leaving a long yarn tail for sewing. In the pattern photos, the feet sit side by side on the underside of the body, peeking out at the front.
Knitted hats
The pattern gives three hat styles, all knitted flat on two needles and started with white Softy. The Softy rows that open each hat are knit on both sides, which gives a ridged garter-stitch brim; the red rows alternate knit and purl, which gives smooth stockinette.
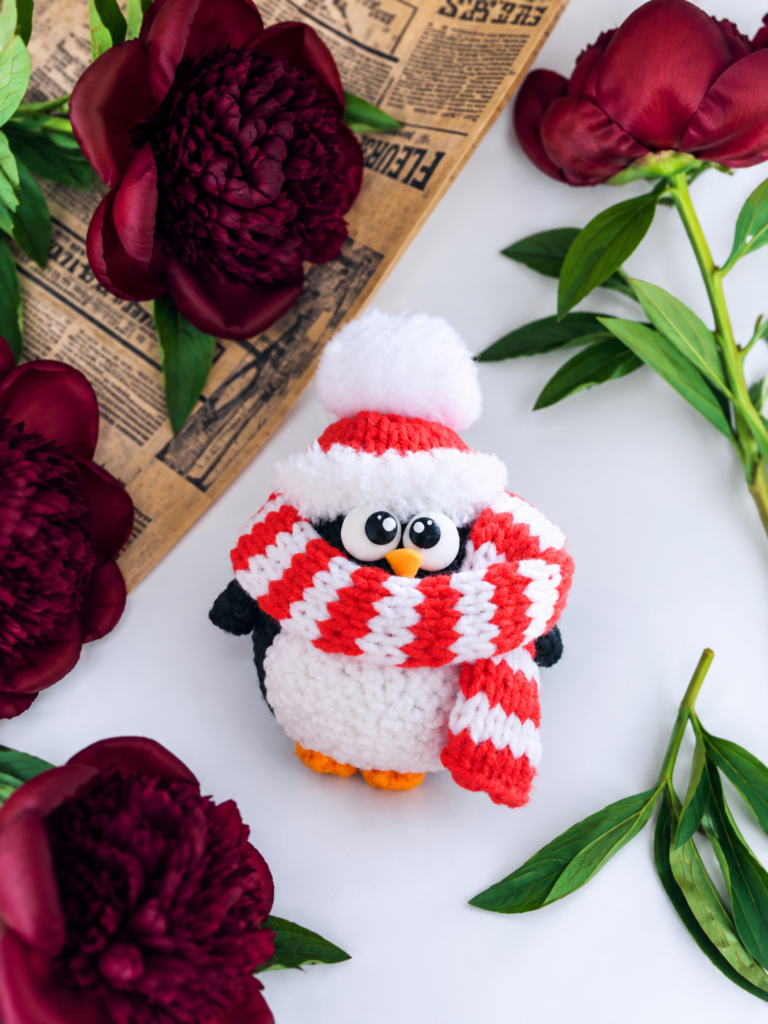
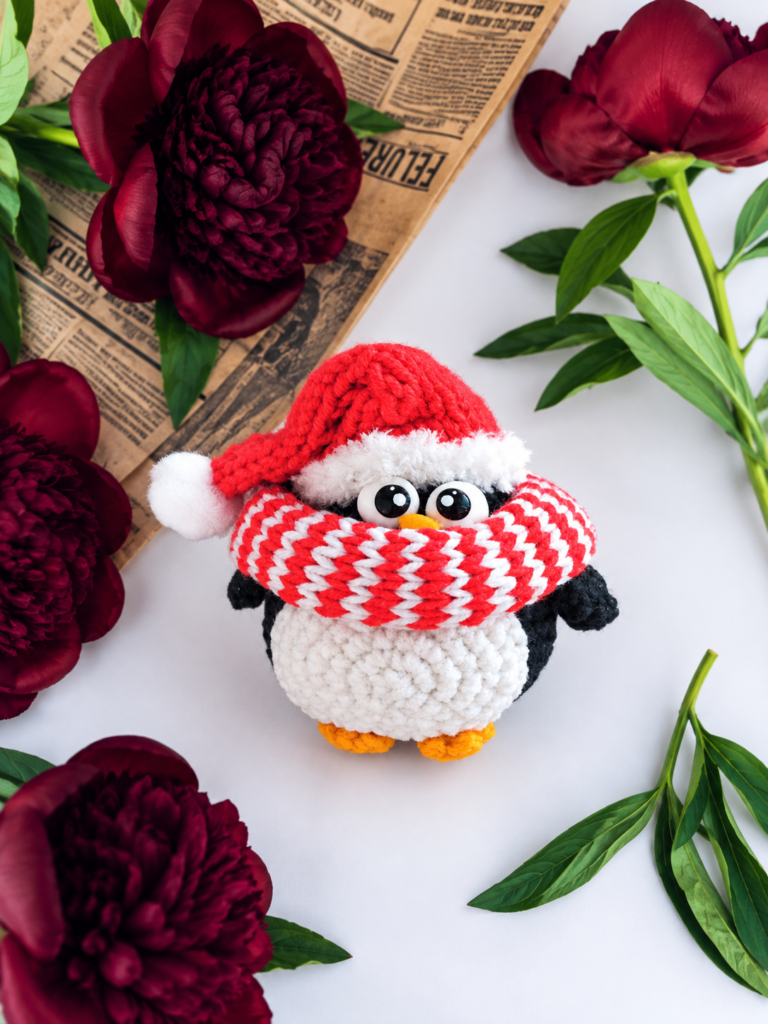
Stocking cap
Start with Softy. Cast on 20 sts (18 sts plus 2 edge sts).
Rows 1–2: Knit.
Change to red.
Row 3: Knit.
Row 4: Purl.
Row 5: Knit.
Row 6: Purl.
Shaping: From here on, decrease 1 st in the middle of every right-side row until 9 sts remain on the needle.
Final decreases: Decrease 4 times. Draw the remaining sts closed.
Sew the cap seam, then sew the cap to the body with monofilament.
Hat
Start with Softy. Cast on 22 sts.
Rows 1–3 (3 rows): Knit.
Change to red.
Row 4: Knit.
Row 5: Purl.
Row 6: Knit.
Row 7: Purl.
Row 8: Decrease 11 times.
Draw the remaining sts closed. Sew the hat seam.
Sew on a pom-pom. Lightly stuff the hat and sew it to the body with monofilament.
Earflap hat (knitted, with crocheted edging)
Start with Softy. Cast on 22 sts.
Rows 1–2 (2 rows): Knit.
Change to red.
Row 3: Knit.
Row 4: Purl.
Row 5: Knit.
Row 6: Purl.
Change to Softy.
Row 7: Knit.
Draw the sts closed. Sew the hat seam. Sew on a pom-pom.
Crocheted edging and earflaps: Switch to your crochet hook here. Each earflap is a short chain: the 5 sc worked into a single chain fan out at the tip, and the 4 sc along the remaining chains bring you back to the hat edge.
Join red yarn at the back of the hat.
Edging: Sc along the edge to where the first earflap will be.
*Earflap: Ch 6. Work 5 sc in the 2nd ch from the hook, then sc in each of the remaining 4 ch.
Edging: Sc along the edge to where the second earflap will be.
Repeat: Repeat from * once.
Finish the edging: After the second earflap, sc along the rest of the edge.
Lightly stuff the hat and sew it to the body with monofilament.
Knitted scarves
Work using the “cord” method: don’t turn the work to the wrong side. Work on the right side only, going back to the first stitch each time.
Draft note: The source gives this method on its own, just before the snood, without naming the piece it applies to. Instruction pending clarification.
Snood scarf
Alternate white and red every row.
Snood: Cast on 10 sts and work 47 rows.
Sew the two ends of the scarf together. Slip it onto the penguin and sew it in place with monofilament.
Scarf
Alternate colors every 2 rows.
Scarf: Cast on 8 sts. Adjust the length as you like.
More patterns to make next
Questions about these penguins
Do I need to knit to make these penguins?
The penguin itself—body, belly, wings and feet—is crocheted, but all of the hats and scarves are knitted on two needles. The earflap hat is the only accessory with a crocheted part: a red single crochet edging with two earflaps.
How are the little feet shaped?
Each foot starts with 6 sc in a magic ring. In the second round, you work a small (sl st, ch 1, sl st) group into a stitch, then repeat that group 2 more times before fastening off with a long tail for sewing.
Which hat style should I make?
It depends on the look you want. The stocking cap is decreased in the middle of every right-side row, so it narrows gradually before the last stitches are drawn closed. The hat is shorter, drawn closed after one row of decreases, topped with a pom-pom and lightly stuffed. The earflap hat also has a pom-pom, finishes with a white row before it is drawn closed and gets a red crocheted edging with two earflaps.
Where do the belly and wings go on the body?
Sew the belly to the body between Rounds 6 and 18. The wings are sewn just below Round 6.
How is the snood different from the scarf?
The snood is 10 stitches wide, changes color every row and is 47 rows long; its ends are sewn together so it slips onto the penguin, and it is stitched in place with monofilament. The scarf is 8 stitches wide, changes color every 2 rows and can be made any length you like.
Can I use ready-made eyes instead of polymer clay?
Yes. The pattern offers ready-made eyes with an embroidered beak as an alternative to shaping the eyes and beak from polymer clay.