Cinnamoroll Crochet Pattern: Free Amigurumi with Long Floppy Ears
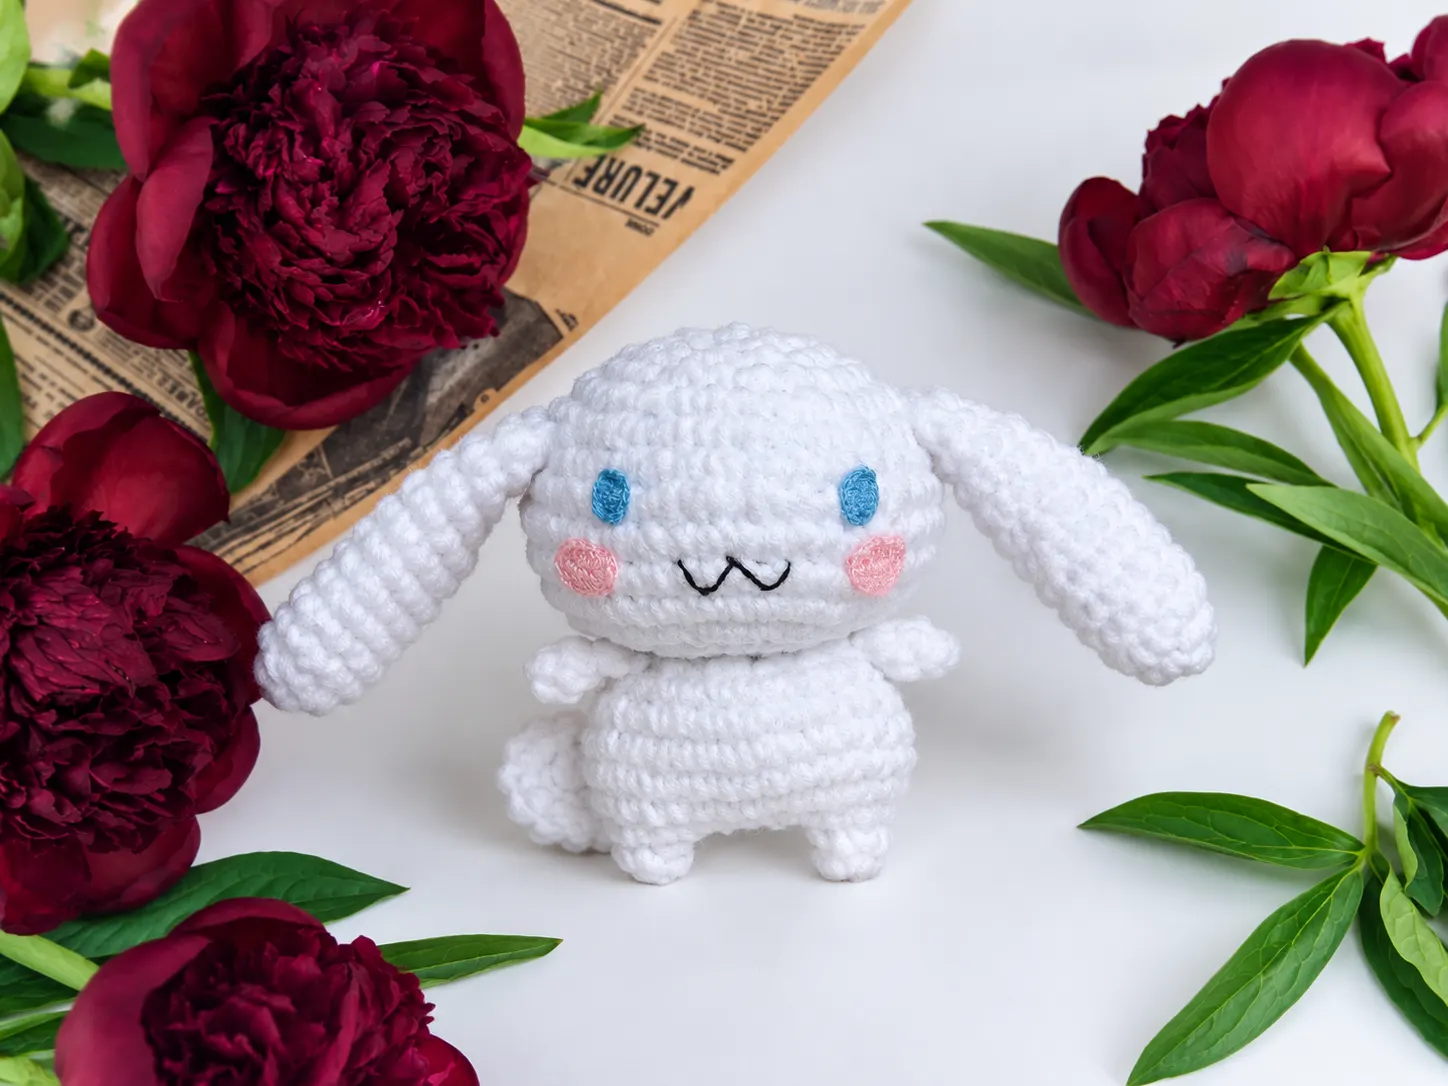
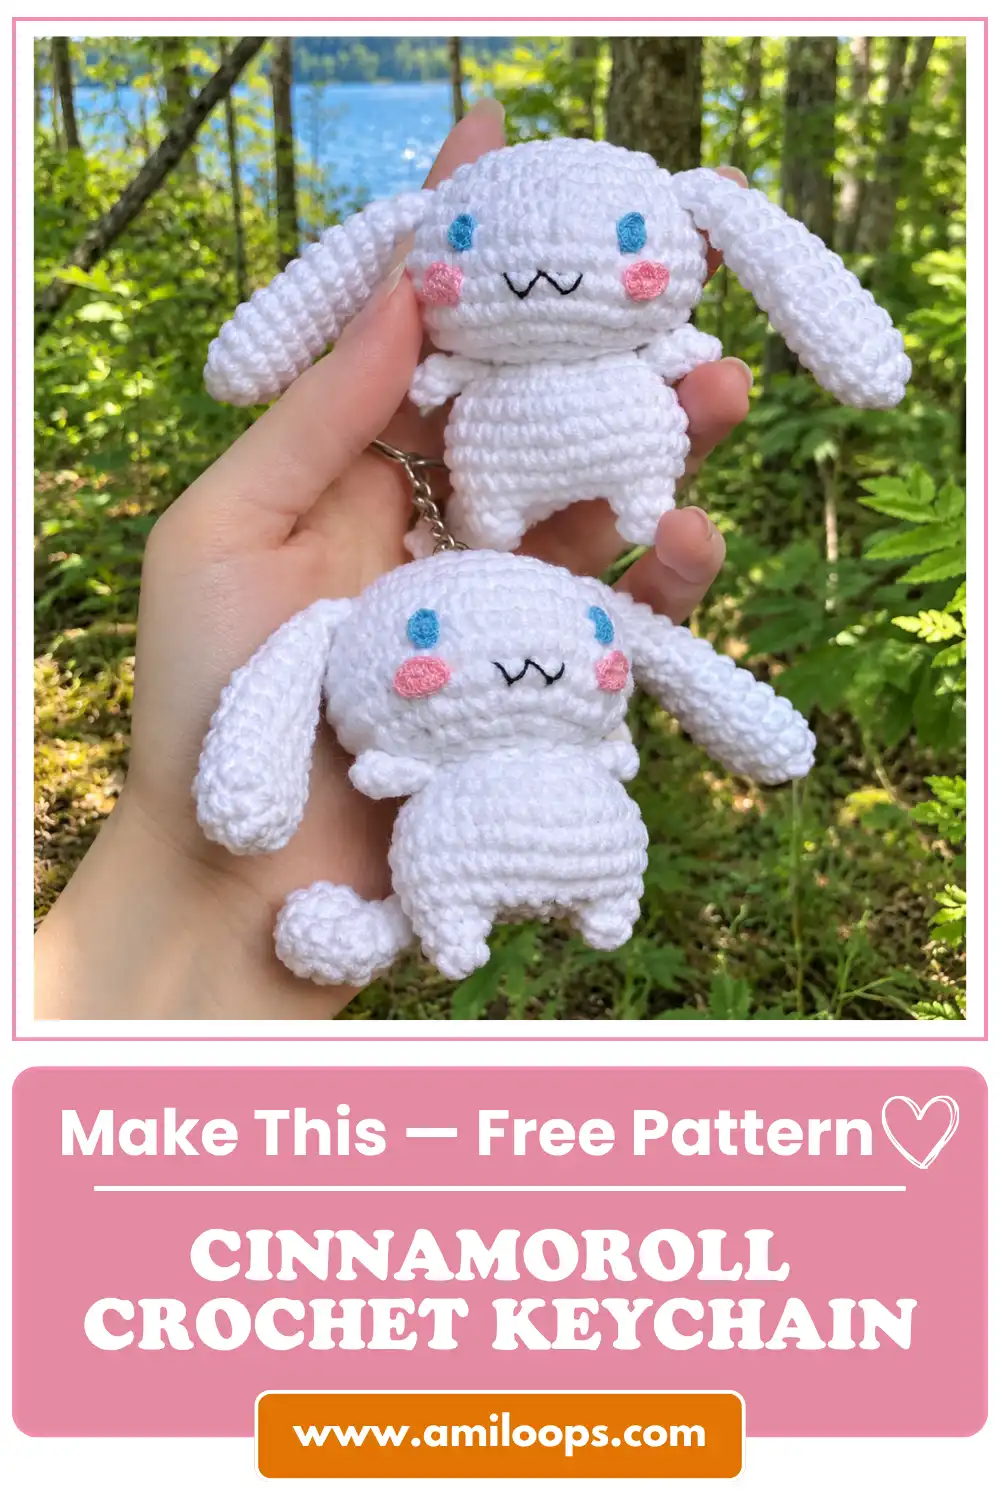
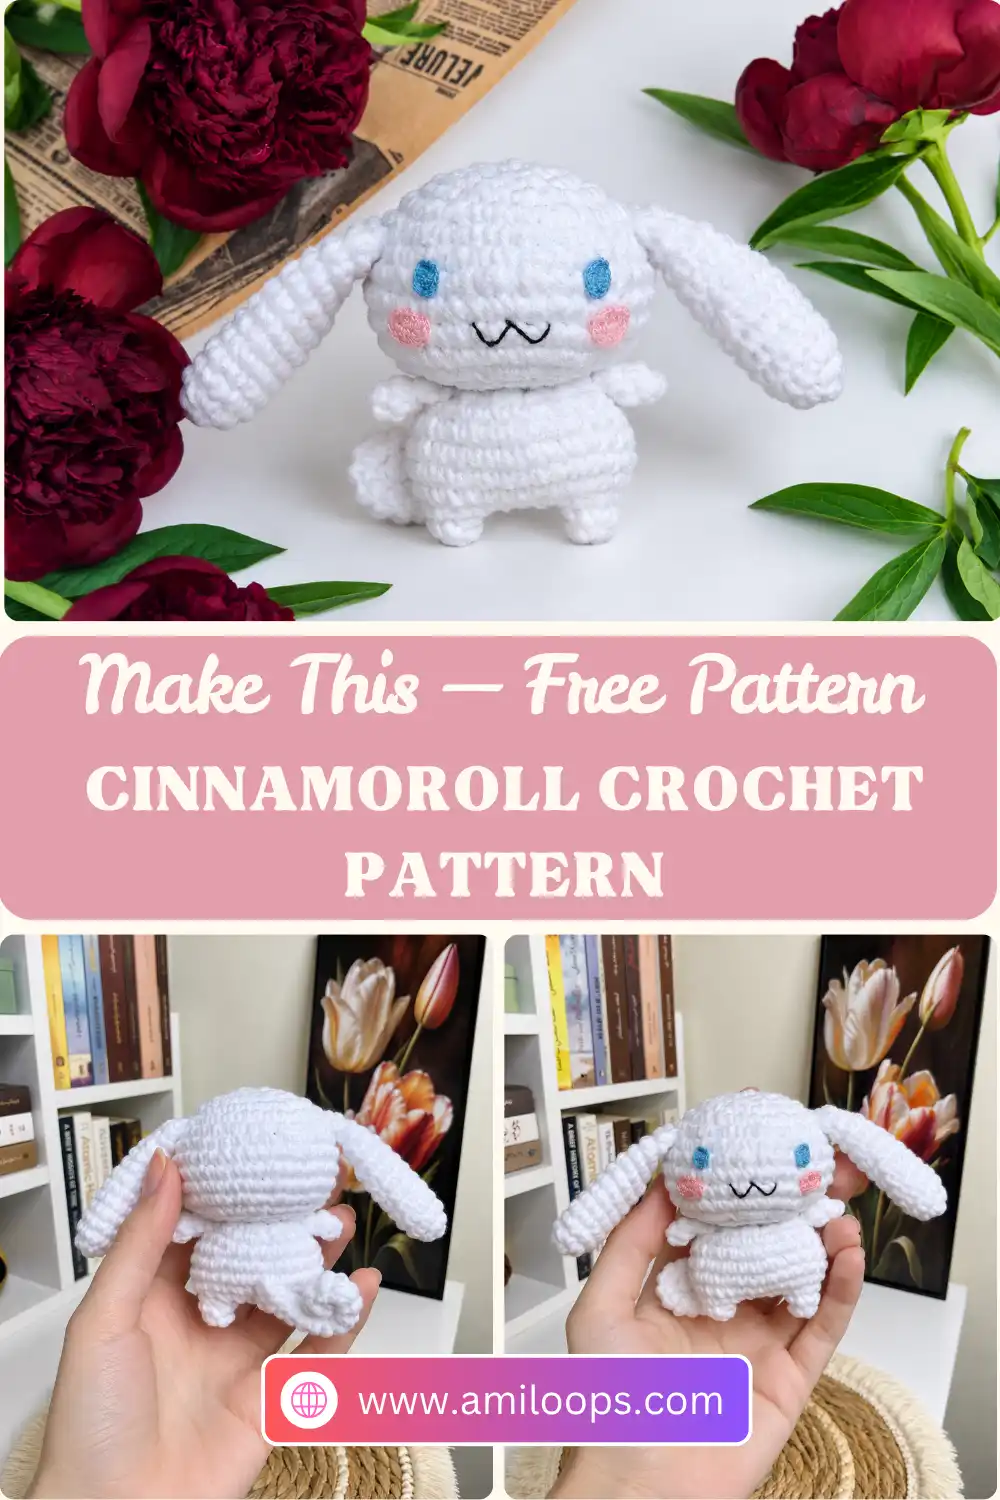
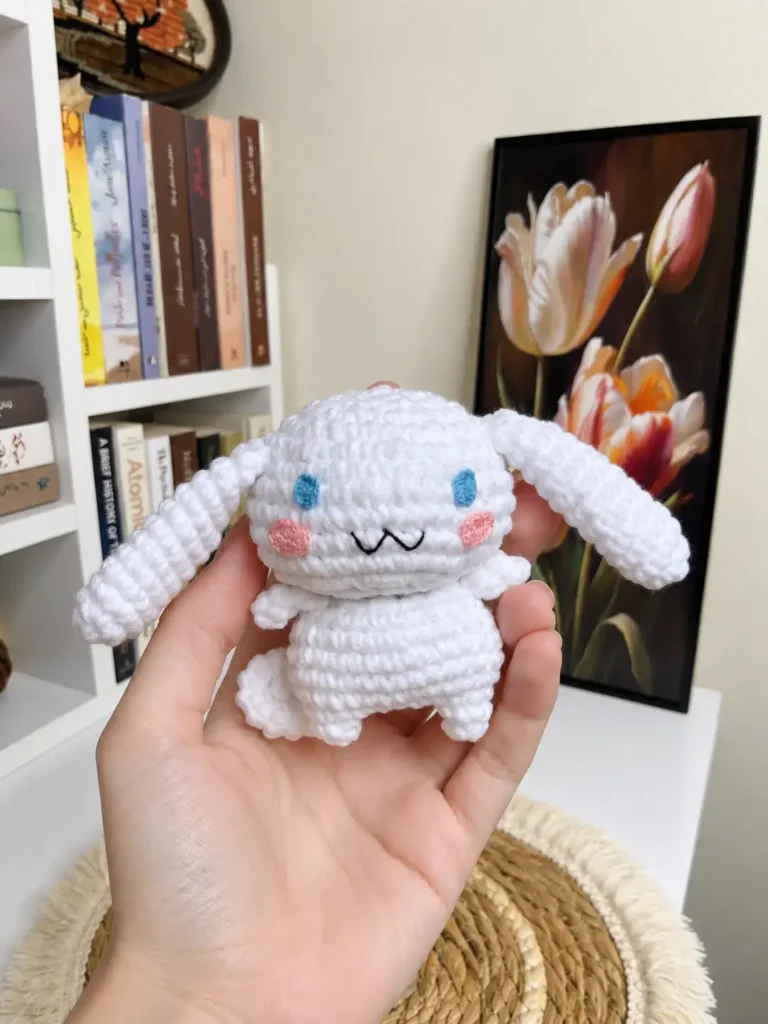
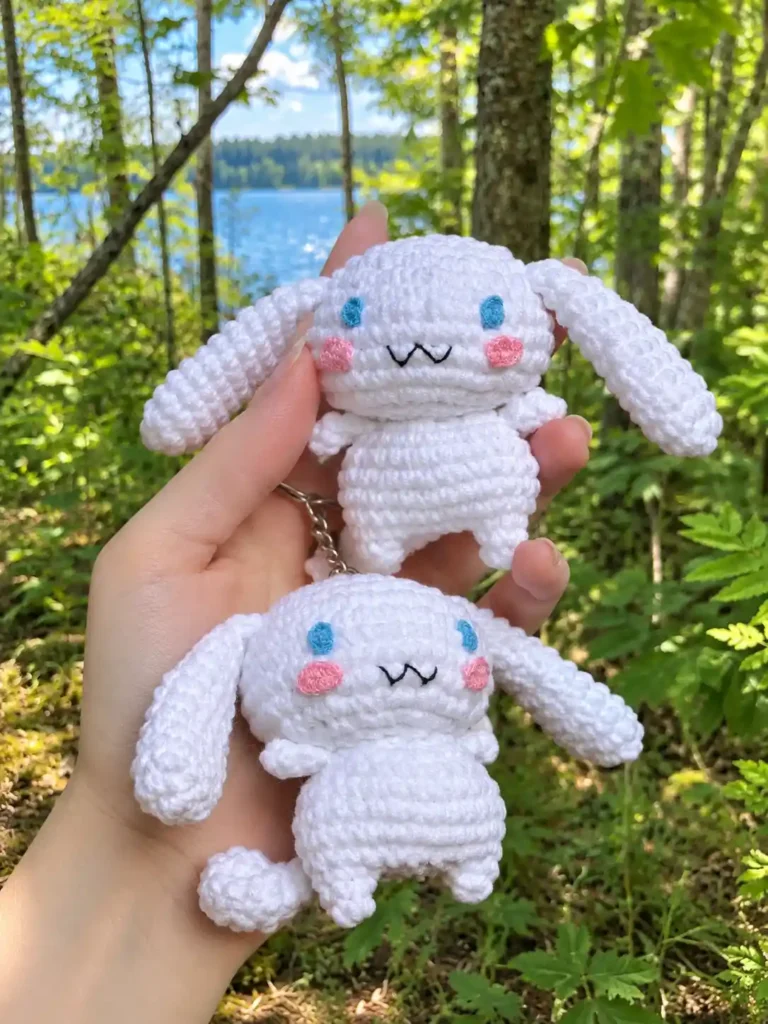
Cinnamoroll is instantly recognizable by his long floppy ears, rosy cheeks and curly little tail, which makes him a natural fit for amigurumi. This Cinnamoroll crochet pattern makes him in white YarnArt Jeans, with long single-crochet ears, a twisted tail and tiny arms. You can also crochet his eyes and cheeks from fine sewing thread.
The body is the fun part to follow. You start with two small leg circles, link them with a short chain and keep crocheting straight up into the body, so there are no separate legs to attach later. The head starts on a short chain, which gives it a slightly oval start. The ears, tail and arms close flat with a few stitches worked through both layers, so they’re ready to sew.
Materials Abbreviations Legs & body Head Ears Tail Arms Cheeks & eyes Assembly FAQ
Before your first stitch: Cinnamoroll is made in separate pieces and sewn together at the end. You’ll make the legs and body in one piece, then a head, two ears, a tail and two arms, plus optional cheeks and eyes.
Two hooks, two materials: The main pieces are worked in yarn with a #2 hook. The optional eyes and cheeks switch to a much finer 0.5 mm hook and sewing thread.
What You’ll Need
- Yarn: YarnArt Jeans in white
- Hook: crochet hook #2
- Needle for sewing the pieces together
- Scissors
- Black thread for embroidering the mouth
For the optional eyes and cheeks
- 0.5 mm crochet hook
- Sewing thread in blue (eyes) and pink (cheeks)
Abbreviations (US Terms)
| Abbreviation | Meaning |
|---|---|
| MR | Magic ring |
| ch | Chain |
| sc | Single crochet |
| dc | Double crochet |
| sl st | Slip stitch |
| st(s) | Stitch(es) |
| Rnd | Round |
| inc | Increase: 2 sts in the same st (2 sc in the main pieces, 2 dc in the eyes and cheeks) |
| dec | Decrease: work the next 2 sts together as 1 sc |
| [ ] … times | Repeat the instructions in brackets the stated number of times |
| (number) | The stitch count at the end of the round |
The pattern uses US crochet terms throughout. To compare US and UK stitch names, see the Craft Yarn Council’s standard crochet abbreviations.
Legs and Body
The body is worked straight on from the legs. Work Rnd 1 twice, once for each leg. Fasten off the first leg, but keep the yarn attached to the second one, because Rnd 2 continues from it. For help starting each leg, see How to Crochet the Magic Ring (Magic Circle) Step-by-Step.
Rnd 1: 5 sc in MR, sl st in the first sc (5). For the first leg, fasten off. For the second leg, don’t cut the yarn; keep going with Rnd 2.
Joining the legs: In Rnd 2, the 5 chains form a small bridge between the legs. You work across the first leg, along one side of the chain, across the second leg and back along the other side of the chain. This joins both legs into one round of 20 stitches.
Rnd 2: Ch 5, sc in each of the 5 sts of the first leg, sc in each of the 5 chs, sc in each of the 5 sts of the second leg, sc in each of the 5 chs on the other side of the chain (20).
Rnd 3: [Sc, inc, sc] 5 times, inc in each of the next 5 sts (30).
Rnd 4: Sc in each st around (30).
Rnd 5: Sc in each st around (30).
Rnd 6: Sc in each st around (30).
Shaping tip: Rnds 7 and 8 don’t space their decreases evenly. Each decrease sits at a specific point, so count from the start of the round to put it where the pattern says.
Rnd 7: Sc in the next 3 sts, dec, sc in the next 12 sts, dec, sc in the next 11 sts (28).
Rnd 8: Sc in the next 2 sts, dec, sc in the next 11 sts, dec, sc in the next 6 sts, dec, sc in the next 3 sts (25).
Rnd 9: Dec 13 times (12). Fasten off. Instruction pending clarification.
Head
The head starts on a short chain instead of a magic ring. You work along one side of the chain, around the end and back along the other side, so the head begins as a small oval rather than a circle. Rnd 4 also places its increases unevenly, so follow its sequence exactly.
Rnd 1: Ch 4. Starting in the 2nd ch from the hook: inc, sc in the next ch, 3 sc in the last ch. Working along the other side of the chain: sc in the next 2 chs (8).
Rnd 2: Inc in each st around (16).
Rnd 3: [Inc, sc] 8 times (24).
Rnd 4: [Sc in the next 2 sts, inc] 2 times, sc in the next 3 sts, [sc in the next 2 sts, inc] 3 times, sc in the next 5 sts, inc (30).
Rnd 5: Sc in each st around (30).
Rnd 6: [Sc in the next 4 sts, inc] 6 times (36).
Rnd 7: [Inc, sc in the next 5 sts] 6 times (42).
Rnd 8: [Sc in the next 6 sts, inc] 6 times (48).
Rnd 9: Sc in each st around (48).
Rnd 10: Sc in each st around (48).
Rnd 11: [Dec, sc in the next 2 sts] 12 times (36).
Rnd 12: [Sc, dec] 12 times (24).
Rnd 13: Dec 12 times (12). Fasten off and leave a yarn tail for sewing.
Ears (Make 2)
Cinnamoroll’s long ears come from five plain rounds after the increase. From Rnd 8 to Rnd 12, one decrease per round slowly narrows the ear toward its open end.
Rnd 1: 6 sc in MR (6).
Rnd 2: Inc in each st around (12).
Rnd 3: Sc in each st around (12).
Rnd 4: Sc in each st around (12).
Rnd 5: Sc in each st around (12).
Rnd 6: Sc in each st around (12).
Rnd 7: Sc in each st around (12).
Rnd 8: Sc in the next 5 sts, dec, sc in the next 5 sts (11).
Rnd 9: Sc in the next 4 sts, dec, sc in the next 5 sts (10).
Rnd 10: Sc in the next 4 sts, dec, sc in the next 4 sts (9).
Rnd 11: Sc in the next 3 sts, dec, sc in the next 4 sts (8).
Rnd 12: Sc in the next 3 sts, dec, sc in the next 3 sts (7).
Closing the ear: Flatten the opening so the front and back edges line up. Then insert your hook through both layers for each stitch of Rnd 13.
Rnd 13: Working through both layers of the opening: 3 sc. Leave yarn tails for sewing.
Tail
The tail is a slim tube: it starts with 7 stitches, drops to 6 in Rnd 2 and then goes straight up. You close it flat like the ears and give it a twist at the end.
Rnd 1: 7 sc in MR (7).
Rnd 2: Dec, sc in the next 5 sts (6).
Rnd 3: Sc in each st around (6).
Rnd 4: Sc in each st around (6).
Rnd 5: Sc in each st around (6).
Rnd 6: Sc in each st around (6).
Rnd 7: Sc in each st around (6).
Rnd 8: Sc in each st around (6).
Rnd 9: Sc in each st around (6).
Rnd 10: Sc in each st around (6).
Rnd 11: Sc in each st around (6).
Rnd 12: Sc in each st around (6).
Rnd 13: Sc in each st around (6).
Rnd 14: Working through both layers of the opening: 3 sc. Twist the piece and leave a yarn tail.
Arms (Make 2)
The arms are tiny, with just three rounds each. Flatten the opening before Rnd 3, the same way you did for the ears.
Rnd 1: 4 sc in MR (4).
Rnd 2: Sc in each st around (4).
Rnd 3: Working through both layers of the opening: 2 sc. Leave a yarn tail for sewing.
Cheeks (Optional)
The cheeks and eyes are small ovals worked in dc with the 0.5 mm hook and sewing thread. You work around both sides of a starting chain, and the 3 chains you skip at the start are where you close with a slip stitch. In these pieces, inc means 2 dc in the same chain, not 2 sc.
Rnd 1: Ch 8. Starting in the 4th ch from the hook: inc (2 dc in that ch), dc in the next 3 chs, 5 dc in the last ch. Working along the other side of the chain: dc in the next 3 chs, inc (2 dc in the next ch), sl st in the beginning ch.
Eyes (Optional)
The eyes are also worked in dc and follow the same oval method. They start on a shorter chain and have one fewer stitch along each side.
Rnd 1: Ch 7. Starting in the 4th ch from the hook: inc (2 dc in that ch), dc in the next 2 chs, 5 dc in the last ch. Working along the other side of the chain: dc in the next 2 chs, inc (2 dc in the next ch), sl st in the beginning ch.
Assembly
Ready to sew: The head, ears, tail and arms all finish with yarn tails, so use those tails to sew each piece on. For a refresher on joining pieces neatly, see How to Sew Amigurumi Parts Together Perfectly.
- Sew all the parts together: the head onto the top of the body, then the ears, arms and tail, plus the eyes and cheeks if you made them.
- Embroider the mouth with black thread.
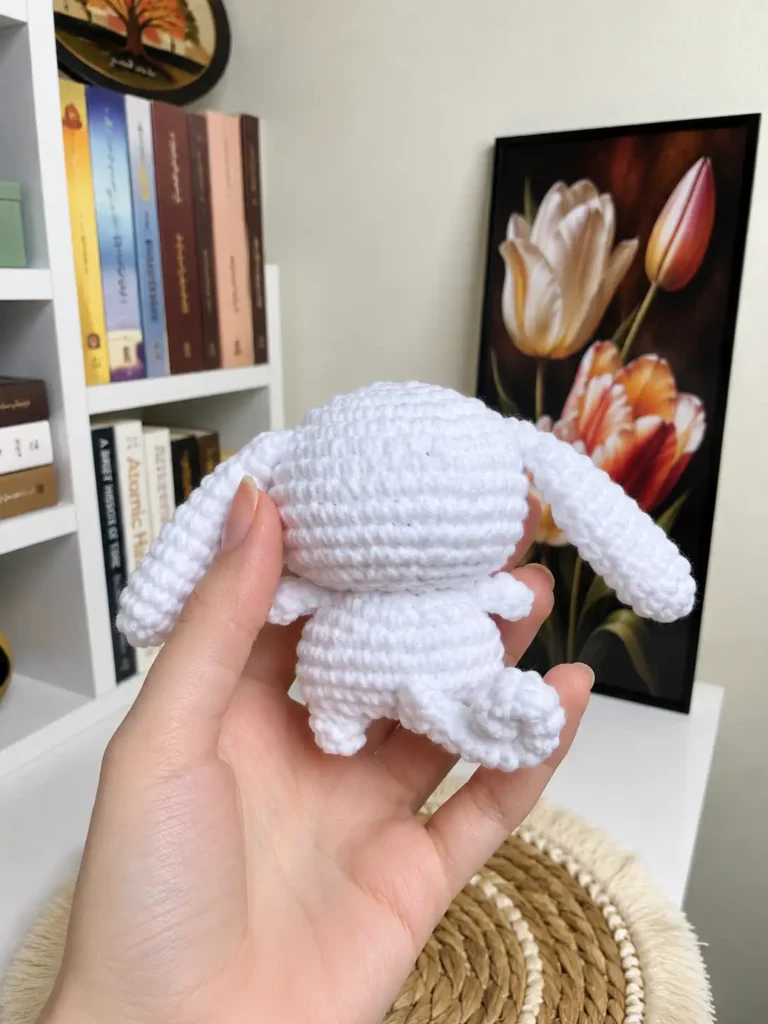
Placement guide: In the finished toy, the ears hang down from the sides of the head, the small arms sit just below the head and the curled tail sits low on the back. The blue eyes go on the upper face, with the pink cheeks below them and the mouth between the cheeks. No exact positions are given, so place the pieces by eye.
Cinnamoroll is finished!
Questions About This Cinnamoroll Pattern
Why does the body start with two separate leg circles?
The legs are built into the body. You work Rnd 1 twice, fasten off the first leg and keep the yarn on the second. In Rnd 2 you chain 5 and work across the first leg, along the chain, across the second leg and back along the other side of the chain. That joins both legs into one 20-stitch round, and the body grows from there.
What does “working through both layers of the opening” mean?
Flatten the open end of the piece so the front and back edges line up, then put your hook through both layers for each single crochet. This closes the piece flat. The ears and tail close with 3 sc, and the arms close with 2 sc.
Why is “inc” worked in double crochet on the eyes and cheeks?
The eyes and cheeks are worked in double crochet, so their increases are 2 dc in the same chain. Everywhere else in the pattern, inc means 2 sc in the same stitch.
Do I have to make the crocheted eyes and cheeks?
No, both are optional. If you make them, you’ll need a 0.5 mm hook and sewing thread in blue for the eyes and pink for the cheeks. The mouth is embroidered with black thread either way.