Free Crochet Unicorn Amigurumi Pattern — A Dreamy Unicorn with a Curling Mane
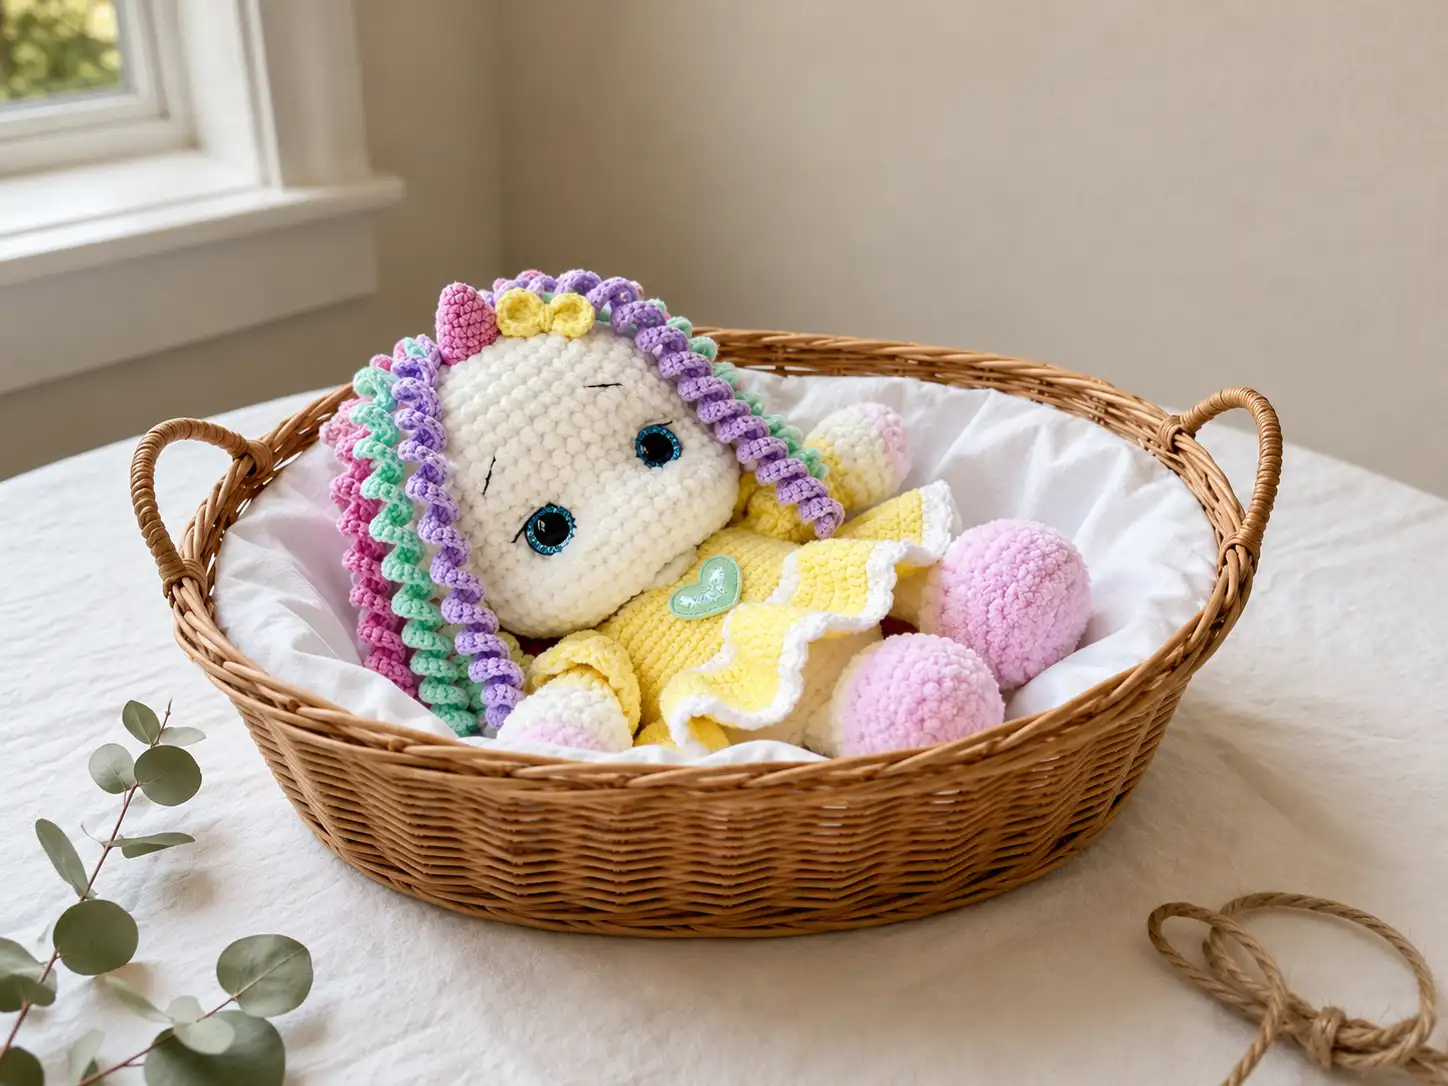
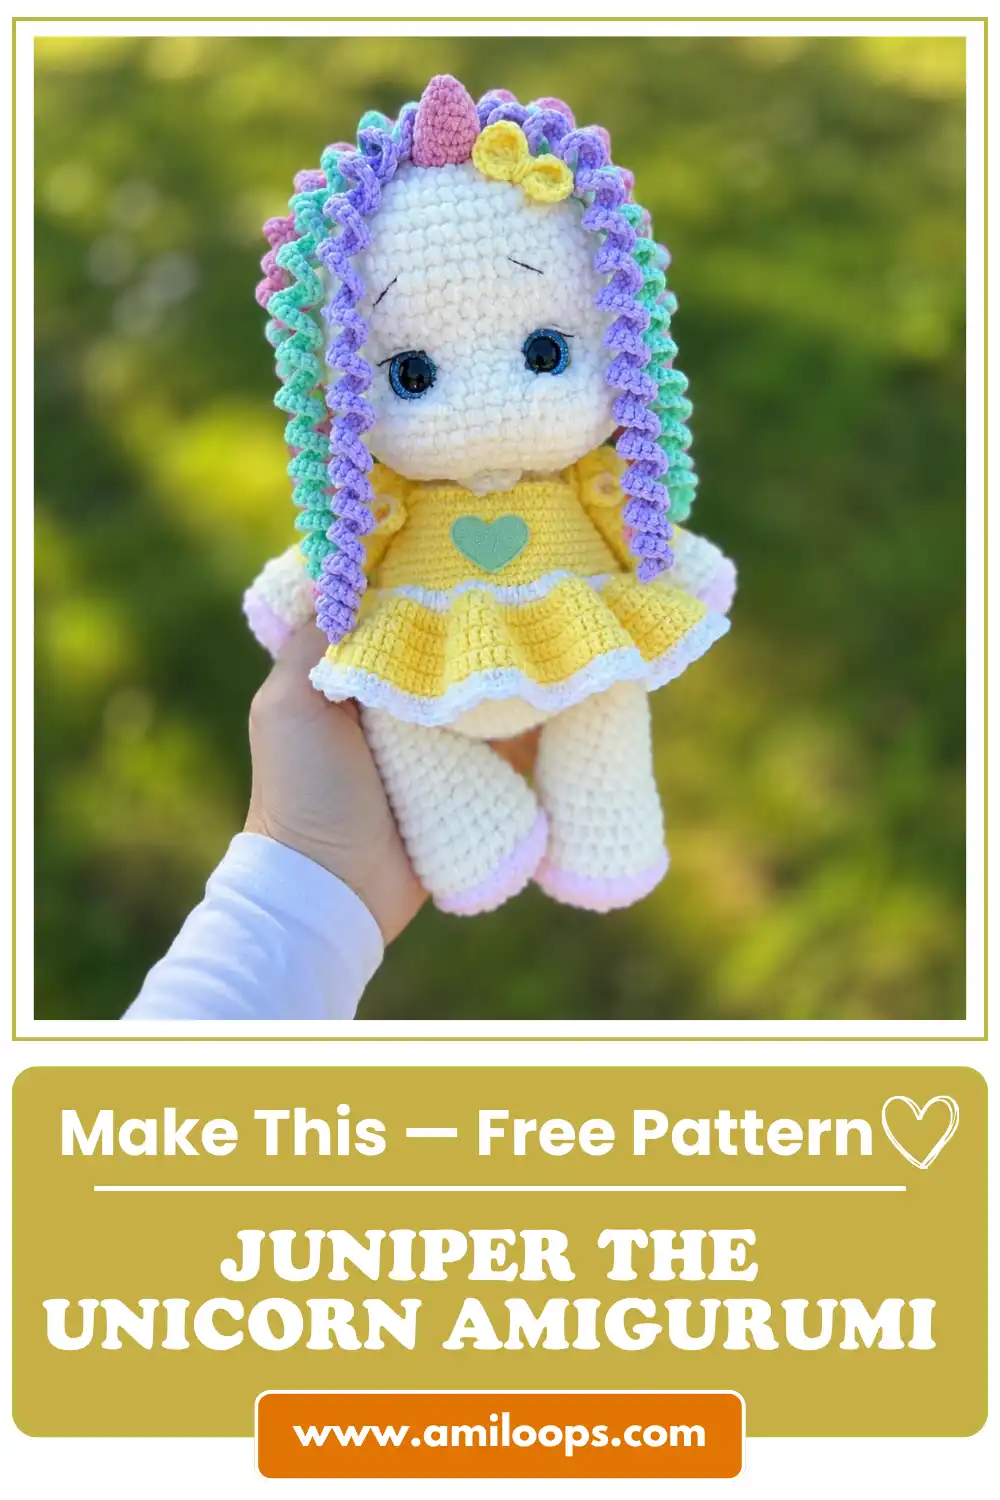
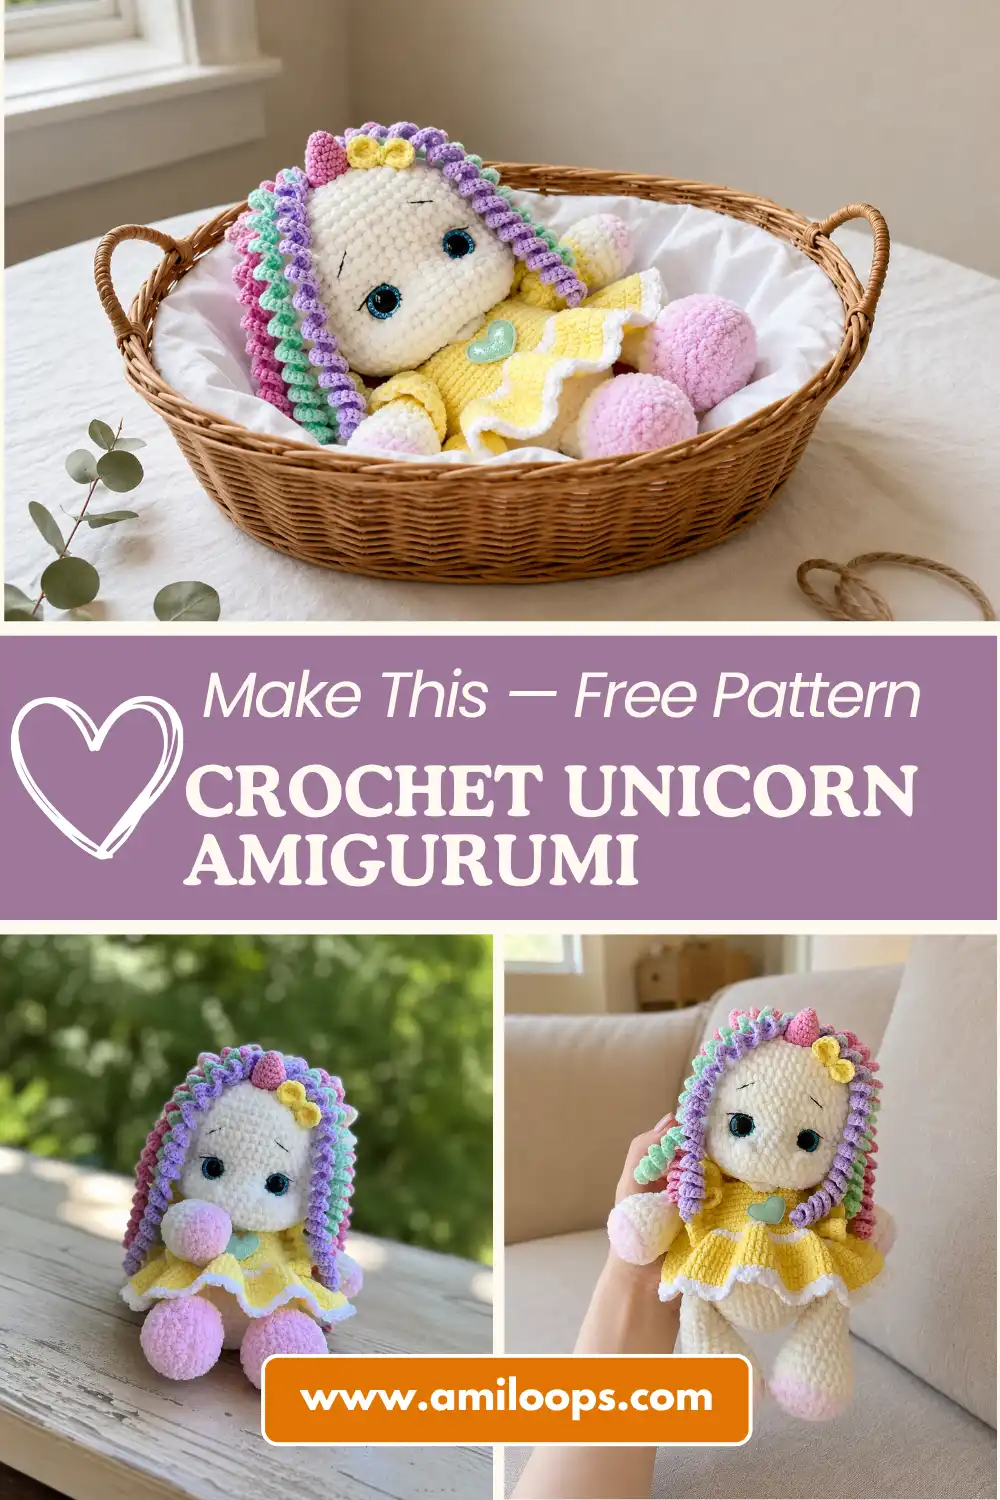
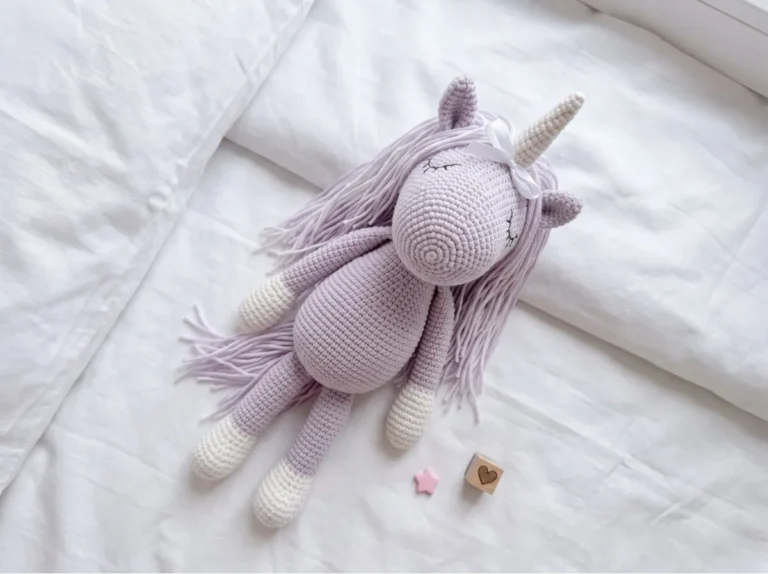
This free crochet unicorn amigurumi pattern brings to life a dreamy little creature with a lilac horn, a tumble of curling mane, and eyes that catch the light just right. I named mine Juniper before her second leg was finished — something about the tilt of her head already felt like a personality. She arrives in a soft ivory dress, because some characters are simply born already dressed.
📖 Meet Juniper
- 🌟 Personality: gentle, whimsical, quietly confident
- 🎨 Color Palette: cloud-cream chenille body, blush-pink pads, and a soft lilac horn, mane, and tail
- 📏 Size: about 9.8–10.2 in (25–26 cm)
- 🪝 Hook: 3.0mm (no exact US letter — falls between C/2 and D/3) for the body; 2.0mm (steel US 4) for the fine accent pieces
- ⏱️ Time: 16–20 hours
- ✨ Signature Detail: a hand-shaped lilac mane, curled and set clockwise behind the horn
- 💡 Difficulty: Advanced
Materials for This Crochet Unicorn Amigurumi Pattern
Juniper is built from two different yarn weights, and that contrast is doing more work than it might seem. The plush chenille body gives her that soft, sink-your-hands-in quality — the kind of huggable texture that makes a finished piece feel like it belongs on a bed, not a shelf. The finer cotton-blend accent yarn used for her mane, tail, and horn is firmer by comparison, which is exactly why it holds a curl instead of flopping. Two textures, two jobs.
- Bulky (5) chenille in a soft cream or ivory — main color, for the head, body, arms, and legs. (e.g. Bernat Baby Velvet)
- Bulky (5) chenille in blush pink — just a small amount, for the paw pads
- DK / Light Worsted (3) yarn in soft lilac — for the mane curls, tail, horn, and ears (e.g. Drops Muskat or Paintbox Cotton DK)
- DK-weight yarn in ivory and white — for the dress and its trim
- 3.0mm hook, for all chenille sections
- 2.0mm (steel US 4) hook, for the fine lilac accent pieces
- Polyester fiberfill, such as Poly-Fil (available at Joann, Michaels, or Hobby Lobby)
- 16mm safety eyes with a sparkle finish
- Black and white embroidery thread, for the face
- A tapestry needle, for sewing everything together
- A couple of long pins or thin knitting needles, to hold the head steady while you sew it in place
- Scissors
The chenille falls into the Bulky (5) category, while the mane and horn yarn sits in DK / Light Worsted (3) — worth knowing if you’re substituting from your own stash. And since Juniper uses safety eyes, it’s always worth a glance at the CPSC’s toy safety guidance if she’s headed for a young child’s shelf rather than yours.
Abbreviations
| Abbreviation | Meaning (US Terms) |
|---|---|
| mr | magic ring |
| sc | single crochet |
| dc | double crochet |
| hdc | half double crochet |
| inc | increase (2 sc in the same stitch) |
| inv dec | invisible decrease |
| ch | chain |
| sl st | slip stitch |
| BLO | back loop only |
Before You Begin This Free Amigurumi Pattern
A few notes before you pick up your hook — small things that make a real difference once Juniper starts taking shape.
Every part of her begins the same way: with a magic ring. It’s such a small motion, but it’s the true starting point of every character I make. If it’s new to you, our magic ring tutorial walks through it slowly and clearly — once it clicks, you’ll never go back to a chain-and-join start.
✨ Sophie’s Note: Wherever the original shaping calls for a standard decrease, I’ve written it here as an invisible decrease instead. It keeps every closure smooth and gap-free — no visible pulls where the shaping happens. Our invisible decrease tutorial covers the technique if you haven’t used it before. Stitch counts throughout are unchanged; only the method is different.
Juniper also has more separate pieces than most patterns I write — nine body parts, plus a dress with its own panel and straps — and almost all of them get sewn together at the end rather than crocheted in as you go. If assembly is the part that usually makes you nervous, our sewing tutorial is worth a look before you start; it’s the difference between a head that sits proudly and one that tilts the wrong way.
One more thing worth knowing in advance: her arms and legs use a back-loop-only round partway through, right where the color switches from pink to cream. Working into the back loop only there leaves a little ridge — that’s intentional. It’s what gives her paws that slightly rounded, footed look instead of just fading from one color into the next.
The Crochet Unicorn Pattern — Bringing Juniper to Life
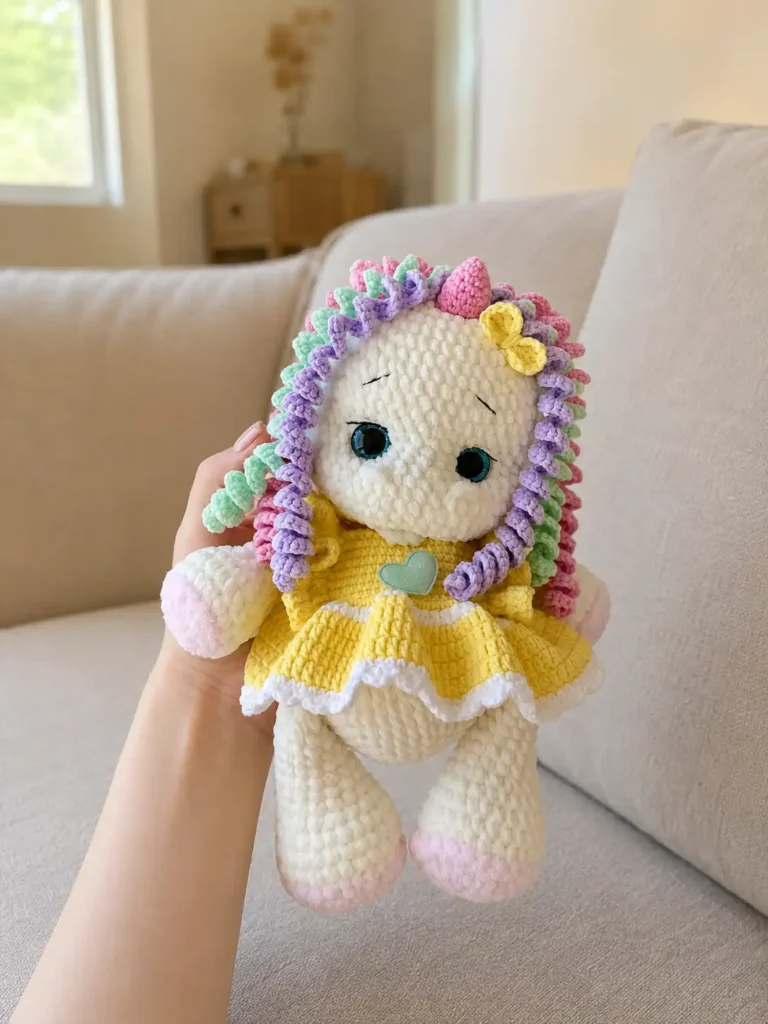
Head
Everything starts here, and it starts small — six stitches that don’t look like much of anything yet.
Row 1: 6 sc in mr (6)
Row 2: 6 inc (12)
Row 3: (1 sc, inc) × 6 (18)
Row 4: (2 sc, inc) × 6 (24)
Row 5: (3 sc, inc) × 6 (30)
Row 6: (4 sc, inc) × 6 (36)
Row 7: (5 sc, inc) × 6 (42)
Row 8: (6 sc, inc) × 6 (48)
Row 9: (7 sc, inc) × 6 (54)
Rows 10–16: sc around, no shaping — 7 rows (54)
Row 17: (8 sc, inc) × 6 (60)
Rows 18–20: sc around, no shaping — 3 rows (60)
✨ Sophie’s Note — Eye Placement: Insert the safety eyes between rows 16 and 17, leaving 6 sc of space between the inner edges of the eyes. This is the moment Juniper starts looking back at you, so take your time getting it centered.
Row 21: (8 sc, inv dec) × 6 (54)
Row 22: (7 sc, inv dec) × 6 (48)
Row 23: (6 sc, inv dec) × 6 (42)
Row 24: (5 sc, inv dec) × 6 (36)
Row 25: (4 sc, inv dec) × 6 (30)
Row 26: (3 sc, inv dec) × 6 (24)
Row 27: (2 sc, inv dec) × 6 (18)
Row 28: (1 sc, inv dec) × 6 (12)
Row 29: 6 inv dec (6)
For this piece, crochet all the way to the last stitch and close it rather than stopping early — you’ll sew the head on afterward, held in place with pins or thin knitting needles while you stitch it down. Set the finished head on your table for a second before moving on. Even without a face yet, there’s already something there.
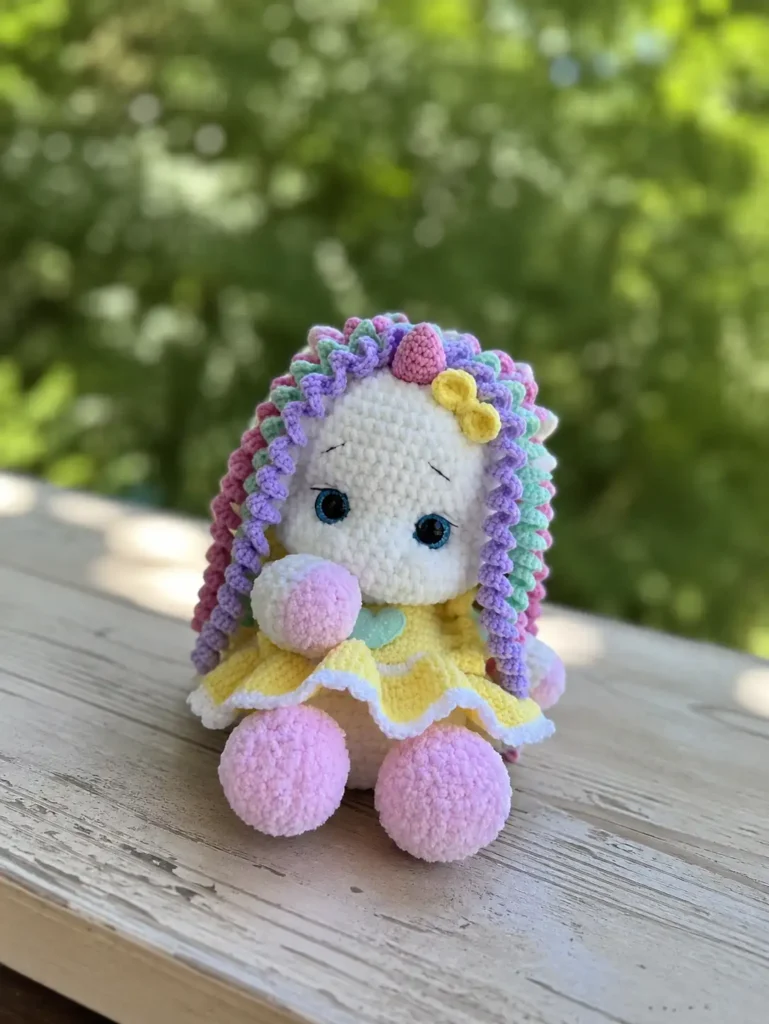
Arms (make 2)
Small and pink at the start, then they quietly change color partway through — that shift is what shapes the paw.
Row 1: 7 sc in mr (7)
Row 2: 7 inc (14)
Row 3: (1 sc, inc) × 7 (21)
Row 4: 21 sc, worked BLO — switch to the main cream color here (21)
Row 5: 21 sc (21)
Row 6: (3 sc, inv dec) × 4, 1 sc (17)
Row 7: (2 sc, inv dec) × 4, 1 sc (13)
Row 8: 4 sc, inv dec, 5 sc, inv dec (11)
Rows 9–14: sc around, no shaping — 6 rows (11)
Stuff tightly up through rows 9–10 and leave the very top empty and unstuffed — that gives you flat fabric to close. Fold the opening flat and single crochet through both layers, about 5 sc across, to seal it. Cut the yarn, leaving a tail for sewing later, and make the second arm to match.
Legs (make 2)
Built the same way as the arms — pink pads, a color change, a quiet shift to cream.
Row 1: 8 sc in mr (8)
Row 2: 8 inc (16)
Row 3: (1 sc, inc) × 8 (24)
Row 4: (11 sc, inc) × 2 (26)
Row 5: 26 sc, worked BLO — switch to the main cream color here (26)
Rows 6–7: sc around, no shaping — 2 rows (26)
Row 8: (11 sc, inv dec) × 2 (24)
Row 9: (1 sc, inv dec) × 8 (16)
Rows 10–17: sc around, no shaping — 8 rows (16)
Stuff tightly up through rows 10–11, leaving the top open and empty. Fold flat and single crochet through both layers, about 7 sc across, to close it. Cut the yarn with a tail left for sewing, and repeat for the second leg.
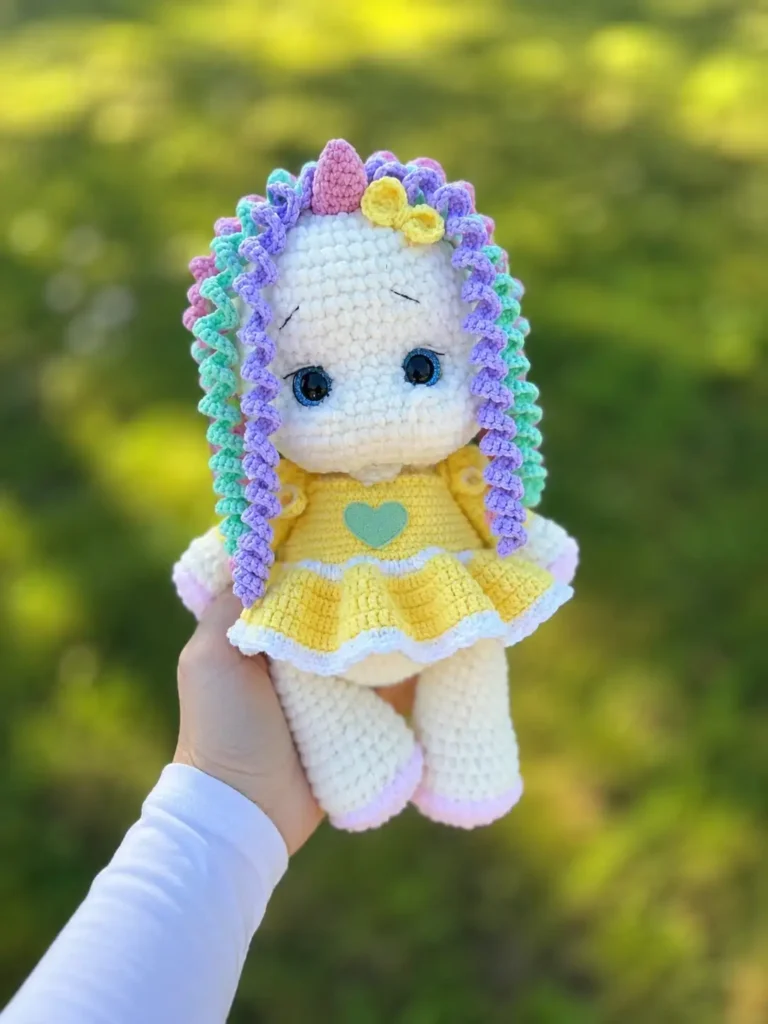
Body
This is where Juniper’s posture is decided — and where her arms and legs get joined right in, so there’s no separate sewing step for those two.
Row 1: 6 sc in mr (6)
Row 2: 6 inc (12)
Row 3: (1 sc, inc) × 6 (18)
Row 4: (2 sc, inc) × 6 (24)
Row 5: (3 sc, inc) × 6 (30)
Row 6: (4 sc, inc) × 6 (36)
Row 7: (5 sc, inc) × 6 (42)
Row 8: (6 sc, inc) × 6 (48)
Row 9: 48 sc, no shaping (48)
Row 10: 8 sc, then 7 sc worked together with the first leg, 17 sc, then 7 sc worked together with the second leg, 9 sc (48)
Row 11: (11 sc, inc) × 4 (52)
Rows 12–13: sc around, no shaping — 2 rows (52)
Row 14: (11 sc, inv dec) × 4 (48)
Row 15: (6 sc, inv dec) × 6 (42)
Row 16: (12 sc, inv dec) × 3 (39)
Row 17: (11 sc, inv dec) × 3 (36)
Row 18: (10 sc, inv dec) × 3 (33)
Row 19: (9 sc, inv dec) × 3 (30)
Row 20: (8 sc, inv dec) × 3 (27)
Row 21: 2 sc, inv dec, 3 sc, then 5 sc worked together with the first arm, 4 sc, inv dec, 4 sc, then 5 sc worked together with the second arm (25)
Row 22: (2 sc, inv dec) × 6, 1 sc — finish with a sl st (19)
This is the round where the legs join in at row 10 and the arms join in at row 21 — no separate leg or arm sewing needed. Cut and weave in the yarn at the top. This is the piece the head gets sewn to, so leave enough of a tail if you’re using the same yarn to attach it.
Ears (make 2)
Tiny and quick, worked in the lilac accent yarn on the smaller hook.
Row 1: 6 sc in mr (6)
Row 2: (2 sc, inc) × 2 (8)
Row 3: (3 sc, inc) × 2 (10)
Row 4: (4 sc, inc) × 2 (12)
Row 5: (5 sc, inc) × 2 (14)
Row 6: (6 sc, inc) × 2 (16)
Fold the piece flat and single crochet 7 sc through both layers to seal the top. Then fold the ear itself in half and join just the edges together, leaving a long tail for sewing. Repeat for the second ear.
Horn
Small and sculptural — this is the piece that makes her unmistakably a unicorn the second it’s attached.
Row 1: 6 sc in mr (6)
Row 2: (2 sc, inc) × 2 (8)
Row 3: (3 sc, inc) × 2 (10)
Row 4: (4 sc, inc) × 2 (12)
Row 5: (5 sc, inc) × 2 (14)
Row 6: 14 sc, no shaping (14)
Row 7: 14 sc, finish with a sl st (14)
Leave the tail long — you’ll need it for sewing the horn on later.
Mane Curls (make 6)
These are what give Juniper her signature look, so don’t rush them.
Row 1: Chain 100. Starting from the third chain from the hook, work sc with an increase in every stitch to the end of the row.
Leave a yarn tail on each curl for sewing. Once you’ve made all six, arrange them clockwise before attaching — it’s a small detail, but it’s what makes the mane look like it’s actually flowing rather than just glued on in a row.
Tail (make 4–6)
Same curling technique as the mane, just on a shorter chain.
Row 1: Chain 31. Starting from the third chain from the hook, work sc with an increase in every stitch to the end of the row.
Leave yarn tails for sewing, and arrange these clockwise as well when you attach them.
Mouth
One small round, worked flat.
Row 1: 6 sc in mr, without joining into a round (6)
Leave the yarn tail for sewing on later, wherever you’d like her expression to sit.
Assembling Your Amigurumi Unicorn
This is the part where all those separate little pieces stop being pieces and start being Juniper.
- Pin the head to the body with long pins or thin knitting needles, positioned criss-cross to hold it steady, then sew it on securely.
- Stuff the horn tightly and sew it at the level of rows 2–4, measuring from the center of the head outward toward you.
- Sew the ears on between rows 6 and 7, positioned exactly on center — a millimeter of difference here changes her whole expression.
- Sew the six mane curls just behind the horn, three curls on each side, following the clockwise arrangement you set earlier.
- Sew the tail on at the level of rows 11–12, using all 4–6 pieces together for a fuller look.
- Sew the mouth on wherever feels right to you — a little lower gives her a sleepier look, a little higher makes her look more alert.
- Before attaching the safety eyes’ finishing touches, gently shape a shallow indentation around the eye area with your fingers — this softens the plastic edge and gives her a rounder, gentler expression.
- Embroider the whites of the eyes in white thread, working close to the safety eye edge.
- Embroider the eyebrows and iris detail using floss or a single strand of the lilac yarn. Add a thin black outline near the top edge of each eye to deepen the expression.
- Embroider the nostrils about 2 rows below the eyes — 3–4 small basting stitches on each side, catching 3 sc of the previous round.
Juniper’s Removable Dress & Accessories
Juniper’s dress isn’t an afterthought — it’s worked as its own small project, with a center panel and straps that get sewn on afterward. A removable outfit like this means you can dress her differently depending on the mood you want her to have that week. Ivory feels quiet and classic; swap in a deeper color for something bolder.
Dress Body
Chain 75 and join into a circle with a sl st to start.
Row 1: 1 ch, 75 sc, sl st to join (75)
Row 2: 2 ch, 75 hdc worked as an increase in every stitch, sl st to join — switch to white here (150)
Rows 3–6: 2 ch, 150 dc, sl st to join — 4 rows, switch back to the main color at the start of row 3 (150)
Row 7: 1 ch, 150 sc, sl st to join — work this round in white (150)
Row 8 (scalloped edge): In one stitch work 1 hdc, 1 dc, 1 hdc. Skip 1 stitch and sl st in the next. In the following stitch, again work 1 hdc, 1 dc, 1 hdc, then skip a stitch and sl st. Repeat this shell pattern around to the end of the row.
Center Panel
Find the central 18 stitches along row 1 of the dress body. Attach your yarn there and work in turning rows.
Rows 1–7: 1 ch, 18 sc — 7 rows, turning each time (18)
Straps
Chain 37. Starting from the third chain from the hook, work 35 hdc (35).
Sew the straps on crossed over the back, so they hold the dress snugly at the shoulders without pulling.
Ruffled Trim
Worked along the center panel, catching into 6 rows of the strap as you go.
Row 1: 2 ch, working an increase of 3 dc in each stitch.
Row 2: 2 ch, working an increase of 2 dc in each stitch.
Weave in every loose end when you’re done. The dress is ready to slip over her head — no fastenings needed, which means it comes off just as easily for a wardrobe change.
Meet Juniper
Meet Juniper. She’s sitting on my windowsill right now, mane curled neatly to one side, horn catching a little bit of afternoon light. There’s a slight asymmetry in how her ears sit — not a mistake, just character — and it gives her this quietly curious look, like she’s about to ask a question she’s been holding onto for a while. That’s the thing about these little creatures: once the pieces come together and the eyes are placed just right, they stop being yarn and start being someone. Name yours. Set her somewhere she can be seen — a windowsill, a bookshelf, right beside a reading lamp. She’s earned it.
FAQ
What yarn is best for this free crochet unicorn amigurumi pattern?
This pattern uses Bulky (5) chenille yarn for a soft, huggable body and firmer DK (3) cotton-blend yarn for the mane, horn, and tail so they hold their shape.
How long does it take to crochet this unicorn?
It takes approximately 16 to 20 hours to complete Juniper the unicorn, including crocheting all body parts, final assembly, and the removable dress.
Are the arms and legs sewn on separately?
No, the arms and legs are joined directly into the body rounds as you crochet, saving you from extra sewing steps during assembly.