Cat Butt Crochet Pattern: A Tiny Two-Color Amigurumi Kitty Bottom
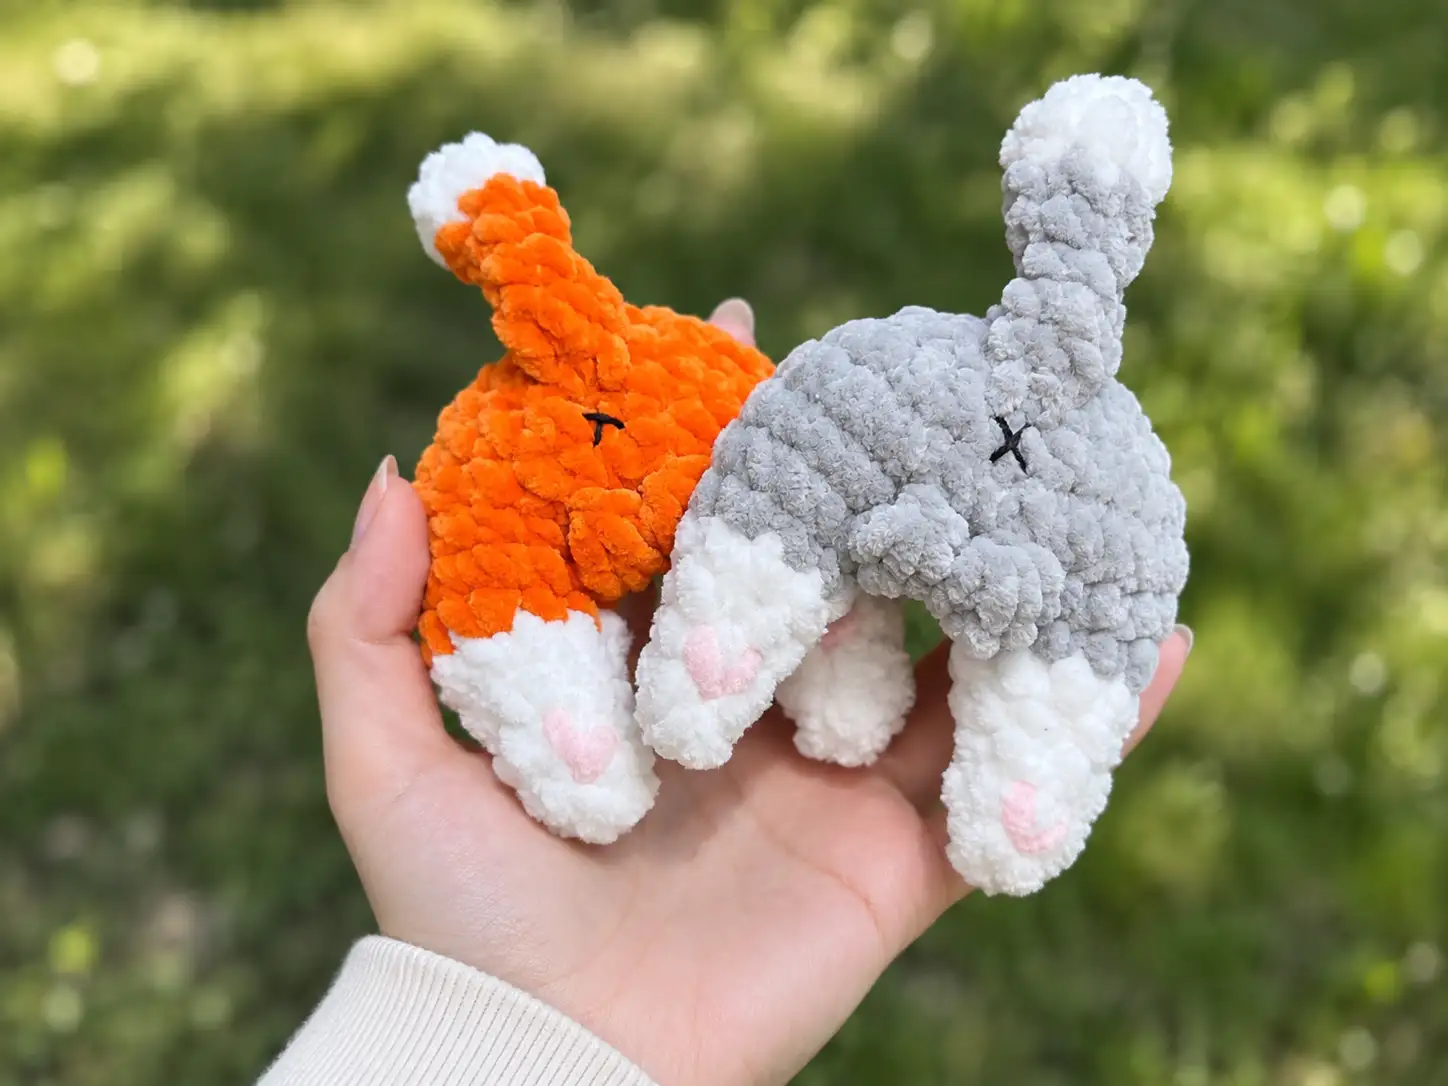
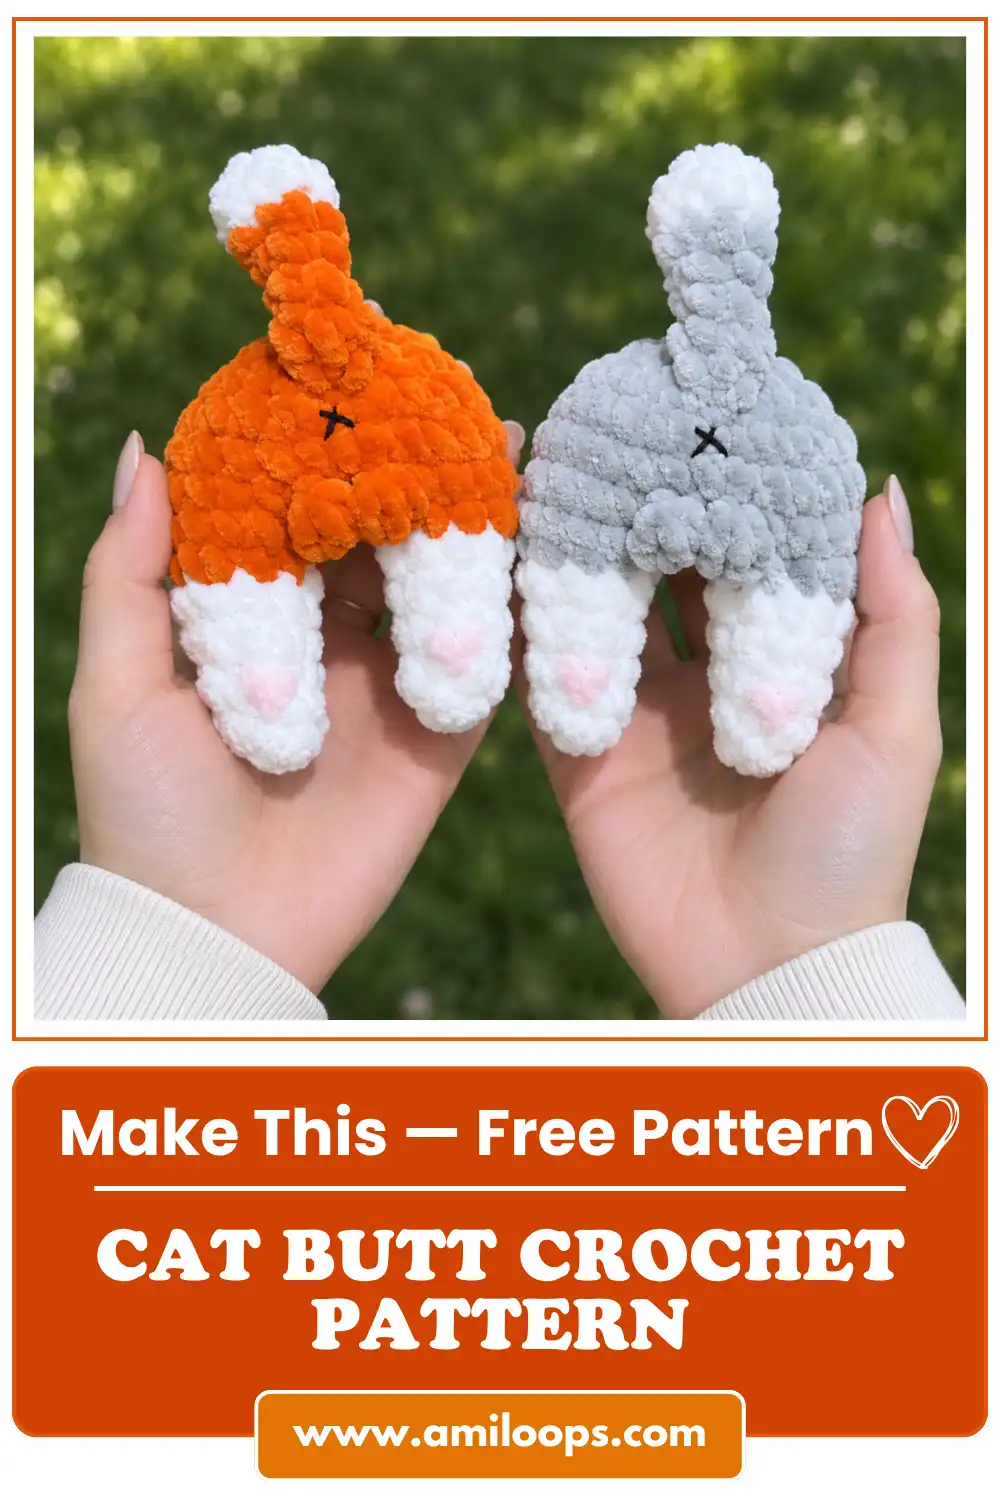
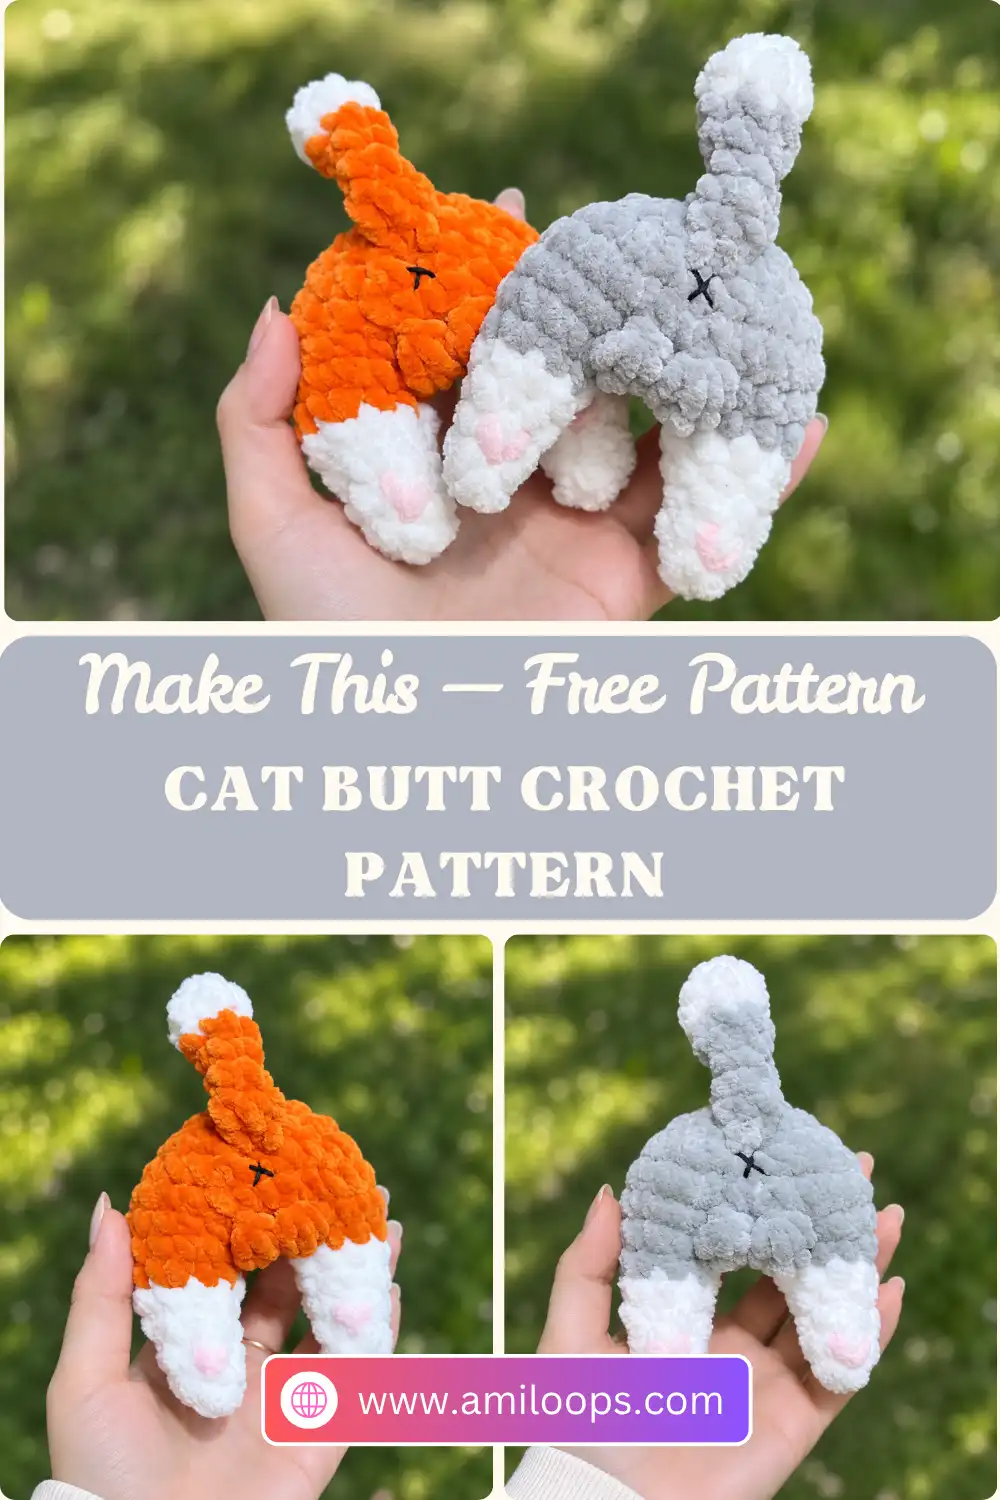
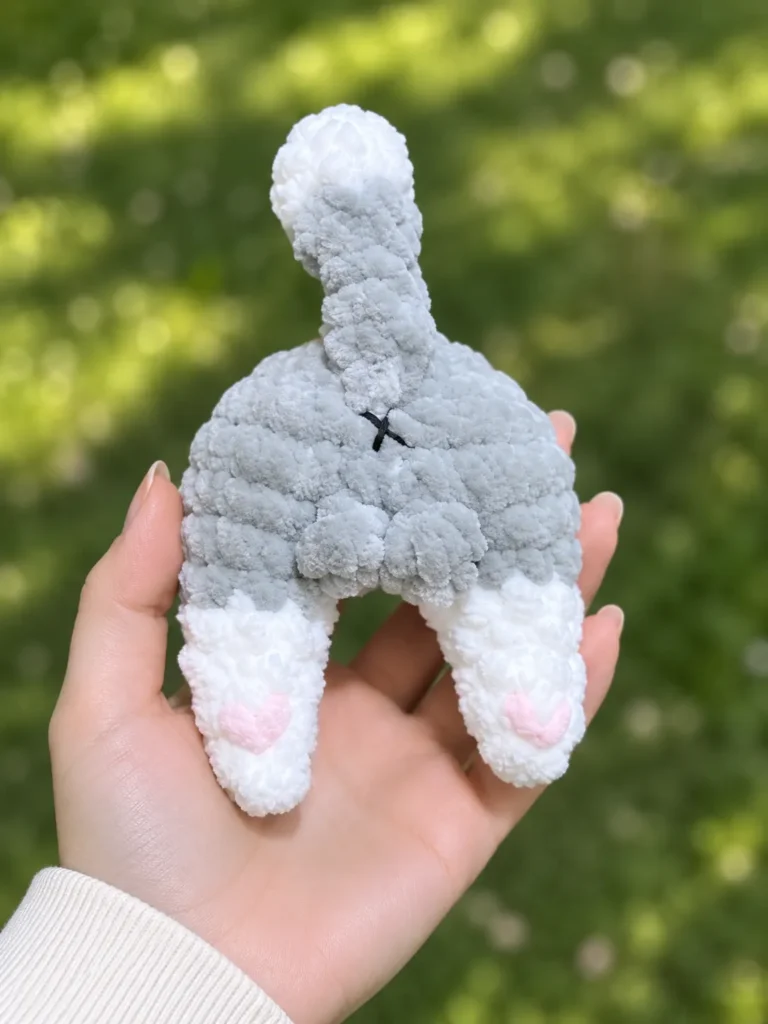
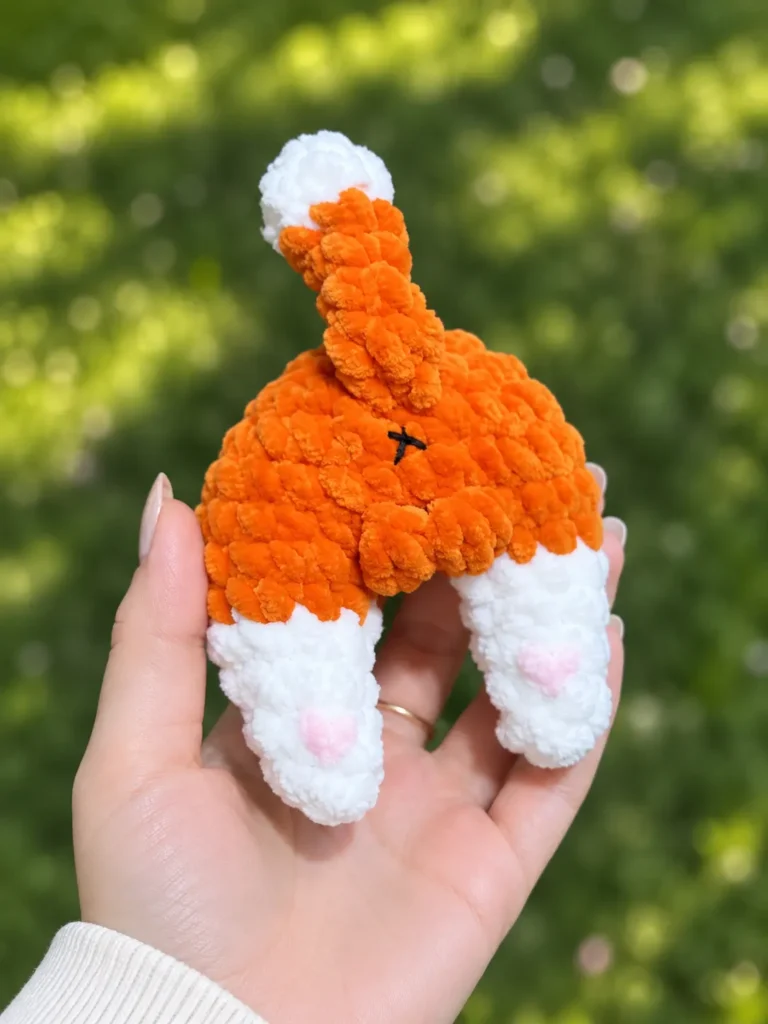
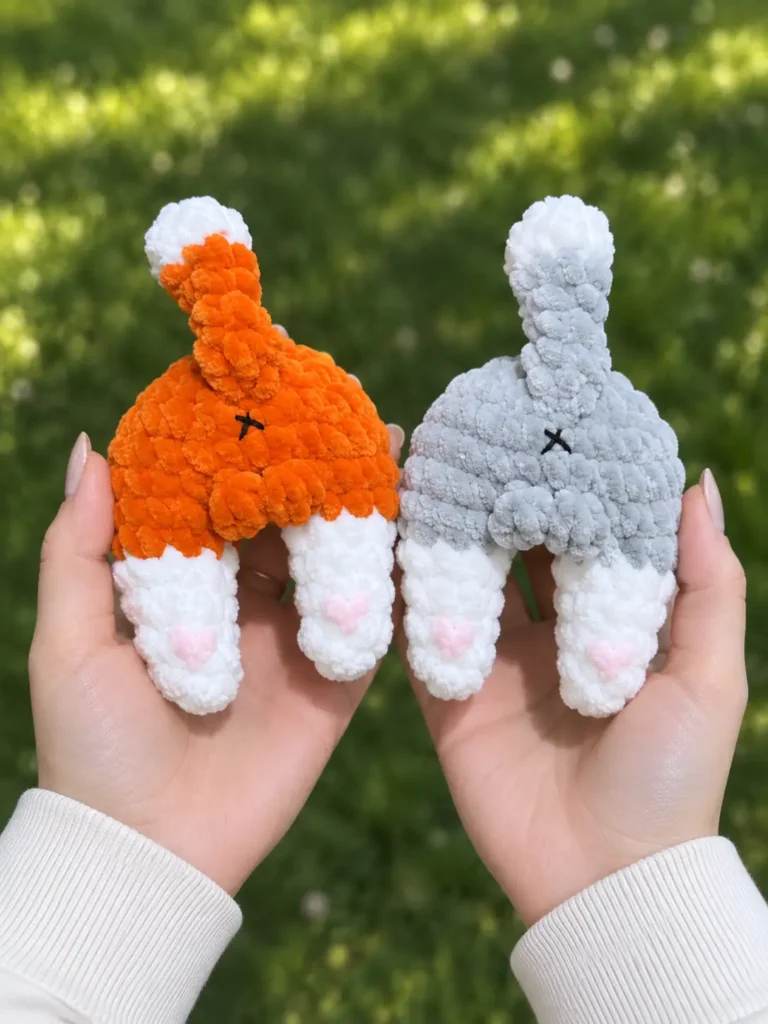
This cat butt crochet pattern makes a tiny plush kitty bottom: two stubby legs with contrasting paws, a rounded rear and a perky tail with a contrasting tip. Plush yarn gives every curve a soft, squeezable finish, and a pair of bobble stitches between the legs adds a playful bit of texture.
The construction is what makes it satisfying to work. You crochet the tail first, then make both legs and join them with a short chain. From there, the body grows in rounds straight from the legs, so there’s no seam between legs and body. The tail is crocheted in while you work the body, and the piece closes with a few decrease rounds. The original pattern presents it as a keychain, but it covers the crochet piece only, with no key ring or attachment step.
Materials Abbreviations Tail Legs and Body FAQ
Before your first stitch
- Make the tail first. It gets crocheted into the body during Round 10, so it needs to be ready before you reach that round.
- Every part starts in the contrasting color. The tail and both legs each begin with a magic ring. If you’d like a refresher, see how to crochet the magic ring step by step.
- Plan for three color changes. There is one on the tail and one on each leg, all from the contrasting color to the main color. Our guide to changing colors in amigurumi walks through the basics.
- Handle the two legs differently. Fasten off the first leg, but leave the second leg on your hook. You’ll continue straight into the body from it.
- Keep your stuffing nearby. The tail stays unstuffed. Fill the legs and body before the final round closes the opening.
Gather your materials
- Plush yarn (100 g/120 m): two colors, a main color and a contrasting color. The original uses white as the contrasting color.
- Crochet hook: the original uses a hook marked no. 3.75. Choose the size that suits your own tension with your yarn.
- Stitch marker
- Scissors
- Yarn needle for closing the opening
- Stuffing
- Pink yarn (optional): for embroidering hearts on the paws.
Abbreviations used in this pattern
| Abbreviation | Meaning |
|---|---|
| MR | magic ring |
| ch | chain |
| sc | single crochet |
| dc | double crochet |
| inc | increase (2 sc in one stitch) |
| dec | decrease (work 2 stitches together as 1) |
| bo | bobble: 4 dc worked in the same stitch and closed together at one shared top |
| (…) | total number of stitches at the end of the round |
| […] x N | repeat the instructions in brackets N times |
This pattern uses US crochet terms. To compare stitch names or check a standard abbreviation, see the Craft Yarn Council’s crochet abbreviations list.
Tail
Start with the contrasting color (white in the original).
Rnd 1: 6 sc in MR (6)
Rnd 2: 6 sc (6)
Color change: Change to the main color.
A helpful note: One common way to change colors is to complete the last pull-through of the final stitch in the old color with the new color. That leaves the new color ready for the first stitch of the next round. Yarnspirations shows the method in its color-change tutorial. Keep the change at the point the pattern gives: after Round 2 here.
Rnd 3: 6 sc (6)
Rnd 4: [sc, dec] 2 times (4)
Rnds 5–6: 4 sc (4)
Rnd 7: Flatten the opening and work 2 sc through both layers to close it. Fasten off and cut the yarn.
Do not stuff the tail. Set it aside; you’ll crochet it in while working Round 10 of the body.
Legs and Body
Legs (make 2)
Start with the contrasting color.
Rnd 1: 4 sc in MR (4)
Rnd 2: [sc, inc] 2 times (6)
Rnd 3: 6 sc (6)
Rnd 4: [sc, inc] 3 times (9)
Rnd 5: 9 sc (9)
Color change: Change to the main color for Round 6.
Rnd 6: [2 sc, inc] 3 times (12)
First leg: Fasten off and cut the yarn. Second leg: Work Rounds 1–6 the same way, but do not fasten off. Ch 3 and join the chain to the first leg.
Joining the legs and shaping the body
Rnd 7: 12 sc around the first leg, 3 sc along the ch, 12 sc around the second leg, (bo, sc, bo) along the opposite side of the ch (30)
Reading Round 7: The 3-chain bridge has two sides. You work 3 sc along one side after the first leg, then work around the second leg. You finish on the other side of the same chain with bo, sc, bo. Each bobble counts as one stitch, which gives 12 + 3 + 12 + 3 = 30 stitches. For each bobble, work 4 dc in the same stitch, leaving the last loop of each dc on your hook, then yarn over and draw through all the loops to close them at one shared top.
Rnd 8: 30 sc (30)
Rnd 9: [3 sc, dec] 6 times (24)
Crocheting in the tail in Round 10: Crochet the tail into this round so it sits centered on the back. In the original, it goes into the last 2 stitches of the round, which form the final dec. Your stitches may land a little differently, so check the position as you go and adjust it to keep the tail centered.
A helpful note: To crochet a flat piece into a round, hold its closed end against the body at the chosen spot and insert your hook through the tail’s edge and the body stitches together as you work them.
Rnd 10: [2 sc, dec] 6 times (18)
Rnd 11: [sc, dec] 6 times (12)
Stuff the legs and body. The pattern leaves only the tail unstuffed but doesn’t mark a stuffing round, so finish filling before Round 12, while the opening is still 12 stitches wide. Push small pieces down into each leg first, then fill the body. You can also start stuffing a round or two earlier. For tips on even, lump-free filling, see how to stuff amigurumi properly.
Rnd 12: 6 dec (6)
Cut the yarn, leaving a tail, and close the opening with the yarn needle. Weave in the end. If you’d like a refresher, see fastening off and weaving in ends in amigurumi.
Optional: Embroider small pink hearts on the paws.
More patterns to try
- Mischievous Cat Crochet Pattern: A Standing Plush Kitty
- Crochet Cat Plush Amigurumi — Free Chenille Pattern Step by Step
- Free Crochet Bunny Keychain Pattern — Scrap-Friendly Mini Amigurumi
Questions about this project
Why is the tail made before the legs and body?
The tail is crocheted into the body during Round 10, so it needs to be finished and ready before you reach that round.
How do I keep the tail centered on the back?
In the original, the tail goes into the last 2 stitches of Round 10, which form the final dec. Your stitches may sit a little differently, so check the position as you go and adjust it until the tail is centered on the back.
Do the bobbles count as stitches in Round 7?
Yes. Each bobble counts as one stitch, so (bo, sc, bo) adds 3 stitches. With 12 sc around each leg and 3 sc along the chain, Round 7 totals 30 stitches.
Which parts get stuffed?
Only the tail stays unstuffed. The pattern doesn’t name a stuffing round, so fill the legs and body before Round 12, while the opening is still 12 stitches wide.
Does the pattern include keychain hardware?
No. The original presents the piece as a keychain, but it covers only the crochet work and doesn’t list a key ring or an attachment step.
Are the pink hearts on the paws required?
No. Embroidering small pink hearts on the paws is an optional finishing touch.