Mini Bunny Amigurumi Free Pattern — Scrap Chenille Bunny
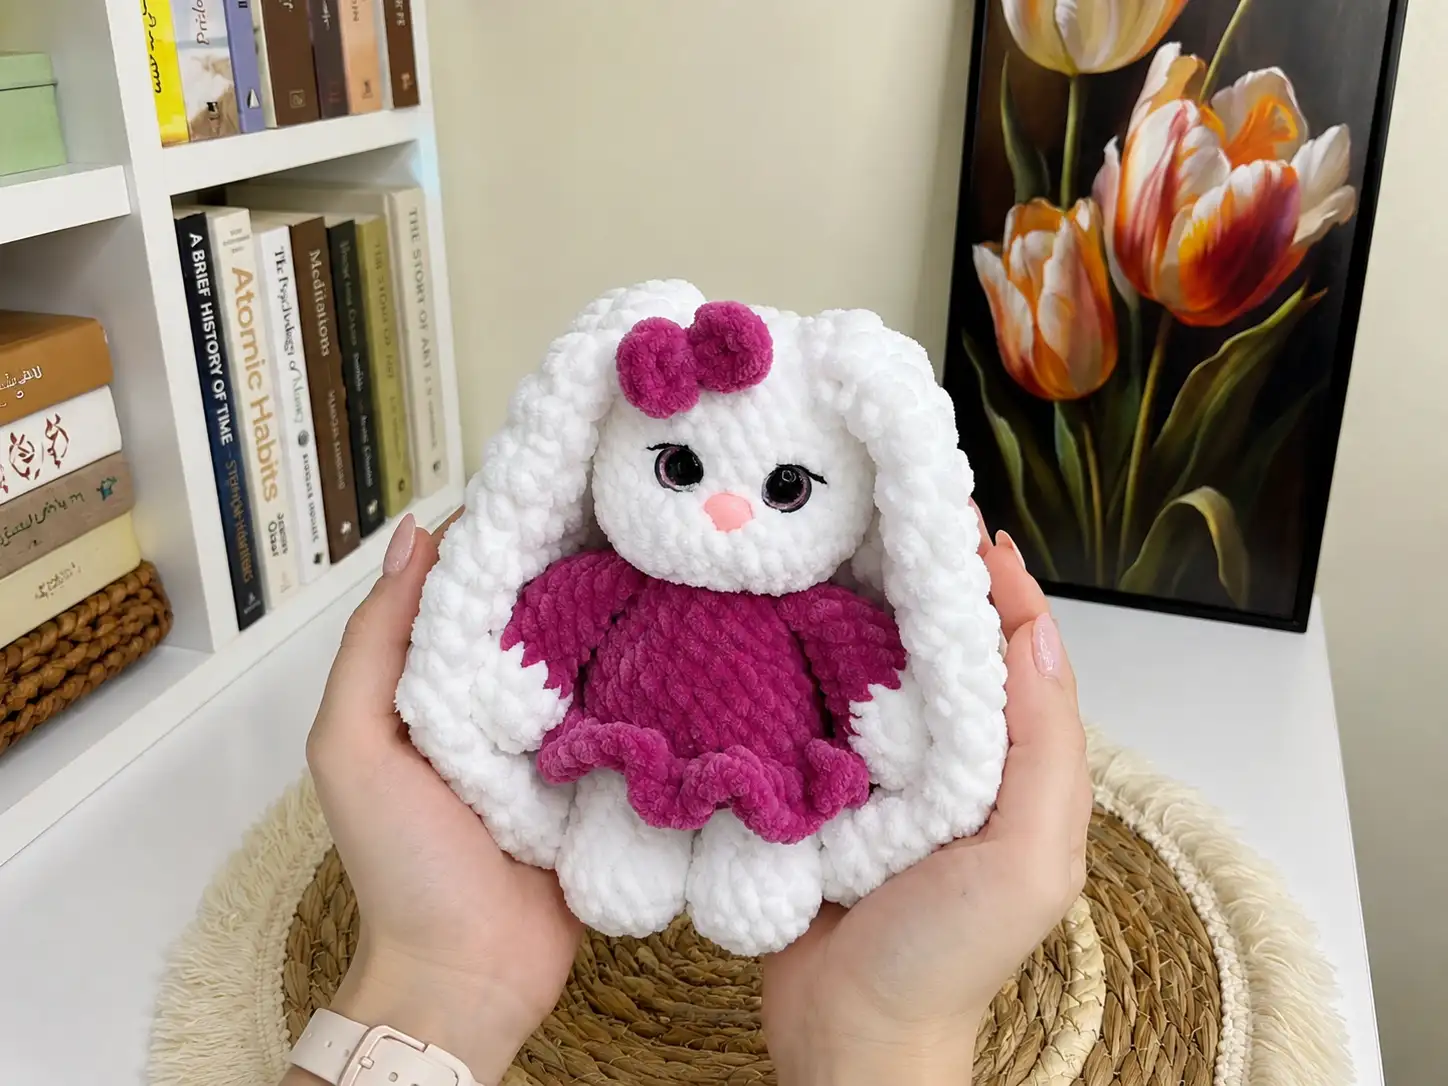
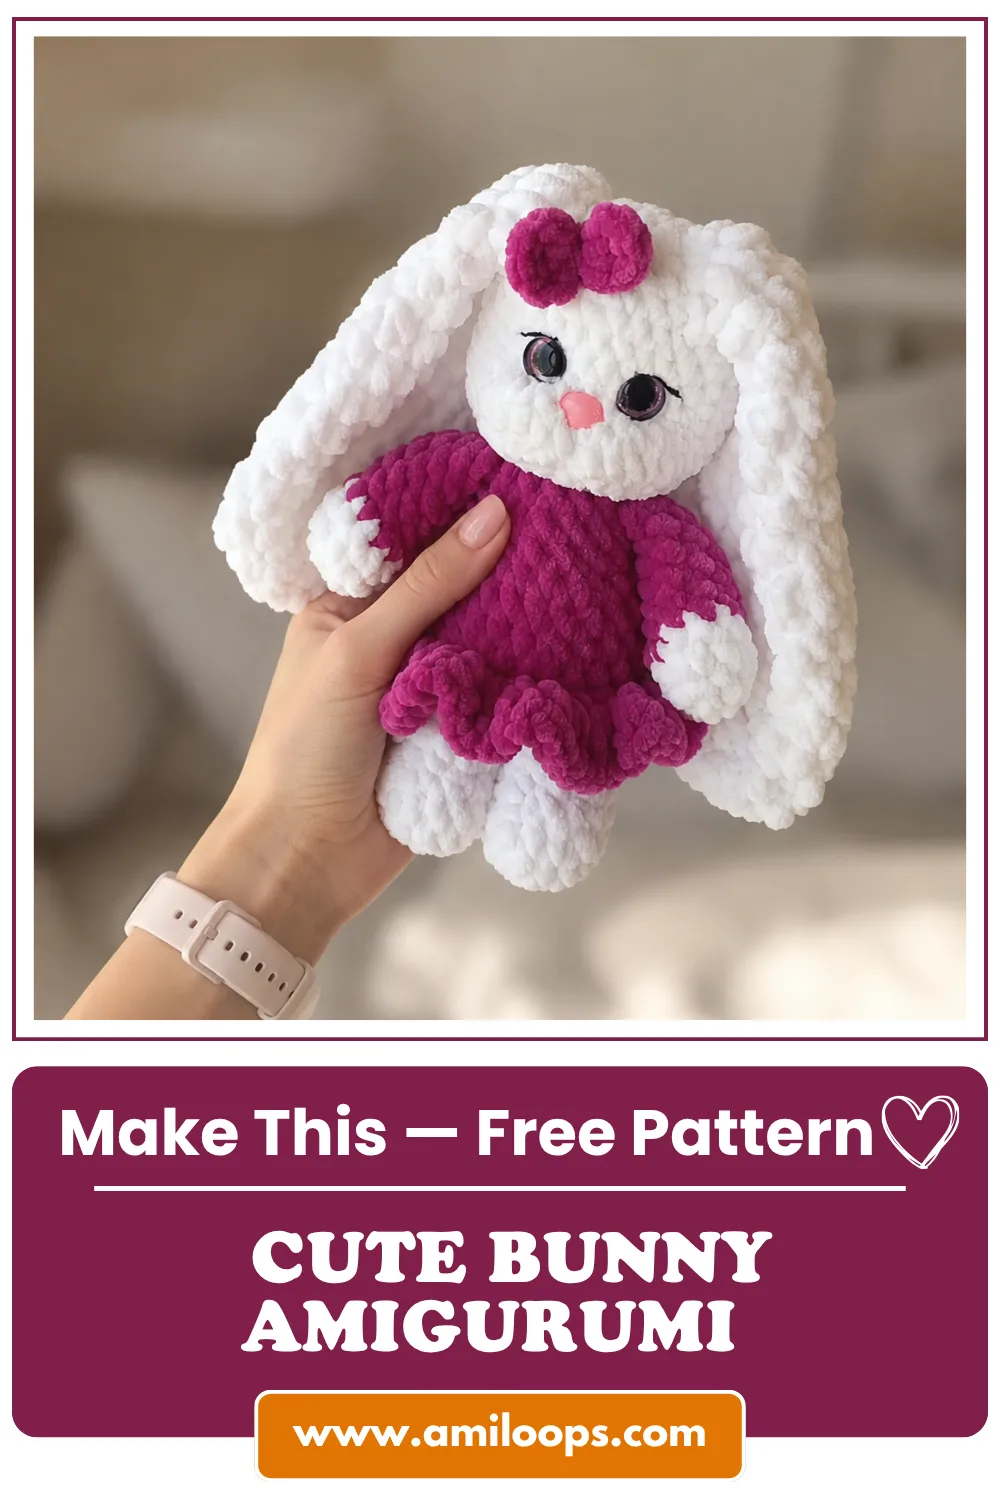
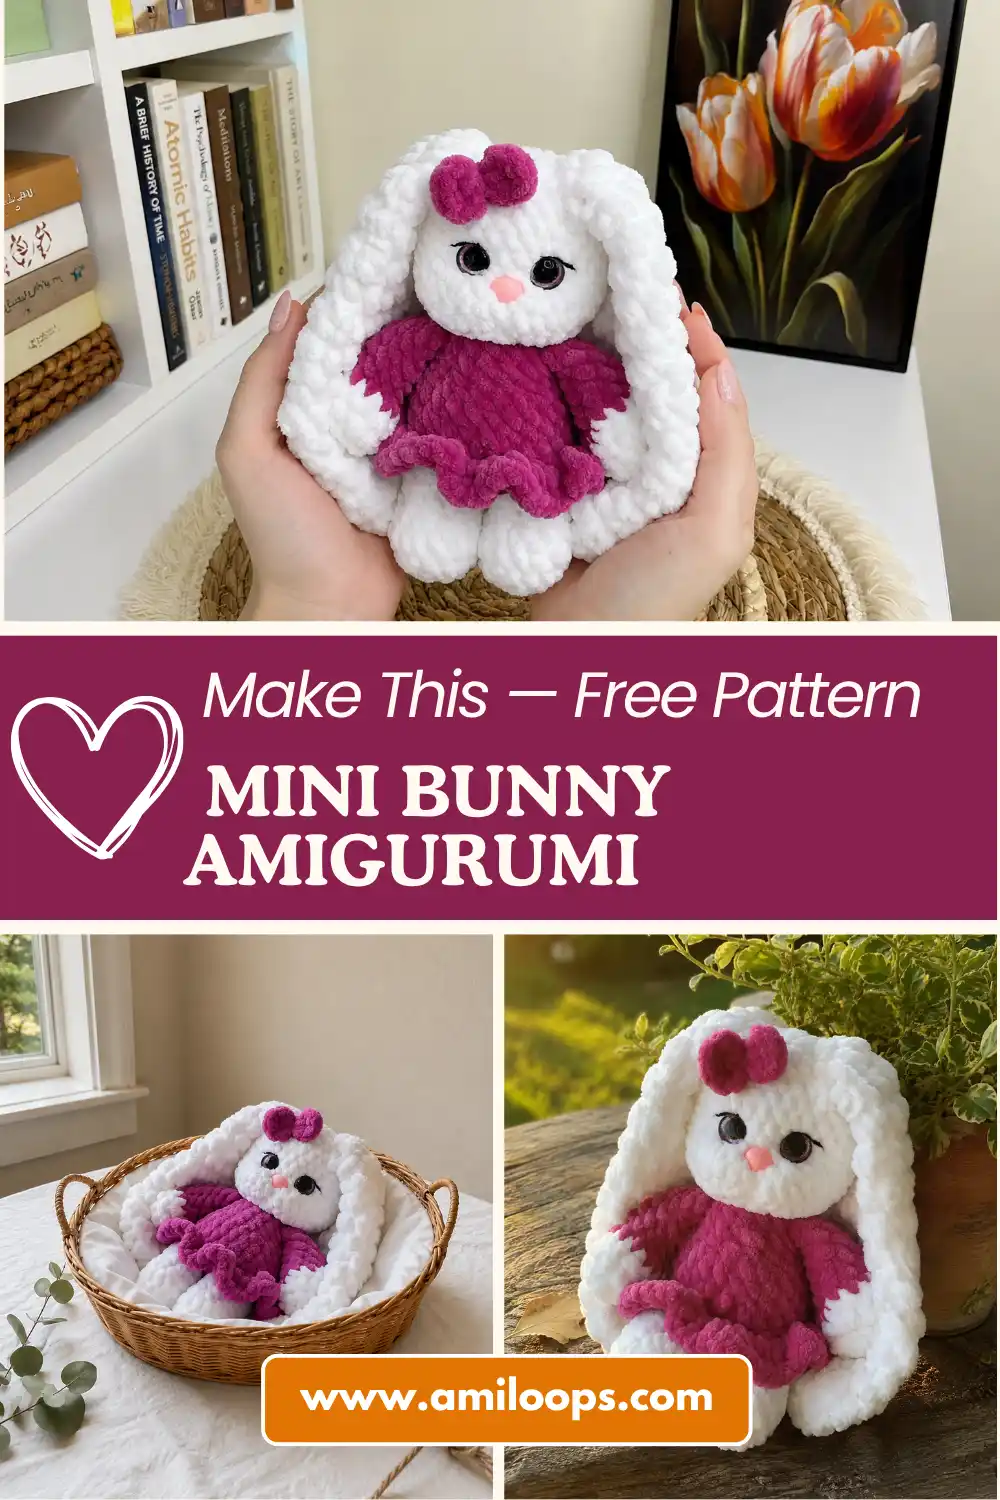
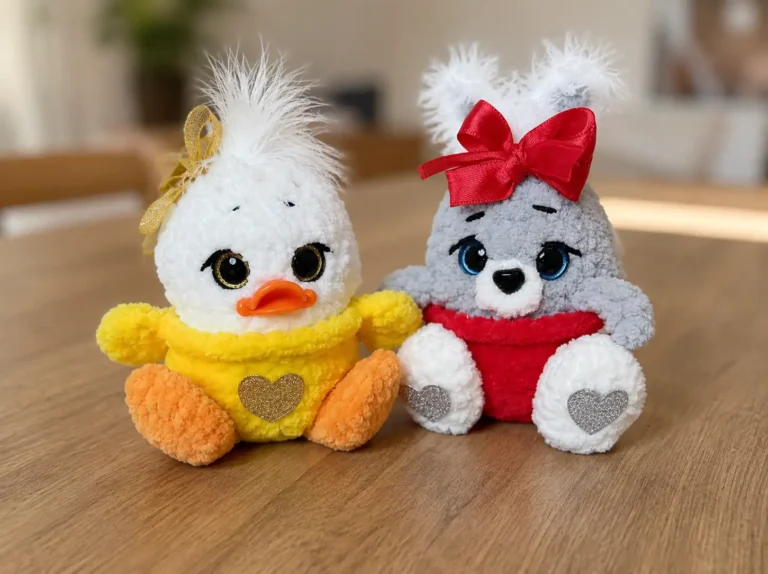
This mini bunny amigurumi free pattern is the kind of project that turns a half-used skein of chenille into something genuinely giftable. She’s built from soft plush yarn, has a tiny skirt and a bow, and works up part by part so you can chip away at her over a couple of evenings instead of one long sitting. If you’ve got half a skein of plush yarn sitting around with nowhere to go, this is exactly where it belongs.
🧶 What You’ll Need
- 💰 Yarn Needed: roughly half a 120m/100g skein (about 65 yards) of main-color plush/chenille yarn, plus a partial skein of a second color for the dress and bow, and a few yards of DK-weight black yarn for the face details
- 🎨 Colors: 1 main color + 1 accent color for the skirt and bow (or similar plush colors from your stash), plus black for eyelashes and eyebrows
- 🪝 Hook: G/6 (4.0 mm) for the body, plus a 7.0 mm hook for the ears (no exact US letter — more on that below)
- ⏱️ Time: about 5-6 hours total, including face sculpting (this one’s not a quick keychain — budget an evening or two)
- 📏 Finished Size: not specified by the original designer — based on the stitch counts, expect a compact, palm-sized bunny
- 💡 Difficulty: Intermediate (this rating isn’t from the original source — I’m assigning it based on the face sculpting and multi-piece assembly involved)
- 🎁 Great For: gifts, nursery shelf decor, or a sweet addition to a market table
Materials for This Mini Bunny Amigurumi Free Pattern
You don’t need much to make this bunny, and there’s a good chance most of it is already in your stash.
- Main color: approximately half a 120m/100g skein of plush/chenille yarn — Bulky (5) weight. The original pattern was made with Himalaya Dolphin Baby, YarnArt Dolce, or Wolans Bunny Baby, but any soft Bulky-weight chenille works. In the US, Bernat Baby Velvet or Premier Parfait are close substitutes. Keep 10-20 grams in reserve for finishing.
- Accent color: a partial skein of the same plush/chenille yarn for the skirt and bow. Check what’s available locally in a similar Bulky (5) weight if you can’t find the exact brand — this is where a scrap-bin leftover shines.
- Black DK/Light Worsted (3) yarn: just a few yards for embroidering the eyelashes and eyebrows. The original used YarnArt Jeans; Drops Muskat or Paintbox Cotton DK are reasonable US alternatives.
- Hooks: G/6 (4.0 mm) for the body, arms, legs, tail, and skirt. A 7.0 mm hook for the ears.
- 10-12 mm safety eyes and a 12 mm safety nose.
- Fiberfill stuffing (poly-fil or similar).
- Strong thread for face sculpting, plus a tapestry needle with a large eye.
🧶 Scrap Check: The main color amount here (about half a skein) is a calculated estimate based on the yardage the original designer noted, not an exact measurement — treat it as a starting point, and keep your reserve yarn nearby in case your tension runs a little different from mine.
Abbreviations Used in This Pattern
| Abbreviation | Meaning |
|---|---|
| mr | magic ring |
| ch | chain |
| sl st | slip stitch |
| sc | single crochet |
| hdc | half double crochet |
| dc | double crochet |
| inc | increase (2 sc in same stitch) |
| hdc-inc | half double crochet increase |
| dc inc | double crochet increase |
| inv dec | invisible decrease |
| BLO | back loop only |
| FLO | front loop only |
| x | repeat the instructions in parentheses this many times |
Smart Crafter Tips for This Mini Bunny Amigurumi Pattern
A few things that’ll make this project smoother and cheaper before you start:
First time working a magic ring? Our magic ring tutorial walks through it in under two minutes — every single piece in this pattern starts here, so it’s worth having down.
Every decrease in this pattern is worked as an invisible decrease rather than a standard sc2tog, which keeps the shaping clean on a piece this small. If you haven’t tried it yet, our invisible decrease guide covers the technique — and the stitch counts here already account for it, so you don’t need to do any math.
Here’s a trick for the 7.0 mm hook the ears call for: there’s no exact US letter match for 7.0 mm — it sits between K/10.5 (6.5 mm) and L/11 (8 mm). Rather than buying a specialty hook for two small ear pieces, size up slightly with what you already own. A little looser or tighter gauge on the ears barely shows on a piece this size, and your existing K or L hook will get you there.
Before you install anything permanent, our safety eye tutorial is worth a quick read — getting the placement right the first time saves you from unpicking stuffed fiberfill later.
How to Crochet This Mini Bunny Amigurumi Free Pattern
Arms (make 2)
Yarn: main color, switching to accent color partway through
Start: magic ring
Row 1: 5 sc in mr (5)
Row 2: 5 inc (10)
Row 3: (4 sc, inc) x 2 (12)
Row 4: unchanged (12)
Row 5: 3 inv dec, 6 sc — switch to accent color here (9)
Rows 6-9: (4 rows) unchanged (9)
Row 10: 5 sc as an incomplete row, fold the piece in half, then crochet 4 sc through both layers together (4)
Finishing: crochet the remaining 4 sc together to close the top of the arm.
🧶 Scrap Check: Don’t stuff the arms firmly — a light fill keeps them soft and bendable against the body.
Legs (make 2)
Yarn: main color
Start: magic ring
Row 1: 5 sc in mr (5)
Row 2: 5 inc (10)
Row 3: (1 sc, inc) x 5 (15)
Row 4: unchanged (15)
Row 5: 3 sc, 5 inv dec, 2 sc (10)
Rows 6-8: (3 rows) unchanged (10)
Row 9: attach yarn to the first leg and work 1 inc, then 9 sc along the leg; transition to the second leg by working an sc into the last stitch made, then crochet another 10 sc along the second leg (22)
Finishing: cut the yarn on the first leg after Row 8 — don’t cut it on the second leg in Row 9. Keep that yarn attached and continue directly into the body.
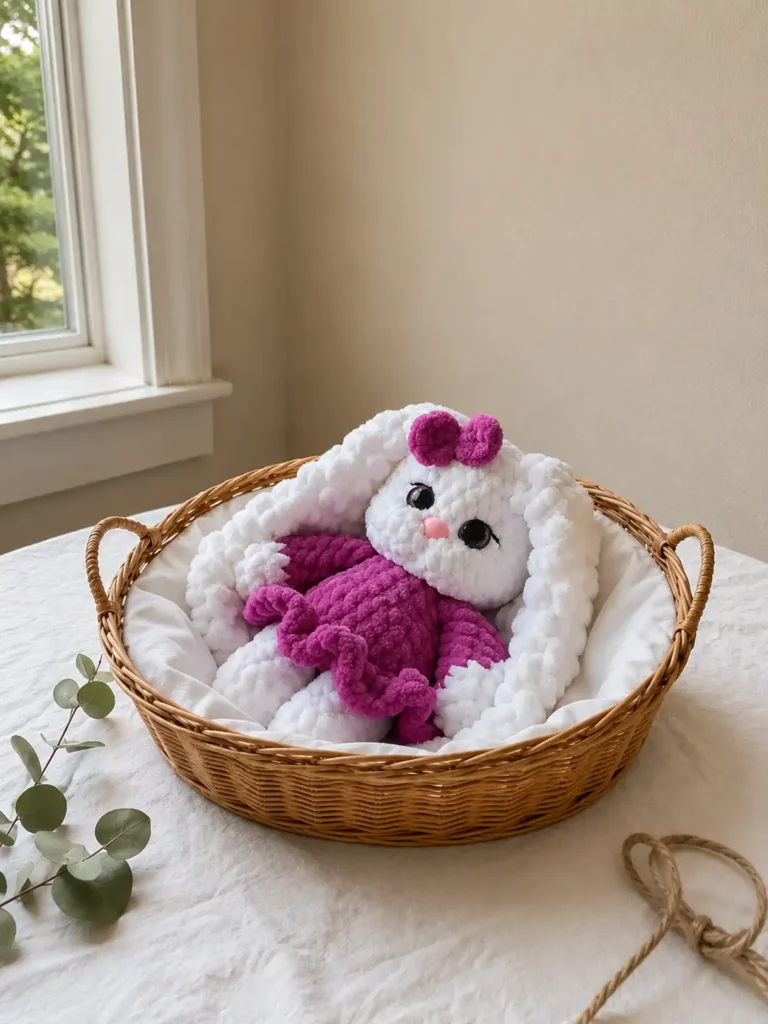
Body and Head
Yarn: main color, then accent, then back to main
Start: continue crocheting straight from the joined legs
Row 10: (2 sc, inc) x 7, then 1 more inc (30)
Row 11: unchanged — switch to accent color here (30)
Row 12: 30 sc worked in BLO only (30)
Row 13: (3 sc, inv dec) x 6 (24)
Row 14: unchanged (24)
Row 15: (2 sc, inv dec) x 6 (18)
Rows 16-17: (2 rows) unchanged (18)
Row 18: 4 sc, 4 sc through the arm (attaching it), 5 sc, 4 sc through the second arm (attaching it), 1 sc (18)
Row 19: (1 sc, inv dec) x 6 — switch back to main color after this row (12)
Row 20: 12 inc (24)
Row 21: (3 sc, inc) x 6 (30)
Row 22: (4 sc, inc) x 6 (36)
Row 23: unchanged (36)
Row 24: 16 sc, 6 inv dec, 8 sc (30)
Rows 25-29: (5 rows) unchanged (30)
Row 30: (3 sc, inv dec) x 6 (24)
Row 31: (2 sc, inv dec) x 6 (18)
Row 32: (1 sc, inv dec) x 6 (12)
Row 33: 6 inv dec — stuff firmly with fiberfill before closing (6)
Finishing: close the opening, fasten off, and weave in the end.
🧶 Scrap Check: Row 12 is worked in back loops only, which leaves the front loops open and ready for the skirt later — don’t skip that detail, it’s what makes the skirt attach cleanly. In Row 24, keep the decreases toward the front of the face, since they’re what shapes the muzzle. Stuff the head and body firmly right after Row 29, before you start the final closing rounds — it’s much harder to add stuffing once that opening gets small.
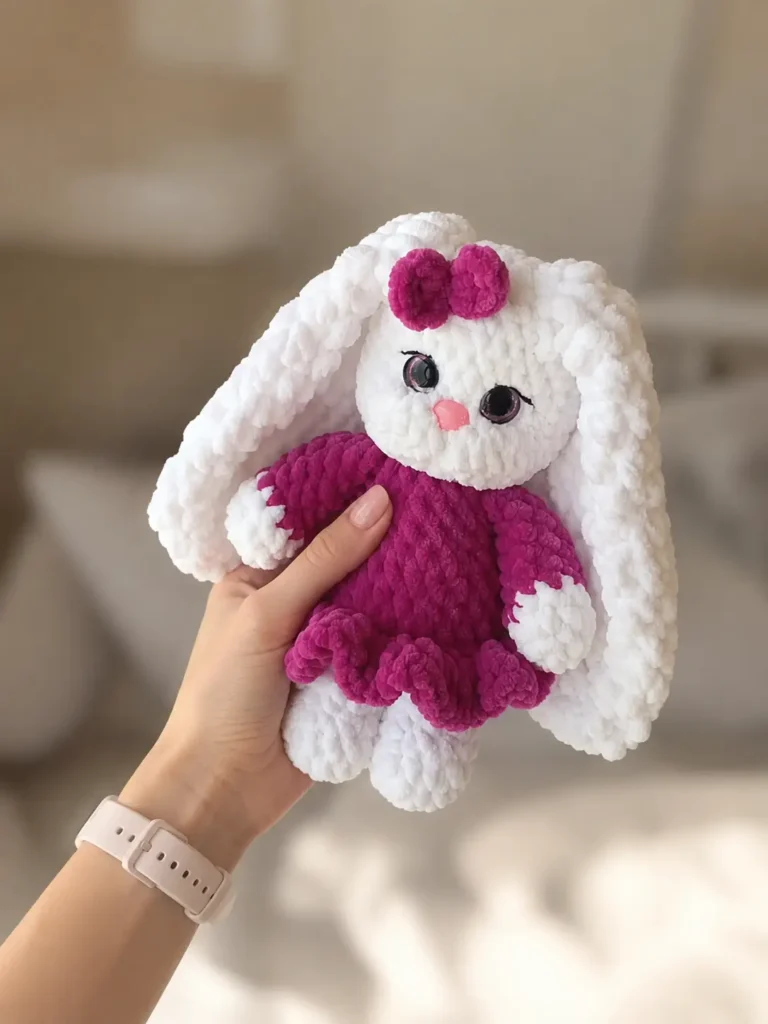
Skirt
Yarn: accent color
Start: join yarn to the front loops (FLO) left open from Row 12 of the body
Row 1: 30 sc (30)
Row 2: 30 dc inc (60)
This little skirt is where a mismatched accent skein really earns its keep — the plush texture hides color variation well, so leftover partial skeins that don’t quite match anything else in your stash are perfect here.
Tail
Yarn: your choice — main or accent, whichever you have more scrap of
Start: magic ring
Row 1: 6 sc in mr (6)
Row 2: (1 sc, inc) x 3 (9)
Row 3: 4 inv dec, then 1 sl st (5)
Finishing: leave a yarn tail for sewing — no need to stuff, this is a tiny puff of a tail.
Ears (make 2)
Yarn: your choice
Start: magic ring, worked with the 7.0 mm hook
Row 1: 6 sc in mr (6)
Row 2: 6 hdc-inc (12)
Row 3: (1 hdc, hdc-inc) x 6 (18)
Rows 4-8: (5 rows) unchanged (18)
Row 9: (1 hdc, inv dec) x 6 (12)
Rows 10-12: (3 rows) unchanged (12)
Row 13: (1 hdc, inv dec) x 4 (8)
Rows 14-15: (2 rows) unchanged (8)
The ears are left unstuffed and flatten naturally — that looser hdc fabric from the bigger hook gives them a soft, floppy drape instead of standing stiffly up.
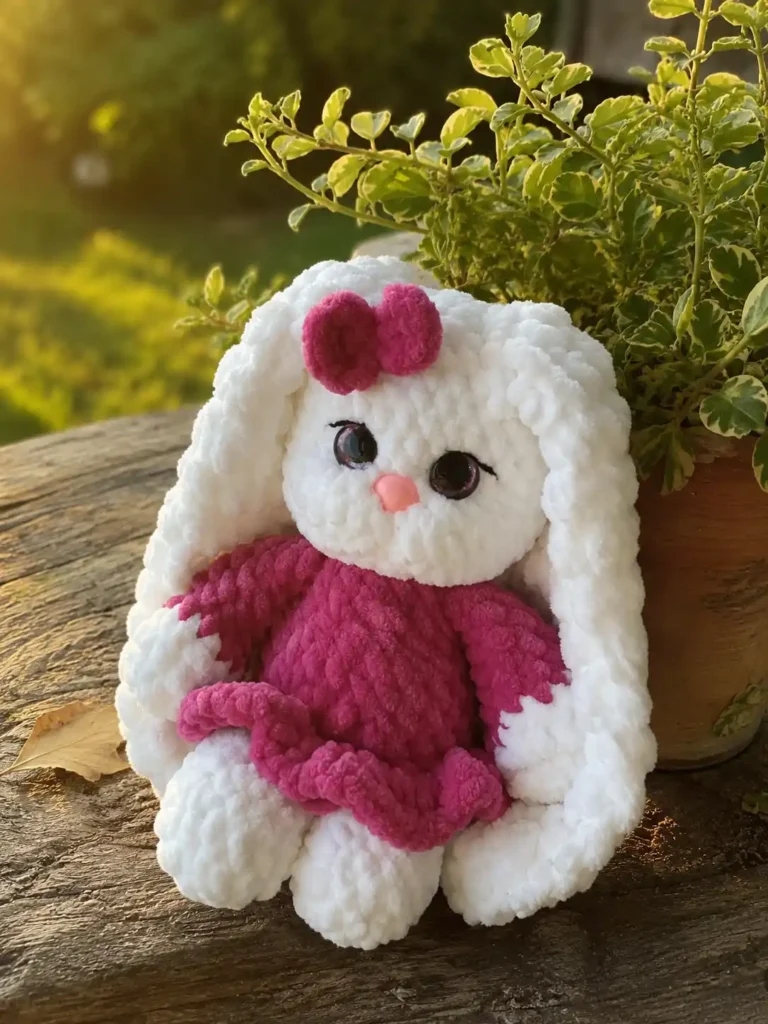
Bow
Yarn: accent color
Start: a simple chain construction, not a standard row count
- Make 1 ch, but don’t pull it tight — leave it loose.
- Chain 2 more.
- Yarn over and work 1 dc into the first chain.
- Repeat that same dc into the first chain one more time.
- Chain 2, then slip stitch into the first chain.
- Chain 2 again.
- Yarn over and work 1 dc into the first chain.
- Repeat that dc into the first chain one more time.
- Chain 2, then slip stitch into the first chain.
- Cut the yarn, leaving a tail, and wrap it around the center of the bow several times to cinch it.
Finishing: fasten off and sew the bow to the head.
Assembly
- Join yarn to the front loops (FLO) of Row 12 on the body and crochet the skirt directly onto the bunny.
- Sew the tail onto the back of the body.
- Sew the bow onto the head.
- Sew both ears to the top of the head.
Finishing Touches: Eyes, Nose, and Face Sculpting
Placement matters more than technique here, so take it slow:
- Insert the safety nose between Rows 24 and 25, positioned between the 3rd and 4th decrease of Row 24.
- Insert the safety eyes between Rows 26 and 27, spacing them 4 sc apart.
- For face sculpting, thread strong sewing thread onto your tapestry needle. Insert the needle at the midpoint between Rows 19 and 20 (this is your center reference point), and bring it out at the outer edge of the left eye. Insert it again at the inner edge of the left eye and bring it back out at your starting center point, skipping one stitch as you go.
- From the same center point, bring the needle out at the outer edge of the right eye, then insert at the inner edge of the right eye and bring it back to center. Repeat this pass once or twice more if the face needs more definition.
- Insert the needle from your center point down to a point just below it, and back out again at center — this shapes the bridge between the eyes and the nose.
- From center, bring the needle out at the outer edge of the left eye area, then insert into the outer edge of the right eye area and back out at center to gently pull the face into shape.
- For the mouth, chain 2 stitches and sew them into place below the nose in a small V.
- Finish by embroidering eyelashes and eyebrows with the black DK-weight yarn.
This sculpting step is the part that takes patience — go slowly, check the face from the front as you pull each stitch, and don’t be afraid to redo a pass if the eyes end up sitting unevenly. It’s much easier to adjust thread tension now than after everything is fastened off.
Because this project uses safety eyes and a safety nose, it’s best suited as a decorative or gift piece rather than a toy handed straight to a very young child — small, securely locked parts like these are still worth keeping away from children under 3.
Stretch It Further
💡 Stretch It Further: This bunny practically begs for a wardrobe change. Make her again in a completely different accent color for the skirt and bow — a leftover pastel from a baby blanket project, a scrap of neutral tan, whatever’s sitting in your bin — and you’ve got a whole little bunny family without buying a single new skein. Since the main color only uses about half a skein, one 100g ball can realistically stretch across two bunnies if you split it. Skip the skirt and bow entirely for a faster, plainer version, or swap the bow for a tiny fabric ribbon if you’re out of accent yarn altogether. She also works well as a set: make two or three in coordinating colors and bundle them together as a nursery gift — it reads as a much bigger, more thought-out present than the yarn cost suggests.
Mia’s Take
This one takes more patience than most of my quick keychains, but it’s worth the extra evening — half a skein of chenille and a handful of scraps turn into something with real personality, mostly thanks to that face sculpting step. If you’ve been sitting on leftover plush yarn wondering what it’s good for, this is it. Make a second one in a different accent color while your hook’s already warmed up — you’ll have a matching pair before you know it. 🧶
FAQ
What yarn is best for this mini bunny amigurumi pattern?
Bulky (5) weight plush or chenille yarn works best for this project, such as Bernat Baby Velvet or Premier Parfait. You only need about half a skein for the main color.
How long does it take to crochet this mini bunny?
It takes approximately 5 to 6 hours to complete the bunny. This includes crocheting the individual parts, assembling them, and taking time for the face sculpting.
Are safety eyes suitable for amigurumi toys meant for babies?
While safety eyes are securely locked, they are still small parts and should be kept away from children under 3. If you are making this bunny for an infant, embroider the eyes instead.