Curly Unicorn Amigurumi Pattern: A Little Velur Unicorn with Corkscrew Curls
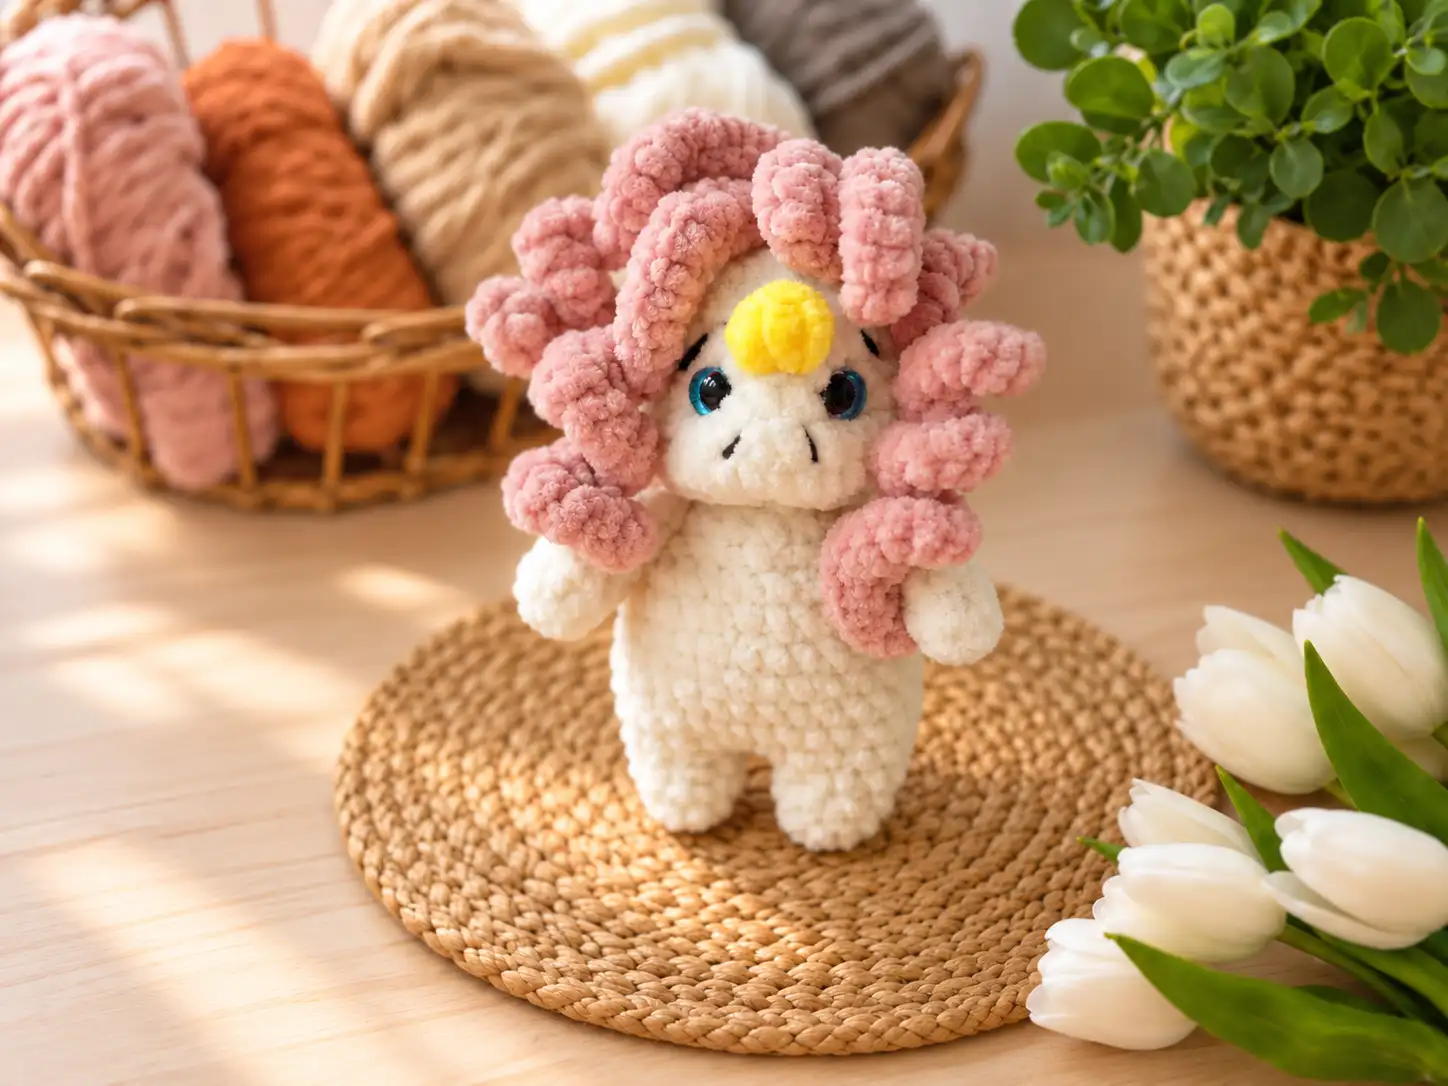
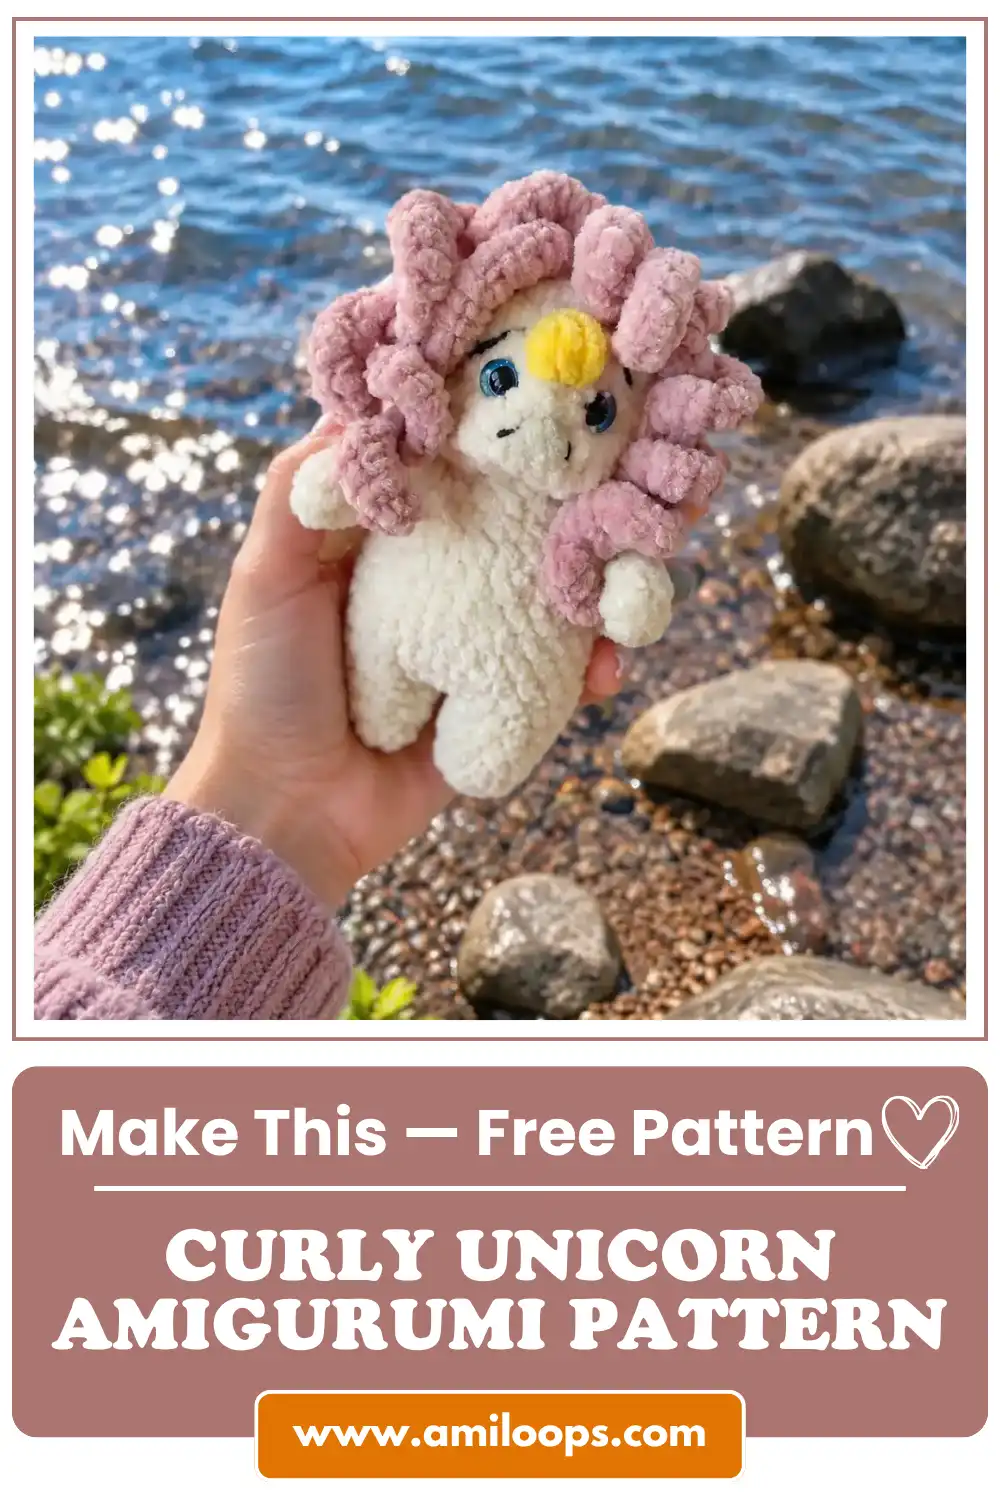
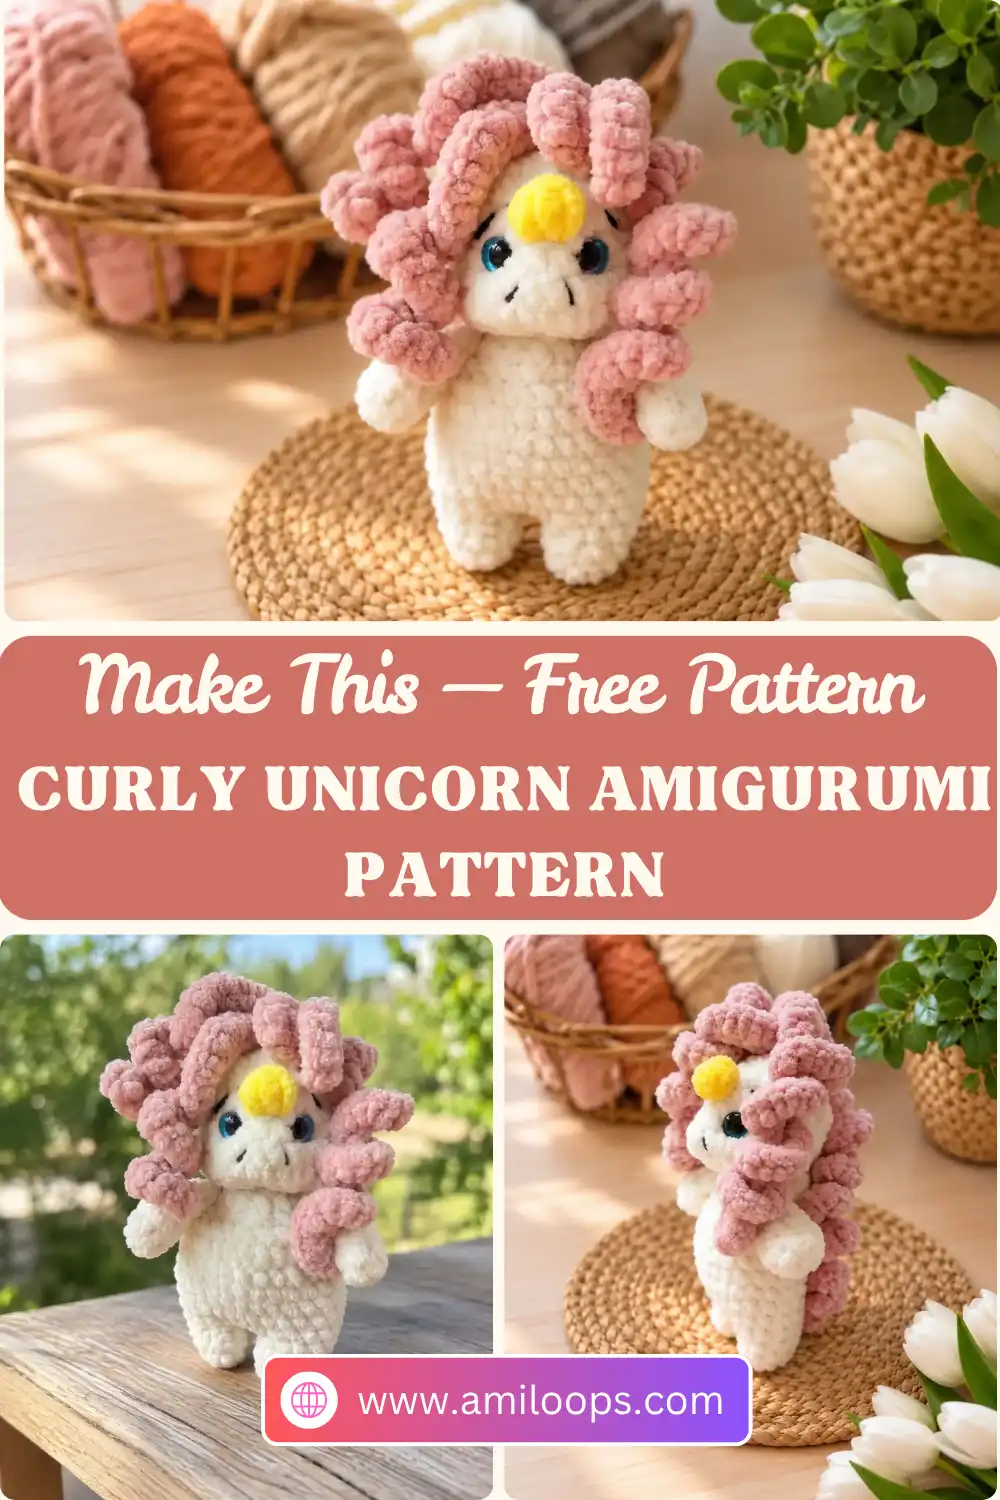
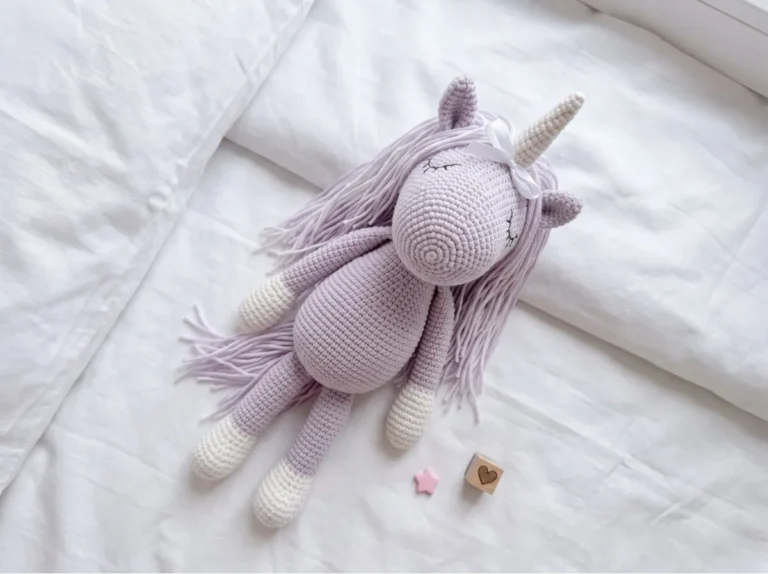
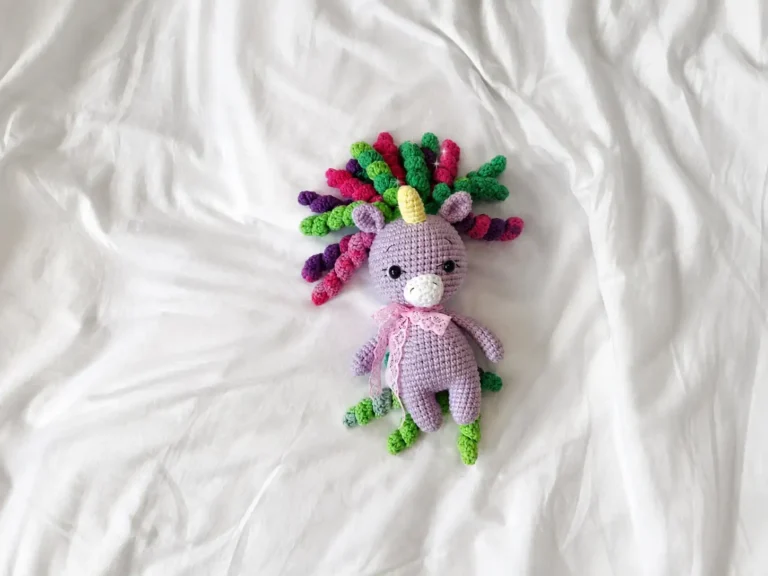
This curly unicorn amigurumi pattern makes a small, soft unicorn about 12 cm (4¾ in) tall. It has a round head, little arms, short legs and a cluster of corkscrew curls. A yellow horn sits between two small ears, and all three are worked into the head in the same round. Velur yarn gives the toy its plush look, and a little face sculpting shapes the eye area.
Most of the toy is worked in one continuous piece. You join the two legs with a short chain and work the body up from there. The flat arms are crocheted into the body as you go, and you move on to the head without cutting the yarn. The curls are the only pieces you sew on, so you can decide how many to add and where they look best.
Before your first stitch: make both arms first. The body joins them in Round 14, so they need to be finished and waiting before you get there. The arms are not stuffed.
Keep a stitch marker handy: the head shaping depends on where the marker sits. Keep it at the center back so the muzzle, eyes, ears and horn line up across the front.
Materials Abbreviations Arms Legs and Body Head Sculpting Curls FAQ
Materials
- Main color: Lavita Yarn Velur, about 25 g
- Horn: yellow yarn
- Curls: yarn in a contrasting color (the original curls are a soft pink shade)
- Safety eyes: 8–10 mm
- Crochet hook: size No. 3, as listed in the original pattern
- Stuffing: hollowfiber
- YarnArt Jeans: black for embroidery, plus thread in the main color or white for face sculpting
- A long needle for sculpting
- Scissors
With these materials, the finished unicorn is about 12 cm (4¾ in) tall.
Abbreviations
| Abbreviation | Meaning |
|---|---|
| MR | magic ring |
| ch | chain |
| sc | single crochet |
| dc | double crochet |
| sl st | slip stitch |
| st(s) | stitch(es) |
| inc | increase (2 sc in one stitch) |
| dec | decrease |
| 3-dc bobble | 3 dc worked together in one stitch, sharing one top |
This pattern uses US crochet terms. The Craft Yarn Council crochet abbreviations list compares standard stitch names and US/UK terms.
The 3-dc bobble: all three dc go into the same stitch and close together at the top. Work each dc until two loops remain on the hook. After the third dc, 4 loops are on the hook. Yarn over and pull through all of them. The result is a small raised nub. In this unicorn, it forms each ear and the horn.
Arms (make 2)
Do not stuff the arms. Each one starts in a magic ring. If you want a refresher, see how to crochet the magic ring step by step.
Rnd 1: 8 sc in MR (8)
Rnd 2: Sc in each st around (8)
Rnd 3: [2 sc, dec] 2 times (6)
Rnd 4: Dec, 4 sc (5)
Rnd 5: Sc in each st around (5)
Fold the opening flat and work 2 sc through both layers. Fasten off and cut the yarn. Set both arms aside until Round 14 of the body.
Legs and Body
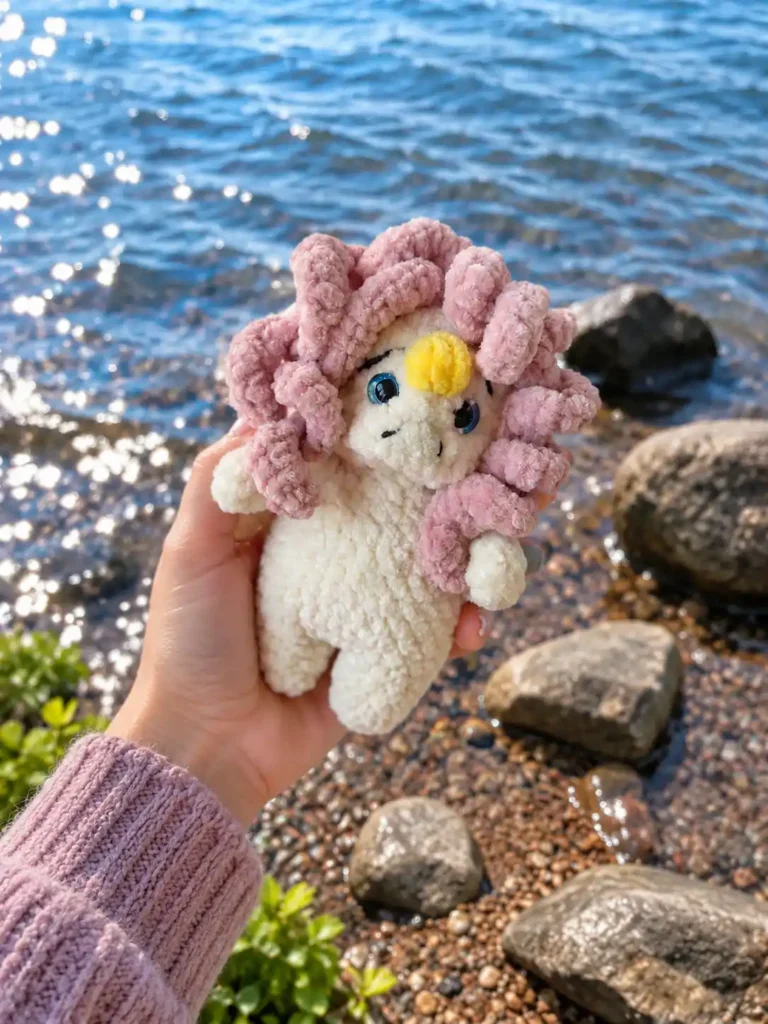
Stuff as you go. The legs and body are one piece, so add stuffing a little at a time while the opening is still wide enough to reach inside.
First Leg
Rnd 1: 5 sc in MR (5)
Rnd 2: Inc in each st around (10)
Rnd 3: Dec, 3 sc, inc, 4 sc (10)
Rnd 4: Sc in each st around (10)
Fasten off and cut the yarn.
Second Leg and Body
Rnds 1–4: Work as for the first leg (10)
Do not cut the yarn. Ch 2, then join to the first leg with a sl st.
Rnd 5: Work around the first leg, then along the ch, around the second leg and along the opposite side of the ch: [3 sc, inc] 6 times (30)
How Round 5 adds up: 10 sts on each leg plus 2 on each side of the chain make 24 sts, so the six repeats cover every stitch exactly once. This round turns the two legs into one body.
Rnds 6–11: Sc in each st around (30) — 6 rounds
Rnd 12: [3 sc, dec] 6 times (24)
Rnd 13: [2 sc, dec] 6 times (18)
Joining the arms: you attach the arms in the next round. At each arm position, hold the flattened top edge of an arm against the body and work 2 sc through the arm and the body together.
Rnd 14: 4 sc, 2 sc through the arm and body, 6 sc, 2 sc through the arm and body, 4 sc (18)
Rnd 15: [1 sc, dec] 6 times (12)
Do not cut the yarn. Continue directly to the head.
Head
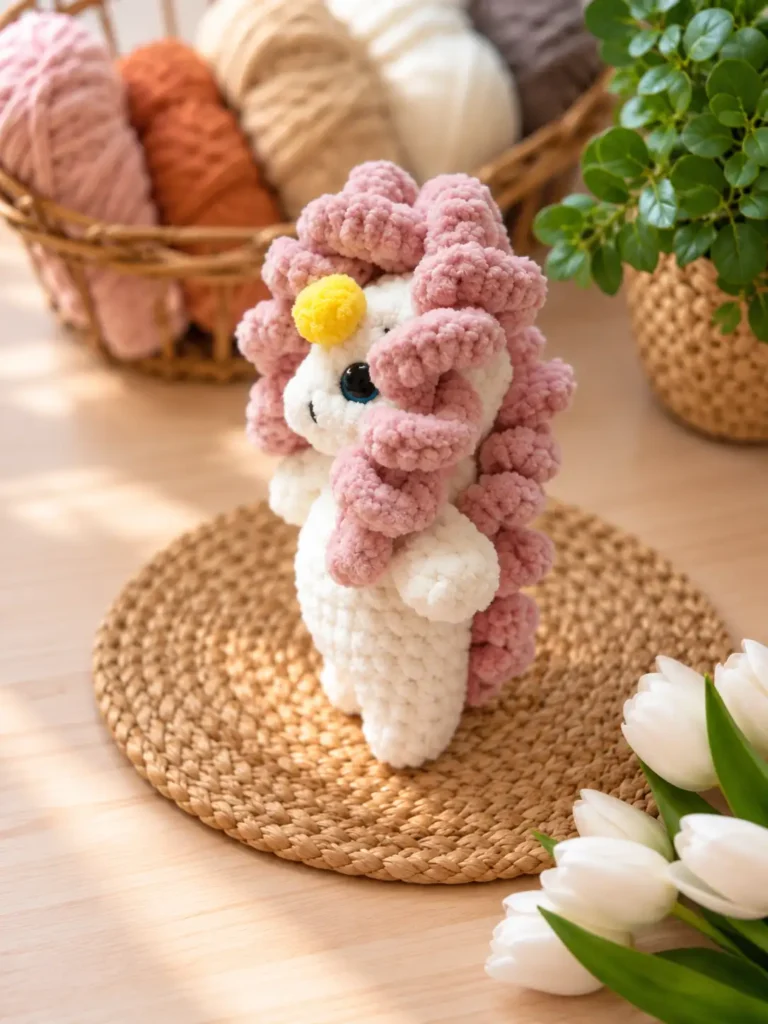
The head rounds are numbered from 1 again. Line up your stitch marker with the center back. If it drifts, work extra sc as needed to bring it back to the center back. With the marker at the back, the increases in Round 2 and the decreases in Round 5 land at the front, and that front section becomes the muzzle.
Rnd 1: Inc in each st around (24)
Rnd 2: 9 sc, inc in each of the next 6 sts, 9 sc (30)
Rnds 3–4: Sc in each st around (30) — 2 rounds
Rnd 5: 9 sc, dec 6 times, 9 sc (24)
Rnd 6: Sc in each st around (24)
Eyes: insert the safety eyes between Rounds 5 and 6, with 4 sts between the eye posts. For backs and washers, see how to safely attach safety eyes to your amigurumi.
Color change: in the next round, you crochet the ears and the horn. Work the middle bobble, the horn, in yellow. Work the two ear bobbles in the main color.
Rnd 7: 6 sc, 3-dc bobble, 5 sc, 3-dc bobble in yellow, 5 sc, 3-dc bobble, 5 sc (24)
The 5 sc on each side of the horn keep it evenly spaced between the ears. This only works if the marker stayed at the center back, so check it before you start this round.
Rnd 8: [2 sc, dec] 6 times (18)
Rnd 9: [1 sc, dec] 6 times (12)
Keep stuffing as you go. Finish filling the head before the opening gets too small to reach into.
Rnd 10: Dec 6 times (6)
Pull the opening closed, fasten off and cut the yarn. Hide the end inside the toy.
Sculpting the Face
Sculpt the face with white YarnArt Jeans and a long needle. The original pattern shows this step in a sequence of photos rather than written directions. Working from the back of the body, bring the needle up through the head and out beside one eye. Insert it again right next to the eye, bring it back out at the back and tighten gently to sink the eye area. Repeat the same path for the second eye, keeping both sides even.
Finishing the Face
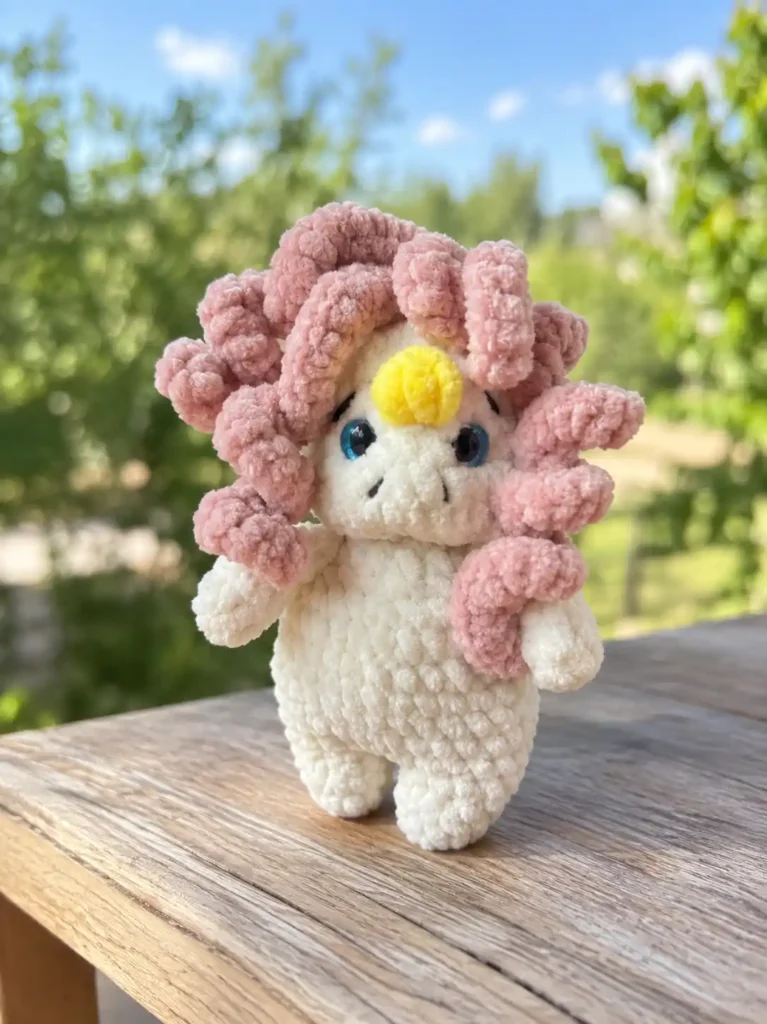
Embroider the eyebrows and nostrils with black YarnArt Jeans.
Curls
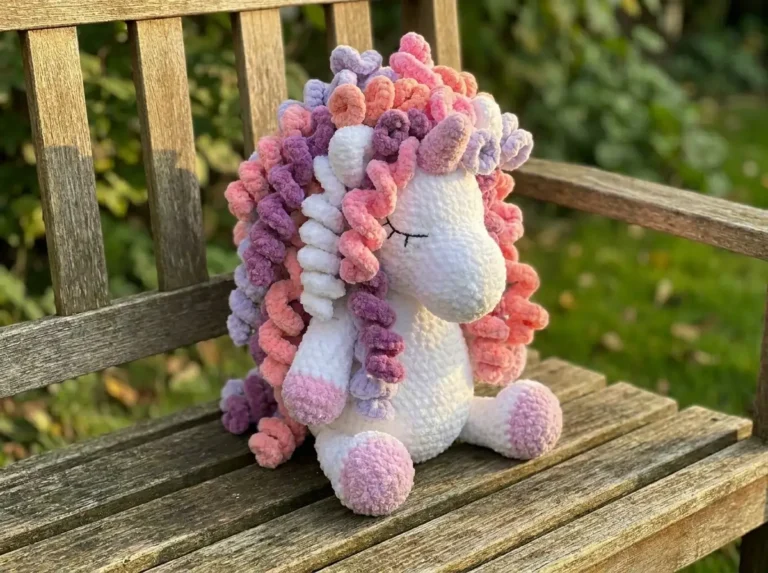
You can adjust how many curls you make and where you place them. Each curl starts with a chain. Working several sc into each chain makes it twist into a spiral. The longest pieces use 3 sc per chain, and the shorter pieces use 2. The original curls are made as follows:
- 3 pieces for the back: Ch 21. Starting in the 2nd ch from the hook, work 3 sc in each ch. Leave a yarn tail for sewing to the head.
- 2 pieces for the front: Ch 19. Starting in the 2nd ch from the hook, work 2 sc in each ch. Leave a yarn tail for sewing to the head.
- 2 pieces for the front and the tail: Ch 11. Starting in the 2nd ch from the hook, work 2 sc in each ch. Leave a yarn tail for sewing.
Use the tails to sew the curls in place. For tips on neat attachment, see how to sew amigurumi parts together.
Your curly unicorn is ready!
More Unicorns to Crochet
Questions About This Curly Unicorn
Do I stuff the arms?
No. The arms stay unstuffed. You fold the opening flat, work 2 sc through both layers and join the arms into the body in Round 14.
How are the ears and horn made?
They are 3-dc bobbles worked in Round 7 of the head. The two ears are in the main color, and the middle bobble is worked in yellow to form the horn.
How do I keep the face centered?
Keep your stitch marker at the center back of the head. If it drifts, work extra sc as needed to bring it back. The muzzle shaping, ears and horn are all placed from that point.
Can I change the number of curls?
Yes. You can change how many curls you make and where you place them. The original uses 3 long curls for the back, 2 for the front and 2 shorter pieces for the front and the tail.
How big is the finished unicorn?
About 12 cm (4¾ in) tall with the listed materials, including Lavita Yarn Velur and a size No. 3 hook.