Tiny Frog Amigurumi Pattern: Kvakentsiya With Bobble Eyes and an Open Mouth
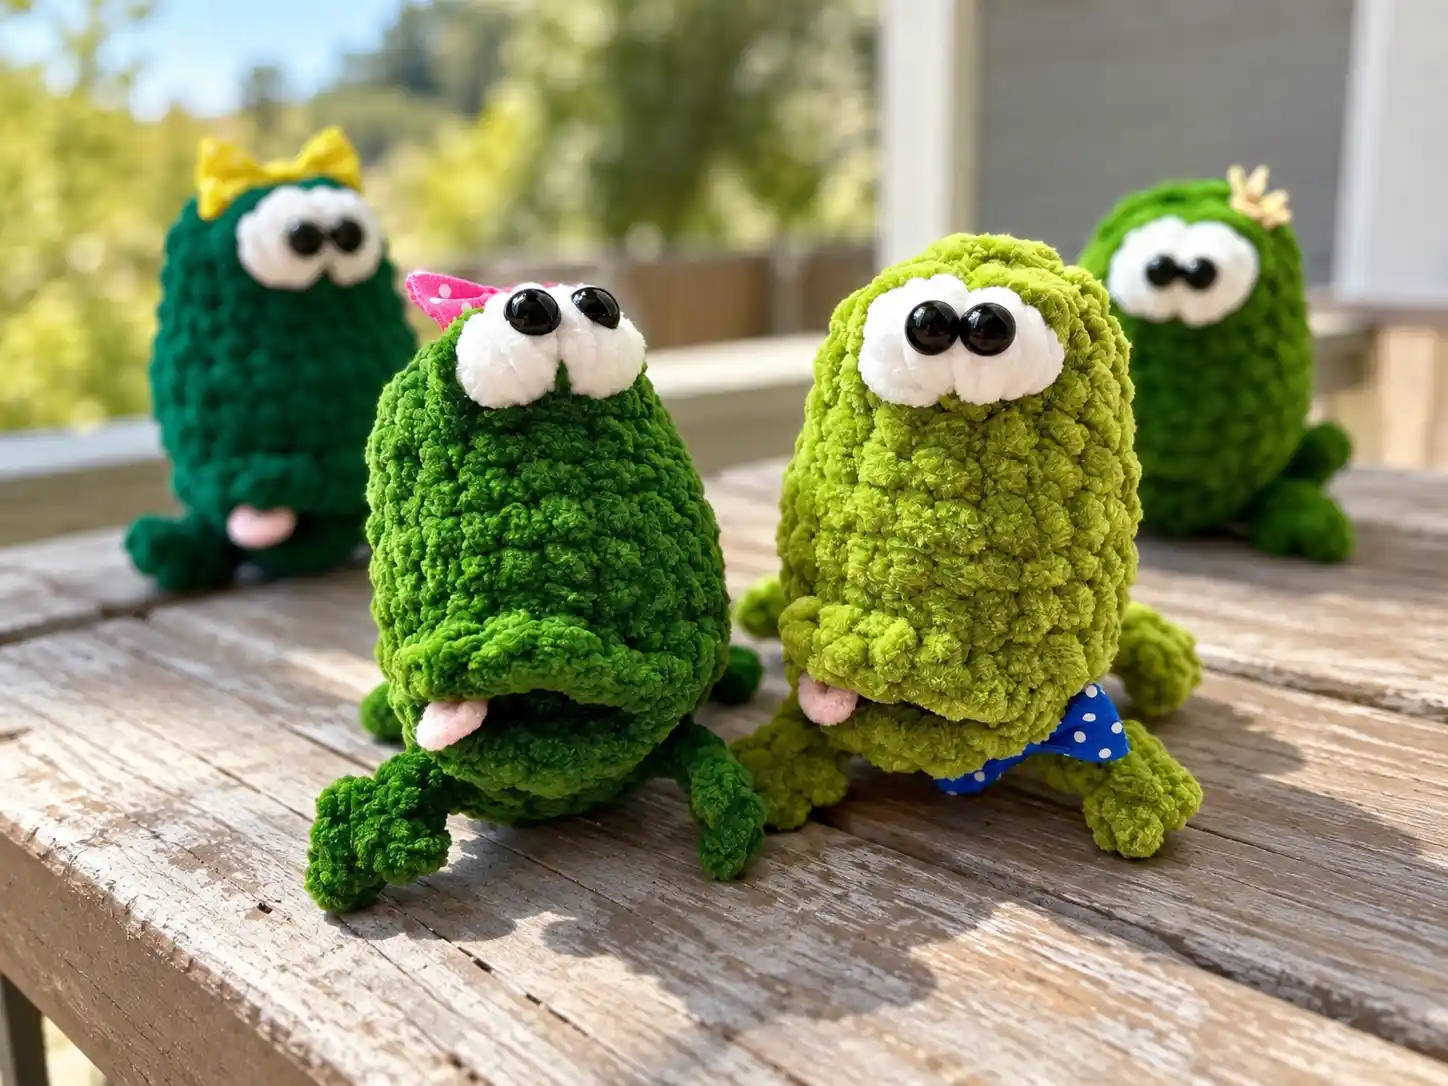
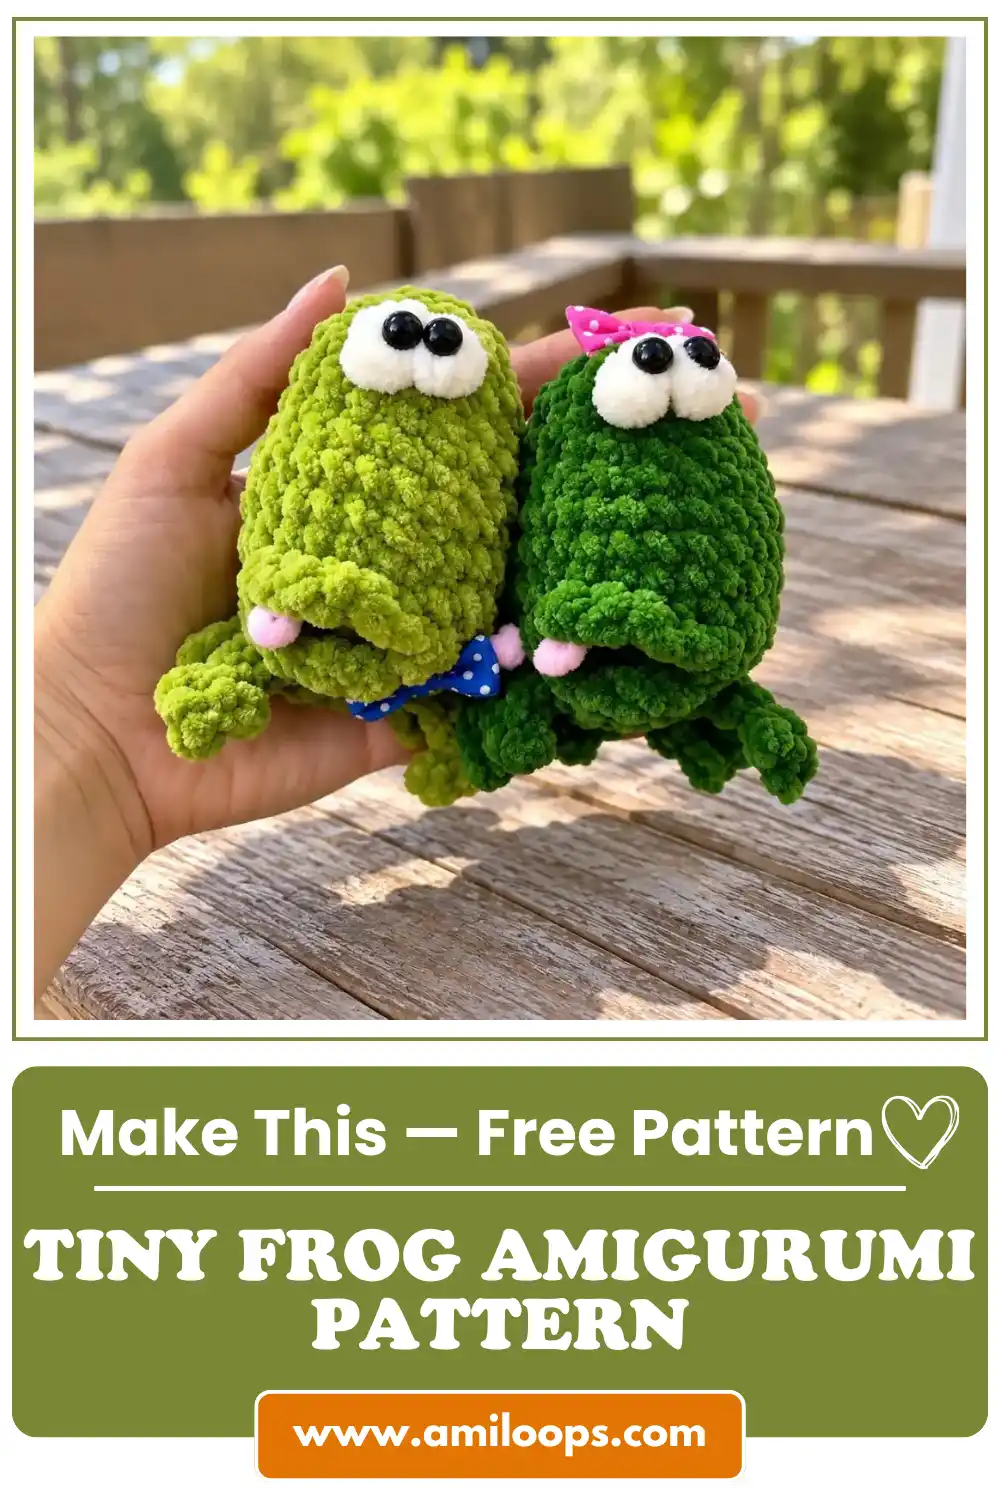
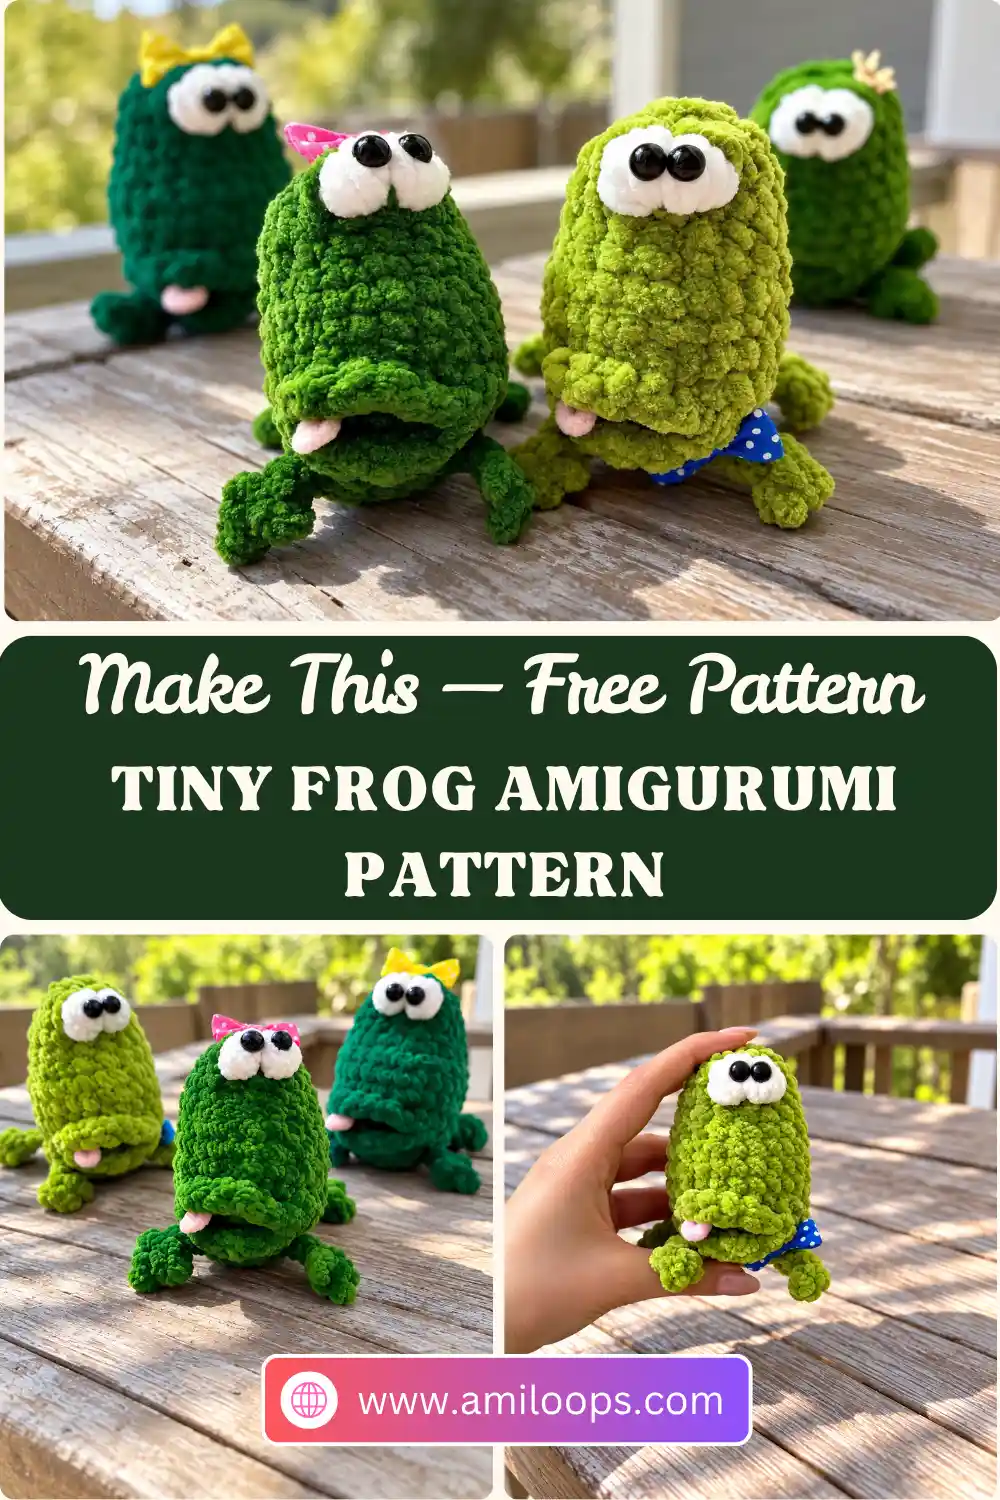
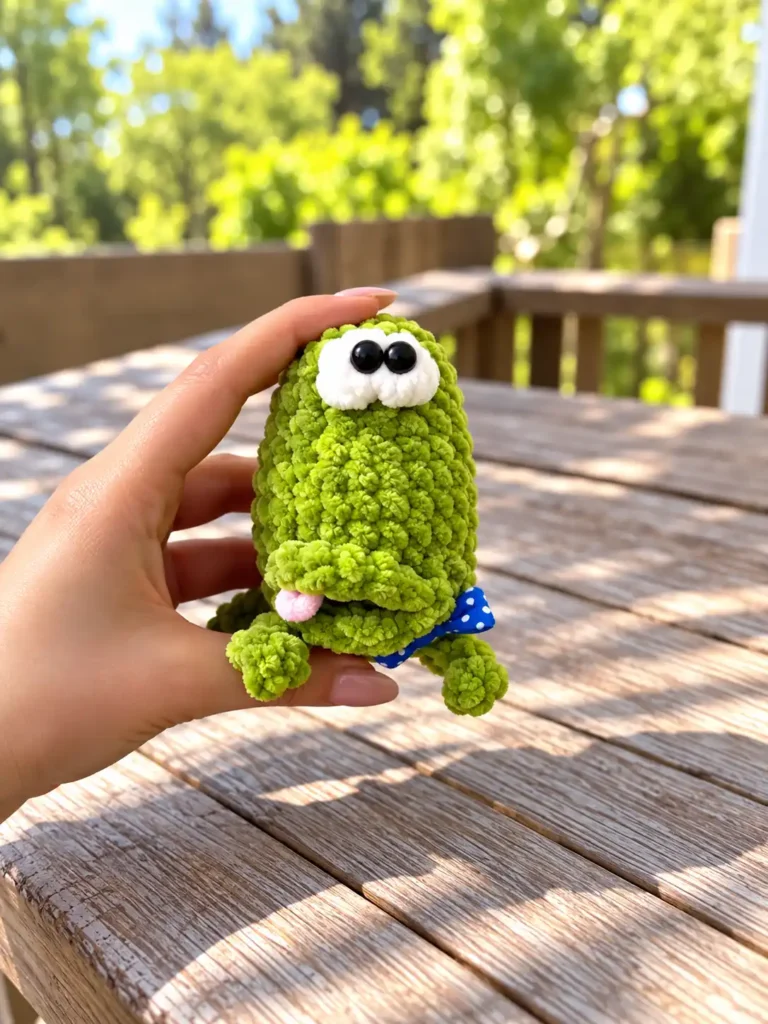
Kvakentsiya is a pocket-size green frog crochet pattern, about 7 cm (2¾ in) when made with the original materials, with white bobble eyes, little three-toed arms and legs, and a mouth that looks wide open when you see it from the side. If you’ve been looking for a tiny frog amigurumi pattern with real character, this one builds it all into a single crocheted body and a few quick finishing touches.
The whole body is one piece, worked in rounds from an oval chain start. The arms and legs aren’t made separately: you chain them out in Rnd 2 as you go, and the eyes appear as white bobbles in Rnd 12. Once the body is closed, the mouth is crocheted onto its surface a couple of rounds above the right arm, and a loop of pink yarn becomes the tongue.
Materials Abbreviations Body Mouth Finishing FAQ
Before your first stitch: Use a stitch marker or a strand of contrasting yarn to mark the beginning and end of each round. On a body this small, it makes the positional rounds (the limbs in Rnd 2 and the eyes in Rnd 12) much easier to place.
Reading the counts: The number in parentheses at the end of a round is the stitch count for that round.
Materials
You can use any materials you like or are used to working with. The original toy was made with the following.
- Green yarn (main color): Yarn21 Vellutin’o B09-043, 20–25 g
- White yarn: Wool Sea Teddy 01, 3 g
- Pink yarn: Wool Sea Teddy 180, one 5 cm (about 2 in) piece
- Hook: No. 3
- Eyes: 5 mm half-bead eyes
- Stuffing
- Plastic needle for closing the opening
- Glue
- Scissors
- Lighter
- Any accessories you like for decoration
The yarn amounts include a small extra allowance. With these materials, the finished toy measures about 7 cm (2¾ in).
Abbreviations (US terms)
This pattern is written in US crochet terms. For a side-by-side look at standard US and UK stitch names, see the Craft Yarn Council’s crochet abbreviations list.
| Abbreviation | Meaning |
|---|---|
| ch | chain |
| sc | single crochet |
| hdc | half double crochet |
| dc | double crochet |
| sl st | slip stitch |
| inc | increase: 2 sc in the same st |
| hdc inc | 2 hdc in the same st |
| dec | decrease: work the next 2 sts together into 1 (sc2tog) |
| bobble | 3–5 unfinished dc worked in the same st, then closed together at the top; this pattern uses 4 dc per bobble |
| rnd(s) | round(s) |
| st(s) | stitch(es) |
Body
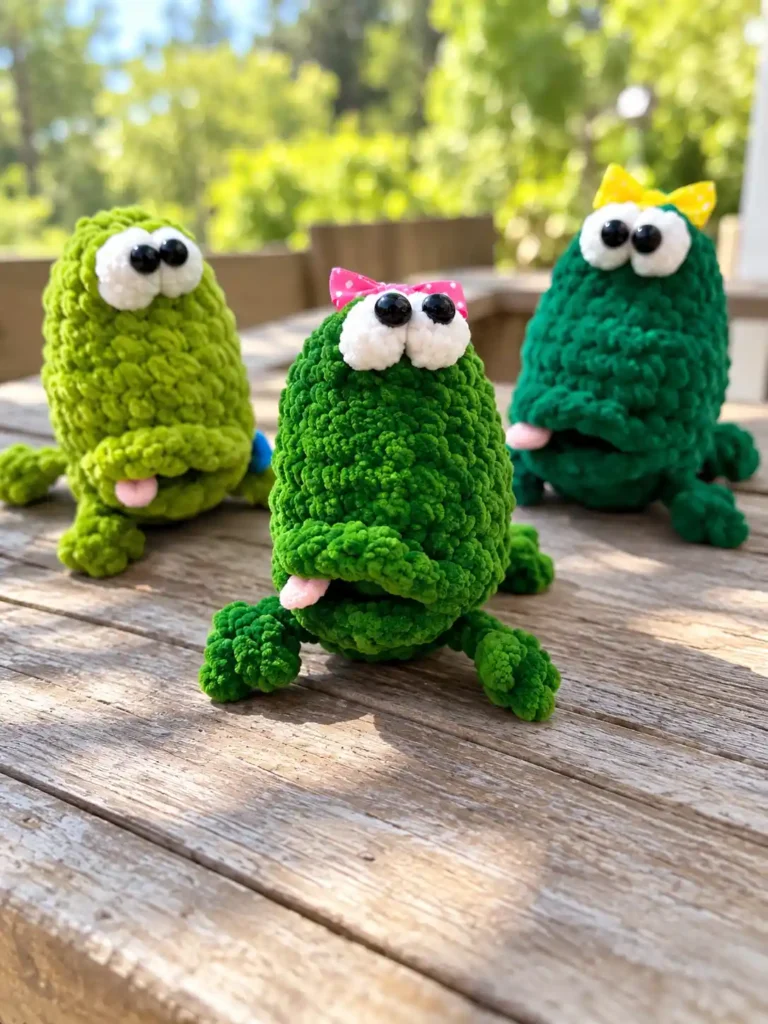
Use the green yarn.
Rnd 1: Ch 5. Starting in the 2nd ch from hook, work: inc, sc in the next 2 ch, 4 sc in the last ch. Then work along the other side of the chain: sc in the next 2 ch, inc in the last ch. (12 sts)
Arms and legs: In Rnd 2, you work the arms and legs from chains as you go. Only the sc and hdc worked into the body count toward the stitch total. The arm and leg stitches do not count. Read the two limb instructions below before you start the round.
Arm: Ch 4. Sl st in the 2nd ch from hook. (Ch 2, sl st in the 2nd ch from hook) 2 times. Sl st in the same ch where you made the first sl st. Sc in the next 2 ch along the chain. Sl st into the base where the chain began.
Leg: Ch 6. Starting in the 2nd ch from hook, sl st in the next 2 ch. (Ch 3, starting in the 2nd ch from hook, sl st in the next 2 ch) 2 times. Sl st in the same ch where you made the first sl st. Sc in the next 3 ch along the chain. Sl st into the base where the chain began.
How the toes form: Each limb ends in three small slip-stitch points. On the arm, each point is a single sl st worked back along a short chain; on the leg, each point is 2 sl sts, so the toes come out a little longer. The sl st after the third point brings the toes together, and the sc stitches carry you back down the rest of the chain to the body.
Rnd 2: Sc in the next 2 sts, make an arm, hdc in the next 4 sts, make an arm, sc in the next 3 sts, make a leg, sc in the next 3 sts, make a leg. (12 sts)
Rnd 3: Sc in the next 2 sts, hdc inc, hdc in the next 2 sts, hdc inc, sc in the next 6 sts. (14 sts)
Rnd 4: Sc in the next 3 sts, hdc inc in each of the next 4 sts, sc in the next 7 sts. (18 sts)
Why the hdc stitches matter: In Rnds 2–4, the hdc stitches stay in the section between the two arms. Because hdc is taller than sc, and Rnds 3 and 4 place their increases there, that part of the body gets a little extra height and width while the rest of the round stays in sc.
Rnd 5: [Sc in the next 2 sts, inc] 6 times. (24 sts)
Rnds 6–8 (3 rnds): Sc in each st around. (24 sts)
Rnd 9: [Sc in the next 2 sts, dec] 6 times. (18 sts)
Rnds 10–11 (2 rnds): Sc in each st around. (18 sts)
Eyes and color change: In the next round you make the eyes with the white yarn. When you change color, close the tops of the stitches with the main color (green).
Rnd 12: Sc in the next 8 sts. Change to white and make a bobble of 4 dc in each of the next 2 sts. Cut the white yarn. Sc in the next 8 sts. (18 sts)
Checking the eye round: Each bobble counts as one stitch, so 8 sc + 2 bobbles + 8 sc brings you back to 18 sts.
Rnd 13: [Sc in the next st, dec] 6 times. (12 sts)
Stuffing: Stuff the body before you close it. The opening is still wide enough to reach into after Rnd 13, so this is a comfortable moment; you can top up the stuffing before you pull the last stitches closed. For general tips, see our guide on how to stuff amigurumi without lumps.
Rnd 14: Dec 6 times. (6 sts)
Closing: Fasten off, leaving a tail. With the plastic needle, pull the opening closed, then cut the yarn. If you’d like a refresher on fastening off and weaving in ends, our tutorial walks through the basics.
Eyelids: With the green yarn, embroider the eyelids: make three stitches above each eye.
Mouth
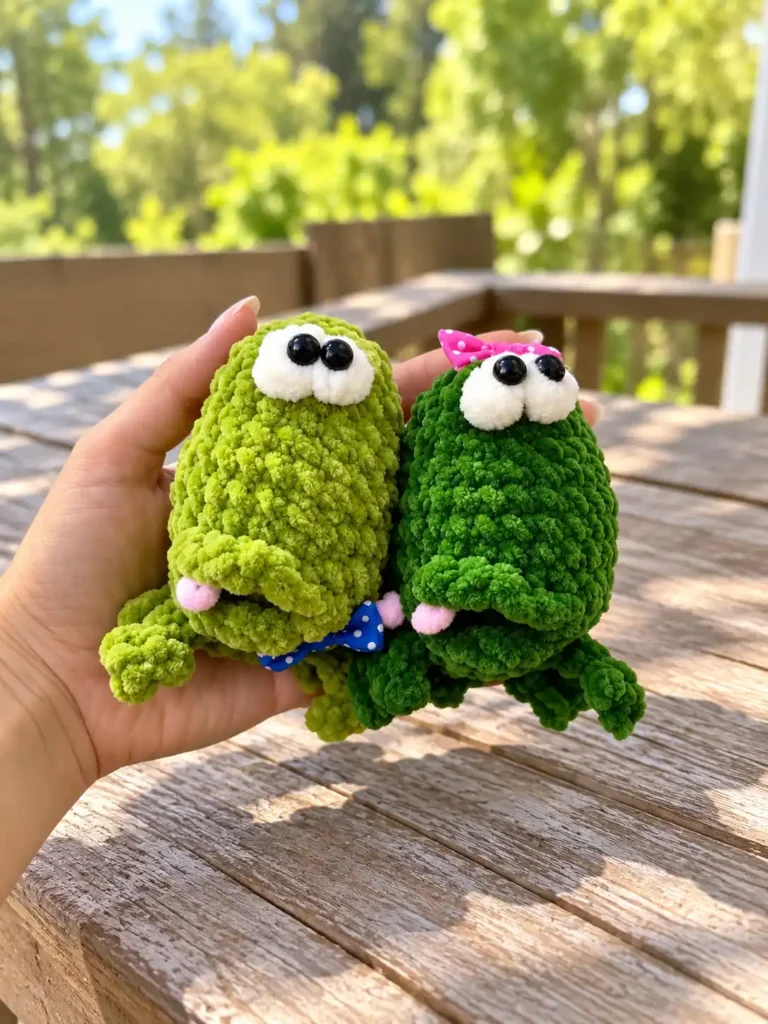
The mouth is crocheted onto the surface of the finished body, low on the front near the arms, in three short steps. You’ll turn the toy between steps, so each move up or down is also described as toward or away from the eyes.
Starting point: From the right arm, move 2 rounds up, to a spot in line with the eye above it, and join the green yarn there.
Mouth, Step 1: Sc in the next 2 sts. Move up one round (toward the eyes) and work: sc in the next st, hdc in the next st, dc in the next 2 sts, hdc in the next st, sl st in the next st.
Mouth, Step 2: Turn the toy upside down so the eyes point down. Move one round up, away from the eyes, and work: hdc in the next st, dc in the next 2 sts. Then move one round down, toward the eyes, and hdc in the next st.
Mouth, Step 3: Turn the toy onto its side so the eyes are on the left. Work 1 sc on the diagonal, then sl st under the upper lip.
Fasten off, secure the yarn and trim it.
Finishing
Check the profile: The mouth should look open when seen from the side.
- With the pink yarn, make a small loop in the mouth for the tongue.
- Glue the half-bead eyes onto the white bobbles.
- If you like, finish the toy with a bow.
More frogs to crochet
Questions about Kvakentsiya
Do the arm and leg chains count toward the stitch total in Rnd 2?
No. Only the sc and hdc worked into the body count, which gives 12 sts for Rnd 2. The chains, slip stitches and sc that make up each arm and leg are not part of that total.
How are the frog’s eyes made?
The eye bases are two white bobbles of 4 dc each, worked side by side in Rnd 12 between two sections of 8 sc. After the body is closed, you embroider three stitches above each eye with the green yarn for eyelids, and the 5 mm half-bead eyes are glued onto the bobbles during finishing.
When should I stuff the frog?
Before you close the top. The opening is still roomy after Rnd 13, so that is an easy point to stuff, and you can add a little more before pulling the last 6 sts closed after Rnd 14.
Where does the mouth go, and what makes it look open?
The mouth is crocheted onto the closed body, starting 2 rounds above the right arm in line with the eye. Short runs of sc, hdc and dc build up the lips, and the last step ends with a sl st under the upper lip. A small loop of pink yarn adds the tongue, and the mouth should look open when you view the toy from the side.
Can I use a different yarn or hook?
Yes. The pattern says you can use any materials you like or are used to working with. The 7 cm size is given for the original yarns and No. 3 hook, so expect the finished size to change if your materials differ.