Bunny in a Sweater Crochet Pattern: A Seamless Amigurumi Bunny
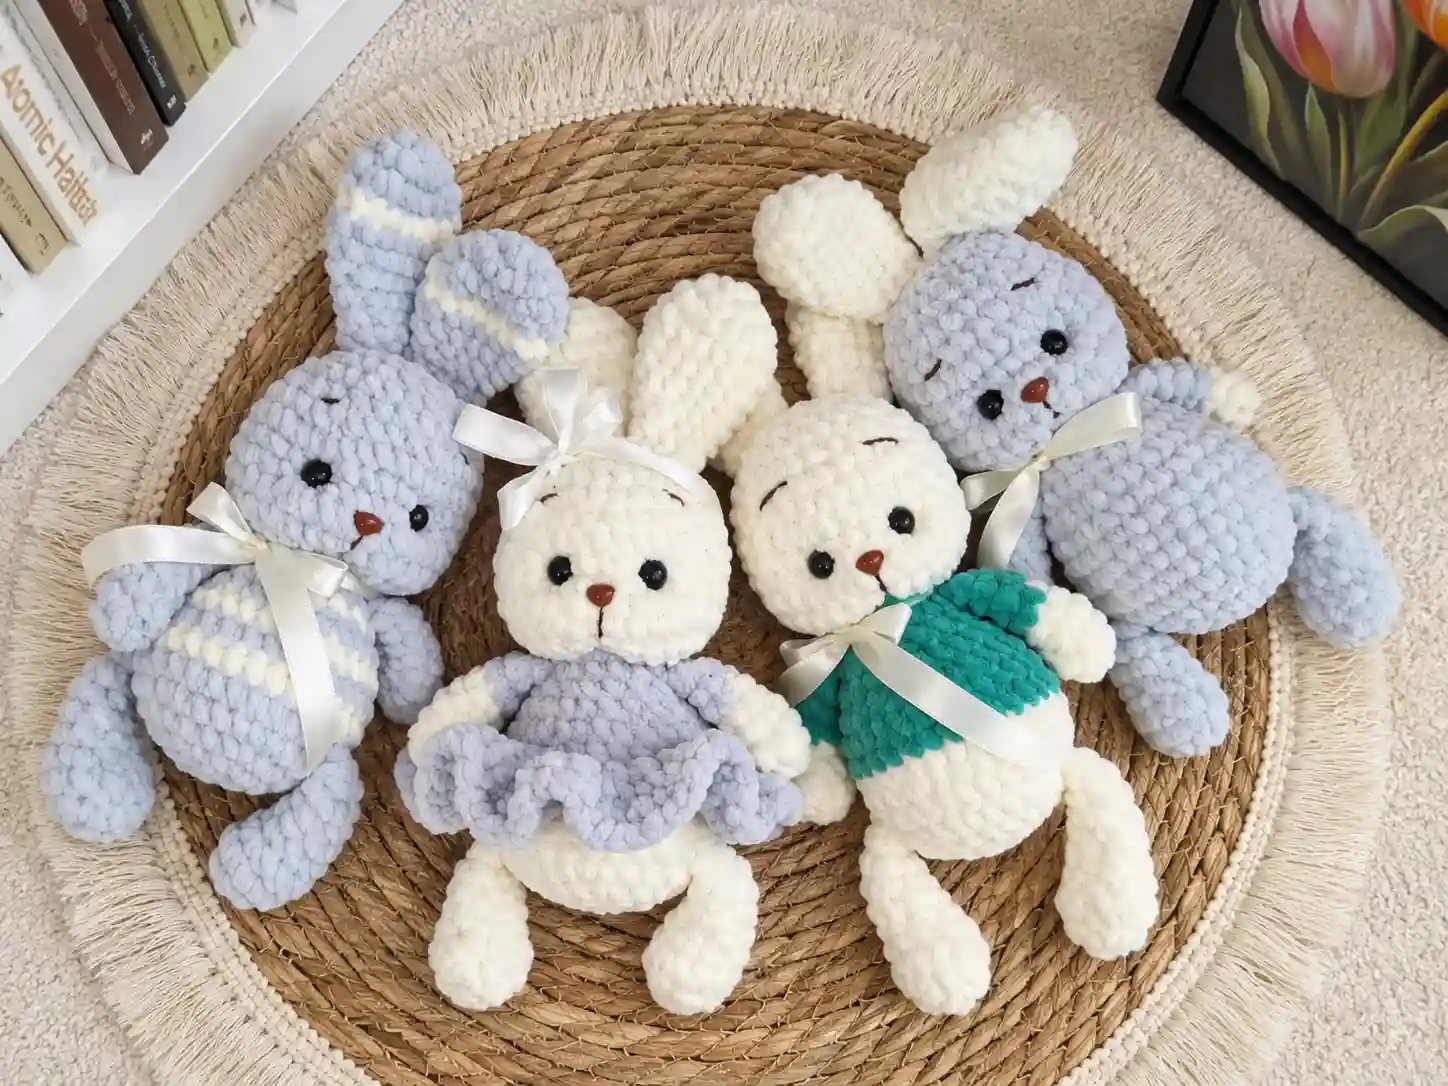
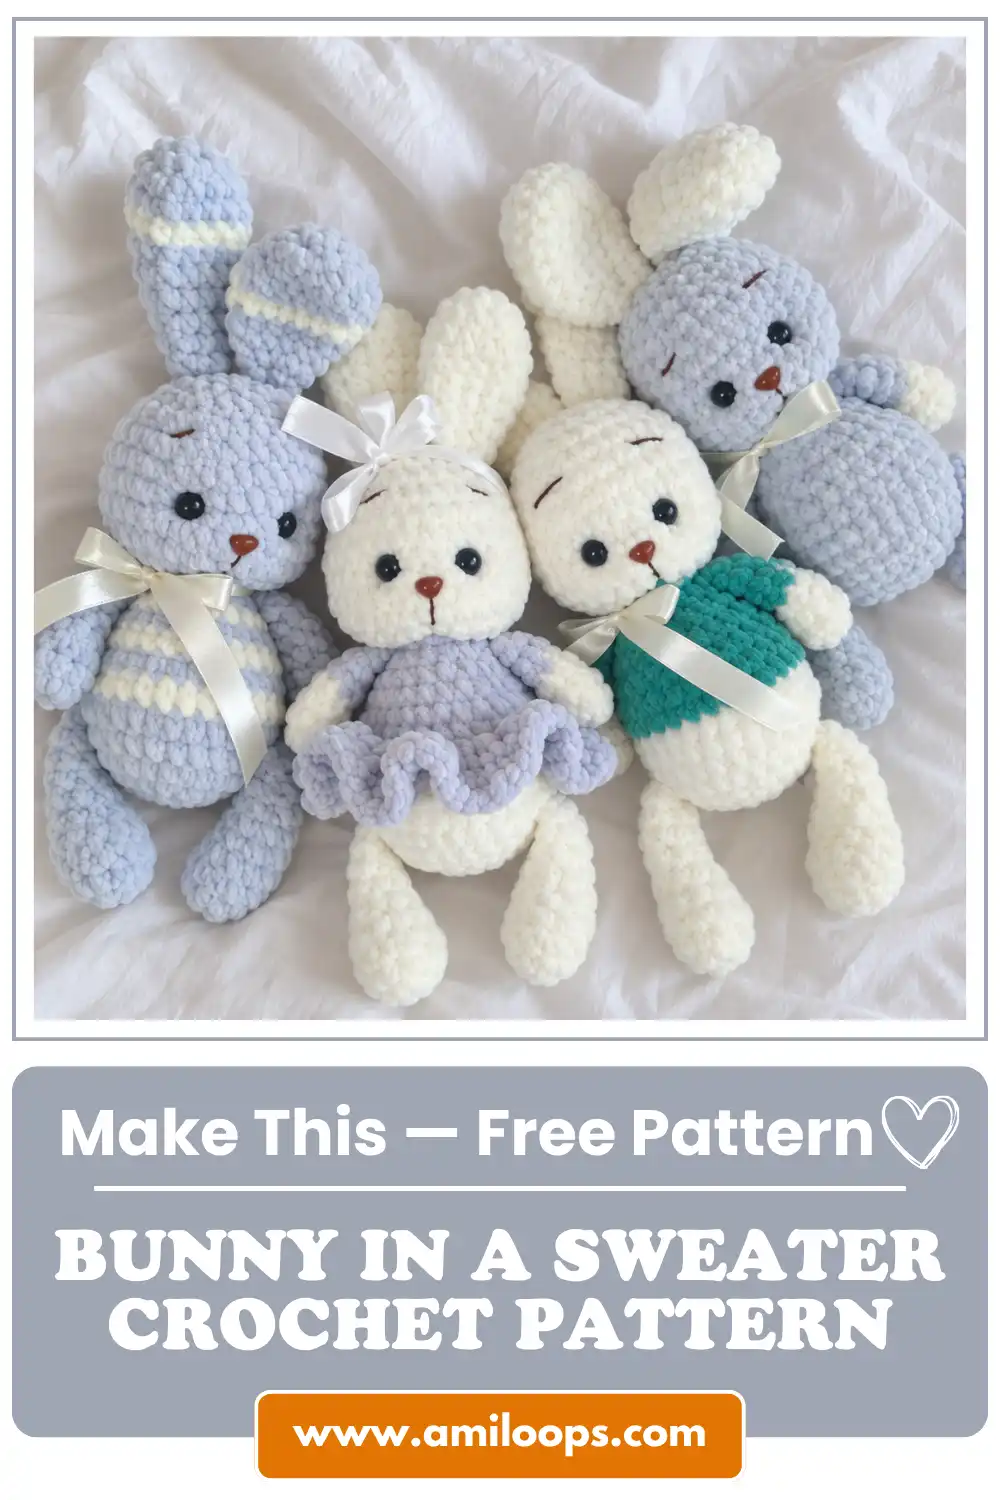
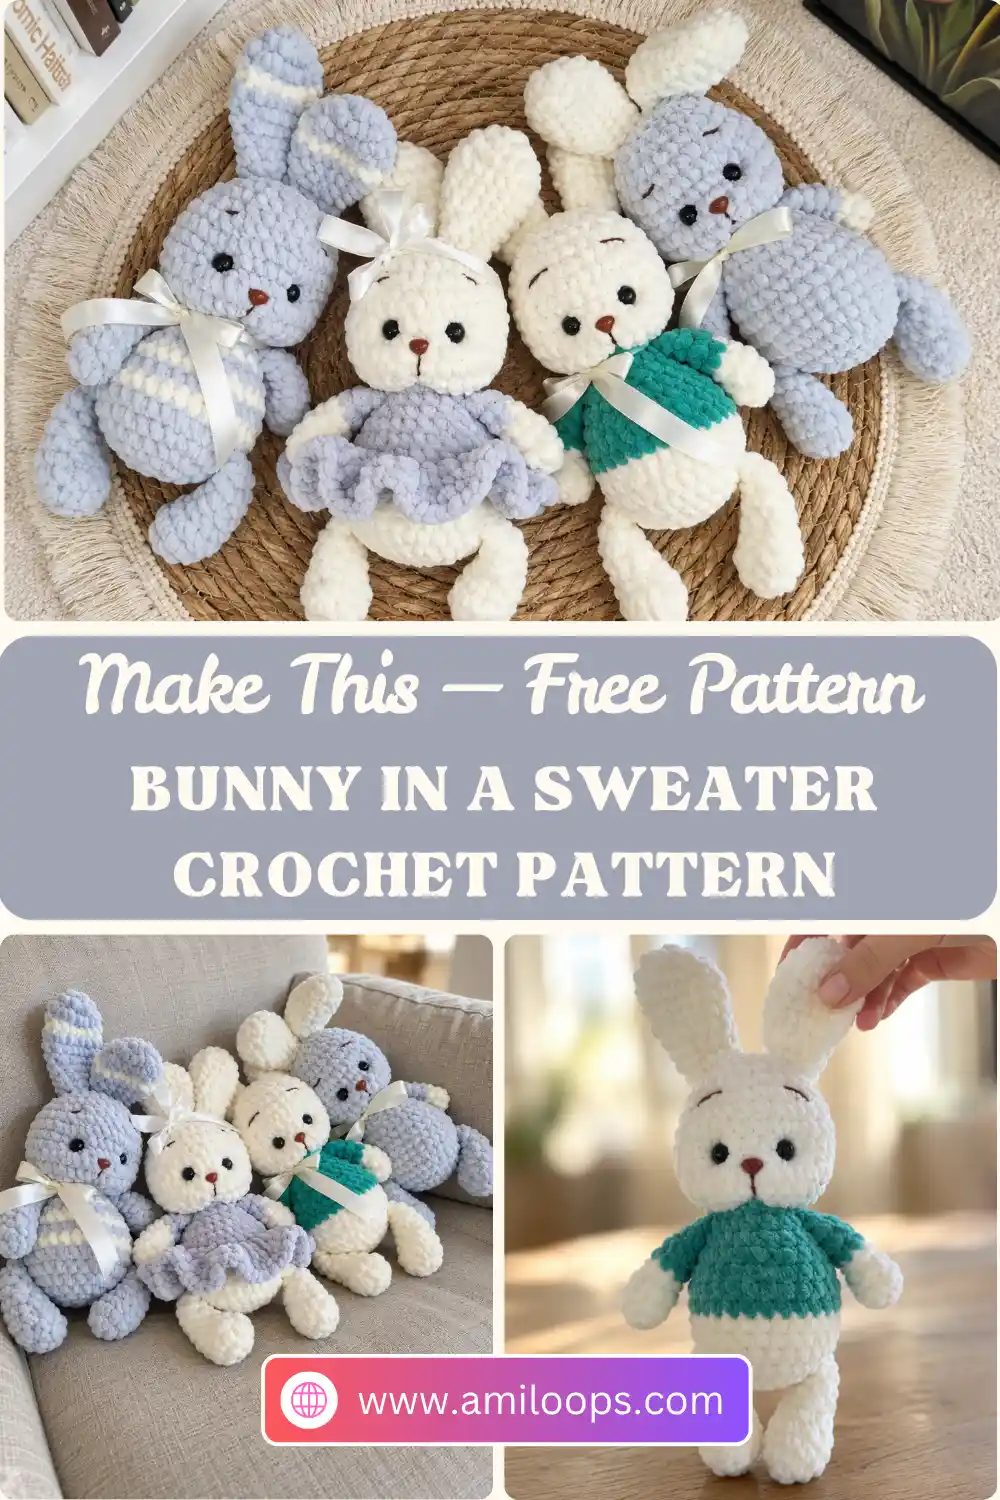
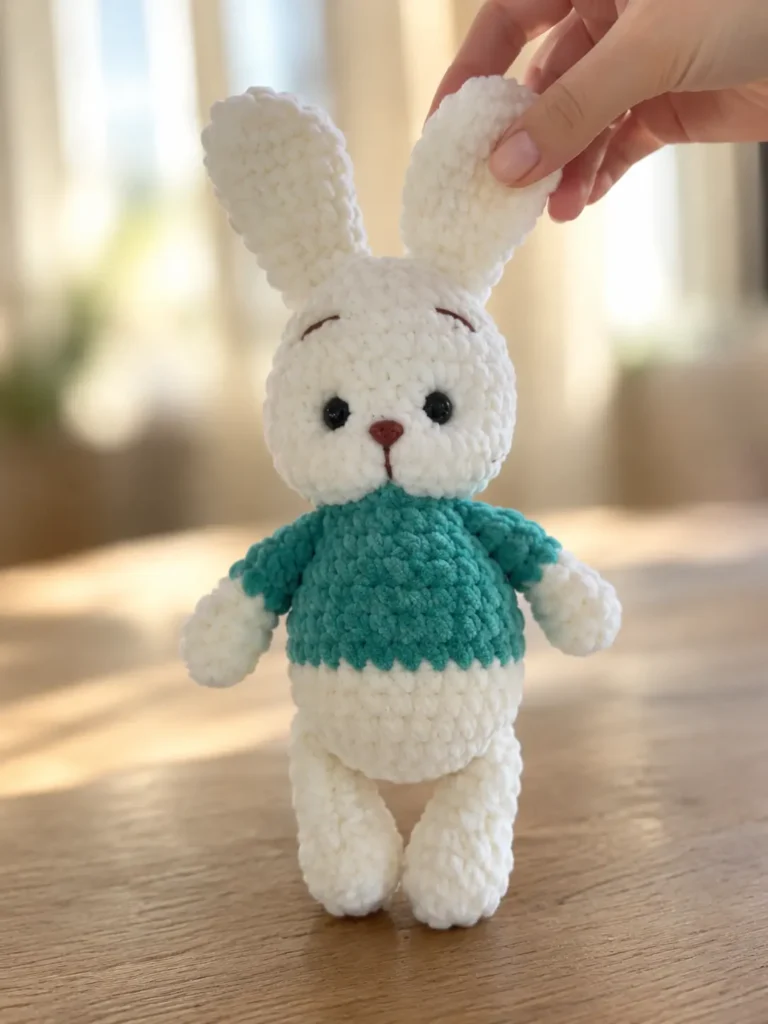
Some amigurumi projects earn their charm through accessories, but this bunny in a sweater crochet pattern builds the outfit straight into the fabric. A single color change partway up the torso creates an integrated sweater block, so the little pullover is worked in one piece with the body rather than sewn on afterward. The finished bunny measures 17 cm without ears, so the proportions stay compact from the feet to the crown.
That proportion matters more than it sounds. The torso is short, the head is proportionally large, and the sweater block has to land in exactly the right band of rounds to read as clothing rather than as a stripe. The color change happens once on the way up and reverses once at the neck, so the garment is defined by round numbers instead of seams. Everything below it is legs and feet, everything above is bunny, and the pullover sits in between without a single stitch of sewing.
About This Bunny in a Sweater Crochet Pattern
The appeal of this design is how little finishing it demands. Because the sweater is a color change rather than a separate garment, there is no waistband to line up, no armhole to ease, and no risk of the outfit sliding off a stuffed body. You choose two colors, work the main shade for the lower body, switch at the round the pattern specifies, and switch back once the neck narrows. The clothing is structural, which also means it cannot be removed or swapped later.
Scale reinforces that simplicity. A bunny of 17 cm without ears is built from only four pattern pieces, two of which are made twice, so the assembly stage stays short and predictable. There is no separate tail piece to position, no clothing to construct, and no jointing hardware to hide. What you are really managing across the project is a sequence of stitch counts that grow, hold steady, narrow sharply at the neck, and then grow again into the head before closing at the crown.
Materials and Tools for Your Sweater Bunny
Yarn choice shapes this project more than hook choice does. A velvet or chenille style yarn is recommended here, with YarnArt Dolce as a noted example, and the plush pile is what gives the sweater block its soft edge where the two colors meet. For the face, half-beads or safety eyes in an 8 mm size suit the head’s proportions. The nose can be a plastic safety nose or embroidered with yarn, so decide early which route you prefer, because one is glued at the end and the other is stitched.
- Suitable bulky/chenille yarn in two colors (e.g., YarnArt DOLCE: Main body color and sweater color)
- Crochet hook appropriate for yarn (e.g., 4.0 mm)
- Safety eyes or half-beads (e.g., 8 mm)
- Embroidery thread/yarn for the nose and muzzle (or a plastic safety nose)
- Fiberfill stuffing
- Glue (if using half-beads)
- Tapestry needle
- Scissors
Crochet Abbreviations Used in This Pattern
Every instruction below uses standard US crochet abbreviations, and one of them deserves a closer look before you begin: the bobble. In this pattern a bobble is a five double crochet cluster worked into a single stitch with a shared vertex, and it does one job only, forming the bunny’s tail in a single round. If you have met bobbles in blankets before, the technique is identical, but the context is different, because here the cluster becomes a body feature rather than surface texture across a flat panel.
- ch — chain
- sc — single crochet
- inc — increase (2 single crochet in one stitch)
- dec — decrease (single crochet 2 together)
- dc — double crochet
- sl st — slip stitch
- bobble — 5 double crochet cluster (5 dc worked into one stitch with a shared vertex)
Construction Overview: How the Bunny Comes Together
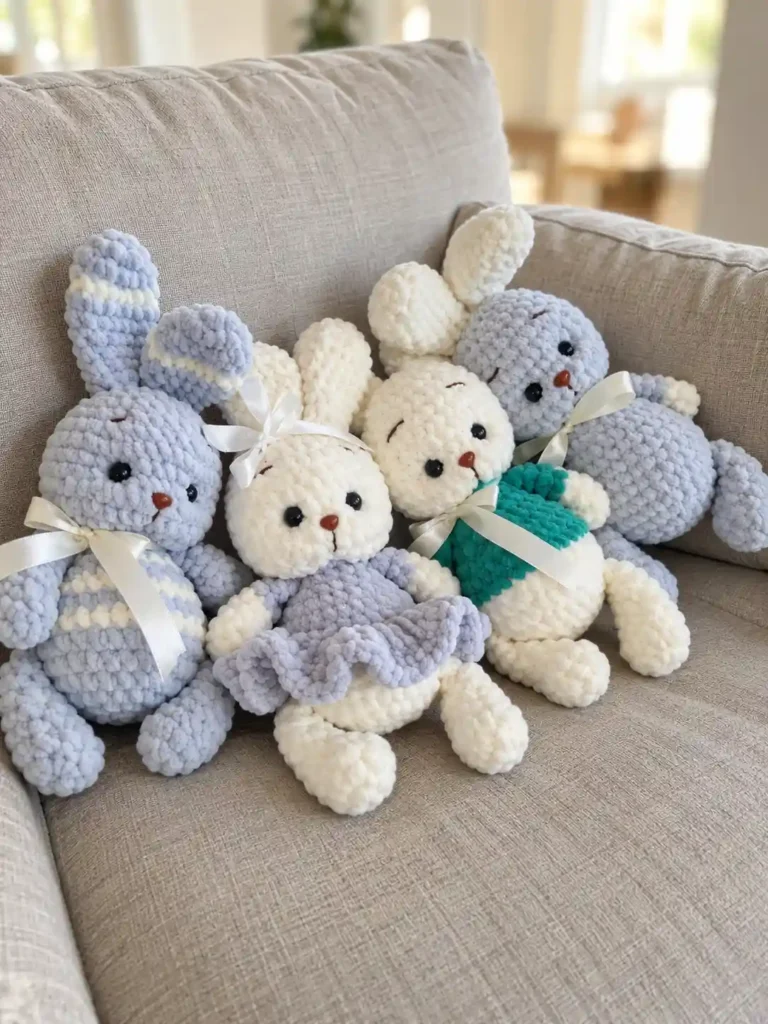
The body and head are crocheted seamlessly from the bottom up, and that single decision drives everything else. You never sew a head onto a neck; instead the stitch count narrows to form the neck and then opens again into the skull, so the join is a shaping event rather than a seam. Because changing colors in amigurumi is cleanest at a round boundary, the sweater begins exactly where one round ends and the next begins, and the shoulders keep their shape as the head grows above them.
Three features behave differently from the usual sew-on approach. The two lower legs are crocheted directly into Round 6 of the body, worked through both the leg fabric and the body fabric so the bunny stands on finished feet from the start. The tail is formed on Round 7 using a single bobble stitch, which makes it part of the fabric rather than a pom added later. Only the upper arms are made separately; they are completed on their own and sewn onto the body after the head is finished.
Before You Start Crocheting
Order of operations matters here in a way it does not in patterns made entirely from separate pieces. Both lower legs must be crocheted and closed before you start the body, because they are integrated into the body rounds rather than attached afterward. Make them first, set them aside as a matched pair, and note which round each one ended on. If you begin the body without them ready, you will arrive at Round 6 with nothing to crochet into and no graceful way to continue.
The starting method is equally deliberate. Every piece opens with a chain of two and stitches worked into the second chain from the hook rather than a magic ring, a choice that protects chenille yarn from the breakage that hard cinching can cause. Chenille has a thin core wrapped in dense pile, and pulling a ring tight is precisely the motion that snaps that core. The chain start leaves a small opening instead, and that opening closes neatly once the piece is stuffed and shaped.
Stuffing plan: Keep the upper halves of the arms and legs light. Over-stuffing there makes the limbs stand away from the torso instead of resting flat against the body, and no amount of careful sewing will correct it afterward.
Sweater Bunny Amigurumi Pattern
Work the pieces in the order given below. The head expands from the neck to a maximum width of 36 stitches while the ears stop at 18 stitches, so the counts themselves tell you when a section has peaked and when shaping should begin.
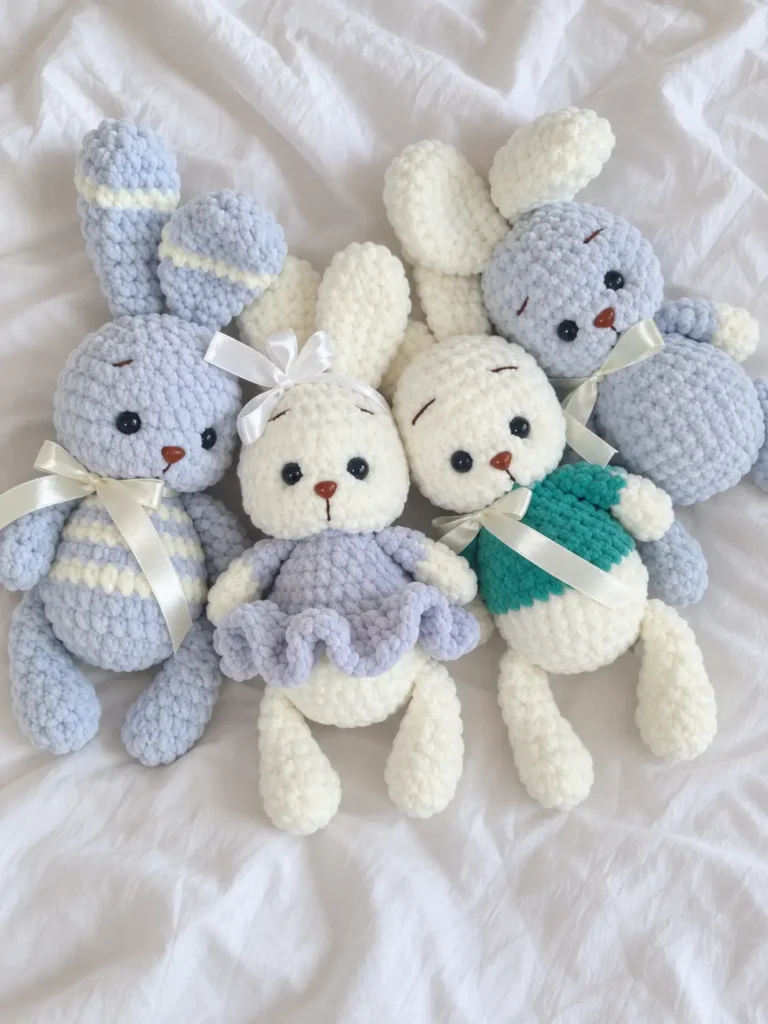
Lower Legs
Foot shaping: Round 4 is where the foot appears: the count drops from 12 stitches to 8, which draws the toe end in and leaves a straight ankle above it.
Round 1: Ch 2, work 6 sc in the 2nd ch from the hook. (6 sts)
Round 2: 6 inc. (12 sts)
Round 3: 12 sc. (12 sts)
Round 4: 4 dec, 4 sc. (8 sts)
Rounds 5-9: 8 sc. (5 rounds) (8 sts)
Body and Head
Count checkpoints: Round 15 brings the neck to its narrowest point at 12 stitches, and the head grows from there to a maximum width of 36 stitches.
Round 1: Ch 2, work 6 sc in the 2nd ch from the hook. (6 sts)
Round 2: 6 inc. (12 sts)
Round 3: (1 sc, inc) x 6. (18 sts)
Round 4: (2 sc, inc) x 6. (24 sts)
Round 5: (3 sc, inc) x 6. (The legs will be attached in the next round). (30 sts)
Round 6: 3 sc crocheting through both the first leg and body, 12 sc, 3 sc crocheting through the second leg and body, 12 sc. (30 sts)
Round 7: 30 sc total. At the location for the tail (typically center back), work a 5-dc bobble in one stitch. Finish the round with sc. (Note: If making the tail separately, simply crochet 30 sc). (30 sts)
Round 8: 30 sc. If making a sweater, change to the sweater color yarn here. (30 sts)
Rounds 9-11: 30 sc. (3 rounds). (30 sts)
Round 12: (3 sc, dec) x 6. (24 sts)
Round 13: (2 sc, dec) x 6. (18 sts)
Round 14: 18 sc. (18 sts)
Round 15: (1 sc, dec) x 6. Change yarn back to the main bunny color. The head begins in the next round. (12 sts)
Round 16: 12 inc. (24 sts)
Round 17: (3 sc, inc) x 6. (30 sts)
Round 18: (4 sc, inc) x 6. (36 sts)
Rounds 19-22: 36 sc. (4 rounds). (36 sts)
Round 23: (4 sc, dec) x 6. (30 sts)
Round 24: (3 sc, dec) x 6. (24 sts)
Round 25: 24 sc. (24 sts)
Round 26: (2 sc, dec) x 6. (18 sts)
Round 27: (1 sc, dec) x 6. (12 sts)
Round 28: 6 dec. (6 sts)
Upper Arms
Sleeve color: Round 5 carries the color change that matches the arms to the sweater, so the sleeves and the body block end up in the same shade.
Round 1: Ch 2, work 5 sc in the 2nd ch from the hook. (5 sts)
Round 2: 5 inc. (10 sts)
Round 3: 10 sc. (10 sts)
Round 4: 2 dec, 6 sc. (8 sts)
Round 5: 8 sc. Change to the sweater color yarn. (8 sts)
Rounds 6-8: 8 sc. (3 rounds). (8 sts)
Ears
Ear shaping: The ears reach 18 stitches at their widest and are left completely unstuffed, which lets them fold naturally once they are sewn in place.
Round 1: Ch 2, work 6 sc in the 2nd ch from the hook. (6 sts)
Round 2: 6 inc. (12 sts)
Round 3: (1 sc, inc) x 6. (18 sts)
Rounds 4-5: 18 sc. (2 rounds). (18 sts)
Round 6: 1 dec, 7 sc, 1 dec, 7 sc. (16 sts)
Round 7: 1 dec, 6 sc, 1 dec, 6 sc. (14 sts)
Round 8: 1 dec, 5 sc, 1 dec, 5 sc. (12 sts)
Round 9: 1 dec, 4 sc, 1 dec, 4 sc. (10 sts)
Round 10: 10 sc. (10 sts)
Assembly and Finishing Touches
Assembly begins with the arms. Their tops are worked flat rather than closed into a ball, and that flat edge is what you sew to the body near the neck transition, around Round 14. Line both arms against the same round before taking a single stitch, because one round of difference reads clearly on a body this size. Tacking each piece in place before sewing amigurumi parts together lets you check the bunny from the front and adjust while the stitches are still easy to remove.
The ears are sewn securely to the top of the closed head, and their placement is the last real shaping decision you make. Set them wide and the bunny looks alert; set them closer together and it reads younger. Whatever you choose, stitch all the way around each ear base rather than tacking the front edge only, because an ear anchored at a single point will pivot. Attaching safety eyes securely matters more than working quickly, since glued half-beads cannot be repositioned once they have set.
- Sew the upper arms to the sides of the body near the neck transition.
- Sew the ears to the top of the head.
- Optional: Create simple facial sculpting/indentations (mouth to eye, eye to mouth).
- Glue on the eyes and a plastic nose (if using).
- If not using a plastic nose, embroider the nose and add small eyebrows.
Pattern Notes and Troubleshooting
When the Bobble Tail Sinks Inward
A five double crochet cluster can settle on either face of the fabric, and on a firmly worked round it often tries to sit inside. If the tail does not pop out correctly, push the cluster outward to the right side of the fabric with your thumb while the round is still loose enough to move. Do it immediately, before you work the next round above it. Once the fabric has closed over the cluster and the body is stuffed, the tail stays as a dent instead of a bump.
Firming Up a Floppy Neck
The neck is the narrowest point in the whole piece and also the easiest to under-fill. If the head tips forward or wobbles on the shoulders, the answer is firm stuffing at Round 15, added before the head cavity gets too large to reach past. Feed small pieces of fiberfill down into that narrow channel with the blunt end of a hook or a chopstick, and keep going until the column resists gentle pressure. After the head widens to its full count, the channel is nearly impossible to reach again.
Timing Your Checks While the Piece Is Still Open
Both issues above share one cause, which is inspecting the work too late. The bobble can only be pushed to the right side of the fabric while Round 7 is still the working edge, and the neck can only be packed while Round 15 is still within reach of your fingers. Build two deliberate pauses into the project at exactly those rounds, look at the piece from the outside, and correct what you see before continuing. Everything past those points becomes considerably harder to undo.
Finishing Checklist Before You Call It Done
Give the adhesive time before the bunny goes anywhere. Glued elements such as half-bead eyes need to be fully dry before handling, and a bond that feels set on the surface can still shift underneath if you squeeze the head to test it. Leave the piece face up and untouched for as long as the adhesive instructions specify, then check each element with a light fingertip rather than a pinch.
The other detail worth a second look is balance at the hips. Round 6 leaves 12 stitches between the legs at the front and 12 at the back, and both spans should be centered on the body rather than drifting to one side. Look at the bunny from directly below with the legs hanging free, and compare each leg against the center line of the torso. If one sits farther from center than the other, that offset came from Round 6 and is easiest to notice now.
- Verify the top of the head is securely closed with no stuffing showing.
- Ensure the arms are firmly attached to both sides.
- Check that the ears are securely sewn and positioned symmetrically.
- Confirm all glued elements (eyes, nose) are fully dry and secure.
- Hide all loose yarn ends inside the body cavity.