Crochet Hamster With Donut: Free Amigurumi Pattern
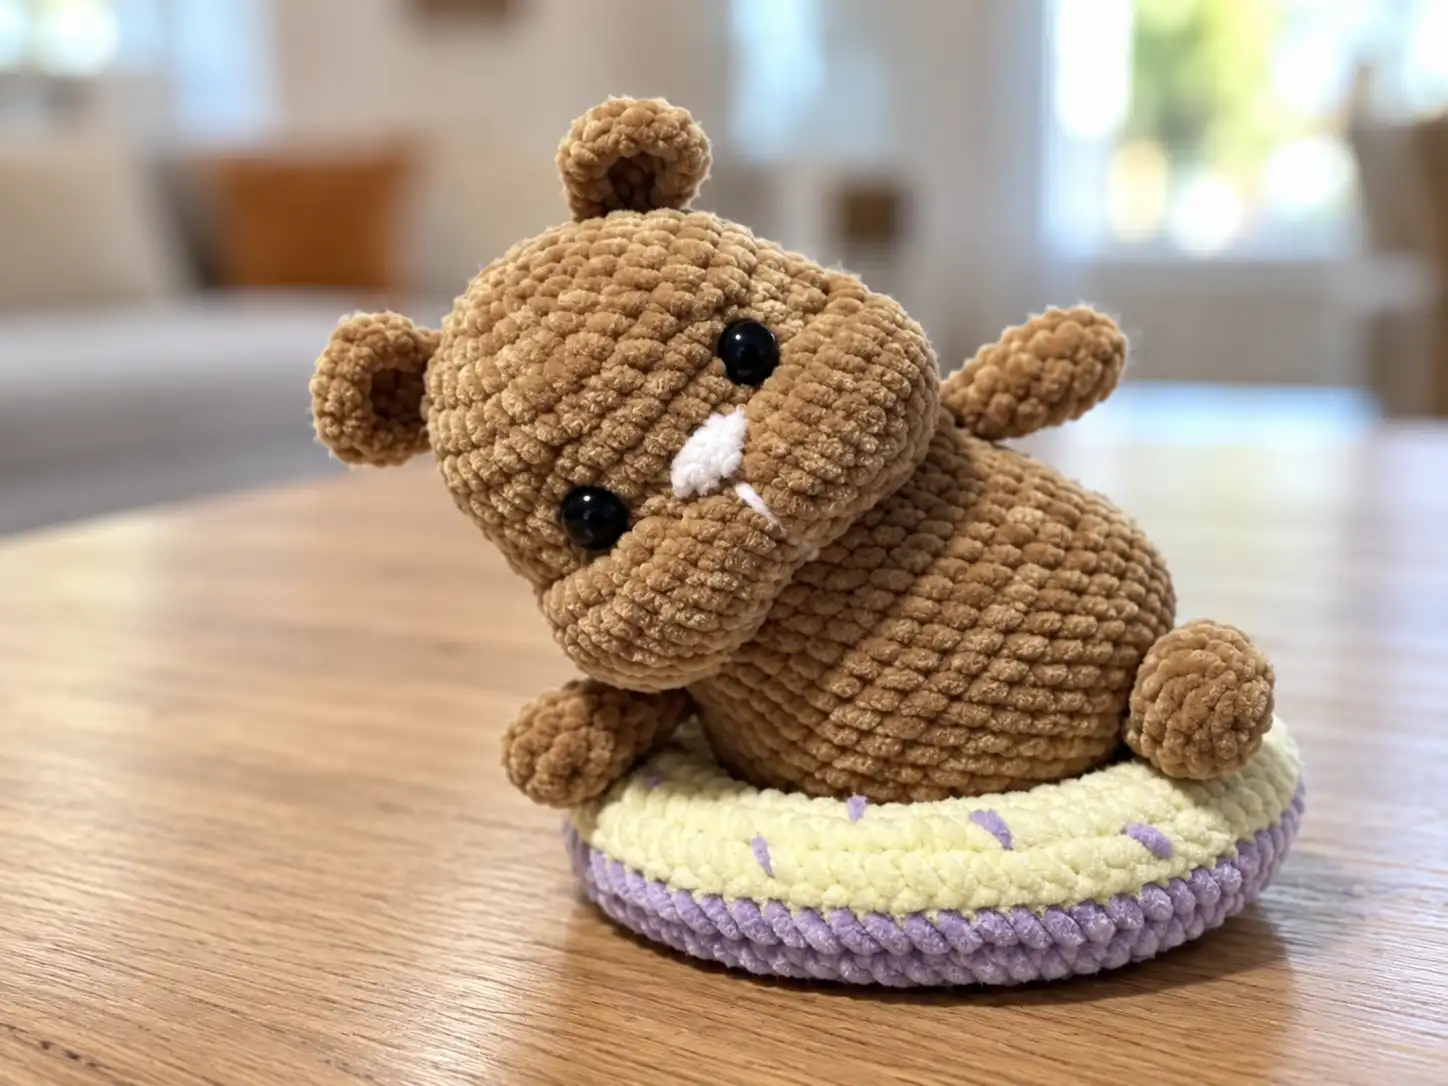
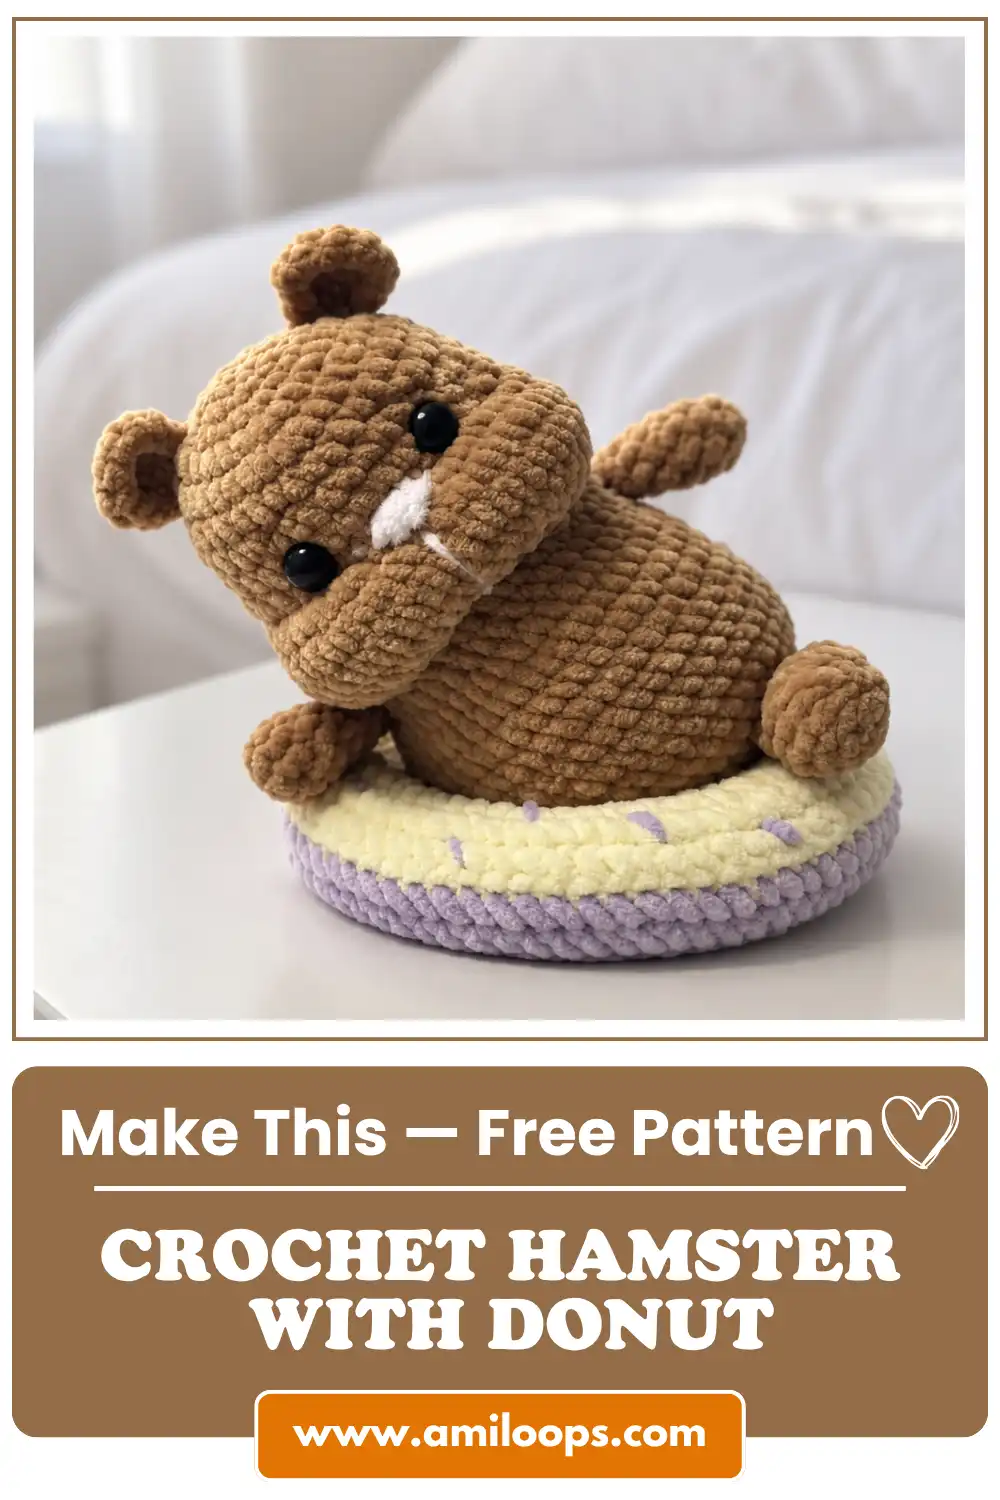
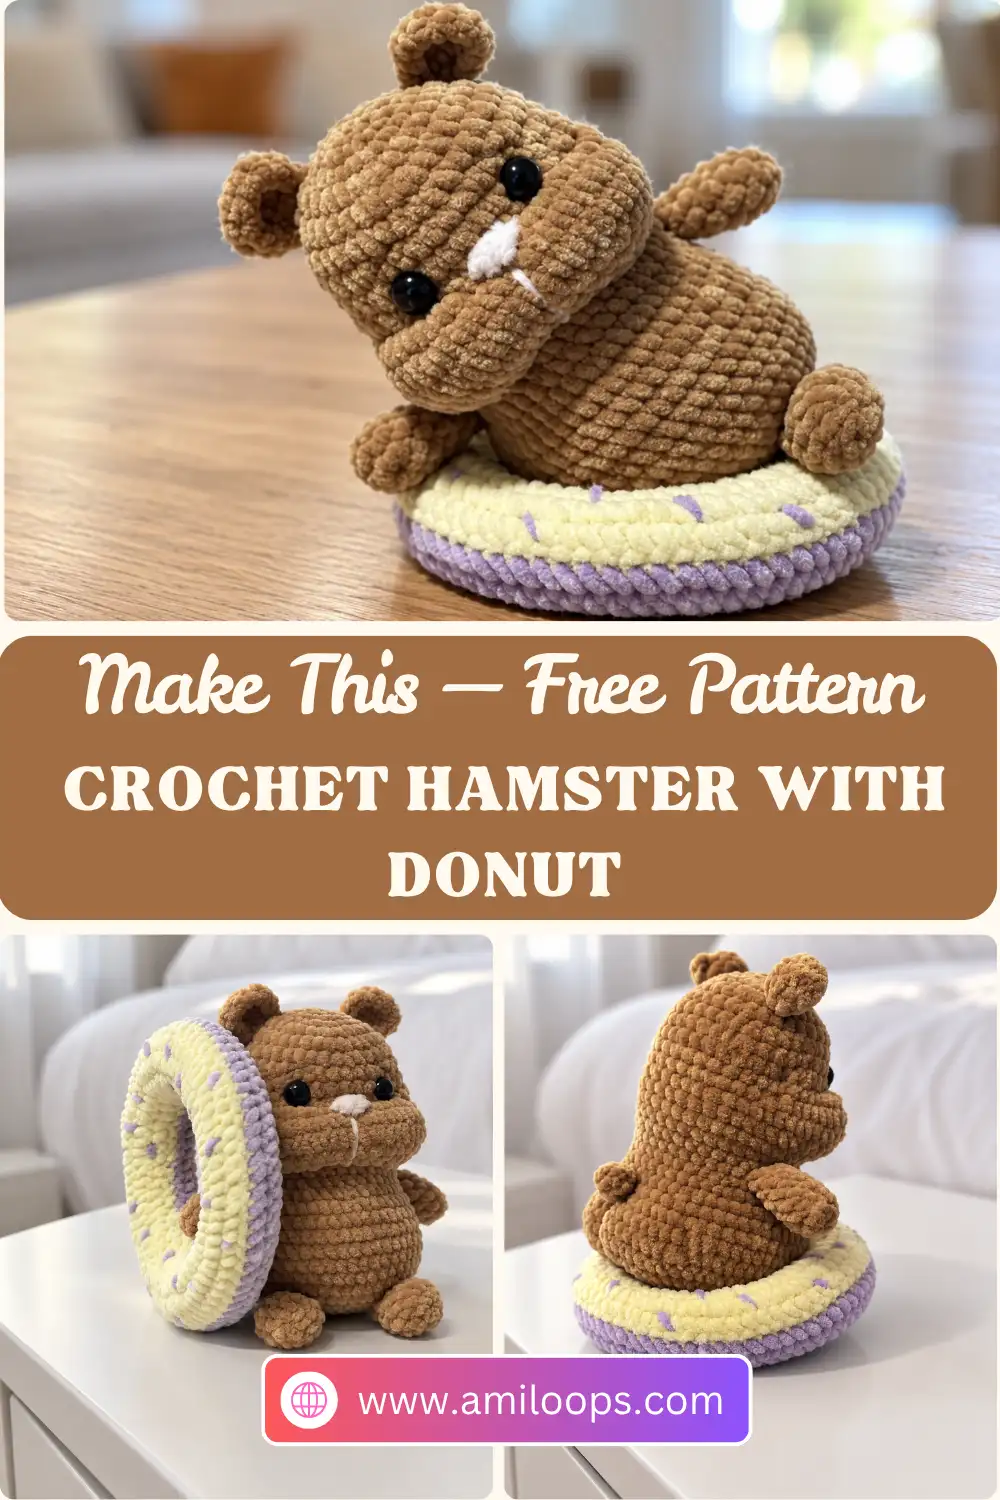
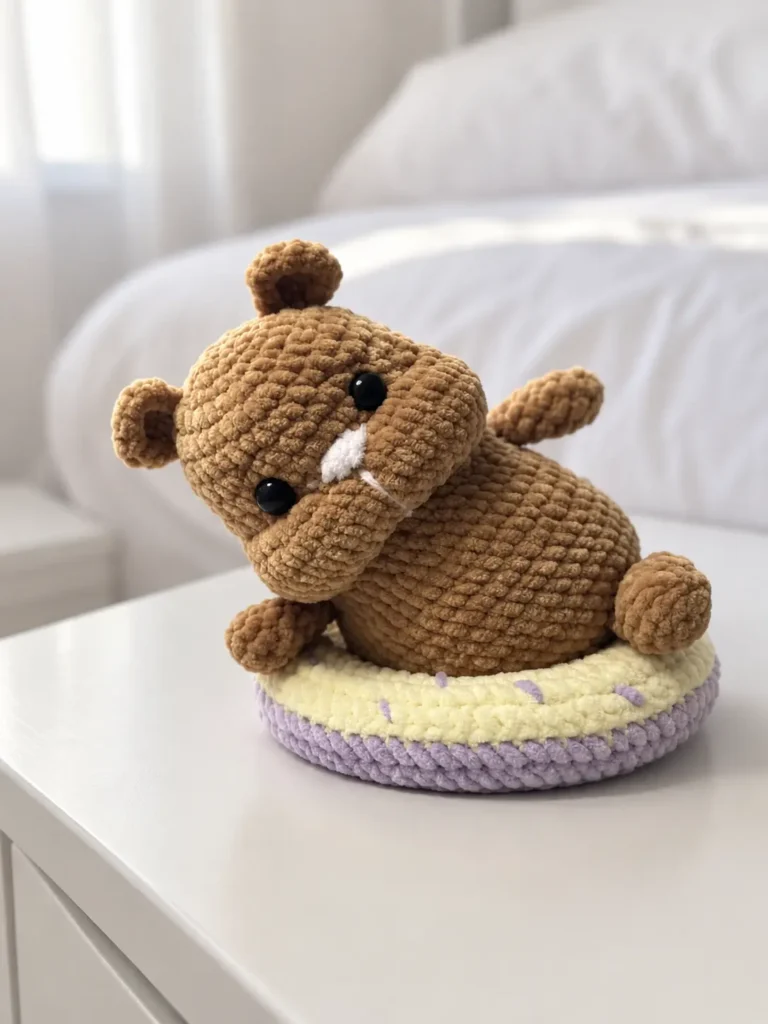
Some amigurumi projects are built around a pose, and this crochet hamster with donut is one of them: a round-cheeked rodent with both arms wrapped around a pastry nearly as wide as its middle. The hamster is worked in chenille or plush yarn, so the finished surface is velvety rather than stitch-defined, and the shaping reads as soft curves instead of sharp corners. Standing approximately 20 cm tall, it has the kind of presence that makes it a shelf piece rather than a pocket toy.
This write-up keeps the pattern intact and adds the context around it: what the materials do, how the counts build the silhouette, where each piece attaches, and what to watch for while you work. The plush yarn hides small irregularities, which is generous, but it also hides your stitch tops, so counting carefully matters more than usual. And because the finished hamster stands approximately 20 cm tall, every round you add is doing visible work on a fairly large surface. The donut it holds is sized to match that scale.
About This Hamster and Donut Crochet Pattern
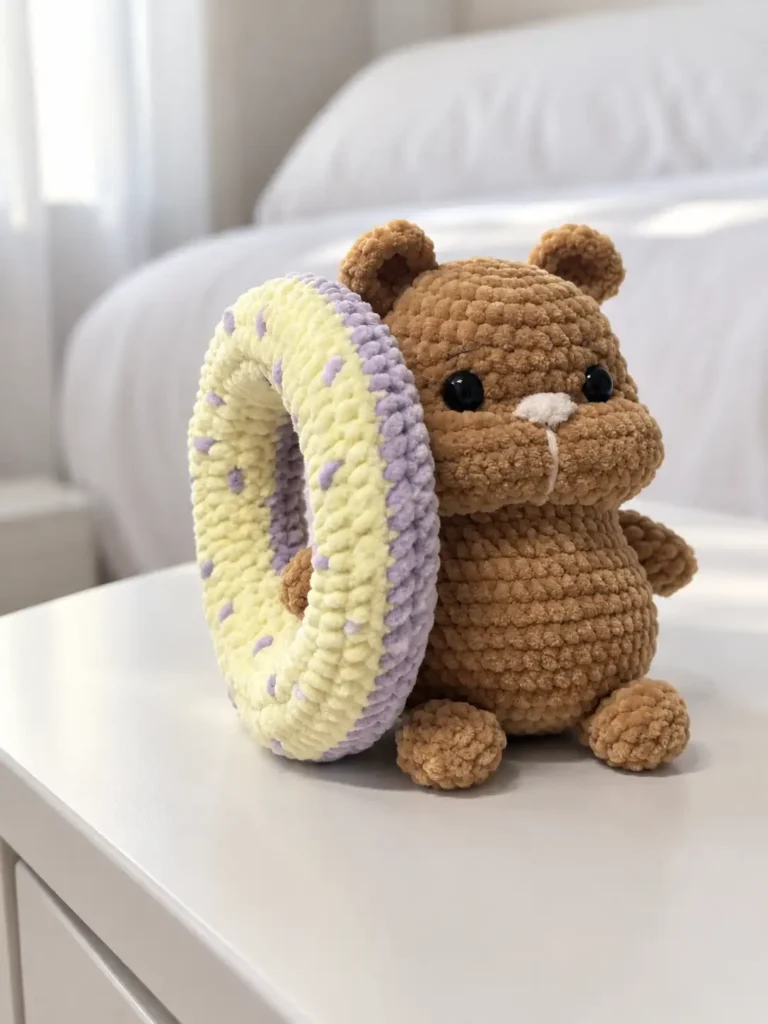
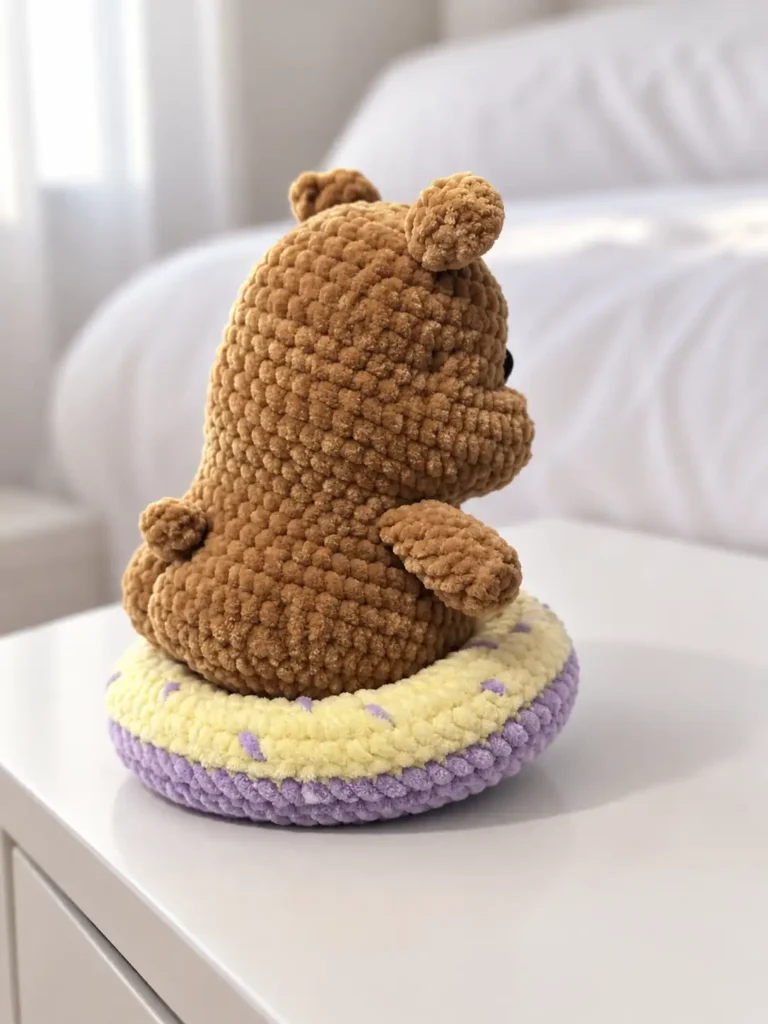
The head and body are worked continuously as one piece, which is the structural decision that shapes everything else. There is no neck seam to sew, no head to balance on a body, and no chance of the face drifting off-center after assembly. Instead, the circumference widens for the cheeks, pulls in sharply for the neck, and opens out again for the torso, all in one spiral. That single piece carries twenty-three rounds of shaping on its own, and the cheeks in particular are built from clustered increases rather than gentle, evenly spaced ones.
The donut is a separate prop with its own logic. Rather than starting from a closed center, it begins as a chained ring that is joined into a circle, then grows outward, holds its width, and decreases back down to the same count it started with. That symmetry is what lets the finished band fold into a ring instead of a flat disc. The pattern also asks for two hook sizes, one for the hamster and a larger one for the donut, so the two fabrics end up with different densities even though the yarn line is the same.
Two hook sizes and one continuous body piece also change how you plan your session. The hamster fabric wants to stay dense enough that stuffing never shows through the pile, while the donut is worked on the larger hook so the band stays flexible enough to fold and seam. Switching between them is easier if both hooks are within reach from the start, because the long head-body spiral and the shorter donut band are worked as separate efforts rather than interleaved with each other.
Materials and Tools
The materials list is short but specific. A 3 mm hook is used for the hamster, which keeps the plush fabric dense, and a 4 mm hook is used for the donut, which lets that band stay supple enough to fold and sew. Two 12 mm safety eyes give the face its scale, and they go in while the head is still open. Pink and brown yarn handle the embroidered nose and eyebrows, while fiberfill and a sewing needle cover the stuffing and the seams.
- Himalaya Dolphin Baby (or equivalent super bulky chenille/plush yarn) in main hamster color (approx. half a skein)
- Himalaya Dolphin Baby in two colors for the donut
- Pink yarn for the nose
- Brown yarn for eyebrows
- 3 mm crochet hook
- 4 mm crochet hook
- 12 mm safety eyes (2 pieces)
- Fiberfill stuffing
- Sewing needle
Crochet Abbreviations Used Here
Every round in this pattern is built from single crochet, so the abbreviation list is compact and the variation comes from where the stitches go rather than which stitch you use. Increases and decreases do the real shaping work, clustering together to push the cheeks outward and pull the muzzle back in. Back loop only appears once, on the donut, where it creates a fold line. If you want a reference beyond this page, the Craft Yarn Council publishes standard US crochet abbreviations that match the terms below.
- ch — chain
- MR — magic ring
- sc — single crochet
- inc — increase (2 sc in one stitch)
- dec — decrease (invisible decrease over 2 stitches)
- BLO — back loop only
- (…) x — repeat instructions in brackets the specified number of times
How the Pieces Come Together
Construction starts at the top of the head with a magic ring and spirals outward from there. The first rounds establish the crown, a few plain rounds set the depth, and then the increases arrive in clusters to build the cheeks. After the cheeks peak, decreases pull the shape back to a narrow muzzle line before the counts climb again for the body. Reading the head-body rounds as four movements — crown, cheeks, narrowing, body — makes the long column of numbers easier to hold in mind. Since the whole piece hangs on that first closed center, it is worth reviewing how to start a magic ring before you begin.
The ears, arms, legs, and tail are small and made separately. The arms and legs are crocheted closed at the top edge before sewing, folded flat and worked across both layers, which gives you a straight seam to stitch against instead of a floppy open tube. That flat edge is also what makes the limbs sit against the body at a consistent angle rather than rotating out of place over time. The ears and tail stay as they are and get sewn on directly, so their character depends almost entirely on where you place them.
The donut is finished last and behaves like a folded band rather than a stuffed ball. Changing colors between the two halves is what sells it: one half reads as dough, the other as glaze, and the color change lands along the crease built into the round sequence. Because the band is sewn closed along its long edges, the color line ends up running around the ring rather than across it, which is exactly the way a glazed donut looks from above.
Before You Start
Counts climb quickly here, so stitch markers earn their place early. Keep markers ready for rounds with up to 80 stitches, because one missed marker on the donut turns into a long recount across a very crowded circle. A contrasting scrap of yarn works as well as a plastic clip on chenille and tends to slip less. Marking the start of each round also gives you an anchor for the clustered increases later, where the shaping depends on landing in exactly the right stitch. Move the marker whenever a count changes, not only at the beginning of a session.
Round 27 deserves a read-through before you get there. It skips stitches at the start of the round, which shifts your working position away from the marker you have been following, so the stitch you would normally treat as first is no longer first. Decide in advance how you will re-mark the round once the skip is made, and go slowly through the decreases that follow. If you are already using the invisible decrease method for the rest of the piece, keep using it here so the fabric stays consistent across the transition.
One more preparation step is easy to forget: set aside extra strands of the main color for sculpting the face. The contouring is done with a needle after the eyes are in, pulling through the head to draw the cheeks and eye sockets inward, and you want yarn that matches rather than whatever happens to be left on the ball. Cutting two or three generous lengths before you close the head means you are not hunting for yarn with a half-stuffed hamster in your lap.
Hamster and Donut Crochet Pattern
Work through the parts in order, and watch three rounds in particular: Round 10 of the head, where consecutive clusters of six increases set the cheek width; Round 27, which skips exactly five stitches before the round continues; and Round 3 of the donut, which reaches its widest point at eighty stitches. Counts are given at the end of each round. Where a label covers a range, work that same instruction for every round in the range before moving on.
Head-body
Count check: Round 27 skips exactly 5 stitches before the first decrease, so the round closes at 40 stitches even though 60 were available at the end of Round 26.
Round 1: 8 sc in a MR. (8 sts)
Round 2: 8 inc. (16 sts)
Round 3: (1 sc, inc) x 8. (24 sts)
Round 4: (2 sc, inc) x 8. (32 sts)
Round 5: (7 sc, inc) x 4. (36 sts)
Rounds 6-8: 36 sc. (36 sts)
Round 9: 11 sc, 4 inc, 6 sc, 4 inc, 11 sc. (44 sts)
Round 10: 13 sc, 6 inc, 1 sc, 2 dec, 1 sc, 6 inc, 13 sc. (54 sts)
Rounds 11-12: 54 sc. (54 sts)
Round 13: 13 sc, 6 dec, 4 sc, 6 dec, 13 sc. (42 sts)
Round 14: 12 sc, (dec, 1 sc) x 3, (sc, dec) x 3, 12 sc. (36 sts)
Round 15: 10 sc, dec, 1 sc, dec, 6 sc, dec, 1 sc, dec, 10 sc. (32 sts)
Round 16: 8 sc, (1 sc, inc) x 8, 8 sc. (40 sts)
Round 17: 40 sc. (40 sts)
Round 18: 8 sc, (2 sc, inc) x 8, 8 sc. (48 sts)
Rounds 19-21: 48 sc. (48 sts)
Round 22: 3 sc, 6 inc, 32 sc, 6 inc, 1 sc. (60 sts)
Rounds 23-26: 60 sc. (60 sts)
Round 27: Skip 5 sts, begin inserting hook into the 6th st: 5 dec, 2 sc, (2 sc, dec, 2 sc) x 5, 2 sc, 5 dec, 1 sc. (40 sts)
Round 28: (3 sc, dec) x 8. (32 sts)
Round 29: (2 sc, dec) x 8. (24 sts)
Round 30: (1 sc, dec) x 8. (16 sts)
Round 31: 8 dec. (8 sts)
Ears
Round 1: 6 sc in a MR. (6 sts)
Round 2: 6 inc. (12 sts)
Arms
Round 1: 6 sc in a MR. (6 sts)
Round 2: (1 sc, inc) x 3. (9 sts)
Rounds 3-4: 9 sc. (9 sts)
Round 5: (1 sc, dec) x 3. (6 sts)
Round 6: 6 sc. (6 sts)
Legs
Round 1: 6 sc in a MR. (6 sts)
Round 2: 6 inc. (12 sts)
Rounds 3-4: 12 sc. (12 sts)
Round 5: (1 sc, dec) x 4. (8 sts)
Tail
Round 1: 6 sc in a MR. (6 sts)
Round 2: 6 sc. (6 sts)
Round 3: 3 dec. (3 sts)
Donut
Setup: Ch 48. Join into a circle.
Round 1: 48 sc. (48 sts)
Round 2: (2 sc, inc) x 16. (64 sts)
Round 3: (3 sc, inc) x 16. (80 sts)
Rounds 4-5: 80 sc. (80 sts)
Round 6: 80 sc in BLO. (80 sts)
Round 7: 80 sc. (80 sts)
Round 8: (3 sc, dec) x 16. (64 sts)
Round 9: (2 sc, dec) x 16. (48 sts)
Round 10: 48 sc. (48 sts)
Assembly and Finishing
Assembly is where the placement numbers matter most, because the pattern gives landmarks rather than vague instructions. Safety eyes are inserted firmly between Rounds 8 and 9, which puts them high on the head and just above the fullest part of the cheeks. Do this while the head is still open and you can reach the backs of the posts, and check the spacing from both sides before the washers go on. If you are new to installing safety eyes securely, remember that the washers are meant to be permanent, so test the position first and commit only when the face looks right.
The limbs follow next. The arms are sewn onto the body between Rounds 16 and 17, high enough that they can reach around the donut, and the legs attach much lower, between Rounds 27 and 28, just under the fold created by the skipped stitches. The tail is attached directly to the center back at Round 23. Ears are sewn starting at Round 3 and spaced six rounds apart, which keeps them well back from the face. The same care applies to stuffing an amigurumi evenly, since the cheeks need dense padding for the sculpting to hold.
Face sculpting comes after the eyes are set and before the head is fully closed. The needle passes through the head from one side to the other, catching the fabric near the eye sockets and drawing it inward, then repeating on the opposite side so both cheeks read as a matched pair. Work in small pulls rather than one hard tug, checking the front view between passes, and secure the thread only once the two sides agree. On plush yarn the indent stays visible because the pile falls into the groove you create.
- Stuff the head-body firmly, paying special attention to padding the cheeks tightly.
- Install the safety eyes between Rounds 8 and 9.
- Sculpt the face by doing needle pull-through shaping on both sides of the face.
- Sew the ears starting at Round 3, placing them 6 rounds apart from each other.
- Sew the arms between Rounds 16 and 17.
- Sew the legs between Rounds 27 and 28.
- Sew the tail to the center back at Round 23.
- Sew the two long edges of the donut together, stuffing it gradually as you close the seam.
Pattern Notes and Troubleshooting
Three problems come up more often than any others with this build, and all three are fixable without unraveling much. Each one traces back to a specific round rather than to general tension, which means you can usually diagnose the issue by counting instead of guessing. The sections below take the neck, the cheeks, and the donut seam in that order.
When the Neck Twists After Round 27
A twist at the neck almost always comes from Round 27. If the body looks wrung out below the cheeks, verify the five skipped stitches: they must be skipped at the start of the round, with the hook entering the sixth stitch for the first decrease. Skipping from the wrong point rotates the whole lower body relative to the face, and the error stays invisible for several rounds afterward. Count back to the last marked round, confirm where the skip began, and rework from there if the alignment is off.
Uneven Cheeks on the Head-Body
Asymmetrical cheeks usually trace back to Round 10, where two clusters of six increases sit on either side of the face. If one cheek sits higher or wider than the other, check the placement of those clustered increases along with the plain stitches counted before and after them. It is easy to lose a stitch at the start of a cluster on chenille, and a single misplaced increase shifts the entire group. Comparing the two sides flat, before any stuffing goes in, makes the difference obvious.
Closing the Donut Without Lumps
A donut that fights you at the seam is usually being stuffed at the wrong moment. If the ring is difficult to close, stuff it gradually as you sew the seam rather than at the end, adding small amounts every few stitches and working your way around the circle. Forcing fiberfill into an already closed ring pushes lumps toward the opening and stretches the last stitches out of shape. Small handfuls, added early and often, keep the tube round the whole way.
Finishing Checklist
Before you call the hamster done, run a short check over the details that are hard to fix later. Look at the face from straight on and confirm the contouring pulls still hold the eye sockets where you set them, since a loose thread slowly relaxes and the face flattens out. Press the cheeks: they should feel firm rather than springy, because under-stuffed cheeks collapse around the sculpting. Finally, check that the ears sit exactly six rounds apart, which is the difference between an alert hamster and a startled one.
- Ensure the cheeks are stuffed very densely to hold the sculpted shape.
- Verify limbs are securely stitched flat before attaching.
- Confirm the needle contouring threads are pulled securely to indent the eye sockets.
- Check that the donut seam is fully sewn shut.