A Mini Turtle Crochet Pattern Free for Anyone Sitting on Chenille Scraps
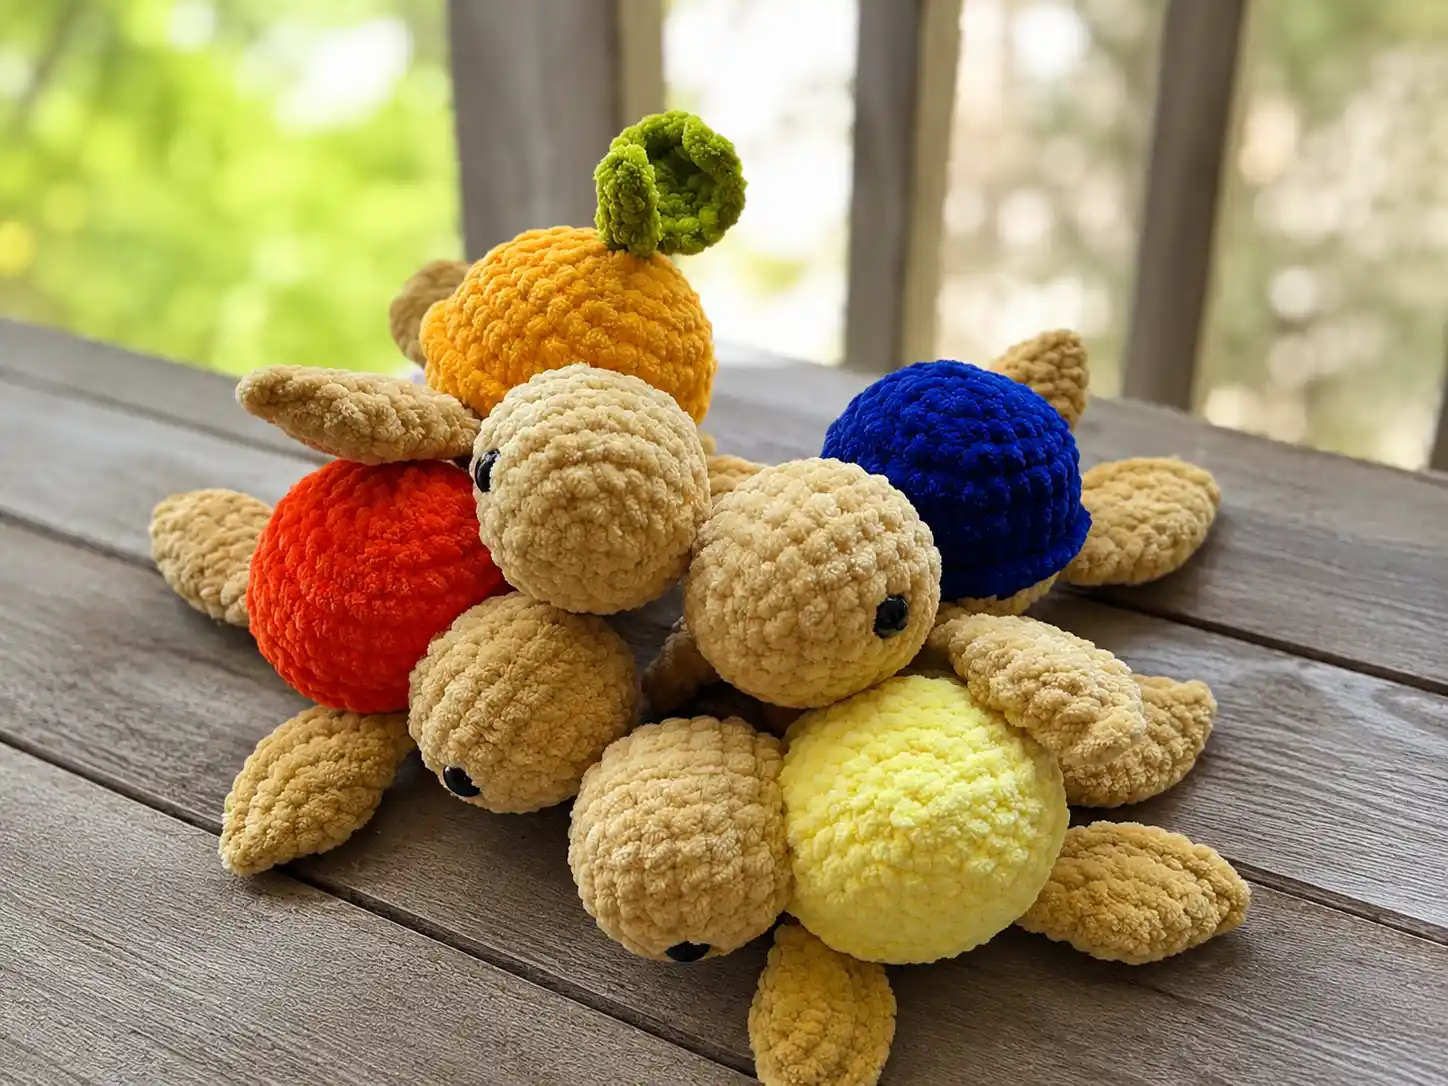
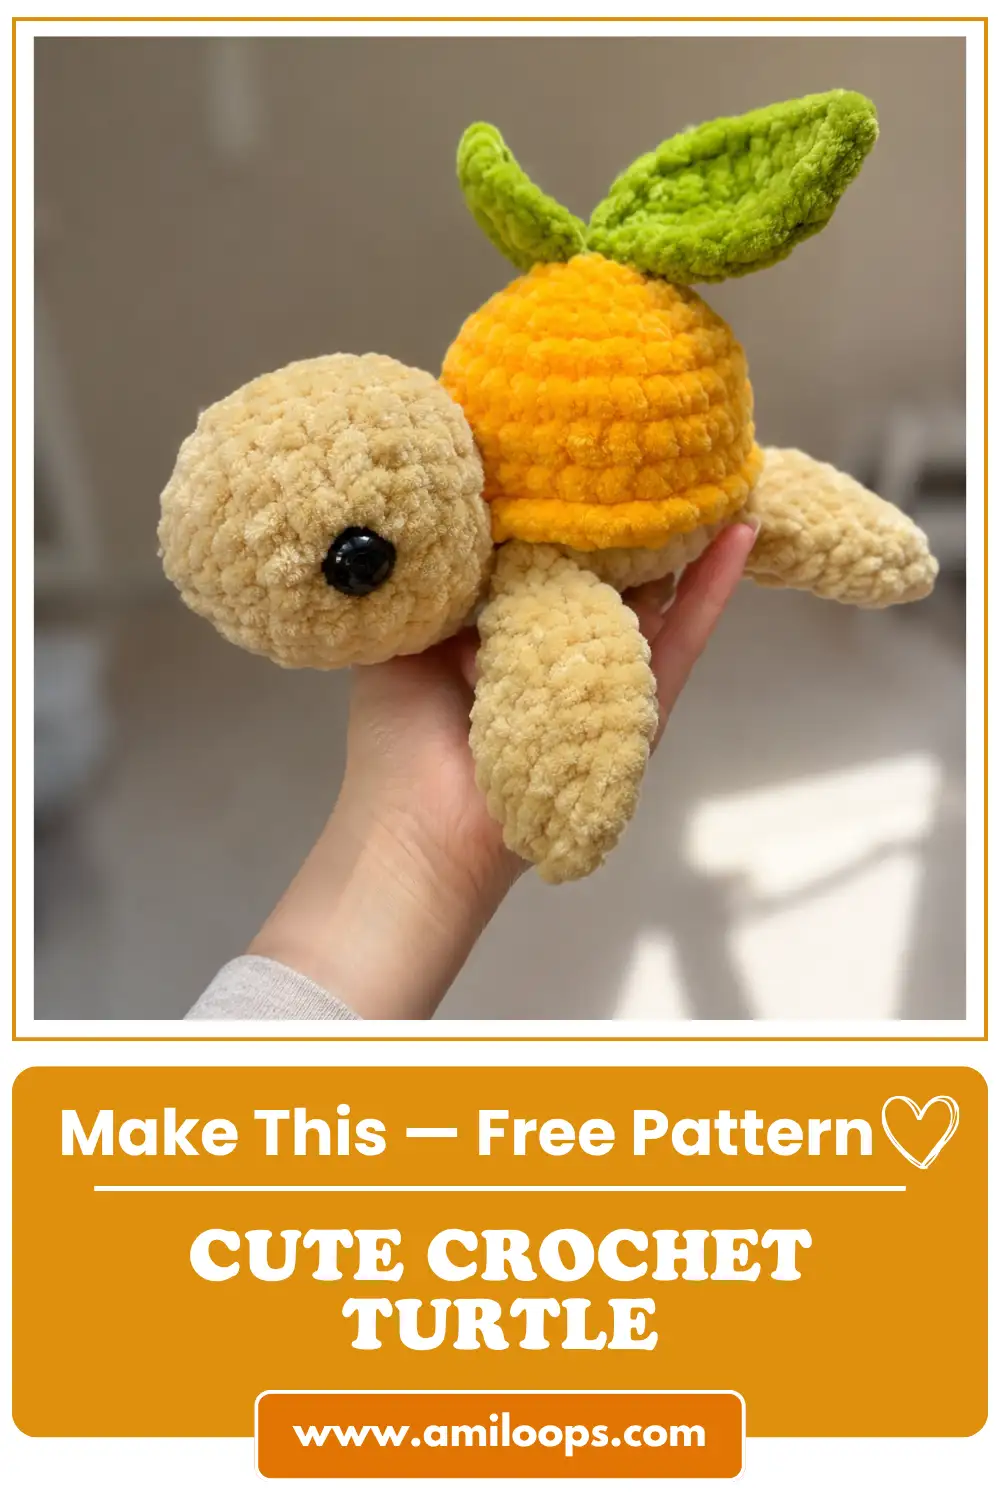
This mini turtle crochet pattern free project is exactly the kind of build that makes leftover chenille worth keeping — you only need about 30g of your main color and 10g for the shell, and the whole thing works up in a relaxed afternoon. I love how the flippers crochet right into the body instead of needing extra sewing. Grab your hook and whatever chenille scraps you’ve got sitting around. This one’s simple.
🧶 What You’ll Need
- 💰 Yarn Needed: ~30g (~1 oz) main color, ~10g (~0.35 oz) shell color — well under one full 100g skein of each
- 🎨 Colors: any Bulky (5) chenille in a main body color + a contrasting shell color (or similar from your stash)
- 🪝 Hook: 3.5mm (US E/4)
- ⏱️ Time: A few hours — easy to finish in one sitting
- 📏 Finished Size: 6.1–6.3 in (15.5–16 cm), head to flipper tips
- 💡 Difficulty: Beginner-friendly, with one slightly fiddly assembly step
- 🎁 Great For: gifts, shelf decor, nature-themed collections, market tables
Materials for This Mini Turtle Crochet Pattern
You don’t need a full new skein for this one — that’s kind of the point. Here’s what actually goes into it:
- Main color chenille (Bulky, 5): about 30g (~1 oz). The original was made with Wolans Bunny Baby; Premier Parfait or Bernat Baby Velvet are easy US swaps.
- Shell color chenille (Bulky, 5): about 10g (~0.35 oz). Any contrasting chenille works — this is a great spot to use up a small leftover ball.
- Hook: 3.5mm (US E/4).
- Safety eyes: 10–12mm, one pair.
- Stuffing: polyester fiberfill or hollowfiber.
- Sewing needle and thread for closing seams and attaching the head.
- Scissors and a stitch marker.
- Optional: a small scrap of green yarn for the leaf-and-stem accent (a few yards is plenty).
A quick honesty note: the original pattern lists yarn by weight (grams) rather than yardage, and chenille yardage-per-gram varies a lot by brand, so I’m keeping the measurements in grams/ounces here instead of guessing at a yard count that might be wrong for your yarn. Either way — this is a small amount. You’re looking at roughly a third of a standard 100g skein for the body, and even less for the shell.
Abbreviations Used in This Mini Turtle Crochet Pattern
| Abbreviation | Meaning |
|---|---|
| mr | magic ring |
| sc | single crochet |
| inc | increase (2 sc in same stitch) |
| inv dec | invisible decrease (worked through front loops only — see note below) |
| ch | chain |
| sl st | slip stitch |
| hdc | half double crochet |
| dc | double crochet |
| tr | treble crochet |
Note: the original pattern calls for a standard decrease (2 sc together). I’ve swapped every shaping decrease over to the invisible decrease instead — same stitch count, no visible gap. More on why below.
Smart Crafter Tips for This Mini Turtle Crochet Pattern
A few things I picked up making this one:
Trick 1 — the small hook is doing real work. Bulky chenille and a 3.5mm hook might look mismatched on paper, but it’s intentional. A smaller hook keeps the stitches tight so stuffing doesn’t peek through the fuzzy chenille surface later. If you want to double-check how your hook size compares to the yarn you’ve got, our hook size guide breaks down the mm-to-letter conversions in under a minute. And for the actual conversion chart if you’re working from a different mm size, the Craft Yarn Council’s hook size chart is the reference I keep bookmarked.
Trick 2 — invisible decrease, every time. The head shaping (rows 9 and 10) is where you’ll do all your decreasing, and I always use the invisible decrease here instead of a standard sc2tog. It closes up clean with no visible hole, which matters a lot on a small piece like this where every stitch is visible.
Trick 3 — stuff in stages, not all at once. Both the head and the shell get stuffed, and it’s tempting to cram it all in at the end. Don’t. Add a little as you go so it stays even instead of lumpy — our stuffing guide covers the technique if you’ve never done it gradually before.
Mini Turtle Crochet Pattern — Pattern Pieces
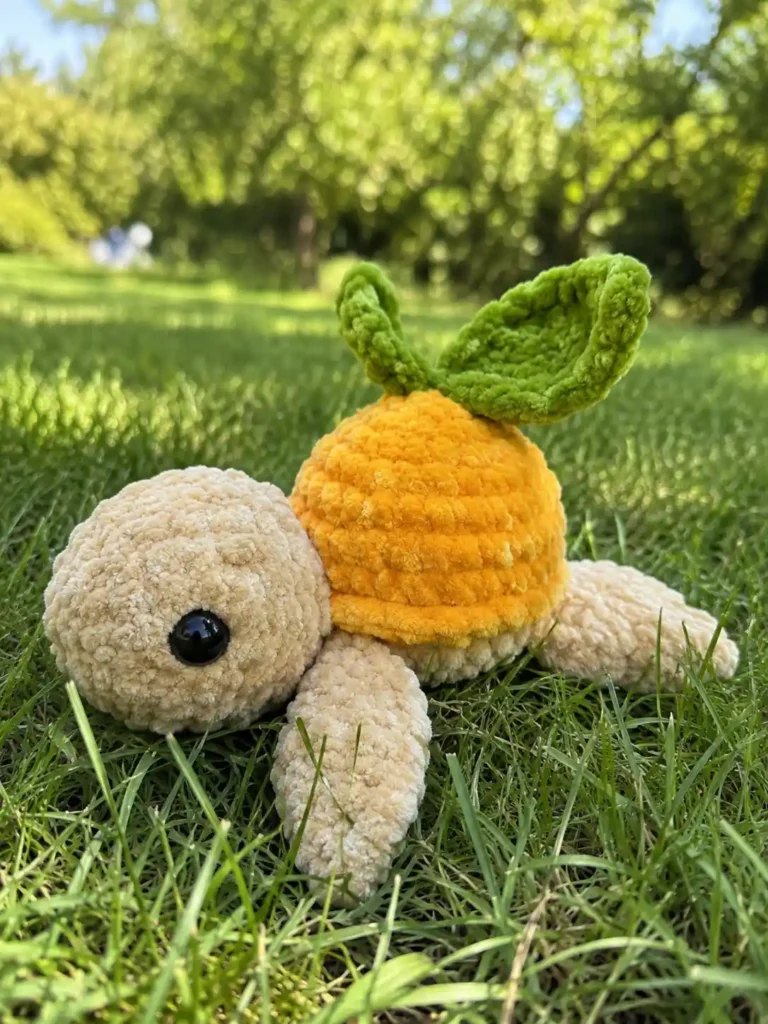
Part 1: Head (make 1)
Yarn: main color | Start: magic ring
Row 1: 6 sc in mr (6)
Row 2: 6 inc (12)
Row 3: (sc, inc) × 6 (18)
Row 4: (2 sc, inc) × 6 (24)
Rows 5–8: 24 sc (4 rows) (24)
Row 9: (2 sc, inv dec) × 6 (18)
Row 10: (sc, inv dec) × 6 (12)
Turn the head so the beginning of the round sits at the bottom. Insert the safety eyes between rows 6 and 7, spacing them about 10 sc apart — they should line up roughly with the magic ring. Before you install them, our safety eyes tutorial walks through getting the placement even on both sides, and the U.S. Consumer Product Safety Commission has helpful guidance on choosing secure, age-appropriate eyes if this is going to a young child.
Finishing: Fasten off and cut the yarn. The head stays open at 12 stitches — you’ll gather and sew this opening directly onto the body later, so there’s no need to close it fully now.
Part 2: Flippers (make 4)
Yarn: main color | Start: magic ring
Row 1: 6 sc in mr (6)
Row 2: 6 inc (12)
Row 3: (sc, inc) × 6 (18)
Row 4: (2 sc, inc) × 6 (24)
Row 5: ch, fold in half and crochet 12 sc through both edges of the circle (12)
This last row is the fun part — you’re folding the flat circle in half and single crocheting straight through both layers to seal the edge into a flat, paddle-shaped flipper. Don’t overthink it; it comes together fast once you see the fold.
Finishing: Fasten off and cut the yarn after each flipper. Leave a short tail on each — they get crocheted directly into the body next, not sewn on separately.
🧶 Scrap Check: The head and all four flippers come out of the same small ball of main color. If you’ve got a leftover chenille ball sitting around from another project, this is a great way to use it up before starting the body.
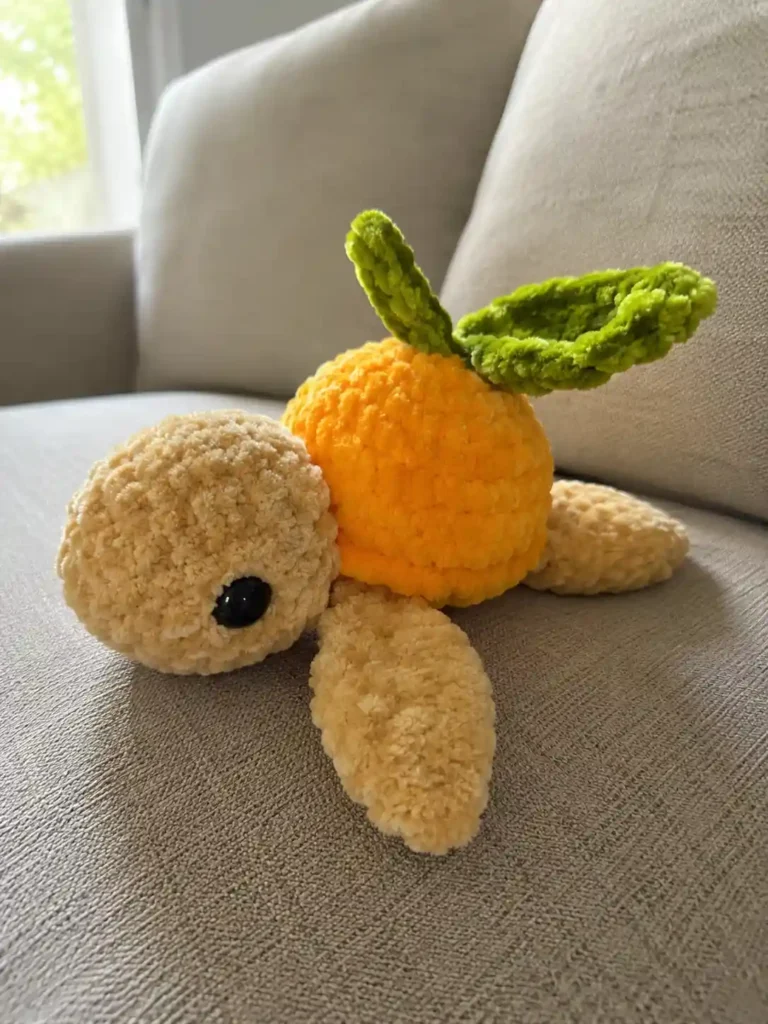
Part 3: Shell (make 1)
Yarn: shell color | Start: magic ring
Row 1: 6 sc in mr (6)
Row 2: 6 inc (12)
Row 3: (sc, inc) × 6 (18)
Row 4: (2 sc, inc) × 6 (24)
Row 5: (3 sc, inc) × 6 (30)
Rows 6–8: 30 sc (3 rows) (30)
Want a slightly taller, more domed shell? You can add one more plain 30-sc round here. The version shown stops at row 8 (the 8-row version) and it’s plenty sturdy.
Finishing: Do not cut the yarn — you’ll use this same working yarn in a moment to join the shell to the body, so leave it live on the hook or clip a stitch marker through the loop to hold it.
Part 4: Bottom of the Body (make 1)
Yarn: main color | Start: magic ring
Row 1: 6 sc in mr (6)
Row 2: 6 inc (12)
Row 3: (sc, inc) × 6 (18)
Row 4: (2 sc, inc) × 6 (24)
Row 5: (3 sc, inc) × 6 (30)
Row 6: Crochet the flippers in: 3 sc, 2 sc with flipper, 6 sc, 2 sc with flipper, 4 sc, 2 sc with flipper, 6 sc, 2 sc with flipper, 3 sc, sl st (30)
A heads-up on Row 6: each flipper has a 12-stitch folded edge, but you’re only attaching it through 2 stitches of the body. Pinch the flipper’s edge in half (or gather the corner slightly) so you’re crocheting through the condensed layers as you attach it — this keeps the join tidy instead of bunching the fabric. It takes a try or two to get the pinch right, and that’s normal.
Finishing: Fasten off and cut the yarn. Remember — you’re picking the shell’s working yarn back up to join body to shell, not starting fresh.
Part 5: Leaf and Stem (optional)
Yarn: green | Start: chain
Row 1: 10 ch, sc in 2nd ch from hook, then along the chain: hdc, dc, tr × 3, dc, hdc, 2 ch, sl st in the last stitch. Along the opposite side: hdc, dc, tr × 3, dc, hdc, sc, sl st.
Row 2: 6 ch, 4 hdc in 2nd ch from hook.
This little leaf-and-stem piece is purely decorative — skip it entirely if you’d rather keep the turtle as-is, or add it if you’re leaning into a “berry” or “orange” color palette for the shell instead of a classic green. Don’t cut the yarn between the leaf and stem — you’ll crochet the stem directly off the leaf.
Finishing: Fasten off, leaving a tail for sewing it to the shell.
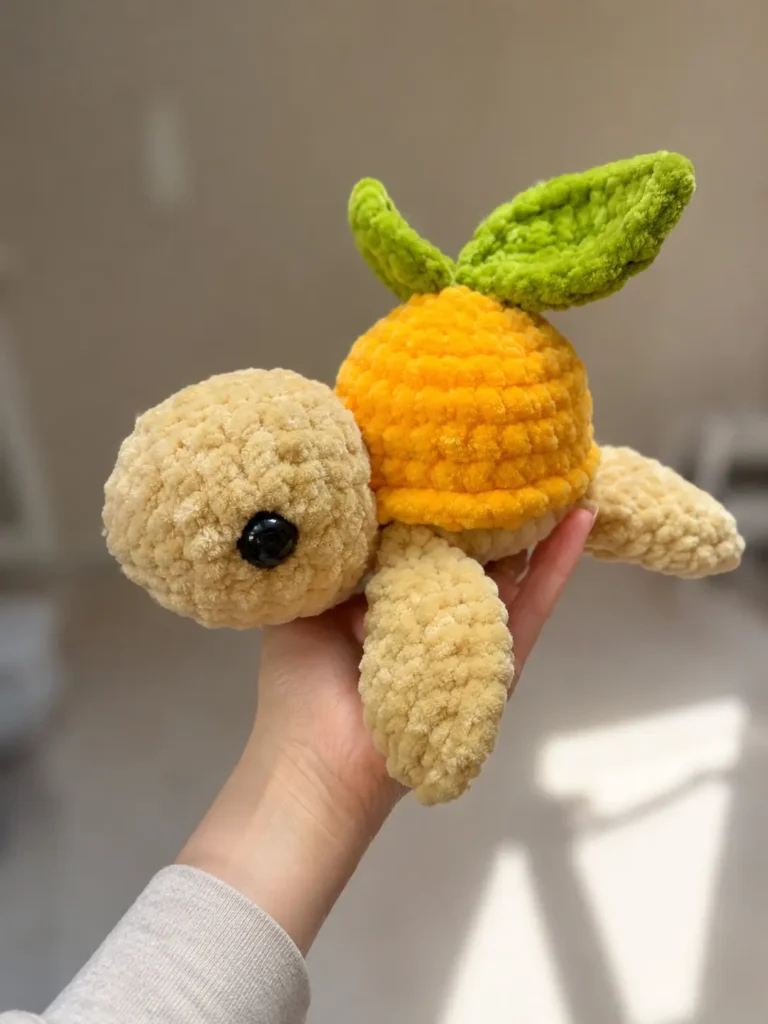
Assembly for This Mini Turtle Crochet Pattern
- With the shell’s live yarn still attached, insert your hook into the next stitch of the shell, then into the last stitch of the body (not the sl st) and begin crocheting 30 sc around, working through both edges to join shell to body.
- As you get close to finishing that round, leave a small opening — this is your chance to stuff the shell before sealing it. Add fiberfill gradually so it fills evenly rather than lumping in one spot.
- Fasten off with a slip stitch and cut the yarn.
- Stuff the head before attaching it — don’t skip this, it’s much harder to add stuffing after it’s sewn on.
- Sew the head to the front of the body, positioning it about 1 sc back from the front flippers on each side. Our sewing amigurumi parts guide has a clean whip-stitch method that keeps the seam nearly invisible on chenille.
Decoration
If you made the optional leaf and stem, sew it to the top of the shell now — this is the detail that turns a plain turtle into a “berry” or “orange” turtle if that’s the direction you took your color choices.
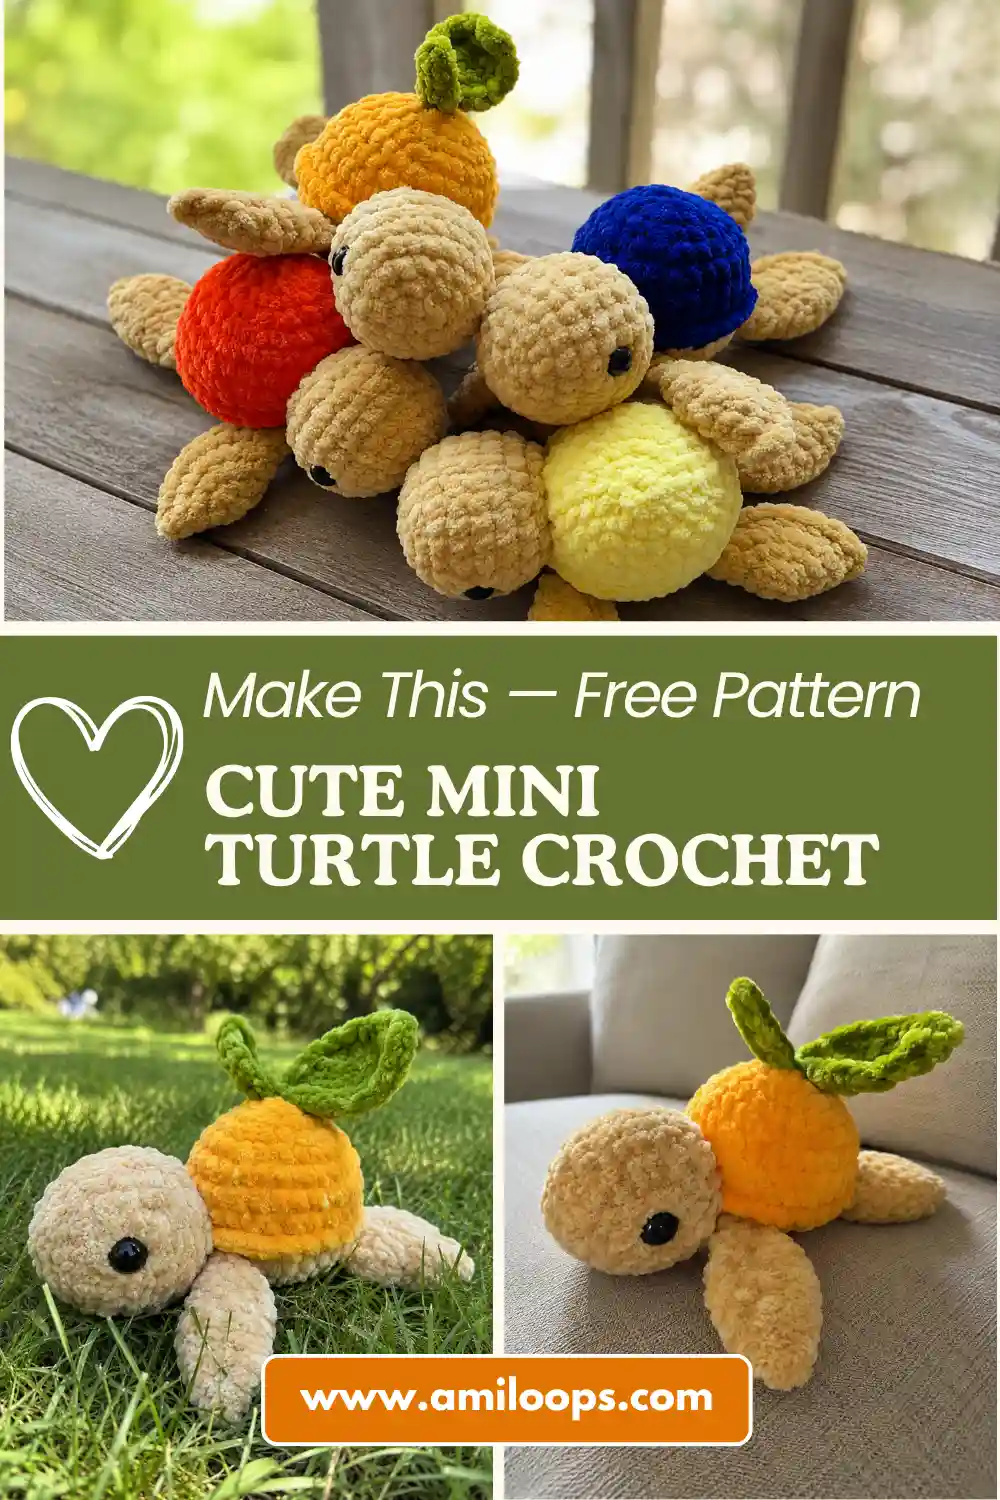
💡 Stretch It Further: This shape scales down beautifully. Try the same pattern at a smaller gauge with a finer chenille or cotton yarn and a smaller hook, and you’ve got a keychain-sized turtle instead of a shelf piece — just add a keyring loop to the top of the shell before sewing it closed. Make three in different shell colors (green, orange, blue) for an instant matching set, and if you’re already deep in your scrap bin, our scrap-friendly octopus pattern uses the same “build from what’s left” approach if you want a matching sea-creature duo. Total yarn cost here, using scraps you likely already have: well under $3.
Mia’s Take
Two small balls of chenille and an evening of attention to the flipper attachment — that’s really all this one asks for. I like that nothing here goes to waste: the head and flippers share a ball, the shell uses its own tail to do double duty as the joining yarn, and the whole thing closes up without extra seams to hide. If turtles are your thing, I’ve also got a 7-color stash-buster turtle pattern that takes a completely different construction approach — worth a look if you want a second turtle project out of the same scrap bin. 🧶
FAQ
What yarn is best for this mini turtle amigurumi?
Bulky weight (size 5) chenille yarn is ideal for this pattern. You will need about 30g of your main color and 10g for the shell color.
How long does it take to crochet this mini turtle?
This project works up very quickly and can easily be completed in a relaxed afternoon, usually under 3 hours.
Is this mini turtle pattern beginner-friendly?
Yes! It is designed for beginners. The only slightly fiddly part is crocheting the flippers directly into the body, which saves you from sewing them on later.ac