Penguin in a Hat Crochet Pattern: One-Piece Holiday Amigurumi
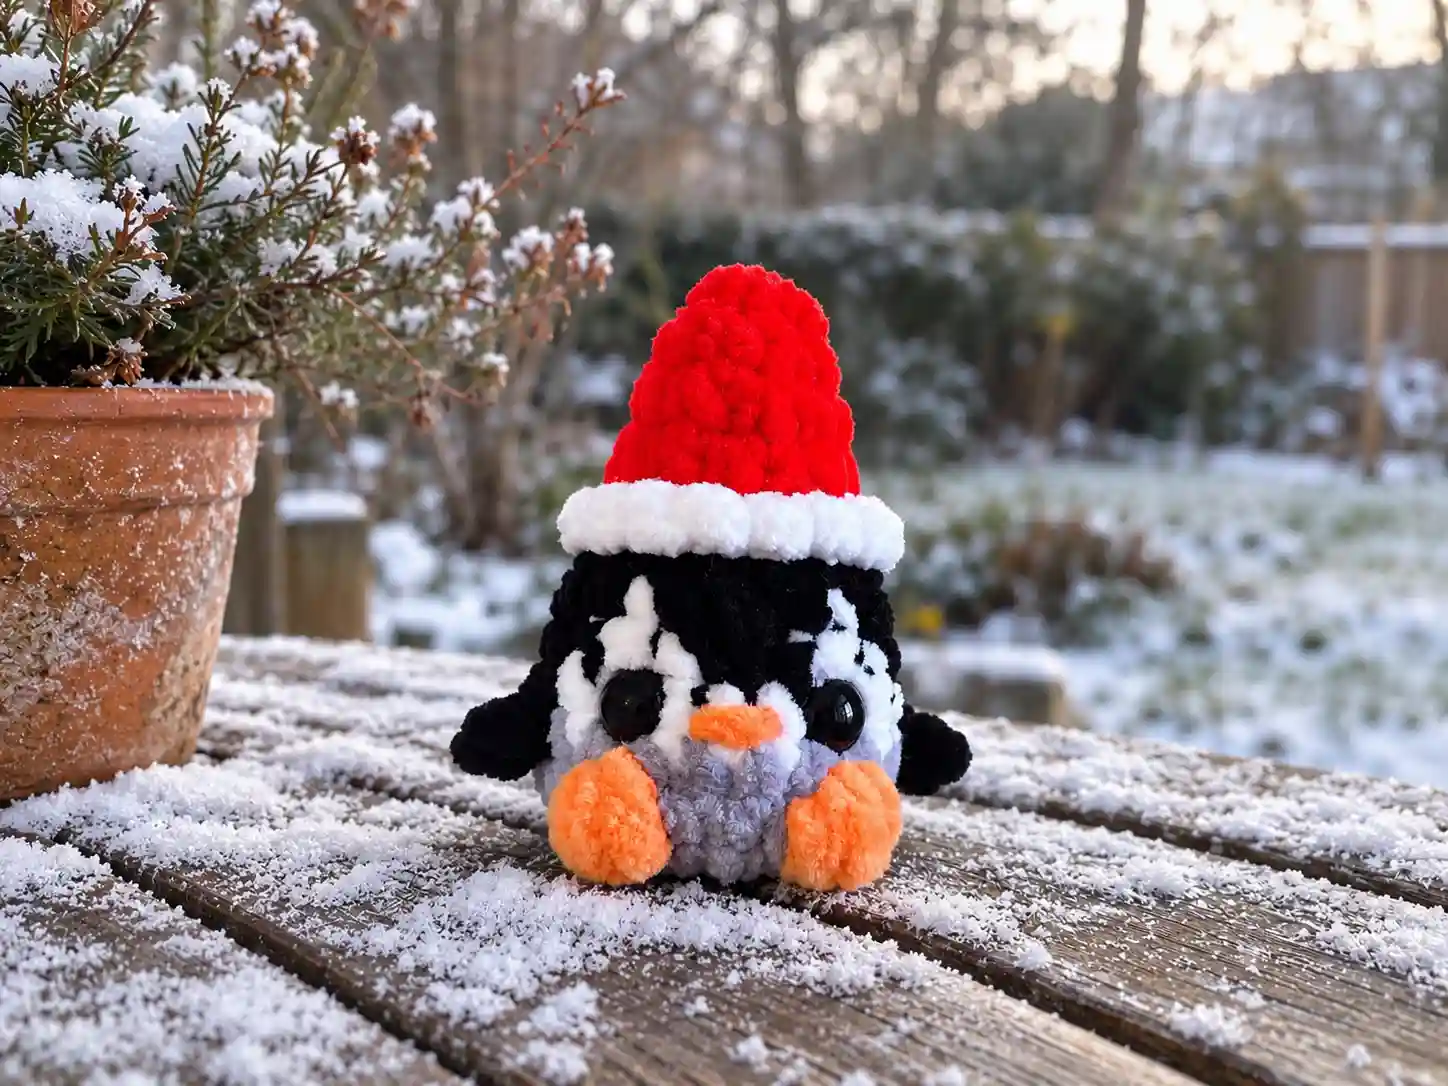
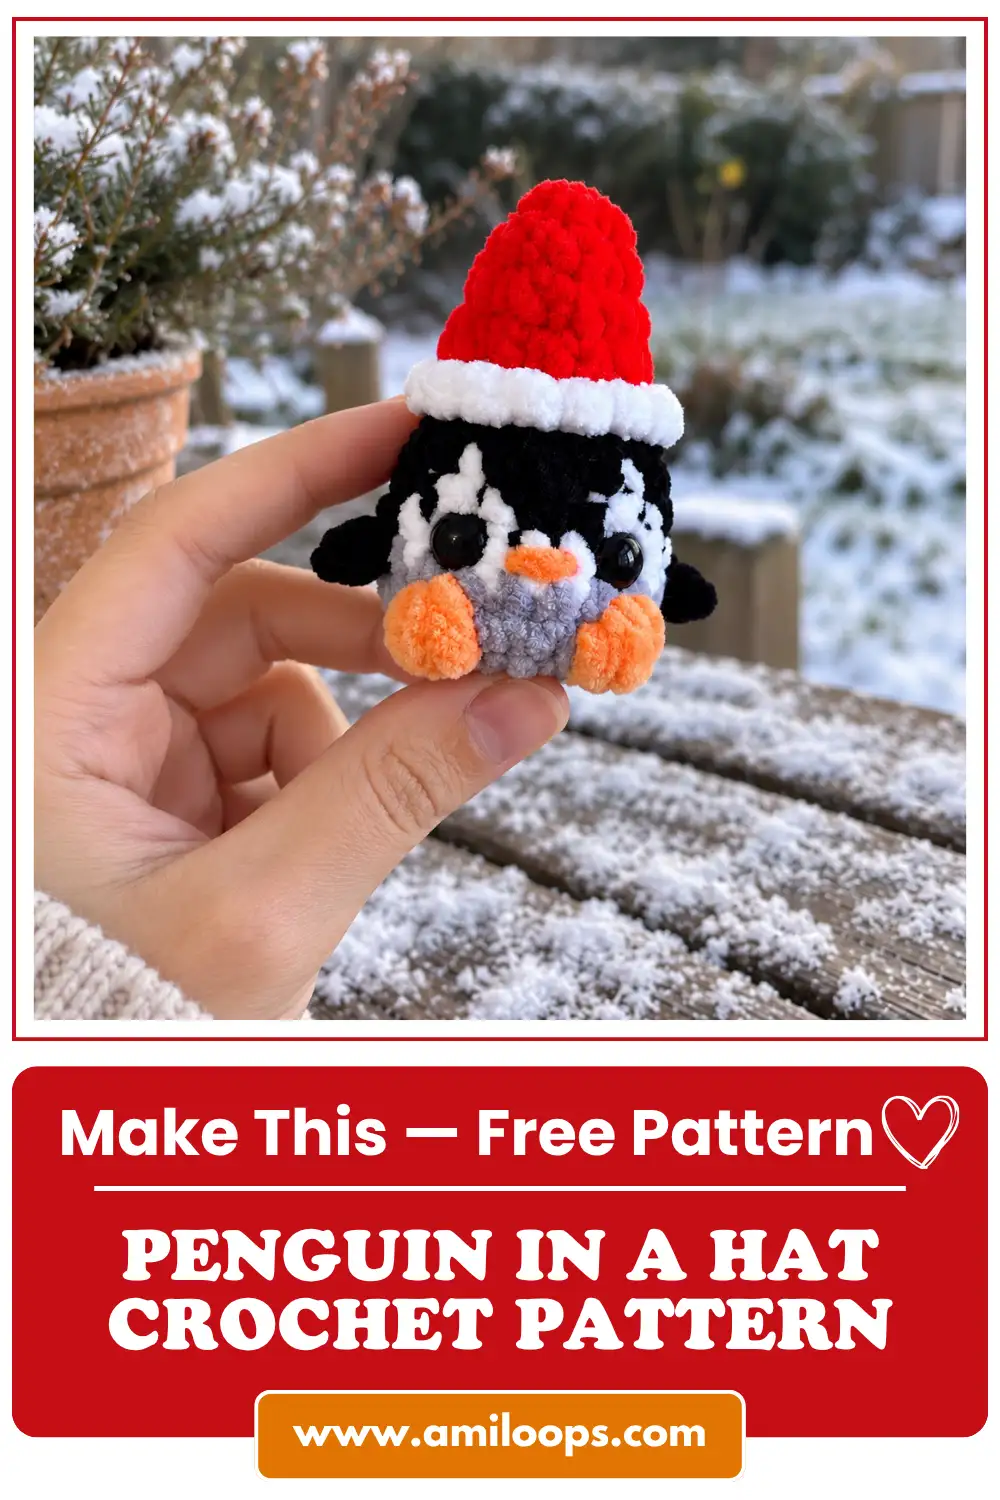
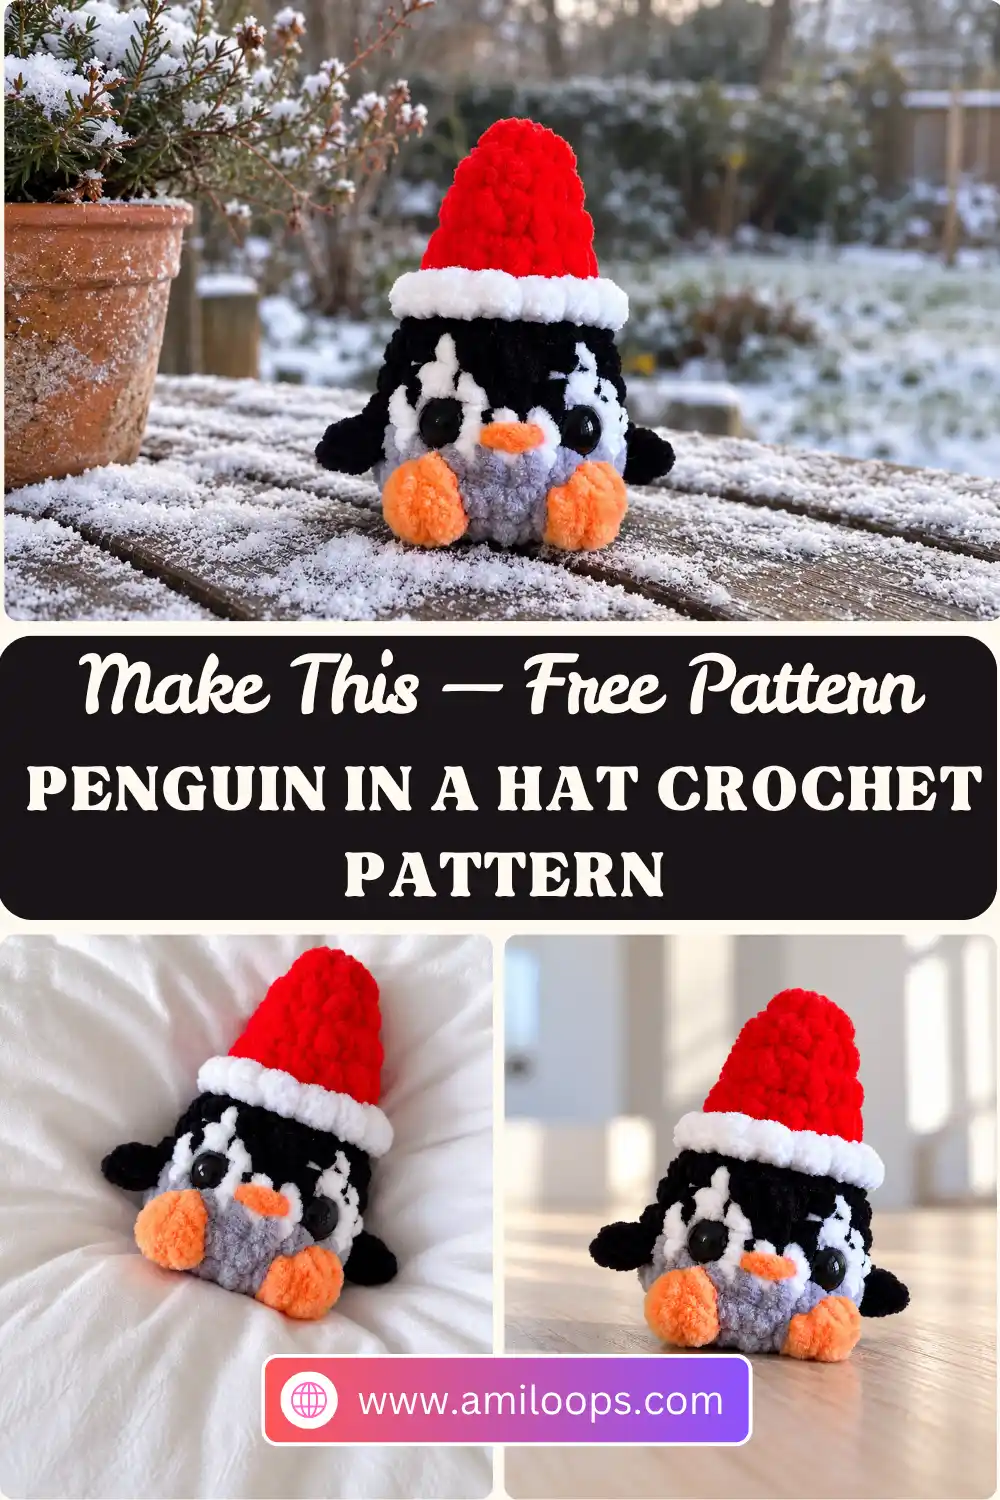
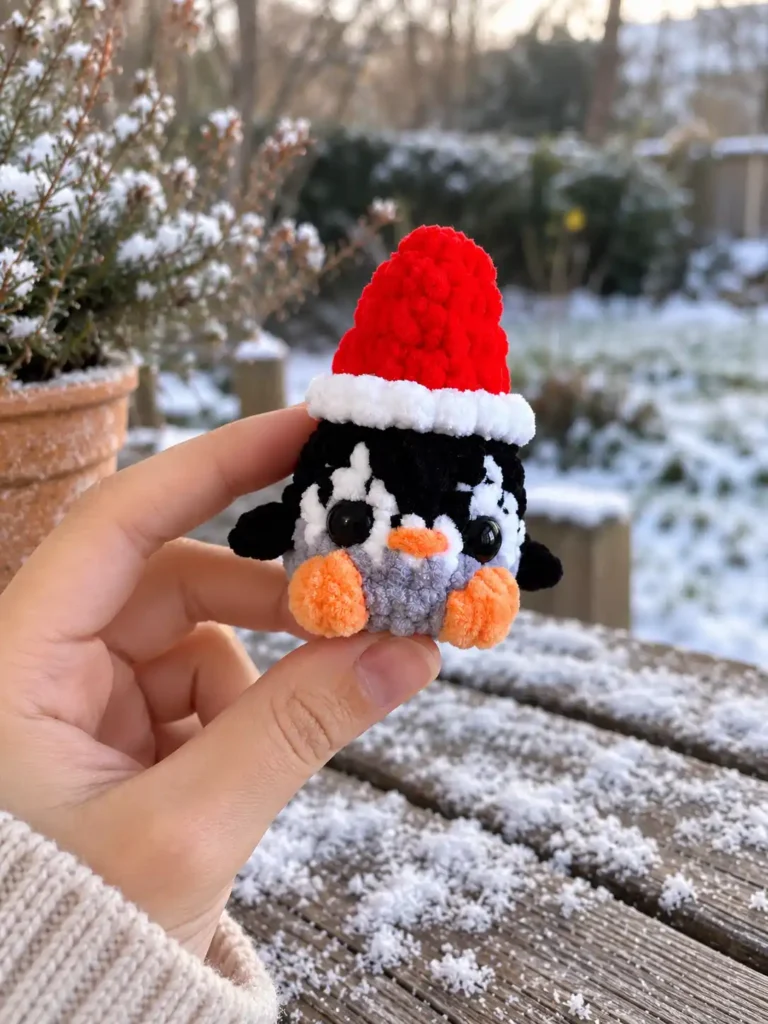
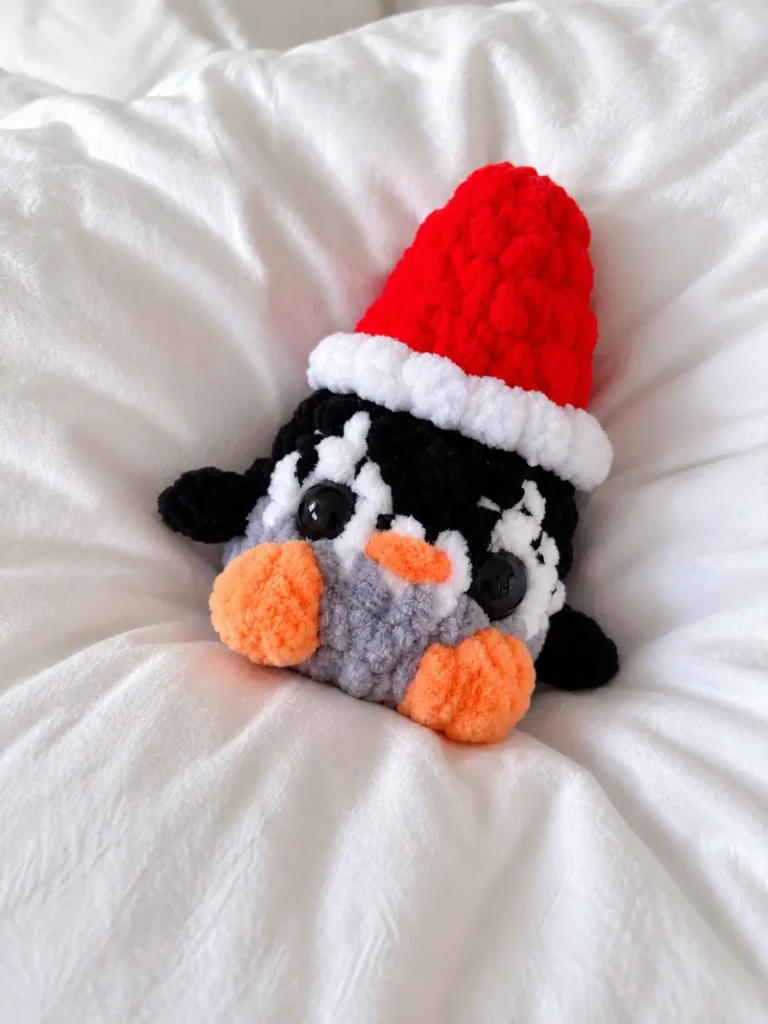
This penguin in a hat crochet pattern makes a little black-and-white penguin in a bright red hat with a white brim. It has two small wings, a gray base and two bobble feet. It’s dressed for the holidays, and the white front is worked right into the rounds as color sections. You don’t add it later as a patch.
The whole penguin is made in one piece, starting at the tip of the hat and finishing at the base. The best part is the brim. You work it into the front loops of a white round, then go back to the back loops of that same round to start the body. The hat is part of the penguin from the start, and the brim stands out on its own.
Materials Abbreviations Hat Brim Body Base Finishing FAQ
Before your first stitch: You’ll use the white yarn twice. First it makes the brim in Rounds 5 and 6, and then it comes back for the penguin’s front in Rounds 8 through 10. Keep the white close by after the brim is done.
Read Round 10 ahead of time: The two wings are worked in the middle of the round. Practice the wing stitch described below before you get there, so the colorwork and the wings don’t catch you by surprise in the same round.
Materials
- Yarn: red, white, black and gray
- Eyes
- Stuffing
- A crochet hook suited to your yarn
- A yarn needle for weaving in the tail and embroidering the beak
Make the hat your own: You can crochet the hat in other colors. Your penguin then becomes a little penguin in a hat for any time of year, not just a holiday one.
Abbreviations and special stitches
This pattern uses US crochet terms. To compare them with UK terms, see the Craft Yarn Council’s list of standard crochet abbreviations.
| Abbreviation | Meaning |
|---|---|
| MR | magic ring |
| ch | chain |
| sc | single crochet |
| hdc | half double crochet (used in the wing) |
| dc | double crochet (used in the leg bobble) |
| st(s) | stitch(es) |
| inc | increase: 2 sc in the same st |
| dec | decrease: work the next 2 sts together as 1 |
The number in parentheses at the end of each round is that round’s stitch count. [ ] X times means you repeat the instructions inside the brackets the number of times given.
Wing
Wing: Ch 2, hdc in the 2nd ch from hook, then hdc in the base of the sc the chain came from (the same st that sc was worked into). The wing doesn’t count as a stitch. Carry on in the next st of the round.
Leg
Leg: A bobble of 3 or 4 dc worked in 1 st. In the same st, work 3 or 4 dc, leaving the last loop of each dc on your hook. Then yarn over and pull through all the loops on the hook, so the dc share one top. The leg takes the place of one stitch.
Hat
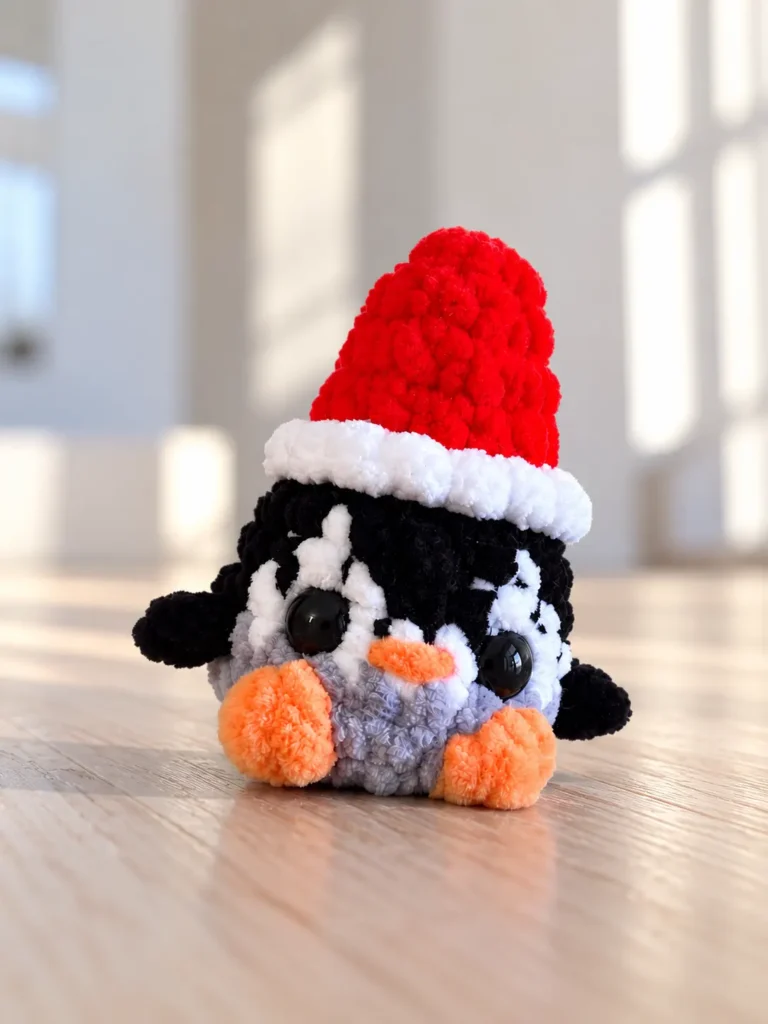
Start with red. The hat begins with a magic ring, which you pull closed so the tip has no hole. If you’re new to it, this step-by-step magic ring tutorial walks you through it.
Rnd 1: 6 sc in MR (6)
Rnd 2: [Sc, inc] 3 times (9)
Rnd 3: Sc in each st around (9)
Rnd 4: [Sc in next 2 sts, inc] 3 times (12)
Hat brim
Color change: Switch to white for the brim.
Rnd 5: Sc in each st around (12)
Front loops only: In the next round, put your hook under just the front loop of each Round 5 stitch. That’s the loop closest to you. The back loops stay free, and you’ll come back to them for the body.
Rnd 6: For the brim, working in front loops only: [Sc, inc] 6 times (18)
Body
Color change: Switch to black for the body.
Going back under the brim: Round 7 isn’t worked into the brim you just made. Lift the brim out of the way and find the 12 free back loops of Round 5 underneath it. Work the next round into those loops. The brim stays on the outside, and the body grows down from under it.
Rnd 7: Working in the back loops of Rnd 5, under the brim: [Sc, inc] 6 times (18)
Working the white front: Rounds 8 through 10 switch between black and white within the round. To keep each color line neat, many crocheters use the new color for the last pull-through of the stitch just before the switch. Yarnspirations shows this move in its color-change tutorial, and our guide to changing colors in amigurumi covers it for small rounds like these. Always switch exactly where the round tells you to.
Rnd 8: With black, sc in next 7 sts; with white, sc in next st; with black, sc in next 3 sts; with white, sc in next st; with black, sc in next 6 sts (18)
Rnd 9: With black, sc in next 7 sts; with white, sc in next 2 sts; with black, sc in next 2 sts; with white, sc in next 2 sts; with black, sc in next 5 sts (18)
Rnd 10: With black, sc in next 6 sts, wing; with white, sc in next 8 sts; with black, sc in next st, wing, sc in next 3 sts (18)
Counting around the wings: Each wing is worked off the sc you just finished. Then you carry on into the next stitch of the round. The wings aren’t counted in the total: 6 + 8 + 1 + 3 sc still gives you 18. The 8 white stitches between the wings make the penguin’s front.
Base
Color change: Switch to gray yarn.
Rnd 11: Sc in each st around (18)
Stuff and add the eyes: Stuff the penguin as you go and insert the eyes now. The designer glues the eyes on after the crochet is finished instead. Add the stuffing in small amounts, because the opening gets very small over the last rounds. Our guide on how to stuff amigurumi without lumps has more help with this.
Rnd 12: Sc in next 8 sts, leg in next st, sc in next 4 sts, leg in next st, sc in next 4 sts (18)
Placing the feet: Each leg bobble takes the place of one stitch. With 8 + 4 + 4 sc plus 2 legs, the round still ends at 18. The 4 sc between the two legs set the space between the feet. If a bobble puffs toward the inside, gently push it out to the right side with your fingertip. The written pattern doesn’t switch colors for the feet, so they’re worked in the gray of this round.
Rnd 13: [Sc, dec] 6 times (12)
Rnd 14: Dec 6 times (6)
Finishing
- Close the opening and weave in the yarn tail.
- Embroider the beak.
More to crochet next
Questions about this penguin
How does the brim stand out without being sewn on?
Round 6 is worked only into the front loops of white Round 5, and it increases to 18 stitches. Round 7 then goes into the free back loops of Round 5, under the brim. That leaves the brim as its own edge on the outside, while the body carries on underneath.
Do the wings and legs change the stitch count?
No. Each wing is worked off the sc before it and isn’t counted, so the single crochets in Round 10 add up to 18 on their own. Each leg in Round 12 takes the place of one stitch, so 16 sc plus 2 legs also make 18.
Should I use 3 or 4 double crochets for each leg?
The pattern lets you choose a 3-dc or 4-dc bobble. Four double crochets make a slightly plumper bump. Whichever you pick, use the same number for both feet so they match.
When do the eyes go in?
The pattern has you insert the eyes after Round 11, while you stuff and the opening is still wide. The designer glues the eyes on after the crochet is finished instead.
Can I make the hat in a different color?
Yes. The hat can be any color you like. A red hat with a white brim gives you the holiday look, and other colors make an everyday little penguin in a hat.