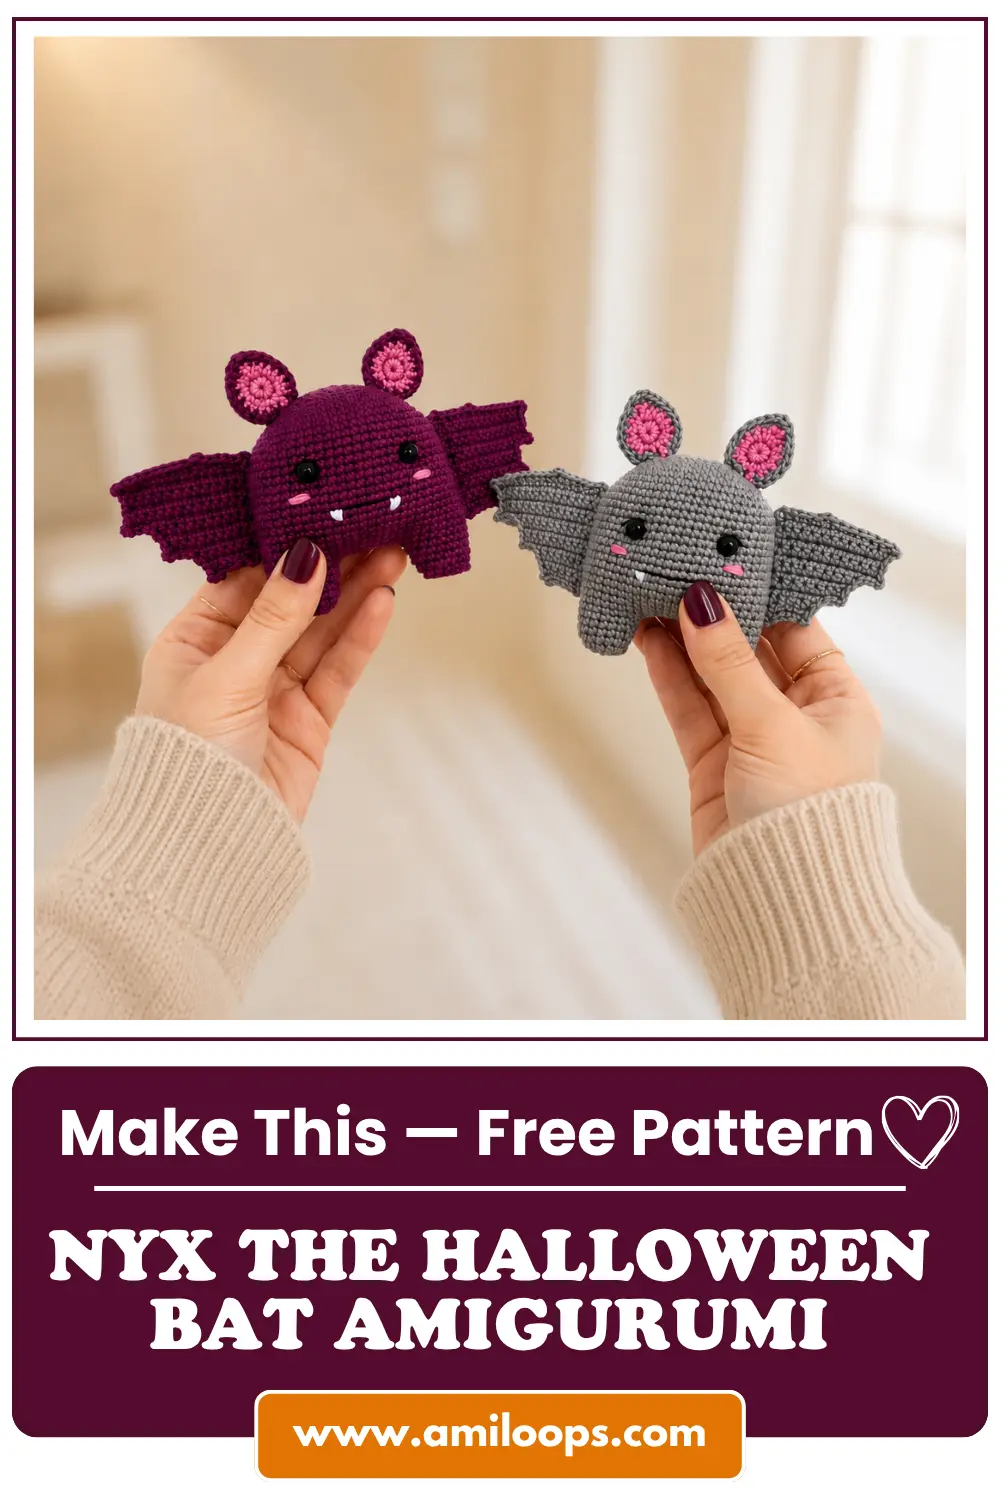
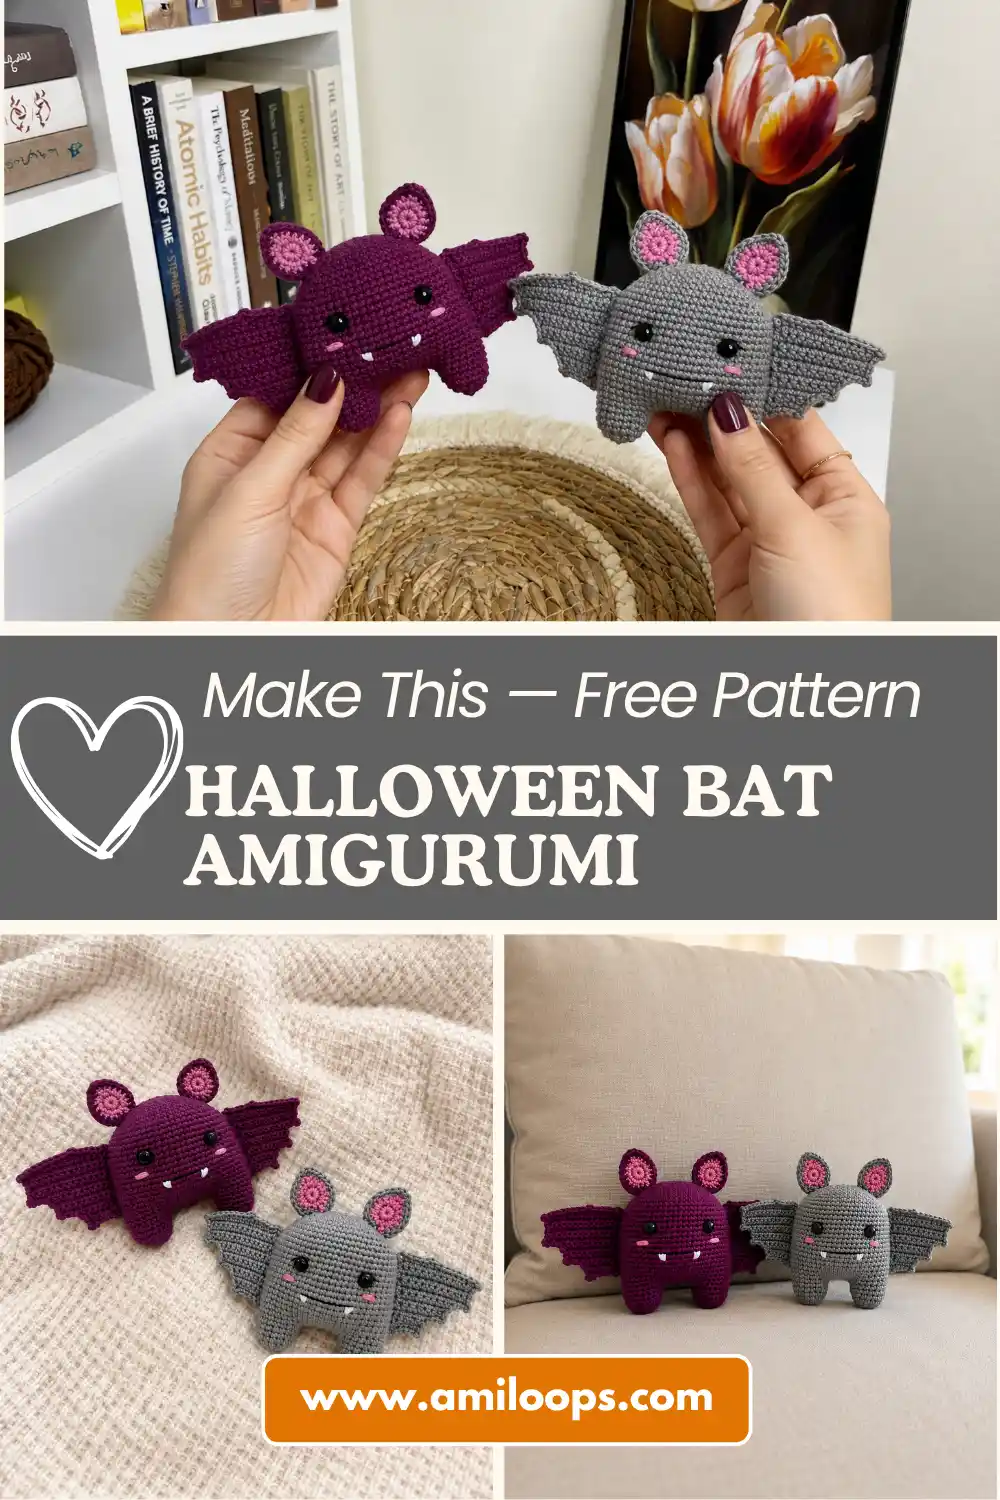
Meet Nyx — A Free Halloween Bat Amigurumi With Softly Folded Wings
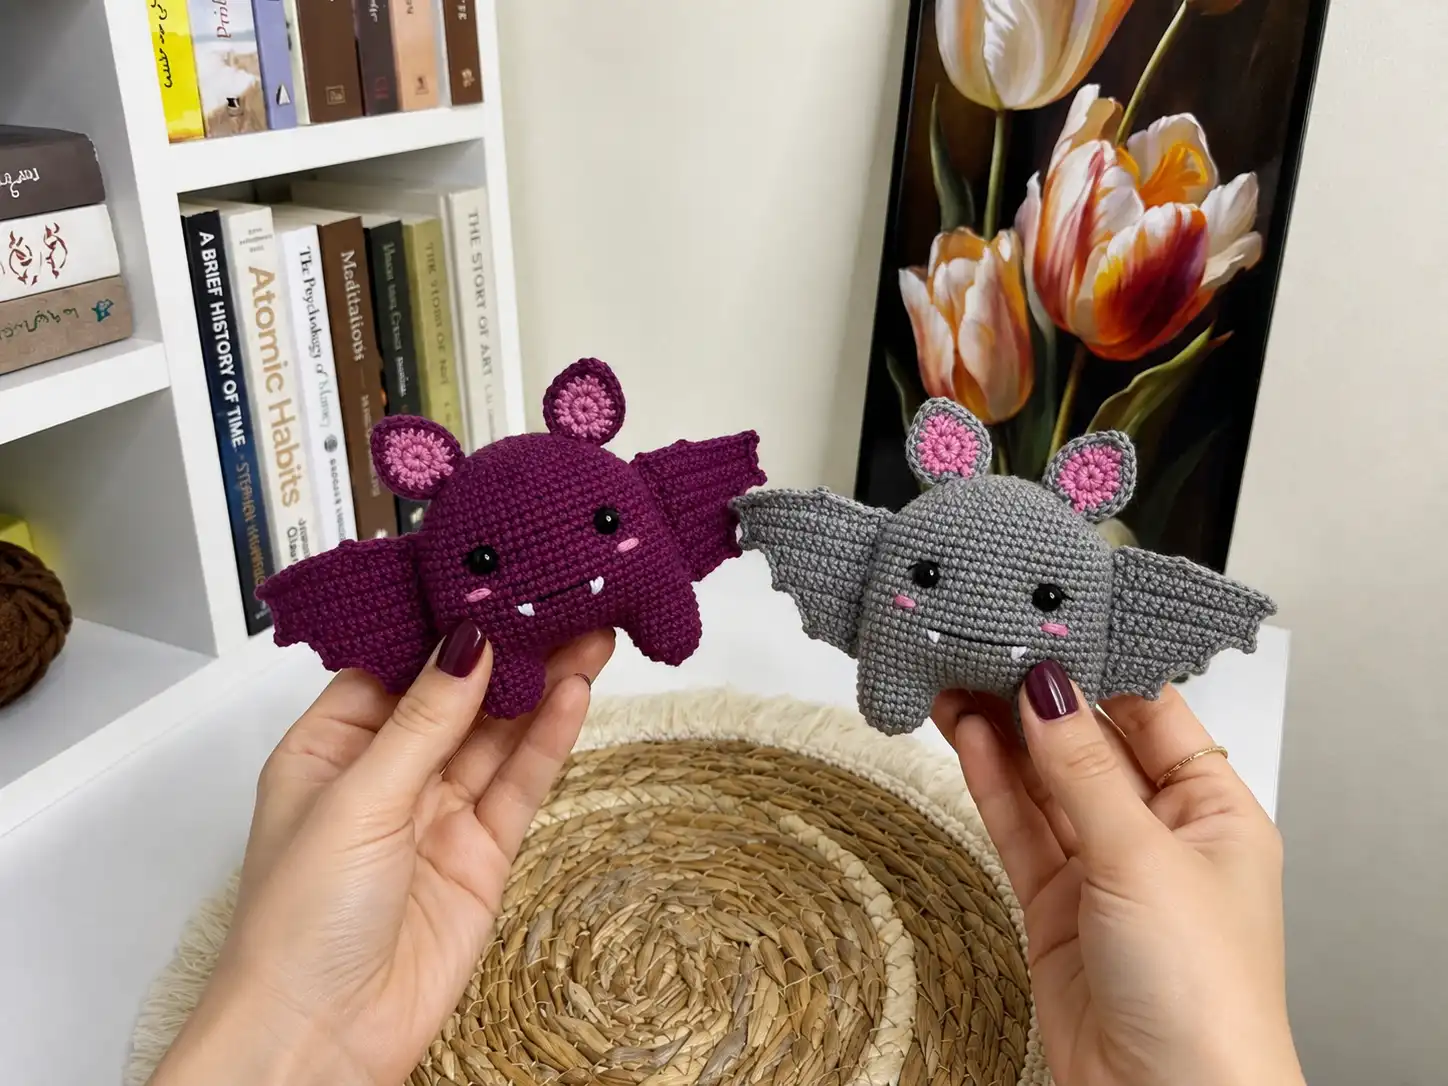
This free halloween bat amigurumi pattern isn’t the kind of bat that startles you in the dark — it’s the kind that curls up quietly on a shelf, wings tucked in, waiting for someone to notice the tilt of its ears. I named this one Nyx before the wings were even finished, because something about the shape of her already felt nocturnal and a little shy. If you’ve been looking for a Halloween project with real personality instead of just orange and black yarn, this is where you start.
📖 Meet Nyx
- 🌟 Personality: quiet, curious, a little mischievous
- 🎨 Color Palette: deep plum purple with soft pink ear linings and a whisper of white for the fangs
- 📏 Size: approximately 6 in tall (estimated from stitch counts — exact finished size wasn’t specified in the source pattern)
- 🪝 Hook: 1.95 mm (no US letter equivalent) and a steel 2.0 mm hook for the ears
- ⏱️ Time: 6-9 hours
- ✨ Signature Detail: picot-edged wings and a two-tone ear built from two joined pieces
- 💡 Difficulty: Intermediate
Materials for Your Free Halloween Bat Amigurumi Pattern
The body works up in a deep, dusty plum — the kind of purple that looks almost black in low light, which felt right for a creature who belongs to the nighttime. A soft gray is offered as an alternative if you’d rather Nyx look more like a moonlit little mouse than a shadow.
- Main color (deep plum purple, or soft gray): DK / Light Worsted (3) weight cotton, such as Paintbox Cotton DK or Drops Safran
- Pink: DK / Light Worsted (3) weight cotton, for the ear linings
- White: DK / Light Worsted (3) weight cotton, just a small amount for the embroidered fangs
- Black: a lace-weight thread for embroidering the face — anything fine and dark works
- Hooks: 1.95 mm (no US letter equivalent — this falls below the smallest standard US letter size) for the body and wings, and a steel 2.0 mm hook for the small ear pieces
- 6 mm safety eyes
- Polyester fiberfill stuffing
- Tapestry needle and scissors
This yarn falls into the DK / Light Worsted (3) category — smooth and matte, which is exactly what you want for a face this small. It holds detail without any fuzziness blurring the expression.
Abbreviations Used in This Halloween Bat Amigurumi Pattern
| Abbreviation | Meaning |
|---|---|
| mr | magic ring |
| ch | chain |
| sc | single crochet |
| inc | increase |
| inv dec | invisible decrease |
| dc | double crochet |
| sl st | slip stitch |
| ( )*n | repeat the instructions in parentheses n times |
✨ Sophie’s Note: Every decrease in this pattern is worked as an invisible decrease rather than a standard sc2tog. It keeps Nyx’s shaping smooth instead of gappy — especially important along a small, expressive face. Stitch counts throughout stay exactly as written.
Before the Story Begins — Getting Ready for Your Crochet Bat Pattern
Every character at AmiLoops begins the same way — with a small, closed loop. If magic rings still feel a little mysterious, our magic ring tutorial walks through it slowly, and it becomes second nature after the first leg.
Nyx is shaped almost entirely through invisible decreases, which is what gives her body its smooth, rounded taper instead of a lumpy one. If you haven’t worked this method before, the invisible decrease tutorial is worth a look before you start the body — it’s a small technique that makes a big difference in how finished a piece looks.
This pattern also comes together in several small pieces — two wings, two ears in two colors each, a body, and a set of legs — so take your time with the sewing tutorial when you reach assembly. Positioning is where Nyx’s personality really gets decided.
✨ Sophie’s Note: This isn’t a quick pattern, and that’s alright. The wings alone take patience — thirteen shaped rows and a full picot edge each. Let yourself slow down for that part. It’s where the character starts to feel handmade instead of just made.
Crochet Pattern: Bat Amigurumi Legs and Body
1st Leg (make 1)
Yarn: Main color Hook: 1.95 mm Start: Magic ring
Row 1: 6 sc in mr (6)
Row 2: 6 inc (12)
Row 3: (1 sc, inc) x6 (18)
Rows 4-6: 18 sc (18)
Cut yarn and fasten off.
2nd Leg and Body (make 1)
Yarn: Main color Hook: 1.95 mm Start: Continue directly into the 2nd leg
Rows 1-6: Work the same as the 1st leg, but don’t cut the yarn this time (18)
Row 7: 18 sc along the 1st leg, 9 sc along the connecting chain, 18 sc along the 2nd leg, 9 sc along the chain (54)
Rows 8-24: 54 sc (54)
Row 25: 9 sc, inv dec, 25 sc, inv dec, 16 sc (52)
Row 26: 7 sc, inv dec, 2 sc, inv dec, 20 sc, inv dec, 2 sc, inv dec, 13 sc (48)
Row 27: 4 sc, inv dec, (2 sc, inv dec) x2, 14 sc, inv dec, (2 sc, inv dec) x2, 10 sc (42)
Row 28: (2 sc, inv dec) x3, 11 sc, inv dec, (2 sc, inv dec) x2, 9 sc (36)
Row 29: 1 sc, inv dec, (2 sc, inv dec) x2, 8 sc, inv dec, (2 sc, inv dec) x2, 7 sc (30)
Row 30: (3 sc, inv dec) x6 (24)
Row 31: (2 sc, inv dec) x6 (18)
Row 32: (1 sc, inv dec) x6 (12)
Row 33: 6 inv dec (6)
✨ Sophie’s Note: After row 6, connect the two legs with a chain of 9, joining it to the first leg — that chain becomes the base of the body in row 7. Stuff the legs and body gradually as you go through rows 8-24. Between rows 19 and 20, this is where the safety eyes go in, spaced 12 stitches apart. By row 30, finish stuffing firmly before closing.
This is where the body really starts to take shape — you’ll feel her tapering under your fingers before you can even see it clearly. Once she’s closed off at row 33, set her down for a second. Even legless-and-earless, there’s already something there.
Cut the yarn, close the opening, and weave in the tail.
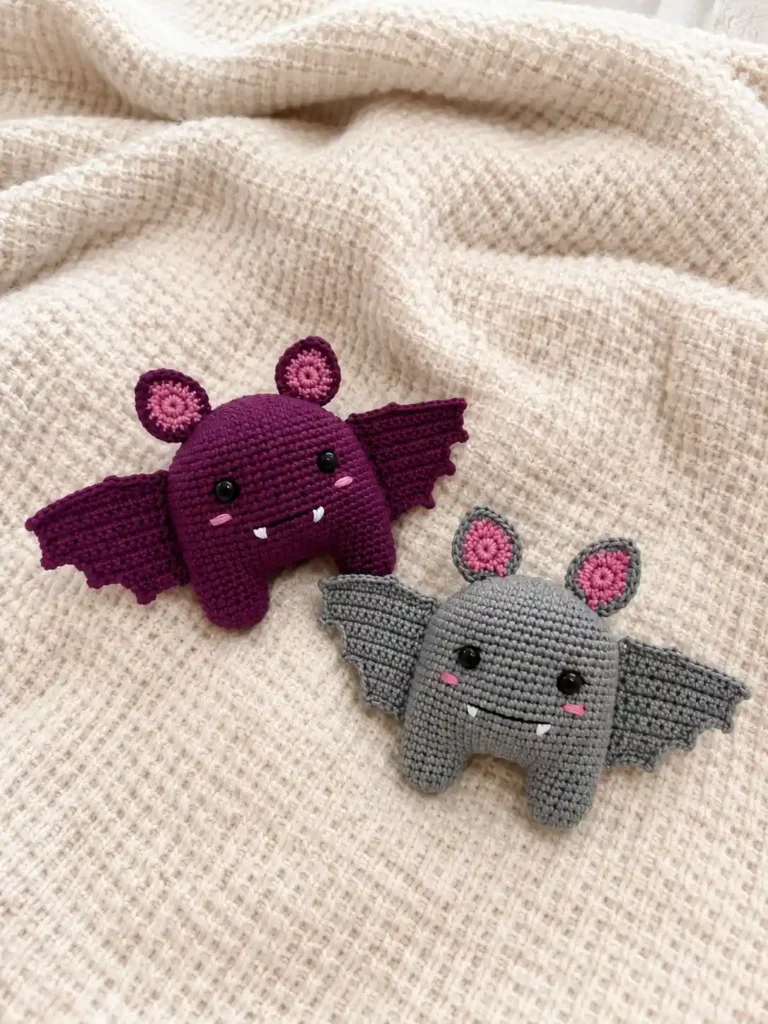
Crochet Pattern: Bat Wings
The wings are the part I’d ask you to be patient with. They’re worked flat, in turning rows, and shaped almost entirely through where you start each row — not through decrease stitches. It reads a little unusual on paper, but it produces a beautifully uneven, batlike silhouette once it’s edged.
1st Wing (make 1)
Yarn: Main color Hook: 1.95 mm Start: Ch 17, worked in turning rows
Row 1: starting in the 3rd st from hook, 15 sc, 1 ch, turn (15)
Row 2: starting in the 2nd st from hook, 15 sc, 1 ch, turn (15)
Row 3: starting in the 3rd st from hook, 14 sc, 1 ch, turn (14)
Row 4: starting in the 2nd st from hook, 14 sc, 1 ch, turn (14)
Row 5: starting in the 3rd st from hook, 13 sc, 1 ch, turn (13)
Row 6: starting in the 2nd st from hook, 11 sc, 1 ch, turn (11)
Row 7: starting in the 3rd st from hook, 10 sc, 1 ch, turn (10)
Row 8: starting in the 2nd st from hook, 10 sc, 1 ch, turn (10)
Row 9: starting in the 3rd st from hook, 9 sc, 1 ch, turn (9)
Row 10: starting in the 2nd st from hook, 7 sc, 1 ch, turn (7)
Row 11: starting in the 3rd st from hook, 6 sc, 1 ch, turn (6)
Row 12: starting in the 2nd st from hook, 6 sc, 1 ch, turn (6)
Row 13: starting in the 3rd st from hook, 5 sc, sl st (6)
Don’t cut the yarn yet — you’ll edge the wing directly from here.
Edging: 1 turning ch, 5 sl st along the bottom edge, (sl st, 2 ch, sl st) in the corner, 5 sl st, (sl st, 2 ch, sl st) in the corner, 5 sl st, (sl st, 2 ch, sl st) in the corner, 3 sl st, (sl st, 2 ch, sl st) in the corner. Along the top edge: 1 sl st, 7 sc, (1 sc, 2 ch, 1 sc) in one stitch, 3 sc, 2 sl st. Leave the tail for sewing later.
✨ Sophie’s Note: Mark the corners with a stitch marker or pin before you edge — the picots (that little sl st, 2 ch, sl st combination) are what give the wing its scalloped, membrane-like edge, and it’s easy to lose track of where they go on a piece this small.
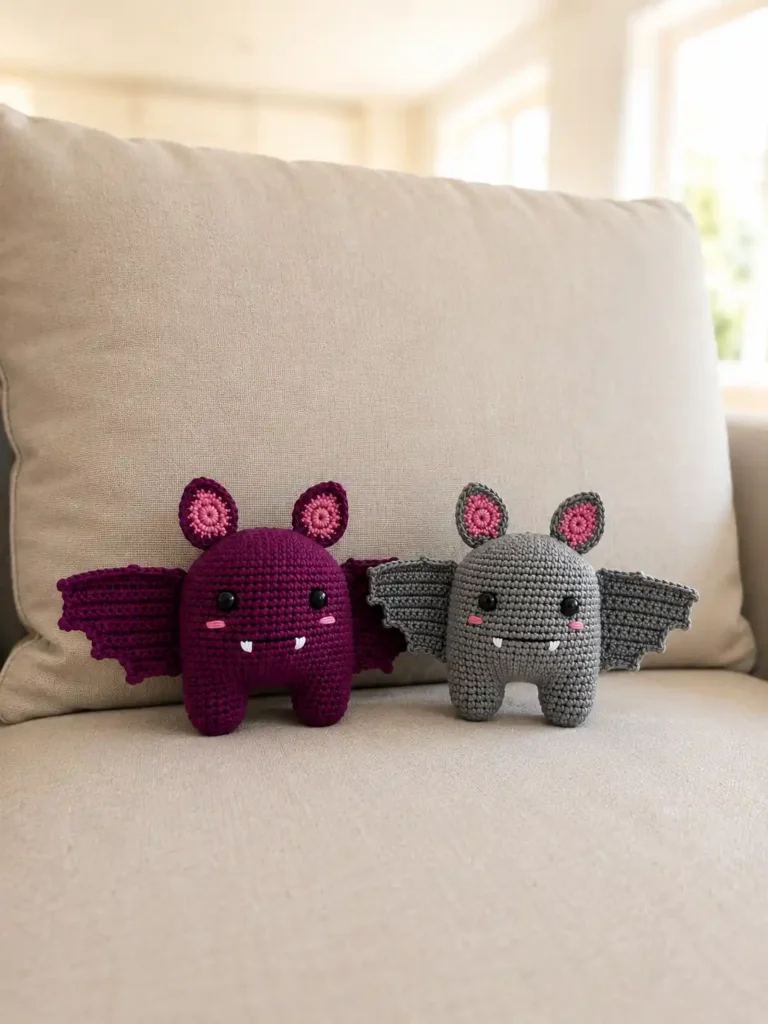
2nd Wing (make 1)
Yarn: Main color Hook: 1.95 mm Start: Ch 17
Rows 1-13: worked identically to the 1st wing (see 1st wing counts above)
This time, fasten off after row 13 and cut the yarn — you’ll start the edging fresh from the opposite end so the two wings mirror each other rather than repeat.
Edging: First, edge the top: 2 sl st, 3 sc, (1 sc, 2 ch, 1 sc) in one stitch, 7 sc, sl st. In the top stitch, work a picot (sl st, 2 ch, sl st). Then edge the uneven and bottom edges the same way as the first wing, working a picot into each corner.
Lay both wings side by side before moving on — this is the moment to check they’re truly mirrored, not identical. A little asymmetry between left and right is normal and part of how bat wings actually look folded.
Crochet Pattern: Bat Ears
The ears are built from two small pieces joined together — a soft pink lining and a main-color outer shell — which is what gives Nyx that two-tone, slightly translucent-looking ear.
Pink Ear Piece (make 2)
Yarn: Pink Hook: steel 2.0 mm Start: Magic ring
Row 1: 9 sc in mr, close the ring, turn (9)
Row 2: 2 ch, inc, 3 sc, (1 sc, 1 ch, 1 dc, 1 ch, 1 sc) in one stitch, 3 sc, 3 sc in one stitch (18)
Fasten off and cut the yarn.
Main Color Ear Piece and Assembly (make 2)
Yarn: Main color Hook: steel 2.0 mm Start: Magic ring
Row 1: 9 sc in mr, close the ring, turn (9)
Row 2: 2 ch, inc, 3 sc, (1 sc, 1 ch, 1 dc, 1 ch, 1 sc) in one stitch, 3 sc, 3 sc in one stitch (18)
Don’t cut the yarn this time — you’ll use it to join the two ear pieces together.
Joining: Hold the pink and main-color pieces together and edge both with single crochet, working 3 sc into the top point of the ear (into the stitch formed by the dc). Leave the bottom edge of the ear unworked — that’s where it attaches to the head. The joined ear should total 19 sc around.
✨ Sophie’s Note: Leaving the bottom open isn’t a mistake — it’s what lets the ear sit flat against the head instead of standing off it stiffly. That small detail is part of what makes Nyx’s ears look like they’re actually listening.
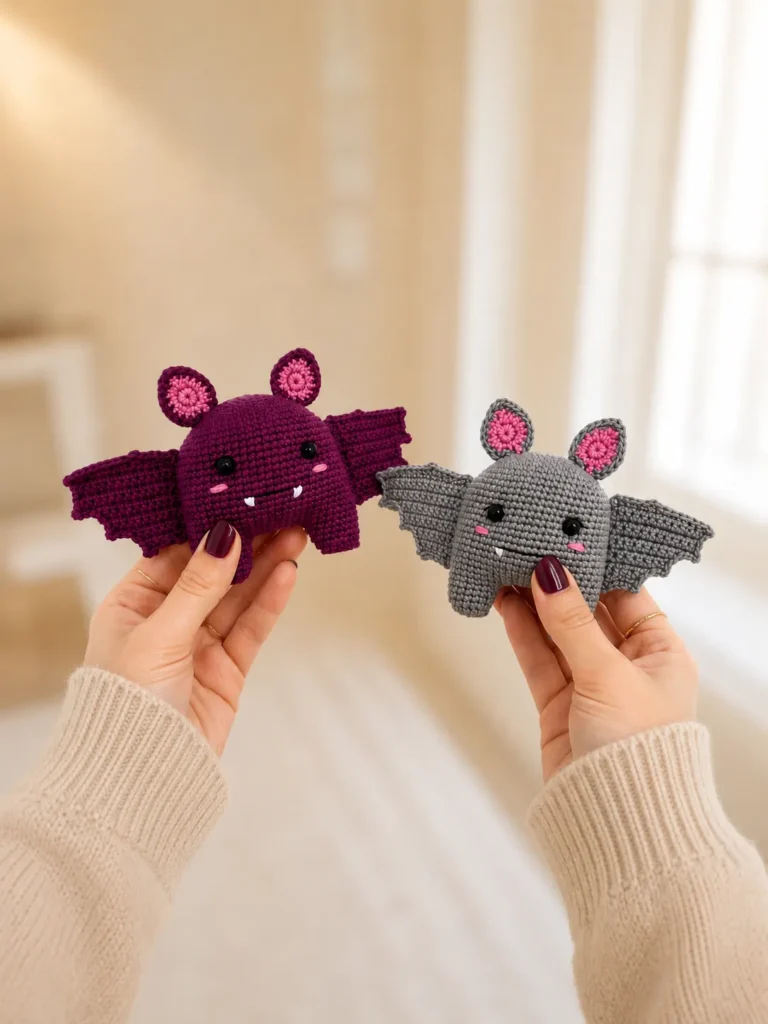
Assembly — Bringing Nyx Together
This is the moment all these small pieces stop being separate and become one small creature.
- Steam the wings lightly with an iron if they’ve curled from blocking or handling — this helps them lie flat before sewing.
- Position the wings along the upper back of the body, angled slightly downward as if folded in rest, and sew in place using the sewing tutorial as a guide for a clean, secure seam.
- Position the ears on top of the head. Try shifting them a few millimeters inward or outward before committing to the stitch — moved closer together, Nyx looks more alert; spaced wider, she looks softer and sleepier.
- Double check the safety eyes are secure (these should already be installed from the body stage, between rows 19 and 20).
Face and Final Details
The face is entirely embroidered, and it’s where Nyx’s expression really gets decided.
- Using black thread, embroider a small mouth and a set of tiny eyelashes above the safety eyes.
- Using white thread, embroider two small fangs just below the mouth.
- Using pink thread, embroider soft round cheeks — this one detail is what shifts her from spooky to sweet.
✨ Sophie’s Note: The safety eyes carry safety-hardware requirements when a toy might reach a child — worth reviewing the CPSC’s general toy safety guidance if this one’s headed toward a younger home.
A Small Halloween Accessory Idea
Nyx doesn’t come with an outfit in the original design, and honestly, I think she doesn’t need one — but if you wanted to dress her up for the season, a tiny knitted or crocheted witch hat in the same plum yarn, or a single loop of orange thread tied like a bow at the neck, would nudge her from “quiet nighttime creature” toward “in on the Halloween spirit.” Neither is necessary. She holds her own personality without any of it.
Meet Nyx
Nyx sits on the edge of my desk now, wings tucked close, ears leaning slightly toward each other like she’s listening for something down the hall. She isn’t scary — she’s the kind of small, watchful thing you’d want nearby on a quiet October evening, somewhere she can see the room without being in the middle of it. A windowsill, a shelf near a lamp, the top of a stack of books. Name yours something that fits the way she turned out — a little lopsided ear, a slightly longer wing — that’s not a mistake, that’s just who she became. 🧶
FAQ
What yarn is best for this free halloween bat amigurumi pattern?
A DK or Light Worsted weight cotton yarn (size 3) with a smooth, matte finish is ideal. Yarns like Paintbox Cotton DK or Drops Safran work perfectly to hold the small facial details without fuzziness.
How long does it take to crochet this bat amigurumi?
It typically takes between 6 to 9 hours. The body works up relatively quickly, but the picot-edged wings are worked flat in turning rows and require more time and patience.
Is this halloween bat amigurumi suitable for beginners?
This pattern is rated Intermediate. While it uses basic stitches, it involves joining legs, working flat shaped pieces for the wings, joining two-part ears, and using a very small hook (1.95 mm) for tight tension.