Jellyfish Amigurumi Free Pattern — Adorable Palm-Sized Sea Cutie
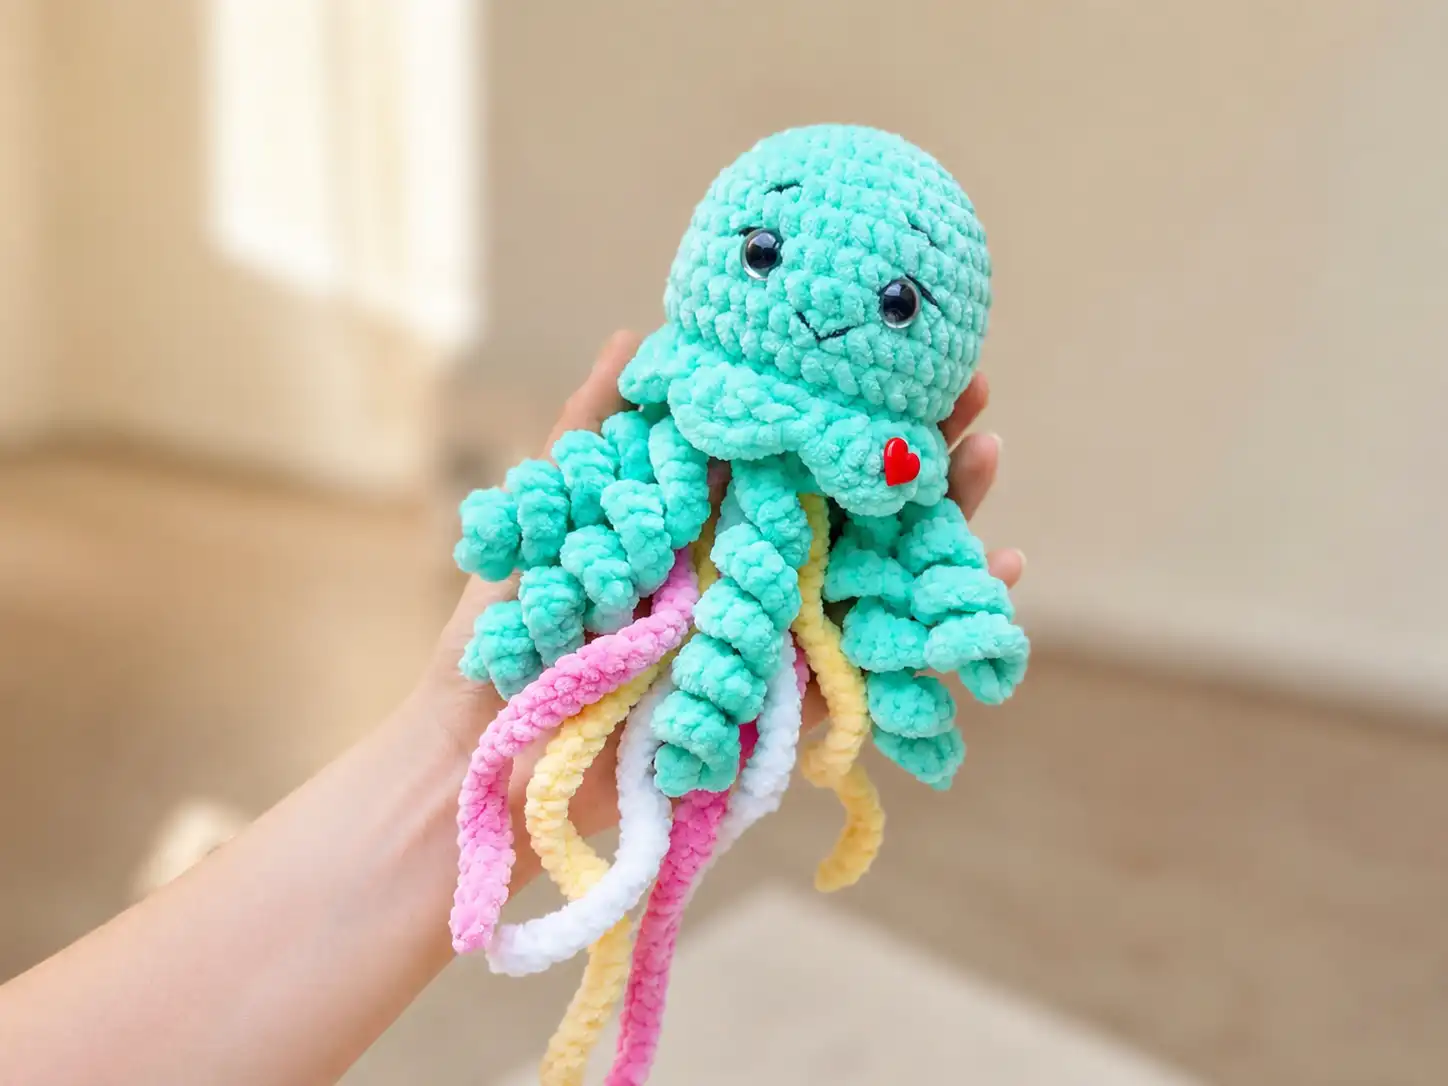
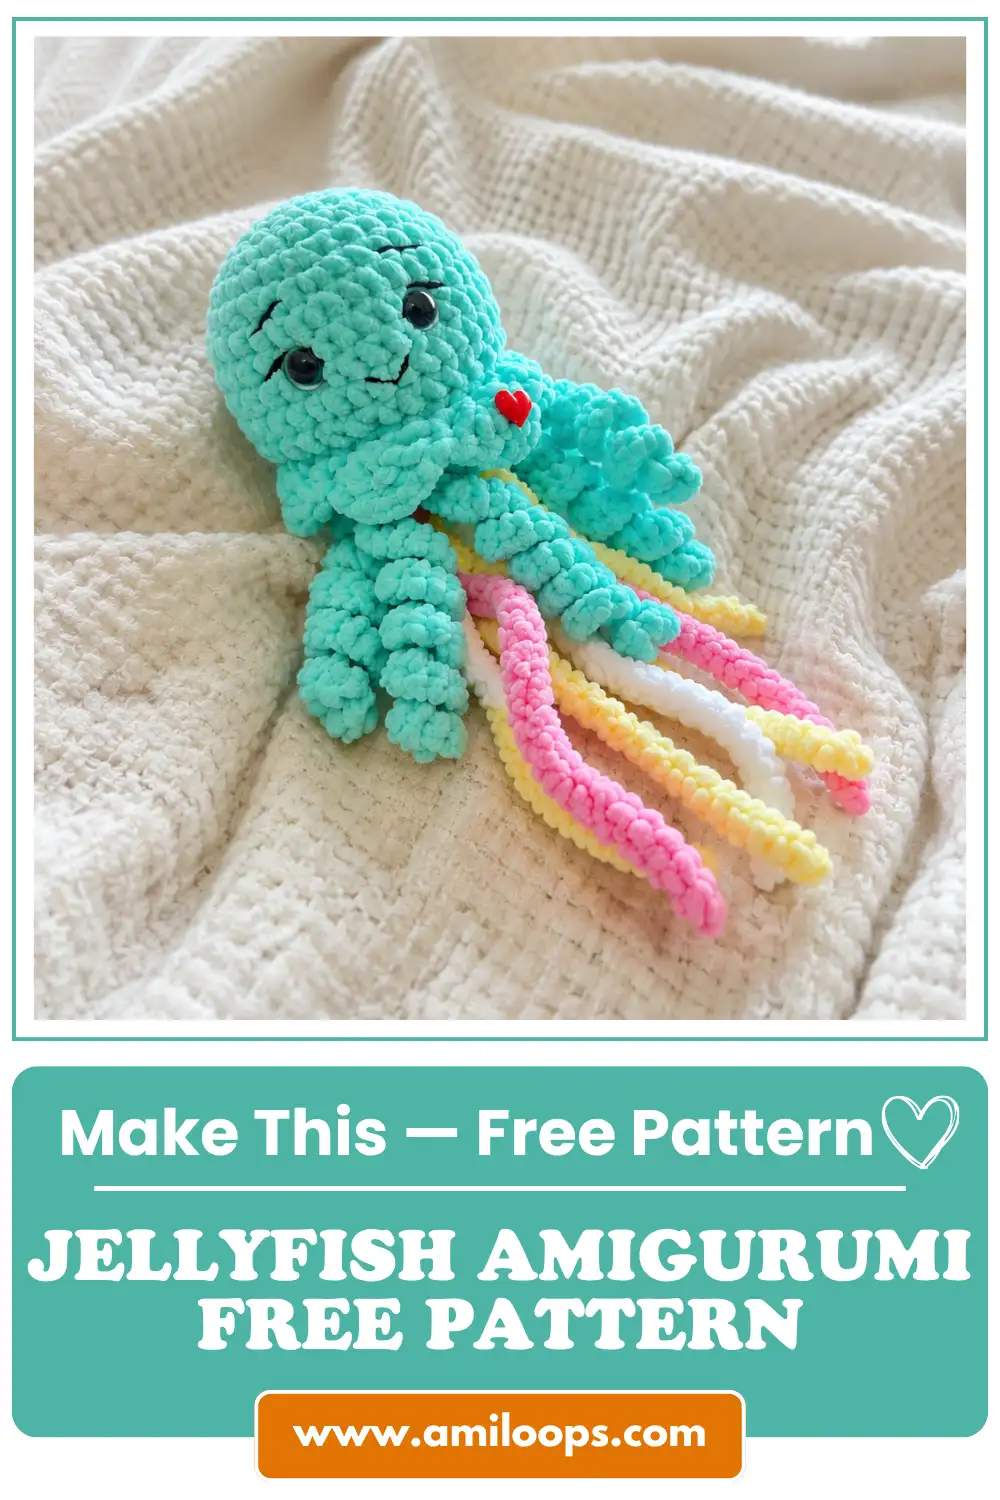
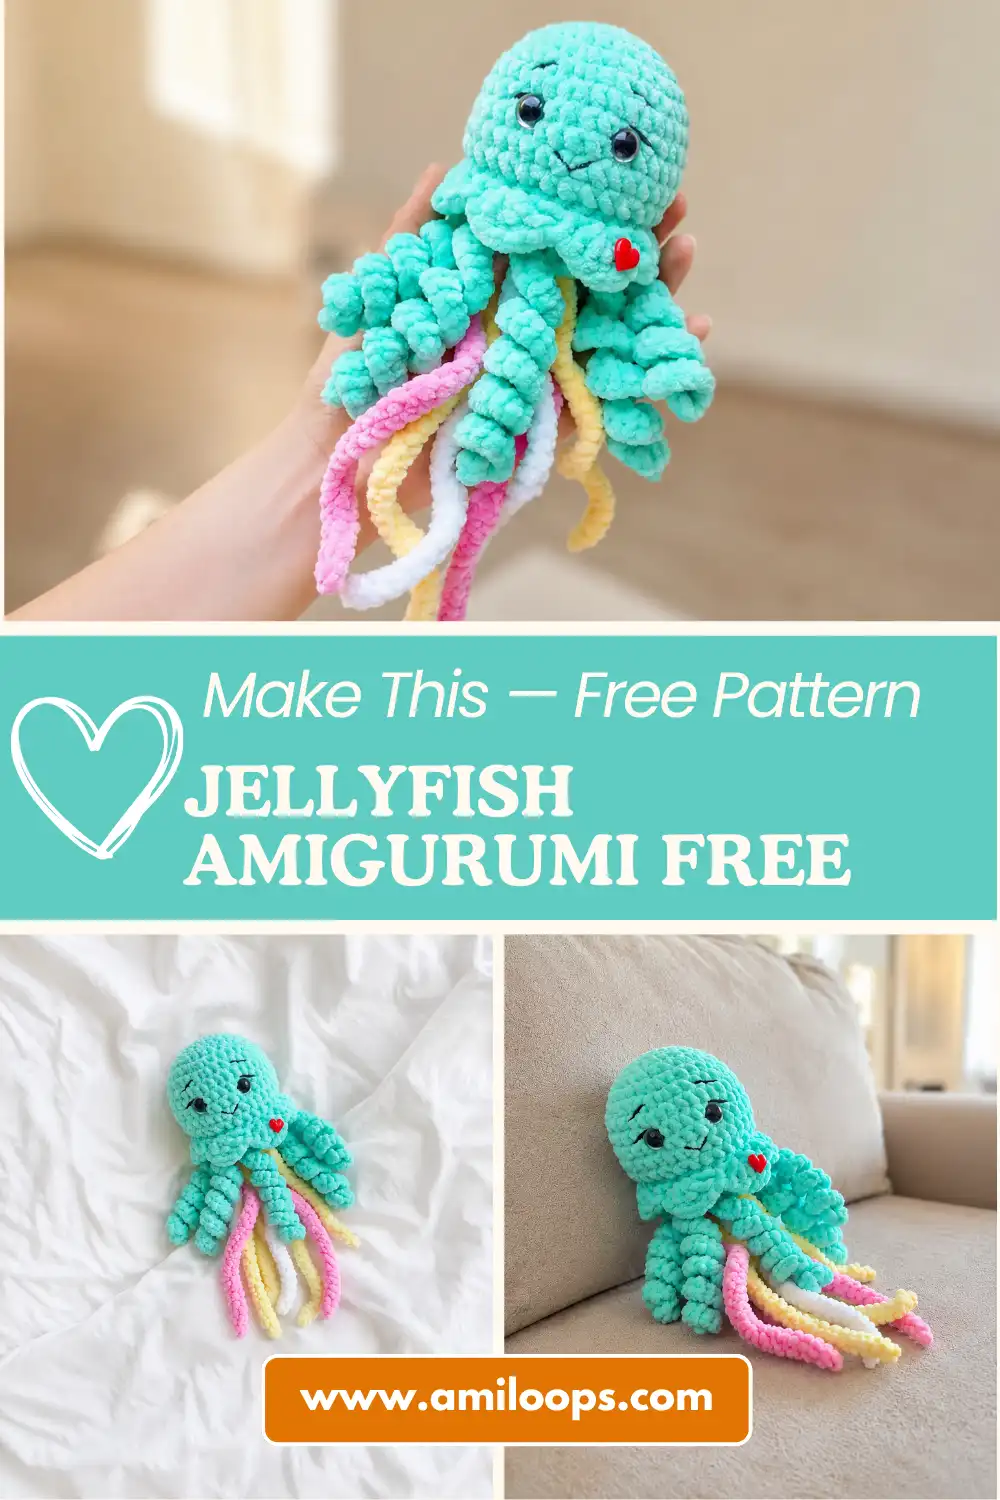
This jellyfish amigurumi free pattern turns out the dreamiest little sea creature — a soft round dome in whatever pastel you choose, with curling tentacles and thin trailing chains drifting underneath. Glossy safety eyes and a gentle scalloped skirt give it that sweet, floaty personality the second it’s finished. It fits right in your palm and somehow looks like it’s swimming even sitting perfectly still. Let me show you how it all comes together.
🩷 Pattern Highlights
- Cuteness Rating: 🩷🩷🩷🩷🩷
- Finished Size: body approx. 3.5–4 in tall (9–10 cm); tentacles approx. 5–6 in long (13–15 cm) (estimated — not stated by designer)
- Difficulty: Intermediate (estimated)
- Hook Size: E/4 (3.5 mm)
- Yarn Palette: soft mint body and dome, with pastel rainbow trailing chains underneath
- Key Detail: 12mm glossy safety eyes, softly curling tentacles, and dangling multicolor chains that sway when you pick it up
- Estimated Time: 3–4 hours (estimated)
What You’ll Need for This Jellyfish Amigurumi Free Pattern
For the body of the jellyfish, you’ll want a soft Bulky (5) chenille yarn — the original pattern uses Himalaya Dolphin Baby, and Bernat Baby Velvet or Premier Parfait are lovely US substitutes with that same brushed, huggable texture. For the little embroidered face, you’ll need a DK/Light Worsted (3) yarn like YarnArt Jeans, or Paintbox Cotton DK as an alternative — something with enough body to sit cleanly on top of the chenille without disappearing into it.
- Bulky (5) chenille yarn in soft mint, for the bottom part and head — Bernat Baby Velvet or Premier Parfait
- Small amounts of DK/Light Worsted (3) yarn in a few different pastel shades, for the six trailing chains
- A little dark DK/Light Worsted (3) yarn for embroidering the mouth, eyelids, and eyebrows
- Hook: E/4 (3.5 mm)
- 12mm safety eyes — this size gives the sweetest, slightly surprised jellyfish expression without overwhelming the face
- Polyester fiberfill or holofiber stuffing
- Stitch marker
- Tapestry needle and scissors
Abbreviations Used in This Pattern
| Abbreviation | Meaning |
|---|---|
| mr | Magic Ring |
| ch | Chain |
| sl st | Slip Stitch |
| sc | Single Crochet |
| dc | Double Crochet |
| inc | Increase (2 sc in same stitch) |
| inv dec | Invisible Decrease |
Before You Begin — Getting the Details Right
If magic rings still feel a little fiddly, take a peek at our magic ring tutorial before you cast on the bottom part and the head — both start this way, and a snug center ring keeps the whole piece looking clean from the very first round.
🩷 Chloe’s Detail Tip: Before you snap the safety eye washers in, hold the piece under a bright lamp and check from directly in front. Once those washers click, there’s no going back — so take an extra thirty seconds to make sure they’re perfectly even. Our safety eyes tutorial walks through exactly how I do this every time.
This pattern uses a decrease in the head, and I always work mine as an invisible decrease — it pulls the two front loops together so there’s no little gap peeking through, which matters a lot on a piece with such a smooth, rounded dome.
One more thing before you start: the tentacles are made a little differently than most amigurumi pieces you’ve probably crocheted. Instead of stitching a separate leg and sewing it on, you’ll chain out from the bottom part and then work increases back along that chain — it’s what gives the tentacles their soft, curling ruffle. Don’t worry if it feels unfamiliar at first; it comes together quickly once you see the curl start to form.
The Jellyfish Amigurumi Pattern, Piece by Piece
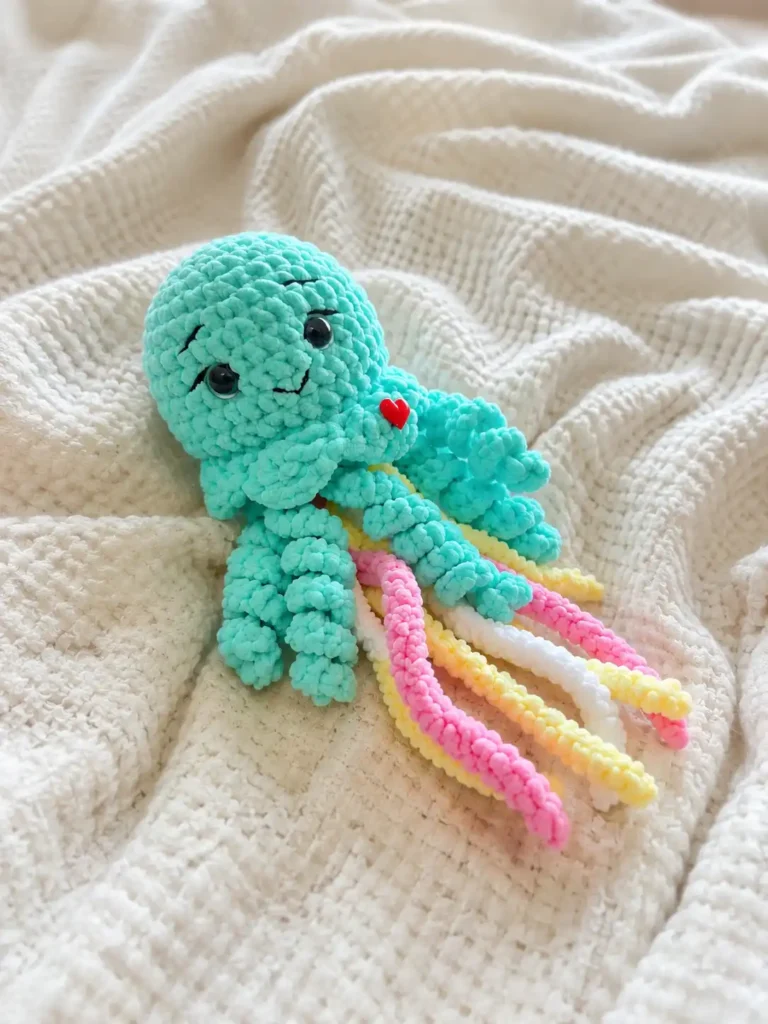
Bottom Part (×1)
Start with your mint chenille and a magic ring — this little disc becomes the base the tentacles are built right into.
Row 1: 6 sc in mr (6)
Row 2: 6 inc (12)
Row 3: (1 sc, inc) * 6 (18)
Row 4: (2 sc, inc) * 6 (24)
Row 5: (3 sc, inc) * 6 (30)
Finishing: Work a sl st, cut yarn and fasten off.
This is just a simple flat mint circle right now — hard to believe it’s about to grow five curling tentacles straight out of its edge. That’s the fun part coming up next.
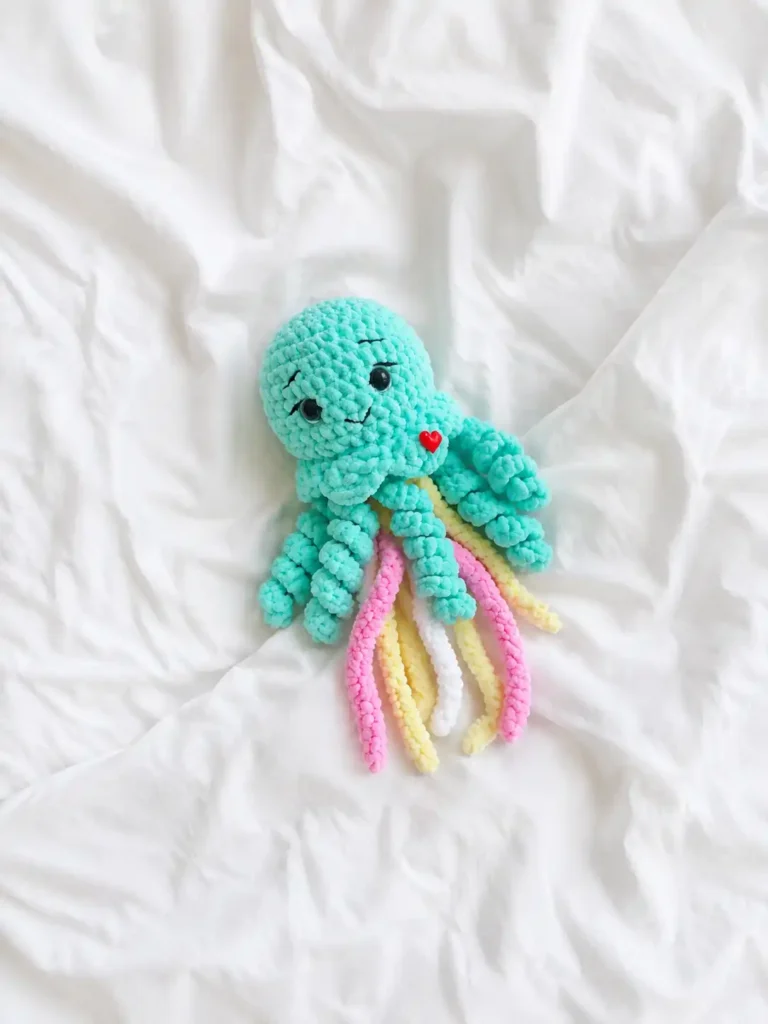
Legs / Tentacles (×1 set of 5)
This is where it gets a little different from your usual amigurumi legs. Instead of crocheting a separate piece, you’ll work directly into the edge of the bottom part, chaining out and then increasing back along each chain to build in that soft curl.
Row 1: 30 ch, 30 inc — this makes your first tentacle (count not specified by designer)
Row 2: Without skipping stitches, work 3 sc, catching the stitches of the bottom part fully. Then 30 ch, 30 inc, 4 sc (count not specified by designer)
Row 3: 30 ch, 30 inc, 3 sc (count not specified by designer)
Row 4: 30 ch, 30 inc, 4 sc (count not specified by designer)
Row 5: 30 ch, 30 inc, 3 sc (count not specified by designer)
Note: Insert your hook between rows 3 and 4 of the bottom part, right where your stitch marker was — this keeps all five tentacles sitting in a neat circle, about two rows in from the edge. Insert the hook, pull up a loop, chain 1, and secure the yarn end.
Finishing: Join to the beginning of the round with a sl st. Cut yarn and fasten off.
Watch what happens as you work those increases back along each chain — the tentacle starts to ruffle and curl on its own. That little spiral is exactly what you want, and it’s genuinely satisfying to watch happen in real time.
Separate Chains (×6)
These are the thin, trailing streamers that drift underneath the jellyfish alongside the five main tentacles. Make six, in a few different pastel lengths and colors for that soft, layered look.
Row 1: Chain your desired length. Starting from the second chain from the hook, work a sl st into each chain along the entire length (length not specified by designer — vary each of the 6 for a natural, trailing look)
Finishing: Cut yarn, leaving a small tail for attaching later.
Head + “Skirt” (×1)
Now for the sweet round dome that becomes the face. This part starts exactly like the bottom part, then keeps building up before it joins the two pieces together.
Row 1: 6 sc in mr (6)
Row 2: 6 inc (12)
Row 3: (1 sc, inc) * 6 (18)
Row 4: (2 sc, inc) * 6 (24)
Row 5: (3 sc, inc) * 6 (30)
Row 6: (4 sc, inc) * 6 (36)
Rows 7–10: sc around, no increases (4 rows total) (36)
Row 11: (4 sc, inv dec) * 6 (30)
Note: Insert the 12mm safety eyes between rows 8 and 9, spacing them 4 sc apart. This is the sweet spot for that gentle, wide-eyed jellyfish look. Stuff the head firmly before closing it up.
Row 12: 30 sc — this is the joining row. Grab the stitches of both the bottom part and the head together with your hook and crochet through both layers at once (30)
Row 13 — the skirt: 1 sc, skip 1 stitch, 5 dc in next stitch, skip 1 stitch, 1 sc, 5 dc in next stitch, and continue around (total not specified by designer)
Note: Watch your diagram reference as you crochet the shells — at the end of the round you’ll have 2 “extra” stitches left over. To absorb them smoothly, skip 2 stitches instead of 1 a couple of times as you go, rather than 1 stitch each time. Done carefully, it stays visually unnoticeable in the finished ruffle.
Finishing: Finish with a sl st, fasten off, cut yarn, and weave in all ends.
This is the moment the two pieces finally become one little jellyfish — and once that scalloped skirt ruffles out around the bottom edge, it genuinely starts to look like it’s mid-swim.
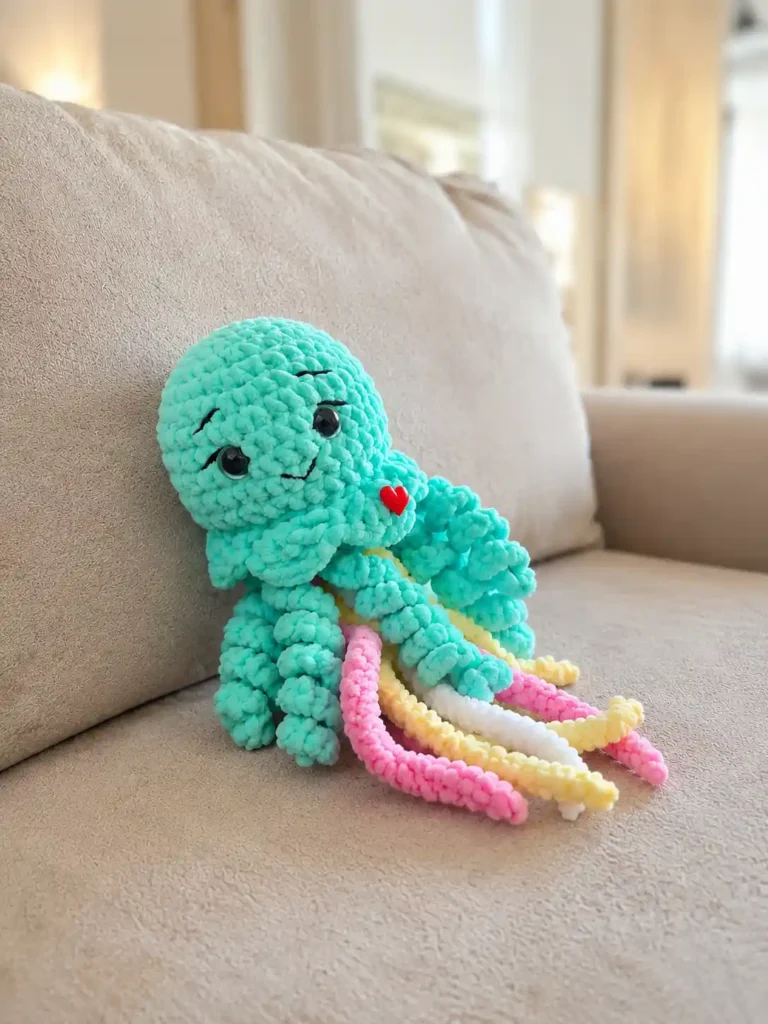
Assembly
- Work the five tentacles directly into the bottom part’s edge, inserting your hook between rows 3 and 4 where your stitch marker sat.
- Attach each of the six separate chains to the center of the bottom-part circle using their yarn tails. Thread the tails through at about 1 sc apart, and tie 2–3 secure knots on the wrong side so they don’t work loose.
- Join the bottom part and the head at head row 12, crocheting through both layers’ stitches together with a single sc round.
- Insert the 12mm safety eyes between head rows 8 and 9, spaced 4 sc apart, before you close up the stuffing.
- Embroider the mouth, eyelids, and eyebrows with your DK-weight face yarn once everything else is assembled.
Making It Extra Cute — Finishing Details
This is where it goes from nice to irresistible. A jellyfish amigurumi lives or dies on its little face and its drape, so don’t rush this part.
🩷 Chloe’s Detail Tip: For the mouth, keep your embroidery stitches small and slightly curved — a tiny gentle smile reads so much sweeter than a straight line. I like to add the eyebrows just a touch higher and further apart than feels natural at first; it gives that soft, permanently-pleasantly-surprised jellyfish expression that makes people smile back at it.
Once the eyes and face are in place, I always add a set of small embroidered pink cheeks — it’s not in the original pattern, just my own little signature touch, but I genuinely think no amigurumi face is finished without them. A few soft pink stitches just below and outside each eye is all it takes.
For the tentacles and trailing chains, don’t twist them into place — let them drape naturally so the curl from the increases can do its own thing. Gently steam or lightly stretch any tentacle that’s curling tighter than the others so the set looks even. And if you’re making the six separate chains in different pastel colors, arrange the lengths so they’re not all identical — a little variety in length makes the whole underside feel more like it’s actually drifting.
Chloe’s Final Look at This Jellyfish Amigurumi Free Pattern
I’ve been turning this little jellyfish around in my hands for way too long and I regret nothing. The soft mint dome, the ruffled skirt, those glossy eyes with the sweetest little embroidered cheeks underneath — it’s everything. Try a whole set in different pastels, lavender and baby pink and powder blue, and hang them together somewhere they can gently sway. Trust me, you won’t be able to stop looking at them. 🩷
FAQ
What yarn is best for this jellyfish amigurumi?
A bulky (weight 5) chenille yarn like Bernat Baby Velvet or Premier Parfait works best for a soft, huggable body and smooth dome shape.
How long does it take to crochet this jellyfish?
It takes approximately 3 to 4 hours to complete, making it a great quick weekend project.
Can beginners make this jellyfish pattern?
This is an intermediate pattern because it involves crocheting directly onto a base piece and working a scalloped shell skirt, but adventurous beginners can successfully make it by taking it step by step.