Gingerbread Man Amigurumi Free Pattern | Keychain
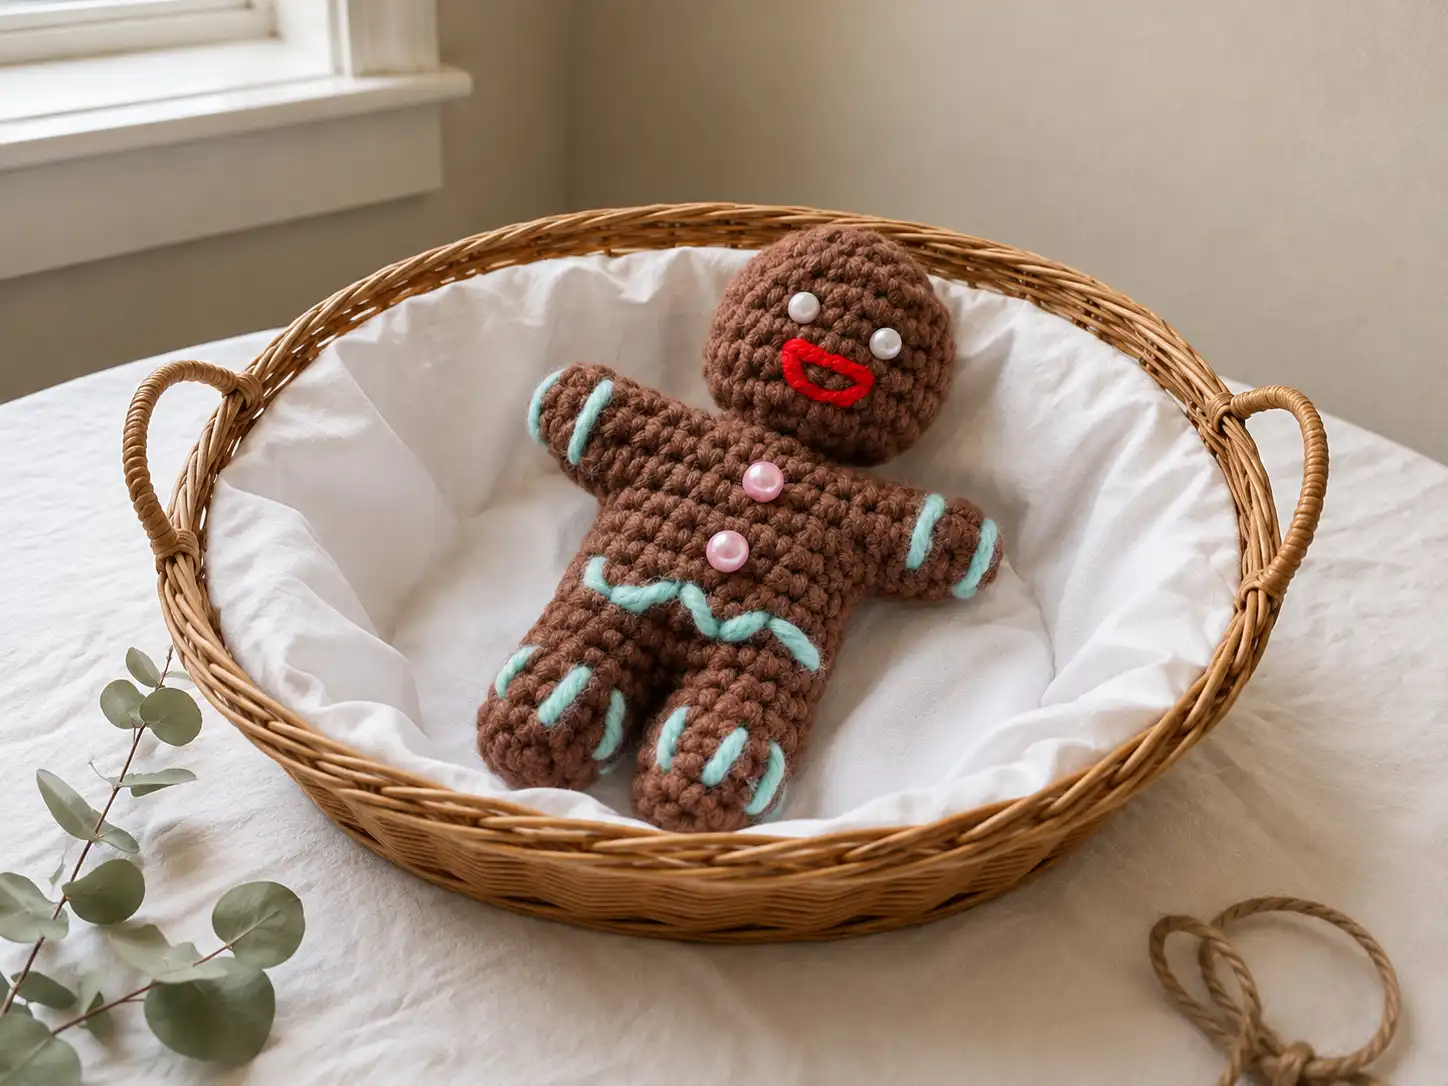
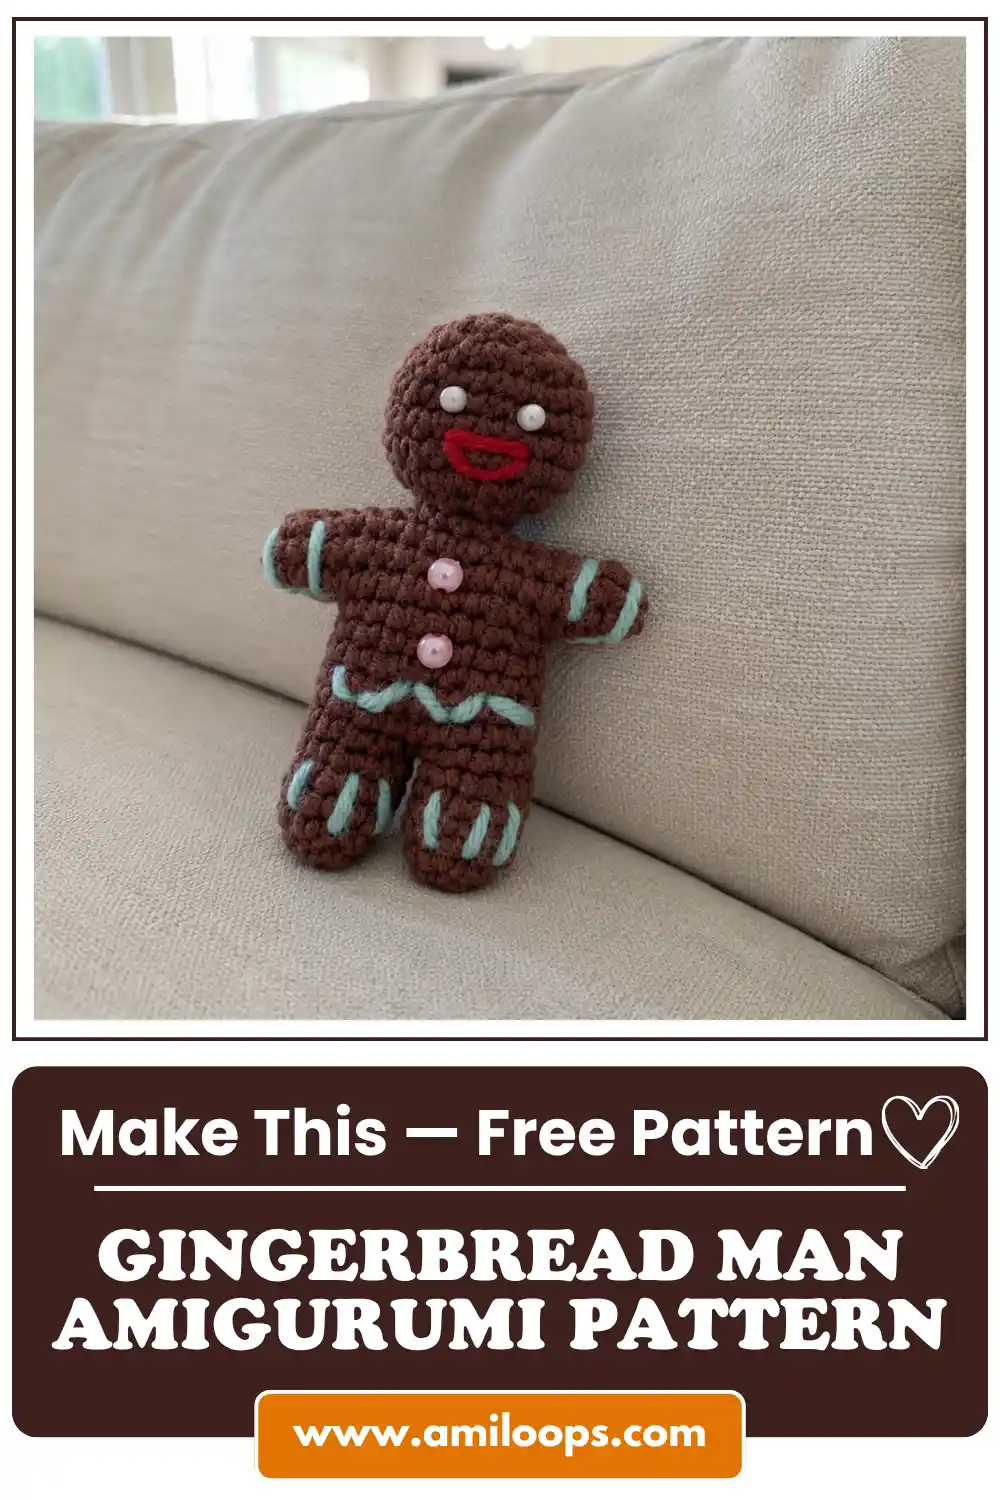
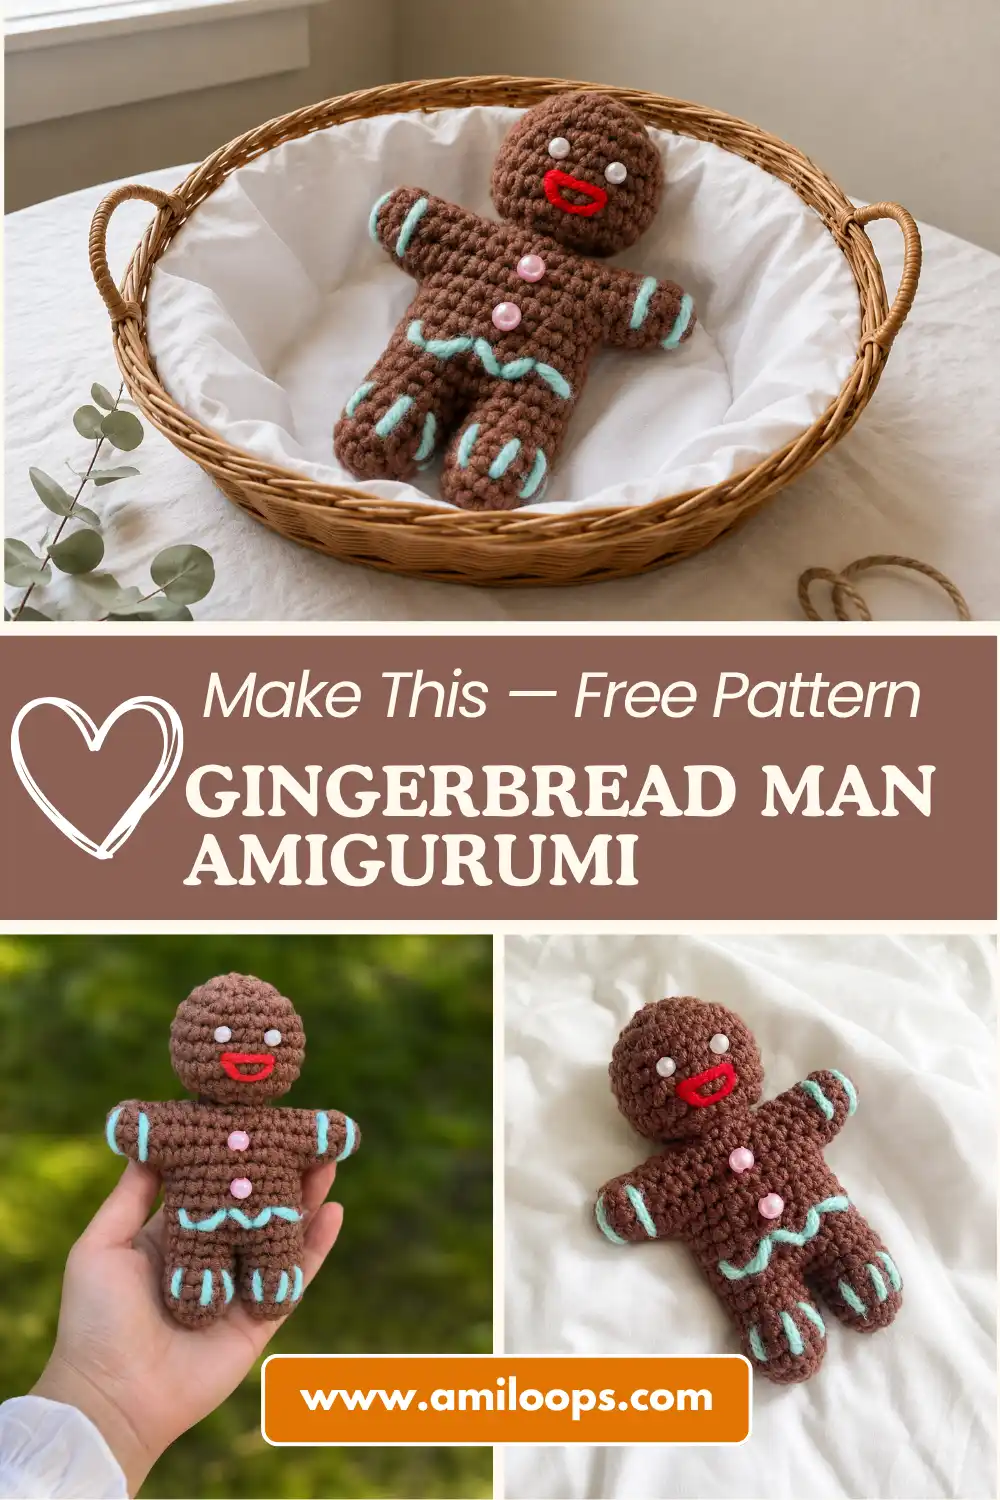
This gingerbread man amigurumi free pattern turns a handful of yarn scraps into a keychain-sized cookie friend I’ve been calling Ginger. He’s crocheted in one continuous piece, legs straight up through the head, so there’s no separate limb pieces to sew on afterward — just careful stitch placement and a steady hand. Grab a stitch marker and let’s get started.
📋 Pattern Quick Stats
- Difficulty: Intermediate (editorial estimate — not stated in the original pattern)
- Finished Size: approx. 3.5–4 in (9–10 cm) tall (editorial estimate based on stitch counts — not stated in the original)
- Hook Size: Not specified by the original designer — see the Materials note below for a recommended range
- Yarn Weight: Not specified by the original designer — see the Materials note below for a recommended range
- Techniques: magic ring, increase, invisible decrease, continuous rounds, chain-loop arm shaping, surface embroidery
- Estimated Time: 2-3 hours (editorial estimate)
Materials for This Gingerbread Man Amigurumi Free Pattern
The original pattern lists colors by their role rather than by brand or weight, and doesn’t include yardage. Since this is a small keychain-sized make, small scrap amounts of each color should be plenty — I wouldn’t worry about weighing anything out in advance.
- Brown yarn (main color, for the body)
- A small amount of red yarn (for the embroidered mouth)
- A small amount of light blue yarn (for the embroidered icing details)
- White half-beads (for the eyes)
- 2 pink beads (for the buttons)
- Polyester fiberfill stuffing
- Tapestry needle (for embroidery and sewing)
- Stitch marker
- Keychain hardware (a split ring or clasp)
- Crochet hook — size not specified in the original pattern
A note on hook and yarn weight: the original designer didn’t specify either one, which happens sometimes with patterns translated from smaller regional blogs. For a keychain-sized piece like this, I’d reach for a worsted weight (4) yarn with a 3.5-4.0mm (US E/4-G/6) hook, which is a fairly standard pairing for compact amigurumi on the Craft Yarn Council yarn weight system. If you’d prefer a firmer, more defined little cookie, sizing down to a sport or DK weight with a smaller hook works beautifully too — just keep your tension tight so the stuffing doesn’t peek through.
Abbreviations
| Abbreviation | Meaning |
|---|---|
| sc | single crochet |
| inc | increase |
| inv dec | invisible decrease |
| mr | magic ring |
| ch | chain |
| sl st | slip stitch |
Special Techniques You’ll Use
This gingerbread man amigurumi is a great project if you’ve already made a pattern or two, since it leans on a handful of core techniques rather than anything unusual.
Both legs start with a magic ring, which is what lets you close that little starting hole completely instead of leaving a gap at the toes. If you haven’t worked one before, our step-by-step magic ring tutorial walks through it slowly.
For shaping the head, you’ll use the invisible decrease throughout — I never use the standard sc2tog method in amigurumi, since it leaves a visible gap right where you don’t want one. If it’s new to you, take a look at our invisible decrease tutorial before you get to Row 15.
You’ll also be stuffing as you go rather than all at once at the end, which keeps the shaping accurate and prevents lumps. Our guide to stuffing amigurumi properly covers how much is too much, and how to avoid those little dents that show up when you overstuff.
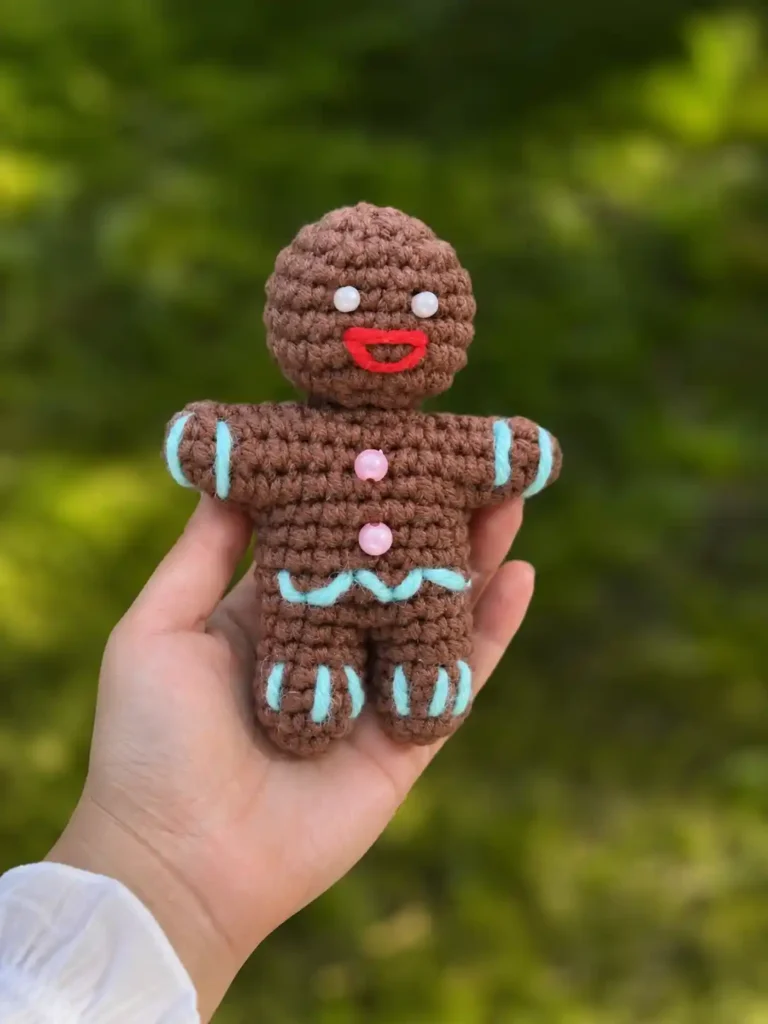
Gingerbread Man Amigurumi Pattern — Row by Row
This pattern is worked in continuous rounds throughout — no joining, no turning, just a steady spiral. Place a stitch marker in your first stitch of each round and move it up as you go, or you’ll lose your place fast, especially once the row counts start climbing.
First Leg (make 1)
Row 1: 5 sc in mr (5)
Row 2: 5 inc (10)
Rows 3-6: 10 sc (4 rows) (10)
Finishing: Fasten off, cut the yarn, and set this leg aside.
💡 Emma’s Tip: Keep this leg’s tension matched to the one you’re about to make. Even a slightly looser Row 1 will show once the two legs are sitting side by side.
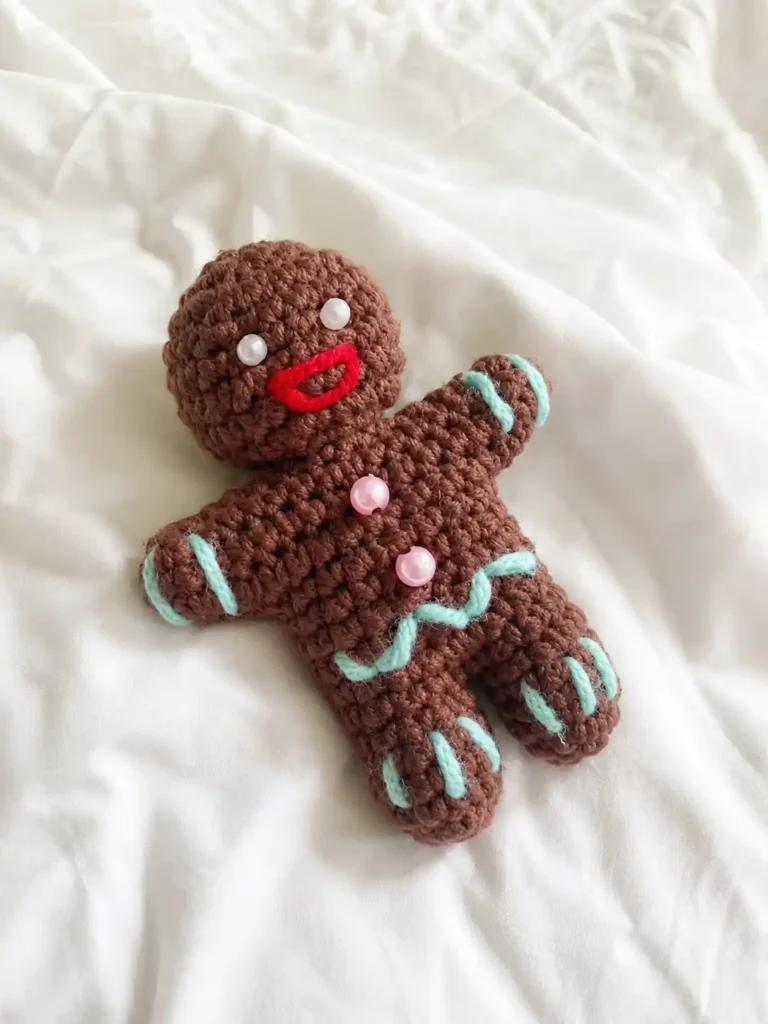
Second Leg & Body (make 1, joining the first leg partway through)
Crochet a second leg the same way as the first — Rows 1 and 2 exactly as above — but this time, don’t cut your yarn. Instead, join the two legs with a slip stitch and continue directly into the body.
Row 7: 10 sc along the first leg, 10 sc along the second leg (20)
Rows 8-11: 20 sc (4 rows) (20)
💡 Emma’s Tip: Working in a spiral for many rounds in a row can cause your stitches to drift slightly off-center over time. If you notice the piece leaning to one side as you go, you can work one extra single crochet at the very start of a round to nudge your stitch placement back into line — it doesn’t change your stitch count anywhere, just where the round begins. If everything already looks straight to you, skip this and carry on as written.
Row 12: 5 sc, ch 3, 3 sc along the other side of those same 3 chains, 10 sc, ch 3, 3 sc along the other side of those chains, 5 sc (32)
💡 Emma’s Tip: Those two chain-3 loops are what become Ginger’s arms. You’re not skipping any stitches here — you’re adding a little flap on each side of the body that you’ll work back into over the next few rounds, then stuff and close at the very end.
Row 13: 7 sc, 2 inc, 14 sc, 2 inc, 7 sc (36)
Row 14: 36 sc (36)
💡 Emma’s Tip: Stuff the body firmly now, before it gets any narrower. It’s much easier to pack the fill in evenly while you can still get your fingers all the way down inside.
Row 15: 7 sc, 2 inv dec, 14 sc, 2 inv dec, 7 sc (32)
Finishing: Don’t fasten off — continue directly into the head.
Head
💡 Emma’s Tip: If your spiral has drifted again since Row 12, this is a good spot to work that same extra single crochet at the start of the round to straighten things back out. Purely optional, and it won’t affect your counts.
Row 16: 2 sc, skip 12 sts, 4 sc, skip 12 sts, 2 sc (8)
💡 Emma’s Tip: This is the neck. Skipping those stitches on either side is what narrows the body down into a head — it can feel like a big jump from 32 down to 8, but trust the pattern here.
Row 17: 8 inc (16)
Row 18: (1 sc, 1 inc) x 8 (24)
Rows 19-22: 24 sc (4 rows) (24)
Row 23: (1 sc, 1 inv dec) x 8 (16)
💡 Emma’s Tip: Stuff the head firmly before you close it up — you won’t have another chance once Row 24 is done. I like to check the shape from a few angles before I commit to the last round.
Row 24: 8 inv dec (8)
Finishing: Close the opening and weave in your end.
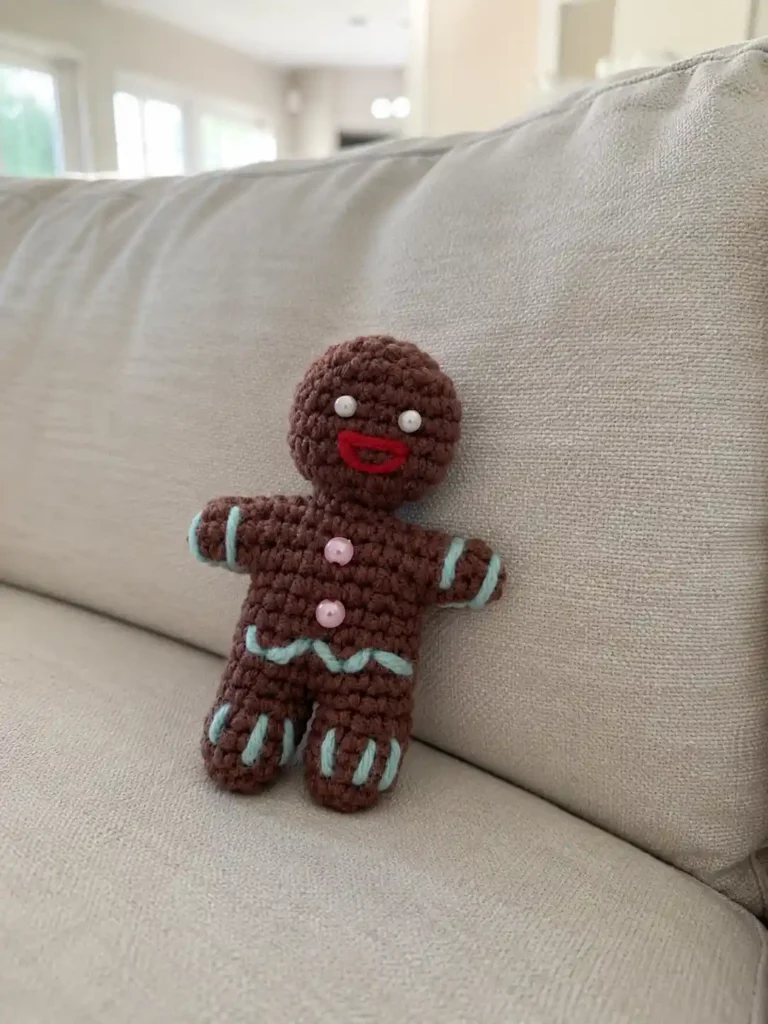
Assembly
- Once the head is closed, weave in any remaining working ends. Our guide to fastening off and weaving in ends has a few tricks for keeping this invisible, even on dense fabric.
- Lightly stuff each arm — the small loop you formed back at Row 12 — and sew the opening closed so it holds its shape as a soft little nub. If seaming feels fiddly on a piece this small, our tutorial on sewing amigurumi parts together covers how to keep the stitches invisible.
- Attach your keychain hardware. The original pattern doesn’t specify exactly where to place it — many gingerbread keychains anchor the clasp at the top of the head, but it’s really your call. Use a sturdy scrap of yarn or a small jump ring to attach it securely.
Finishing Your Gingerbread Man Amigurumi
This is where Ginger gets his personality. The original pattern doesn’t specify exact stitches for the embroidery, so here’s what I’d suggest based on the finished photo:
- Mouth: embroider a small curved smile in red yarn using backstitch — a simple, slightly upturned line reads clearly as a classic gingerbread grin even at this small scale.
- Icing details: using light blue yarn, embroider a simple dashed or zigzag line along the arms, legs, and waist to mimic piped icing. Keep the stitches short and evenly spaced for the cleanest look.
- Eyes and buttons: attach the white half-beads for the eyes and the two pink beads for the buttons on the belly, following the safety note below before you decide how to attach them.
⚠️ Safety Note: This pattern uses beads — sewn or glued in place — for the eyes and buttons, rather than commercial safety eyes with a locking washer backing. Beads attached this way can loosen over time and present a choking hazard, so per U.S. Consumer Product Safety Commission guidance, I’d treat this piece as a display item, bag charm, or keychain for an older child or adult rather than a toy for a young child. If you’d like a toy-safe version instead, swap the beads for genuine plastic safety eyes and check out our safety eyes tutorial for how to install them so they lock securely in place.
Weave in any last embroidery ends, and give Ginger a gentle steam if his fabric needs relaxing into shape.
Emma’s Note
I love how much personality a project this size can hold — between the icing embroidery and those little chain-loop arms, Ginger ended up far more expressive than I expected from just 24 rows. If your tension runs tight like mine, you’ll notice the head holds its round shape nicely without much fuss. Take your time with the bead placement; it’s the last thing you do, and it’s worth getting right. If you’re in a holiday-making mood, my snowman amigurumi pattern and Christmas reindeer pattern would make good company for him on the tree or the keychain rack. Happy hooking! 🧶
FAQ
What yarn is best for this gingerbread man amigurumi free pattern?
A worsted weight (4) yarn with a 3.5-4.0mm hook is ideal for a sturdy keychain, but you can use sport or DK weight yarn with a smaller hook for a more compact and firmer cookie.
How long does it take to crochet this gingerbread man?
This is a very quick project. Most crocheters can complete this gingerbread man in about 2 to 3 hours, depending on their speed and tension.
Are bead eyes safe for baby amigurumi toys?
No, beads attached with glue or sewn threads are not safe for small children as they pose a choking hazard. For a baby-safe version, swap the beads for locking plastic safety eyes or embroider the features directly.