Free Baby Totoro Crochet Keychain Pattern — Scrap-Friendly Mini
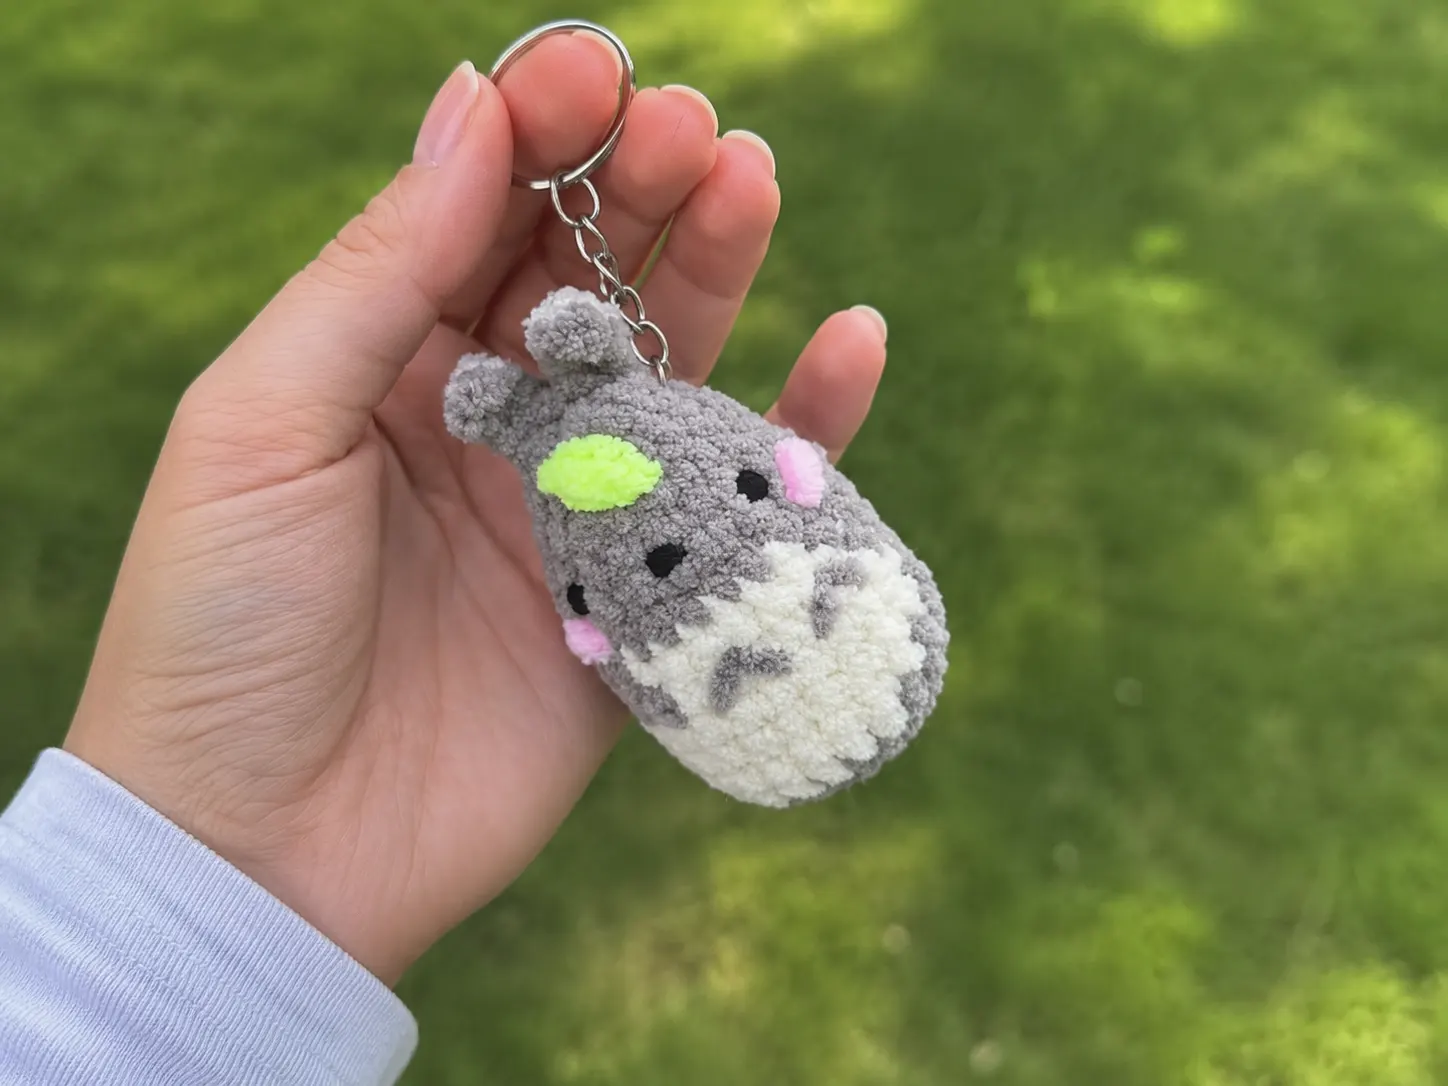
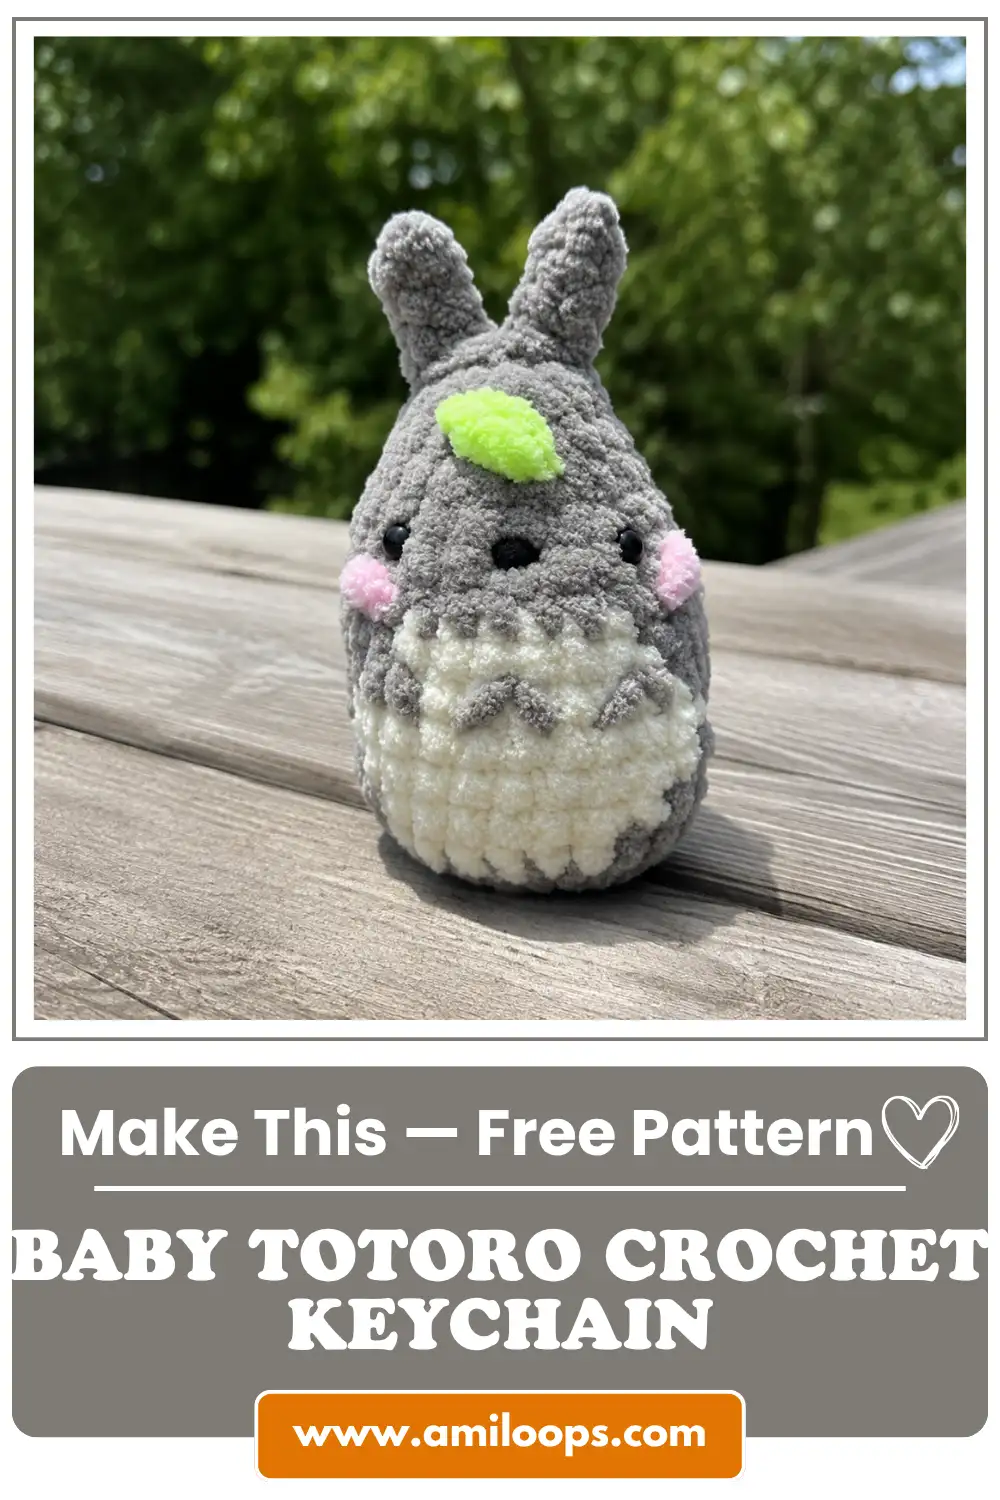
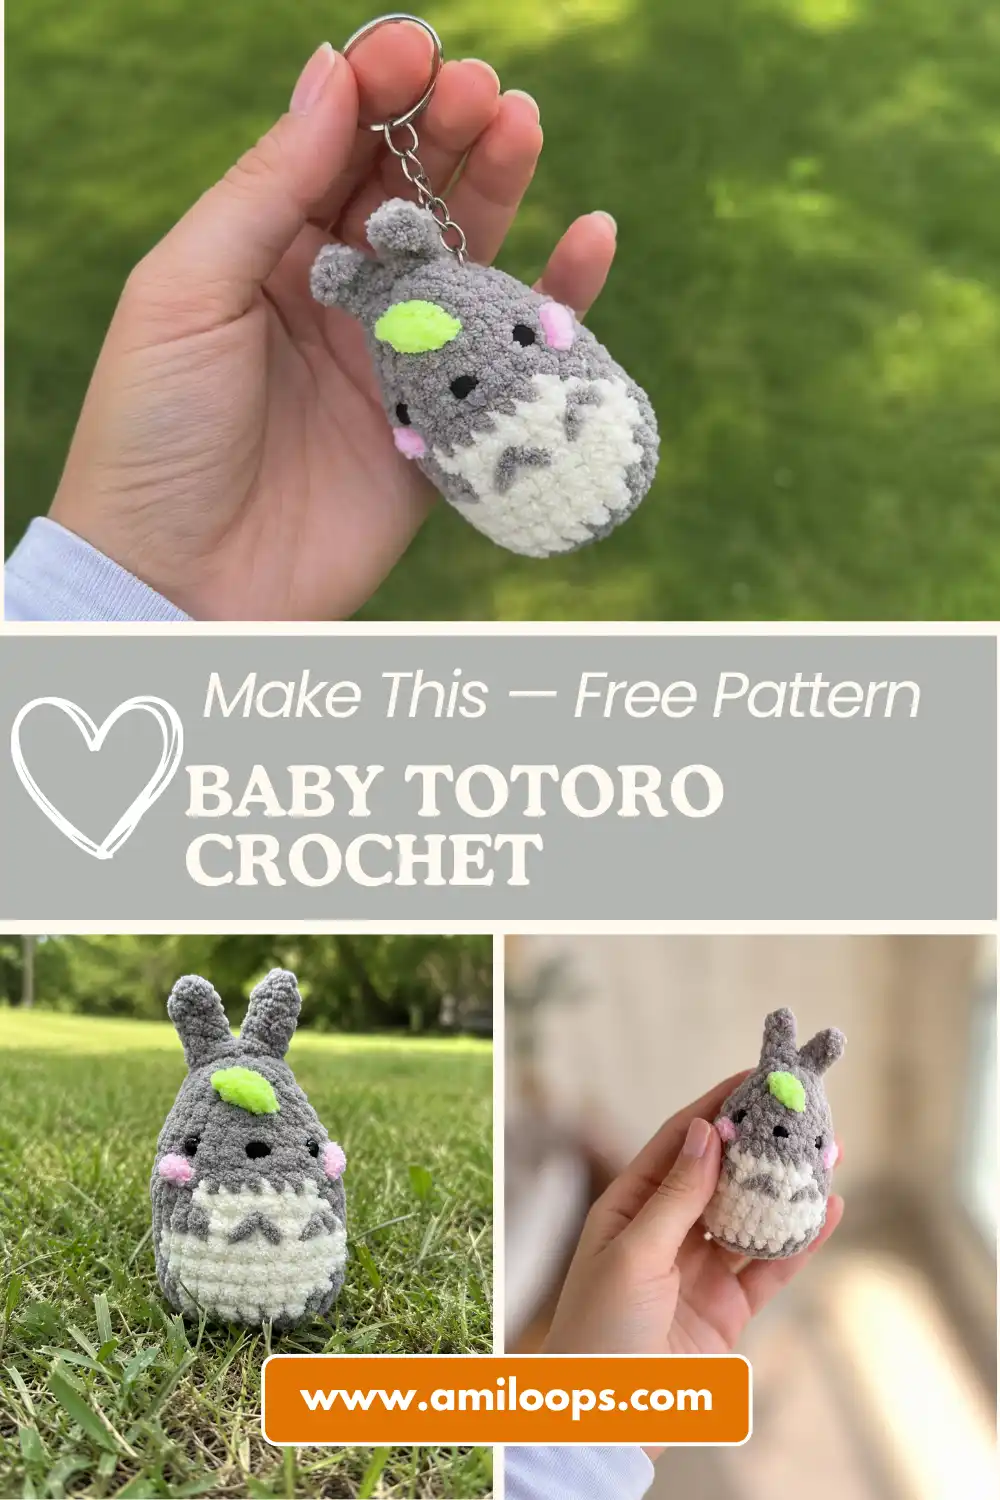
This baby totoro crochet keychain free pattern is built for your chenille scraps— a single piece worked from the bottom up, finishing at just 3.3 inches tall. It uses only a small amount of Bulky (5) chenille yarn in a few colors, plus a touch of DK-weight yarn for the decorative details, and comes together fast enough for a one-sitting project. Attach a keychain ring and you’ve got a gift, a bag charm, or a stash-buster win in one shot.
🧶 What You’ll Need
- 💰 Yarn Needed: a small amount of Bulky (5) chenille in three colors, plus a touch of DK-weight yarn for the decoration — this sits well within scrap-ball territory for every color. Exact yardage wasn’t listed in the source pattern, so treat this as an estimate and confirm on your first make.
- 🎨 Colors: gray or charcoal chenille (main color), cream or off-white chenille (contrasting/belly color), green chenille (leaf accent), pink chenille (cheek accent) — or the closest match sitting in your stash
- 🪝 Hook: 3.0mm (no exact US letter match — falls between C/2 and D/3)
- ⏱️ Time: a couple of hours, plus a few extra minutes for the embroidery details (not specified in the source — estimate only)
- 📏 Finished Size: 3.3 in (8.5 cm)
- 💡 Difficulty: Beginner, with a little extra patience needed for the belly embroidery
- 🎁 Great For: keychains, bag charms, gift sets, stash-busting
Materials for This Baby Totoro Crochet Keychain Free Pattern
You genuinely don’t need much for this one. The whole body is one small piece worked in Bulky (5) chenille, and the accent colors are used in tiny amounts — the kind of leftovers that are easy to overlook in your stash bin.
- Main color (gray/charcoal): a small amount of Bulky (5) chenille yarn — any soft chenille or velvet-style yarn in a similar weight works fine
- Contrasting color (cream/white): just enough for the belly panel — this is a small section, so even a short leftover length will cover it
- Leaf accent (green): a pinch of chenille or any yarn you have on hand — this detail is optional
- Cheek accent (pink): a few inches of yarn for embroidery — this is not a full skein situation
- Decorative DK-weight yarn: a small amount for the belly detailing — a DK or light worsted (3) cotton or acrylic works; any similar weight from your stash is fine
- Fiberfill stuffing: a small handful — this piece is tiny
- 6mm safety eyes: one pair
- Hook: 3.0mm — see the note below on substitutions
- Tapestry needle for embroidery, sewing the closure, and weaving in ends
- Stitch marker to track your place, since this is worked in continuous rounds
- Keychain hardware: a metal keychain ring or clasp base, plus a jump ring if your clasp doesn’t have one built in
A quick note on that 3.0mm hook: it’s a metric size that doesn’t line up cleanly with a US letter — it sits between a C/2 (2.75mm) and a D/3 (3.25mm). If you don’t own a 3.0mm hook, either size will get you close; go up to the D/3 if your chenille is on the thicker side, or down to the C/2 if you want a tighter, denser fabric (which also helps hide stuffing on a piece this small). Our hook size guide walks through matching hook to yarn weight if you want the full breakdown, and the Craft Yarn Council’s hook size chart is a good reference if you’re shopping for a new hook and want to see where every size lines up.
Abbreviations Used in This Pattern
| Abbreviation | Meaning |
|---|---|
| ch | Chain |
| sc | Single Crochet |
| inc | Increase (2 sc in same stitch) |
| inv dec | Invisible Decrease |
| sl st | Slip Stitch |
Smart Crafter Tips for Your Baby Totoro Crochet Keychain
Here’s a trick that saves you a headache: chenille yarn is unforgiving when it comes to gaps. Because the fuzzy texture already hides your stitch definition, any loose spot from a standard decrease stands out more, not less. Stick with the invisible decrease at every “inv dec” in this pattern — it’s what keeps the top of the head closing up smooth instead of puckered.
This piece is small enough that you’ll want to stuff as you go rather than trying to cram fiberfill in at the end through a tiny opening. Add small pinches after every couple of rounds so the shape builds evenly — our stuffing guide covers the technique in more detail if you’re new to it.
Since this pattern uses 6mm safety eyes and finishes at just 3.3 inches, treat it the same way you would any small-parts toy: this is a keychain or shelf piece, not something to hand to a young child. If you’re making it as a gift and safety eyes are new to you, our safety eyes tutorial covers correct placement and locking, and the U.S. Consumer Product Safety Commission has general guidance on small parts and toy safety if you want to double-check before gifting.
How to Crochet This Baby Totoro Keychain, Row by Row
Stitch counts below are copied exactly from the source pattern and verified round by round — every total matches. This piece is worked in continuous rounds (no joining, no chaining up), so keep your stitch marker on the first stitch of every row to stay oriented.
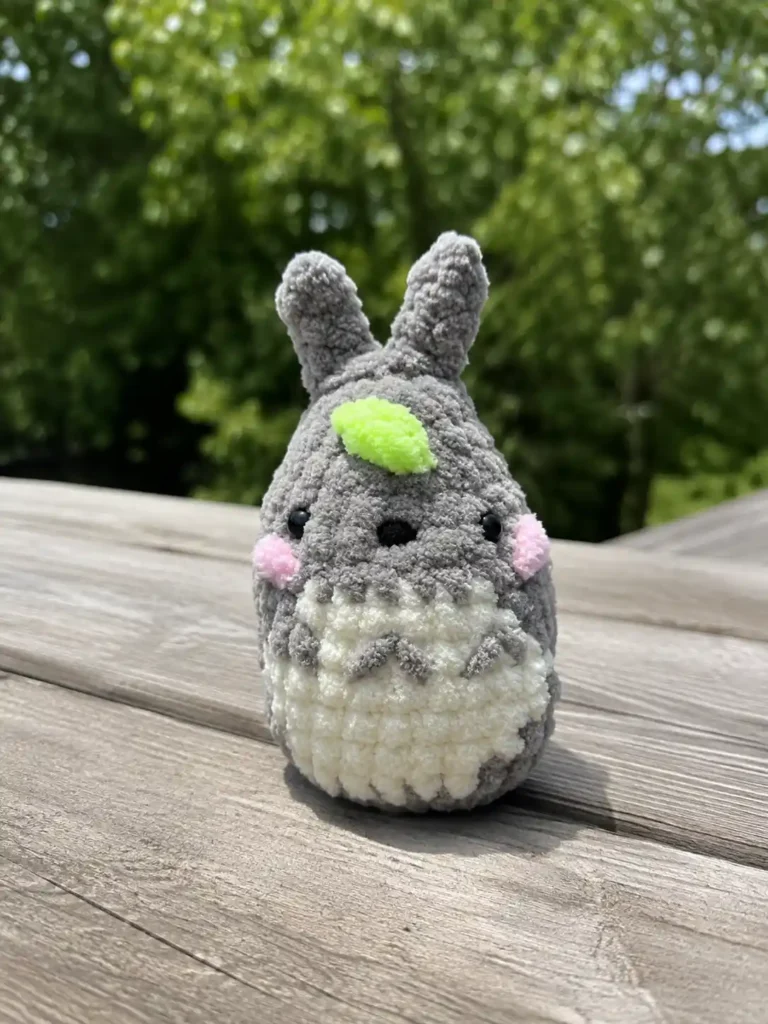
Part 1: Keychain Body (make 1)
Worked as a single piece from bottom to top. Stuff as you go — don’t wait until the end. Keep your stitch marker running along the back of the piece throughout. Start with the main color; you’ll pick up the contrasting color at Row 4.
Row 1: 2 ch, in 2nd ch from hook: 8 sc (8)
Row 2: 8 inc (16)
Row 3: (1 sc, 1 inc) × 8 (24)
Row 4: 9 sc [main color], 6 sc [contrasting color], 9 sc [main color] (24)
Row 5: 8 sc [main color], 8 sc [contrasting color], 8 sc [main color] (24)
Rows 6–7: 7 sc [main color], 10 sc [contrasting color], 7 sc [main color] — repeat this same round for both rows (24)
Row 8: 8 sc [main color], 8 sc [contrasting color], 8 sc [main color] (24)
Row 9: 9 sc [main color], 6 sc [contrasting color], 9 sc [main color] (24)
🧶 Scrap Check: After this round, fasten off and cut the contrasting color — you’re done with it. The belly panel only needed a few short passes of that color, so if you used a leftover end, this is exactly the kind of piece that clears out those awkward small bits. Continue the rest of the body in main color only.
Row 10: 24 sc (24)
Row 11: (2 sc, 1 inv dec) × 6 (18)
Insert the 6mm safety eyes between Rows 11 and 12, spacing them 6 sc apart. This is also the point to embroider the nose — you can do it now, or wait and knock out all your embroidery in one sitting during the decoration step.
Row 12: 18 sc (18)
Row 13: (1 sc, 1 inv dec) × 6 (12)
Row 14: 12 sc (12)
Row 15: 6 inv dec (6)
Finishing: Add your last bit of stuffing if the top needs it, then weave your yarn through the front loops of the remaining 6 stitches. Pull tight to close the opening completely, fasten off, and weave in the end.
Part 2: Ears (make 2)
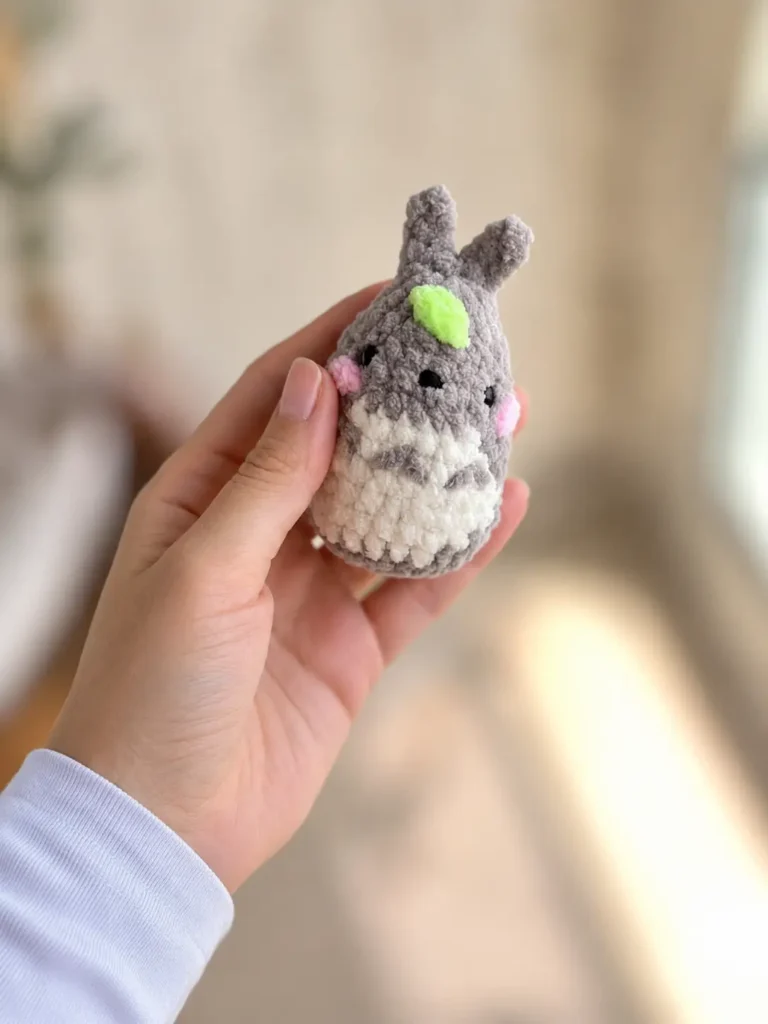
The ears are worked directly onto the finished head — no separate pieces to sew on later, which is one less step and one less seam to fuss over.
Attach main color yarn directly to the top of the head where you want the first ear.
Row 1: 4 ch, starting from the 2nd ch from hook: 1 sl st, 2 sc; then work 1 sl st into the base stitch where you attached the yarn (4)
For the second ear: work 2–3 sl st across the top of the head to reposition, or fasten off and reattach the yarn at your desired spot — then repeat the Row 1 instructions above for the second ear.
Finishing: Fasten off, cut the yarn, and weave all ends in securely inside the head so nothing pokes through the chenille later.
Assembly & Finishing Touches
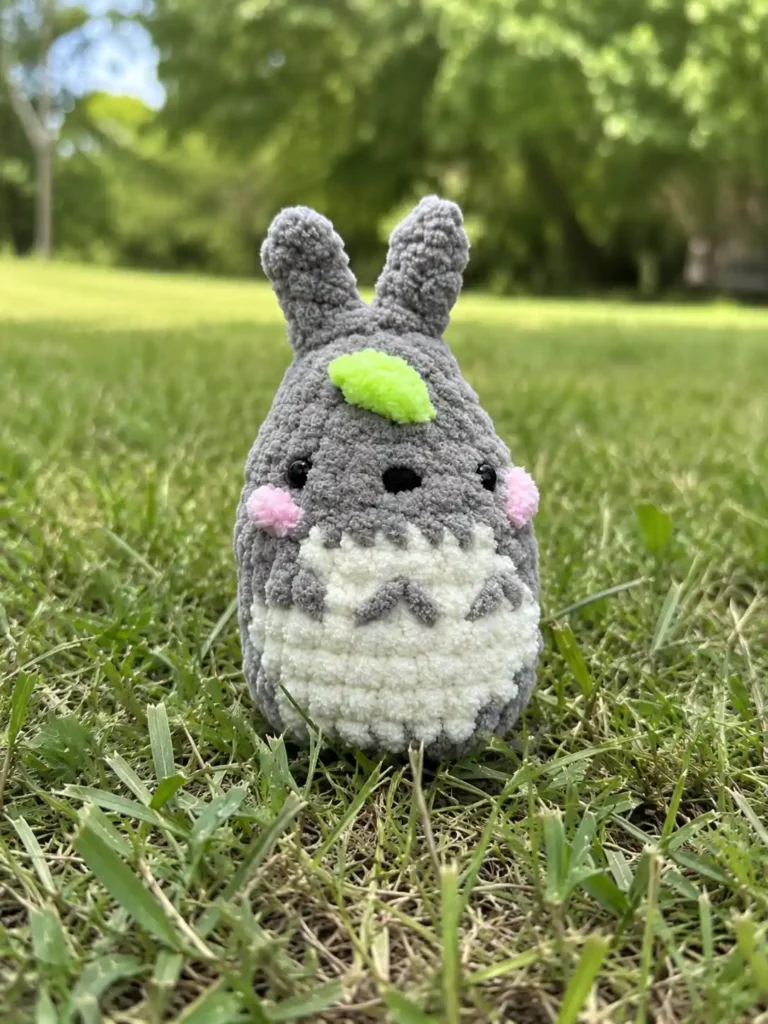
- Crochet the body as one continuous piece from Row 1 through Row 15, stuffing gradually as you work rather than all at once at the end.
- Insert the 6mm safety eyes between Rows 11 and 12, spaced 6 sc apart, before you finish stuffing and close the top.
- Close the top opening at Row 15 by weaving through the front loops of the remaining 6 stitches and pulling tight.
- Attach main color yarn to the top of the head and crochet the first ear directly onto it, then reposition and repeat for the second ear.
- Securely attach your keychain ring or clasp base to the top center of the head — stitch it through a few times rather than relying on a single pass, since this piece will get handled and tugged on a keyring.
- Embroider the nose between Rows 11 and 12 using main color yarn, if you haven’t already.
- Embroider small horizontal cheek lines under the eyes using your pink accent yarn.
- Embroider the belly markings across the cream panel — the classic chevron/check detailing — using main color yarn.
- Optional: embroider a small leaf on the forehead between the ears using your green accent yarn. The source pattern lists a DK-weight yarn “for decoration” without specifying exactly where it applies — if you’re unsure, use it wherever your belly or leaf detailing calls for a slightly finer line than the bulky chenille gives you, and treat this step as one to confirm on a test make.
Stretch It Further
💡 Stretch It Further: This little guy is basically made for a set. Crochet three in slightly different grays — charcoal, warm taupe, silvery gray — and you’ve got a mismatched-on-purpose trio that still reads as a matching gift set once they’re on individual rings. Swap the keychain hardware for a small bell attachment or a bag charm clip and the same 15 rounds becomes an ornament, a zipper pull, or a market table item. Since the whole thing runs on scrap-sized amounts of yarn, three of these barely dents a single skein of chenille — this is the kind of project where the yarn cost per piece is almost nothing and the giftability is high.
Mia’s Take
Fifteen rounds, two tiny ears, a handful of stuffing, and a scrap of four different colors — that’s the whole build. This is exactly the kind of project I keep in my back pocket for when I want something finished in an evening instead of a weekend. Make a few in different shades of gray, clip them onto rings, and you’ve got a stash-busting gift set that didn’t cost you a full skein of anything. That’s the kind of math I like. 🧶
FAQ
What yarn is best for this Baby Totoro amigurumi?
Bulky (5) chenille yarn in gray and cream works best for a soft, plush finish, and you only need small scrap amounts to complete the keychain.
Can beginners make this Totoro keychain pattern?
Yes! This pattern is beginner-friendly and worked in continuous rounds, though adding the small embroidered details requires a little patience.
What size hook do I need for this amigurumi?
A 3.0mm hook is recommended. If you don’t have one, you can use a US C/2 (2.75mm) for a tighter stitch or a US D/3 (3.25mm) if your chenille yarn is on the thicker side.ac