Christmas Reindeer Amigurumi Crochet Pattern With a Striped Top and Suspender Shorts
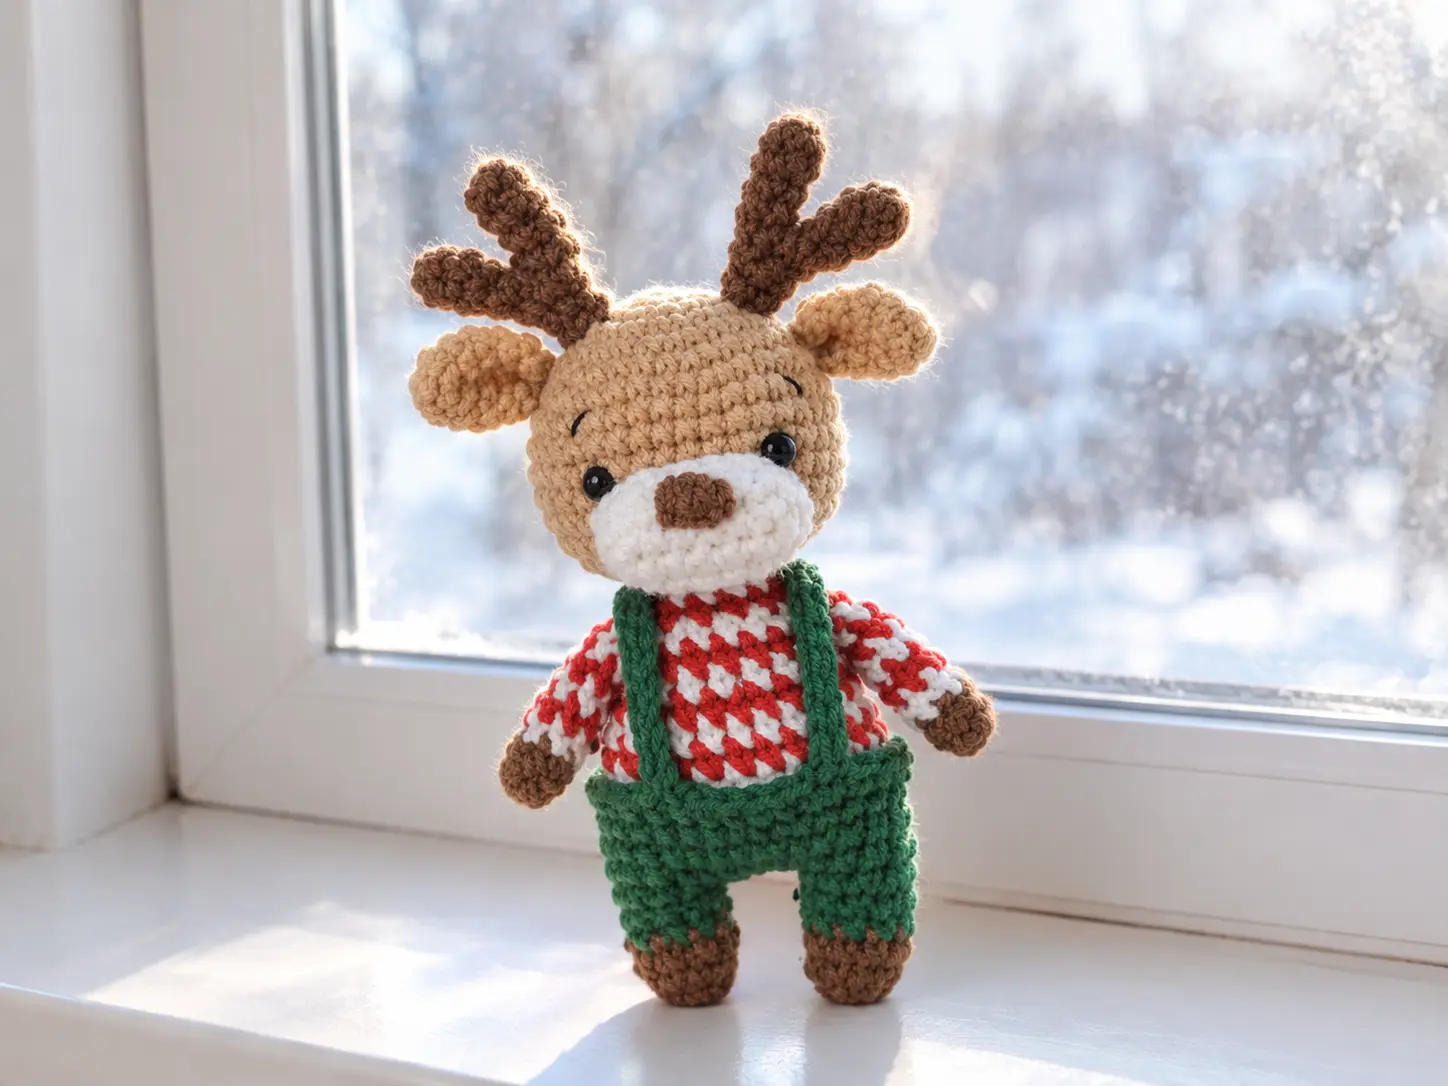
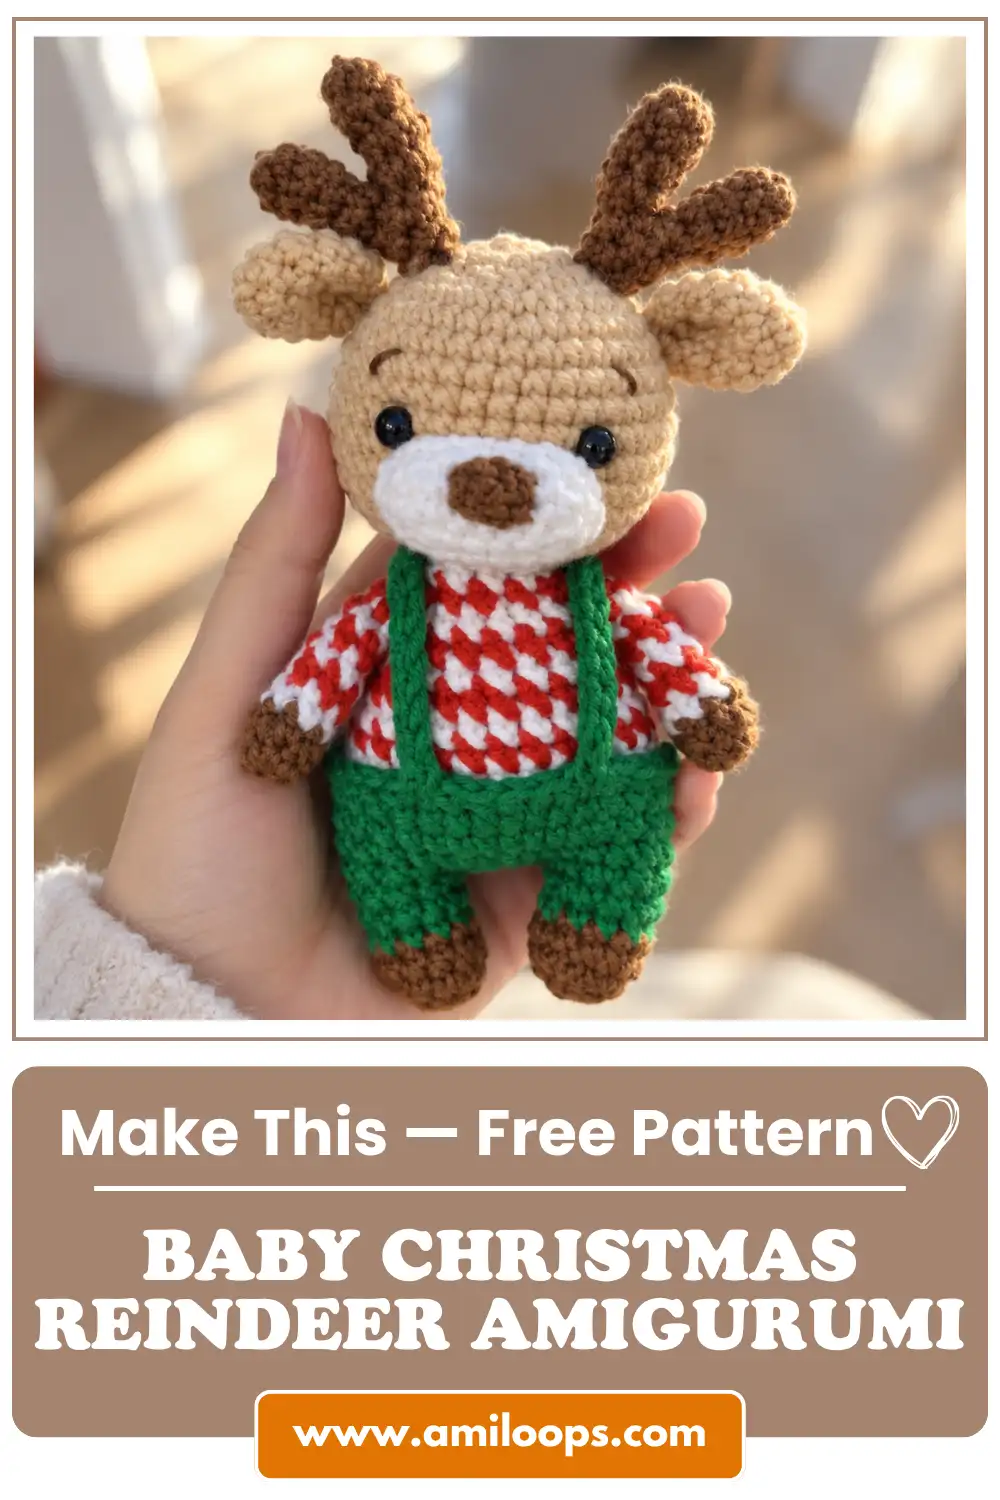
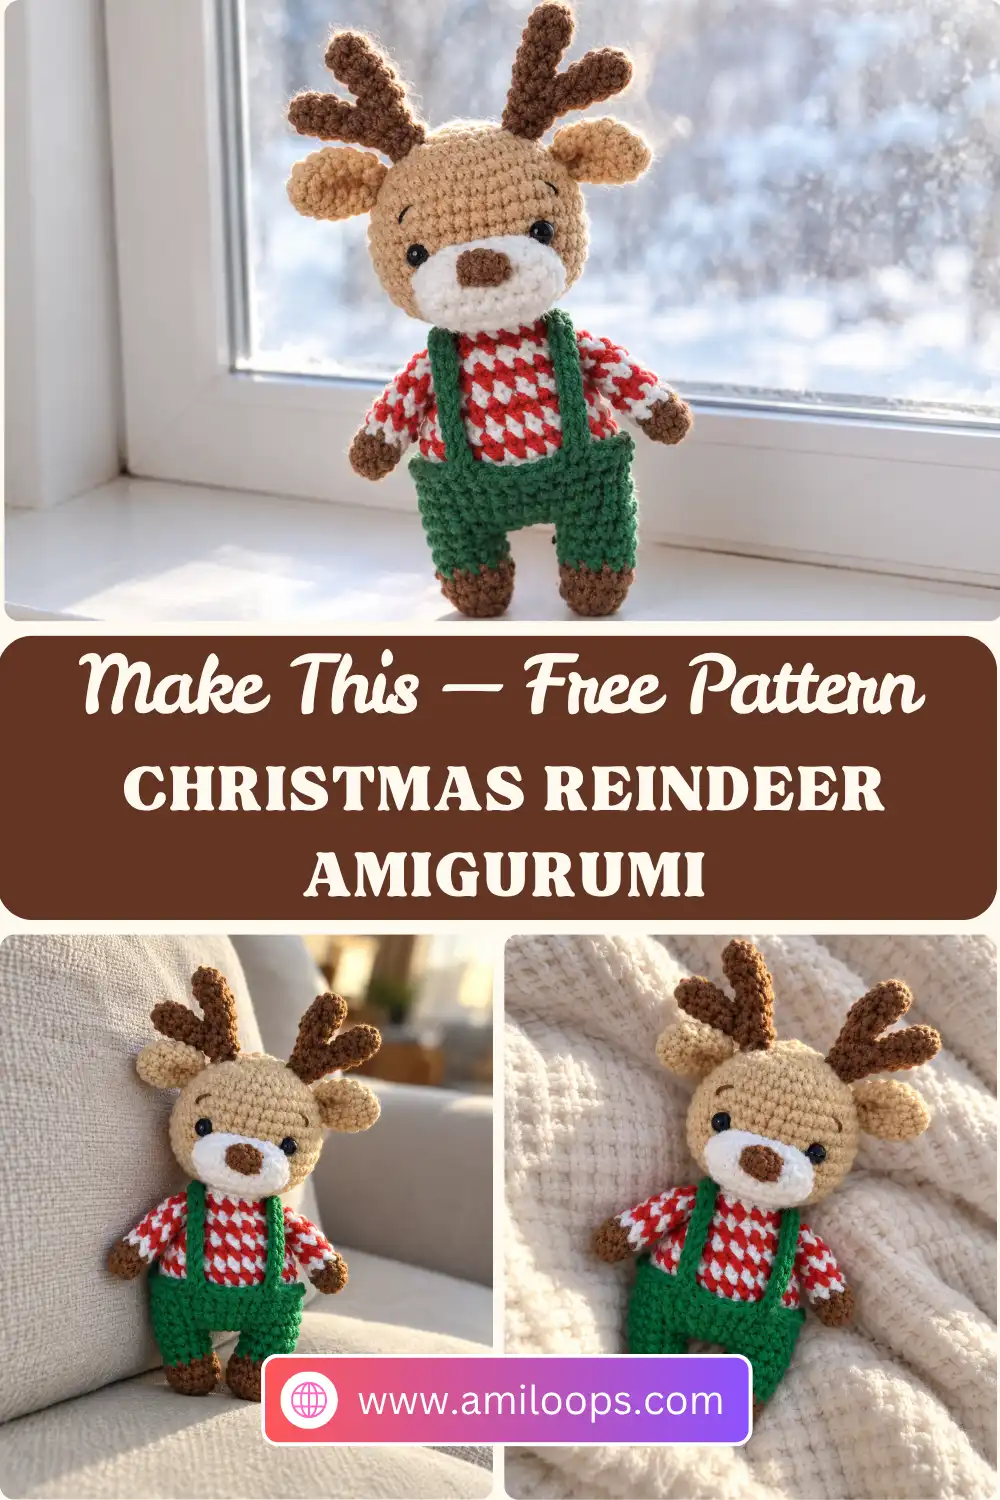
This Christmas reindeer amigurumi is dressed for the holidays. It has a round beige head, a white snout with a little brown nose, forked brown antlers, and a red-and-white striped top over green shorts with straps crossed at the back. Brown tips on the arms and legs complete the look in just five colors.
Each piece is worked separately and sewn on at the end. The body grows straight up from the legs: you make two short legs, bridge them with a three-chain join, and continue the body in one piece from there. A back-loop round at the waist marks the switch from shorts to stripes and leaves free front loops for a neat green edge.
Materials Head Face and antlers Arms Legs and body Final assembly FAQ
Before your first stitch: The reindeer is made from separate pieces: the head, snout and nose, two antlers, two ears, two arms, the legs and body, and two straps. Most of them end with a yarn tail for sewing, so leave a generous tail whenever the pattern asks for one.
Plan your color changes: The arms and the upper body switch between white and red every round. At the waist, the green yarn stays attached and is brought to the front of the work, because you return to it once the body is finished.
Gather your materials
- Yarn in five colors: beige for the head and ears, white for the snout and stripes, brown for the nose, antlers and the tips of the arms and legs, green for the shorts and straps, and red for the stripes.
- A crochet hook suited to your chosen yarn.
- A pair of eyes for the face.
- Stuffing for the head, snout, legs and body.
- A yarn needle for shaping the ears and sewing the pieces together.
Abbreviations used
This pattern uses US crochet terms. To compare US and UK stitch names, see the Craft Yarn Council’s list of standard crochet abbreviations.
| Abbreviation | Meaning |
|---|---|
| ch | chain |
| MR | magic ring |
| sc | single crochet |
| inc | increase (2 sc in the same st) |
| dec | decrease (work the next 2 sts together as 1) |
| sl st | slip stitch |
| st(s) | stitch(es) |
| rnd(s) | round(s) |
Head
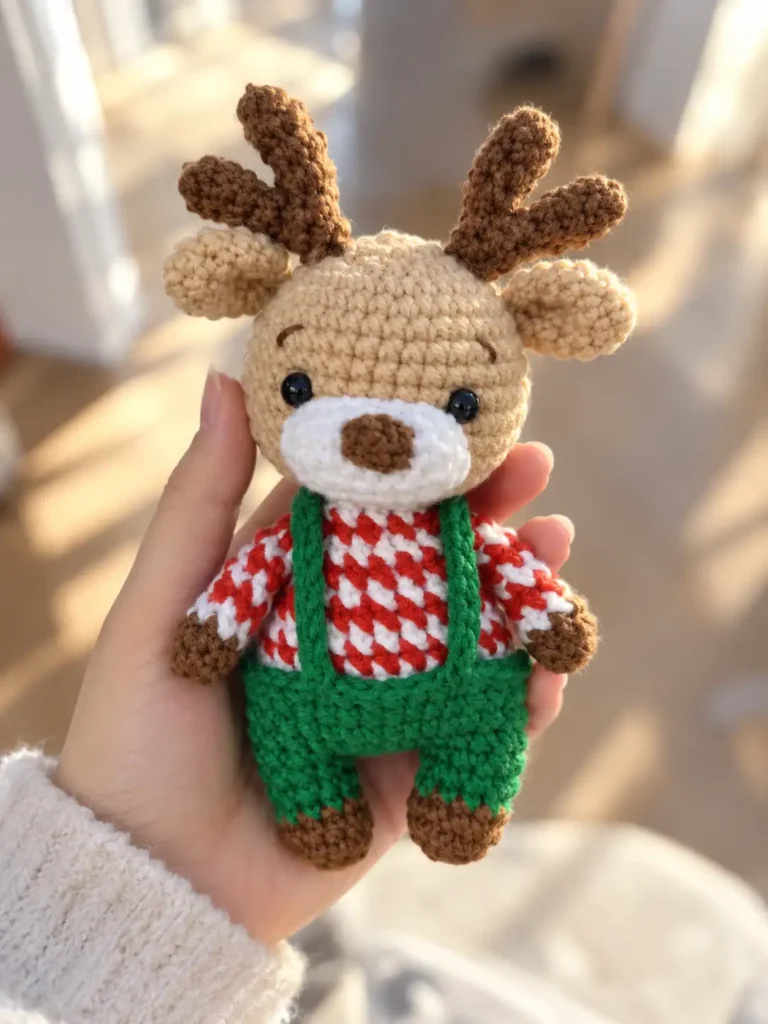
Work in beige, and stuff as you go. The head starts with a magic ring. If you’d like a refresher, follow our step-by-step magic ring tutorial.
Rnd 1: 6 sc in MR (6)
Rnd 2: Inc in each st around (12)
Rnd 3: [1 sc, inc] 6 times (18)
Rnd 4: [2 sc, inc] 6 times (24)
Rnd 5: [3 sc, inc] 6 times (30)
Rnd 6: [4 sc, inc] 6 times (36)
Rnds 7–11: Sc in each st around (36) (5 rnds)
Rnd 12: [4 sc, dec] 6 times (30)
Rnd 13: [3 sc, dec] 6 times (24)
Rnd 14: [2 sc, dec] 6 times (18)
Rnd 15: [1 sc, dec] 6 times (12)
Fasten off, leaving a yarn tail for sewing.
Snout
Work in white. Ch 7. Begin in the 2nd ch from the hook.
How the oval forms: Rnd 1 works along one side of the chain, around the far end, and back along the other side, so the snout begins as an oval rather than a circle.
Rnd 1: Inc, sc in the next 4 ch, 4 sc in the last ch; working along the other side of the chain, sc in the next 4 ch, inc (16)
Rnds 2–3: Sc in each st around (16) (2 rnds)
Fasten off, leaving a yarn tail for sewing.
Nose
Work in brown. Ch 3. Begin in the 2nd ch from the hook.
Nose: Sc in the next ch, inc in the last ch; continuing along the other side of the chain, sc in the next ch, sl st.
Fasten off, leaving a yarn tail for sewing.
Antlers
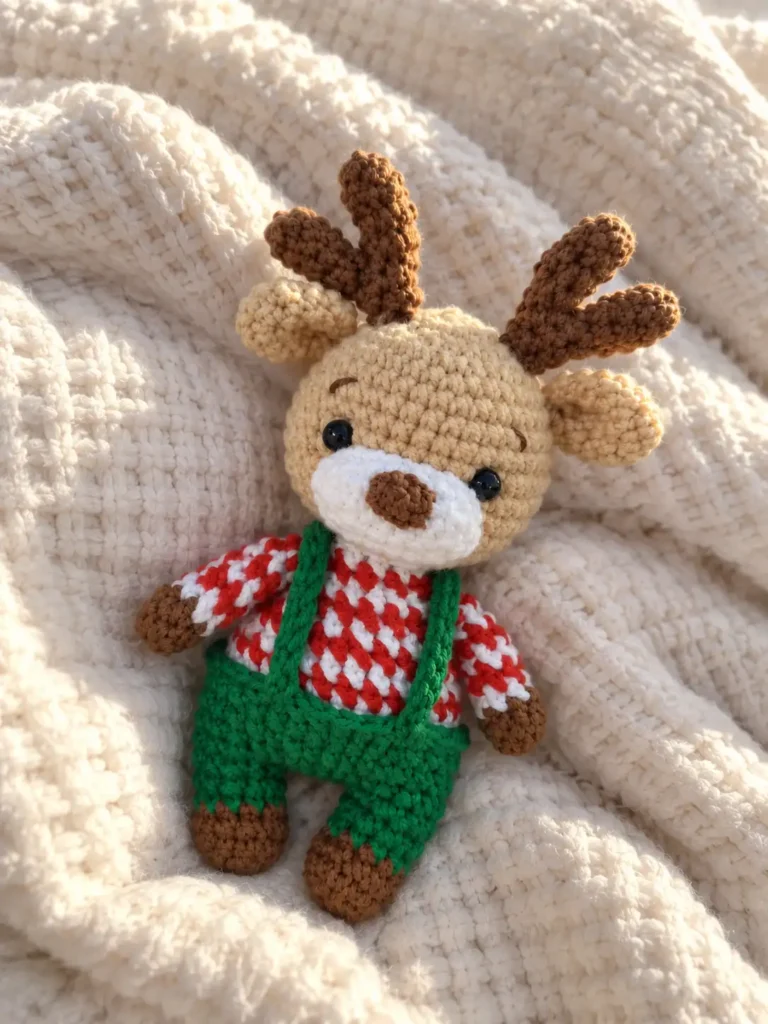
Work in brown and make 2 antlers. Each antler is built from two short tubes: a shorter first piece is joined to a longer second piece, and the remaining rounds are worked over both.
First piece
Rnd 1: 5 sc in MR (5)
Rnds 2–3: Sc in each st around (5) (2 rnds)
Fasten off.
Second piece
Rnd 1: 5 sc in MR (5)
Rnds 2–4: Sc in each st around (5) (3 rnds)
Join the first piece with a sl st.
Rnd 5: Sc in each of the 5 sts of the first piece, then sc in each of the 5 sts of the second piece (10)
Rnd 6: Dec 5 times (5)
Rnd 7: Sc in each st around (5)
Fasten off, leaving a yarn tail for sewing.
Ears
Work in beige. Make 2.
Rnd 1: 5 sc in MR (5)
Rnd 2: Inc in each st around (10)
Rnds 3–5: Sc in each st around (10) (3 rnds)
Flatten the opening and sc through both layers. Fold the piece once more and stitch through it with a yarn needle. Leave a yarn tail for sewing.
Head assembly and finishing
Once the face pieces are ready, attach them using the yarn tails you left. For help with neat seams, see our guide on how to sew amigurumi parts together.
- Insert the eyes between Rnds 9 and 10, with 6–7 sts between them.
- Sew the snout directly below the eyes, stuffing it as you sew.
- Sew the nose to the center of the snout.
- Sew the ears between Rnds 5 and 6.
- Sew the antlers between Rnds 2 and 4.
Arms
Make 2. Do not stuff the arms. Begin in brown.
Rnd 1: 6 sc in MR (6)
Rnd 2: Sc in each st around (6)
Color change: From Rnd 3, the arm switches colors every round, starting with white and ending with red on Rnd 8.
A helpful note: For a tidy switch, you can use the new color to complete the final pull-through of the last stitch before the change, as shown in Yarnspirations’ color-change tutorial. Our guide to changing colors in amigurumi has more help.
Rnd 3: With white, sc in each st around (6)
Rnd 4: With red, sc in each st around (6)
Rnd 5: With white, sc in each st around (6)
Rnd 6: With red, sc in each st around (6)
Rnd 7: With white, sc in each st around (6)
Rnd 8: With red, sc in each st around (6)
Flatten the opening and sc through both layers. Leave a yarn tail for sewing.
Legs and body
Stuff as you go.
Legs (make 2)
Begin in brown.
Rnd 1: 6 sc in MR (6)
Rnd 2: [1 sc, inc] 3 times (9)
Rnd 3: Sc in each st around (9)
Color change: Change to green.
Rnds 4–5: Sc in each st around (9) (2 rnds)
Joining the legs: Fasten off the first leg. Make a second leg the same way, but do not fasten off. Instead, ch 3 from the second leg and join to the first leg with a sl st.
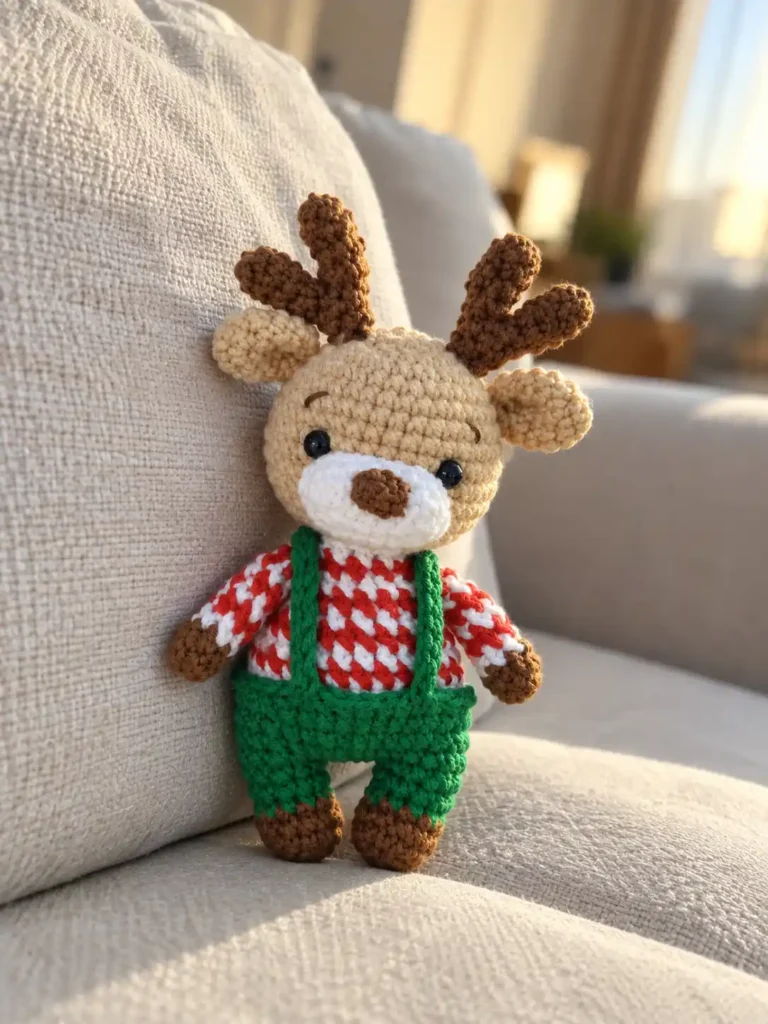
Body
Rnd 6: Sc in each of the 9 sts of the first leg, 2 sc in each of the next 3 ch, sc in each of the 9 sts of the second leg, 2 sc in each of the 3 ch along the other side of the chain (30)
Rnds 7–9: Sc in each st around (30) (3 rnds)
Color change: Change to white. Do not cut the green yarn; bring it to the front of the work.
Rnd 10: With white, sc in the back loop only of each st around (30)
Rnd 11: With red, [3 sc, dec] 6 times (24)
Rnd 12: With white, sc in each st around (24)
Rnd 13: With red, sc in each st around (24)
Rnd 14: With white, [2 sc, dec] 6 times (18)
Rnd 15: With red, sc in each st around (18)
Rnd 16: With white, sc in each st around (18)
Rnd 17: With red, [1 sc, dec] 6 times (12)
Rnd 18: With white, sc in each st around (12)
Fasten off.
Why the green yarn waited: Rnd 10 was worked in back loops only, so its 30 front loops are still free. The green yarn you brought to the front is now ready to work them.
Back to Rnd 10: With green, sc in each of the 30 remaining front loops.
Straps
Work in green. Make 2.
Chain and slip stitch: Ch 19. Starting in the 2nd ch from the hook, sl st in each ch across (18).
Final assembly
Joining the head: The head’s last round and the body’s last round both have 12 sts. Use the yarn tail you left on the head to sew it to the top of the body.
- Sew the arms between Rnds 17 and 18 of the body.
- Then sew the straps to the shorts, crossing them at the back.
Questions about this reindeer
How many of each small piece do I need?
Make two ears, two antlers, two arms and two straps. Each antler is itself made from two short pieces joined together. The head, snout and nose are single pieces, and the two legs are joined into the body as you crochet.
Why are the legs made before the body?
The body grows directly from them. After making two legs, you chain 3 from the second leg and join it to the first with a sl st. Rnd 6 then works around the first leg, both sides of the chain and the second leg for 30 sts, and the body continues upward from there.
How is the green edge at the waist made?
Rnd 10 is worked in white in the back loop only, which leaves 30 front loops free. The green yarn is not cut at the color change; it is brought to the front. After the body is finished, you return to Rnd 10 and sc in each of those 30 front loops with green.
Do the arms get any stuffing?
No. The pattern says not to stuff the arms. After Rnd 8, flatten the opening and sc through both layers, then leave a yarn tail for sewing the arm between Rnds 17 and 18 of the body.
Where do the eyes, snout, ears and antlers go?
Insert the eyes between Rnds 9 and 10 of the head, with 6–7 sts between them. Sew the snout directly below the eyes, stuffing it as you sew, and sew the nose to the center of the snout. The ears go between Rnds 5 and 6, and the antlers go between Rnds 2 and 4.
How do the two antler pieces become one antler?
The first piece is 3 rnds of 5 sts and is fastened off. The second piece is worked for 4 rnds and joined to the first with a sl st. Rnd 5 then works around both pieces for 10 sts, Rnd 6 decreases back to 5 sts, and Rnd 7 is worked even before you fasten off with a tail for sewing.