Black Panther Amigurumi Crochet Pattern
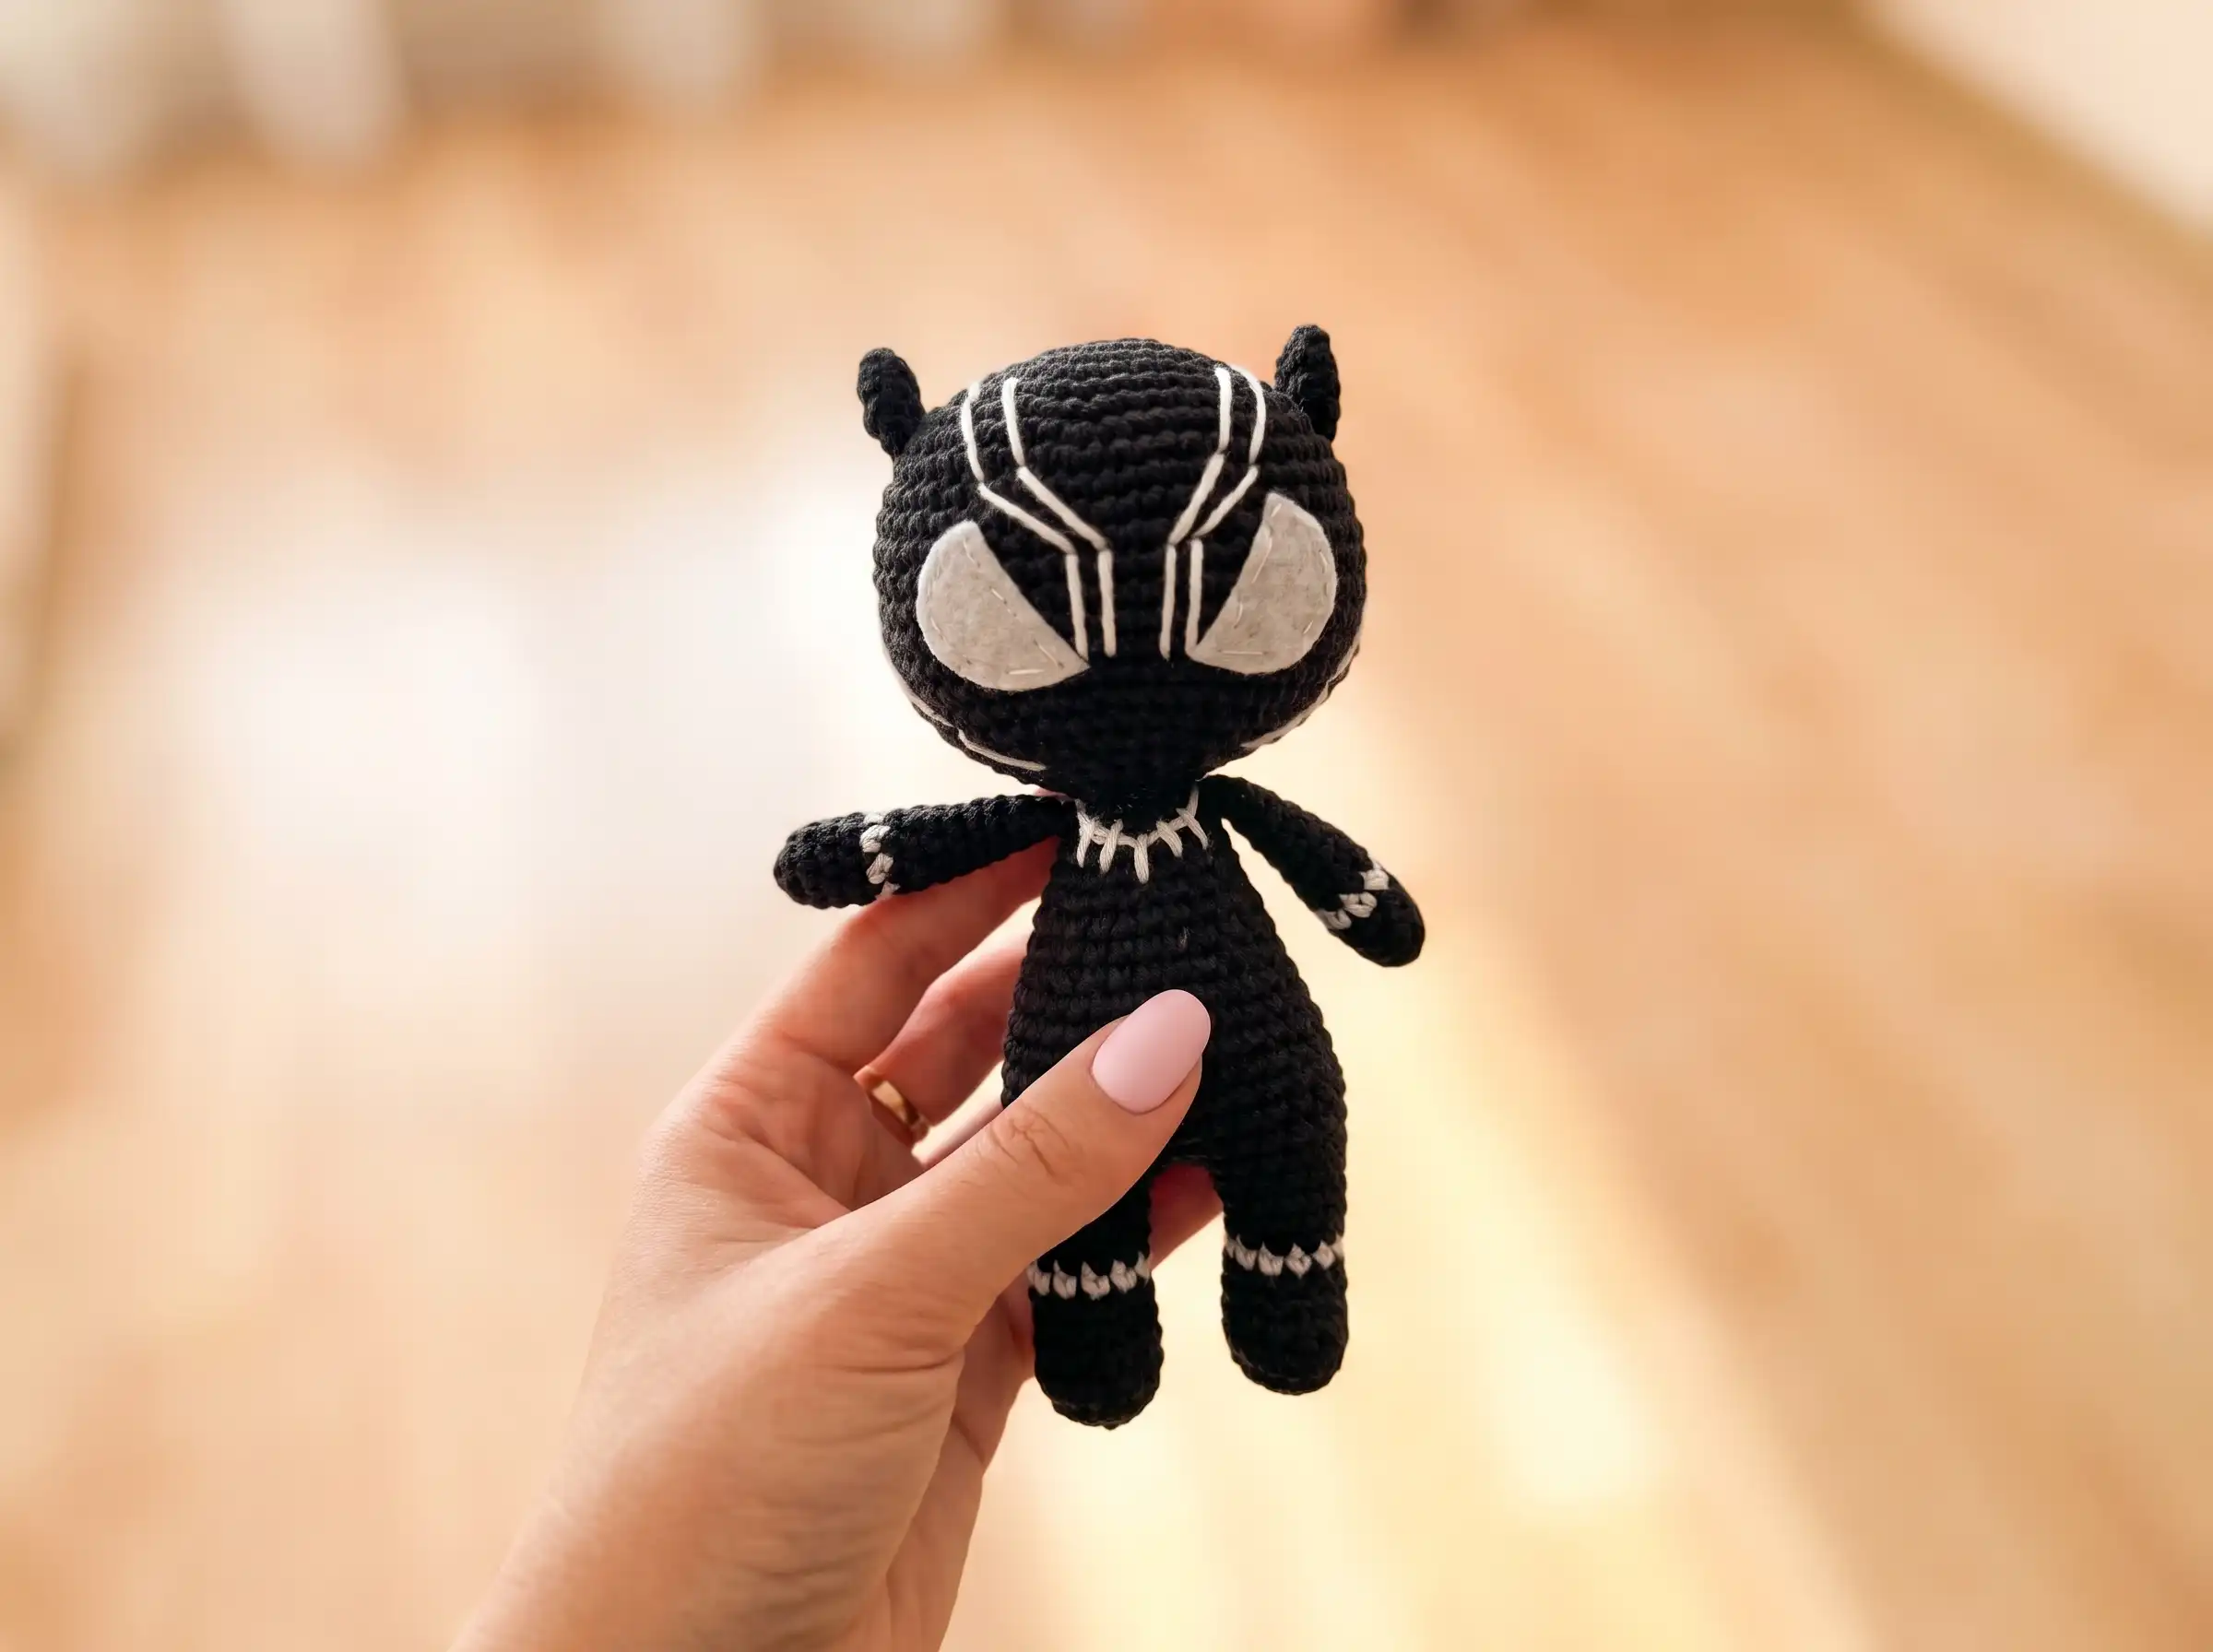
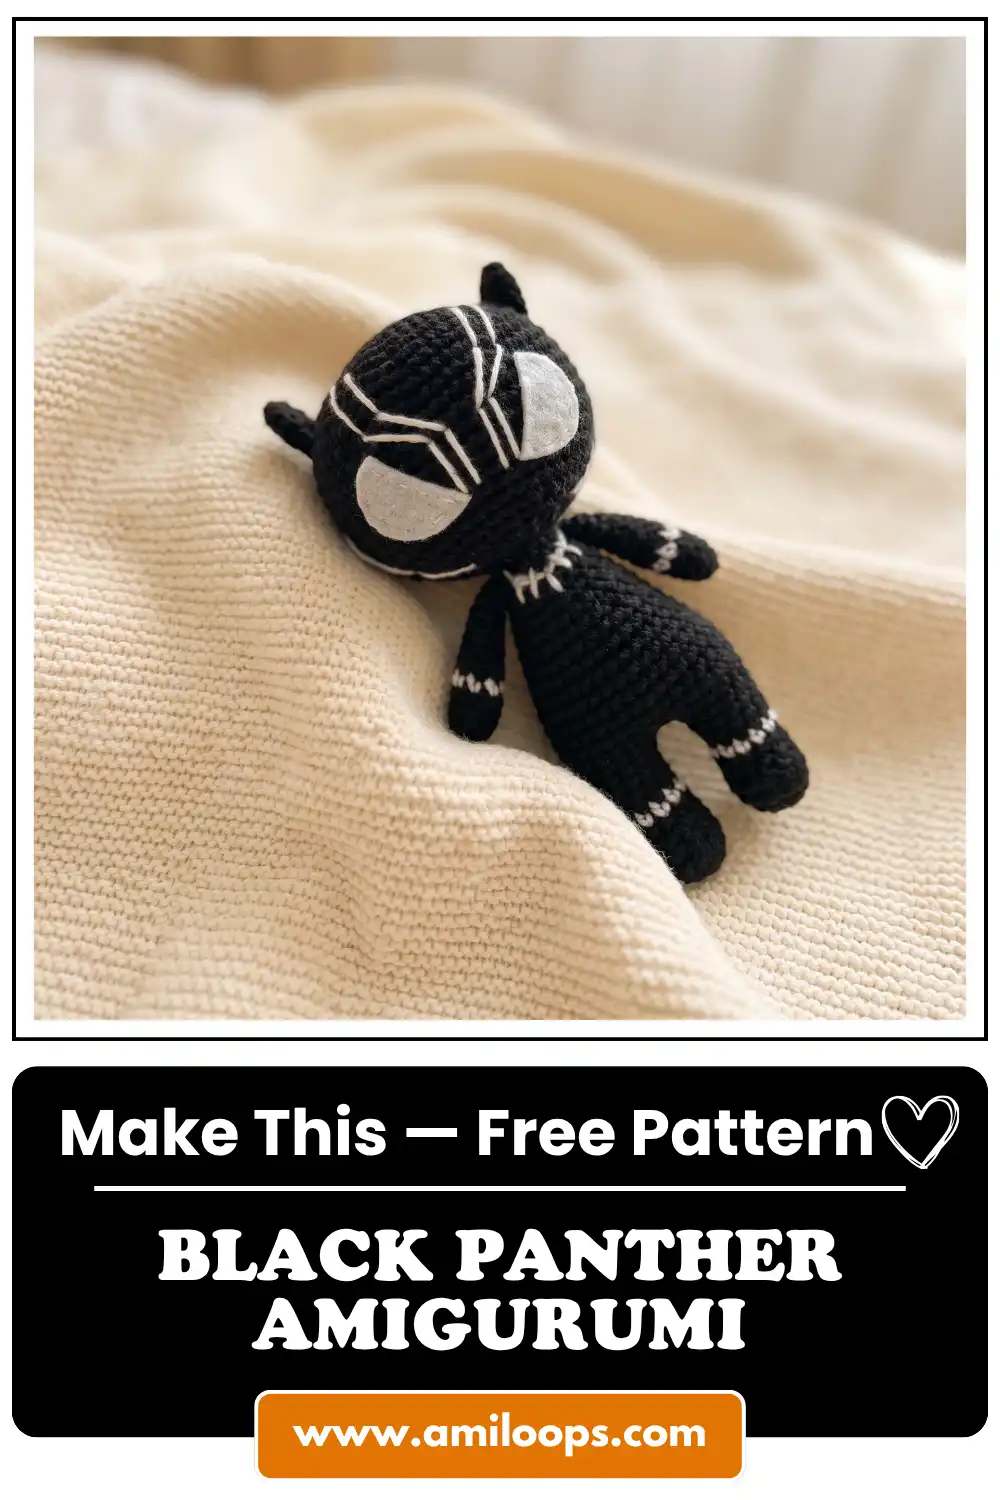
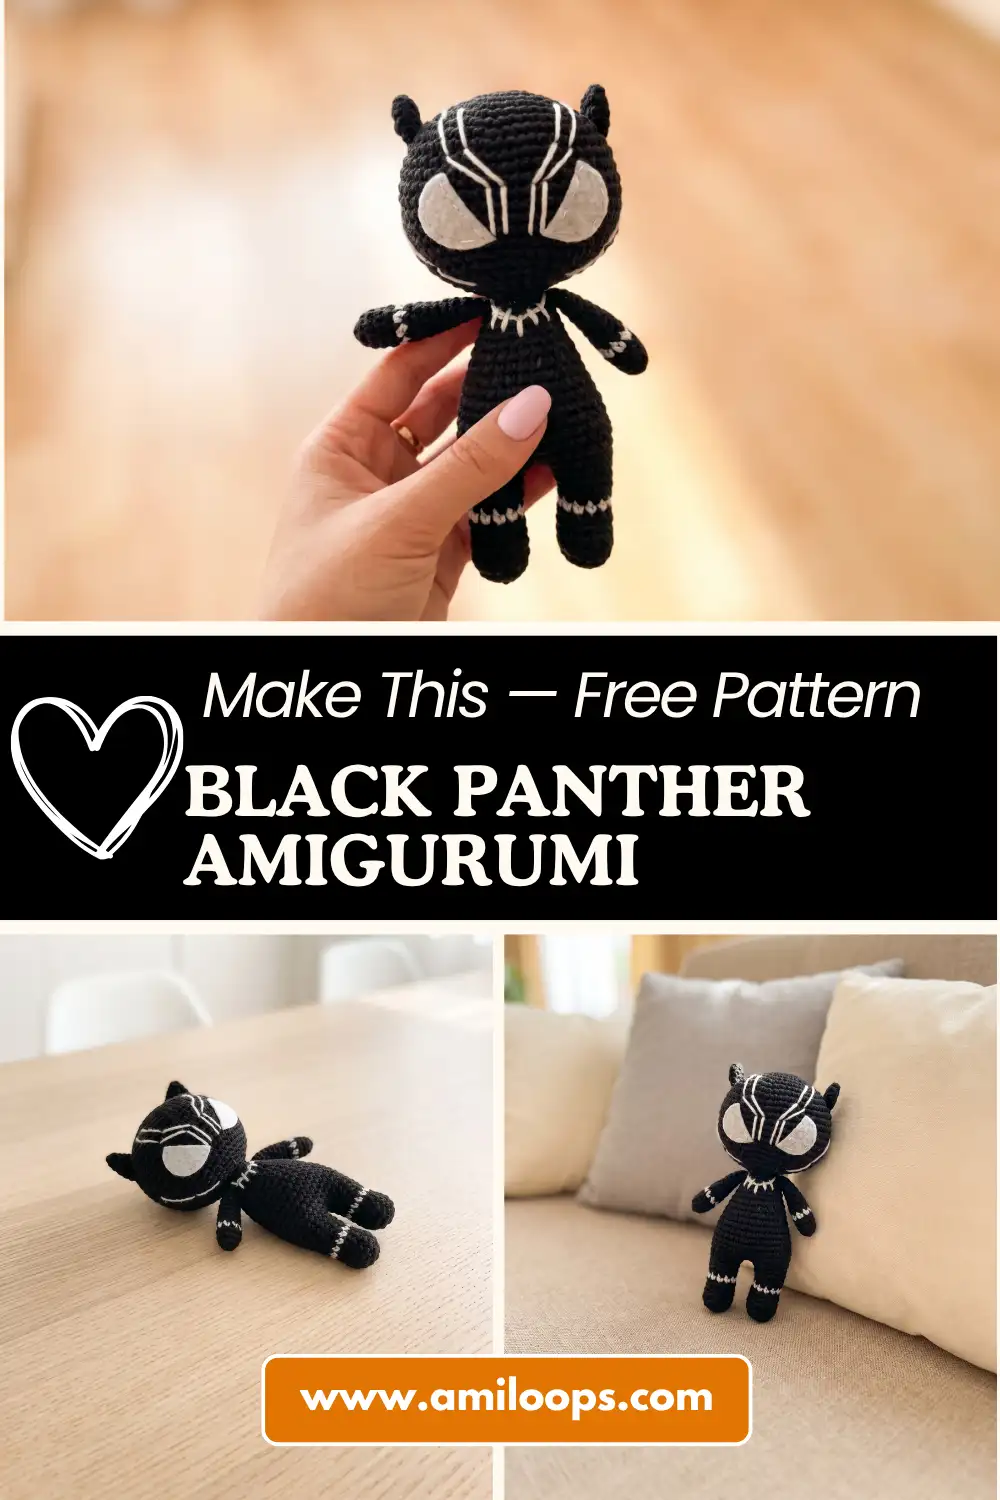
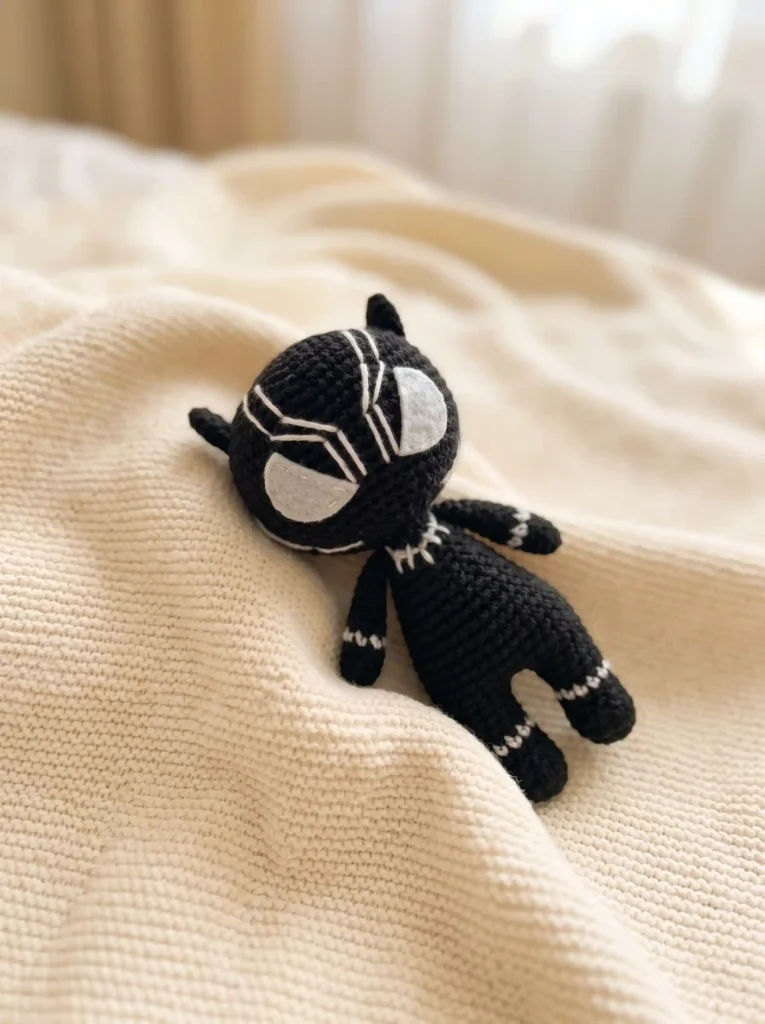
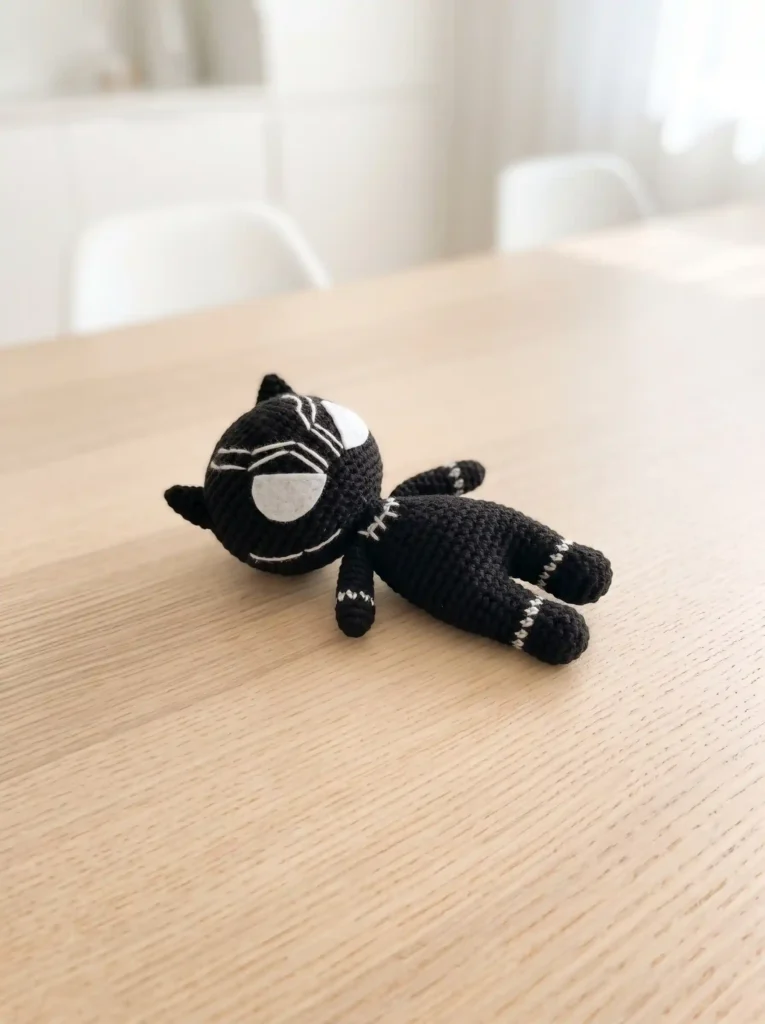
This little amigurumi panther is a sweet stitch-up made almost entirely from dark gray yarn, with just a touch of white worked in for contrast along the way. It has a rounded, sturdy body, small folded ears, and a friendly face that comes together with just a few pieces of felt and some careful embroidery.
This black panther amigurumi pattern is worked in continuous rounds from the feet upward, so there is no joining or turning to slow you down. The finished toy stands approximately 15 cm tall once stuffed, and most crocheters can complete it in about 2-3 hours once the pieces are ready to sew together.
About This Panther Crochet Pattern
Once all five pieces are stuffed and joined, this panther settles into a compact, huggable shape that measures approximately 15 cm from the top of its head to the base of its feet. That size makes it easy to display on a shelf, tuck into a bag, or hand to a small child without worrying about oversized limbs or a floppy neck.
Because the body and head are worked as continuous shaping rather than a series of separately joined rounds, the pattern moves along quickly for an average crocheter. Most people can finish the full set of pieces, from the first leg to the last ear, in about 2-3 hours, not counting the time spent stuffing and sewing everything into its final pose.
Materials and Tools
This pattern keeps the shopping list short. The main color work is done in YarnArt Jeans, a cotton-acrylic blend yarn that comes in a light 160m/50g put-up, and you only need two shades: dark gray for almost the entire body and white for the small embroidered accent. A 2.00 mm hook keeps the stitches tight enough that stuffing will not peek through the fabric, and the eyes are cut from white felt rather than crocheted or made with plastic safety eyes.
- 2.00 mm crochet hook
- YarnArt Jeans yarn (55% cotton, 45% acrylic, 160m/50g) in dark gray and white
- White felt (for eyes)
- Yarn needle (for sewing parts)
- Stuffing (fiberfill or holofiber)
- Scissors
- Stitch marker or scrap yarn
Crochet Abbreviations
The rows below use standard American single crochet (sc) terminology, along with the increase and decrease methods described here. Reviewing this short list before you start makes it much easier to follow the shaping instructions without pausing to look anything up mid-round.
- MR — magic ring
- ch — chain
- sl st — slip stitch
- sc — single crochet
- inc — increase (2 sc in one stitch)
- dec — decrease (2 sc worked together)
- (…) x n — repeat instructions within parentheses n times
Construction Overview
This panther is built from the ground up. You start with two separate legs, each shaped as its own small tube, before the pattern brings them together into one continuous body. Working bottom-up like this means the legs are fully formed and stuffable before you ever touch the torso, which keeps the shaping easier to track from the very first round.
The first leg is completed and set aside, while the second leg stays live on the hook so you can chain across the gap and join both legs in a single round. That join creates one continuous tube for the body, carrying the stitch count all the way up to the neck without a seam running down the middle.
The arms, ears, and head are each made separately from the body. The arms and ears are worked flat and left unstuffed, while the head is shaped and stuffed on its own before any of the pieces are sewn together. Working every piece independently like this gives you more control over placement once it is time for assembly.
Before You Start
Have both your dark gray and white yarn within reach before you begin, since dark gray does the vast majority of the work while white appears only for a small embroidered detail later on. Because every piece is worked in a continuous spiral rather than joined rounds, it helps to place a stitch marker or a short length of scrap yarn at the start of each round so you always know exactly where a new round begins.
Set aside your white felt along with a way to attach it, whether that is fabric glue or a needle and thread, so it is ready when you reach the face. As you work the body and head, stuff firmly and steadily rather than waiting until the very end; it is much easier to pack fiberfill or holofiber into a wide opening than to force it through a narrow one after the decreases have closed the top.
Black Panther Crochet Pattern
Work each piece below in continuous rounds, without joining or turning unless a step says otherwise. Complete the pieces in the order given, since the second leg leads directly into the body.
First Leg
Round 1: 6 sc in a MR. (6 sts)
Round 2: 6 inc. (12 sts)
Round 3: (1 sc, inc) x 6. (18 sts)
Round 4: 18 sc. (18 sts)
Round 5: 6 sc, 4 dec, 4 sc. (14 sts)
Round 6: 6 sc, 2 dec, 4 sc. (12 sts)
Round 7: 12 sc. (12 sts)
Round 8: 12 sc. (12 sts)
Round 9: 12 sc. (12 sts)
Round 10: 12 sc. (12 sts)
Round 11: In this round work only 11 sc. (11 sts)
Second Leg and Body
Count check: Round 12, where the legs join, should total exactly 30 stitches. If your count is off, check that you worked into both sides of the 3-chain bridge connecting the two legs.
Round 1: 6 sc in a MR. (6 sts)
Round 2: 6 inc. (12 sts)
Round 3: (1 sc, inc) x 6. (18 sts)
Round 4: 18 sc. (18 sts)
Round 5: 6 sc, 4 dec, 4 sc. (14 sts)
Round 6: 6 sc, 2 dec, 4 sc. (12 sts)
Round 7: 12 sc. (12 sts)
Round 8: 12 sc. (12 sts)
Round 9: 12 sc. (12 sts)
Round 10: 12 sc. (12 sts)
Round 11: 12 sc. Then work 5 more sc. (12 sts)
Round 12: Chain 3, 12 sc along the first leg, 3 sc along the chains, 12 sc along the second leg, 3 sc along the opposite side of the chains. The beginning of the round should be on the back of the toy. (30 sts)
Round 13: 9 sc, inc, 14 sc, inc, 5 sc. (32 sts)
Rounds 14-18: 32 sc. (32 sts)
Round 19: 9 sc, dec, 14 sc, dec, 5 sc. (30 sts)
Round 20: 30 sc. (30 sts)
Round 21: (3 sc, dec) x 6. (24 sts)
Rounds 22-23: 24 sc. (24 sts)
Round 24: (2 sc, dec) x 6. (18 sts)
Rounds 25-26: 18 sc. (18 sts)
Round 27: (7 sc, dec) x 2. (16 sts)
Round 28: 16 sc. (16 sts)
Arms
Round 1: 6 sc in a MR. (6 sts)
Round 2: (2 sc, inc) x 2. (8 sts)
Rounds 3-5: 8 sc. (8 sts)
Round 6: 8 sc. (8 sts)
Rounds 7-14: 8 sc. (8 sts)
Ears
Round 1: 4 sc in a MR. (4 sts)
Round 2: (1 sc, inc) x 2. (6 sts)
Round 3: (1 sc, inc) x 3. (9 sts)
Round 4: 9 sc. (9 sts)
Round 5: (2 sc, inc) x 3, sl st. (12 sts)
Head
Round 1: 6 sc in a MR. (6 sts)
Round 2: 6 inc. (12 sts)
Round 3: (1 sc, inc) x 6. (18 sts)
Round 4: (2 sc, inc) x 6. (24 sts)
Round 5: (3 sc, inc) x 6. (30 sts)
Round 6: (4 sc, inc) x 6. (36 sts)
Round 7: (5 sc, inc) x 6. (42 sts)
Round 8: (6 sc, inc) x 6. (48 sts)
Round 9: (15 sc, inc) x 3. (51 sts)
Rounds 10-16: 51 sc. (51 sts)
Round 17: (15 sc, dec) x 3. (48 sts)
Round 18: (6 sc, dec) x 6. (42 sts)
Round 19: (5 sc, dec) x 6. (36 sts)
Round 20: (4 sc, dec) x 6. (30 sts)
Round 21: (3 sc, dec) x 6. (24 sts)
Round 22: (2 sc, dec) x 6. (18 sts)
Round 23: (7 sc, dec) x 2. (16 sts)
Assembly and Finishing
Once every piece is complete, lay the arms, ears, and head next to the body to plan their placement before you start sewing. The arms and ears are left unstuffed and simply folded flat, which lets them sit close to the body instead of standing away from it, so take a moment to fold each one before attaching it.
Sew the head onto the neck opening first, working your way around evenly so the head sits centered rather than tilted to one side. Then attach the arms symmetrically along the sides of the body, checking from the front that both sit at matching heights before you fasten them off.
- Sew the head to the body.
- Embroider a necklace on the front of the toy (chest) using white yarn.
- Sew the arms symmetrically to the sides of the body.
- Cut two eyes out of white felt, then sew or glue them to the head.
- Embroider the facial details, ensuring they are symmetrical.
- Sew the ears symmetrically to the sides of the head.
For the face, cut two small ovals from your white felt and either glue or sew them to the head before adding embroidered pupils on top. Working with felt instead of plastic safety eyes gives you more control over exact placement, so pin both pieces in place and compare them from a few angles before committing to the final stitches or glue.
Pattern Notes and Troubleshooting
Keeping the Body Join Count Accurate
Round 12, where the two legs come together, is the step most likely to throw off your stitch count, and it needs to land on exactly 30 stitches. If your total is different, look closely at the 3-chain bridge connecting the legs; that round asks you to work into both sides of those chains, and it is easy to accidentally skip one side or work into it twice.
Matching Up the Feet
If you finish both legs and notice the feet do not sit evenly next to each other, double check Round 11 of the second leg. That round includes an extra 5 sc worked beyond the base round before the chain-and-join step, and skipping or shortening that shift is the most common reason the two feet end up looking mismatched once the toy is stuffed.
Keeping Color Changes Clean
On any round where you introduce a new color on the arms or legs, jagged or uneven stripes usually trace back to the same small habit: finishing the last stitch of the old color with the new color already pulled through. Making that switch on the final yarn-over of the previous stitch, rather than at the start of the next one, keeps the color line crisp and even all the way around.
Finishing Checklist
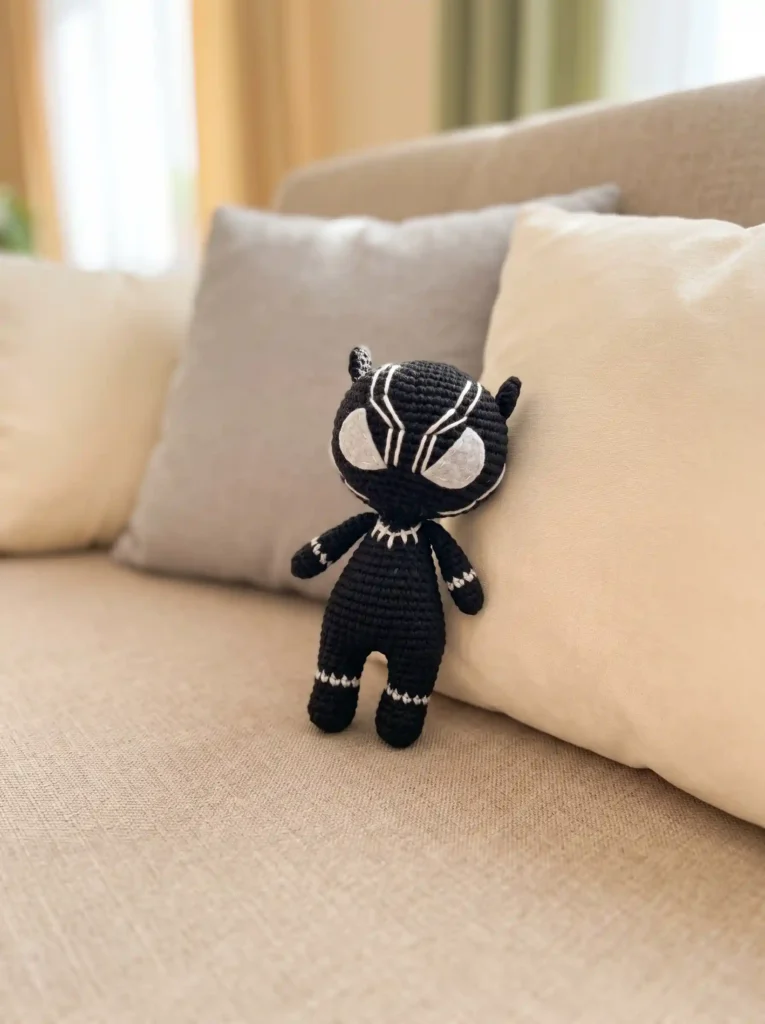
Before setting your panther aside as finished, take a slow pass around it to confirm every detail is secure. The face relies entirely on simple embroidery and felt rather than hardware, so it is worth double checking that nothing has come loose before the toy gets handled or played with regularly.
- Ensure all 5 crocheted parts are securely attached.
- Verify that the white necklace is embroidered on the chest.
- Check that the felt eyes are securely glued or sewn on.
- Confirm facial embroidery is symmetrical.