Floppy-Eared Bunny Amigurumi Crochet Pattern (No-Sew Body)
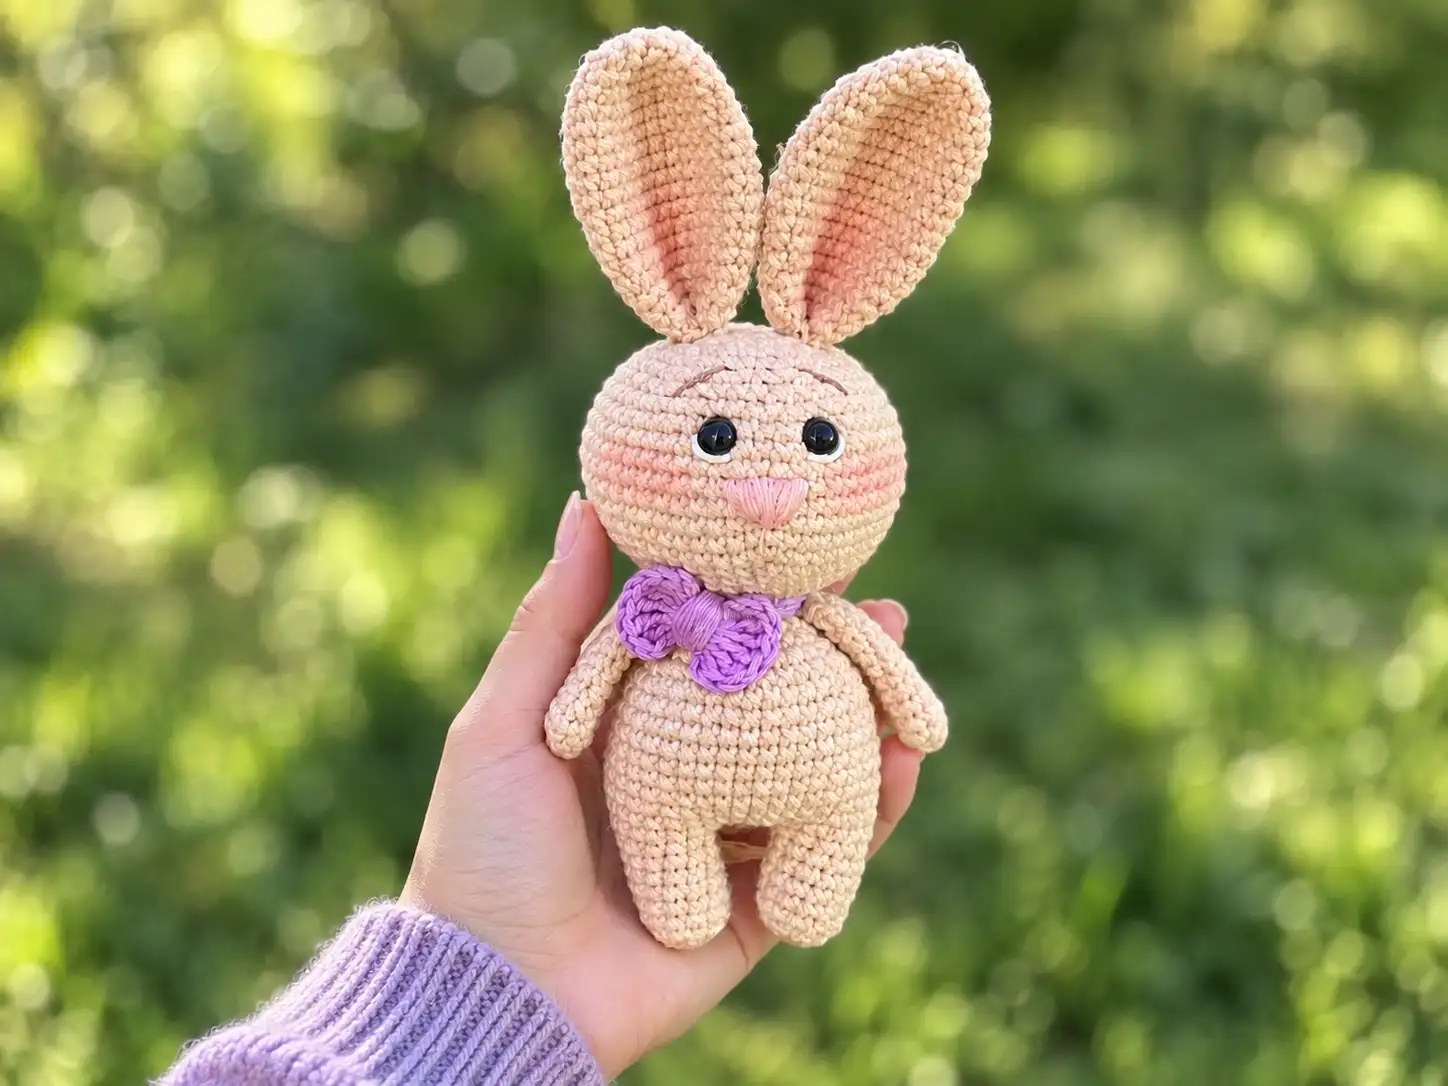
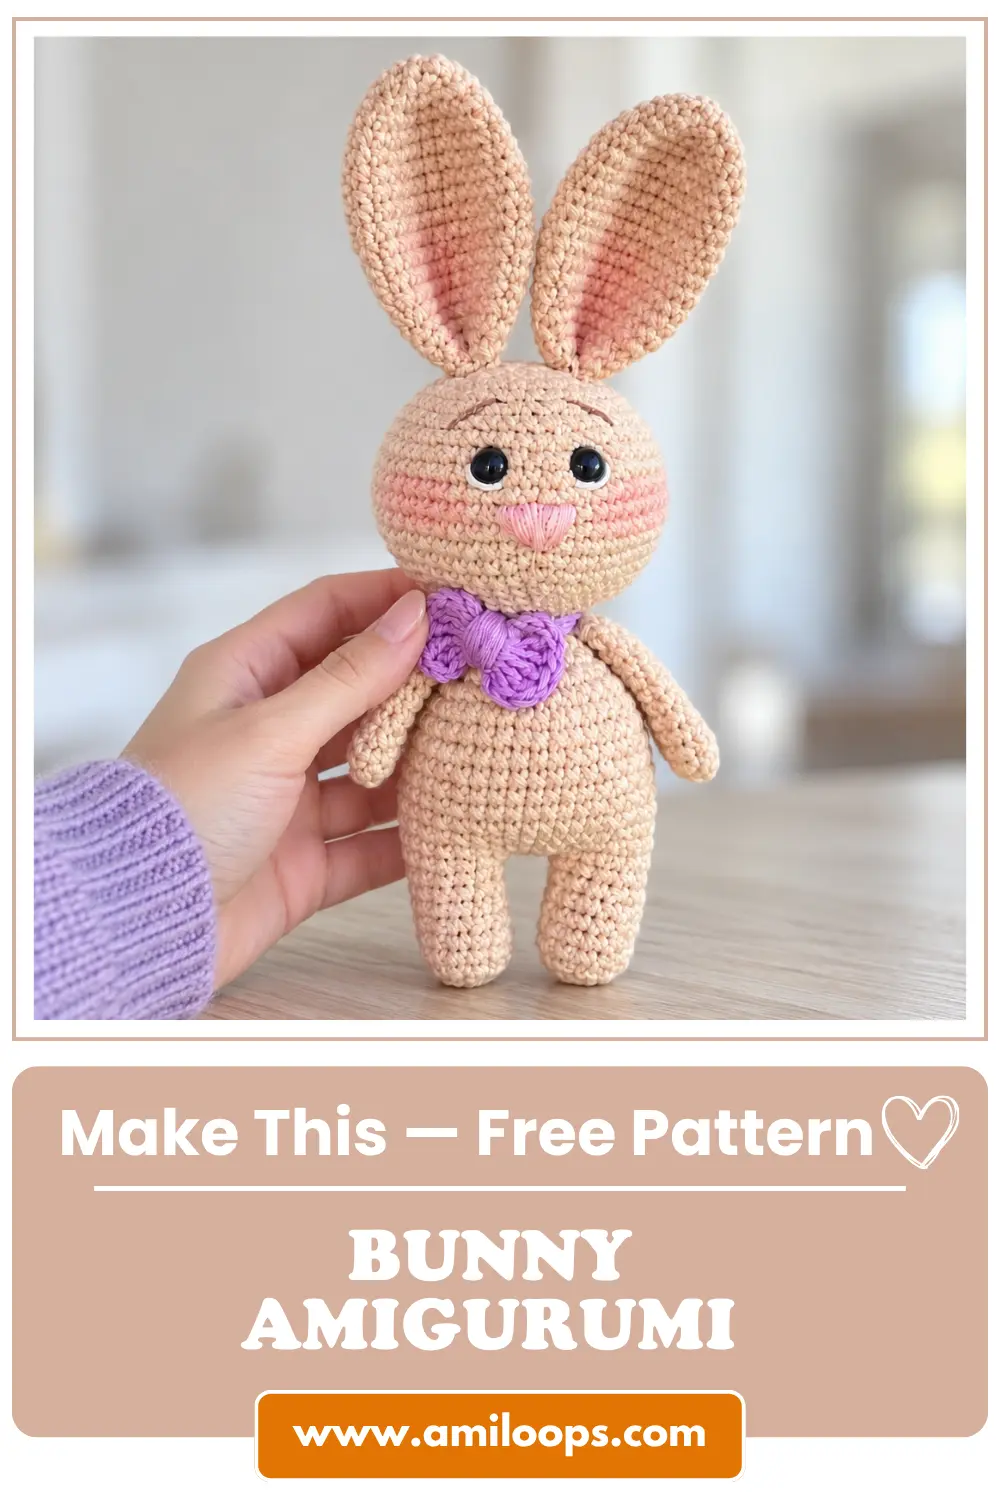
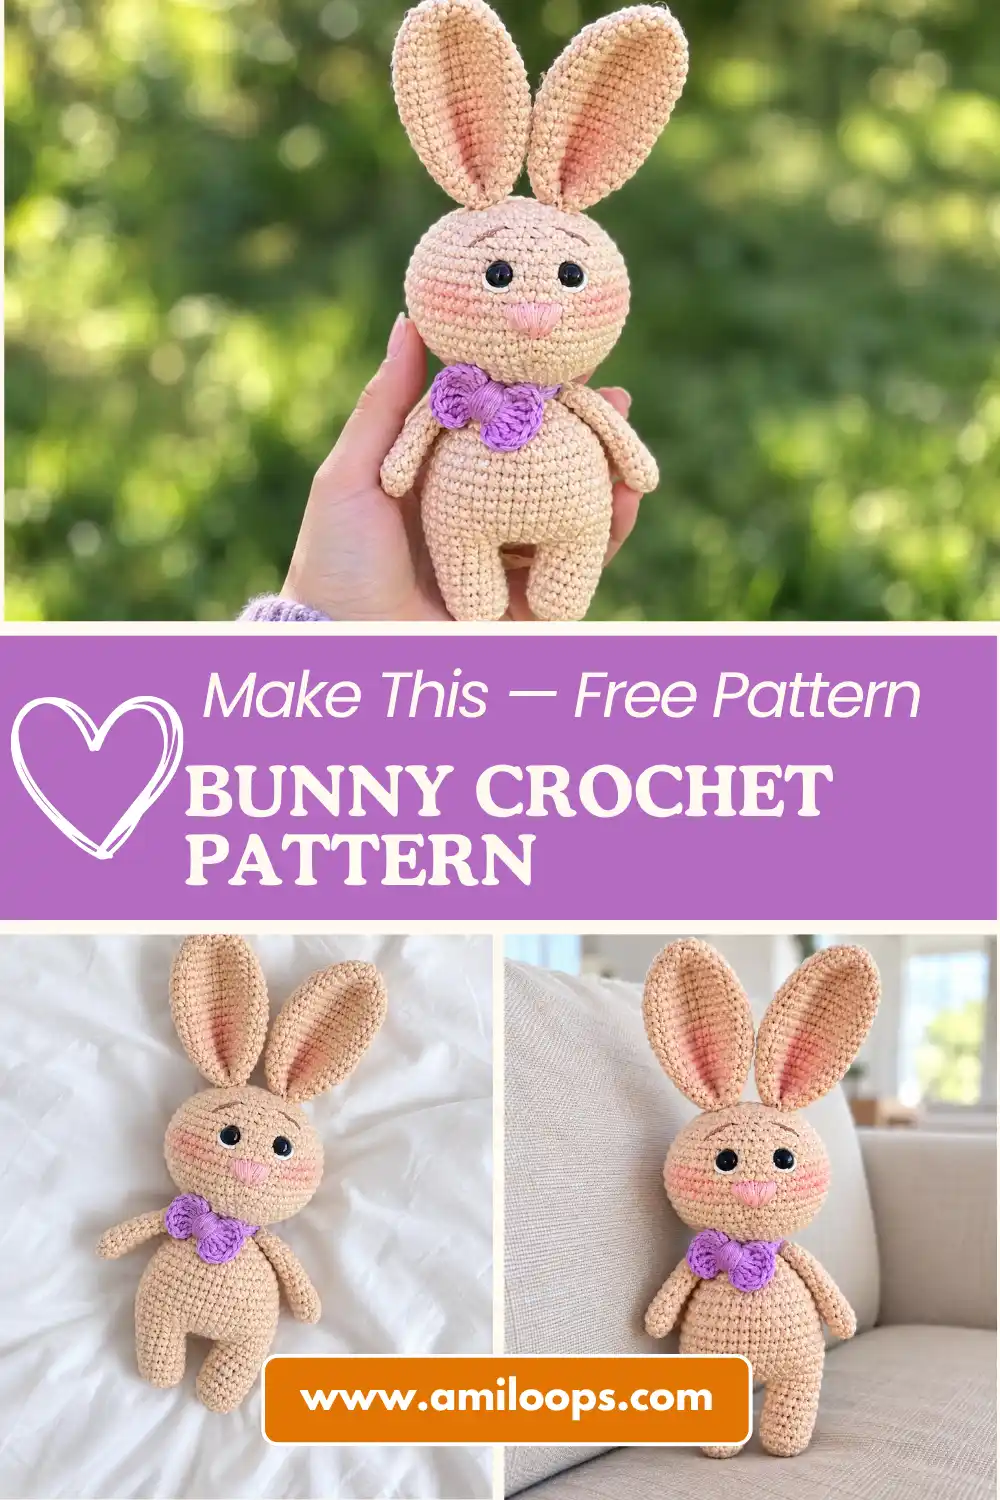
This bunny amigurumi pattern creates a sweet plush friend using continuous rounds of single crochet to shape the legs, torso, and head. It is a fantastic project for practicing foundational skills. With its long floppy ears and a cheerful bow, this pattern produces an adorable result on your hook.
Read through the materials, abbreviations, and construction notes once, then follow the instructions below. Setting up your pieces and choosing your yarn colors ahead of time keeps the process short and easy to follow.
About This Bunny Amigurumi Crochet Pattern
The legs, body, and head of the bunny are crocheted continuously as one seamless unit from the bottom up, which means you never stop to join a round or weave in a seam down the back. Once you finish the final round of the legs you chain across to link them, then keep working in one unbroken spiral all the way to the top of the head. The arms are worked as separate small pieces, but they get crocheted directly into the sides of the body during a single round rather than sewn on afterward, which keeps extra hand-sewing to a minimum.
A popcorn stitch worked seamlessly into the body gives the bunny a small round tail without adding a separate piece to sew on later, so the shaping happens entirely inside the regular rounds of the torso. This single embedded detail is what turns a plain stuffed cylinder into a recognizable bunny silhouette from the back, and it disappears into the surrounding single crochet stitches so cleanly that it reads as part of the body rather than a separate attached piece. Working the tail this way also means there is nothing extra to keep track of once assembly begins.
Materials and Tools
Every part of this design works up on a small 2 mm crochet hook, which keeps the stitches tight enough that stuffing stays hidden even in the narrow arms and legs. The finished face closes with 6 mm safety eyes rather than embroidered circles, giving the bunny a bright, consistent look. A couple of different yarn options appear in the list below to match your preferred color story, including Gazzal Baby Cotton for a beige bunny or Alize Cotton Gold Tweed for a white bunny.
- Yarn for Beige Bunny: Gazzal Baby Cotton (Color: beige 3424)
- Yarn for Beige Bunny bow: YarnArt Ideal (Color: purple 245)
- Yarn for Beige Bunny nose: Alize Bella (Color: pink 613)
- Yarn for White Bunny: Alize Cotton Gold Tweed (Color: white 55)
- Yarn for White Bunny bow: YarnArt Jeans (Color: raspberry 59)
- Crochet hook: 2 mm
- Safety eyes: 6 mm
- Toy stuffing
- Scissors
- Pins and tapestry needle
- Stitch marker (optional)
Crochet Abbreviations
This pattern uses standard US crochet terminology throughout, so every abbreviation below means exactly what it says on the Craft Yarn Council’s official list of standard abbreviations, with no regional stitch swaps to worry about. Throughout the rows, single crochet increases and decreases reshape the stitch count at every curve of the body, so knowing exactly what “inc” and “dec” mean before you start prevents mistakes later. A few instructions also combine two techniques into one term, such as the popcorn stitch, which bundles five double crochets into a single raised bump rather than the more common four-stitch version, so read the definitions once before you start the pattern rows to avoid mixing them up partway through a round.
- MR — magic ring
- ch — chain
- sc — single crochet
- sl st — slip stitch
- inc — increase (2 single crochet in one stitch)
- dec — decrease (single crochet 2 stitches together)
- dc — double crochet
- tr — treble crochet
- ( )*n — repeat instructions within parentheses n times
- popcorn — popcorn stitch (5 dc in the same stitch)
Construction Overview
Work order matters here because the arms and ears are prepared before you ever pick up yarn for the legs. Setting these smaller pieces aside first means they are ready and waiting the moment the body reaches the exact round where each one gets attached, instead of leaving you to stop mid-round and start an entirely new piece. It also gives you an early, low-commitment checkpoint: if your stitches feel too loose or too tight on a small ear or arm, you will know before starting the larger legs, body, and head sections that follow.
The two legs are joined at the top with a short chain of three stitches, which forms the base of the torso and lets the first round of the body sit directly on top of both legs at once instead of sewing them together afterward. From there the body works upward in one continuous piece, shaping in to a narrow neck and then immediately expanding again into the head without ever cutting the yarn. That uninterrupted transition from body to head is what gives the finished neck its clean, seamless look instead of a visible sewn seam at the shoulders.
Before You Start
Leave noticeably long yarn tails when you finish the ears rather than trimming them close to the last stitch, because those tails are what let you pin and sew each piece securely onto the head later. A generous tail gives you enough length to weave through several stitches at the attachment point without running out partway through, which keeps the seam from loosening after repeated handling. Trimming the tail too early can leave you without enough length to fix a wobbly or crooked ear once the toy is finished.
Bunny Amigurumi Crochet Pattern
Work through the pieces below in the order they appear, starting with the arms and ears, then moving on to the legs, body, head, and bow. Every part begins in a magic ring and every round count is listed at the end of its row so you can check your stitches as you go. The ears climb through nineteen full rounds and reach a circumference of 24 stitches at their widest point, so take your time and count carefully as you work through their many plain rounds.
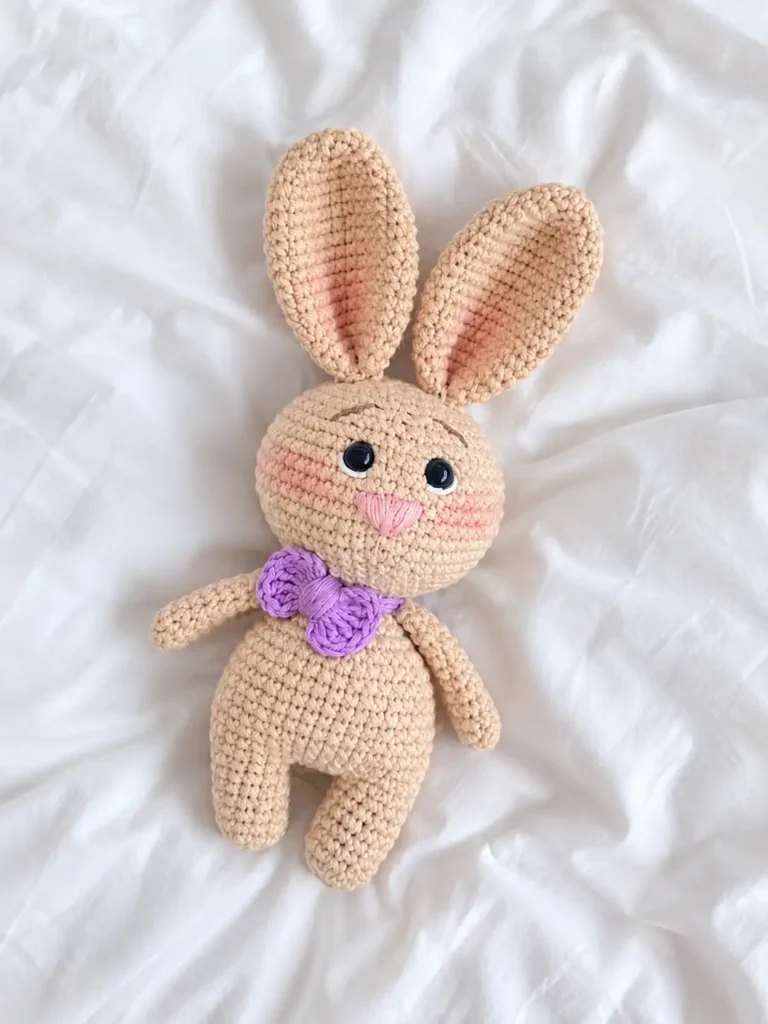
Arms
Round 1: 5 sc in a MR. (5 sts)
Round 2: 5 inc. (10 sts)
Rounds 3-11: 10 sc (9 rounds). (10 sts)
Round 12: (3 sc, dec) * 2. (8 sts)
Ears
Note (Ear length check): These ears are the longest of the accessory pieces, climbing through nineteen rounds before the shaping at the top begins, so expect them to take a bit longer than the arms.
Round 1: 6 sc in a MR. (6 sts)
Round 2: 6 inc. (12 sts)
Round 3: (1 sc, inc) * 6. (18 sts)
Round 4: (2 sc, inc) * 6. (24 sts)
Rounds 5-14: 24 sc (10 rounds). (24 sts)
Round 15: (10 sc, dec) * 2. (22 sts)
Round 16: (9 sc, dec) * 2. (20 sts)
Round 17: (8 sc, dec) * 2. (18 sts)
Round 18: (7 sc, dec) * 2. (16 sts)
Round 19: (6 sc, dec) * 2. (14 sts)
Legs
Round 1: 6 sc in a MR. (6 sts)
Round 2: 6 inc. (12 sts)
Rounds 3-8: 12 sc (6 rounds). (12 sts)
Body
Round 1: (4 sc, inc) * 6. (36 sts)
Rounds 2-11: 36 sc (10 rounds). [Note: In Round 5, crochet a popcorn stitch of 5 dc in the middle of the back to form the tail]. (36 sts)
Round 12: (4 sc, dec) * 6. (30 sts)
Round 13: (3 sc, dec) * 6. (24 sts)
Round 14: (2 sc, dec) * 6. (18 sts)
Round 15: 18 sc. [Note: Crochet the arms into the sides of the body during this round]. (18 sts)
Round 16: (1 sc, dec) * 6. (12 sts)
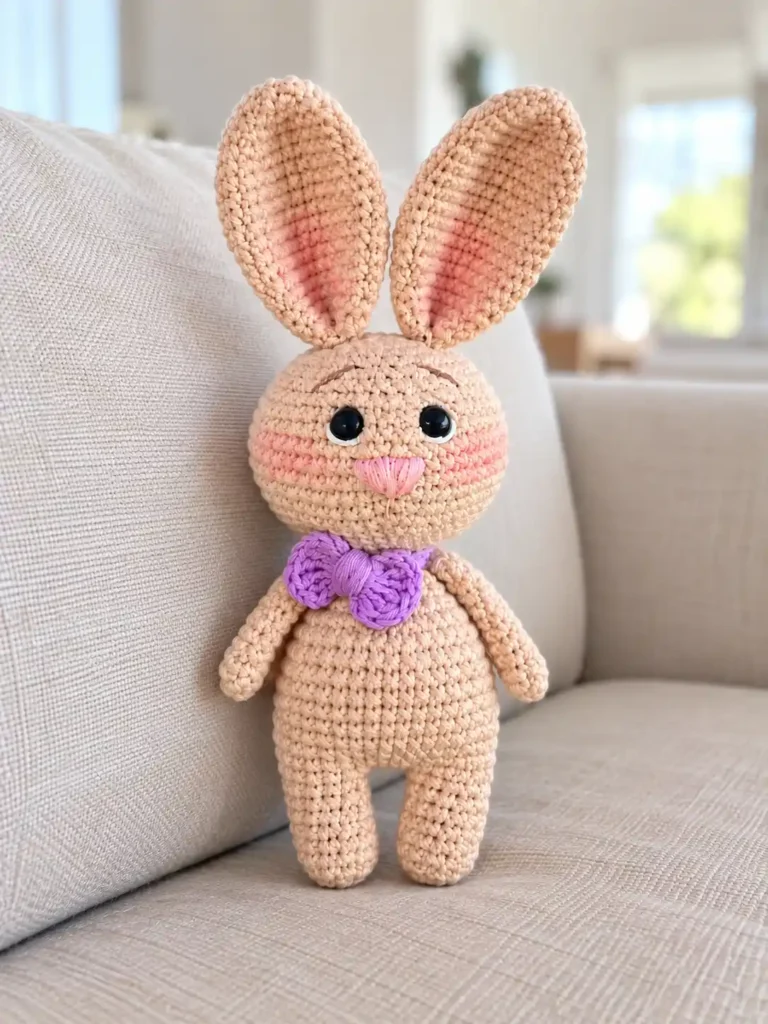
Head
Note (Neck transition): The head picks up right where the body’s neck left off at just twelve stitches, so the first few rounds below focus on expanding that narrow opening back out before the head can round into its full width.
Round 17: (1 sc, inc) * 6. (18 sts)
Round 18: (2 sc, inc) * 6. (24 sts)
Round 19: (3 sc, inc) * 6. (30 sts)
Round 20: (4 sc, inc) * 6. (36 sts)
Round 21: (5 sc, inc) * 6. (42 sts)
Round 22: (6 sc, inc) * 6. (48 sts)
Round 23: (7 sc, inc) * 6. (54 sts)
Rounds 24-30: 54 sc (7 rounds). (54 sts)
Round 31: (7 sc, dec) * 6. (48 sts)
Round 32: (6 sc, dec) * 6. (42 sts)
Round 33: (5 sc, dec) * 6. (36 sts)
Round 34: (4 sc, dec) * 6. (30 sts)
Round 35: (3 sc, dec) * 6. (24 sts)
Round 36: (2 sc, dec) * 6. (18 sts)
Round 37: (1 sc, dec) * 6. (12 sts)
Round 38: 6 dec. (6 sts)
Bow
Note (One-round construction): The whole bow forms in a single magic ring using only treble crochets and chains, so there is no shaping to track beyond completing the round exactly as written below.
Round 1: In a MR work: (ch 3, 6 tr, ch 3, sl st) * 2, ch 1.
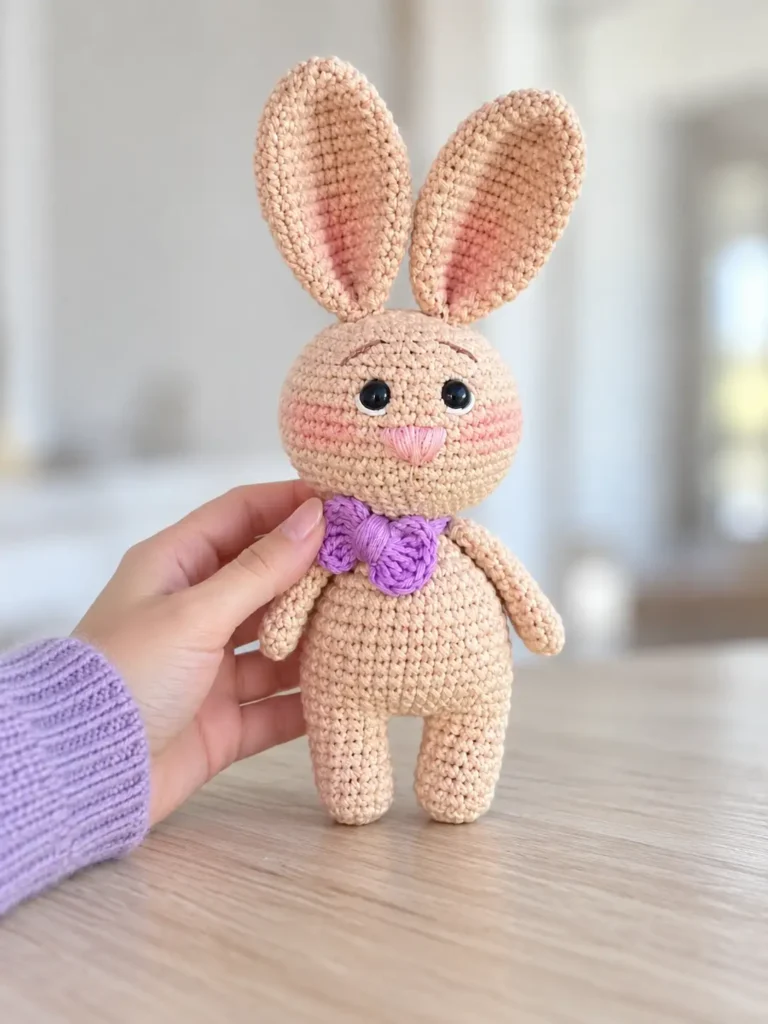
Assembly and Finishing
Save the safety eyes for a precise window in the build: they go in between Rounds 29 and 30 of the head, before the opening narrows too much to reach inside comfortably. Space the two eyes roughly five stitches apart along that round so the finished face reads as symmetrical once stuffing rounds out the cheeks. Attaching safety eyes at exactly this stage, rather than waiting until the head is fully closed, is what makes it possible to reach in and secure the plastic backings firmly from inside the work.
The ears need their own bit of finishing before they ever reach the head: fold the bottom edge of each ear in half and sew it together first, which gives them a rounded, dimensional base instead of a flat, floppy edge that lies awkwardly against the head. From there, sewing amigurumi parts together securely at the head, arms, and bow is what turns a pile of separate pieces into one finished toy.
- Fold the top edge of the arms flat and crochet 3 sc through both layers.
- Fold the bottom edge of the ears in half and sew together before attaching to the head.
- Embroider the nose directly onto the face.
- Stuff the body firmly after Round 13 and after Round 16.
- Crochet a 5-dc popcorn stitch in the middle of the back during Round 5 for the tail.
- Attach the arms symmetrically on the sides of the body during Round 15.
- Insert 6 mm safety eyes between Rounds 29 and 30, spaced 5 stitches apart.
- Stuff the head firmly after Round 34 and Round 37.
- Weave yarn tail through front loops of the final 6 stitches and pull tight to close the head.
- Embroider the whites of the eyes and the eyebrows.
- Pin and sew the ears symmetrically to the top of the head.
- Wrap a long yarn tail tightly around the center of the bow, then wrap around the neck to secure.
Pattern Notes and Troubleshooting
Keeping the Popcorn Tail Centered
If the popcorn tail ends up sitting slightly off from the exact middle of the back once a round or two of stuffing is in place, you can still nudge it into position. Because keeping consistent hook tension across every round is difficult over such a small area, placing the popcorn stitch one or two stitches forward or backward from where the instructions mark it will compensate and bring the tail back to center on the finished piece. Check the tail’s position against the two legs before you close up the body so any adjustment is easy to make while the stitches are still open and accessible.
Preventing a Floppy Neck
A neck that flops or bends unexpectedly comes down to stuffing that was left too soft at the exact point where the body narrows before the head begins. Because this transition happens without cutting the yarn, it is easy to rush past it and move straight into the head’s increases without packing that narrow column as firmly as the rest of the body. Take an extra moment to press stuffing into the neck itself, not just the wider sections above and below it, so the finished head sits upright and stays that way through normal handling.
Closing a Gap Between the Legs
Joining the two legs with a short chain can occasionally leave a tiny gap or hole right where they meet at the base of the torso. If you spot this opening once the first few rounds of the body are complete, turn the piece inside out before you add stuffing and take a few whip stitches across the gap with the working yarn or a leftover tail. Closing it from the inside at this stage keeps the repair invisible from the outside and stops any stuffing from working its way out through the base later on.
Finishing Checklist
Before you consider the animal finished, run back through the two stuffing checkpoints in the body at Round 13 and Round 16, confirming both are packed firmly rather than left soft in the middle where sagging shows up first. Give the same attention to stuffing the amigurumi firmly through the head, checking that no soft spots remain right up until you cinch the final six stitches closed. That last cinch matters as much as the stuffing itself: pull the tapestry needle tight enough that the opening closes completely, then weave the loose end back through a few nearby stitches so it stays hidden and secure.
- Verify that the arms have been closed with exactly 3 sc across the top.
- Check that the body is firmly stuffed at both the Round 13 and Round 16 checkpoints.
- Ensure the safety eyes are secured with their backings before the head opening becomes too small.
- Confirm that the top of the head has been cinched tightly and the yarn end is hidden.
- Check that the bow’s tails are securely hidden inside the body.
- Ensure that the ears have been pinched and sewn at the base.