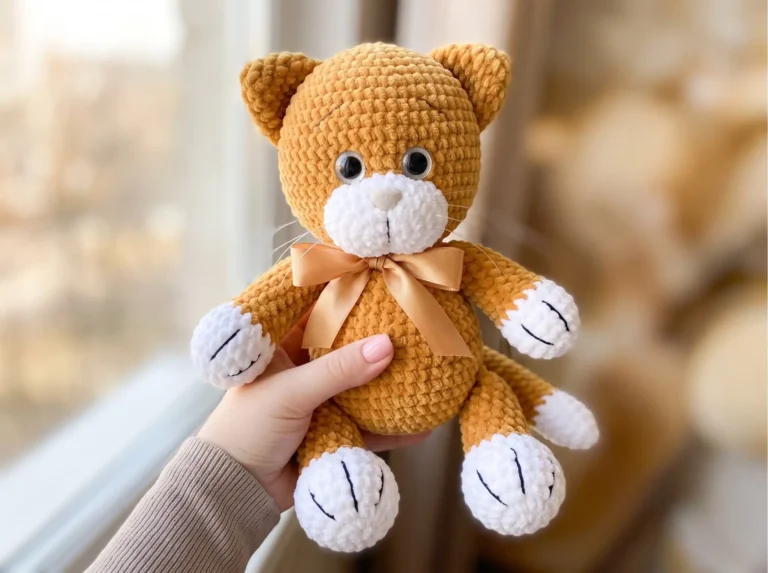
Step-by-Step Amigurumi Cartoon Bear Crochet Pattern
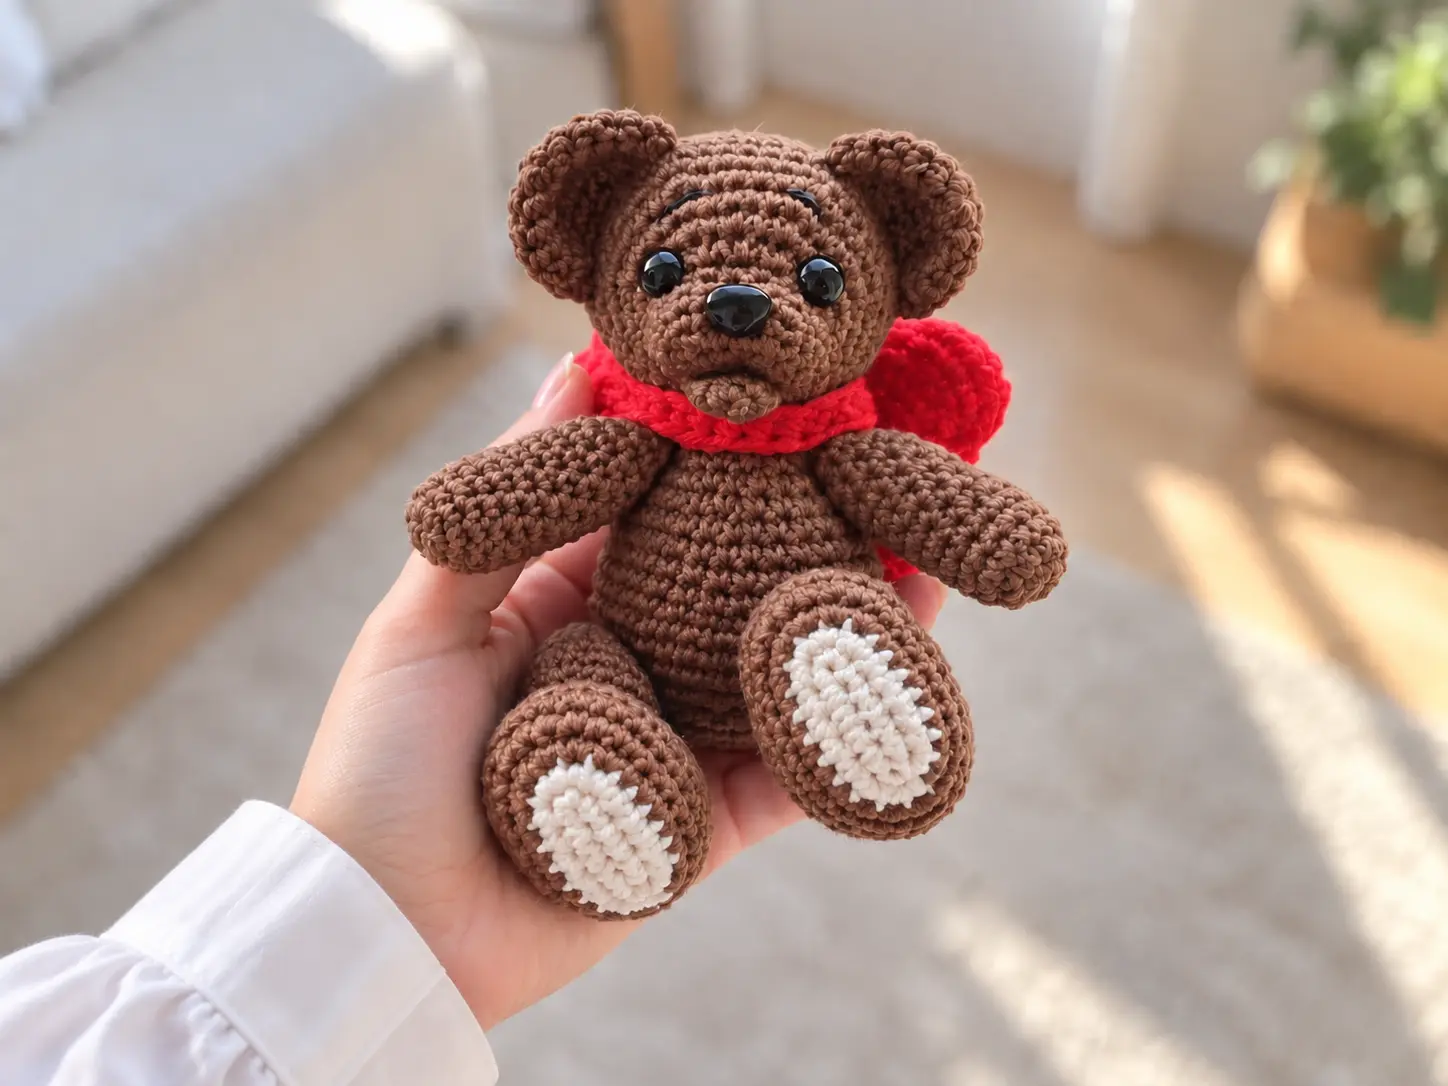
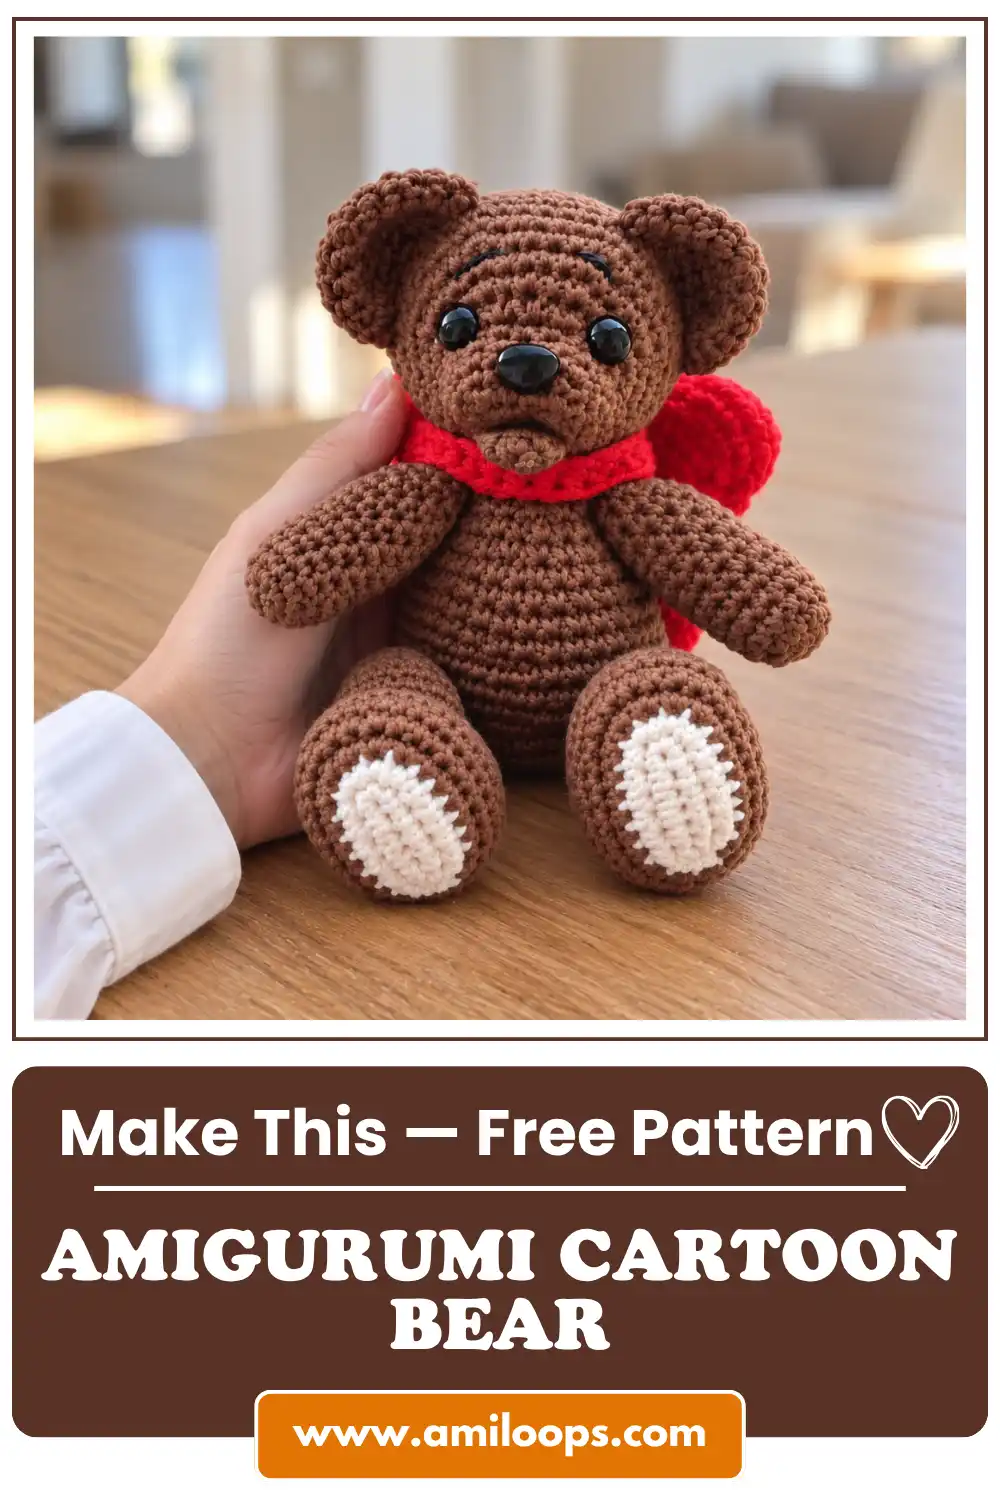
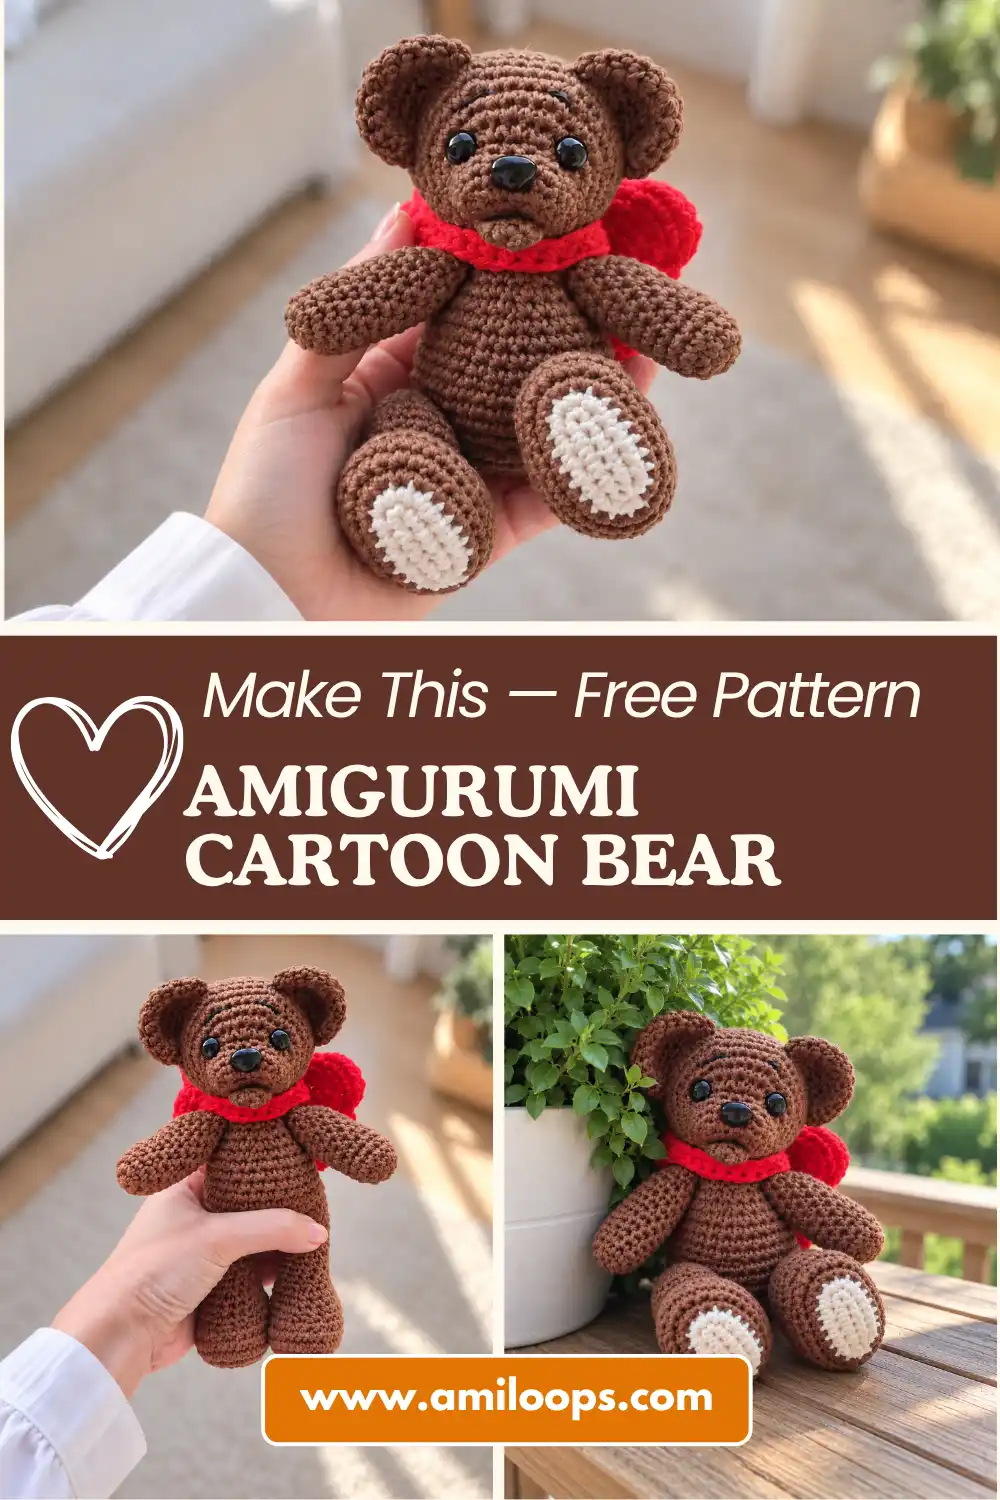
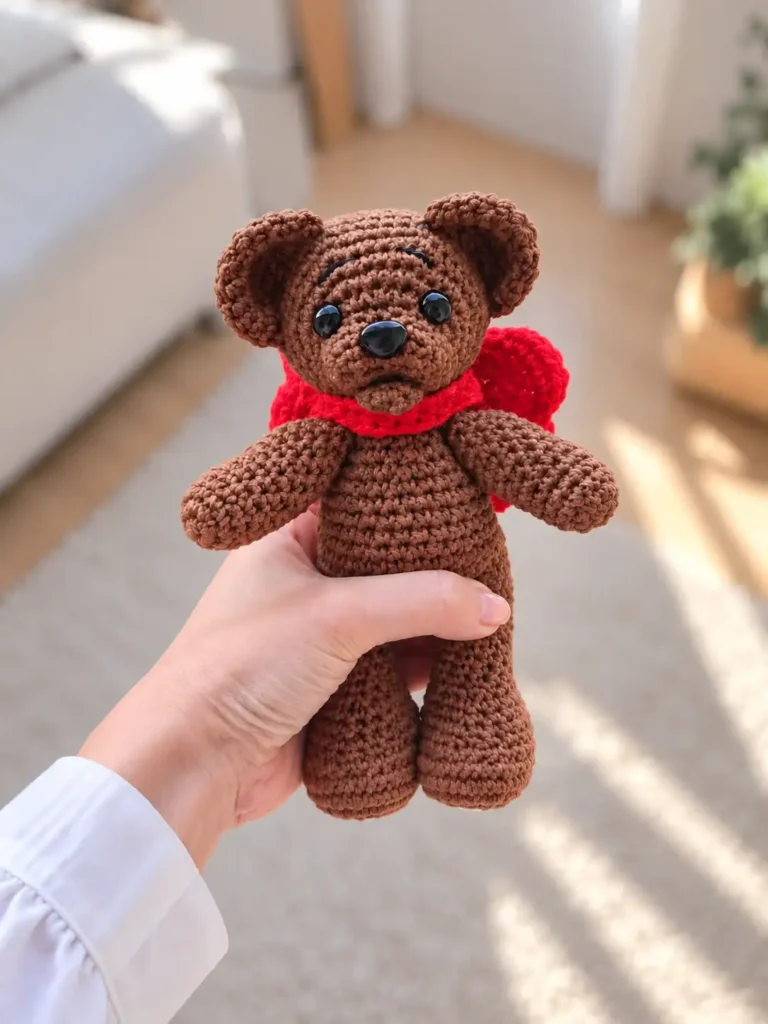
This amigurumi cartoon bear comes together as a set of separately crocheted pieces that are joined at the end, giving the finished toy a sculpted, expressive face and limbs that move. The pattern builds an amigurumi bear inspired by a classic cartoon character, worked entirely with basic stitches so the shaping does all the visual work. A crocheted bow adds a finishing touch around the neck, and every step below is written out row by row so you can follow the construction from the first stitch to the last seam.
Before you start this amigurumi cartoon bear pattern, take a moment to read through the materials list and the abbreviations key below. A few steps rely on techniques like thread jointing and needle sculpting that are much easier to follow once you know what to expect, and the before-you-start section further down covers what to have on hand for the limbs and the color-changing feet. The full pattern, part by part, follows the introductory sections below, with every row written out so you can work through the bear from the first stitch to the last seam.
About This Amigurumi Cartoon Bear Pattern
The head and muzzle of this bear are worked as one continuous piece, so there is no separate snout to sew on later; the shaping simply flows outward from a small oval base into the full rounded head. That same oval-base technique starts both the head and the feet, worked by crocheting around a short foundation chain instead of a magic ring, which gives each of those pieces a flattened, elongated starting shape rather than a perfectly round one.
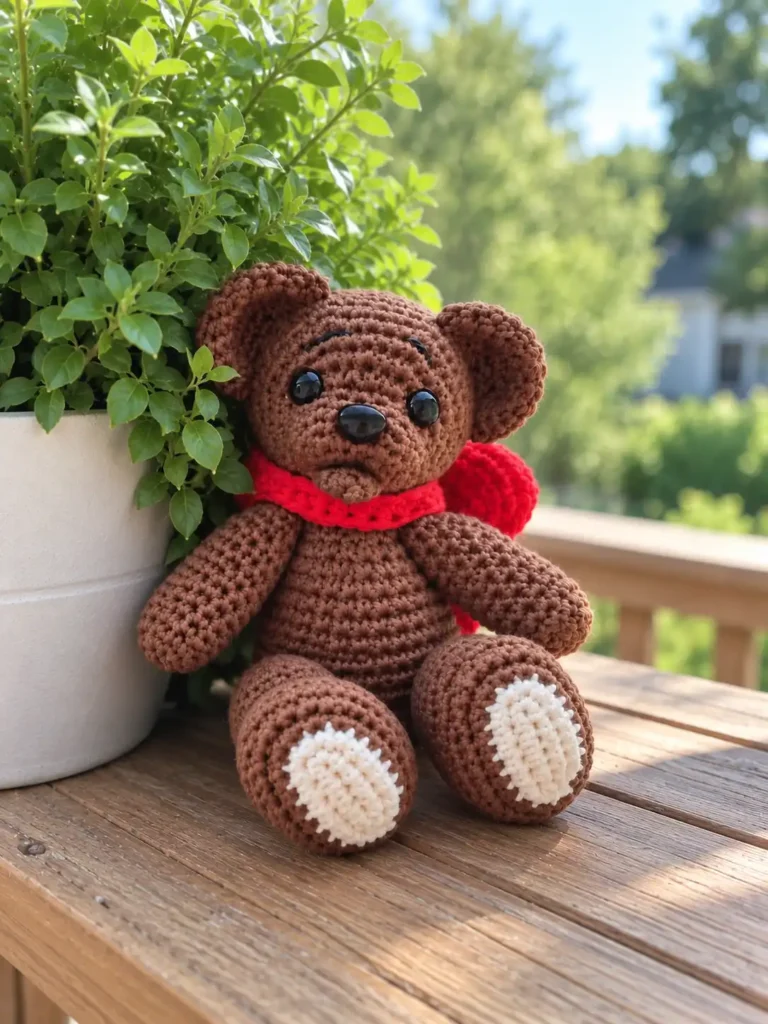
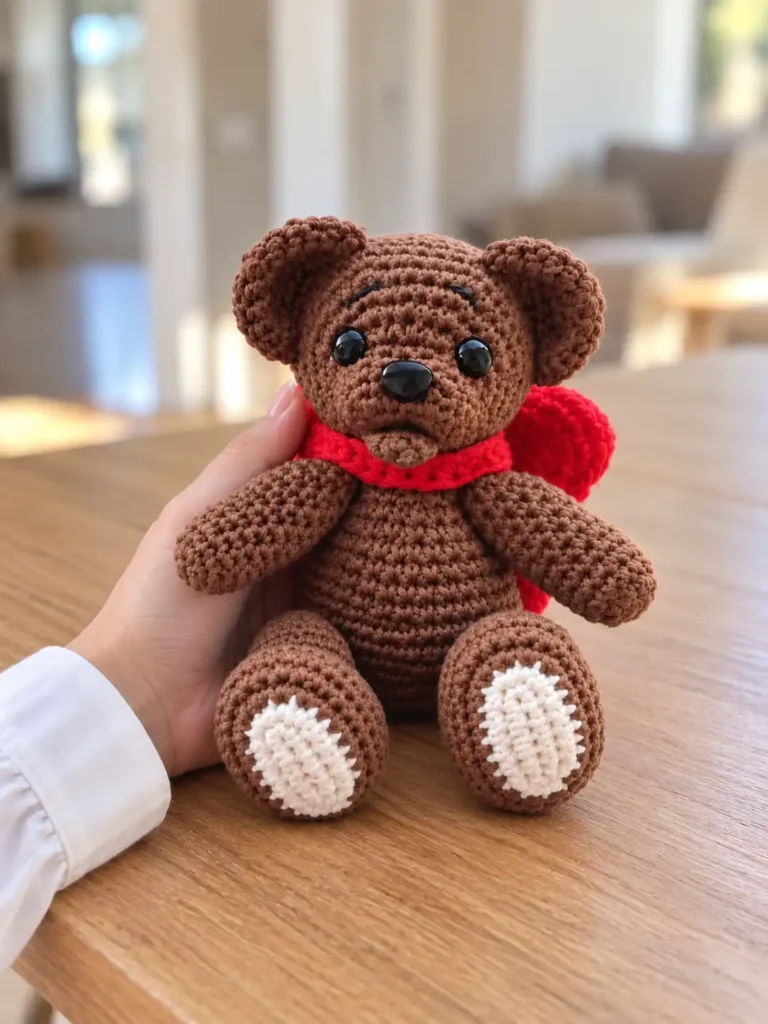
Once the pieces are stuffed, the arms and legs attach with a thread jointing method, so the limbs pivot at the shoulders and hips instead of sitting fixed in place. The feet are worked in two colors, with a contrasting sole that separates visually from the leg above it. None of this requires unusual tools, just patience with the color change and the joint stitching described later in the assembly section.
Materials and Tools
Everything you need for this project is easy to gather from a well-stocked craft stash: two main colors of yarn for the body and feet, a small amount of black for the embroidered eyebrows, and a strong thread for jointing the limbs so they can move. For the neck accessory, a two-loop crocheted bow offers an alternative to simply tying on a length of wide ribbon, so pick whichever finish you prefer before you start the basic amigurumi tools and materials listed below.
- Brown yarn (YarnArt Jeans)
- Beige yarn (for soles of feet)
- Black yarn (for embroidery)
- Red yarn (Semenovskaya “Souffle”) for crocheted bow, OR a piece of wide red ribbon
- 2.5 mm crochet hook (for bear)
- 4.0 mm crochet hook (for crocheted bow)
- Black half-beads (8 mm)
- Small plastic safety nose (or can be embroidered)
- Stuffing/fiberfill
- Scissors
- Yarn needle
- Thread
- Glue (for eyes)
Crochet Abbreviations
Most of this bear is built from single crochet (sc), the workhorse stitch of amigurumi construction, while starting a magic ring gets the body, arms, ears, tail, and mouth piece going. The taller half double crochet (hdc) and double crochet (dc) stitches only show up in the bow, where their differing heights create the curved heart shape. This project sticks to standard crochet abbreviations, listed in full below, so the pattern rows stay short and easy to scan once you know what each one means.
- MR — magic ring
- ch — chain
- sl st — slip stitch
- sc — single crochet
- hdc — half double crochet
- dc — double crochet
- inc — increase (2 sc in one stitch)
- dec — decrease (sc 2 together)
- st(s) — stitch(es)
Construction Overview
The head is worked top-down, starting from a small oval muzzle and increasing outward until it reaches full width partway through, then decreasing again to close at the back. All of the shaping in this pattern, on the head, body, and limbs alike, comes from clustered increases and decreases worked in short groups rather than spread evenly around a round, which is what gives the muzzle, feet, and wrists their more sculpted, less-than-perfectly-round silhouette.
The body is a simple barrel shape, worked from the bottom up with steady increases to its widest point and then a gradual taper toward the neck opening where the head will eventually attach. The bow, if you choose to crochet it instead of tying a ribbon, is built differently from the rest of the bear: two chain loops are formed first, and clusters of stitches are then worked around each loop to pull them into a pair of heart-shaped lobes.
Before You Start
Set out two hook sizes before you begin: a smaller hook for the bear itself and a larger one reserved just for the bow, since the taller stitches there need more room to open up. If you’d like a refresher on metric crochet hook sizing, the Craft Yarn Council page covers the standard conversions, and our amigurumi hook size guide walks through why tension matters for a project like this one. Decide now whether you’re crocheting the bow or finishing the neckline with a plain fabric ribbon instead, since that choice affects what you’ll need on hand later.
Have a length of strong thread or dental floss ready for jointing the limbs, since regular sewing thread tends to stretch or snap under the tension needed to keep the arms and legs securely attached. A stitch marker will help you track the start of each continuous round so you don’t lose your place, and it’s worth keeping both the beige and brown yarn within reach from the very first rounds of the legs. Finally, check your safety nose against the pattern, or set aside black yarn to embroider the nose instead.
Cartoon Bear Crochet Pattern
Each piece below is worked separately and fastened off before assembly, so read through a full part before you start it. The head and the legs both begin the same way, by crocheting around both sides of a short foundation chain rather than starting in a magic ring, which produces the elongated oval base each of those pieces needs.
Head
Count check: Round 1 sets up the oval base described above, and it should land on exactly 14 stitches once you’ve worked around both sides of the foundation chain.
- Round 1: ch 7, starting in the 2nd ch from hook: 5 sc, 3 sc in the last ch, continue along the opposite side of the chain: 4 sc, inc. (14 sts)
- Round 2: inc, 4 sc, 2 inc, 6 sc, inc. (18 sts)
- Rounds 3-4: 18 sc. (18 sts)
- Round 5: 1 sc, 6 inc, 11 sc. (24 sts)
- Round 6: 1 sc, (1 sc, inc) x 6, 11 sc. (30 sts)
- Round 7: (4 sc, inc) x 6. (36 sts)
- Round 8: (5 sc, inc) x 6. (42 sts)
- Rounds 9-14: 42 sc. (42 sts)
- Round 15: (5 sc, dec) x 6. (36 sts)
- Round 16: (4 sc, dec) x 6. (30 sts)
- Round 17: (1 sc, dec) x 10. (20 sts)
- Round 18: (1 sc, dec) x 6, 2 sc. (14 sts)
- Round 19: dec in each st around. (7 sts)
- Finishing: Fasten off, pull the opening closed, and weave in the end.
Body
Count check: Round 6 is the widest point of the body at 36 stitches; everything from here tapers gradually toward the neck.
- Round 1: 6 sc in a MR. (6 sts)
- Round 2: inc in each st around. (12 sts)
- Round 3: (1 sc, inc) x 6. (18 sts)
- Round 4: (2 sc, inc) x 6. (24 sts)
- Round 5: (3 sc, inc) x 6. (30 sts)
- Round 6: (4 sc, inc) x 6. (36 sts)
- Rounds 7-11: 36 sc. (36 sts)
- Round 12: (4 sc, dec) x 6. (30 sts)
- Rounds 13-16: 30 sc. (30 sts)
- Round 17: (3 sc, dec) x 6. (24 sts)
- Round 18: 24 sc. (24 sts)
- Round 19: (2 sc, dec) x 6. (18 sts)
- Round 20: 18 sc. (18 sts)
- Finishing: Fasten off, leaving a long tail for sewing.
Arms
Count check: Round 7 introduces two decreases that subtly narrow the wrist before the straight sleeve continues down to the hand.
- Round 1: 7 sc in a MR. (7 sts)
- Round 2: inc in each st around. (14 sts)
- Rounds 3-6: 14 sc. (14 sts)
- Round 7: 5 sc, 2 dec, 5 sc. (12 sts)
- Rounds 8-15: 12 sc. (12 sts)
- Round 16: (2 sc, dec) x 3. (9 sts)
- Round 17: (1 sc, dec) x 3. (6 sts)
- Finishing: Fasten off, pull the opening closed, and weave in the end.
Legs
Count check: Round 3 is where changing colors on the legs happens, from beige to brown, right before Round 4 increases heavily to shape the front of the foot up to 36 stitches.
- Round 1: ch 7, starting in the 2nd ch from hook: 5 sc, 3 sc in the last ch, continue along the opposite side of the chain: 4 sc, inc. (14 sts)
- Round 2: inc, 4 sc, 3 inc, 4 sc, 2 inc. (20 sts)
- Round 3: Change to brown yarn: inc, 6 sc, 5 inc, 5 sc, 3 inc. (29 sts)
- Round 4: 10 sc, 6 inc, 11 sc, inc, 1 sc. (36 sts)
- Rounds 5-6: 36 sc. (36 sts)
- Round 7: 10 sc, 6 dec, 14 sc. (30 sts)
- Round 8: 7 sc, 6 dec, 11 sc. (24 sts)
- Round 9: 24 sc. (24 sts)
- Round 10: (2 sc, dec) x 6. (18 sts)
- Round 11: 18 sc. (18 sts)
- Round 12: (1 sc, dec) x 6. (12 sts)
- Rounds 13-21: 12 sc. (12 sts)
- Round 22: dec in each st around. (6 sts)
- Finishing: Fasten off, pull the opening closed.
Mouth (Optional)
- Round 1: 6 sc in a MR. (6 sts)
- Round 2: (1 sc, inc) x 3. (9 sts)
- Round 3: 9 sc. (9 sts)
- Finishing: Fasten off, leaving a long tail for sewing.
Ears
- Round 1: 9 sc in a MR. (9 sts)
- Round 2: inc in each st around. (18 sts)
- Round 3: (2 sc, inc) x 6. (24 sts)
- Rounds 4-6: 24 sc. (24 sts)
- Finishing: Fasten off, leaving a long tail for sewing.
Tail
- Round 1: 6 sc in a MR. (6 sts)
- Round 2: inc in each st around. (12 sts)
- Round 3: 12 sc. (12 sts)
- Round 4: (2 sc, dec) x 3. (9 sts)
- Finishing: Fasten off, leaving a tail for sewing.
Bow (Optional)
- Row 1: ch 9, sl st in the 8th ch from hook, sl st in the 1 remaining ch.
- Row 2: ch 8, sl st into the central sl st (the second sl st made).
- Row 3: sl st into the first st, working into the ch-arch: 4 sc, 2 hdc, 1 dc, 1 hdc, sl st, 1 hdc, 1 dc, 2 hdc, 4 sc, sl st. Sl st into the middle sl st, sl st into the second st, working into the next ch-arch: 4 sc, 2 hdc, 1 dc, 1 hdc, sl st, 1 hdc, 1 dc, 2 hdc, 4 sc, sl st in the middle.
- Row 4: sl st, 4 sc (in the 4 sc of previous row), 2 hdc in each of the next 2 sts (the 2 hdc of previous row), 2 dc in the next st (the dc of previous row), 1 hdc, sl st in the middle, 1 hdc, 2 dc in the next st, 2 hdc in each of the next 2 sts, 4 sc, sl st into the sl st of previous row. Repeat the same on the other heart side, finish with a sl st in the middle.
- Row 5: 2 sl st, 6 sc, 2 hdc in each of the next 3 sts, 1 sc, sl st in the sl st of previous row, 1 sc, 2 hdc in each of the next 3 sts, 6 sc, 2 sl st. Repeat on the other side. Wrap the remaining yarn tail tightly around the center of the bow.
- Row 6: Chain to the desired length to fit around the bear’s neck, work one row of hdc along the chain. Sew the prepared bow to the center of this crocheted collar.
Assembly and Finishing
Arms and legs are worked separately, stuffed, and completely sealed shut before they’re attached, so don’t leave either limb open at this stage; if you’re new to filling small pieces evenly, our guide on how to stuff amigurumi covers the basics. Thread jointing to assemble posable limbs happens next, pulling the strong thread through the body so each arm and leg can pivot instead of sitting rigid. The head attaches directly to the open neck of the body, the ears go on after the head’s main shaping is finished, the tail sits low on the back for balance, and the optional mouth piece centers under the muzzle. For closing up seams neatly, see our guide to sewing amigurumi parts together.
- Stuff the head firmly, taking care to shape the muzzle.
- Stuff the body firmly.
- Sew the head to the body using the yarn tail left on the body piece.
- Stuff the arms and legs, paying special attention to the foot shaping.
- Attach the arms and legs to the body using a thread jointing method (using strong thread through the body to allow the limbs to move).
- Sculpt the muzzle (eye indentation) with needle and thread to give depth to the face.
- Sew the optional mouth piece under the muzzle.
- Sew the ears to the head.
- Stuff the tail lightly and sew it to the back of the body.
- Glue the black half-beads in the sculpted eye sockets.
- Glue or sew the plastic nose, and embroider the eyebrows with black yarn.
- Sew the crocheted red bow (or tie the red fabric ribbon) around the neck.
Pattern Notes and Troubleshooting
Keeping the Foundation Chain Rounds Flat
If the rounds on the head or the legs seem to twist instead of lying flat, double-check how you worked back along the second side of the starting chain. If the foundation chain rounds are twisting, make sure you’re working under both loops when you come back along the opposite side of the chain, not just the front loop; skipping the back loop there is the most common reason this step goes sideways.
Smoothing the Foot Color Change
A visible step or ridge where the beige sole meets the brown leg is normal with a standard color change, but you can soften it. A sharp step when changing from beige to brown on the feet can be smoothed by using a slip stitch join at the color change instead of simply dropping one color and picking up the next mid-stitch, which pulls the transition into a cleaner diagonal line.
Getting Jointed Limbs to Move Freely
If an arm or leg flops around more than you’d like once it’s attached, the fix is almost always tension, not technique. If limbs flop too loosely, the thread jointing may need to be pulled tighter through the body; go back in with your needle, snug the thread further, and knot it off again securely before trimming the tail.
Stuffing Before the Back of the Head Closes
The back of the head closes fast in the final few rounds, and stuffing after the fact rarely works as well as stuffing while you can still reach. Rapid decreases at the back of the head in Rounds 17 through 19 require firm stuffing before the hole becomes too small, so pause partway through that sequence and check firmness rather than waiting until the opening is nearly closed.
Keeping the Bow’s Heart Shape Crisp
If the bow’s two lobes look flat instead of curved into heart shapes, check your stitch heights rather than your stitch count. The bow shaping relies on the height difference between sc, hdc, and dc, so make sure you aren’t substituting one stitch height for another as you work each cluster; a dc worked as an hdc, for example, will flatten the curve you’re trying to build.
Finishing Checklist
Before you call this bear finished, run through a quick check of the parts that matter most for a toy meant to be handled and posed. Check that all four limbs move freely at the joints, and make sure the eye beads are glued securely into their sculpted sockets so nothing shifts later. Give the bow’s center wrap and the tail’s light stuffing a look too, since both affect how the finished piece sits and holds its shape over time.
- Check that all four limbs move freely.
- Ensure eye beads are glued securely into the sculpted sockets.
- Verify the center of the bow is wrapped tightly with yarn to pinch it into shape.
- Ensure the tail is lightly stuffed so it doesn’t distort the body shape.
- Check that the optional mouth piece is securely stitched beneath the muzzle.
- Verify eyebrows are symmetrically embroidered.