Bunny Aily Amigurumi Free Pattern — Sculpted Chenille Bunny
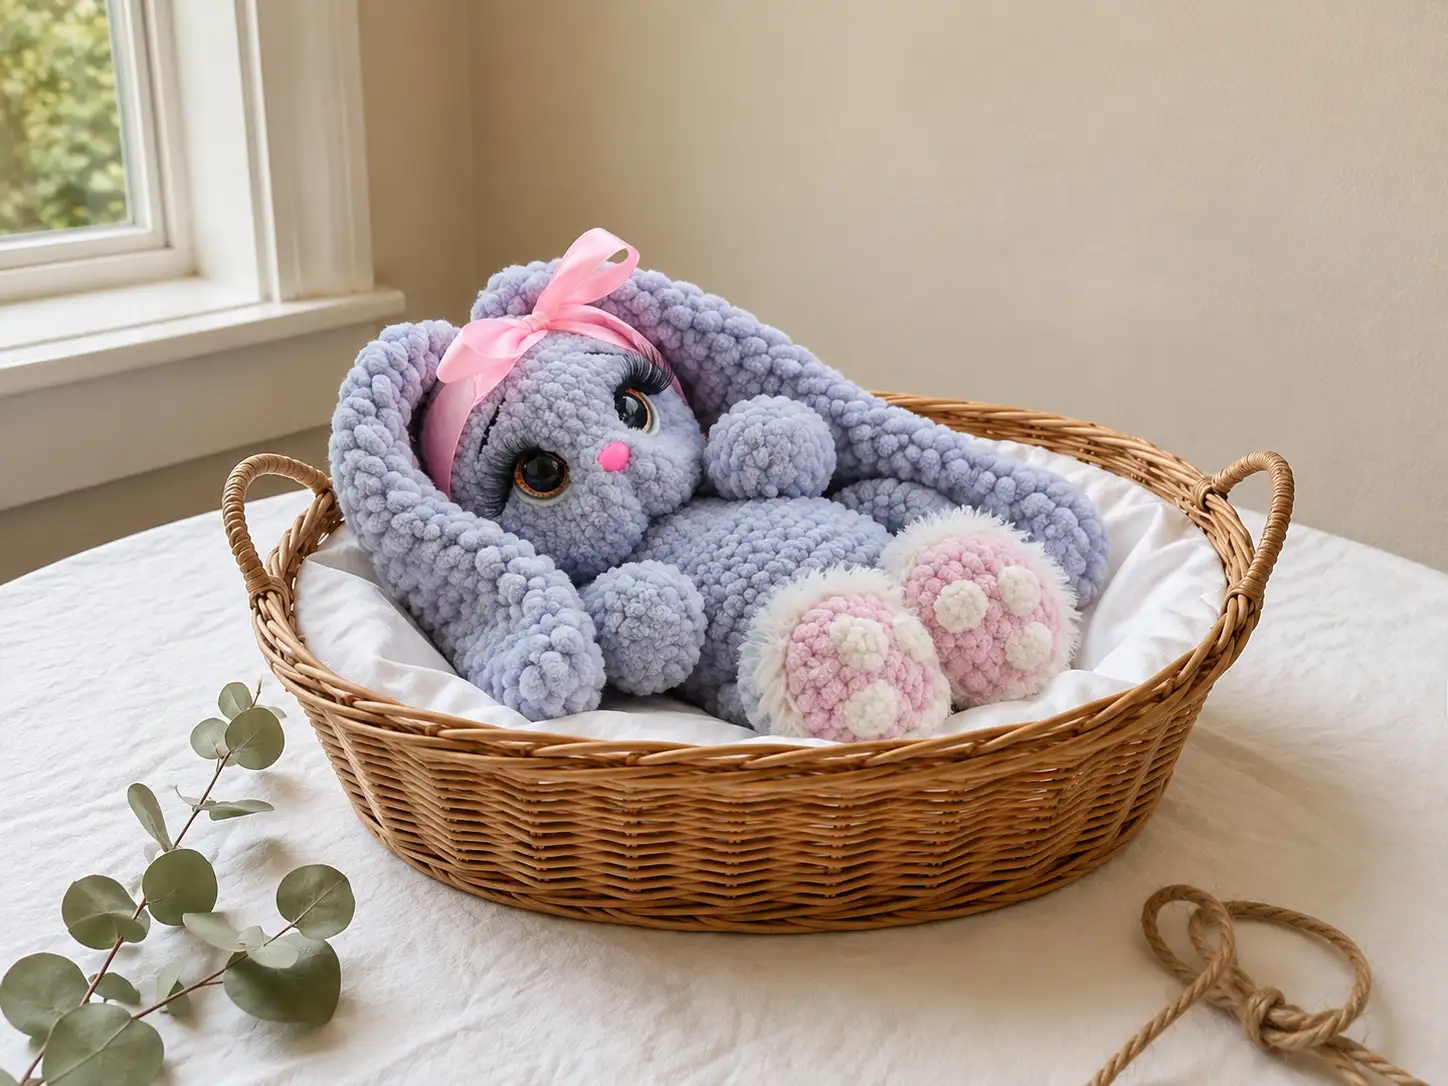
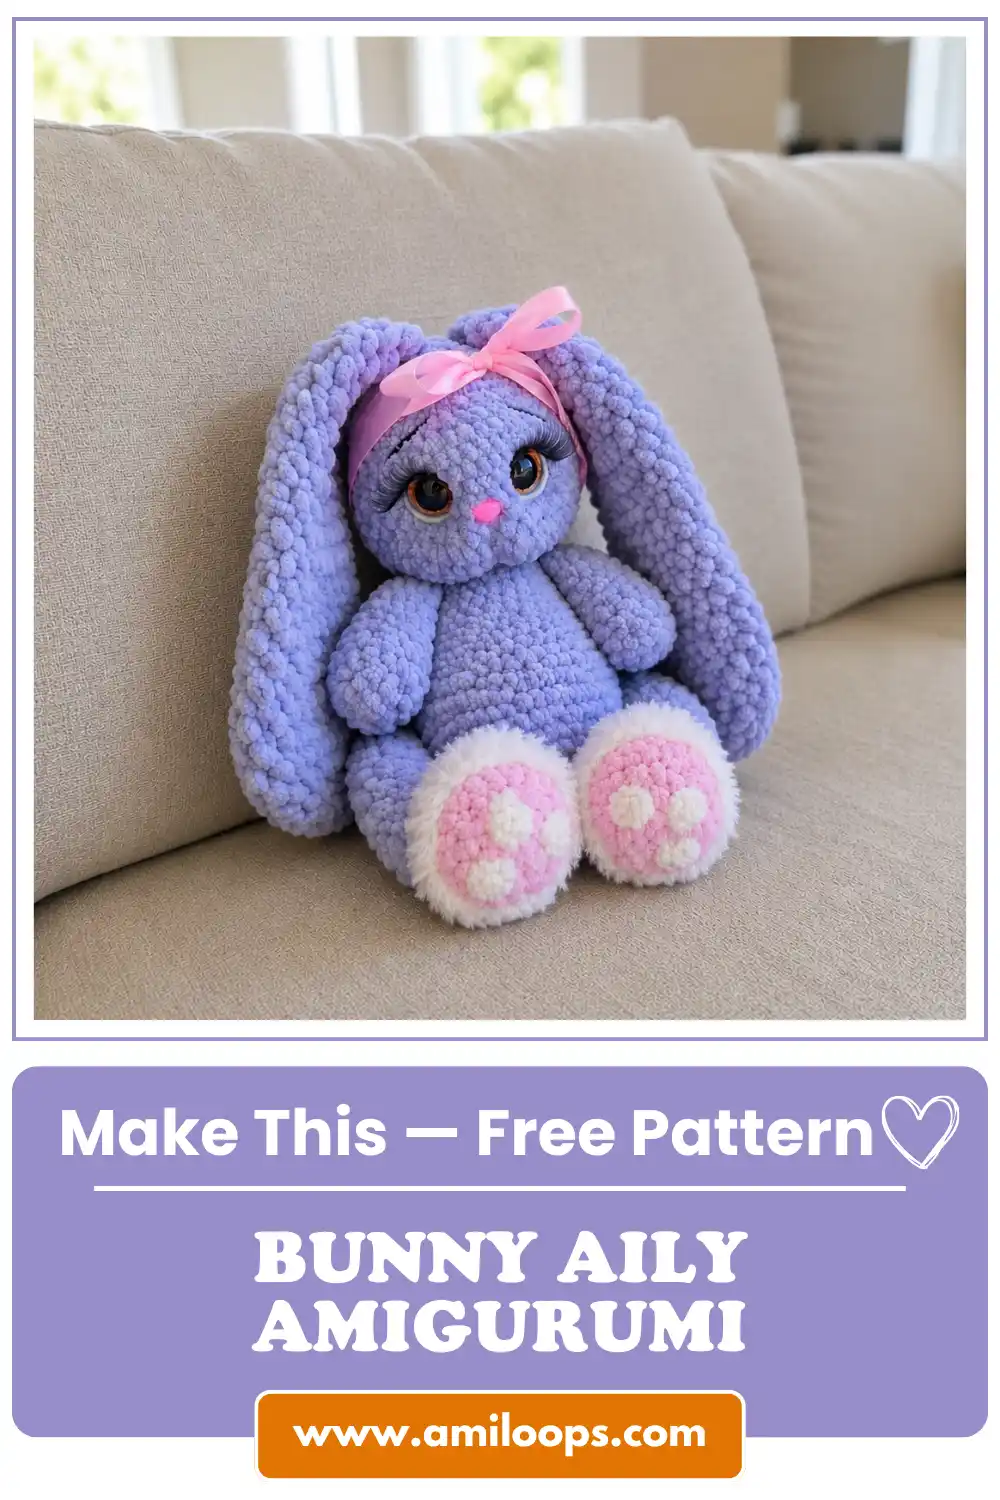
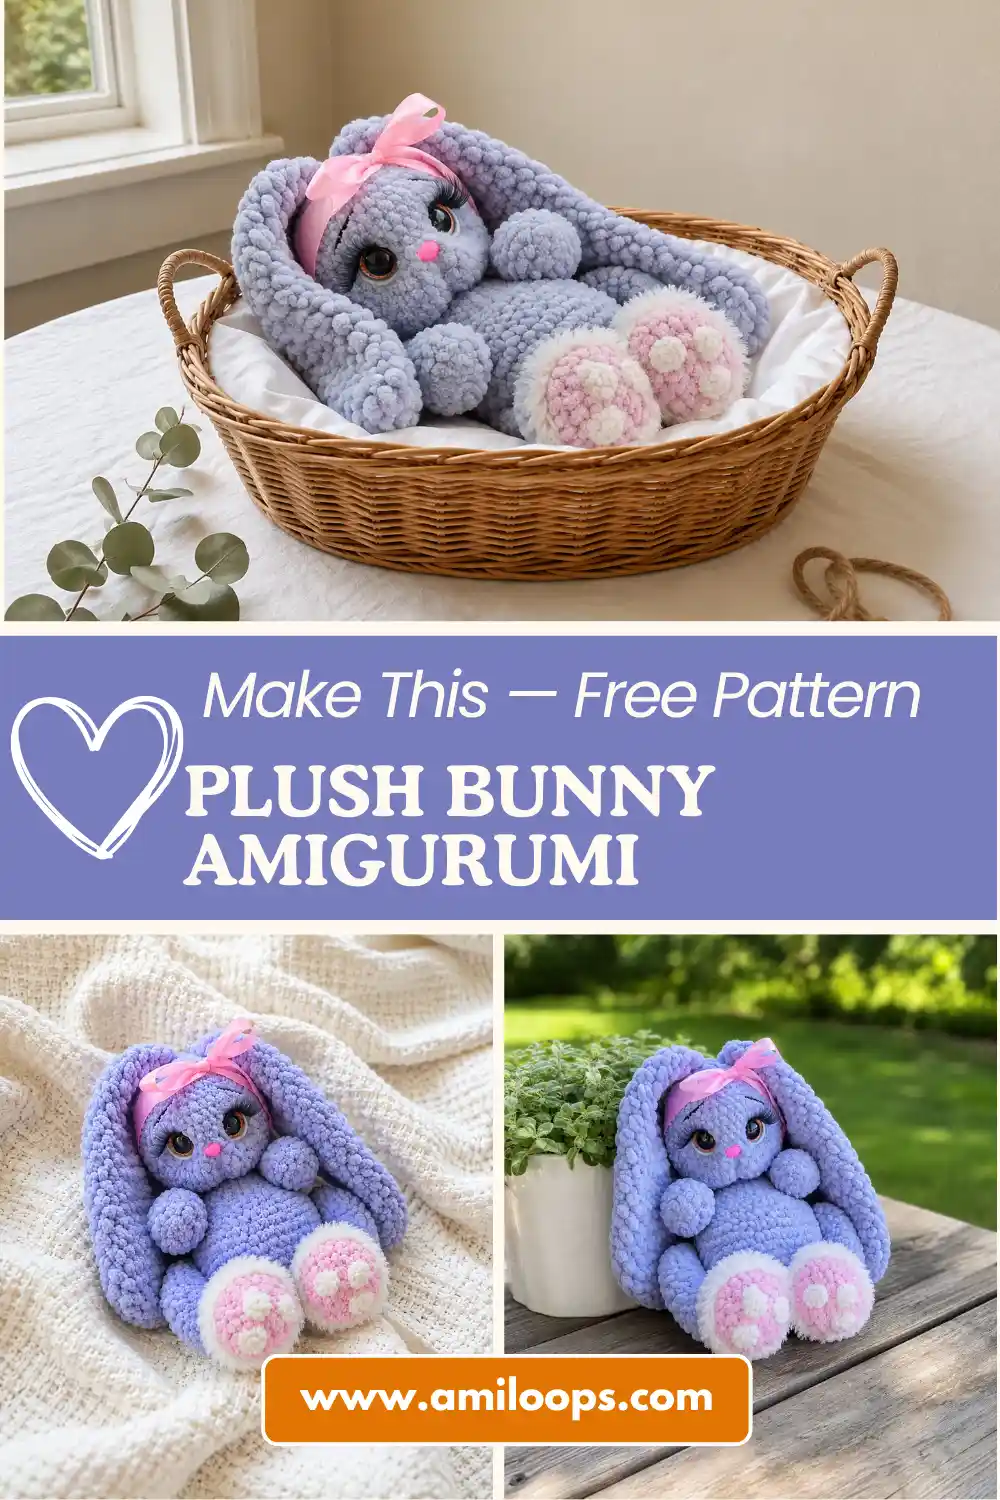
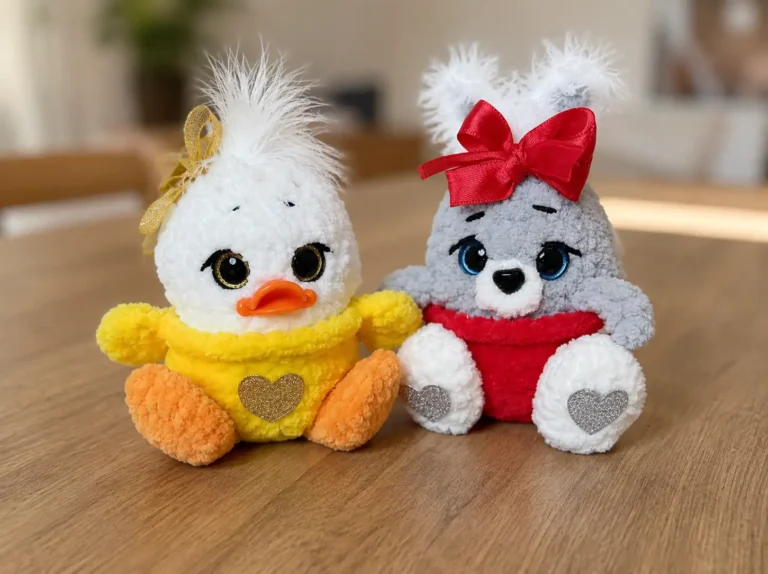
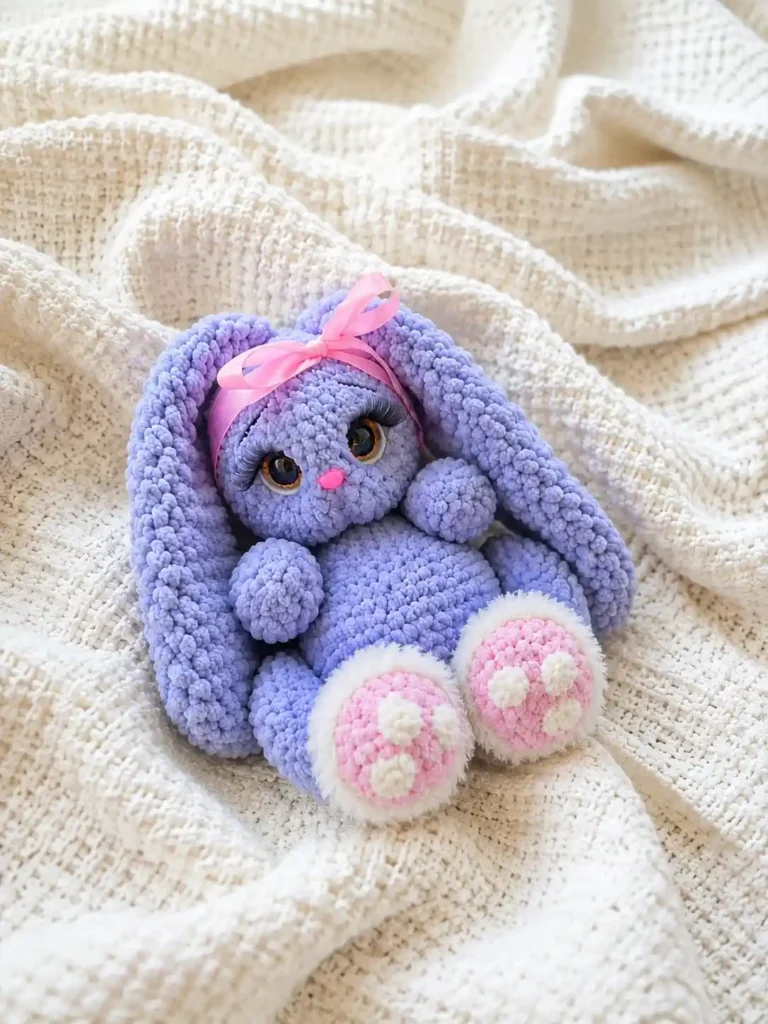
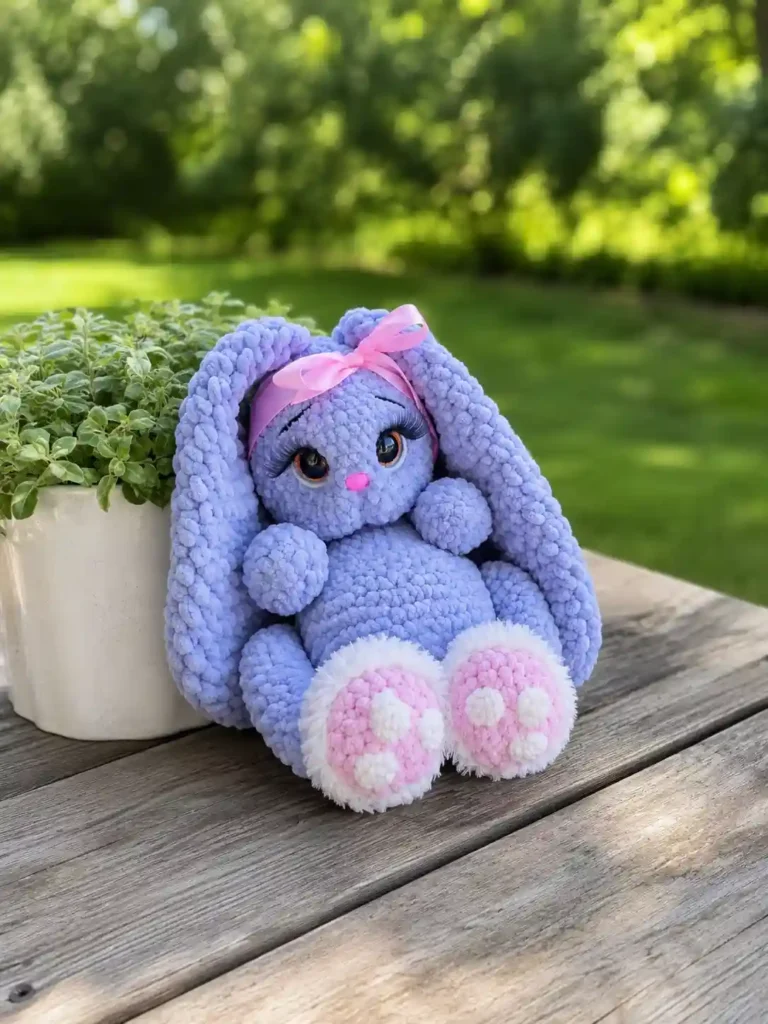
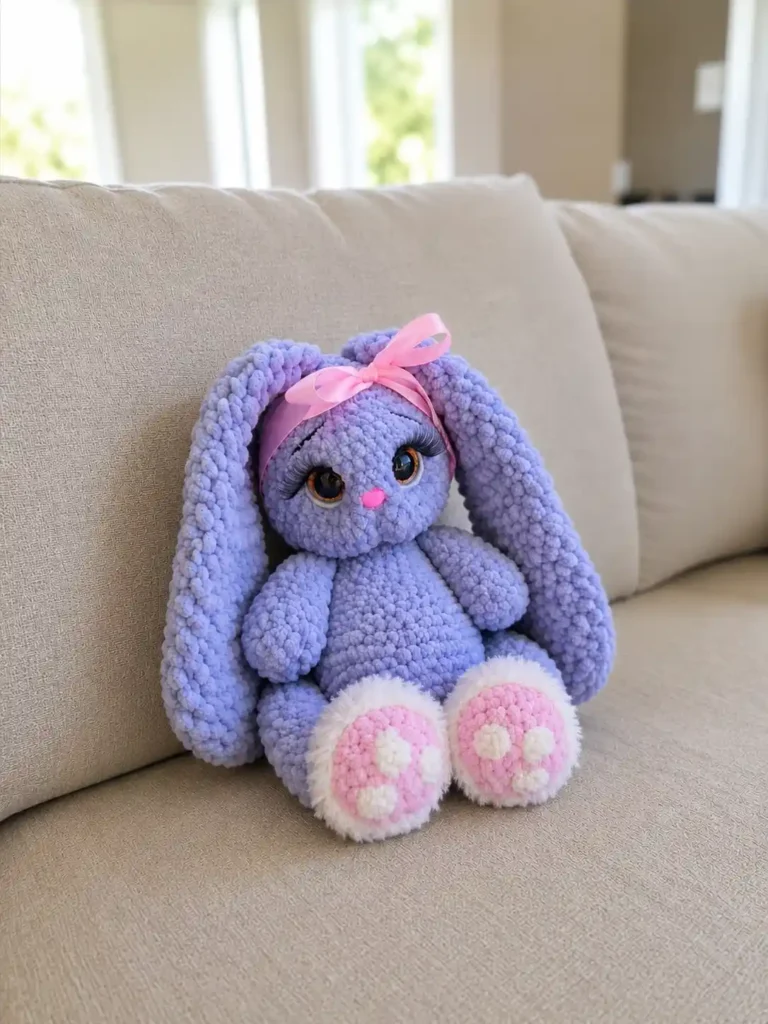
This free crochet Bunny Aily amigurumi pattern makes the softest little chenille bunny with the sweetest sculpted face you’ve ever seen — round rosy cheeks, glossy safety eyes, and tiny embroidered eyebrows that give her the gentlest expression. She’s got little textured paw pads, a fuzzy trimmed lower leg, and a delicate satin ribbon bow tied right at her neck. This is the kind of project where every single detail earns its place. Let me walk you through how she comes together.
🩷 Pattern Highlights
- Cuteness Rating: 🩷🩷🩷🩷🩷
- Finished Size: 9.8 in (25 cm)
- Difficulty: Beginner
- Hook Size: G/6 (4.0 mm) main hook — plus 1.5mm, 1.9mm, and 7.0mm specialty hooks for smaller details (see materials)
- Yarn Palette: soft chenille in a warm neutral main shade, a contrast chenille for the lower legs, a plush faux fur trim, and a delicate micro-velour for the paw pads
- Key Detail: hand-sculpted eyes and cheeks, embroidered eyebrows, and a pretty pink satin ribbon bow
- Estimated Time: 6-9 hours (this is Chloe’s own estimate — the source pattern didn’t include a time, and a bunny with this much finishing detail really does deserve an unhurried afternoon)
What You’ll Need for This Bunny Aily Amigurumi Free Pattern
This one uses a few more materials than most of my patterns, but every single one earns its spot — the mix of textures is really what makes this little bunny feel so special in your hands.
- Main yarn: Bulky (5) chenille yarn in a soft neutral tone for the body, head, arms, tail, and ears. In the original pattern this was Himalaya Dolphin Baby (color 80351); Bernat Baby Velvet or Premier Parfait are lovely US alternatives with that same soft, plush chenille feel.
- Eye-white accent yarn: a small amount of Bulky (5) chenille in a bright white or cream (Himalaya Dolphin Baby, color 80308, or a US chenille equivalent) — just enough to sew the tiny whites under the eyelashes.
- Lower leg accent yarn: Bulky (5) chenille in a contrasting shade for the top portion of the lower legs (Himalaya Dolphin Star, color 92149 in the original — check your local yarn shop for a similar bulky chenille).
- Faux fur trim yarn: a small amount of faux fur–style yarn (YarnArt Mink, color 331 in the original) for the fuzzy border around the lower legs — this is what gives her little “boots” that soft, brushed texture.
- Paw pad yarn: a Sport/DK weight micro-velour yarn, about 2mm (Pehorka “Detskaya Novinka” is a close substitute) for the paw pads — this thinner, velvety yarn is what gives the pads their delicate, defined shape.
- Hook sizes: 4.0mm (US G/6) for the main body pieces; 1.5mm for the fuzzy leg trim; 1.9mm for the paw pads; and 7.0mm for a stretch of the ears. The three smaller sizes are specialty steel-range hooks without a standard US letter, so I’m listing them in millimeters only.
- Safety eyes: 18mm — a slightly larger size here, which is exactly what gives Bunny Aily that wide, sweet expression. Getting the size right really does change the whole personality of the face.
- Safety nose: 11mm.
- Stuffing: a soft, high-loft polyester fiberfill (Hollowfiber in the original — Poly-Fil by Fairfield works beautifully and is easy to find at Joann, Michaels, or Hobby Lobby).
- Pink satin ribbon: 0.8 in (2 cm) wide, 39.4 in (1 m) long, for the bow.
- Black embroidery floss for the eyebrows.
- Reinforced sewing thread for sculpting the face and sewing all the parts together.
- Toy eyelashes, 12mm, plus textile glue to attach them.
- A tapestry needle, scissors, tailor’s pins, and stitch markers.
Abbreviations Used in This Pattern
| Abbreviation | Meaning |
|---|---|
| ch | chain |
| mr | magic ring |
| inc | increase (2 sc in same stitch) |
| sc | single crochet |
| sl st | slip stitch |
| hdc | half double crochet |
| hdc-inc | half double crochet increase (2 hdc in same stitch) |
| inv dec | invisible decrease (used in all sc decrease rows) |
| hdc2tog | half double crochet two together (used in the ear decrease rows) |
Before You Begin — Getting Ready for All That Cuteness
🩷 Chloe’s Detail Tip: This little bunny is built from seven separate pieces before she comes together, so I always crochet in batches — all six small paw pads in one sitting, then the two large ones, then the legs. It keeps the momentum going and means assembly day is pure, uninterrupted fun.
Almost the entire body is worked in continuous rounds starting from a magic ring, so if you’re newer to amigurumi, those two techniques are worth having down before you start. Every decrease in the sc sections uses an invisible decrease to keep the shaping perfectly smooth — no little gaps peeking through.
🩷 Chloe’s Detail Tip: Because the safety eyes here are 18mm — a touch bigger than what I usually reach for — take your time positioning them. A slightly wider placement makes her look sweet and curious; too close together and you lose that soft, wide-eyed look that makes this pattern special. Our safety eyes tutorial walks through exactly how to check placement before you snap the washers in.
Since there are so many small parts to attach at the end — ears, paw pads, and all that facial sculpting — it’s worth reviewing our guide to sewing amigurumi parts together beforehand, especially if this is your first time working with pieces this detailed.
Let’s Crochet the Bunny Aily Amigurumi Free Pattern
This pattern is worked in seven separate parts, then assembled and finished with all the sculpting details that give Bunny Aily her expression. Every stitch count below matches the original pattern exactly — I’ll flag anywhere I’ve made a house-style adjustment.
Lower Legs (Make 2)
Start with the lower leg accent color for the foot, then switch to the main color partway through — this is what creates that sweet two-tone leg look before the fuzzy trim goes on.
Row 1: Ch 7. In 2nd ch from hook, work (5 sc, 3 sc in one st) twice (16)
Row 2: (5 sc, 3 inc) twice (22)
Row 3: (5 sc, (inc, sc) three times) twice (28)
Row 4: (5 sc, (inc, 2 sc) three times) twice (34)
Row 5: 34 sc (34)
🩷 Chloe’s Detail Tip: The color change happens right before Row 5 — finish Row 4 in the contrast leg color, then pick up the main chenille color for Row 5 onward. Our color change tutorial shows a clean way to make that switch nearly invisible.
Rows 6-8: 34 sc (34)
Row 9: 7 sc, 8 inv dec, 11 sc (26)
Row 10: 4 sc, 6 inv dec, 10 sc (20)
Rows 11-12: 20 sc (20)
Row 13: inv dec, 18 sc (19)
Row 14: inv dec, 17 sc (18)
Rows 15-17: 18 sc (18)
Row 18: inv dec, 16 sc (17)
Row 19: inv dec, 15 sc (16)
Stuff the piece tightly up to about two-thirds full — you want the foot nice and firm so it holds its shape once the paw pads and fur trim go on. Finish the piece so the seam sits parallel to the heel, adding a couple of extra sc rows if needed to line things up.
Finishing: Fold the piece in half and crochet 8 sc across. Fasten off, cut the yarn, and weave in the end.
Small Paw Pads (Make 6)
These tiny pads are worked in the micro-velour yarn with the 1.9mm hook — such a soft little touch against the chenille legs.
Row 1: 6 sc in mr (6)
Row 2: 6 inc (12)
Finishing: Crochet a sl st to close. Don’t cut the yarn — leave a long tail for sewing the pad on later.
Large Paw Pads (Make 2)
Same soft micro-velour yarn and 1.9mm hook as the small pads, just a slightly bigger shape for the heel.
Row 1: Ch 6. In 2nd ch from hook, work (4 sc, 3 sc in one st) twice (14)
Row 2: (4 sc, 3 inc) twice (20)
Row 3: (4 sc, (inc, sc) three times) twice (26)
Finishing: Crochet a sl st to close. Don’t cut the yarn — leave a long tail for sewing.
Upper Arms (Make 2)
Back to the main chenille and the 4.0mm hook for these — a simple, satisfying little tube shape.
Row 1: 6 sc in mr (6)
Row 2: 6 inc (12)
Row 3: (2 sc, inc) four times (16)
Row 4: inv dec, 14 sc (15)
Row 5: 15 sc (15)
Row 6: inv dec, 13 sc (14)
Row 7: 14 sc (14)
Row 8: inv dec, 12 sc (13)
Row 9: 13 sc (13)
Row 10: inv dec, 11 sc (12)
Row 11: 12 sc (12)
Row 12: inv dec, 10 sc (11)
Row 13: 11 sc (11)
Row 14: inv dec, 9 sc (10)
Row 15: 10 sc (10)
Stuff each arm about halfway — you want a little give in these so they sit softly against the body once sewn on.
Finishing: Fold in half, crochet 5 sc across. Fasten off, cut the yarn, and weave in the end.
Tail (Make 1)
The smallest, quickest piece — such a satisfying little break between the bigger parts.
Row 1: 6 sc in mr (6)
Row 2: 6 inc (12)
Row 3: 12 sc (12)
Leave this one unstuffed — it gets sewn flat into the body during assembly.
Finishing: Fold in half, crochet 6 sc across. Fasten off, cut the yarn, and weave in the end.
Ears (Make 2)
These start small and then switch to a bigger 7.0mm hook and taller hdc stitches partway through — that combination is exactly what gives the ears their soft, slightly floppy shape.
Row 1: 6 sc in mr (6)
Row 2: 6 inc, worked in sc (12)
Switch to the 7.0mm hook starting with the next row.
Row 3: 12 hdc-inc (24)
Rows 4-8: 24 hdc (24)
Row 9: (10 hdc, hdc2tog) twice (22)
Rows 10-12: 22 hdc (22)
Row 13: (9 hdc, hdc2tog) twice (20)
Row 14: 20 hdc (20)
Row 15: (8 hdc, hdc2tog) twice (18)
Row 16: (7 hdc, hdc2tog) twice (16)
Rows 17-20: 16 hdc (16)
Row 21: (6 hdc, hdc2tog) twice (14)
Rows 22-25: 14 hdc (14)
Row 26: (5 hdc, hdc2tog) twice (12)
Row 27: 12 hdc (12)
Leave the ears unstuffed — they’ll be sewn on flat later, and part of what makes them so charming is that soft, slightly floppy movement.
Finishing: Fold in half and crochet 6 sc across using the 4.0mm hook. Fasten off, cut the yarn, and weave in the end.
Body and Head (Make 1)
This is the biggest piece and where Bunny Aily really starts coming to life — you’ll attach the legs, tail, and arms right into the body as you go, so keep those pieces close by.
Row 1: 6 sc in mr (6)
Row 2: 6 inc (12)
Row 3: (1 sc, inc) six times (18)
Row 4: (2 sc, inc) six times (24)
Row 5: (3 sc, inc) six times (30)
Row 6: (4 sc, inc) six times (36)
Row 7: (5 sc, inc) six times (42)
Row 8: (6 sc, inc) six times (48)
Row 9: (7 sc, inc) six times (54)
Row 10: Attach the lower legs and tail here. Crochet 9 sc, then 8 sc joining through the leg, 20 sc, 8 sc joining through the leg, 6 sc, 3 sc joining through the tail (54)
Row 11: Continue attaching the tail: 3 sc joining through the tail, then 51 sc (54)
🩷 Chloe’s Detail Tip: When you join a limb into the body like this, you’re crocheting through both the body stitch and the limb stitch together as one — it looks like a lot happening at once, but it’s what gives that seamless, no-visible-stitching join. Go slowly through this row the first time.
Rows 12-13: 54 sc (54)
Row 14: (7 sc, inv dec) six times (48)
Rows 15-17: 48 sc (48)
Row 18: 17 sc, 9 inv dec, 13 sc (39)
Row 19: (11 sc, inv dec) three times (36)
Rows 20-22: 36 sc (36)
Row 23: (4 sc, inv dec) six times (30)
Row 24: (3 sc, inv dec) six times (24)
Row 25: Attach the upper arms here: 7 sc, 5 sc joining through the arm, 7 sc, 5 sc joining through the arm (24)
Row 26: (2 sc, inv dec) six times (18)
Row 27: 18 sc (18)
This is where the body finishes and the head begins — no break in the crocheting, just keep going straight up into the round shape of the face.
Row 28: 18 inc (36)
Row 29: (3 sc, inc) nine times (45)
Row 30: (4 sc, inc) nine times (54)
Row 31: (17 sc, inc) three times (57)
Row 32: (18 sc, inc) three times (60)
Row 33: (8 sc, inv dec) six times (54)
Rows 34-36: 54 sc (54)
Insert the safety nose between Rows 35 and 36, right at the front center of the muzzle.
Row 37: (7 sc, inv dec) six times (48)
Insert the safety eyes between Rows 37 and 38, spaced 9-10 sc apart. This spacing is exactly what gives her that sweet, wide-set expression.
Rows 38-40: 48 sc (48)
Row 41: (6 sc, inv dec) six times (42)
Row 42: 42 sc (42)
Row 43: (5 sc, inv dec) six times (36)
Row 44: (4 sc, inv dec) six times (30)
Row 45: (3 sc, inv dec) six times (24)
Row 46: (2 sc, inv dec) six times (18)
Row 47: (1 sc, inv dec) six times (12)
Row 48: 6 inv dec (6)
Stuff the head and body firmly as you crochet — this piece is big, so it’s much easier to add stuffing gradually than to try and pack it all in at the very end.
Finishing: Close the ring. Fasten off, cut the yarn, and weave in the end.
Assembly
- Pin the paw pads in place with tailor’s pins before sewing — each foot gets three small pads and one large pad along the sole. Take a moment to check the spacing looks even on both feet before you commit to sewing.
- For the fuzzy lower leg trim, switch to the faux fur yarn and the 1.5mm hook. Insert the hook between the stitches right along the border where the leg color changes, then work sc all the way around the perimeter. Fasten off, weave in the end, and gently brush out the pile with a needle afterward — this is such a satisfying step, watching that plain seam turn fluffy.
- For the ears, position them at an equal distance from the vertical center line of the face — about 6 rows down from the top point of the eyebrow to the edge of each ear. They shouldn’t sit perfectly parallel; a slight outward angle looks much more natural. Space them roughly 1.0 in (2.5 cm) apart at the top and 0.6 in (1.5 cm) apart at the base. Pin both ears in place first and step back to check the angle before sewing them down with reinforced thread.
Making It Extra Cute — Finishing Details
This is the part where Bunny Aily really becomes herself — every one of these tiny steps adds another layer of personality to her face.
Sculpting the eyes: Using a needle and reinforced thread, insert at the base of the head, bring it out at the lower outer point of the right eye, back in at the lower inner point of the right eye, out at the lower inner point of the left eye, in at the lower outer point of the left eye, and back out at the base of the head. Pull gently but firmly, and tie off. This single stitch path is what gently indents the eye area and gives her that soft, rounded look.
🩷 Chloe’s Detail Tip: Pull the sculpting thread a little at a time rather than all at once, checking the face from the front as you go. It’s much easier to tighten gradually than to loosen an over-pulled stitch.
Sculpting the cheeks: Thread a doubled length so a loop remains at the end. Insert under the nose, bring the needle out at the base of the head, leaving that loop sitting right under the nose. Pass the needle through the loop and pull the free ends snug to shape the two little cheeks. This is honestly one of my favorite steps in any amigurumi — it’s such a small motion for such a big change in expression.
Eyebrows: Embroider with a full strand of black embroidery floss between Rows 38 and 41, just above each eye.
Whites of the eyes: Using the white/cream chenille, sew a few stitches under where the eyelashes will sit, staying close to the outer and inner borders of each eye.
Eyelashes: Glue the 12mm toy eyelashes on with textile glue, just above the whites you sewed on.
The bow: Tie the pink satin ribbon into a bow around her neck, and lightly melt the cut ends with a lighter so they don’t fray. It’s such a simple finishing touch, but it’s the kind of detail that makes people pick her up off the shelf.
For general yarn weight reference on the chenille used throughout this pattern, the Craft Yarn Council’s yarn weight system classifies it as Bulky (5) — a soft, quick-working weight that’s perfect for a plush piece like this one.
Chloe’s Final Look
I keep coming back to look at this little bunny’s face — the way the eyes catch the light, that soft sculpted cheek shape, the fuzzy little boots peeking out under her chenille legs. She feels genuinely finished in a way that only comes from all those small extra steps. If you want to make a whole little family of them, try swapping the accent leg color and ribbon shade for each one — a set of two or three lined up together is almost too sweet to handle. 🩷
FAQ
What yarn is best for this Bunny Aily amigurumi?
The pattern uses a mix of Bulky (5) chenille yarn (like Himalaya Dolphin Baby or Bernat Baby Velvet) for the main body, paired with faux fur yarn for the trim and micro-velour for the paw pads.
How long does it take to crochet this bunny?
It takes an estimated 6 to 9 hours. The separate multi-piece assembly, specialized textures, and detailed facial sculpting make it a satisfying weekend project.
What size safety eyes do I need for this pattern?
You will need 18mm safety eyes. This slightly larger size is crucial for giving the bunny its signature sweet, wide-eyed expression.