Cute Kitten Amigurumi Pattern: Plush Crochet
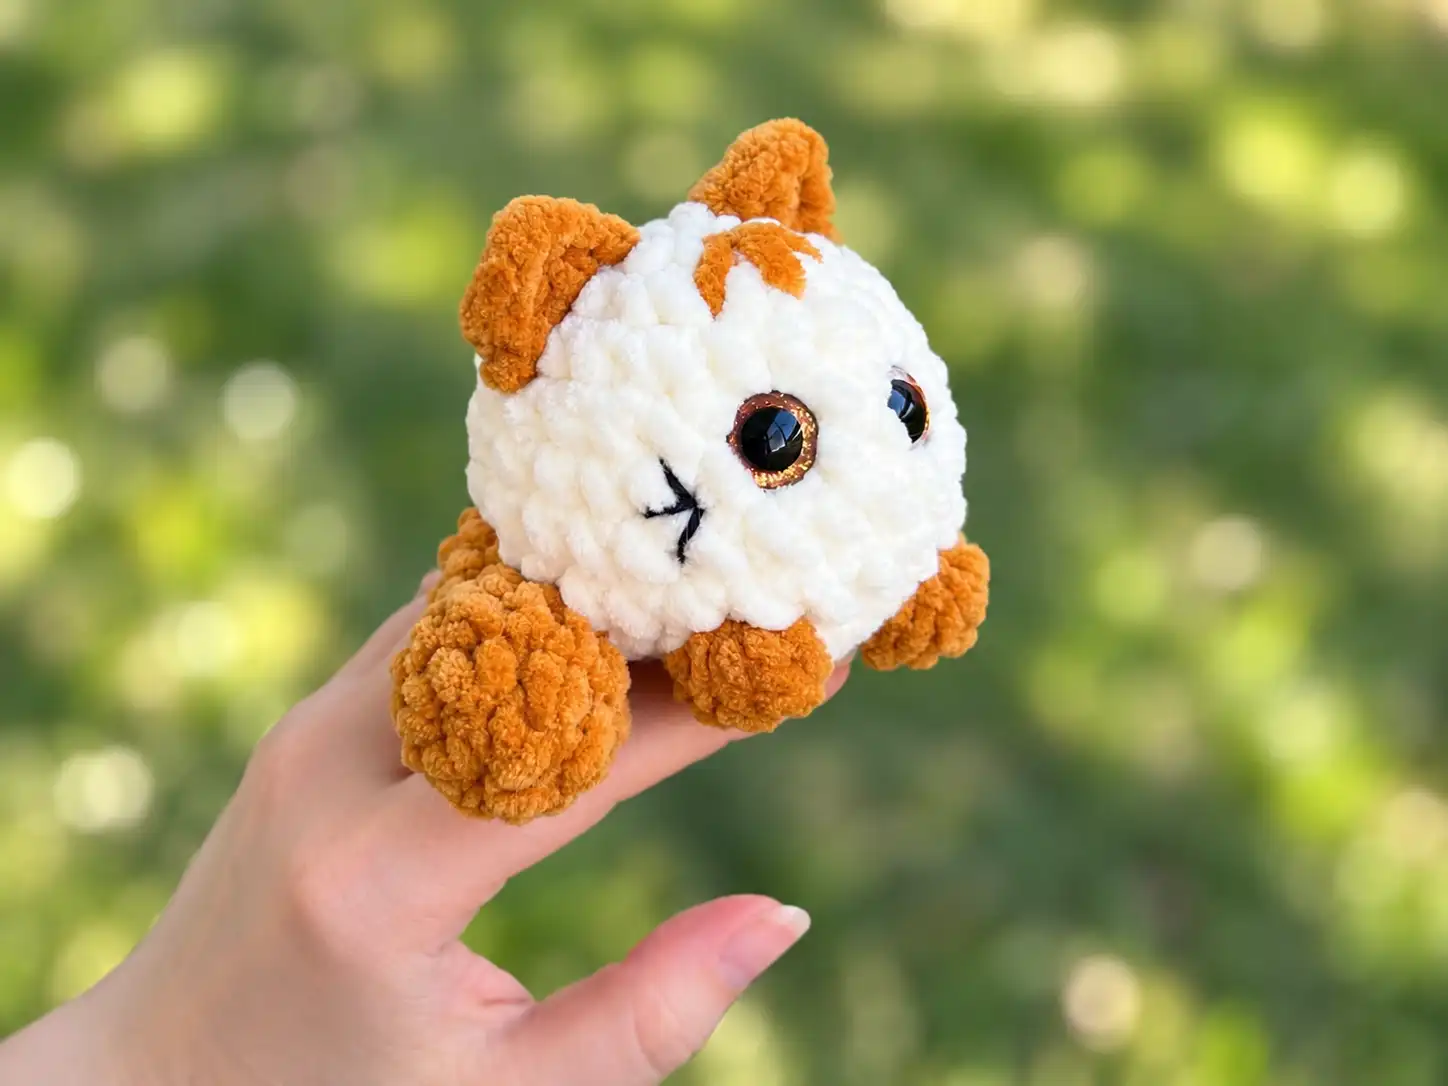
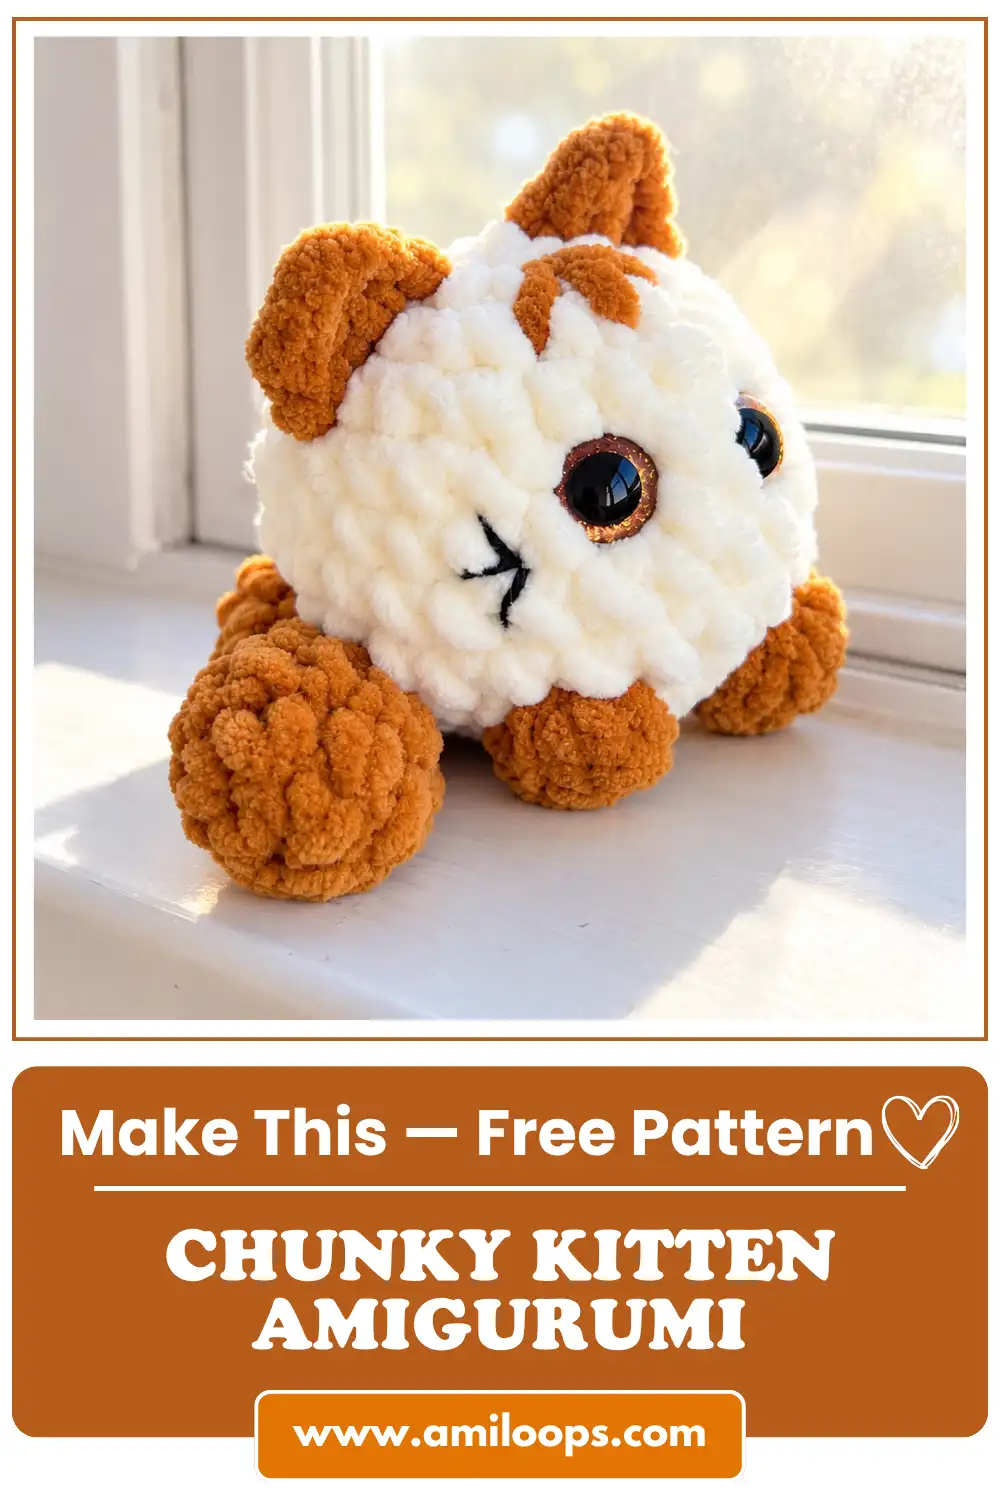
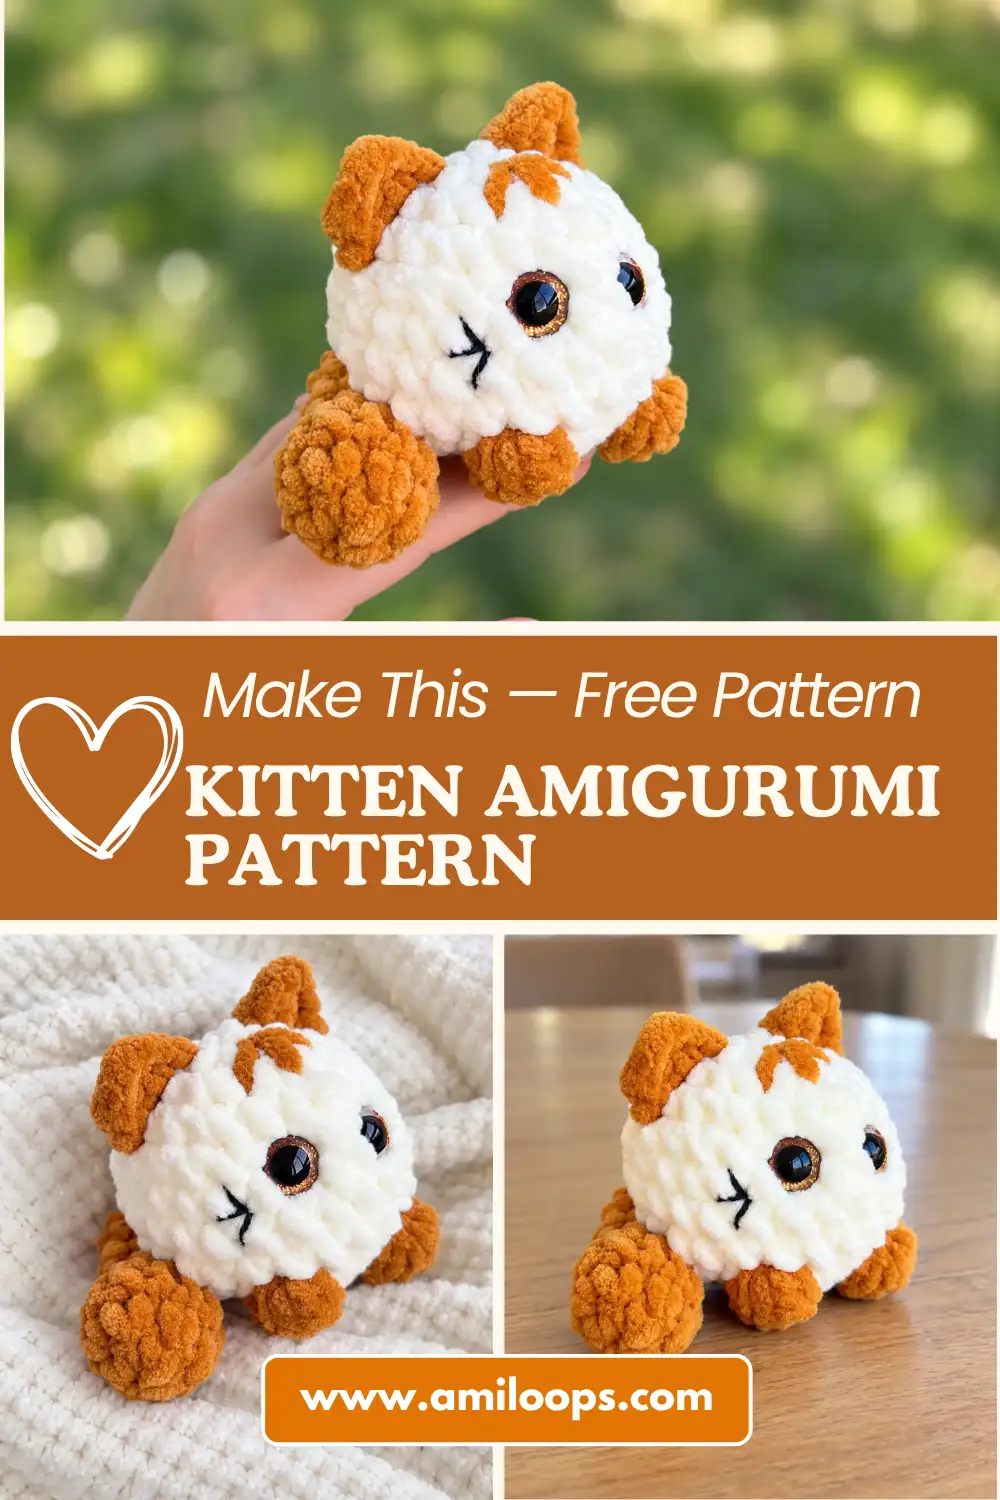
This kitten amigurumi pattern turns two shades of soft yarn into a rounded little cat with a set of surface-crocheted ears and a face full of personality. Worked as a compact ball with a defined muzzle line, the design puts as much attention on texture as it does on shape, using a raised bobble stitch to build a pair of paw markings right into the body instead of embroidering them on afterward. The finished piece stays small and light, making it a nice addition to a shelf of amigurumi animals or a gift project for someone who already knows the basics of single crochet.
Beyond the crocheted structure, a few finishing touches are what really bring this kitten to life. Three embroidered stripes across the forehead and a stitched nose and mouth give the face its expression, so leave time at the end of the project for that detailed embroidery work. Every stage described in this kitten amigurumi pattern below follows a single, continuous build with no separate motifs to hunt for, which keeps the process straightforward from the first round to the last stitch of the tail.
About This Kitten Crochet Pattern
This kitten crochet pattern begins at the top of the head and works down to the base of the body in one continuous piece, so there’s no separate head and body section to join later. Every increase and decrease round shapes the silhouette gradually, keeping the transitions between rounds smooth rather than sharply stepped. Because the whole body is built as a single spiral, stitch markers become especially useful for keeping track of where each round begins and ends as the stitch count changes.
The ears skip the usual separate-piece-and-sew approach entirely. Instead, each one is built with surface crochet directly into the existing stitches of the head, anchoring the ear fabric right where it needs to sit. This method removes an entire round of sewing and pinning that separate ear pieces usually require, and it also means the ear placement is locked in by the stitch pattern itself rather than eyeballed afterward.
Materials and Tools
This project calls for two colors of a soft, textured yarn: a small amount of brown for the paw and stripe details and a larger quantity of a milky off-white shade for the rest of the body. The pattern is written for a chenille or velvet-style yarn like Wolans Bunny Baby, which gives the finished kitten its characteristically soft, plush surface. A 3.5 mm hook is used throughout the entire project, so there’s no need to switch sizes between the body, ears, or tail. Safety eyes measuring 12 mm complete the face and are sized to sit correctly on this particular scale of amigurumi.
- Wolans Bunny Baby yarn in Brown (#100-28, 6g)
- Wolans Bunny Baby yarn in Milky/Off-White (#100-02, 11g)
- Stuffing
- 3.5 mm crochet hook
- 12 mm safety eyes
- Tapestry needle
- Stitch markers
- Scissors
Crochet Abbreviations
Most of the abbreviations below are the same ones used across amigurumi patterns generally, but one deserves a closer look: the bobble. Here, the bobble is worked as a six-double-crochet cluster gathered into a single closed stitch, and it’s what creates the raised paw shape on the body. Since every part of this pattern begins in a magic ring, it can help to review the amigurumi magic ring technique before starting Round 1.
- MR — magic ring
- ch — chain
- sl st — slip stitch
- sc — single crochet
- hdc — half double crochet
- dc — double crochet
- inc — increase
- dec — decrease
- bobble — 6-dc cluster
- (…) x N — repeat instructions
Construction Overview
The body is worked as a continuous spiral that increases steadily until it reaches its widest point. From the initial six stitches in the magic ring, each round adds six more stitches until the body reaches a maximum of 24 stitches around Round 4. That width is then held steady for several rounds, giving the kitten its rounded midsection before any shaping begins to close the piece back up.
Round 9 is where the paw markings appear, and it’s also the only round where the yarn changes color mid-round rather than at the start or end. Two separate bobbles are placed within the same round, each surrounded by a change to and from brown, so the color transitions and the decreases happen almost simultaneously. Later in the project, the tail is worked as its own separate spiral from the bottom up, then finished off and sewn onto the body rather than being crocheted as an extension of it.
Before You Start
Because the bobble stitch shows up twice within a single round, it’s worth practicing a bobble or two on scrap yarn before starting the body in earnest. Getting a feel for closing all six double crochets together smoothly will make Round 9 go by faster and will help the paw markings sit flat and even against the surrounding stitches rather than puckering.
Set aside embroidery thread in black and brown before you begin, since the kitten’s face and stripe details are added with needle and thread rather than crochet stitches. Having those materials ready at the start means you won’t need to pause the project once the crocheted pieces are finished and assembled.
Kitten Crochet Pattern
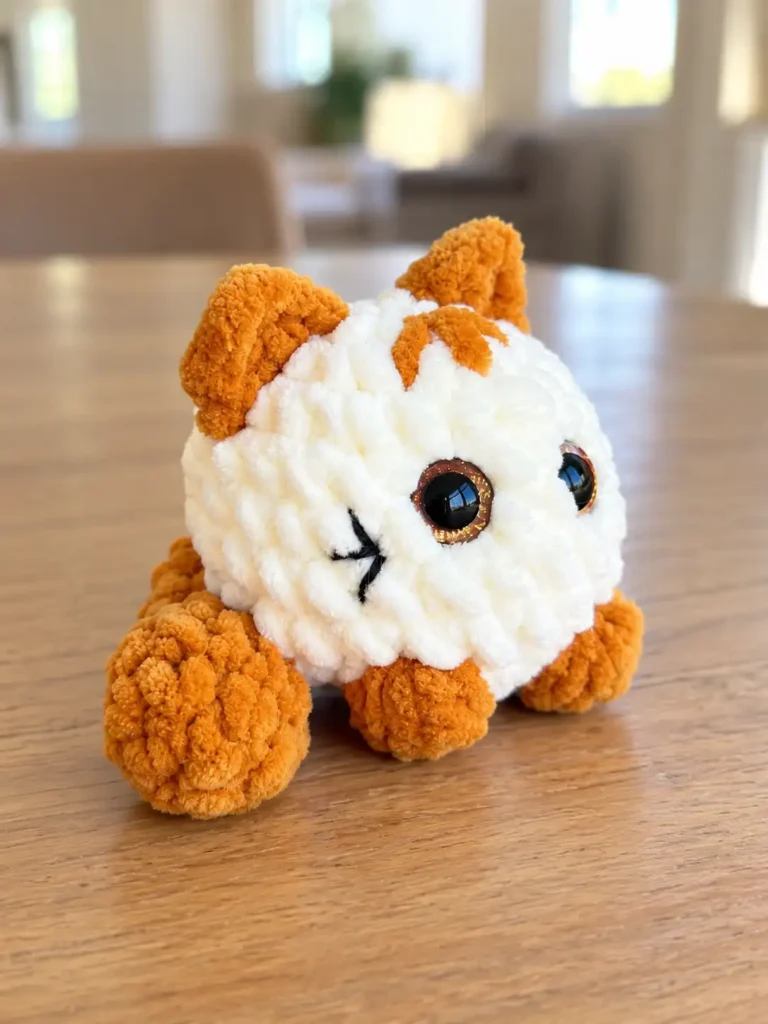
Round 9 of the body is the most demanding round in the whole pattern, layering decreases, a color change, and two bobbles into a single sequence. The two ears also work in opposite directions from each other: Ear 1 builds from the bottom of the head upward through its rounds, while Ear 2 starts at the top and works its way down. Reading through each part once before crocheting it can help keep the direction and stitch placement clear.
Body
Round 1: 6 sc in a MR. (6 sts)
Round 2: 6 inc. (12 sts)
Round 3: (1 sc, inc) x 6. (18 sts)
Round 4: (2 sc, inc) x 6. (24 sts)
Rounds 5-8: 24 sc. (24 sts)
Round 9: (2 sc, dec) x 2, 1 sc; change to Brown: 1 bobble (6 unfinished dc closed together); change to Milky: 1 dec, 1 sc; change to Brown: 1 bobble; change to Milky: 1 dec, (2 sc, dec) x 2. (18 sts)
Round 10: (1 sc, dec) x 6. (12 sts)
Round 11: 6 dec. (6 sts)
Ears
Ear 1, Step 1: Skip 4 sc to the side from the right eye, join Brown yarn between Rnds 3 and 4 with a sl st.
Ear 1, Step 2: In the next stitch up (between Rnds 2 and 3), work (1 hdc, 1 dc, ch 2, 1 dc, 1 hdc) all in the same stitch.
Ear 1, Step 3: In the next stitch up (between Rnds 1 and 2), work 1 sl st. Fasten off.
Ear 2, Step 1: Join Brown yarn between Rnds 1 and 2 with a sl st on the opposite side of the head.
Ear 2, Step 2: In the next stitch down (between Rnds 2 and 3), work (1 hdc, 1 dc, ch 2, 1 dc, 1 hdc) all in the same stitch.
Ear 2, Step 3: In the next stitch down (between Rnds 3 and 4), work 1 sl st. Fasten off.
Tail
Round 1: 6 sc in a MR. (6 sts)
Round 2: 6 inc. (12 sts)
Round 3: 12 sc. (12 sts)
Round 4: (1 sc, dec) x 4. (8 sts)
Rounds 5-8: 8 sc. (8 sts)
Round 9: 4 dec. (4 sts)
Assembly and Finishing
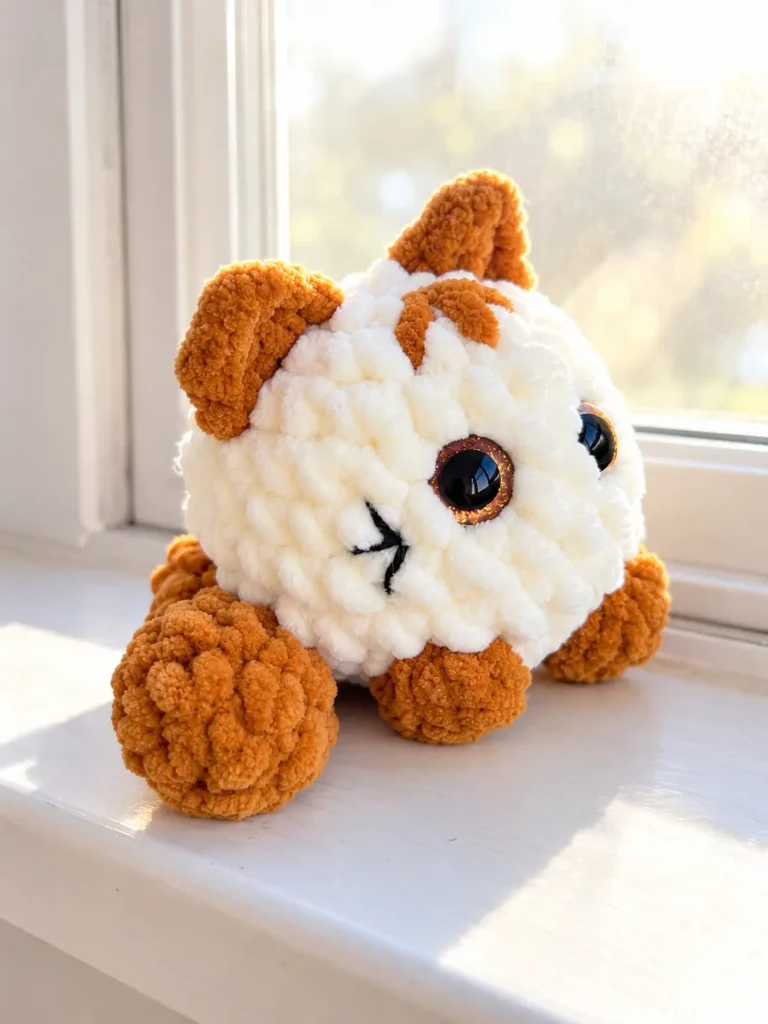
The safety eyes are placed exactly between Rounds 5 and 6 of the body, with precisely two single crochets of space left between them on either side. This exact spacing keeps the kitten’s face proportional and centered, so it’s worth counting stitches carefully before attaching the safety eyes and securing the backs in place. Pack stuffing into the body firmly before closing the final decrease round, adding extra fill into the head to help it hold its rounded shape.
The tail is sewn on after both pieces are complete, positioned centered on the back between Rounds 7 and 8 of the body. Take a moment to check that the tail sits straight from the front and back before committing to the final stitches, since it’s much easier to adjust before it’s fully secured than after weaving in the ends.
- Insert 12mm eyes between Rnds 5 and 6, leaving 2 sc between them.
- Stuff the body firmly before closing Round 11.
- Sew the tail between Rnds 7 and 8 at the back center.
- Fasten off ear yarn tails and weave them into the body.
Pattern Notes and Troubleshooting
Keeping Bobbles on the Right Side
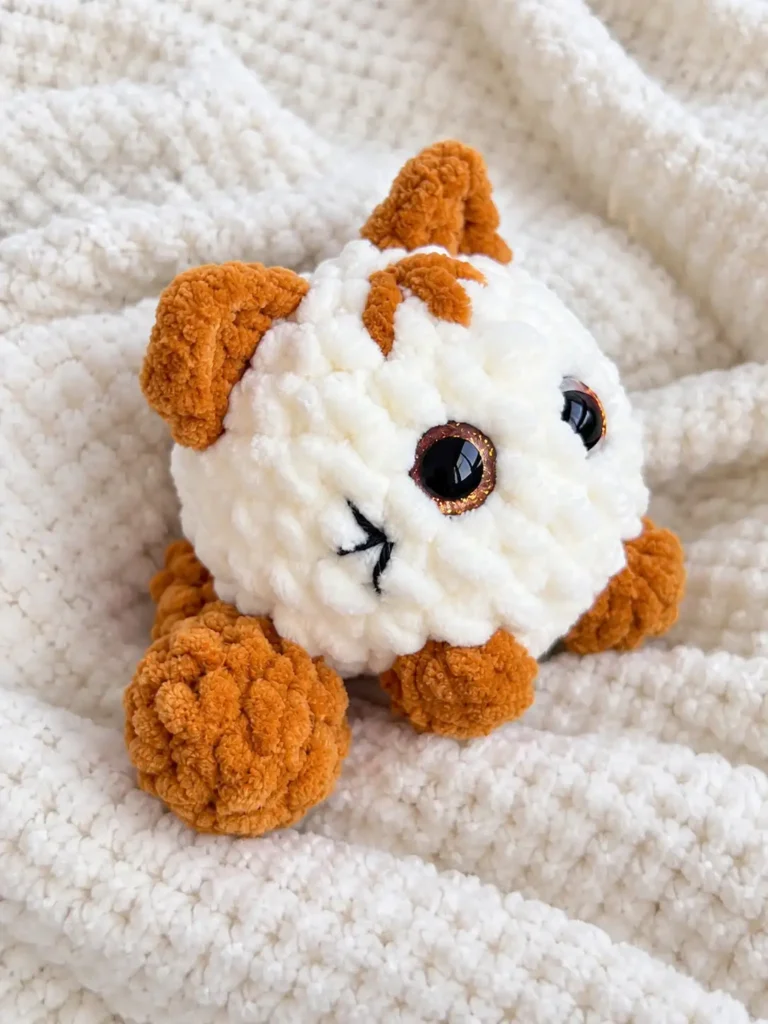
If a bobble stitch pops through to the wrong side of the fabric instead of sitting proudly on the front, don’t panic and don’t rip back. Simply reach into the stitch from the front and push the bobble firmly outward until it pops back through to the right side. This is a normal quirk of bobble stitches worked in the round, and it’s much faster to fix by hand than to unravel and redo the round.
Working the Ears in Mirrored Directions
It can feel counterintuitive that Ear 1 and Ear 2 are worked in opposite directions, but this is intentional. Crocheting one ear from the bottom up and the other from the top down keeps the visible stitch faces mirrored on each side of the head, so the ears look symmetrical when the kitten is viewed straight on rather than subtly twisted in different directions.
Placing the Embroidered Stripes Evenly
Because the three brown stripes and the black nose and mouth are added with embroidery thread after crocheting is finished, take time to plan their placement before threading your needle. Lightly mapping out where each stripe will sit across the forehead, and confirming the nose position relative to the eyes, helps avoid uneven or crowded details that are hard to unpick from chenille-style yarn once stitched.
Finishing Checklist
Before setting the finished kitten down, double back to the ears and confirm the surface-crochet slip stitches are pulled snugly against the head rather than left loose. A loose slip stitch at the base of an ear is one of the easiest details to overlook, and tightening it now keeps the ear standing at the correct angle instead of flopping to one side.
- Verify eye washers are secure before closing.
- Ensure body is stuffed round.
- Confirm tail is centered on the back.
- Weave all ear tails into the head.
- Embroider black nose and mouth.
- Embroider three brown stripes on the forehead.
More Amigurumi Cats to Try
- Free Cat Crochet Amigurumi Pattern — Kitten in Overalls
- Cat amigurumi pattern with pink paws
- Free Crochet Kitten Pattern — Black Cat Amigurumi with Overalls
- Crochet Cat Amigurumi — Meet Oscar & Mary, Two Kittens in Love