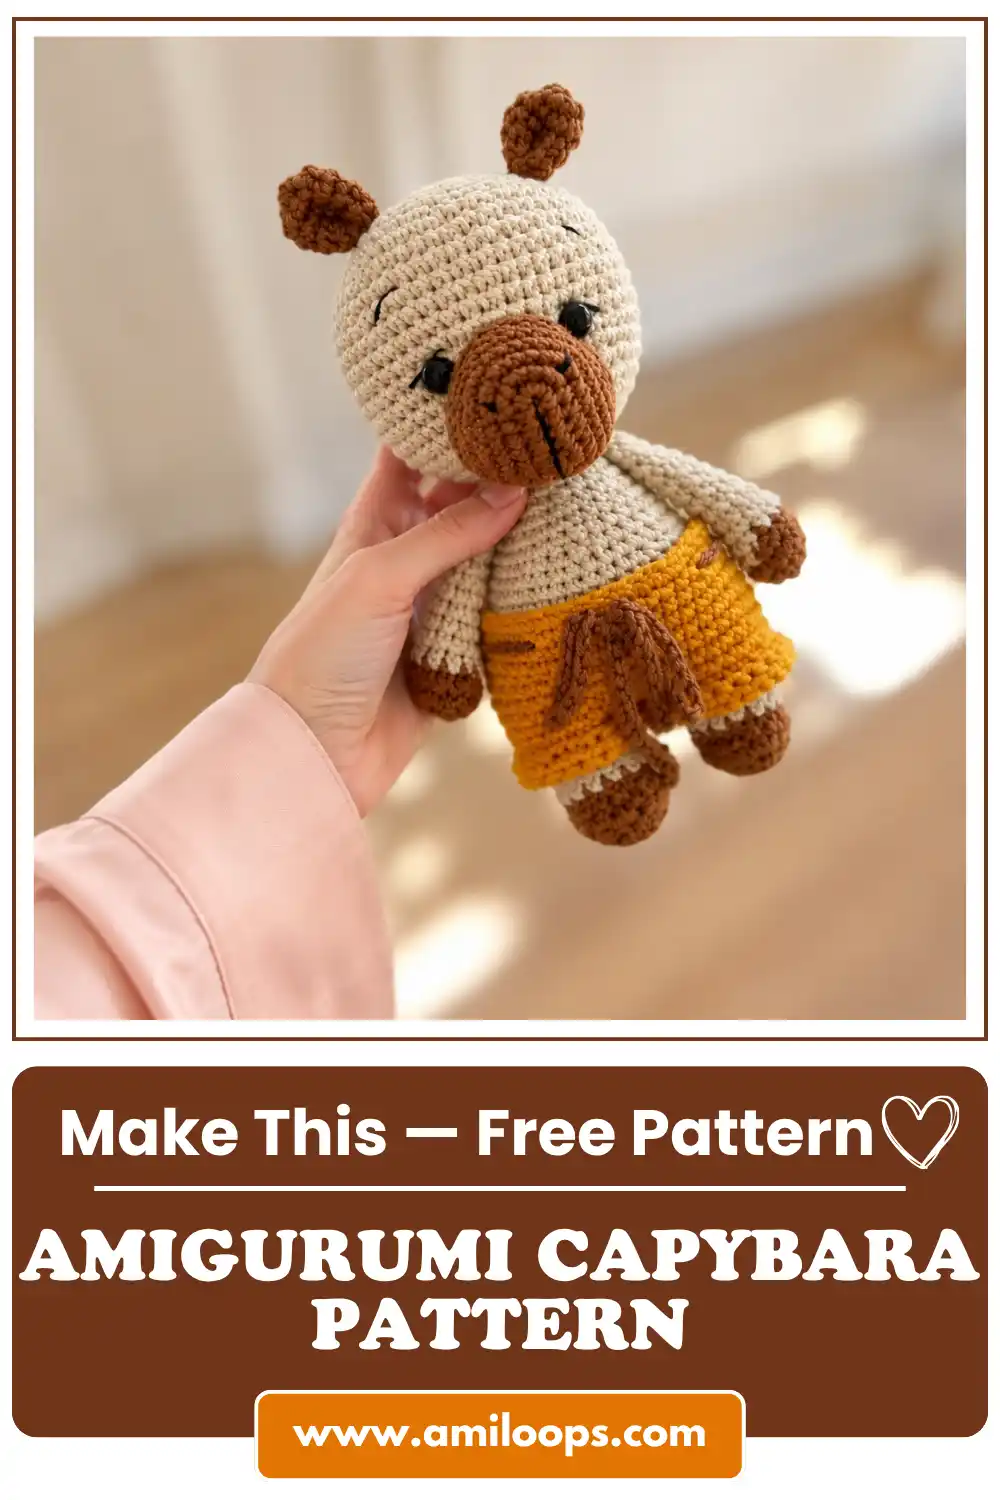
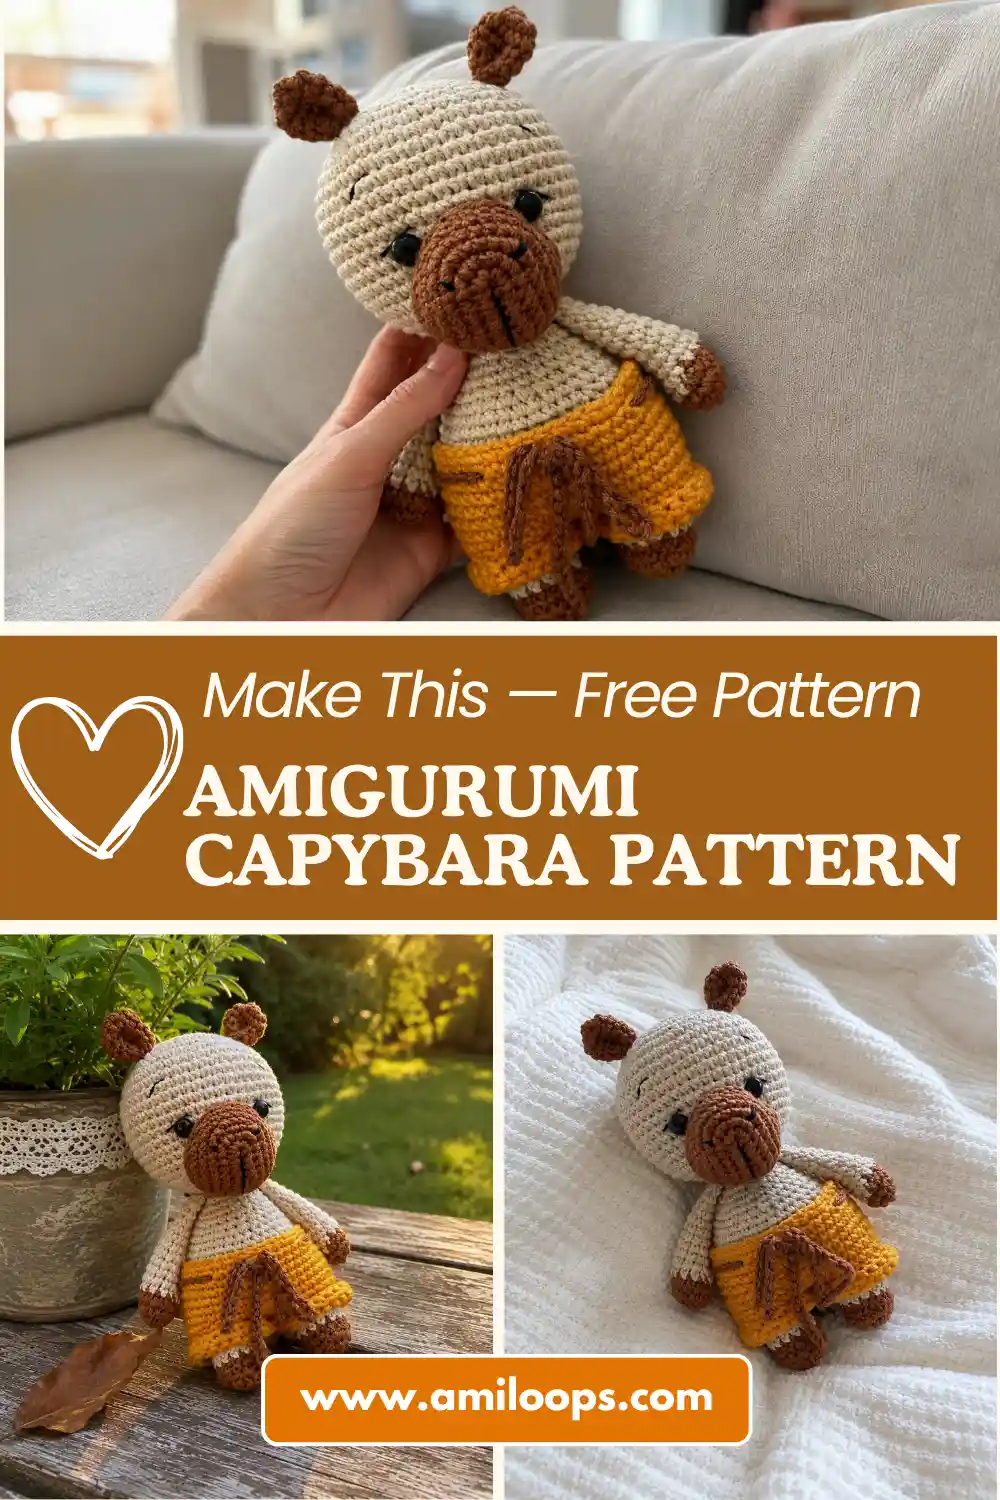
Amigurumi Capybara Pattern with Removable Shorts
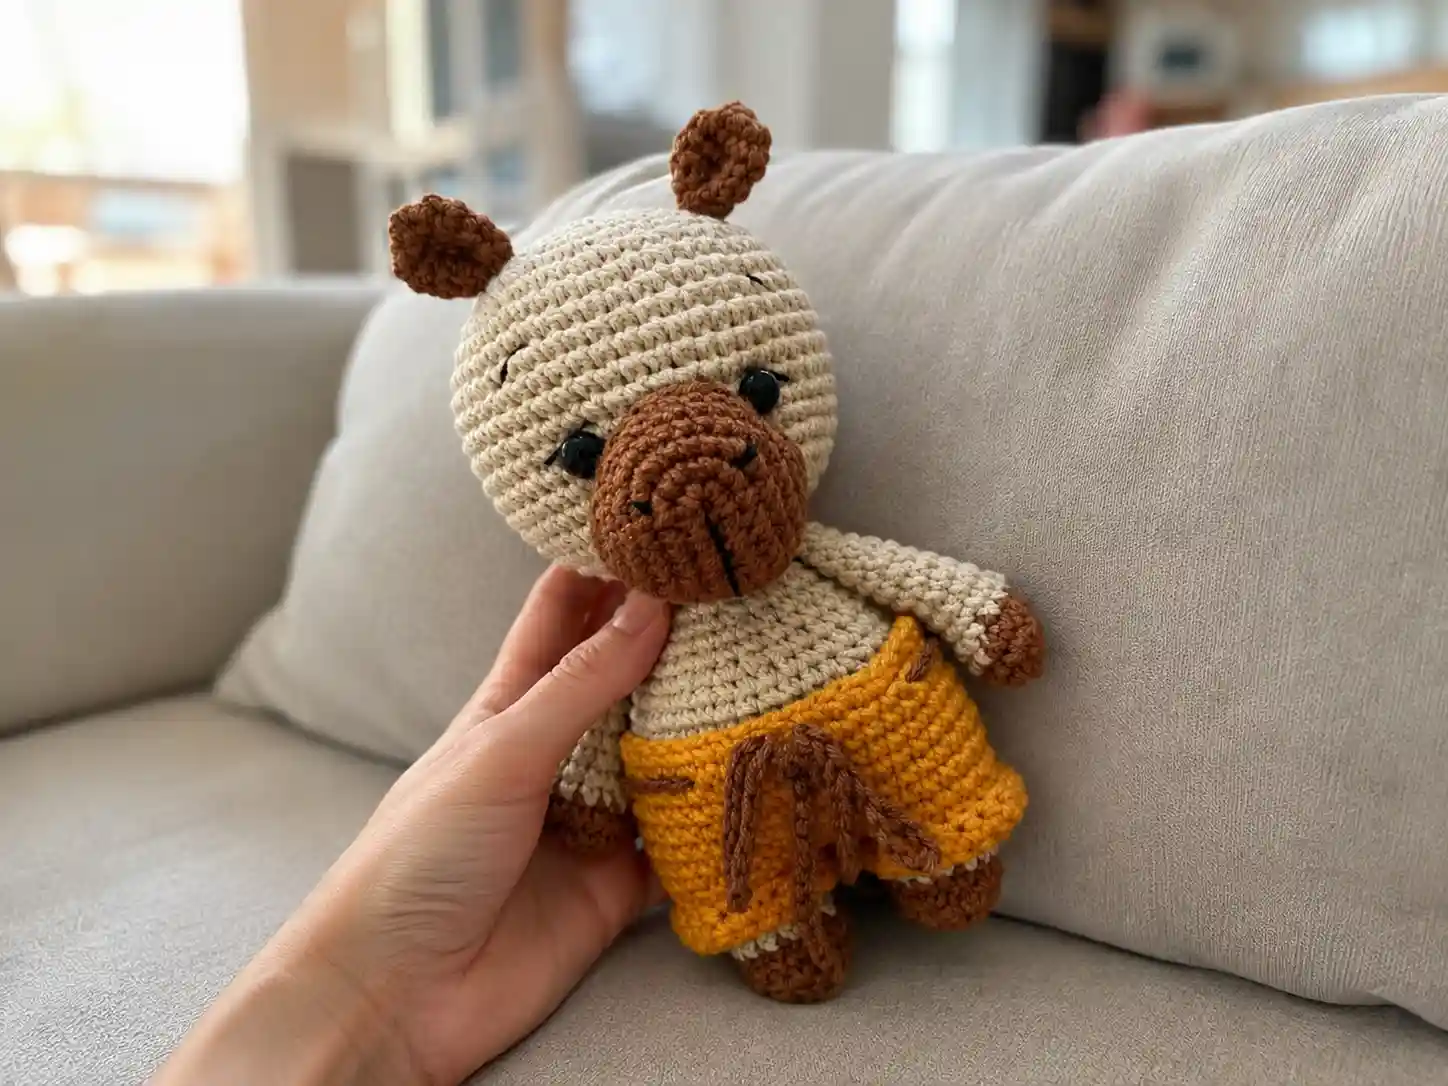
This amigurumi capybara pattern turns a simple ball of stitches into a round-bodied, dark-nosed character with soft rounded ears and a pair of tiny removable shorts. The whole toy is worked in single crochet using US terms, with the legs, body, arms, and head each built up in the spiral rounds that amigurumi is known for. Along the way, two legs are joined directly into one continuous lower body instead of being sewn on separately, which keeps the seam count low and gives the finished capybara a sturdy, seamless base to stand on.
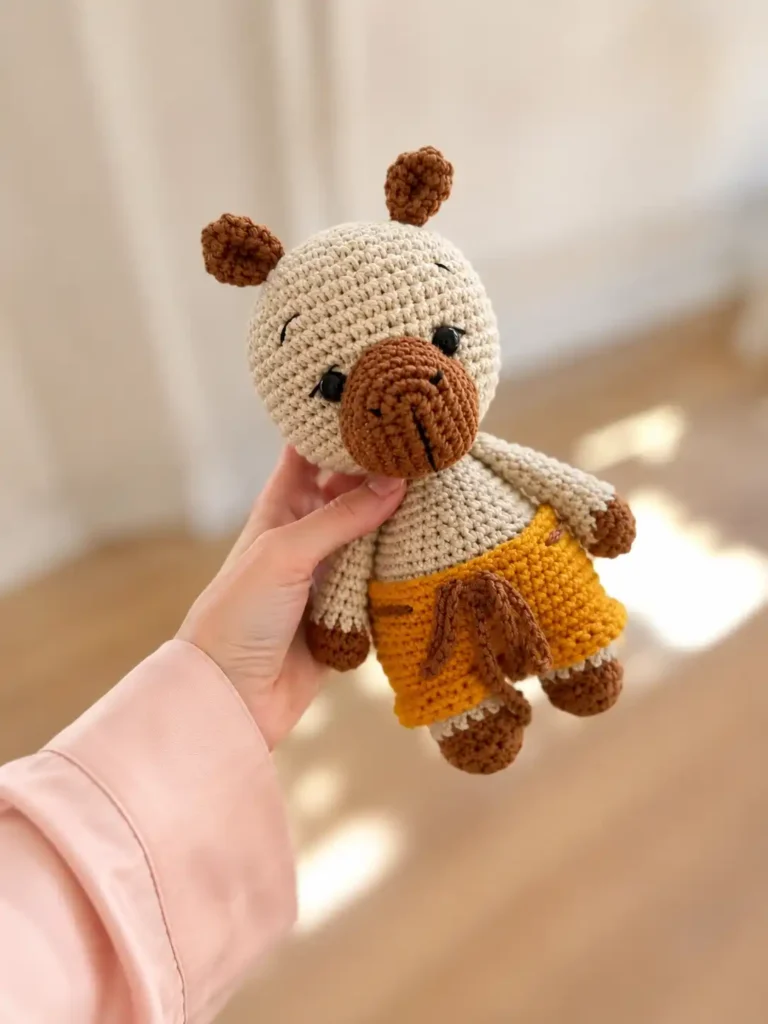
Dark brown yarn marks the muzzle, ears, and the tips of the hands and feet, set against a beige body for a coat pattern close to a real capybara’s coloring. Eight-millimeter safety eyes, hand-embroidered facial details, and a mustard yellow drawstring short complete the look. This guide walks through every material, abbreviation, and construction stage before laying out the full pattern part by part, then closes with assembly steps, troubleshooting notes, and a finishing checklist so each stage of the project stays easy to follow from the first magic ring to the final knot.
About This Amigurumi Capybara Crochet Pattern
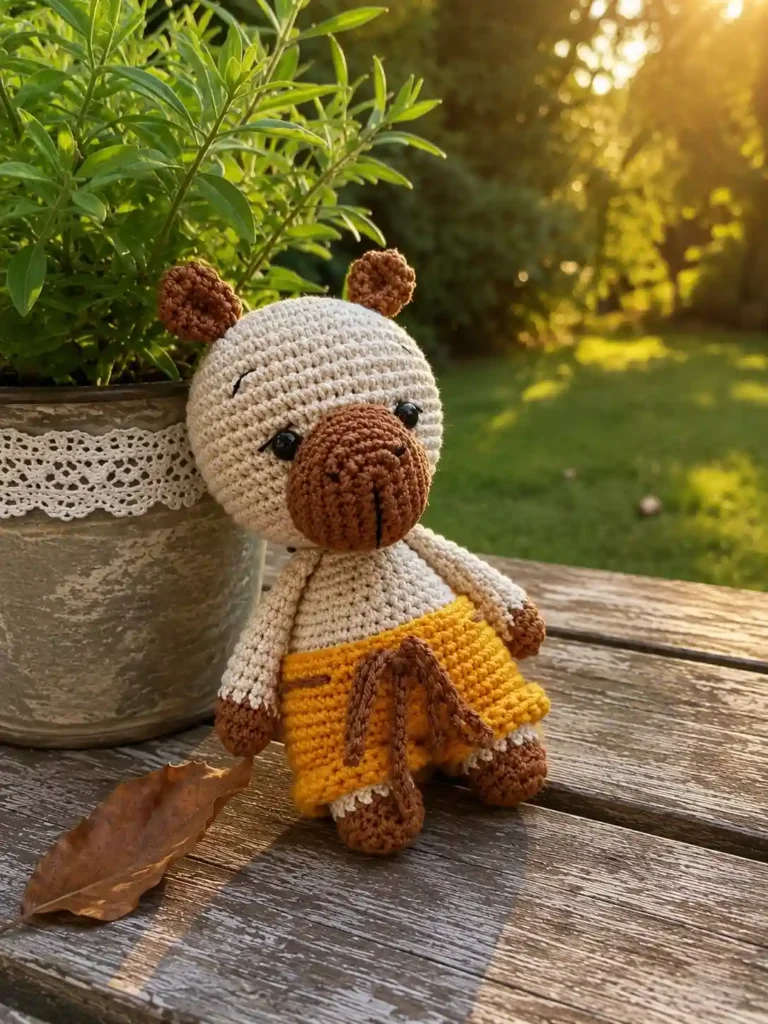
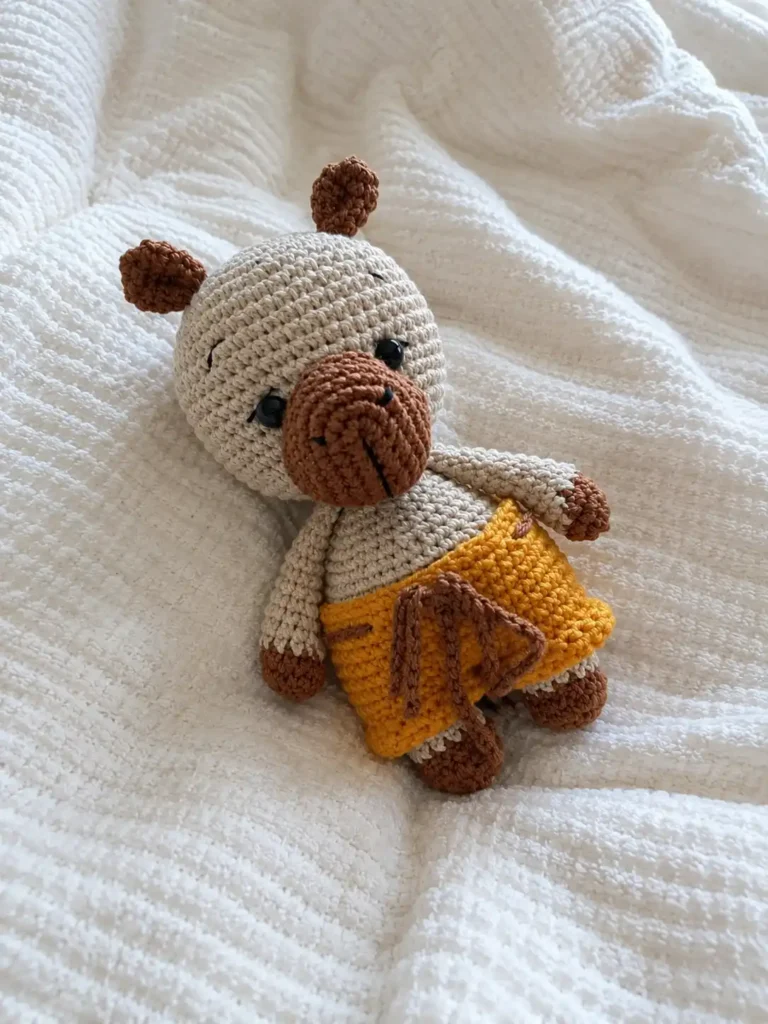
This project produces a small amigurumi capybara character finished in a sitting-friendly, rounded shape. Dark brown details on the muzzle, outer hands, paws, and ears create contrast against the beige body, giving the toy its recognizable capybara coloring at a glance. The lower body is built by joining two finished legs with a chain bridge, so the legs and body form one continuous piece rather than four separate parts that need sewing together later. The result is a light tan body with dark brown muzzle, ears, hands, and feet, finished off in mustard yellow shorts tied with a cord.
A few construction choices make this pattern distinct from a typical amigurumi animal. The arms are attached seamlessly while crocheting Round 17 of the body, so there’s no separate arm-sewing step later. The snout is worked around an initial center foundation chain instead of starting in a magic ring, which gives the muzzle its oval shape. The head and body both finish at 18 stitches, lining the two openings up for a direct stitch-by-stitch join rather than a gathered seam, which keeps the neck area neat and even once stuffed.
Materials and Tools
This capybara comes together with a Sport or Fine weight cotton blend yarn, such as YarnArt Jeans or a Gazzal Jeans equivalent, worked on a small 2.0-2.25 mm hook to keep the stitches tight enough to hold stuffing. Fiberfill stuffing and 8 mm safety eyes round out the core supplies, and three yarn colors carry the whole design: beige for the body, dark brown for the ears, muzzle, and paws, and mustard yellow for the shorts. Because safety eyes are considered a small part, it’s worth reviewing guidance on small parts and choking hazards before passing a finished toy along to a young child.
- Cotton blend yarn (YarnArt Jeans or Gazzal Jeans equivalent, Sport / Fine weight)
- Crochet hook size 2.0 mm – 2.25 mm
- Fiberfill stuffing
- 8 mm safety eyes
- Color choices: Beige (body), Dark Brown (ears, muzzle, hands/feet paws), and Mustard Yellow (shorts)
Crochet Abbreviations
The instructions below use standard US crochet abbreviations throughout, so a stitch count in brackets always reflects the total after that round. The two shaping abbreviations that show up most often are inc, worked as two single crochet stitches into the same stitch to widen a round, and dec, worked as two stitches crocheted together to narrow it. Rounds and stitches are abbreviated as rnd(s) and st(s), and BLO and FLO mark a front-loop-only or back-loop-only stitch whenever the pattern calls for one instead of working through both loops.
- magic ring — magic ring / adjustable loop
- ch — chain
- sc — single crochet
- inc — increase (2 single crochet in the same stitch)
- dec — decrease (single crochet 2 stitches together)
- st(s) — stitch(es)
- rnd(s) — round(s)
- BLO — back loop only
- FLO — front loop only
Construction Overview
Construction starts with the individual pieces: the head, both ears, the muzzle, and both arms are crocheted first, along with the first leg, which is fastened off once it’s complete. The second leg is worked next, but instead of being fastened off, it’s joined straight into the body: a 4-chain bridge connects the two legs, and the rounds continue directly from there without a separate seam. Both the arms and the legs switch from dark brown to beige right at Round 4, so it helps to plan ahead for how to change colors in amigurumi before starting either piece.
That joined-leg foundation creates 38 stitches at the start of Body Round 1, and Round 2 increases the count to 42 stitches before the body works straight up. Rather than crocheting the arms separately and stitching them on afterward, they’re attached directly into Round 17 of the body while that round is being worked, which saves a sewing step later. Once the body is complete, the remaining work is finishing touches: facial features are embroidered, the head and body are stuffed and seamed together, and the shorts are constructed and fitted last.
Before You Start
Before picking up the hook, gather two shades of brown and beige yarn for the body pieces along with a mustard yellow accent for the shorts, since all three colors are worked into the toy at different stages. Matching the hook size, 2.0-2.25 mm, to the chosen yarn weight helps keep the tight gauge that amigurumi shaping depends on; a looser gauge can let stuffing show through between stitches, so it’s worth testing a swatch if the exact yarn on hand feels different from a typical Sport or Fine weight cotton blend.
It also helps to pre-count the safety eye backings and confirm they match the 8 mm eyes before starting the head, since installing eyes is much easier before the head is stuffed. Keep stitch markers on hand to track the start of each spiraled round, especially through the head’s long run of even rounds and the body’s shaping sequence. Finally, keep tension consistent through both color transitions, on the arms and the legs, so the beige and dark brown sections meet cleanly instead of flaring at the color change round.
Amigurumi Capybara Crochet Pattern
The full pattern is laid out below in the order each piece is worked: head, ears, muzzle, arms, legs, body, and finally the shorts. Every round lists its stitch count in brackets so progress is easy to check against the pattern as each piece takes shape. Work in a continuous spiral unless a round specifically says to join, and place a stitch marker at the start of each round to keep track of where new rounds begin.
Head
Round 1: 7 sc in a magic ring [7 sts]
Round 2: Inc in each st around [14 sts]
Round 3: (1 sc, inc) 7 times [21 sts]
Round 4: (2 sc, inc) 7 times [28 sts]
Round 5: (3 sc, inc) 7 times [35 sts]
Round 6: (4 sc, inc) 7 times [42 sts]
Round 7: (5 sc, inc) 7 times [49 sts]
Rounds 8–18: Sc in each st around [49 sts]
Round 19: (5 sc, dec) 7 times [42 sts]
Round 20: (4 sc, dec) 7 times [35 sts]
Round 21: (3 sc, dec) 7 times [28 sts]
Round 22: (2 sc, dec) 7 times [21 sts]
Round 23: Work 3 dec evenly/randomly across the round, sc to end [18 sts]
Ears (Make 2)
Color note: The ears are worked entirely in dark brown yarn.
Round 1: 7 sc in a magic ring [7 sts]
Round 2: Inc in each st around [14 sts]
Rounds 3–4: Sc in each st around [14 sts]
Round 5: (1 sc, dec) 4 times, 2 sc [10 sts]
Muzzle
Color note: The muzzle is worked entirely in dark brown yarn.
Foundation Chain: Chain 7.
Round 1: Starting in the 2nd ch from the hook: inc, 4 sc, 3 sc in the last ch st; rotate to work along the opposite side of the chain foundation: 4 sc, inc [15 sts]
Round 2: 2 inc, 4 sc, 3 inc, 4 sc, 2 inc [22 sts]
Round 3: 2 sc, 2 inc, 4 sc, 2 inc, 2 sc, 4 sc, 2 inc, 2 sc [30 sts]
Rounds 4–6: Sc in each st around [30 sts]
Arms (Make 2)
Color note: The arms start in dark brown yarn and switch to beige at Round 4.
Round 1: 6 sc in a magic ring [6 sts]
Round 2: Inc in each st around [12 sts]
Rounds 3–4: Sc in each st around [12 sts]
Round 5: 2 dec, 8 sc [10 sts]
Rounds 6–14: Sc in each st around [10 sts]
Legs (Make 2)
Color note: The legs start in dark brown yarn and switch to beige at Round 4.
Round 1: 6 sc in a magic ring [6 sts]
Round 2: Inc in each st around [12 sts]
Round 3: (1 sc, inc) 3 times, 6 sc [15 sts]
Rounds 4–7: Sc in each st around [15 sts]
Body
Round 1: From the 2nd leg, ch 4, join with a sc to the 1st leg; work 14 sc around 1st leg, 4 sc along one side of the ch-4 bridge, 15 sc around 2nd leg, 4 sc along the opposite side of the ch-4 bridge [38 sts]
Round 2: 4 sc, inc, 2 sc, inc, 16 sc, inc, 2 sc, inc, 10 sc [42 sts]
Rounds 3–8: Sc in each st around [42 sts]
Round 9: (5 sc, dec) 6 times [36 sts]
Round 10: Sc in each st around [36 sts]
Round 11: (4 sc, dec) 6 times [30 sts]
Rounds 12–13: Sc in each st around [30 sts]
Round 14: (3 sc, dec) 6 times [24 sts]
Round 15: Sc in each st around [24 sts]
Round 16: (2 sc, dec) 6 times [18 sts]
Round 17: Sc in each st around, crocheting the arms directly into the sides of the body [18 sts]
Round 18: Sc in each st around [18 sts]
Shorts
Color note: The shorts are worked entirely in mustard yellow yarn.
Round 1: Ch 40 (or a number of chains that comfortably fits around the toy’s waist), join into a ring with a slip stitch; sc in each ch around [40 sts]
Round 2: Sc around, creating small eyelet openings for a drawstring by making a ch 1 (skipping 1 st) every 4–5 sc [40 sts]
Rounds 3–10: Sc in each st around [40 sts]
Leg Openings: Sew or join across the center crotch seam to divide into two leg openings. Work around each leg opening either in the front loops only, or work over both loops and fold the hem upward.
Drawstring: Crochet a simple chain drawstring and weave it through the Round 2 eyelets.
Assembly and Finishing
Once every piece is finished, assembly starts at the head. The 8 mm safety eyes go in between Rounds 14 and 15, spaced 7 stitches apart, and if you want a refresher on the process, a guide to attach safety eyes covers the general technique. The muzzle sits centered between the eyes at the Round 14 level, sewn in place and finished with an embroidered nose in dark brown thread. The ears attach symmetrically on top of the head, covering Rounds 4 through 5, so both sit at matching height once secured.
With the face in place, stuff the head and body firmly, keeping extra fill in the neck so it doesn’t collapse once seamed. Align the head’s 18-stitch opening to the body’s matching 18-stitch opening and stitch them together stitch by stitch for a clean, gap-free seam. Because the arms were already worked into Round 17 of the body, they should already sit evenly along the sides of the torso; a light stuffing squeeze on each arm helps it keep its shape once the head is attached and the toy is fully assembled.
- Install the 8 mm safety eyes on the head between Rounds 14 and 15, positioned 7 stitches apart.
- Position the muzzle centered between the eyes at Round 14 and sew it in place, then embroider the nose in dark brown thread.
- Attach the ears symmetrically at the top of the head, between Rounds 4 and 5.
- Align the head’s neck opening (18 sts) to the body opening (18 sts) and stitch them together stitch by stitch.
- Embroider eyebrows and delicate eyelashes using dark embroidery thread.
- Put the shorts on the capybara, cinch with the crocheted drawstring tie, and knot.
Pattern Notes and Troubleshooting
Checking the Body Round 1 Stitch Count
If the stitch count at Body Round 1 doesn’t add up to 38, recount in pieces instead of all at once: each leg should contribute 15 stitches, and the chain-4 bridge that connects them adds 4 stitches along the front side plus 4 more along the back side. Miscounting a leg’s final round before joining, or catching the wrong loop of the bridge chain, is the most common cause of a stitch count that’s off by one or two at this transition round.
Keeping the Muzzle Shape Even
A muzzle that looks lopsided or pinched at one end usually comes down to the foundation chain. Because Round 1 works along both sides of the starting chain, one side worked into the top loops and the other into the remaining bottom loops, it’s easy to miss a stitch or work into the wrong loop on the return side. Counting stitches after each side of Round 1, rather than waiting until the round is complete, catches an uneven muzzle before it affects the following rounds.
Fixing Arm Placement
If an arm ends up sitting slightly toward the front or back of the body instead of squarely on the side, it’s a simple fix during Round 17: shift the attachment point a stitch or two forward or backward before finishing that round. Tension can shift the apparent side position slightly as the body rounds build up, so it helps to lay the piece flat and check both arms against each other before committing to the final placement.
Adjusting the Shorts Fit
The shorts are built from a 40-chain foundation, sized to comfortably fit around the toy’s waist, but stuffing thickness can change how snug that ends up feeling. If the shorts feel tight when put on over a firmly stuffed body, add a few chains to the foundation round; if they feel loose or slide down, remove a few instead. Adjust in small increments and try the shorts on before finishing the leg openings and drawstring.
Preventing a Floppy Head
A head that wobbles or leans usually means the neck area wasn’t packed as firmly as the rest of the head, or the 18 stitches of the head weren’t lined up directly with the 18 stitches of the body during the seam. Pack extra stuffing into the neck just before closing that area, and take a moment to match the two 18-stitch openings edge to edge before stitching, rather than easing them together unevenly.
Finishing Checklist
Before calling the capybara finished, run through a quick check of the details that are easiest to overlook. Eye placement, muzzle position, embroidery, ear attachment, the head-to-body seam, and the drawstring all affect how the finished toy looks and holds together, so a final pass over each one catches small fixes while they’re still easy to make.
- Confirm 8 mm eyes are locked firmly between R14–15.
- Verify muzzle placement is centered at R14.
- Check embroidered nose, eyebrows, and lashes.
- Ensure ears are secure at R4–5.
- Confirm head-to-body seam is neat and sturdy.
- Thread drawstring through shorts eyelets and tie in front.
FAQ
What yarn is best for this amigurumi capybara pattern?
A sport or fine weight cotton blend yarn (like YarnArt Jeans) is ideal because it gives the capybara a clean structure and keeps the stitches tight.
What size crochet hook should I use?
Use a 2.0 mm to 2.25 mm crochet hook. This ensures a tight gauge so the fiberfill stuffing does not show through the body.
Is this pattern worked in continuous rounds?
Yes, the head, arms, legs, and body are all worked in a continuous spiral, meaning you will not join at the end of most rounds.
More Amigurumi Animal Patterns to Try
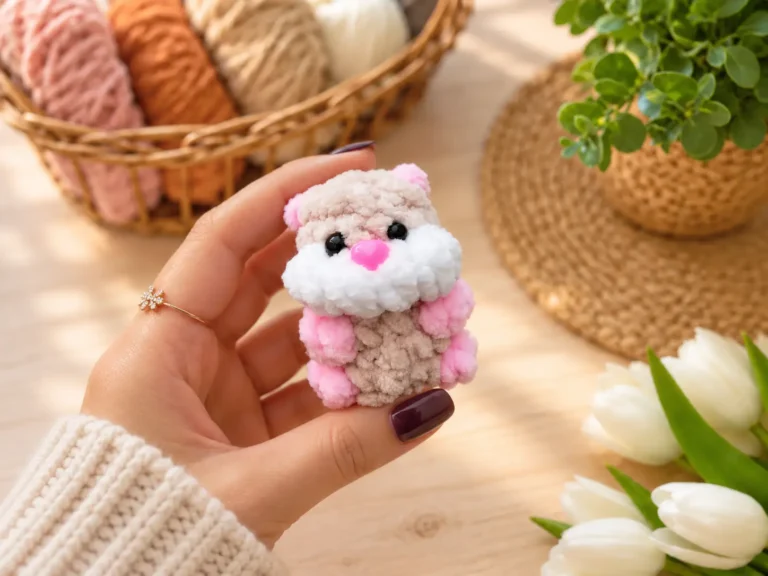
If you liked working the rounded shaping and color-blocked details on this capybara, a hamster amigurumi pattern uses similar magic-ring shaping on a smaller scale, and a red panda crochet pattern offers another two-tone color layout to practice color changes on. Both make a good next project once the increase and decrease rhythm here feels comfortable.