Giraffe in Overalls Crochet Pattern: Free Amigurumi Giraffe with Heart and Bow
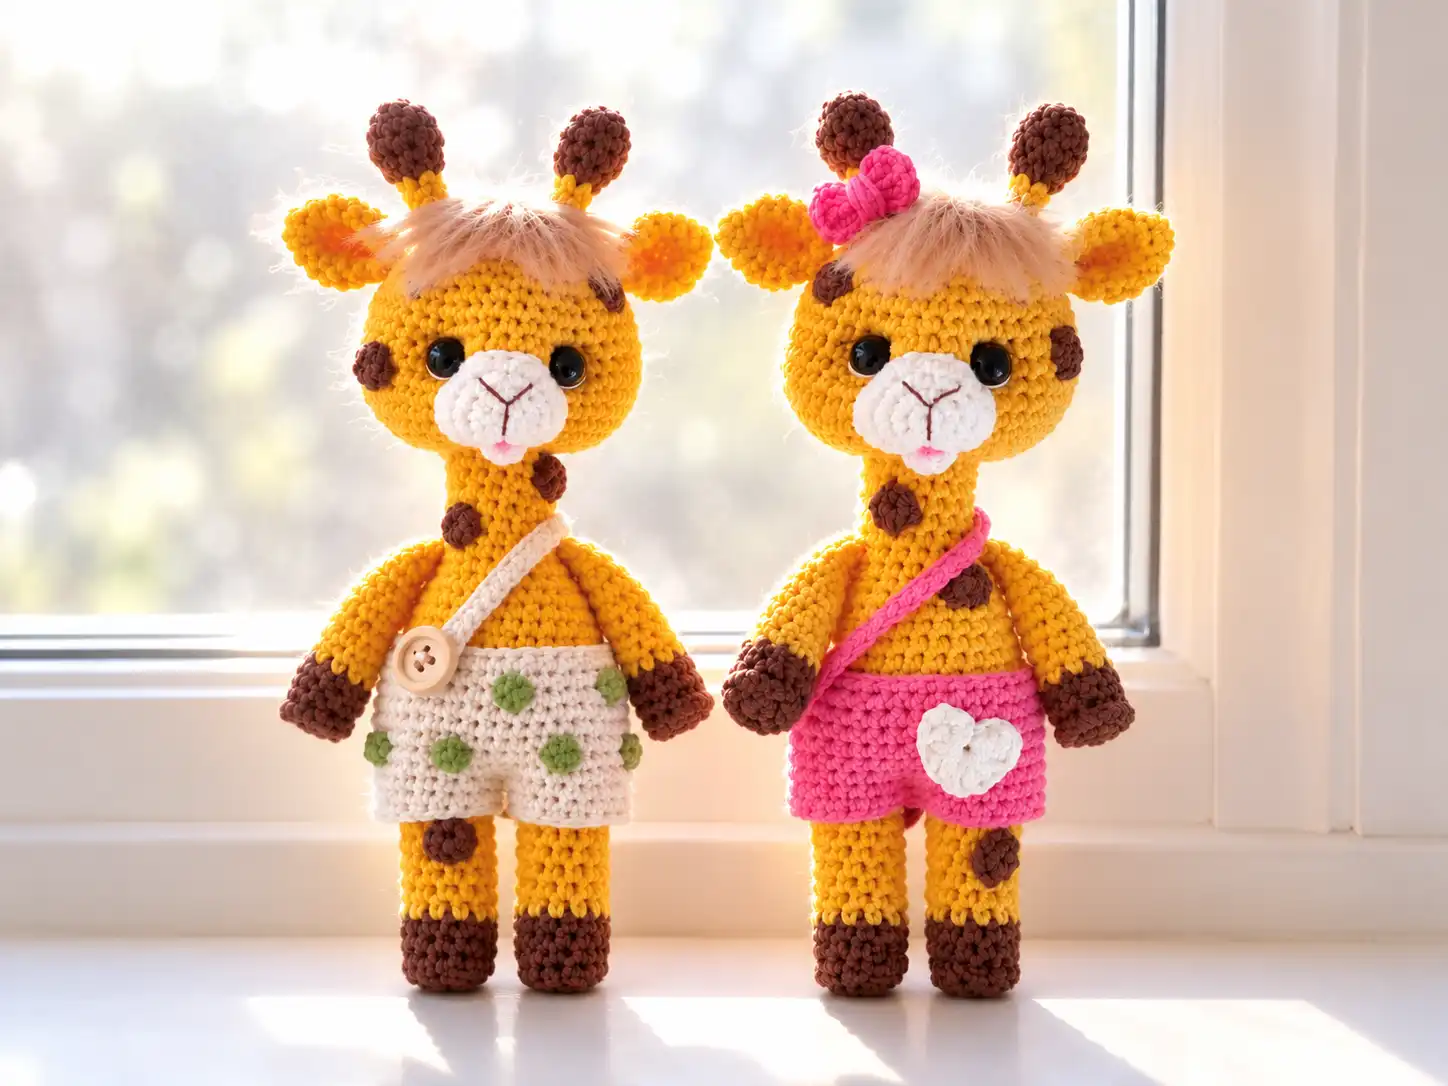
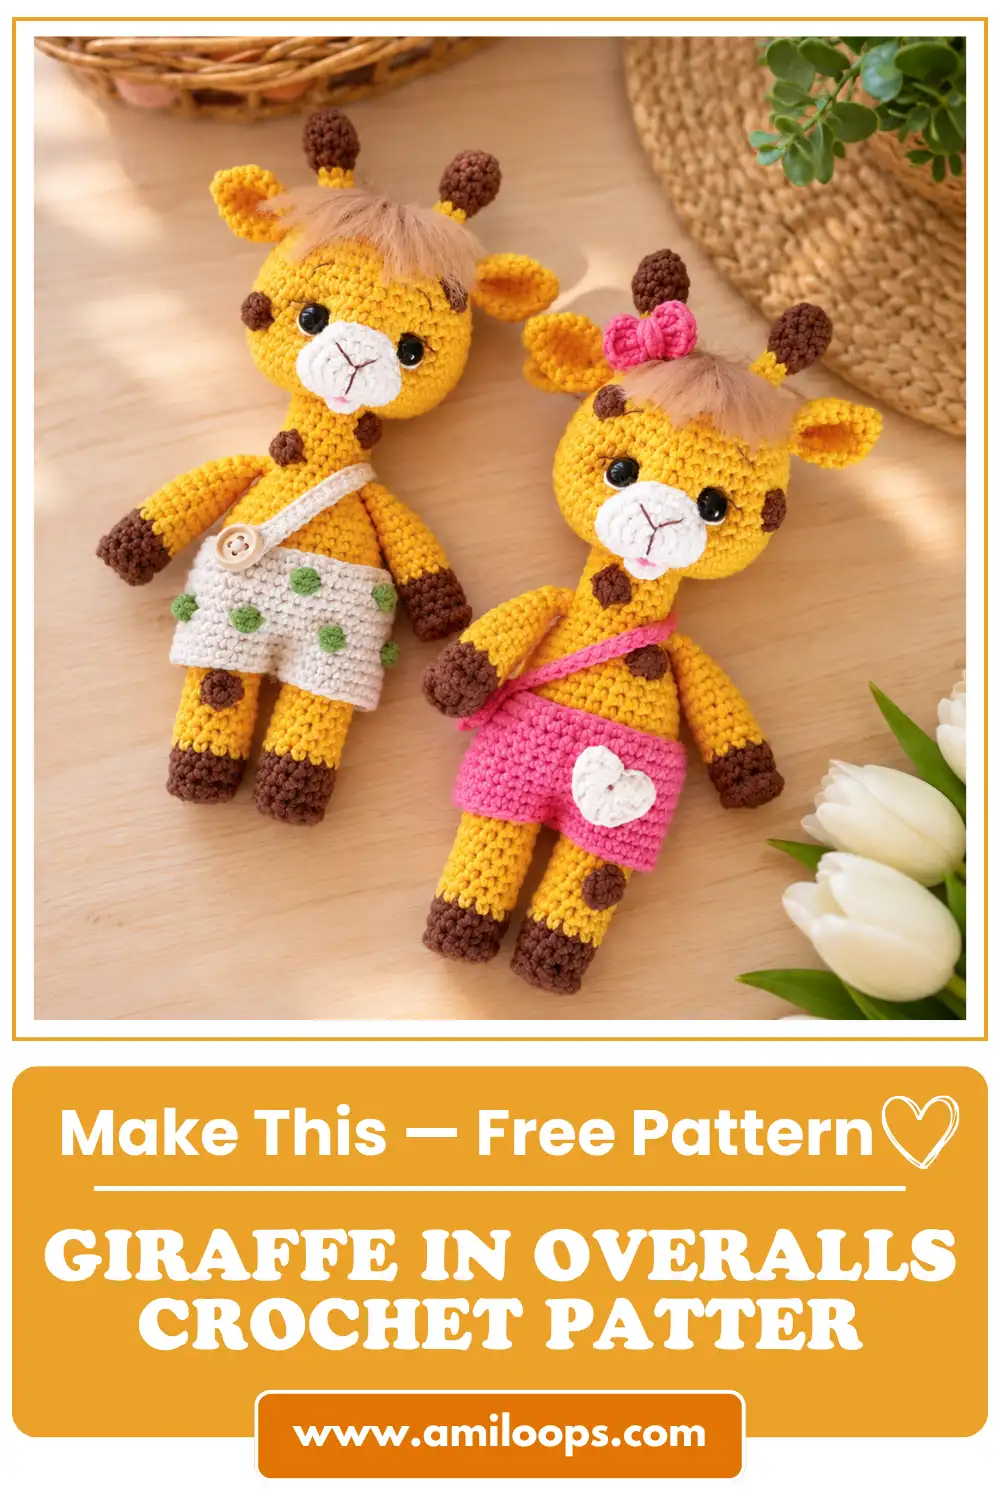
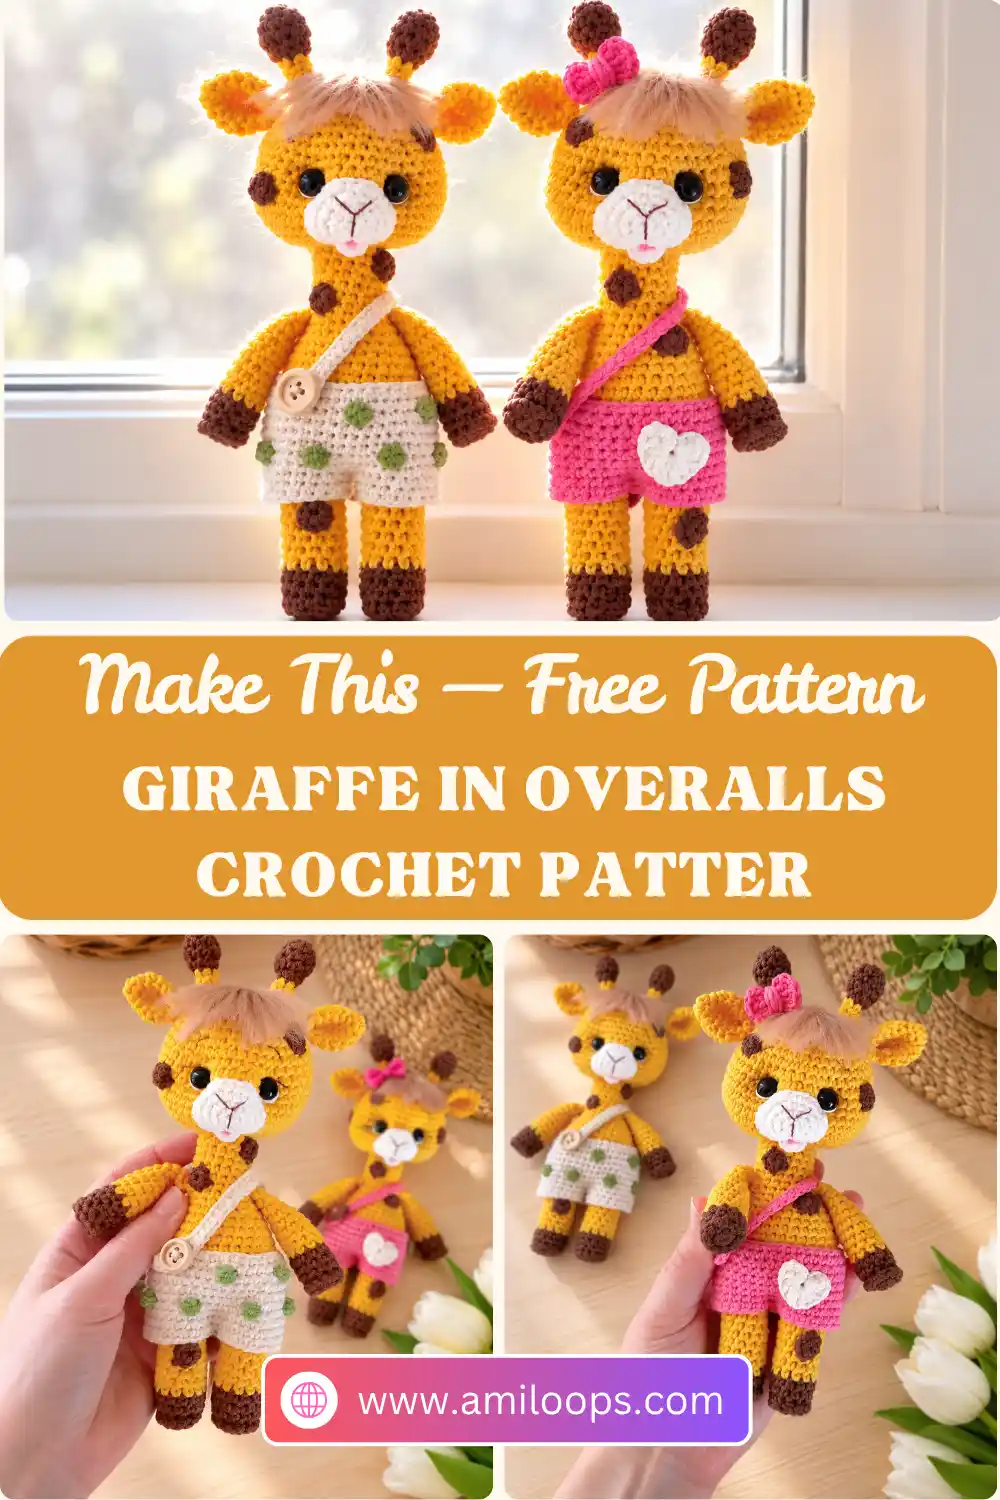
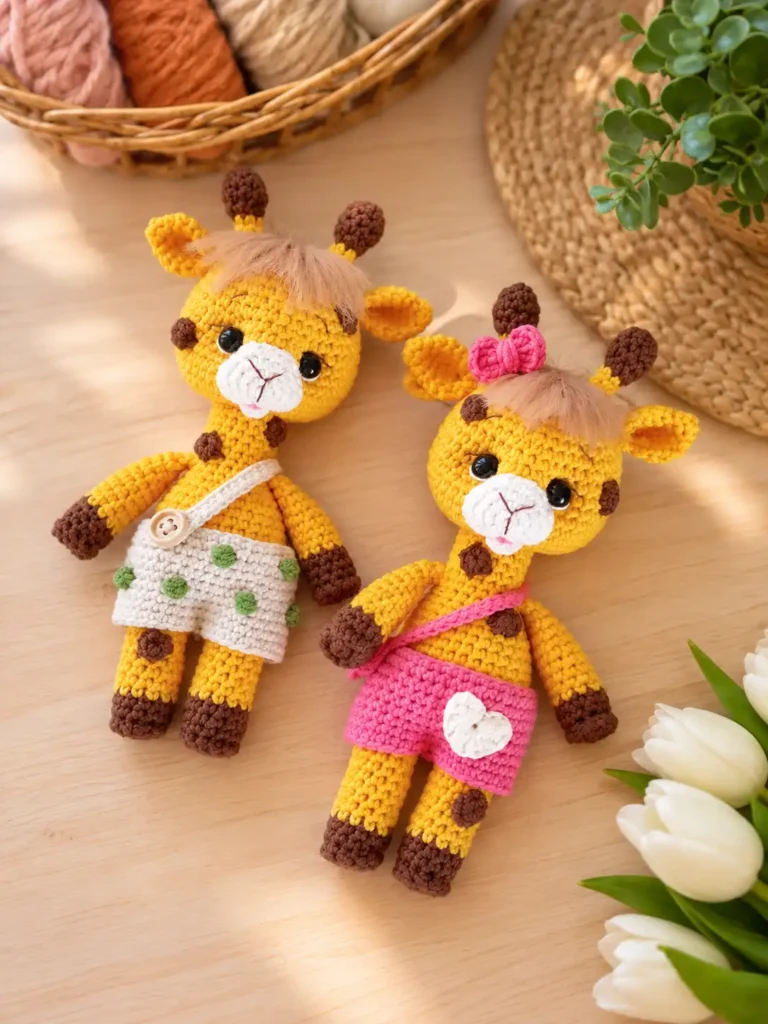
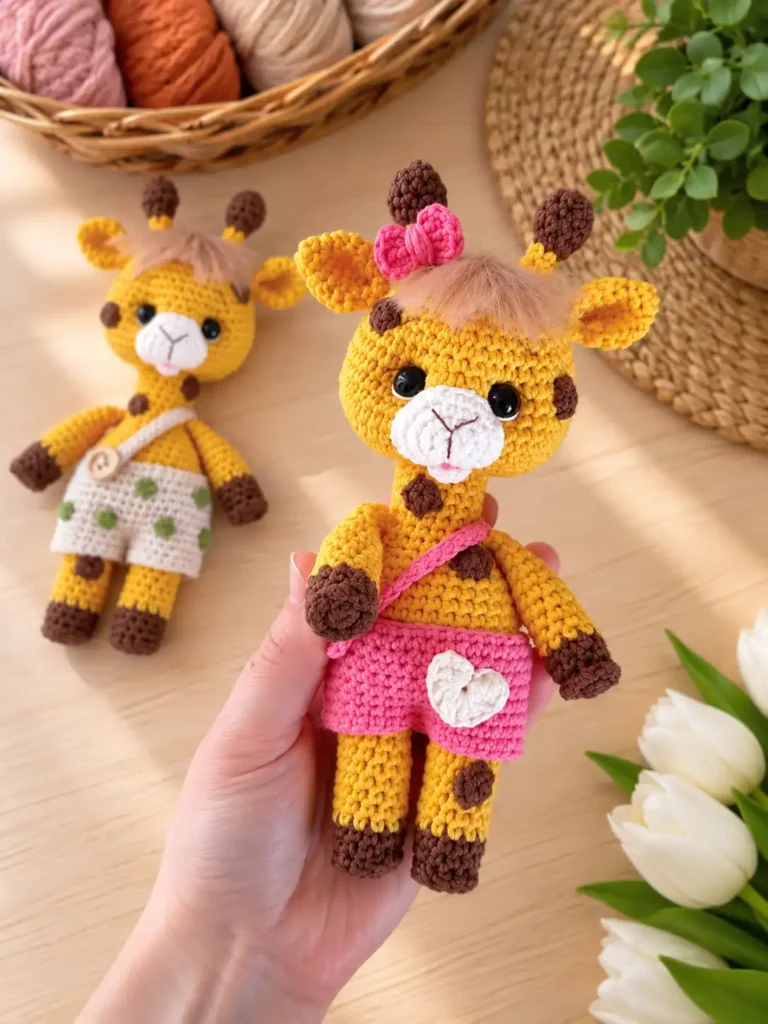
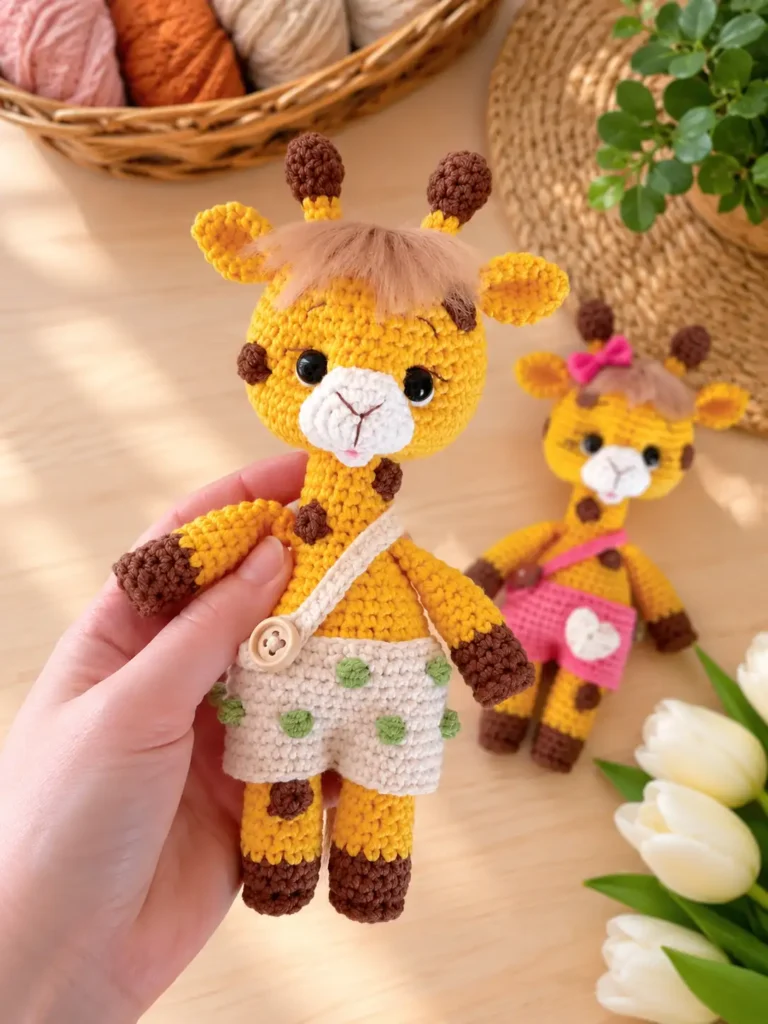
A long neck held proudly upright, little brown hooves and a fluffy tuft of bangs brushed out between brown-tipped horns: this giraffe in overalls crochet pattern turns a tall, slender animal into a sweet amigurumi friend. A soft tail pokes out through its own opening in the overalls, and a tiny crocheted heart and bow add the finishing charm.
The construction is what makes this giraffe fun to follow. The legs become the base of the body, the arms are crocheted into the body as you work, and the neck and head continue straight up from the same piece. A handful of cotton swabs (or wire) hidden inside the neck keeps that signature silhouette standing tall instead of flopping over.
Materials Abbreviations Arms Legs Body Head Horns & details Assembly Overalls FAQ
Before your first stitch: The legs, body, neck and head are one continuous piece. You finish the first leg and fasten off, keep the second leg on your hook, and join both legs in the first body round. The arms are made first so they are ready to crochet in at body Rnd 15.
Get the neck support ready: Have 4–5 cotton swabs (or a length of wire) on hand by the time you finish the neck rounds, so you can set them in place before the head closes.
Materials
- Yarnart Jeans: color 35 (body), color 70 (arms, legs, horns and face details) and color 01 (muzzle, eye whites)
- Yarnart Piuma: color 4405 (tail and bangs)
- Crochet hook: 2 mm (see the Craft Yarn Council hook size chart if you shop by US hook labels)
- Safety eyes: 9 mm
- Button: 12 mm, for the overalls strap
- Neck support: cotton swabs or wire
- Stuffing
- Yarn needle
- Scissors
Color key: In the instructions, “brown” is the color 70 used for the hooves and horn tips, and “yellow” is the color 35 body shade.
Abbreviations (US terms)
| Abbreviation | Meaning |
|---|---|
| MR | magic ring |
| ch | chain |
| sc | single crochet |
| sl st | slip stitch |
| dc | double crochet |
| tr | treble crochet |
| inc | increase: 2 sc in the same st |
| dec | decrease: work the next 2 sts together as 1 |
| st(s) | stitch(es) |
| Rnd(s) | round(s) |
| concave sc | the designer’s special single crochet for the hoof edge (Rnd 3 of the arms and legs). Instruction pending clarification. |
All stitch names are in US crochet terms. If you usually work from UK patterns, the Craft Yarn Council list of crochet abbreviations compares the two systems.
Mouth
Rnd 1: 6 sc in MR. Do not join with a sl st.
Where it goes: In the designer’s photos, this little mouth sits centered at the lower edge of the white muzzle. Pick a soft contrasting color you like for it.
Arms (make 2)
Start with brown yarn. The first rounds form the little hoof.
Rnd 1: 5 sc in MR (5)
Rnd 2: 5 inc (10)
Rnd 3: 10 concave sc (10). Instruction pending clarification.
Rnds 4–6 (3 rounds): Sc in each st around (10)
Color change: Change to yellow before Rnd 7. For a clean switch, see how to change colors seamlessly in amigurumi.
Rnds 7–15 (9 rounds): Sc in each st around (10)
Keep the join hidden: If needed, work extra offset stitches so the color change stays on the inner side of the arm. The designer needed 2.
Stuff the arm up to Rnd 12. Flatten the opening and work 5 sc through both layers.
Hoof trim: Join brown yarn in the round with the concave sc (Rnd 3) and work a round of sl sts along it. Instruction pending clarification.
Legs (make 2)
Start with brown yarn. The legs follow the same hoof-and-color sequence as the arms, with 12 stitches instead of 10.
Rnd 1: 6 sc in MR (6)
Rnd 2: 6 inc (12)
Rnd 3: 12 concave sc (12). Instruction pending clarification.
Rnds 4–6 (3 rounds): Sc in each st around (12)
Color change: Change to yellow before Rnd 7.
Rnds 7–15 (9 rounds): Sc in each st around (12)
If needed, work extra offset stitches so the color change stays on the inner side of the leg.
First leg: At the end, sl st and fasten off.
Second leg: Do not fasten off. Continue with the body.
Hoof trim: On each leg, join brown yarn in the round with the concave sc (Rnd 3) and work a round of sl sts along it, just as for the arms. Instruction pending clarification.
Body
Joining the legs: You join the legs as you crochet the body. Continuing from the second leg, join the first leg by inserting the hook into the st after its sl st.
Rnd 1: 12 sc around the first leg, 12 sc around the second leg (24)
Rnd 2: [3 sc, inc] 6 times (30)
Rnd 3: Sc in each st around (30)
Rnd 4: [4 sc, inc] 6 times (36)
Rnds 5–6 (2 rounds): Sc in each st around (36)
Rnd 7: [4 sc, dec] 6 times (30)
Rnds 8–11 (4 rounds): Sc in each st around (30)
Rnd 12: [3 sc, dec] 6 times (24)
Rnd 13: Sc in each st around (24)
Rnd 14: [2 sc, dec] 6 times (18)
Lining up the arms: Before you work Rnd 15, look down at the legs and mark where each arm should sit above them, so the arms line up with the legs as you crochet them in.
Rnd 15: Sc in each st around (18). In this round, crochet the arms in so they line up with the legs.
Rnds 16–23 (8 rounds): Sc in each st around (18)
Stuff the body as you go.
Neck support
To keep the neck firm, the designer uses cotton swabs; wire can be used instead. Stuff the body up to the level of the arms. Insert 4–5 cotton swabs into the finished neck so their lower ends sit in the body and their upper ends sit in the head. Add stuffing around the swabs.
In the designer’s photos, the swabs stand upright in the neck while the first widening rounds of the head are already open around them, which makes it easy to pack stuffing in on all sides. The 18-stitch neck (body Rnds 16–23) is narrow, so the swabs act like a spine and carry the weight of the head.
Head
Continue from the body. The round numbers carry on from the neck.
Rnd 24: [1 sc, inc] 9 times (27)
Rnd 25: [1 sc, inc] 13 times, 1 sc (40)
Rnd 26: [19 sc, inc] 2 times (42)
Rnd 27: [6 sc, inc] 6 times (48)
Rnds 28–33 (6 rounds): Sc in each st around (48)
Rnd 34: [6 sc, dec] 6 times (42)
Rnd 35: Sc in each st around (42)
Eyes: Insert the safety eyes between Rnds 32 and 33, 5–6 visible sts apart. Doing it now, while the head is still open, lets you reach inside to secure the backs. Here’s a guide to attaching safety eyes securely.
Rnd 36: [5 sc, dec] 6 times (36)
Rnd 37: Sc in each st around (36)
Rnd 38: [4 sc, dec] 6 times (30)
Rnd 39: Sc in each st around (30)
Rnd 40: [3 sc, dec] 6 times (24)
Rnd 41: 1 sc, dec, [2 sc, dec] 5 times, 1 sc (18)
Rnd 42: [1 sc, dec] 6 times (12)
Rnd 43: 6 dec (6). Pull the opening closed.
Horns (make 2)
Start with brown yarn for the rounded tip.
Rnd 1: 6 sc in MR (6)
Rnd 2: [1 sc, inc] 3 times (9)
Rnds 3–4 (2 rounds): Sc in each st around (9)
Rnd 5: [1 sc, dec] 3 times (6)
Color change: Change color after Rnd 5.
Rnds 6–8 (3 rounds): Sc in each st around (6). Sl st, fasten off and leave a long yarn tail for sewing.
Ears (make 2)
Rnd 1: 5 sc in MR (5)
Rnd 2: Sc in each st around (5)
Rnd 3: 5 inc (10)
Rnd 4: [1 sc, inc] 5 times (15)
Rnds 5–6 (2 rounds): Sc in each st around (15)
Rnd 7: [1 sc, dec] 5 times (10)
Flatten the opening and work 5 sc through both layers. Fasten off and leave a long yarn tail for sewing. Fold the ear in half and make a couple of stitches to hold it.
Muzzle
Rnd 1: 6 sc in MR (6)
Rnd 2: 6 inc (12)
Rnd 3: [1 sc, inc] 6 times (18)
Rnd 4: [2 sc, inc] 6 times (24). Sl st, fasten off and leave a long yarn tail for sewing.
Tail
Start with Yarnart Piuma. The first rounds make the fluffy tuft at the tip.
Rnd 1: 6 sc in MR (6)
Rnd 2: 6 inc (12)
Rnd 3: Sc in each st around (12)
Rnd 4: 6 dec (6)
Yarn change: Change yarn after Rnd 4.
Rnds 5–7 (3 rounds): Sc in each st around (6)
Flatten the opening and work 3 sc through both layers. Fasten off and leave a long yarn tail for sewing.
Bangs
Work with Yarnart Piuma. This small piece is worked in rows from a short chain, widening at both edges.
Row 1: Ch 3. You’ll begin working in the 2nd ch from the hook.
Row 2: 2 inc (4). That’s an inc in each of the 2 ch, starting in the 2nd ch from the hook.
Row 3: Inc, 2 sc, inc (6)
Row 4: Inc, 4 sc, inc (8). Sl st, fasten off and leave a yarn tail for sewing.
Spots (make 6)
Rnd 1: 6 sc in MR. Sl st, fasten off and leave a yarn tail for sewing.
Assembly
With all the small pieces ready, the face comes together quickly. The horn and ear positions are counted down from the closed top of the head, so the 1st round from the top is Rnd 43. If you’d like a refresher on neat seams, see how to sew amigurumi parts together.
- Sew the horns between the 3rd and 4th rounds from the top of the head (between Rnds 41 and 40).
- Sew the ears 2 rounds below the horns (between Rnds 39 and 38).
- Sew on the muzzle. The designer does not stuff it.
- Sew the tail between body Rnds 4 and 5, counting up from the round where the legs were joined.
- Sew on the bangs and brush them out.
- Embroider the nose, eyebrows and eyelashes.
- Sew on the spots.
Overalls
The overalls are a simple tube with a built-in opening for the tail, finished with a buttoned strap. Ch 41 and join into a ring.
Rnds 1–3 (3 rounds): 40 sc in each round (40)
Rnd 4 (tail opening): 17 sc, ch 6, skip the next 6 sts, then sc in the 7th st (the first st after the skipped ones) and in each of the next 16 sts (40 sts, counting the 6 ch)
Rnds 5–8 (4 rounds): 40 sc in each round (40). On Rnd 5, work 1 sc into each of the 6 ch above the opening.
Strap
Strap: Ch 31. Starting in the 2nd ch from the hook: 2 sc, ch 3, skip 3 ch, sc in each remaining ch to the end (25 sc).
The ch-3 space leaves a small buttonhole near one end of the strap. Sew on the strap, then sew on the 12 mm button.
Heart for the overalls
Heart: Make a MR. Working into the ring: ch 3, 2 tr, 3 dc, 1 tr, 3 dc, 2 tr, ch 3. Pull the ring closed.
Bow
Bow: Make a MR. Working into the ring: ch 3, 3 tr, ch 3, sl st, ch 3, 3 tr, ch 3, sl st. Pull the ring closed.
Both the heart and the bow are worked entirely into a magic ring, so cinching the ring tight at the end is what pulls the stitches into shape. The pattern leaves the colors of the overalls, heart and bow, and the spot for the bow, up to you.
Questions about this giraffe
How are the legs joined to the body?
Fasten off the first leg after a sl st, but keep the second leg on your hook. Join the first leg by inserting the hook into the st after its sl st, then work body Rnd 1 as 12 sc around the first leg and 12 sc around the second leg, for 24 sts.
What keeps the long neck from flopping over?
The designer inserts 4–5 cotton swabs into the finished neck, with their lower ends in the body and their upper ends reaching into the head, then adds stuffing around them. Wire can be used instead of cotton swabs.
How do I keep the hoof color change from showing?
After changing to yellow, work extra offset stitches if needed so the color change stays on the inner side of each arm and leg. The designer needed 2 extra stitches on the arms.
How does the tail come through the overalls?
Rnd 4 of the overalls makes the opening: 17 sc, ch 6, skip the next 6 sts, then 17 sc. On the next round you crochet into those 6 ch, which leaves a neat slot for the tail.
Which yarn makes the fluffy tail tuft and bangs?
Both use Yarnart Piuma in color 4405. The tail starts in Piuma for Rnds 1–4 before the yarn change, and the bangs are worked entirely in Piuma, then brushed out after sewing.