Crochet Sloth Pattern: Nil the Amigurumi Sloth
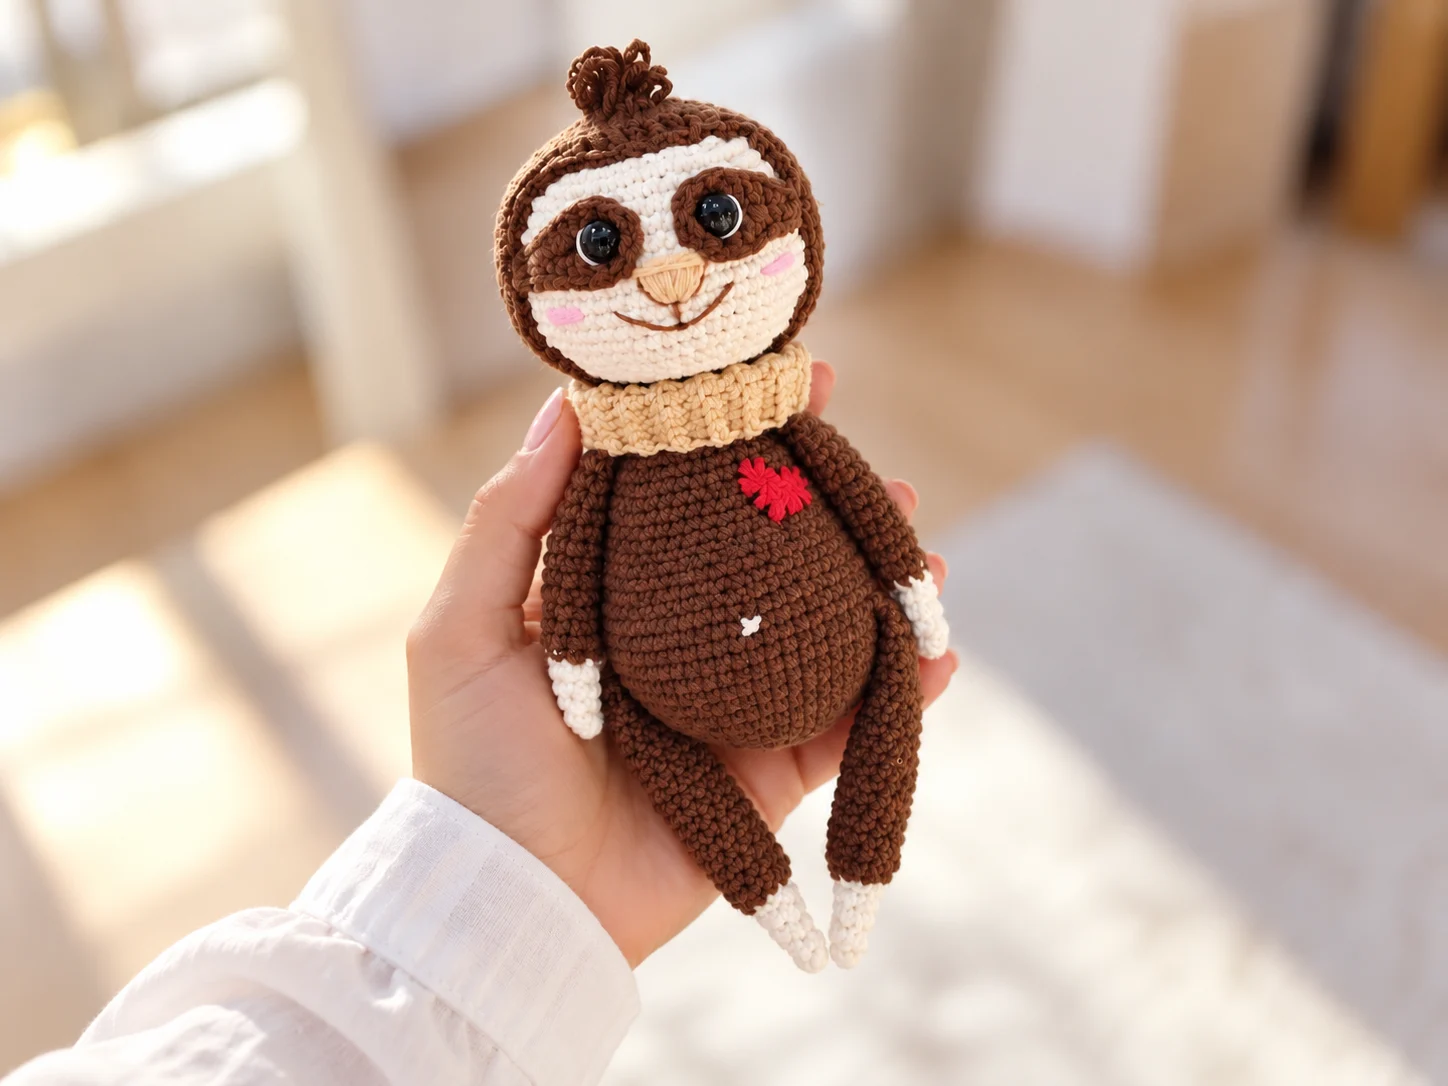
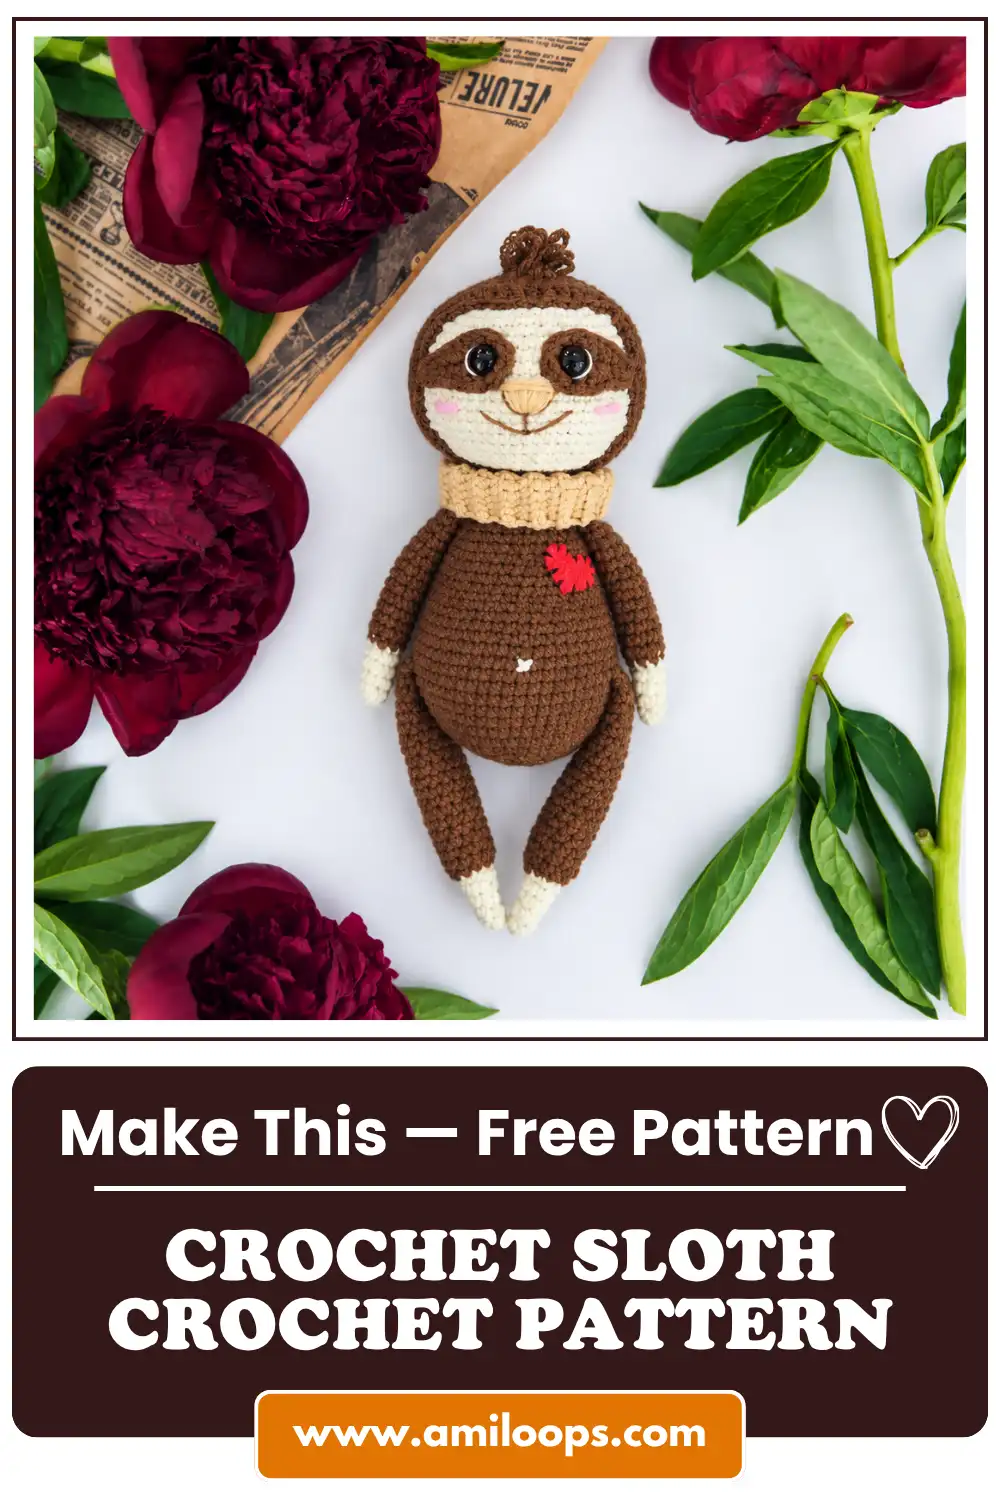
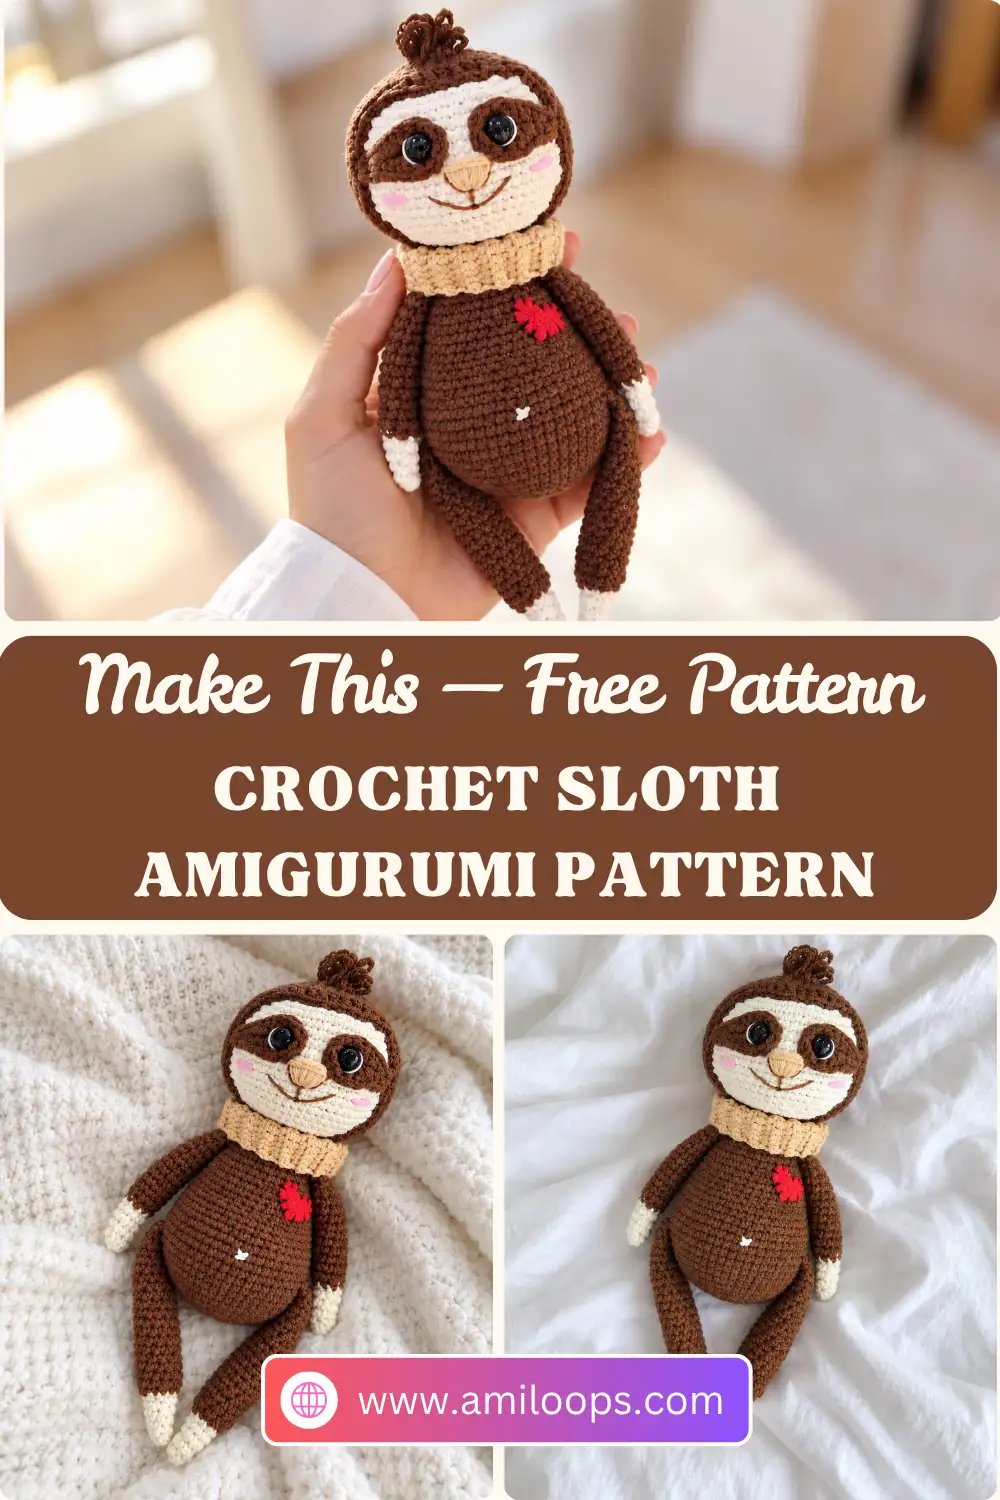
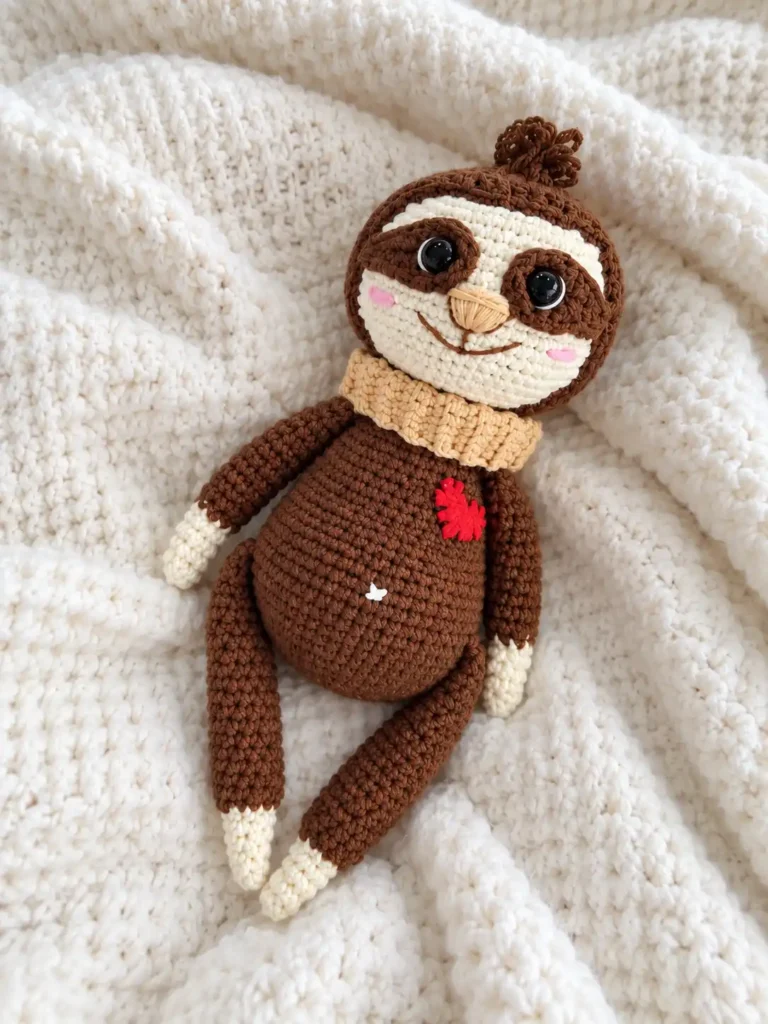
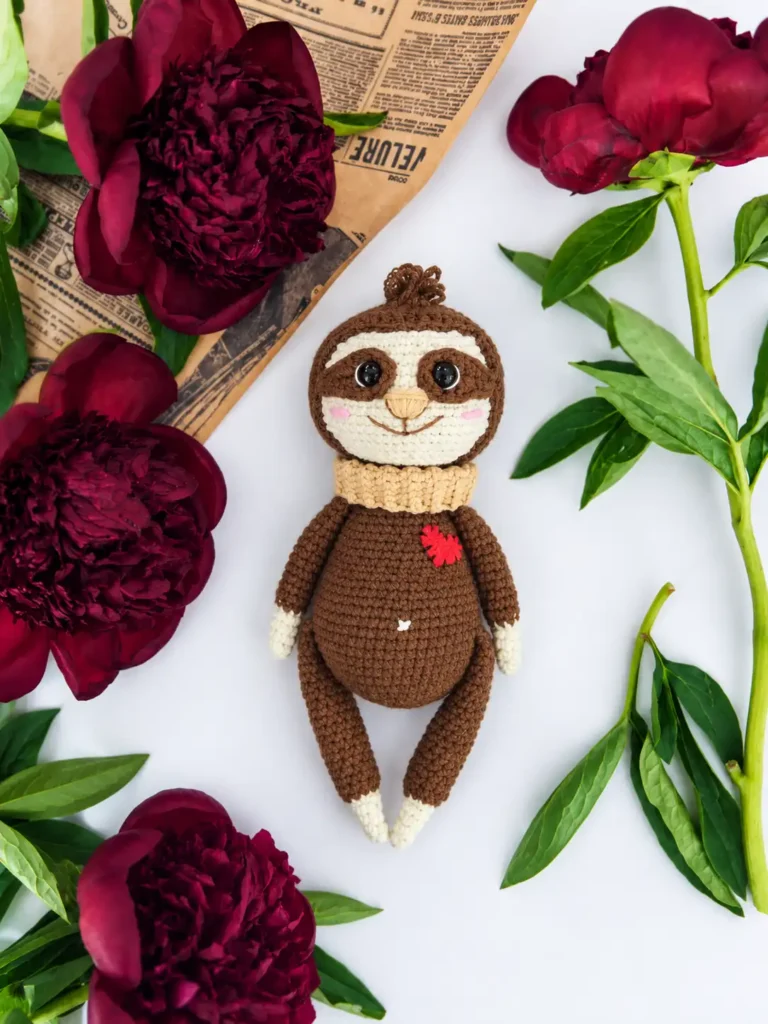
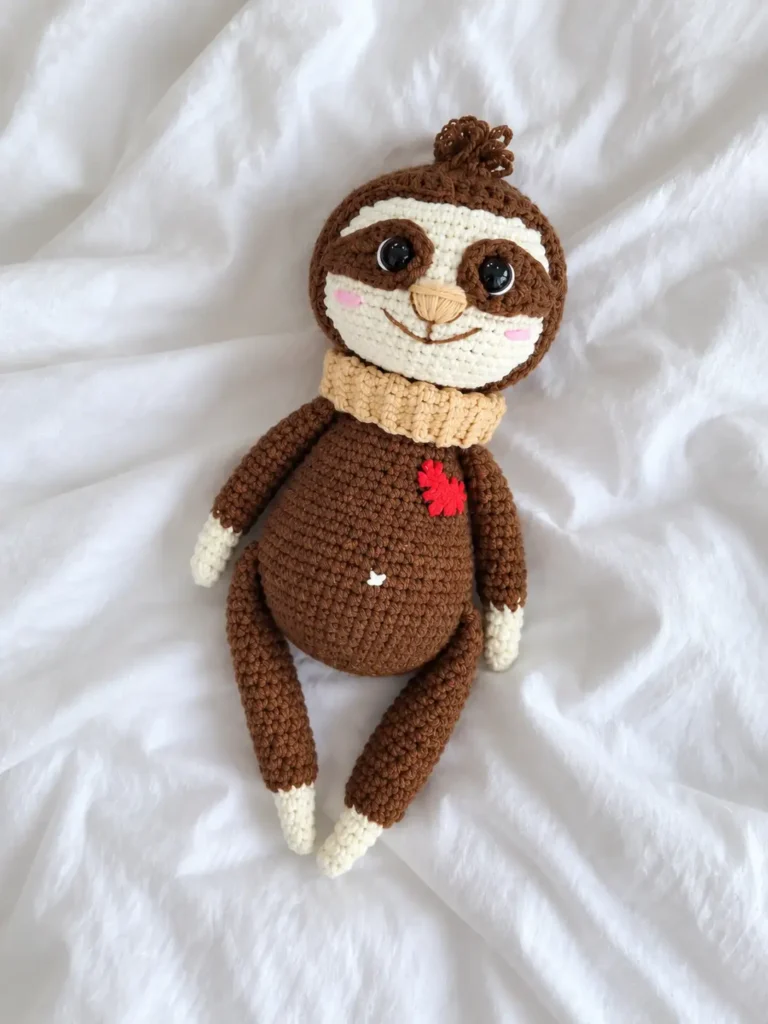
This crochet sloth pattern makes Nil, a smiling little sloth with a cream face peeking out from a snug brown head cover. Brown eye patches, embroidered pink cheeks, a small tuft of loop stitches at the forehead and a tiny felt heart on the body give him plenty of character, and with the listed materials he stands about 20 cm (about 7.9 in) tall.
What makes Nil fun to build is the way his pieces come together. The cream head is a complete, stuffed ball, and the brown head cover is worked separately, then stretched over it like a cap. Its final round climbs from slip stitches up to treble crochet to shape the edge that frames his face. The arms and legs are closed flat and crocheted straight into the body as you work it, so the only sewing is the head cover, the eye patches, the head-to-body seam and the little heart.
Materials Abbreviations Eye patches Head Head cover Legs Arms Body Finishing FAQ
Before your first stitch: Work the pieces in the order given. The eye patches need to be ready before you finish the head, because the safety eyes go through them and into the head after Rnd 23. The legs and arms need to be finished before the body, because they are joined in during Rnds 14 and 31.
A note on skill level: The pattern is written for crocheters who already know the basic stitches and are comfortable reading a round-by-round pattern.
Materials
- Main yarn: 50 g/160 m yarn in brown and cream (the sample uses YarnArt Jeans)
- Accent yarn: a small amount of yarn of the same weight in beige and pink
- Face details: thin yarn in black, white and brown (the sample uses Vita Coco), or embroidery floss
- 2 mm crochet hook
- Stuffing
- Sewing needle with a large eye, for sewing the pieces together
- 9 mm safety eyes
- Red felt
- Scissors
- Stitch markers
About the finished size: Nil measures 20 cm (about 7.9 in) tall when made with these materials. If you use yarn of a different weight or yardage, or a different hook size, your sloth will come out larger or smaller.
Abbreviations and special stitch
This pattern uses US crochet terms. If you usually work from UK patterns, the Craft Yarn Council crochet abbreviations chart is a handy side-by-side reference for US stitch names.
| Abbreviation | Meaning |
|---|---|
| BLO | back loop only |
| ch | chain |
| dc | double crochet |
| dec | decrease (work the next 2 sts together into 1 sc) |
| FLO | front loop only |
| hdc | half double crochet |
| inc | increase (2 sc in the same st) |
| MR | magic ring |
| Rnd(s) | round(s) |
| sc | single crochet |
| sl st | slip stitch |
| st(s) | stitch(es) |
| tr | treble crochet |
| loop st | loop stitch (special stitch, see below) |
Loop stitch (loop st): A single crochet with a long pulled-up loop. The loops must end up on the right side (outside) of the work, not on the wrong side. You will only use it at the center of Rnds 17–19 of the head cover, where it forms Nil’s little forehead tuft.
How the rounds are worked: Work in continuous spiral rounds unless the pattern says otherwise. The pattern is written as if the start of the round stays in one straight line up each piece, but in a spiral with no starting chain or joining slip stitch, the start will drift to the right. Every 4–5 rounds, work 1 extra stitch at the end of the round to move the start back into place. These extra stitches are not included in the instructions or stitch counts. Keeping the start lined up matters most on the head cover and the body, where stitches are placed at specific points in the round.
Eye Patches (make 2)
2 mm hook, brown yarn. Each patch is worked around both sides of a short chain. The taller stitches gather at one end, so the patch comes out wider at one end than the other.
Rnd 1: Ch 7. 2 sc in the 2nd ch from the hook, sc in the next 2 ch, 2 hdc in the next ch, 2 dc in the next ch, 4 dc in the last ch. Working along the other side of the chain: 2 dc in the next ch, 2 hdc in the next ch, sc in the next 3 ch. Sl st in the first st of the round. (19 sts)
Make a second patch the same way. Set both aside; you will need them after Rnd 23 of the head.
Head
2 mm hook, cream yarn. This is the full inner head. The brown cover goes over it later, so the cream shows only at the face.
Rnd 1: 6 sc in MR (6)
Rnd 2: Inc in each st around (12)
Rnd 3: [Sc, inc] 6 times (18)
Rnd 4: [2 sc, inc] 6 times (24)
Rnd 5: [3 sc, inc] 6 times (30)
Rnd 6: [4 sc, inc] 6 times (36)
Rnd 7: [5 sc, inc] 6 times (42)
Rnd 8: [6 sc, inc] 6 times (48)
Rnd 9: [7 sc, inc] 6 times (54)
Rnd 10: [8 sc, inc] 6 times (60)
Rnd 11: Sc in each st around (60)
Rnd 12: Sc in each st around (60)
Rnd 13: Sc in each st around (60)
Rnd 14: Sc in each st around (60)
Rnd 15: Sc in each st around (60)
Rnd 16: Sc in each st around (60)
Rnd 17: Sc in each st around (60)
Rnd 18: Sc in each st around (60)
Rnd 19: Sc in each st around (60)
Rnd 20: [8 sc, dec] 6 times (54)
Rnd 21: [7 sc, dec] 6 times (48)
Rnd 22: [6 sc, dec] 6 times (42)
Rnd 23: [5 sc, dec] 6 times (36)
Place the eyes now: Push the safety eyes through the eye patches, then into the head between Rnds 11 and 12, 7 sts apart. You will sew the patches down later. Placing them now, before the opening narrows further, leaves room to reach inside and fasten the backs; this guide to attaching safety eyes walks through that step.
Rnd 24: [4 sc, dec] 6 times (30)
Rnd 25: [3 sc, dec] 6 times (24)
Rnd 26: [2 sc, dec] 6 times (18)
Stuff the head.
Rnd 27: [Sc, dec] 6 times (12)
Rnd 28: Dec 6 times (6)
Fasten off and weave in the end.
Head Cover (Brown Part)
2 mm hook, brown yarn. The cover starts exactly like the cream head, then the last five rounds add the forehead tuft and shape the face opening. The loop stitches of Rnds 17–19, the hdc of Rnd 20 and the tallest stitches of Rnd 21 are all centered on stitches 30–31 of the 60, so the tuft and the peak of the edge line up with each other.
Rnds 1–16: Work the same as Rnds 1–16 of the cream head (60)
Rnd 17: Sc in the next 29 sts, loop st in the next 2 sts, sc in the next 29 sts (60)
Rnd 18: Sc in the next 28 sts, loop st in the next 4 sts, sc in the next 28 sts (60)
Rnd 19: Sc in the next 29 sts, loop st in the next 2 sts, sc in the next 29 sts (60)
Check the loops: Before moving on, make sure all the loops from Rnds 17–19 sit on the outside of the cover. Keeping each loop about the same length gives a neater tuft.
Rnd 20: Sc in the next 27 sts, hdc in the next 6 sts, sc in the next 27 sts (60)
Reading Rnd 21: This long round is worked entirely in back loops and changes stitch height as it goes. Working from the start of the round, the stitches rise from sc to a run of hdc, drop to two sl sts, then climb through hdc and dc to 2 tr at the center before mirroring back down. Placing a stitch marker after each group can make the round easier to check.
Rnd 21: Work this round in BLO. Sc in the next 13 sts, hdc in the next 8 sts, sc in the next st, sl st in the next 2 sts, sc in the next st, hdc in the next 2 sts, dc in the next 2 sts, tr in the next 2 sts, dc in the next 2 sts, hdc in the next 2 sts, sc in the next st, sl st in the next 2 sts, sc in the next st, hdc in the next 8 sts, sc in the next 13 sts (60)
Fasten off, leaving a long yarn tail for sewing.
Legs (make 2)
Start with cream yarn for the paw. The rest of the leg is brown.
Rnd 1: 4 sc in MR (4)
Rnd 2: Sc in each st around (4)
Rnd 3: [Sc, inc] 2 times (6)
Rnd 4: [2 sc, inc] 2 times (8)
Rnd 5: Sc in each st around (8)
Color change: Switch from cream to brown for Rnd 6. For a tidy join, you can finish the last stitch before the change by pulling the new color through, as shown in Yarnspirations’ color-change tutorial. Rnd 6 is worked through the front loops only, so the back loops of Rnd 5 stay unworked.
Rnd 6: Change to brown. Work this round in FLO. [Sc, inc] 4 times (12)
Rnds 7–24 (18 rnds): Sc in each st around (12)
Do not stuff the legs. Flatten the opening and work 6 sc through both layers to close it. Fasten off and weave in the end. This closed edge is what you will crochet into the body in Rnd 14.
Make the second leg the same way.
Arms (make 2)
2 mm hook, brown and cream yarn. Start with cream yarn. The arms begin just like the legs but widen less at the color change and are shorter.
Rnd 1: 4 sc in MR (4)
Rnd 2: Sc in each st around (4)
Rnd 3: [Sc, inc] 2 times (6)
Rnd 4: [2 sc, inc] 2 times (8)
Rnd 5: Sc in each st around (8)
Color change: Switch from cream to brown for Rnd 6, the same way as on the legs.
Rnd 6: Change to brown. Work this round in FLO. [3 sc, inc] 2 times (10)
Rnds 7–19 (13 rnds): Sc in each st around (10)
Do not stuff the arms. Flatten the opening and work 5 sc through both layers to close it. Fasten off and weave in the end. This closed edge joins the body in Rnd 31.
Make the second arm the same way.
Body
2 mm hook, brown yarn. Keep the start-of-round marker lined up with the center of the back. The legs and arms are placed by stitch count from that point, so a drifting marker would shift them off-center.
Rnd 1: 6 sc in MR (6)
Rnd 2: Inc in each st around (12)
Rnd 3: [Sc, inc] 6 times (18)
Rnd 4: [2 sc, inc] 6 times (24)
Rnd 5: [3 sc, inc] 6 times (30)
Rnd 6: [4 sc, inc] 6 times (36)
Rnd 7: [5 sc, inc] 6 times (42)
Rnd 8: [6 sc, inc] 6 times (48)
Rnd 9: [7 sc, inc] 6 times (54)
Rnd 10: Sc in each st around (54)
Rnd 11: Sc in each st around (54)
Rnd 12: Sc in each st around (54)
Rnd 13: Sc in each st around (54)
Joining the legs: Have both legs ready. When you reach a leg, hold its closed edge against the body. For each of the 6 joining stitches, insert the hook through the next stitch of the leg’s closed edge and the next body stitch, and work 1 sc through both. The stitch count of the round does not change.
Rnd 14: Join the legs as you crochet the body. Sc in the next 11 sts. Work 6 sc through the closed edge of one leg and the next 6 body sts together. Sc in the next 21 sts. Work 6 sc through the closed edge of the second leg and the next 6 body sts together. Sc in the next 10 sts. (54)
Rnd 15: Sc in each st around (54)
Rnd 16: Sc in each st around (54)
Rnd 17: Sc in each st around (54)
Rnd 18: [7 sc, dec] 6 times (48)
Rnd 19: Sc in each st around (48)
Rnd 20: Sc in each st around (48)
About Rnd 21: Unlike the evenly spaced decrease rounds, Rnd 21 gathers all six decreases into one stretch after the first 16 sts. With the marker at the center back, that stretch falls across the front of the body, so count carefully here.
Rnd 21: Sc in the next 16 sts, [dec, sc] 5 times, dec, sc in the next 15 sts (42)
Rnd 22: Sc in each st around (42)
Rnd 23: Sc in each st around (42)
Rnd 24: Sc in each st around (42)
Rnd 25: Sc in each st around (42)
Rnd 26: [5 sc, dec] 6 times (36)
Rnd 27: Sc in each st around (36)
Rnd 28: Sc in each st around (36)
Rnd 29: Sc in each st around (36)
Rnd 30: [4 sc, dec] 6 times (30)
Joining the arms: The arms go in the same way as the legs, this time with 5 joining stitches each. Work each sc through the next stitch of the arm’s closed edge and the next body stitch together.
Rnd 31: Join the arms as you crochet the body. Sc in the next 6 sts. Work 5 sc through the closed edge of one arm and the next 5 body sts together. Sc in the next 9 sts. Work 5 sc through the closed edge of the second arm and the next 5 body sts together. Sc in the next 5 sts. (30)
Rnd 32: [3 sc, dec] 6 times (24)
Rnd 33: [2 sc, dec] 6 times (18)
Fasten off, leaving a long yarn tail for sewing. Stuff the body before you sew the head on.
Finishing and Assembly
Assembly starts by fitting the brown cover over the cream head; the eye patches, the head-to-body seam and the embroidery follow. If you would like a refresher on neat seams before you begin, see how to sew amigurumi parts together.
- Stretch the brown head cover slightly, slip it over the cream head and sew it in place with the long tail.
- Stretch the eye patches slightly and sew them on.
- Sew the head to the body.
- With white yarn, embroider the whites of the eyes.
- With beige yarn, embroider the nose.
- With pink yarn, embroider the cheeks.
- With thin brown yarn, embroider the mouth.
- Embroider the belly button.
- Cut a heart about 1–1.5 cm in size from the felt. Sew it loosely to the body with thin black yarn.
More animals to make next
Questions about Nil the Sloth
Why aren’t the arms and legs stuffed?
The pattern says to leave them unstuffed. Each one is flattened and closed with a row of single crochet, and that flat closed edge is what you crochet into the body: the legs during Rnd 14 and the arms during Rnd 31.
When do the safety eyes go in?
After Rnd 23 of the cream head. Push each 9 mm safety eye through an eye patch first, then into the head between Rnds 11 and 12, with the eyes 7 stitches apart. The patches are sewn down later, during assembly.
Where do the loop stitches on the head cover go?
Only at the center of Rnds 17–19 of the brown head cover: 2 loop stitches in Rnd 17, 4 in Rnd 18 and 2 in Rnd 19. Together they make a small tuft above the face. Each loop stitch is a single crochet with a long pulled-up loop, and all the loops must end up on the outside of the cover.
Why work an extra stitch every few rounds?
In continuous spiral rounds, the start of the round drifts to the right. The pattern is written as if the start stays in a straight line, so every 4–5 rounds you work 1 extra stitch at the end of the round to bring it back. These extra stitches are not part of the written counts. Keeping the start in place helps the head cover tuft, the face edge and the limb joins land where the pattern puts them.
Will my sloth come out the same size?
With the listed materials, 50 g/160 m yarn and a 2 mm hook, Nil is about 20 cm (about 7.9 in) tall. Yarn of a different weight or yardage, or a different hook size, will make him larger or smaller.