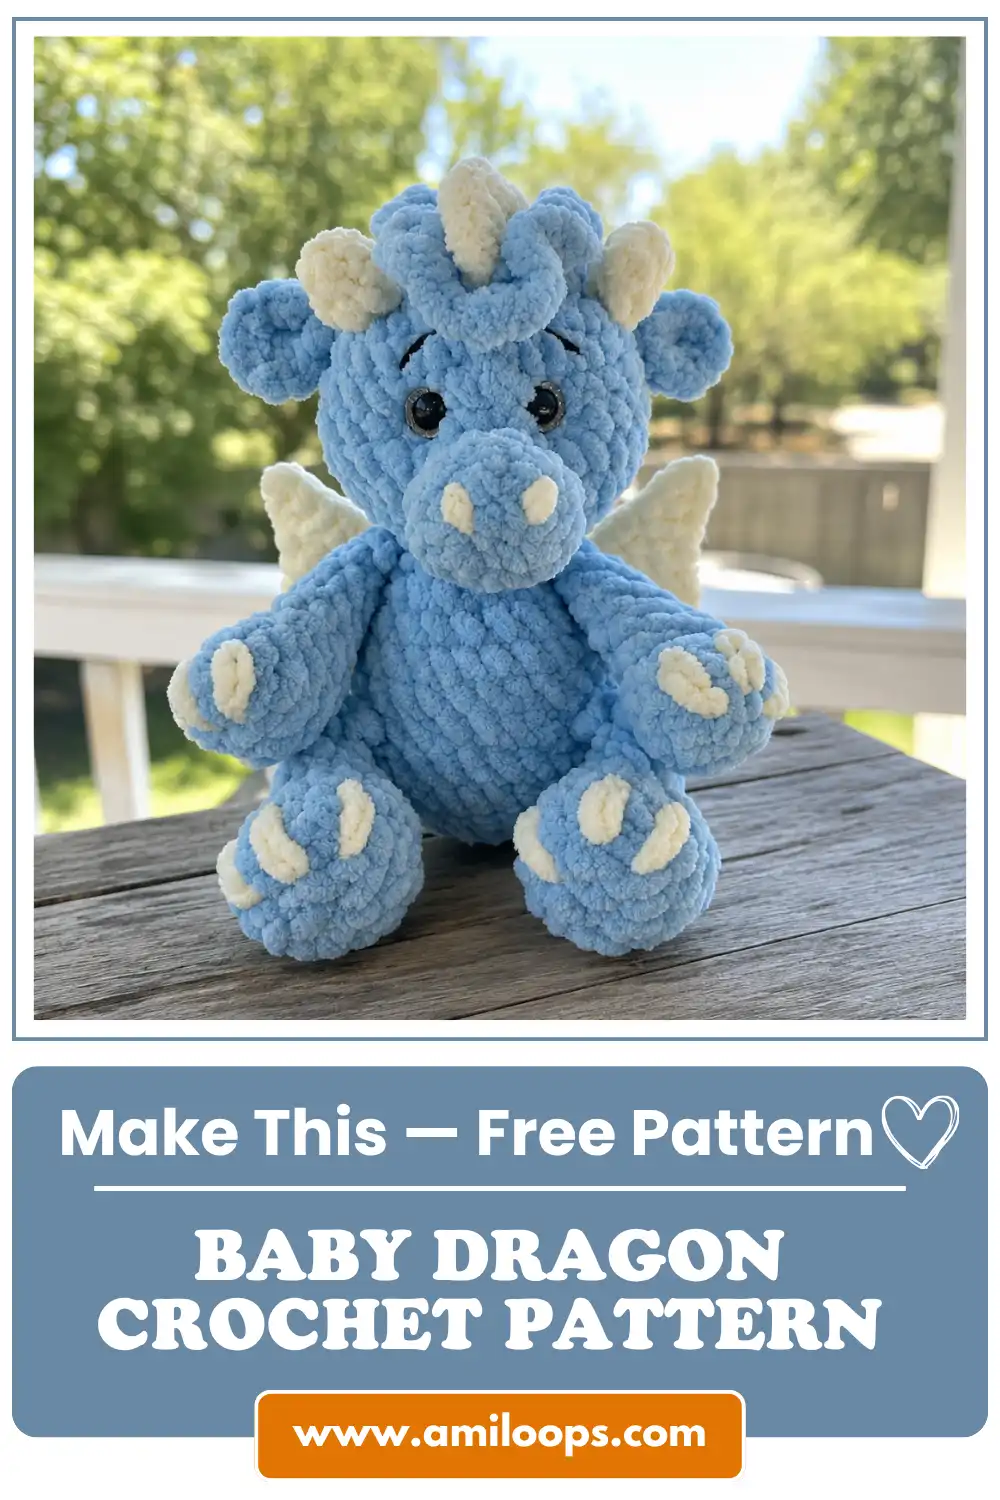
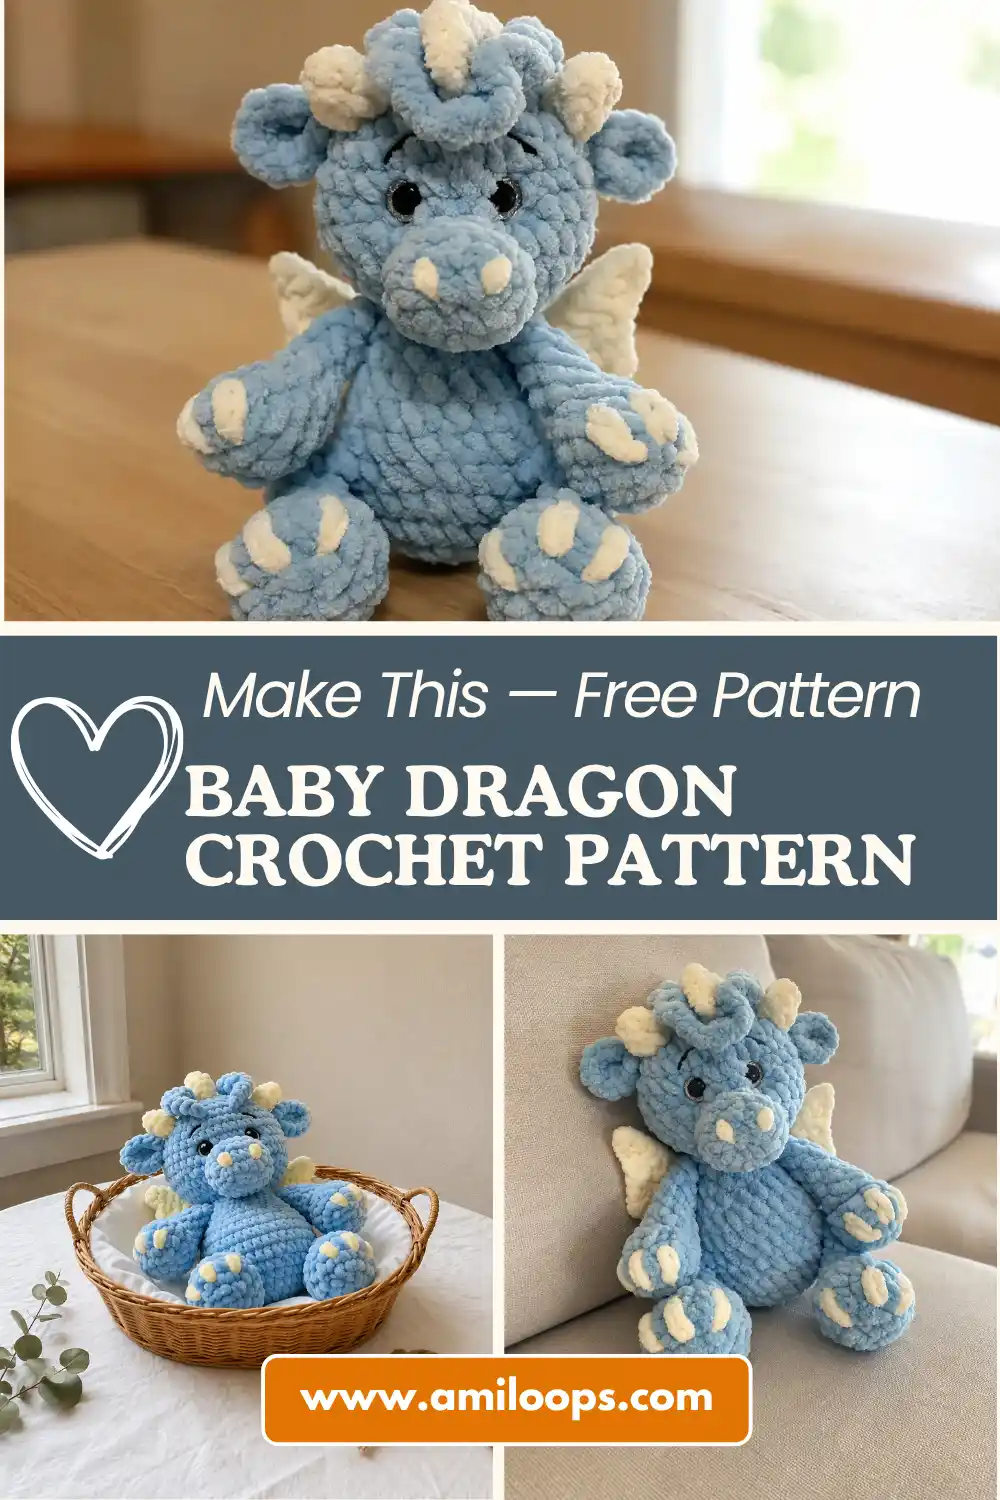
Prosha the Baby Dragon — Free Crochet Pattern with Wings
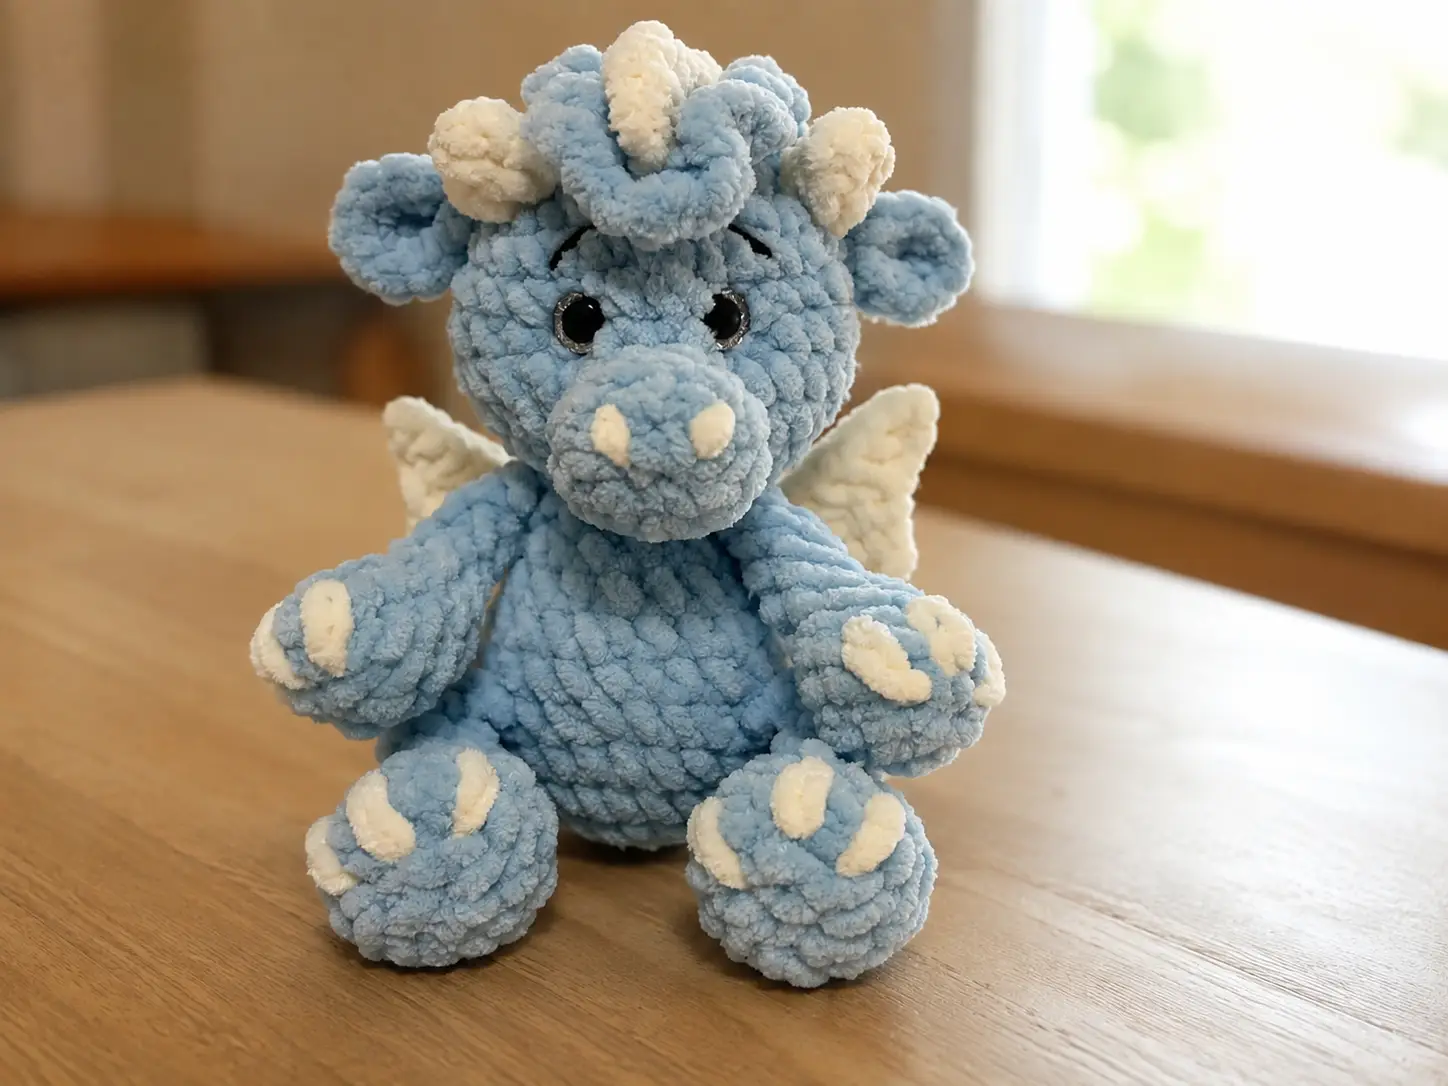
This baby dragon crochet pattern free of charge has been sitting in my project notes for months, and I’m genuinely excited it is finally ready to share. Prosha came together with tiny horns, folded wings, and a scalloped crest running down her back — details that make her feel like a real little creature. Grab your hook and let’s get her stitched up.
📋 Pattern Quick Stats
- Difficulty: Advanced
- Finished Size: 7.1 in (18 cm)
- Hook Size: 4.0 mm (US G/6)
- Yarn Weight: Bulky (5) — chenille
- Techniques: magic ring, invisible decrease, color changes, direct-crochet limb joins, surface crochet, embroidery
- Estimated Time: 7-10 hours
Materials for This Baby Dragon Crochet Pattern
Prosha is worked in chenille, which gives her that soft, velvety finish and hides your stitches beautifully — forgiving if your tension isn’t perfectly even, though mine always is by habit at this point.
- Yarn: Himalaya Dolphin Baby chenille (US alternative: Bernat Baby Velvet or Premier Parfait), Bulky (5) weight — 1 skein each of a main color and a contrasting color. This falls under the Craft Yarn Council’s Bulky (5) category. Yardage wasn’t specified in my source pattern, so I’d recommend having a full skein of each on hand before you start.
- Hook: 4.0 mm (US G/6)
- Safety Eyes: a matched pair — please verify the exact size before you buy. My source material listed these as “10 cm,” which isn’t a real safety eye size (that would be roughly 4 inches across) and almost certainly a unit error in translation. I’d treat this as most likely meaning 10mm, but confirm against any source photos before ordering.
- Polyester fiberfill (stuffing)
- Tapestry needle
- Stitch marker
- A small amount of dark embroidery thread or yarn for the face and claw details — the original pattern didn’t specify a color for this, so use your judgment based on your main color.
Abbreviations
| Abbreviation | Meaning |
|---|---|
| mr | magic ring |
| ch | chain |
| sc | single crochet |
| dc | double crochet |
| hdc | half double crochet |
| inc | increase (2 sc in same stitch) |
| inv dec | invisible decrease |
| sl st | slip stitch |
Special Techniques for Your Baby Dragon Amigurumi
A few techniques come up throughout this pattern. If any of these are new to you, take your time with the tutorials below before you dive in — it’s worth the extra ten minutes.
Every part in this pattern starts with a magic ring, which closes completely and avoids the small hole you’d get from chaining and joining instead. If you haven’t worked one before, our step-by-step magic ring tutorial will get you comfortable with it in no time.
All shaping decreases in this pattern use the invisible decrease rather than a standard sc2tog — it eliminates that visible gap you sometimes see at the top of amigurumi heads and bodies. Check out our invisible decrease tutorial if you’re still getting the hang of it.
Nearly every piece — the head, muzzle, horns, tail, and both sets of limbs — gets stuffed before closing. Firm, even stuffing is what gives Prosha her structure, especially with chenille yarn, which is stretchier than cotton. Our guide to stuffing amigurumi without lumps covers exactly how I approach this.
This pattern also uses two techniques worth calling out that don’t have a dedicated tutorial yet: direct-crochet joins, where the legs and arms are crocheted straight into the body rather than sewn on afterward (you’ll see this in the Body rows below), and a surface crochet crest worked across the finished tail, body, and head. Both take patience — read through the relevant rows once before you start stitching so you know what’s coming.
Pattern
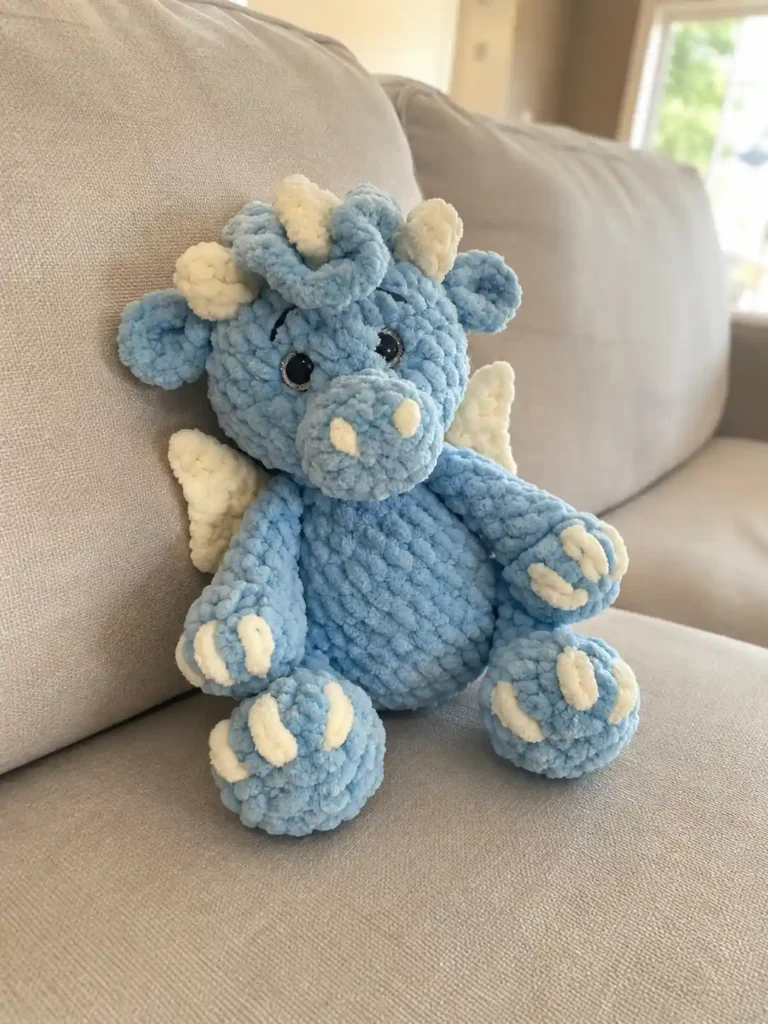
Head (make 1)
Color: main color | Starting method: magic ring
Row 1: 6 sc in mr (6)
Row 2: 6 inc (12)
Row 3: (1 sc, inc) x6 (18)
Row 4: (2 sc, inc) x6 (24)
Row 5: (3 sc, inc) x6 (30)
Rows 6-9: 30 sc (4 rows) (30)
Row 10: (3 sc, inv dec) x6 (24)
Row 11: (2 sc, inv dec) x6 (18)
Row 12: (1 sc, inv dec) x6 (12)
💡 Emma’s Tip: Insert the safety eyes between Rows 7 and 8, spaced 6 sc apart. Do this before you stuff — trying to seat safety eyes into a firmly stuffed head is a losing battle, trust me.
Finishing: Stuff firmly. Close the opening. Leave a long tail for sewing.
Muzzle (make 1)
Color: main color | Starting method: magic ring
Row 1: 6 sc in mr (6)
Row 2: 6 inc (12)
Rows 3-4: 12 sc (2 rows) (12)
Row 5: 6 inv dec (6)
Finishing: Stuff lightly. Leave a long tail for sewing.
Ears (make 2)
Color: main color | Starting method: magic ring
Row 1: 6 sc in mr (6)
Row 2: 6 inc (12)
Finishing: Crochet 2 identical pieces. Leave a long tail for sewing.
Horns (make 2)
Color: contrasting color | Starting method: magic ring
Row 1: 3 sc in mr (3)
Row 2: 1 sc, inc, 1 sc (4)
Rows 3-4: 4 sc (2 rows) (4)
Finishing: Stuff lightly. Leave a long tail for sewing.
Legs (make 2)
Color: main color | Starting method: magic ring
Row 1: 6 sc in mr (6)
Row 2: 6 inc (12)
Rows 3-4: 12 sc (2 rows) (12)
Row 5: (1 sc, inv dec) x4 (8)
Rows 6-9: 8 sc (4 rows) (8)
Finishing: Stuff only the bottom portion. Fold the piece flat and sc through both layers to close the top.
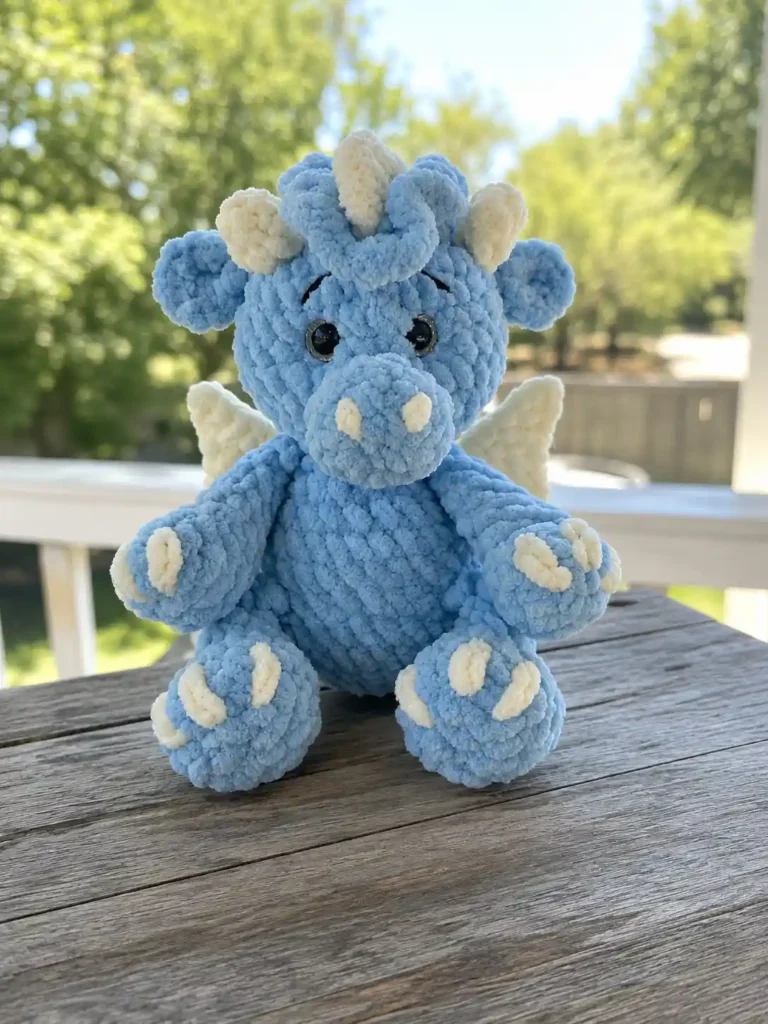
Arms (make 2)
Color: main color | Starting method: magic ring
Row 1: 6 sc in mr (6)
Row 2: (1 sc, inc) x3 (9)
Rows 3-4: 9 sc (2 rows) (9)
Row 5: (1 sc, inv dec) x3 (6)
Rows 6-9: 6 sc (4 rows) (6)
Finishing: Stuff only the bottom portion. Fold the piece flat and sc through both layers to close the top.
Body (make 1)
Color: main color | Starting method: magic ring
Row 1: 6 sc in mr (6)
Row 2: 6 inc (12)
Row 3: (1 sc, inc) x6 (18)
Row 4: (2 sc, inc) x6 (24)
Row 5: 24 sc (24)
Row 6: 3 sc, join one leg with 4 sc worked through both the body and the leg opening, 6 sc, join the second leg with 4 sc through both layers, 7 sc (24)
Row 7: 24 sc (24)
Row 8: (2 sc, inv dec) x6 (18)
Row 9: 18 sc (18)
Row 10: (1 sc, inv dec) x6 (12)
Row 11: 2 sc, join one arm with 3 sc through both layers, 3 sc, join the second arm with 3 sc through both layers, 1 sc (12)
Row 12: 12 sc (12)
💡 Emma’s Tip: Rows 6 and 11 are where you crochet the legs and arms directly into the body rather than sewing them on later. Hold each limb in place against the body as you work the stitches through both layers — it takes a bit of coordination the first time, but it gives a much sturdier join than sewing after the fact.
Finishing: Stuff firmly. Close the opening. Leave a long tail for sewing.
Tail (make 1)
Color: main color | Starting method: magic ring
Row 1: 6 sc in mr (6)
Row 2: (1 sc, inc) x3 (9)
Row 3: (2 sc, inc) x3 (12)
Rows 4-10: 12 sc (7 rows) (12)
Row 11: (3 sc, inc) x3 (15)
Finishing: Stuff lightly. Leave a long tail for sewing.
Wings (make 2)
Color: contrasting color | Starting method: foundation chain
Row 1: Chain 6 (6)
Row 2: Starting in the 2nd chain from the hook, 4 sc, then 4 sc worked into the very last chain (stitch total not specified in source)
Row 3: Continue along the opposite side of the starting chain: 3 sc, turn (3)
Row 4: Sl st in the first stitch, 10 sc, chain 3, turn (stitch total not specified in source)
Row 5: Starting in the 2nd chain from the hook: 5 sc, then 3 sl st (stitch total not specified in source)
Finishing: Leave the tail for sewing.
Crests (make 1)
Colors: main color and contrasting color | Starting method: attach yarn directly to the assembled piece
This is the trickiest part of the pattern — it’s worked as a strip of surface crochet running along the tail, up the back, and over the head, in three separate passes with different stitches and a color change between them. Assemble the tail, body, and head first (see Assembly below) before starting this section.
Row 1: Attach the main color at the tip of the tail. Sc along the entire length of the tail, up the back, and across the head. Turn and sc back down to the tip of the tail. Do not fasten off (stitch total not specified in source)
Row 2: Attach the contrasting color at the tip of the tail. Sc up to the head, chain 1, turn, then work back down along the previous sc row to the tip of the tail: in one stitch work 1 hdc + 2 dc, then in the next stitch work 1 sl st (stitch total not specified in source)
Row 3: Return to the main color crest row. Work from the tip of the tail to the head, turn, and back to the tip of the tail, working in each stitch: 1 dc, chain 1, 1 dc, chain 1 (stitch total not specified in source)
💡 Emma’s Tip: Row 2’s instruction of “in one stitch, in the next stitch” reads a little differently than most patterns — I’m preserving it exactly as translated rather than guessing at a cleaner rewrite, since I don’t want to risk changing what the designer intended. Go slowly here and check that your crest is lying flat as you go; if it starts to ruffle or cup, that’s usually a sign to frog back a few stitches and adjust your tension slightly looser through this section.
Finishing: Fasten off and weave in the yarn tail.
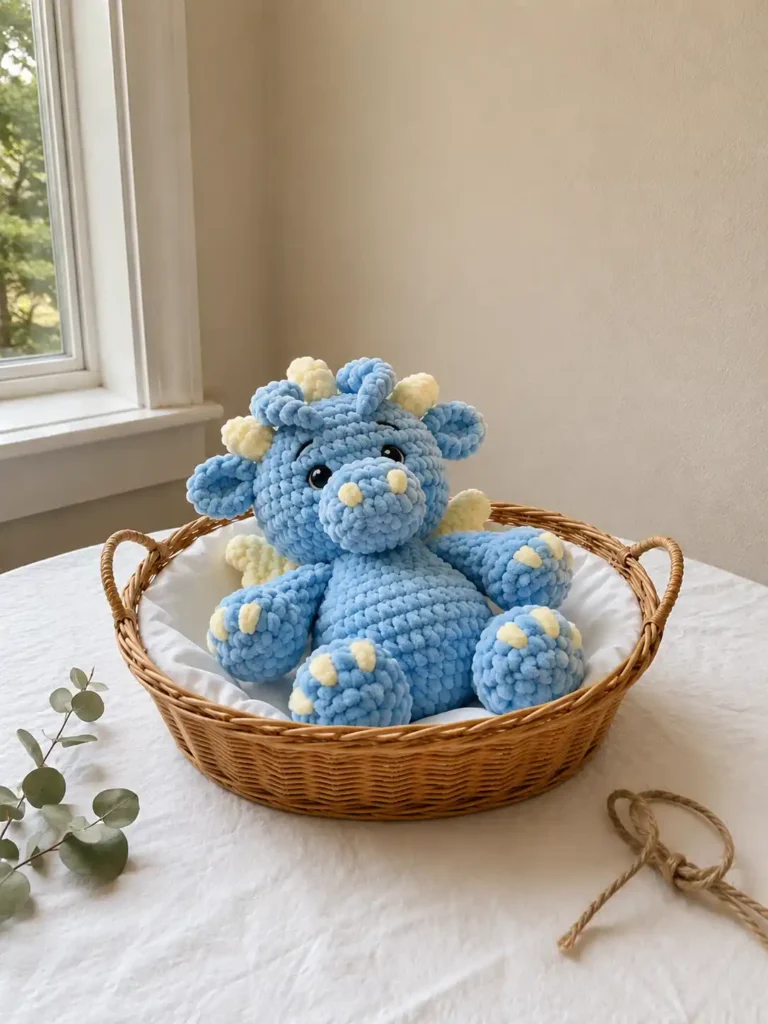
Assembly: Putting Your Baby Dragon Together
- Sew the muzzle, ears, and horns onto the head.
- Sew the head onto the body (the arms and legs should already be crocheted in place from Body Rows 6 and 11).
- Sew the tail onto the body.
- Sew the wings onto the body.
Take your time pinning everything before you start stitching — it’s much easier to catch a crooked ear now than to unpick it after it’s sewn. If you want a refresher on clean seams, our guide to sewing amigurumi parts together walks through my go-to method.
Finishing Touches for Your Baby Dragon
- Embroider the nostrils and eyebrows onto the head using your embroidery thread.
- Embroider small claw details onto both the arms and legs.
Because the exact eye size wasn’t confirmed for this pattern (see the safety eyes note in Materials above), double-check your hardware is properly rated and securely locked in place before this piece goes anywhere near a child. The U.S. Consumer Product Safety Commission has good general guidance on small parts and toy safety if you’re making this for a little one.
Emma’s Note
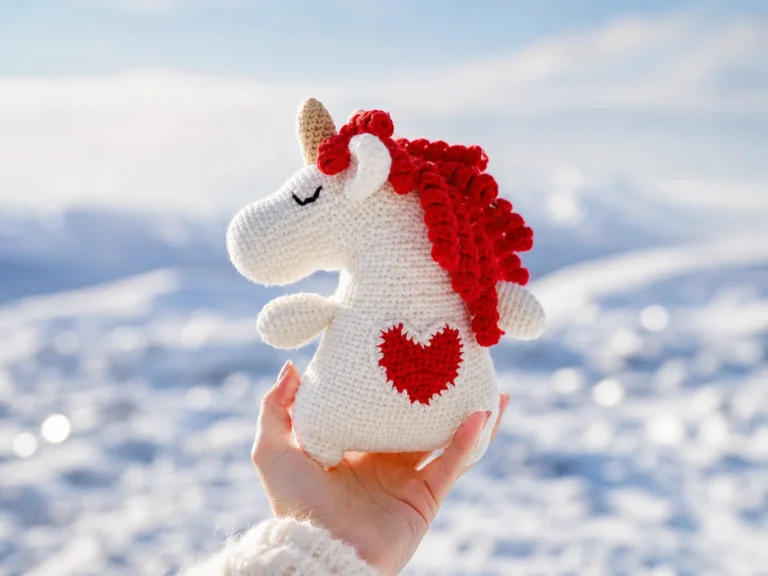
Prosha took me longer than I expected, mostly because of that crest — I frogged it twice before I got the tension right so it would lie flat instead of curling. If yours does the same thing on the first try, don’t panic, just pull back a few stitches and loosen up slightly through that section. She’s a satisfying one to finish, and those little folded wings are worth the extra care. If you enjoyed the mythical-creature shaping here, I think you’ll also like my unicorn amigurumi pattern or my gnome pattern — similar spirit, different techniques. Happy hooking! 🧶
FAQ
What yarn is best for this baby dragon amigurumi?
This pattern uses bulky weight (5) chenille yarn, such as Himalaya Dolphin Baby, to give the dragon a soft, velvet-like finish and hide the stitches.
How long does it take to crochet this baby dragon?
It typically takes about 7 to 10 hours to complete due to the advanced shaping, folded wings, and intricate surface-crochet crest.
Do I have to sew the arms and legs onto the dragon?
No, this pattern uses a direct-crochet join method where the arms and legs are crocheted directly into the body rows for a sturdier finish.