This Mini Crochet Animals Pattern Has 6 Squishy Surprises
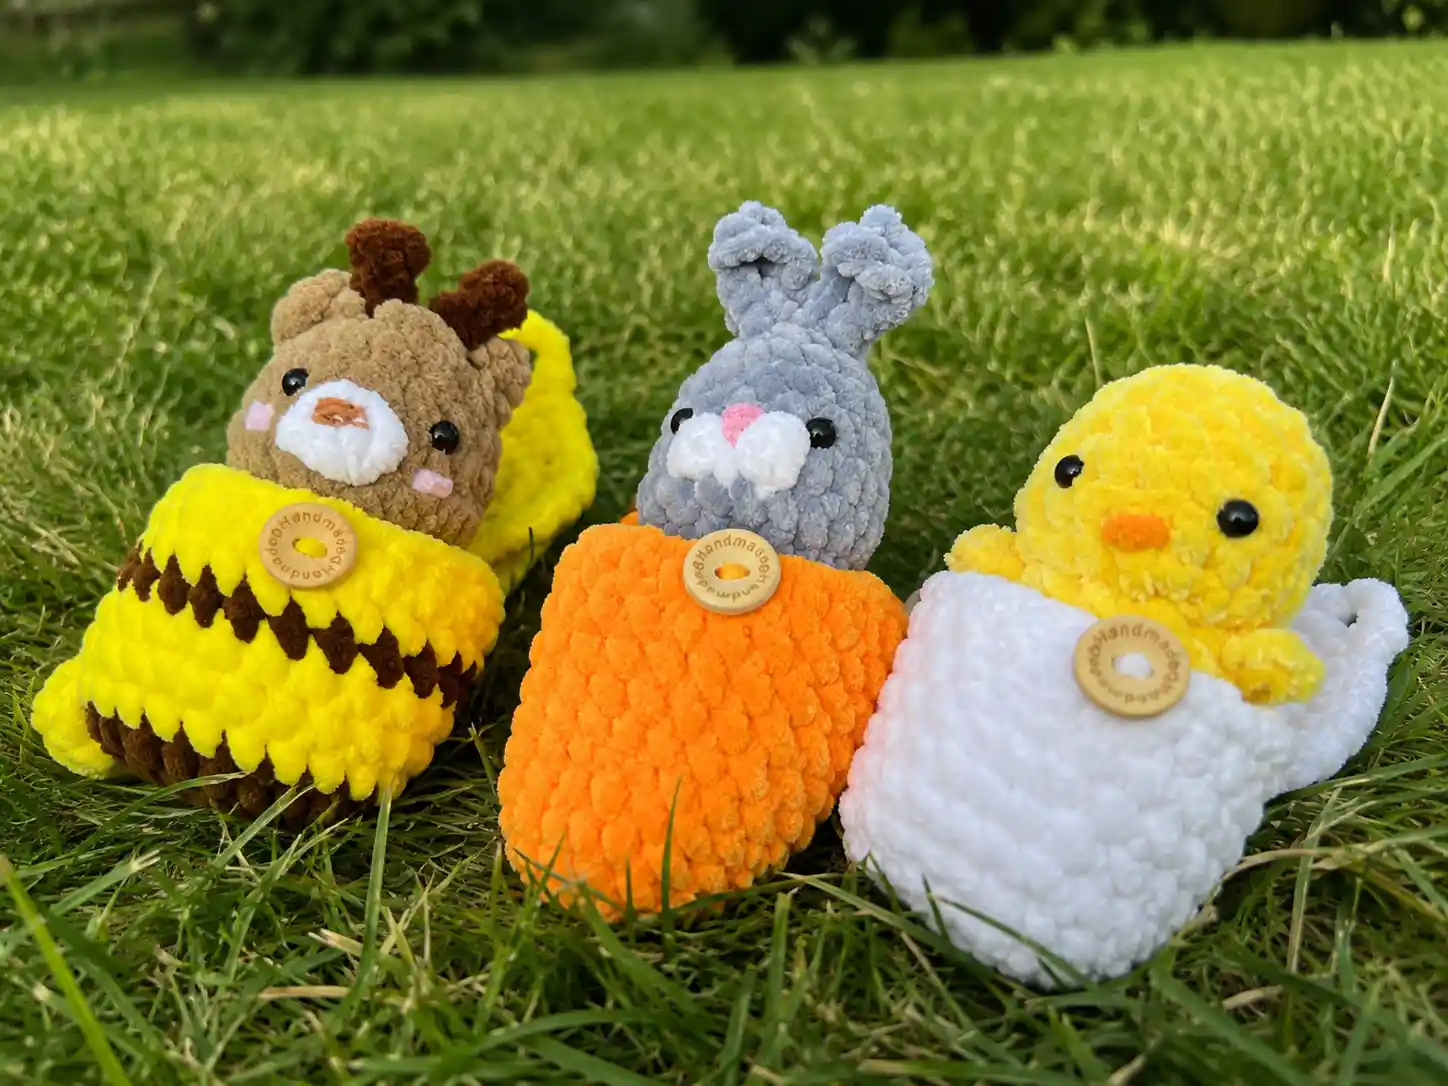
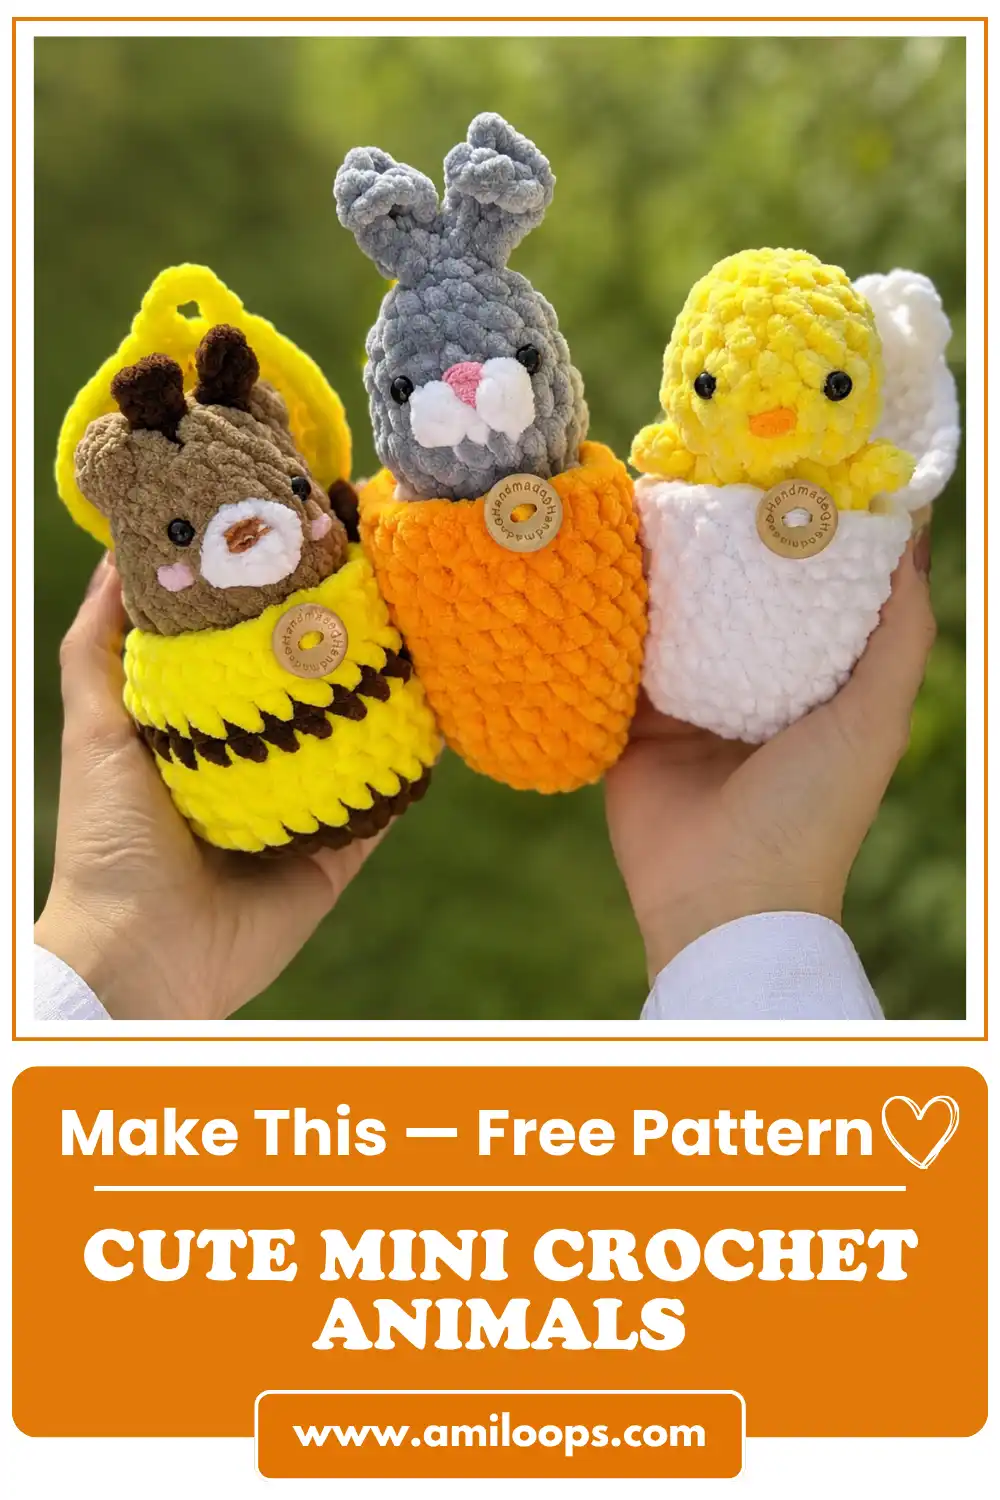
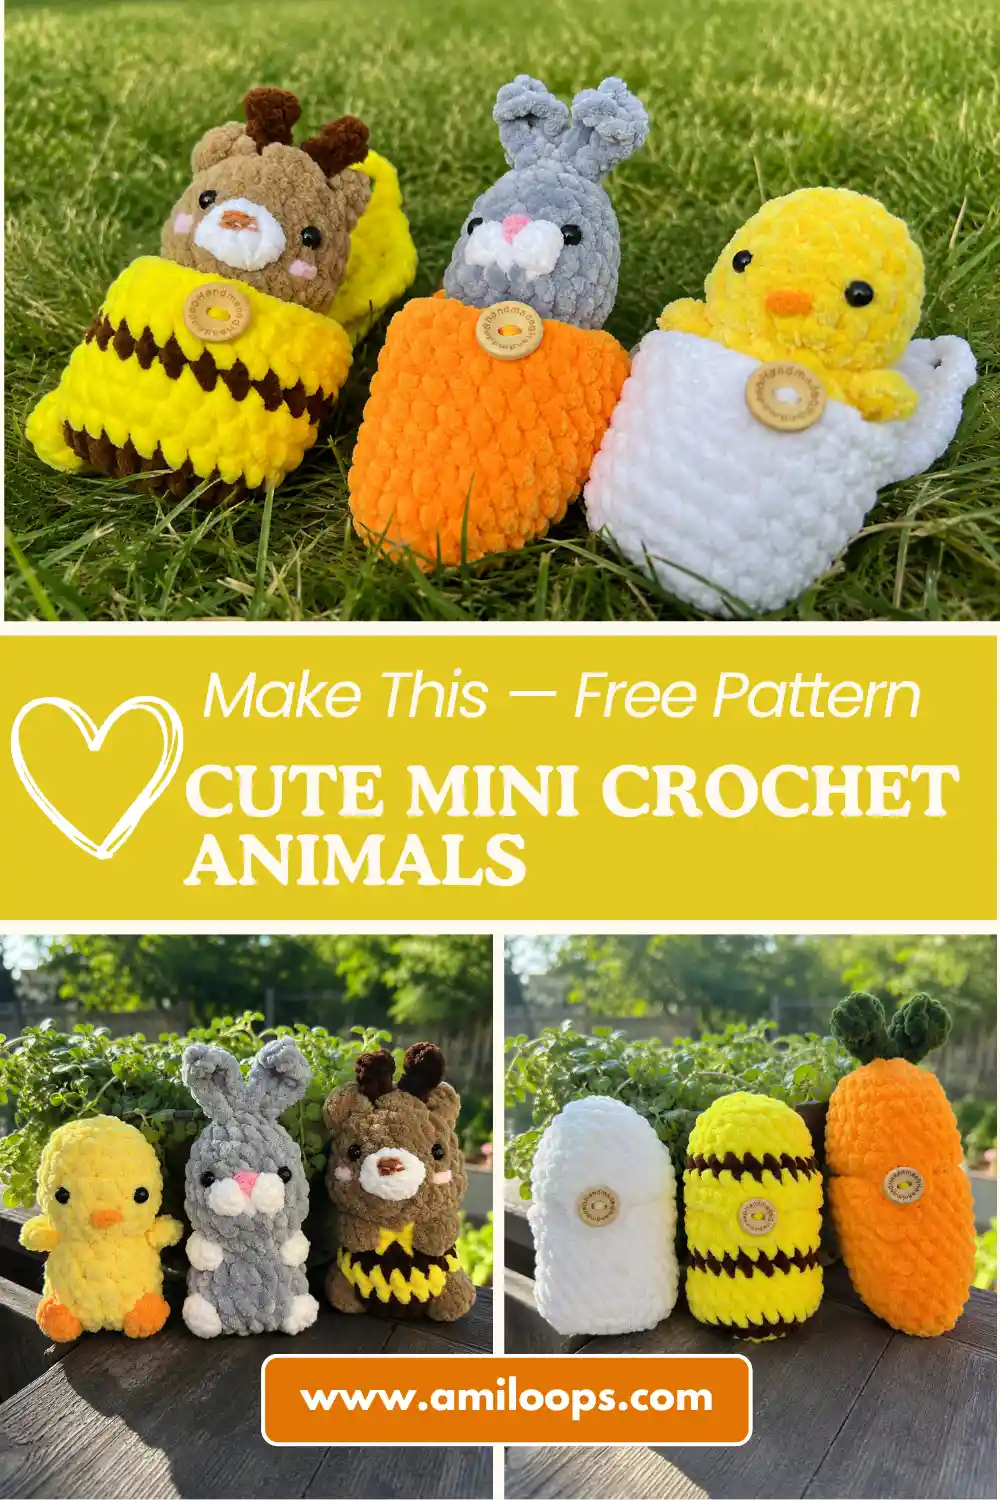
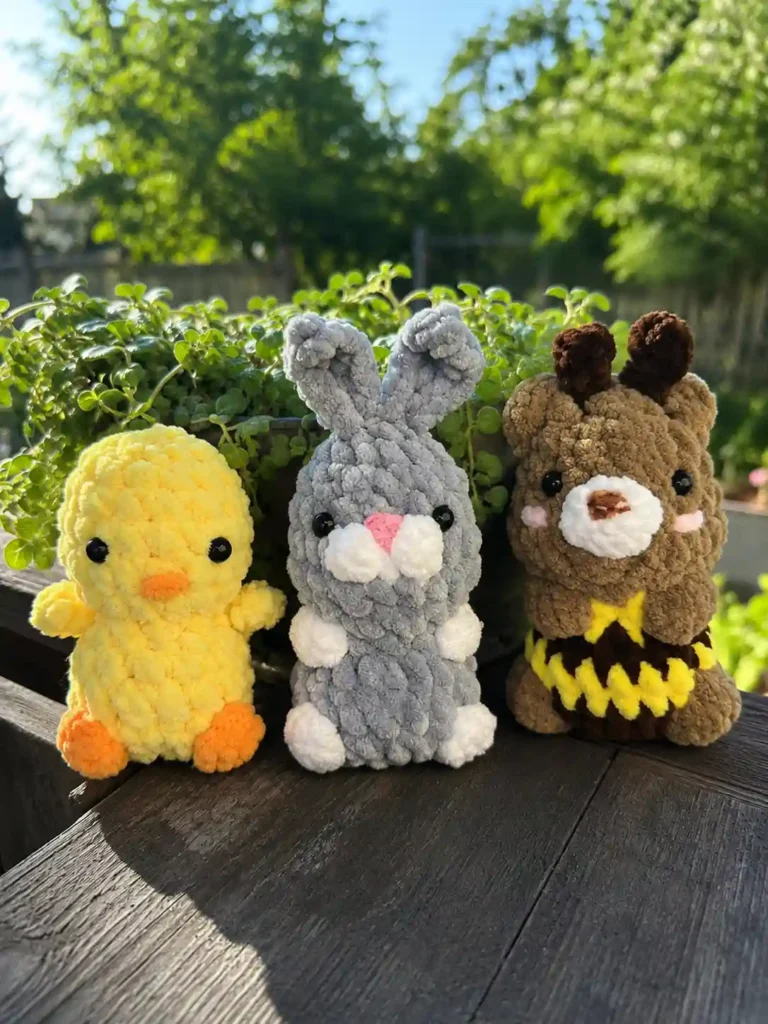
This mini crochet animals pattern is one of my biggest projects yet — and I loved every single stitch of it. You get a soft plush egg, a squishy carrot egg, a bee egg, plus a tiny duckling, bunny, and bear to go with them. It’s not a one-evening project like my usual patterns, but chunky chenille yarn keeps it moving fast. Grab your hook — let’s build this whole squishy little world.
🧶 Why You’ll Love This Pattern
- ⭐ Difficulty: Intermediate — this is an Advanced Lily project. Bigger than my usual, but every part on its own is totally doable.
- ⏱️ Time: 6–10 hours total, spread across a few sittings rather than one evening (editorial estimate)
- 🪡 Sewing: Moderate — safety eyes, a button or two, and a few small pieces to attach per animal
- 🧵 Yarn: Chunky chenille in five colors — still soft, still fast, just more of it
- 💰 Yarn needed: About 150–200 yds total across all colors (editorial estimate)
Okay, real talk before we start: this one has more pieces than what I usually post. I’m not going to pretend it’s a “no-sew, one-evening” project, because it isn’t — and honestly? Being upfront about that is more helpful than surprising you halfway through. If you’ve made even one or two amigurumi before, you can absolutely do this. Just don’t try to finish it in one sitting. Treat each animal like its own mini project.
Materials for Your Mini Crochet Animals
Here’s everything you’ll need. Don’t stress about matching my exact yarn — any bulky plush or chenille yarn will work.
- Bulky (5) plush/chenille yarn in: white or cream (eggs), yellow (duckling + bee egg), orange (duckling’s beak/feet + carrot egg), grey, white, and pink (bunny), brown (bear), green (carrot leaves), and a touch of brown or black for stripe accents on the bee egg. YarnArt, Himalaya, Alize, and Wolans all work — in the US, Bernat Baby Velvet or Premier Parfait are great Bulky (5) weight substitutes, and you’ll find them at Joann, Michaels, or Hobby Lobby.
- G/6 (4.0mm) crochet hook
- Polyester fiberfill stuffing
- 7mm safety eyes — one pair each for the duckling, bunny, and bear (3 pairs total)
- 18mm buttons — one per egg you decorate (up to 3)
- Scissors, a tapestry needle, and a stitch marker to track your rounds
Honestly? You don’t need every color at once. I worked one animal at a time and it never felt overwhelming.
Abbreviations You’ll See
| Abbreviation | Term | What It Means |
|---|---|---|
| sc | single crochet | Insert hook, pull up a loop, yarn over, pull through both loops on the hook. |
| inc | increase | Two single crochets worked into the same stitch — adds width. |
| dec | invisible decrease | Our go-to shaping method — no visible gap, keeps everything neat. |
| mr | magic ring | An adjustable starting loop that closes with zero hole in the middle. |
| sl st | slip stitch | Insert hook, yarn over, pull through the stitch and the loop at once. Used to join. |
| ch | chain | Yarn over, pull through the loop on your hook. |
| hdc | half double crochet | Yarn over, insert hook, pull up a loop, yarn over, pull through all three loops. |
| dc | double crochet | Yarn over, insert hook, pull through, yarn over and pull through two loops, then yarn over and pull through the last two. |
| dtr | double treble crochet | A tall, pointy stitch used for ears and the carrot stem — yarn over twice, then work off the loops two at a time. |
| FLO | front loop only | Work into just the front loop, skipping the back — creates a subtle ridge. |
| Small Bobble | small bobble stitch | A tiny raised bump — a few double crochets worked into one stitch and closed together. The exact count is different for each animal, noted below. |
| Large Bobble | large bobble stitch | A bigger raised bump, used for noses, tails, and cheeks. The original pattern doesn’t specify the exact stitch count — see the note at the end of this article. |
Beginner Tips Before You Start
- Never made a magic ring before? Our magic ring tutorial walks you through it in under two minutes — every single piece in this pattern starts with one.
- This pattern uses the invisible decrease throughout. If you’ve only ever done sc2tog, check out our invisible decrease tutorial — it looks fancy but it’s really just working through the front loops of two stitches together.
- With this many small pieces, it helps to know how to read amigurumi patterns at a glance so you’re not losing your place between animals.
- Stuffing six separate pieces sounds like a lot, but our stuffing guide makes it quick — little bits at a time, squish as you go.
Let’s Make Your Mini Crochet Animals
Egg — Bottom Part
Color: white or cream. Start with a magic ring.
Row 1: 8 sc in mr (8)
Row 2: 8 inc (16)
Row 3: (1 sc, inc) × 8 (24)
Rows 4–8: 24 sc, repeat this round 5 times (24)
Row 9: 24 hdc (24)
Finish with a slip stitch, fasten off, and cut your yarn.
Egg — Top Part
Color: white or cream. Start with a magic ring.
Row 1: 8 sc in mr (8)
Row 2: 8 inc (16)
Row 3: (3 sc, inc) × 4 (20)
Row 4: 20 sc (20)
Row 5: (4 sc, inc) × 4 (24)
Rows 6–7: 24 sc, repeat this round 2 times (24)
Row 8: 14 sc, 4 ch, 10 sc (28) — go slow here and don’t skip any stitches, it matters for how the opening sits.
Don’t cut your yarn yet — stuff the bottom part, then crochet 4 sc through both layers to join the top and bottom together. Sew a button to the center front for a sweet finishing touch.
🎉 One egg down! That’s your hardest shaping technique already out of the way — the rest of the eggs use the exact same two pieces, just different colors. You’ve basically got this part memorized already.
Duckling
Color: yellow, with orange for the beak and feet. Start with a magic ring.
Row 1: 7 sc in mr (7)
Row 2: 7 inc (14)
Rows 3–4: 14 sc, repeat this round 2 times (14)
Row 5: 2 sc, 2 inc, 4 sc, 2 inc, 4 sc (18)
Row 6: 18 sc (18)
Row 7: 9 dec (9)
Row 8 (FLO): (2 sc, inc) × 3, worked in the front loops only (12)
Row 9: (2 sc, inc) × 4 (16)
Row 10: 16 sc (16)
Row 11: 4 sc, Small Bobble, 3 sc, Small Bobble, 7 sc (16)
Row 12: 8 dec (8)
For the duckling, each Small Bobble is 3 dc worked together into one stitch. Work the bobble in a contrast color, then close it off with your main yellow.
Place the safety eyes between rows 5 and 6, about 3 sc apart. Not sure how to seat them evenly? Our safety eyes tutorial covers exact placement and locking them in before you stuff.
Stuff and close the opening, then cut your yarn.
Beak: worked at rows 5–6, sized as one sc.
Wing: at row 8, chain 3, then from the 2nd chain from your hook: 2 hdc, chain, slip stitch. Make two and attach one to each side.
Bunny
Color: grey, with white for the paws and cheeks and pink for the nose. Start with a magic ring.
Row 1: 7 sc in mr (7)
Row 2: 7 inc (14)
Rows 3–4: 14 sc, repeat this round 2 times (14)
Row 5: 3 sc, 2 inc, sc, (Small Bobble, sl st) all in one stitch, Small Bobble, sc, 2 inc, 3 sc (19)
Row 6: dec, 17 sc (18)
Row 7: 9 dec (9)
Row 8: 2 inc, Large Bobble, 3 sc, Large Bobble, 2 inc (13)
Row 9: 5 sc, 3 inc, 5 sc (16)
Row 10: 16 sc (16)
Row 11: Large Bobble (this is the tail), 5 sc, Large Bobble, 4 sc, Large Bobble, 4 sc (16)
Row 12: 8 dec (8)
For the bunny, each Small Bobble is 2 dc worked together into one stitch — a different count than the duckling’s, so don’t worry if that looks inconsistent, it’s just how each animal is designed.
Place the safety eyes at rows 4–5, about 3 sc apart. Stuff and close, then cut your yarn.
Ears (make 2): chain 5, then from the 3rd chain from your hook: dtr, dc, hdc, slip stitch.
🎉 Halfway there! Duckling and bunny are done — the bear is next, then it’s just two more eggs. You’re through the trickiest bobble-and-eye placement work already.
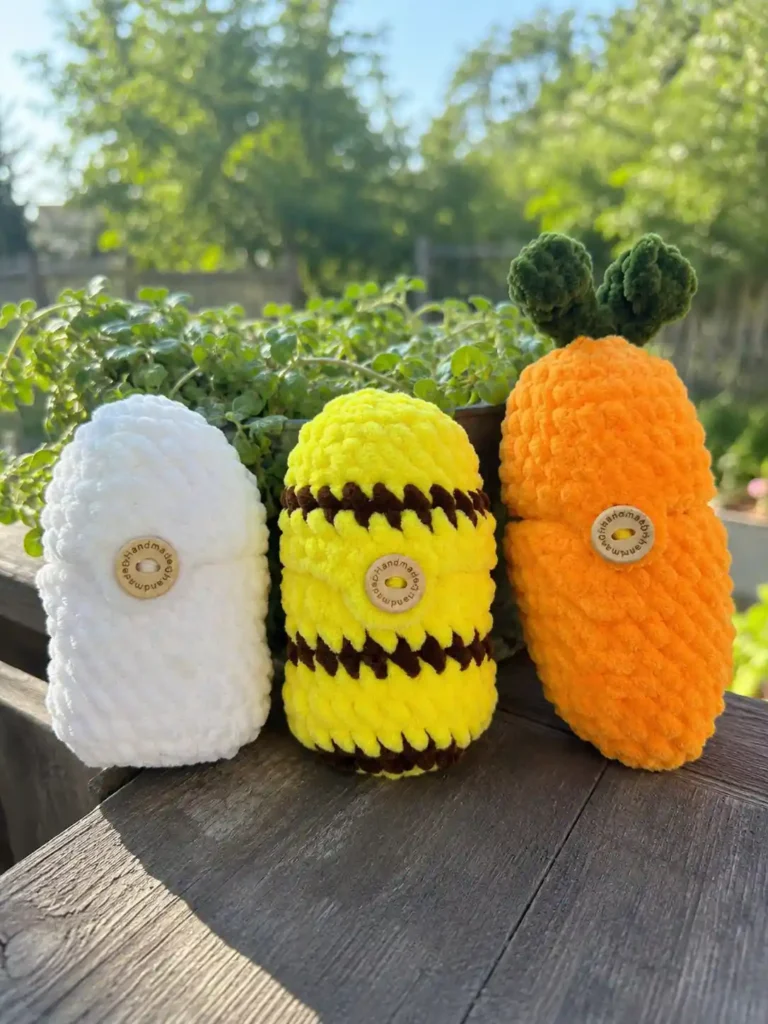
Carrot Egg — Bottom Part
Color: orange. Start with a magic ring.
Row 1: 8 sc in mr (8)
Row 2: (1 sc, inc) × 4 (12)
Row 3: (3 sc, inc) × 3 (15)
Row 4: 2 sc, inc, (4 sc, inc) × 2, 2 sc (18)
Row 5: (5 sc, inc) × 3 (21)
Row 6: 3 sc, inc, (6 sc, inc) × 2, 3 sc (24)
Rows 7–10: 24 sc, repeat this round 4 times (24)
Row 11: 24 hdc (24)
Fasten off and cut your yarn.
Carrot Egg — Top Part
Color: orange, with green for the leaves. Start with a magic ring.
Row 1: 8 sc in mr (8)
Row 2: 8 inc (16)
Row 3: (3 sc, inc) × 4 (20)
Row 4: 20 sc (20)
Row 5: (4 sc, inc) × 4 (24)
Rows 6–7: 24 sc, repeat this round 2 times (24)
Row 8: 14 sc, 4 ch, 10 sc (28)
Don’t cut your yarn — stuff the bottom, then join the two halves the same way you did for the plain egg.
Stem: in green, chain 5, then from the 3rd chain from your hook: dtr, dc, hdc, slip stitch. Without cutting your yarn, continue: chain 7, then from the 3rd chain from your hook: dtr, dc, 2 hdc, sc, slip stitch. Start your first leaf on the right side, slip stitch through the middle, and finish the second leaf on the left side of your magic ring.
Bear
Color: brown. Start with a magic ring.
Row 1: 8 sc in mr (8)
Row 2: 2 inc, Large Bobble, 2 inc, Large Bobble, 2 inc (14)
Rows 3–4: 14 sc, repeat this round 2 times (14)
Row 5: 2 sc, 2 inc, 2 sc, Large Bobble (this becomes the nose), 3 sc, 2 inc, 2 sc (18)
Row 6: 18 sc (18)
Row 7: 9 dec (9)
Row 8: 2 inc, sc, Large Bobble, 2 sc, Large Bobble, 2 inc (13)
Row 9: 6 sc, 3 inc, 4 sc (16)
Row 10: 16 sc (16)
Row 11: 2 sc, Large Bobble (this is the tail), 3 sc, Large Bobble, 5 sc, Large Bobble, 3 sc (16)
Row 12: 8 dec (8)
The original pattern calls for a few of these stitches in a contrast color (suggested: white, brown/black, or yellow), but doesn’t specify exactly which ones — so treat that as optional styling rather than a strict rule. Place the safety eyes at rows 4–5, about 3 sc apart. Stuff and close, then cut your yarn.
Antennae: chain 3, then from the 2nd chain from your hook: slip stitch, slip stitch.
Wings: chain 4, then from the 2nd chain from your hook: 2 hdc, sc, slip stitch. Attach the wings above the tail and the antennae near the ears.
Bee Egg — Bottom Part
Color: yellow, with brown or black for the stripes. Start with a magic ring.
Row 1: 8 sc in mr (8)
Row 2: 8 inc (16)
Row 3: (1 sc, inc) × 8 (24)
Rows 4–6: 24 sc, repeat this round 3 times (24)
Row 7: 24 sc (24)
Row 8: 24 sc (24)
Row 9: 24 hdc (24)
This is likely where you’d switch colors for stripes, though the original pattern doesn’t mark exactly which rows change color — feel free to swap to brown or black wherever you like the look. Fasten off and cut your yarn.
Bee Egg — Top Part
Color: yellow, continuing your stripe pattern. Start with a magic ring.
Row 1: 8 sc in mr (8)
Row 2: 8 inc (16)
Row 3: (3 sc, inc) × 4 (20)
Row 4: 20 sc (20)
Row 5: (4 sc, inc) × 4 (24)
Row 6: 24 sc (24)
Row 7: 24 sc (24)
Row 8: 14 sc, 4 ch, 10 sc (28)
Don’t cut your yarn — stuff the bottom, then crochet 4 sc through both layers to join the two halves of your bee egg.
🎉 You made it through all six! That was a lot of pieces, and every single one of them is done. Give yourself a minute before assembly — you’ve earned it.
Assembly
Most of the joining already happened as you finished each piece, but here’s the full order if you’re putting everything together at once. Need a refresher on sewing small parts neatly? Our sewing amigurumi parts tutorial is a good one to have open.
- For each egg (plain, carrot, and bee): stuff the bottom half firmly, then join the top and bottom with 4 sc worked through both layers.
- Sew an 18mm button to the front of the plain egg, centered.
- Attach the stem and leaves to the top of the carrot egg.
- For the duckling: attach the beak and both wings once the eyes are set and the body is stuffed and closed.
- For the bunny: attach both ears just above the eye line.
- For the bear: attach the antennae near the ears and the wings just above the tail.
You Did It!
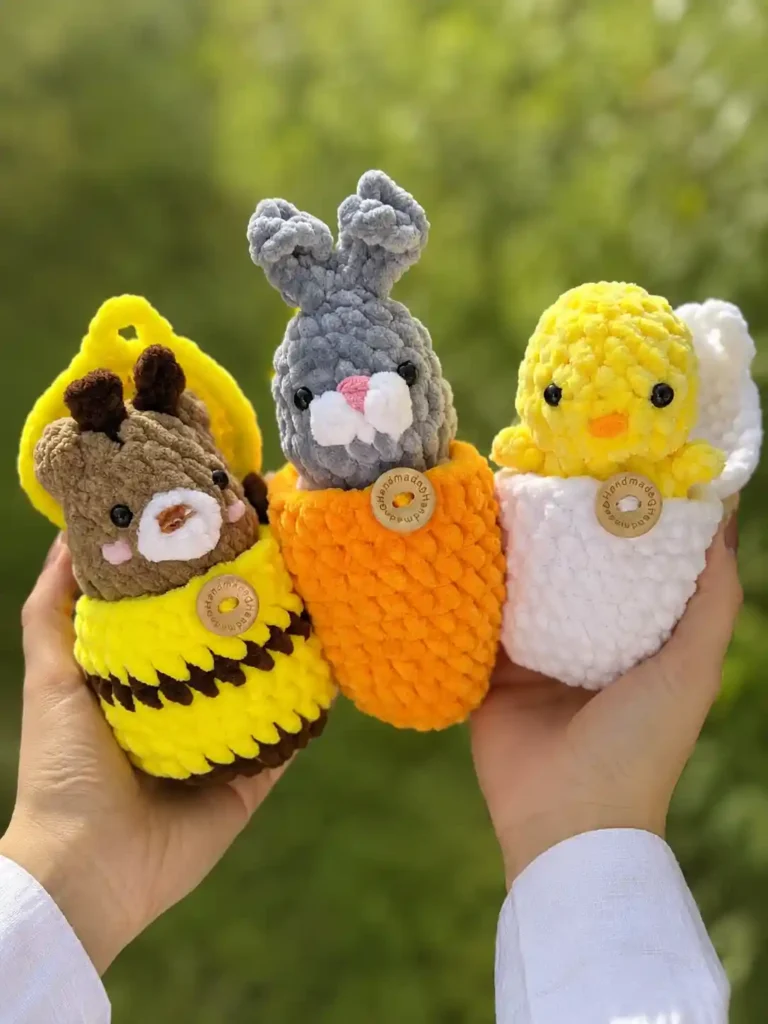
Seriously — six finished pieces, three eggs, three little critters. If this was your first bigger project, that’s a huge deal, and you should be proud of it. If you’re a regular around here, I hope stretching into something a little more advanced felt good. Tag us if you share your set — I want to see every single squishy version. 🧶
FAQ
What yarn is best for these mini crochet animals?
Bulky (5) weight plush or chenille yarn works best, such as Bernat Baby Velvet or Premier Parfait, giving them a quick, soft, and squishy finish.
How long does it take to crochet the full set?
The entire set takes about 6 to 10 hours to complete. It’s designed to be tackled as several mini projects over a few sittings rather than in one evening.
Can beginners make these mini crochet animals?
This is an intermediate project due to the number of small pieces and color changes, but motivated beginners can succeed by taking it one animal at a time and practicing the invisible decrease and magic ring.