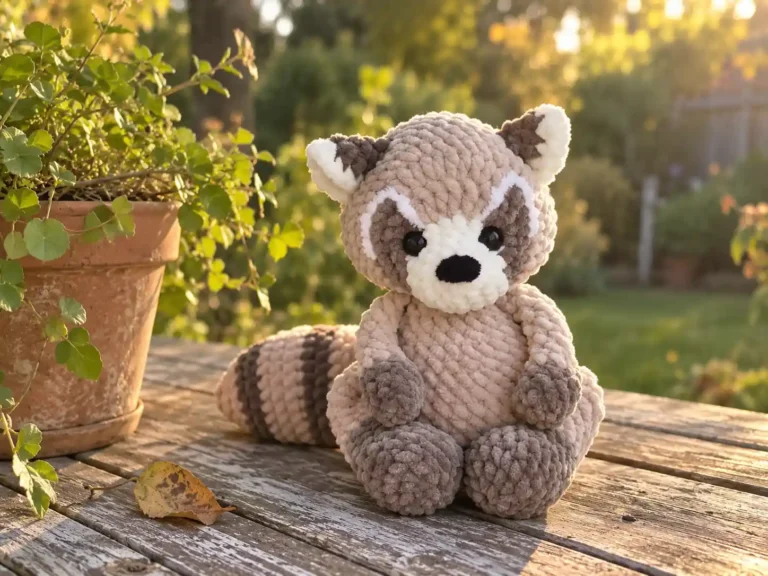
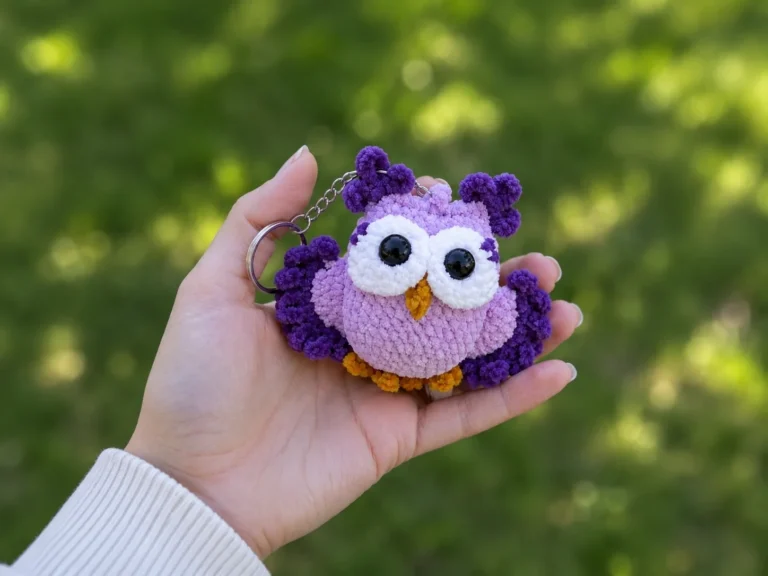
Free Crochet Little Bird Amigurumi Pattern — Cozy Titmouse Plush
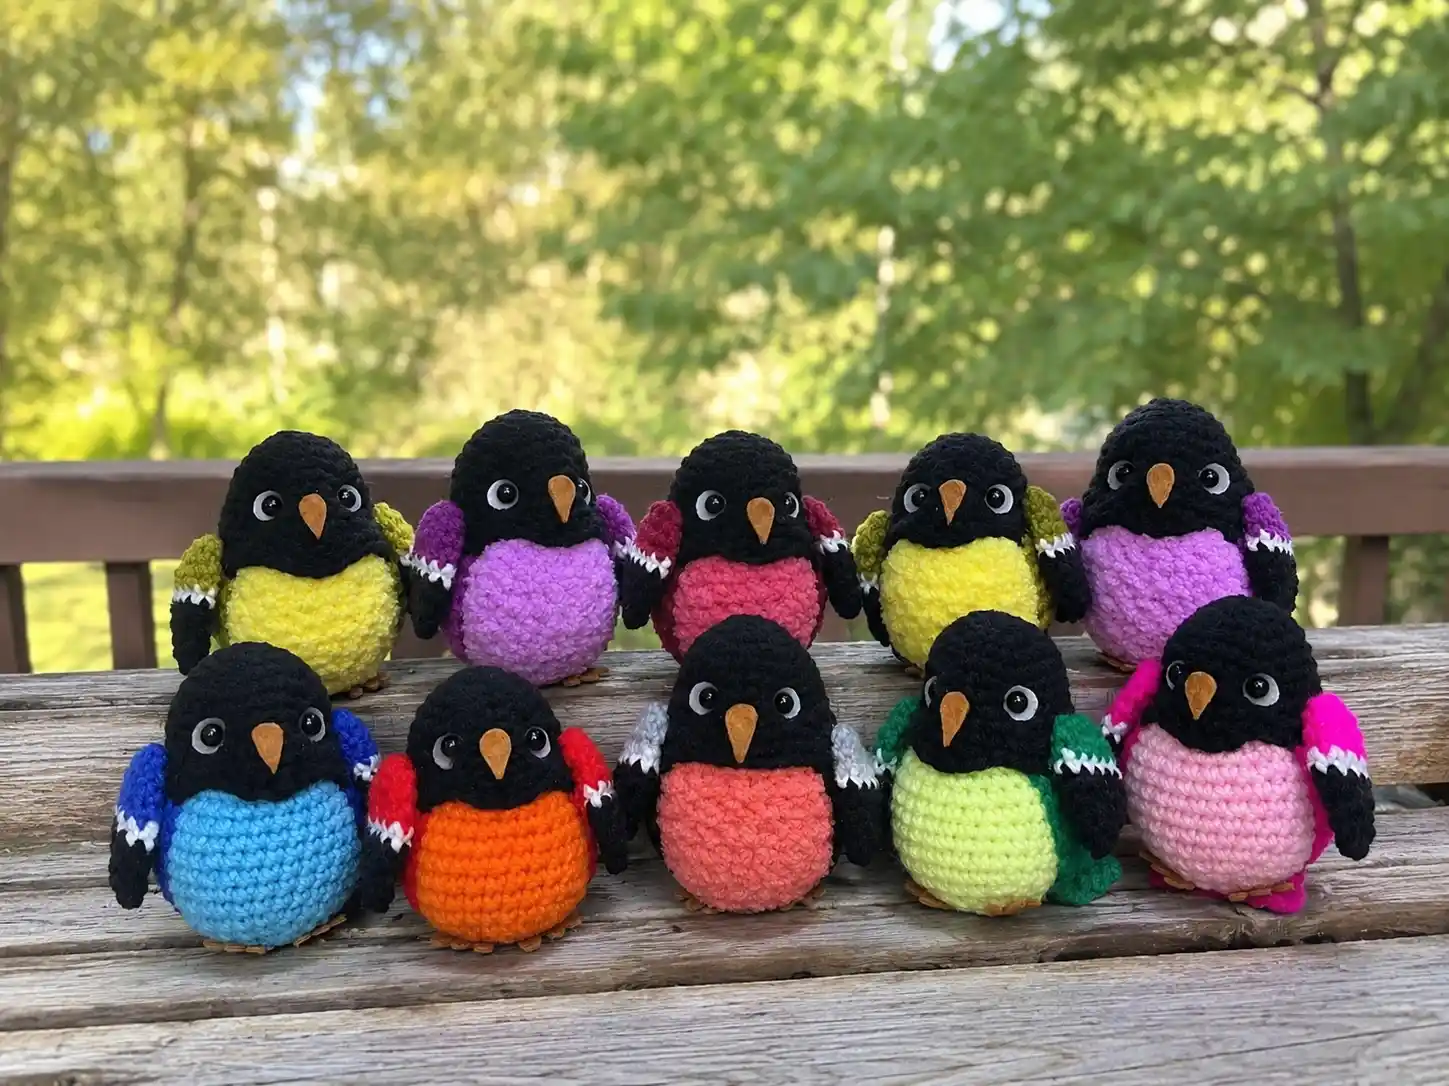
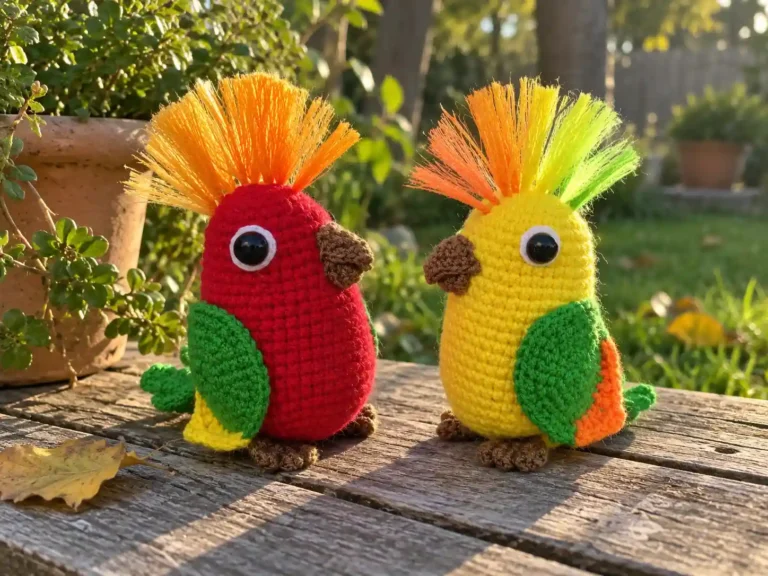
This crochet little bird amigurumi free pattern turns a few scraps of yarn into the coziest little titmouse you’ve ever seen. Yes, this one has real wings, tiny felt feet, and a sweet little face — it’s a genuine crochet little bird amigurumi free pattern, just broken into small, doable pieces so nothing feels overwhelming. Honestly? It’s got a few more finishing steps than my usual quick-win patterns, but nothing here is hard — just satisfying. Let’s make a bird.
🧶 Why You’ll Love This Pattern
- ⭐ Difficulty: EASY-INTERMEDIATE — the crochet itself is simple, the felt + gluing steps just take a little patience
- ⏱️ Time: 3-4 hours — great for a cozy weekend project (not quite a one-evening piece, but close)
- 🪡 Sewing: Standard — you’ll sew the cover onto the body and stitch the wings on. I won’t pretend this one’s no-sew, but it’s simple straight stitching, not fiddly limb-matching
- 🧵 Yarn: Worsted or DK weight, plus an optional plush textured yarn for the belly
- 💰 Yarn needed: Less than 1 skein of each color — this is a small project, so leftover scraps work great
Okay, real talk before we start: this little bird has a black “cover” piece that goes over a stuffed body, plus wings, felt feet, a felt beak, and glued-on bead eyes. It sounds like a lot listed out like that, but every single piece is small and quick to make. The finished size isn’t specified by the original designer, but based on the stitch counts here, expect a finished bird somewhere around 3.5-4 inches tall — that’s an estimate, so your gauge and yarn choice will nudge it slightly bigger or smaller.
Materials for This Crochet Little Bird Amigurumi Free Pattern
- Black yarn (for the body cover) — Worsted (4) or DK (3) weight
- Yarn in your wing/back color — Worsted (4) or DK (3) weight
- White yarn — Worsted (4) or DK (3) weight, for the wing stripe
- Yarn in any color you like (for the body) — Worsted (4) or DK (3) weight
- Optional: plush textured yarn (like Bernat Baby Velvet or Premier Parfait Snuggle) — this swaps in for the body if you want an extra-squishy titmouse-style belly
- White felt (for the eye backing)
- Felt (for the beak and feet)
- 6mm half-beads (for the eyes)
- Fiberfill stuffing
- Tapestry needle
- Craft glue
Here’s the thing about the hook sizes on this one — the original pattern calls for a 1.7mm and a 1.5mm steel hook, and neither one has a clean US letter equivalent. Don’t panic. These are very fine steel hooks, mostly used for lace and thread work, so you’ll likely need to pick one up from a specialty shop or online rather than your usual craft store aisle. If you can’t track one down, a slightly larger fine steel hook will still work — just expect your stitches to be a touch looser, so keep an eye on your gauge as you go.
Yarn substitution note: any worsted or DK weight yarn you already have in your stash will work beautifully here — this project uses so little of each color that it’s basically a scrap-bin project in disguise. If you want to double-check what “worsted” or “DK” actually means in terms of thickness, the Craft Yarn Council’s yarn weight chart is a great quick reference.
Abbreviations You’ll Need
| Abbreviation | Meaning | What It Means in Plain English |
|---|---|---|
| sc | single crochet | The basic amigurumi stitch — you’ll use this the most |
| inc | increase | 2 single crochets into the same stitch — adds width |
| dec | decrease | Combines 2 stitches into 1 — shrinks the round |
| mr | magic ring | The adjustable loop you start most amigurumi pieces with |
| ch | chain | A basic loop stitch, used here to turn rows |
| hdc | half double crochet | A slightly taller stitch than sc |
| dc | double crochet | An even taller stitch, used briefly for the chest shaping |
| sl st | slip stitch | A flat, low stitch used for shaping the chest detail |
| FLO | front loop only | Working into just the front loop of a stitch, to create a ridge |
Beginner Tips for This Crochet Little Bird Amigurumi Pattern
The magic ring sounds fancy, but it’s really just a loop that closes up tight so there’s no hole at the center of your piece. If you’ve never made one, our magic ring tutorial walks you through it step by step — you’ll have it down after one practice round.
The wings switch colors twice in just a few rows (back color, then white, then black). If color changes make you nervous, our guide to changing colors seamlessly will make it click — the trick is just carrying your yarn up the inside so you’re not weaving in a dozen extra ends.
When it’s time to attach the cover, wings, feet, and beak, don’t rush it — pin or clip pieces in place first so you can check the placement before you commit to stitching. Our guide to sewing amigurumi parts together has some good tricks for keeping things even.
The Pattern
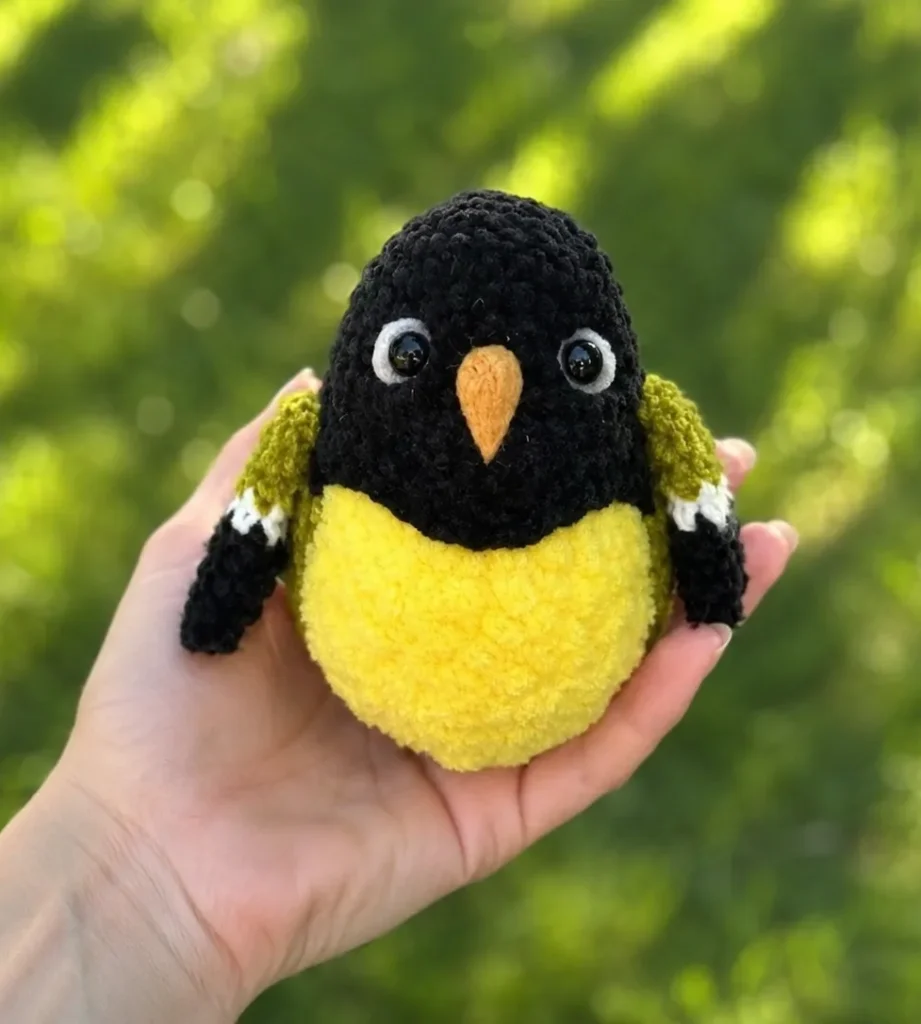
Part 1: Body Cover (make 1)
Yarn: black Start with: magic ring
Row 1: 6 sc in mr (6)
Row 2: 6 inc (12)
Row 3: (1 sc, inc) × 6 (18)
Row 4: (2 sc, inc) × 6 (24)
Row 5: (3 sc, inc) × 6 (30)
Rows 6-8: 30 sc, worked 3 times (30)
Row 9: (4 sc, inc) × 6 (36)
Rows 10-11: 12 sc, 24 hdc (36)
Rows 12-15: ch 1, turn, 24 hdc, worked 4 times (24)
Row 16: ch 1, turn, (2 sc, dec) × 6 (18)
Row 17: ch 1, turn, (1 sc, dec) × 6 (12)
Row 18: ch 1, turn, 6 dec (6)
Row 19: ch 1, turn, in FLO, 6 sc (6)
Rows 20-23: ch 1, turn, 6 sc, worked 4 times (6)
Row 24: ch 1, turn, (2 sc, inc) × 2 (8)
Row 25: ch 1, turn, 8 sc (8)
🎉 Okay, that’s the trickiest piece done! If you want the back and tail to match the wing color instead of staying black, just switch yarn right before Row 12 — otherwise keep going in black. Either way looks adorable.
Finishing: Single crochet all the way around the outer edge of the piece, using matching yarn as you go. If you’d like a little heart-shaped chest detail on the face, work: 4 sl st, hdc, 2 dc, hdc, 4 sl st along that edge.
Part 2: Wings (make 2)
Yarn: your back/wing color, switching to white then black Start with: magic ring
Row 1: 6 sc in mr (6)
Row 2: 6 inc (12)
Rows 3-4: 12 sc, worked 2 times (12)
Row 5: 12 sc — switch to white (12)
Row 6: 12 sc — switch to black (12)
Row 7: (2 sc, dec) × 3 (9)
Row 8: (1 sc, dec) × 3 (6)
Finishing: Cut your yarn, thread the tail through the remaining stitches with a tapestry needle, and pull tight to close it up. Leave that yarn tail at the top of the wing — you’ll use it in a minute to sew the wing on.
🎉 Two down! Wings are honestly the cutest part to make — tiny, fast, and they already look like a bird piece the second you close them up.
Part 3: The Body — Pick Your Version
You’ve got two ways to make the body here. Option 1 is a straightforward single-color body. Option 2 swaps in a plush textured yarn for the belly, which is what gives the original “titmouse” version its extra-squishy look. Both work perfectly under the cover — just pick whichever sounds more fun to you.
Option 1: Classic Body (make 1)
Yarn: any color you like Start with: magic ring
Row 1: 6 sc in mr (6)
Row 2: 6 inc (12)
Row 3: (1 sc, inc) × 6 (18)
Row 4: 18 sc (18)
Row 5: (2 sc, inc) × 6 (24)
Row 6: (3 sc, inc) × 6 (30)
Rows 7-14: 30 sc, worked 8 times (30)
Row 15: (3 sc, dec) × 6 (24)
Rows 16-19: 24 sc, worked 4 times (24)
Row 20: (2 sc, dec) × 6 (18)
Row 21: (1 sc, dec) × 6 (12)
🎉 Stuffing time! Squeeze fiberfill in now, before you close things up the rest of the way — you want it firm but not overstuffed.
Row 22: 6 dec (6)
Finishing: Cut your yarn, thread the tail through the remaining 6 stitches, and pull tight to close.
Option 2: Plush Textured Body (make 1)
Yarn: plush textured yarn, then switching to smooth yarn Start with: magic ring
Row 1: 6 sc in mr (6)
Row 2: 6 inc (12)
Row 3: (1 sc, inc) × 6 (18)
Row 4: 18 sc (18)
Row 5: (2 sc, inc) × 6 (24)
Rows 6-11: 24 sc, worked 6 times (24)
Before Row 12, switch to your smooth, regular-weight yarn for the rest of the piece.
Rows 12-15: 24 sc, worked 4 times (24)
Row 16: (2 sc, dec) × 6 (18)
Row 17: (1 sc, dec) × 6 (12)
🎉 Almost there! Stuff the body firmly now before closing the last round.
Row 18: 6 dec (6)
Finishing: Cut your yarn, thread the tail through the remaining 6 stitches, and pull tight to close.
Quick note on the fine hooks here: this pattern calls for a 1.7mm hook for the plush-yarn rows and a 1.5mm hook for the smooth-yarn rows — again, no direct US letter match, so use the finest steel hook you have and adjust your tension if needed.
Assembly — Bringing Your Little Bird Amigurumi to Life
Okay, this is the part with the most steps, so let’s go slow. Nothing here is hard, it’s just detail work — take your time and it’ll come together beautifully.
- Slide the body cover over the stuffed body like a little jacket. Sew it in place at the bottom, working through the remaining front loops from Row 19 of the cover.
- Gently indent where the eyes should sit by pulling a bit of yarn through the head with your needle (this is called needle sculpting) — it gives the face some real dimension.
- Cut small circles from white felt and glue a 6mm half-bead onto each one. Once the glue sets, glue the eye pieces into the indents you just made.
- Cut a tiny beak shape from felt and glue it onto the black cover.
- Sew the wings onto the sides, stitching through both the cover and the body underneath so they’re nice and secure.
- Cut two little feet from felt and glue them to the bottom of the body.
🎉 You did all the fiddly parts! Once the glue is dry, your bird is officially finished. See? Not so scary, right?
You Did It — Your Crochet Little Bird Amigurumi Is Done!
Look at that little face! This one had more steps than my usual patterns, and you crushed it anyway. Whether this is your first amigurumi with actual felt details or your fiftieth tiny bird, you should be proud of that little guy sitting in your hands right now. Tag AmiLoops when you share it — I want to see every single version, titmouse colors or not. 🧶
FAQ
What hook size is needed for this crochet little bird pattern?
The pattern uses fine steel hooks (1.7mm and 1.5mm). If you do not have exact steel sizes, use the smallest hook you own that maintains tight stitches without gaps.
How long does it take to crochet this titmouse amigurumi?
It takes approximately 3 to 4 hours to complete, making it an ideal weekend project for intermediate crocheters.
Can I make this bird amigurumi without using glue?
While craft glue is recommended for securing the small felt feet and beak, you can optionally cut larger felt pieces and hand-sew them onto the body using thin embroidery thread.