A Valentine Heart Bunnies Amigurumi Pattern That’s Made Entirely of Little Hearts
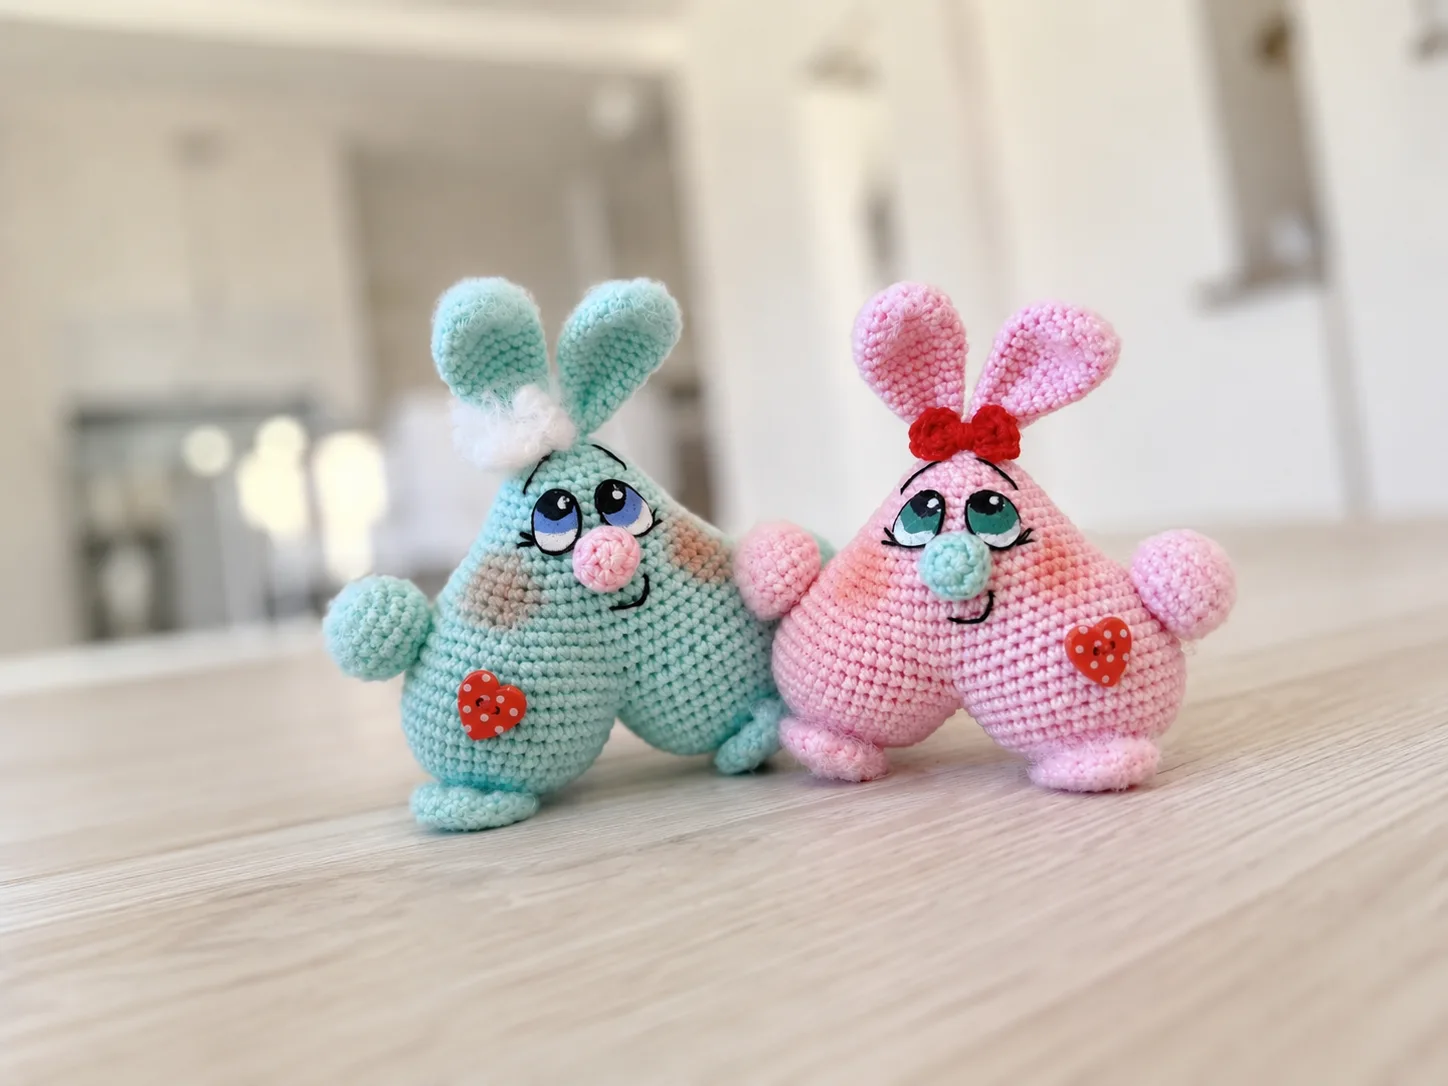
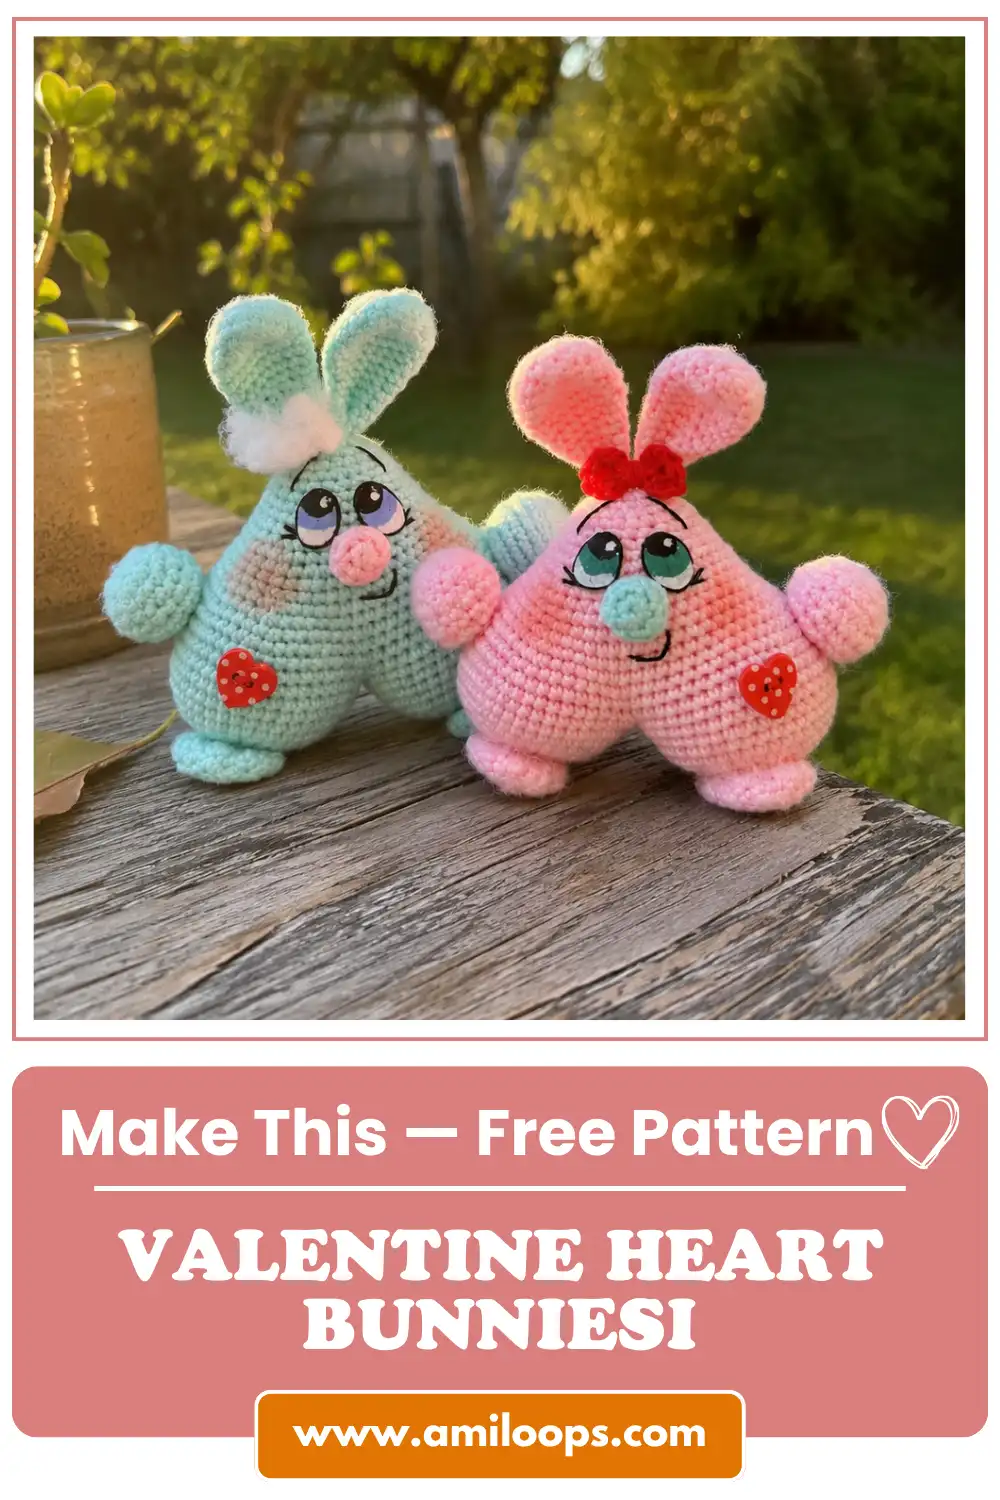
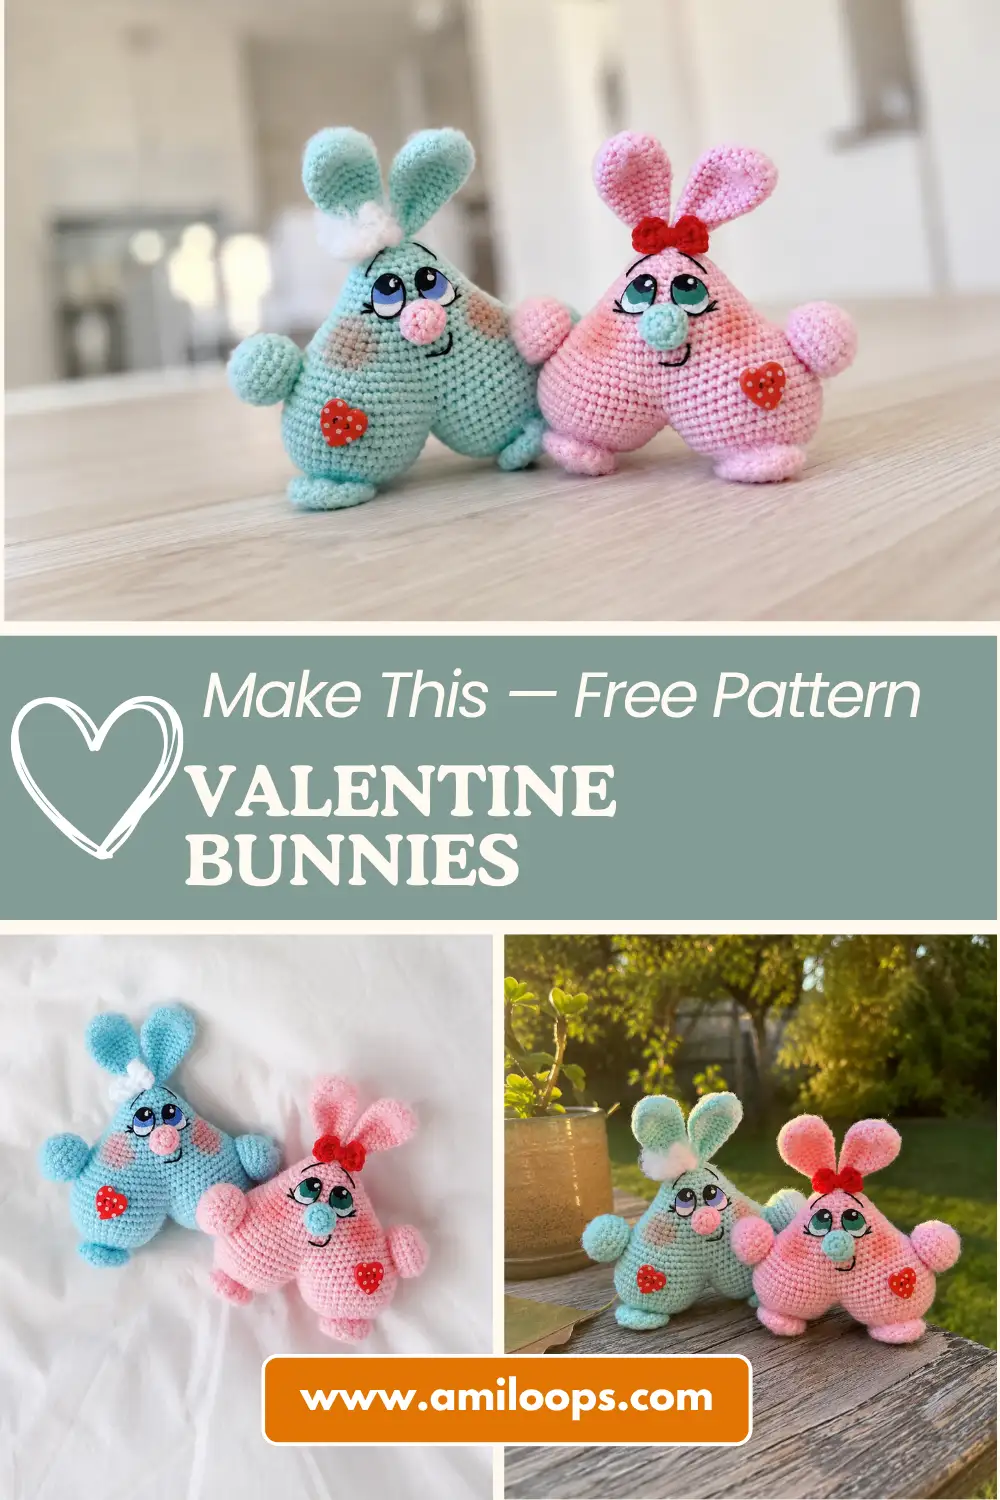
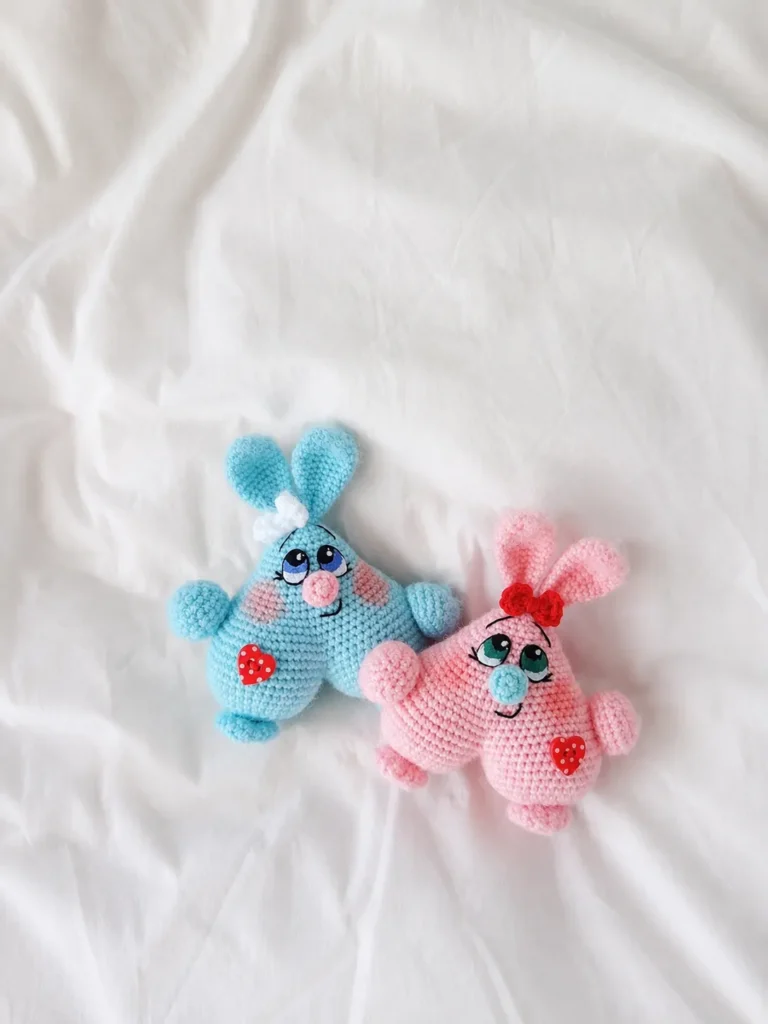
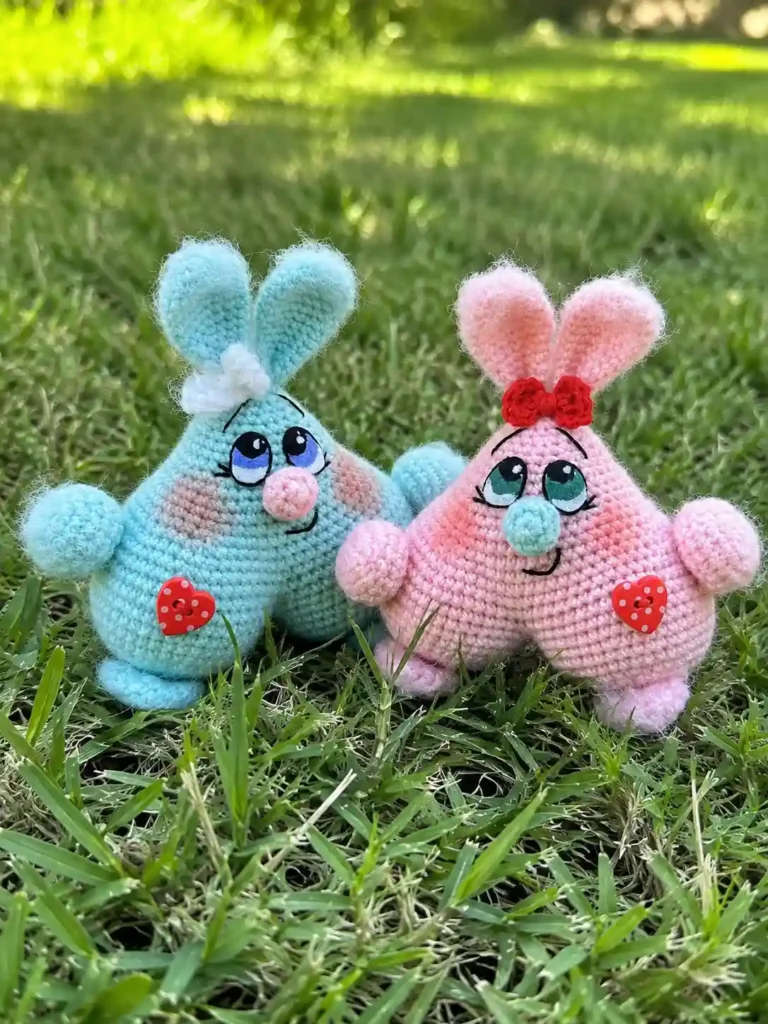
This valentine heart bunnies amigurumi pattern creates the sweetest little pair you’ll ever set on a shelf — two bunnies, one boy and one girl, each built from a plush heart-shaped body with soft rounded ears, tiny paws, and the gentlest painted eyes. They fit right in your palm, they’re barely 4.7 inches tall including their ears, and the whole point of them is how much love went into every tiny piece. Let me show you how it all comes together.
🩷 Pattern Highlights
- Cuteness Rating: 🩷🩷🩷🩷🩷
- Finished Size: 4.7 in (12 cm) with ears
- Difficulty: Intermediate
- Hook Size: 1.9mm (no standard US letter equivalent)
- Yarn Palette: soft blush pink or dusty rose for the body, a whisper of pale pink for the nose, cherry red for the tiny heart bow, and a cloud-soft fluffy yarn for the boy’s forelock
- Key Detail: hand-painted felt eyes with embroidered lashes, a heart-shaped body, and a heart button pinned right at the chest
- Estimated Time: 4-6 hours
Materials for This Valentine Heart Bunnies Amigurumi Pattern
Because these two are so detail-heavy, I want to walk you through exactly what’s going into them before we pick up the hook.
- DK/Light Worsted (3) yarn in your chosen main color — think dusty rose, soft blush, cream, or a pale lavender. The original used Pekhorka Children’s Novelty, but Paintbox Yarns Simply DK or Stylecraft Special DK work beautifully as US-friendly substitutes.
- A small amount of pink yarn for the nose
- A small amount of cherry red yarn for the tiny bow (girl version)
- A little fluffy or eyelash-style yarn (like Nako Paris or a similar brushed novelty yarn) for the boy’s forelock
- Thin white felt, for cutting the eye shapes
- Hook: 1.9mm (no standard US letter equivalent — this is a fine steel-gauge size)
- Polyester fiberfill stuffing
- Black embroidery cotton (Iris thread or a similar fine crochet cotton) for the eyelashes, brows, and mouth
- Sewing needle
- 2 small heart-shaped buttons
- A slicker brush (a small pet-grooming brush works perfectly) for fluffing the acrylic yarn on the ears, paws, and tail
- Acrylic paint, for the felt eyes
- A strong clear craft glue, for setting the eyes and embroidery thread
- A toothpick, for placing glue precisely
This yarn falls into the DK / Light Worsted (3) category — light enough to keep every tiny stitch crisp and defined, which matters a lot on a piece this small.
Abbreviations
| Abbreviation | Meaning |
|---|---|
| mr | magic ring |
| ch | chain |
| st | stitch |
| sc | single crochet |
| inc | increase (2 single crochets worked into the same stitch) |
| inv dec | invisible decrease |
| sl st | slip stitch |
| dc | double crochet |
| (…)*n | repeat the instructions in parentheses n times |
Before You Begin — Making These Valentine Heart Bunnies Extra Sweet
A few little things that make a big difference with this one:
🩷 Chloe’s Detail Tip: The body of this bunny is actually two half-heart “cups” joined together into one full heart. Take your time with the connection round — it’s the part that shapes the whole silhouette, and rushing it is the easiest way to end up with a lopsided heart instead of a plump, symmetrical one.
If magic rings still feel a little fiddly, our magic ring tutorial walks through it slowly so every round part — the cups, ears, paws, nose, and tail — starts off perfectly closed with no gap at the center.
This pattern leans on invisible decreases constantly to keep the heart shape smooth on every side, so if you haven’t tried them yet, our invisible decrease tutorial is worth a quick look before you start the body.
🩷 Chloe’s Detail Tip: Because the eyes here are painted felt instead of safety eyes, you get to place them exactly where you want — no locking washer, no commitment the second you press down. Cut your two felt ovals, hold them against the face before you paint a single stroke, and check the spacing from straight on under good light. Only then pick up the paintbrush.
Pattern
Cups (make 2)
Yarn: Main color | Start: Magic ring
Row 1: 6 sc in mr (6)
Row 2: 6 inc (12)
Row 3: (1 sc, inc)*6 (18)
Row 4: 1 sc, inc, (2 sc, inc)*5, 1 sc (24)
Row 5: (3 sc, inc)*6 (30)
Row 6: 2 sc, inc, (4 sc, inc)*5, 2 sc (36)
Row 7: (5 sc, inc)*6 (42)
Row 8: 6 sc, (inc, 13 sc)*2, inc, 7 sc (45)
Row 9: 45 sc (45)
Row 10: (inc, 14 sc)*3 (48)
Rows 11-12: 48 sc (48)
Leave a long yarn tail for sewing and leave the loop open — do not fasten off. Crochet the second cup exactly the same way. This is such a satisfying stage: two identical little rounded bowls, ready to become one heart.
Base Heart — Connection & Body
Yarn: Main color | Start: Continue directly from the two finished cups
Connection Round: Take both cups. Place the loop left from the first cup back onto the hook and crochet 41 sc around the first cup. Skip 7 sc from the start of the second cup, then crochet 41 sc around the second cup (82). Continue working in rounds from here.
This is the moment the heart shape really appears — two rounded cups pulled into one continuous body.
Row 13: (11 sc, inv dec)*2, 25 sc, inv dec, 11 sc, inv dec, 16 sc (78)
Now join the opening between the cups with a slip stitch, using the yarn tail left from the first cup, then fasten off that tail. Continue working the rest of the body in rounds.
Row 14: 11 sc, (inv dec, 4 sc)*2, inv dec, 24 sc, (inv dec, 4 sc)*2, inv dec, 15 sc (72)
Row 15: 9 sc, (inv dec, 5 sc)*2, inv dec, 19 sc, (inv dec, 5 sc)*2, inv dec, 12 sc (66)
Row 16: 9 sc, (inv dec, 3 sc)*2, inv dec, 20 sc, (inv dec, 3 sc)*2, inv dec, 13 sc (60)
Row 17: 8 sc, (inv dec, 3 sc)*2, inv dec, 17 sc, (inv dec, 3 sc)*2, inv dec, 11 sc (54)
Row 18: 7 sc, (inv dec, 2 sc)*2, inv dec, 16 sc, (inv dec, 2 sc)*2, inv dec, 11 sc (48)
Row 19: 48 sc (48)
Row 20: 3 sc, inv dec, (6 sc, inv dec)*5, 3 sc (42)
Row 21: 42 sc (42)
Row 22: (5 sc, inv dec)*6 (36)
Row 23: 36 sc (36)
Start adding your stuffing now — a little at a time, so the heart keeps its shape instead of getting lumpy.
Row 24: 2 sc, inv dec, (4 sc, inv dec)*5, 2 sc (30)
Row 25: 30 sc (30)
Row 26: (3 sc, inv dec)*6 (24)
Row 27: 24 sc (24)
Row 28: 1 sc, inv dec, (2 sc, inv dec)*5, 1 sc (18)
Row 29: 18 sc (18)
Row 30: (1 sc, inv dec)*6 (12)
Row 31: 12 sc (12)
Add a bit more stuffing here, checking that the heart stays plump and even on both lobes.
Row 32: 6 inv dec (6)
Close the opening, fasten off, and weave in your ends. Look at that — a full, softly rounded heart body, ready for ears and a face.
Ears (make 2)
Yarn: Main color | Start: Magic ring
Row 1: 6 sc in mr (6)
Row 2: 6 inc (12)
Row 3: (1 sc, inc)*6 (18)
Rows 4-7: 18 sc (18)
Row 8: (inv dec, 7 sc)*2 (16)
Row 9: (inv dec, 6 sc)*2 (14)
Row 10: (inv dec, 5 sc)*2 (12)
Row 11: 12 sc (12)
Row 12: (inv dec, 4 sc)*2 (10)
Rows 13-14: 10 sc (10)
Leave a yarn tail for sewing and cut. Fold the ear in half, sew the base together, then fold it again and sew that fold too, so it keeps a soft rounded shape. Brush the top lightly with your slicker brush for that gently fluffed texture.
Lower Paws (make 2)
Yarn: Main color | Start: Magic ring
Row 1: 6 sc in mr (6)
Row 2: 6 inc (12)
Row 3: (1 sc, inc)*6 (18)
Rows 4-6: 18 sc (18)
Row 7: (4 sc, inv dec)*3 (15)
Row 8: (3 sc, inv dec)*3 (12)
Row 9: (4 sc, inv dec)*2 (10)
Leave a tail for sewing and cut. Fold the paw in half and sew the opening closed, then brush the top gently.
Nose
Yarn: Pink | Start: Magic ring
Row 1: 6 sc in mr (6)
Row 2: 6 inc (12)
Rows 3-4: 12 sc (12)
Leave a yarn tail for sewing and cut. Such a tiny piece, but it’s the one that sits right at the center of the whole face.
Tail
Yarn: Main color | Start: Magic ring
Row 1: 6 sc in mr (6)
Row 2: 6 inc (12)
Row 3: (1 sc, inc)*6 (18)
Rows 4-6: 18 sc (18)
Row 7: (1 sc, inv dec)*6 (12)
Add a small pinch of stuffing.
Row 8: 6 inv dec (6)
Leave a tail for sewing and cut. Brush it well — this little puff is meant to look soft and cloud-like from every angle.
Upper Paws (make 2)
Yarn: Main color | Start: Magic ring
Row 1: 6 sc in mr (6)
Row 2: 6 inc (12)
Row 3: (1 sc, inc)*6 (18)
Rows 4-6: 18 sc (18)
Row 7: (1 sc, inv dec)*6 (12)
Add a small pinch of stuffing.
Row 8: 6 inv dec (6)
Leave a tail for sewing and cut. Brush lightly to finish.
Forelock (for the boy bunny)
Yarn: Fluffy yarn | Start: Chain
Row 1: Chain 6, starting from the second stitch from the hook work 5 sl st. Chain 6 again, starting from the second stitch from the hook work 5 sl st. Chain 6 once more, starting from the second stitch from the hook work 5 sl st.
Leave a yarn tail for sewing and cut. This little three-loop tuft is what turns a plain heart into a boy bunny — sew it right at the top of the head.
Bow (for the girl bunny)
Yarn: Red | Start: Magic ring
Row 1: In the magic ring work: 3 ch, 2 dc, 3 ch, sl st, 3 ch, 2 dc, 3 ch, sl st.
Pull the ring closed and gently shape the two loops into a bow. Leave a yarn tail for sewing and cut, then sew the bow at the top of the head.
Assembly
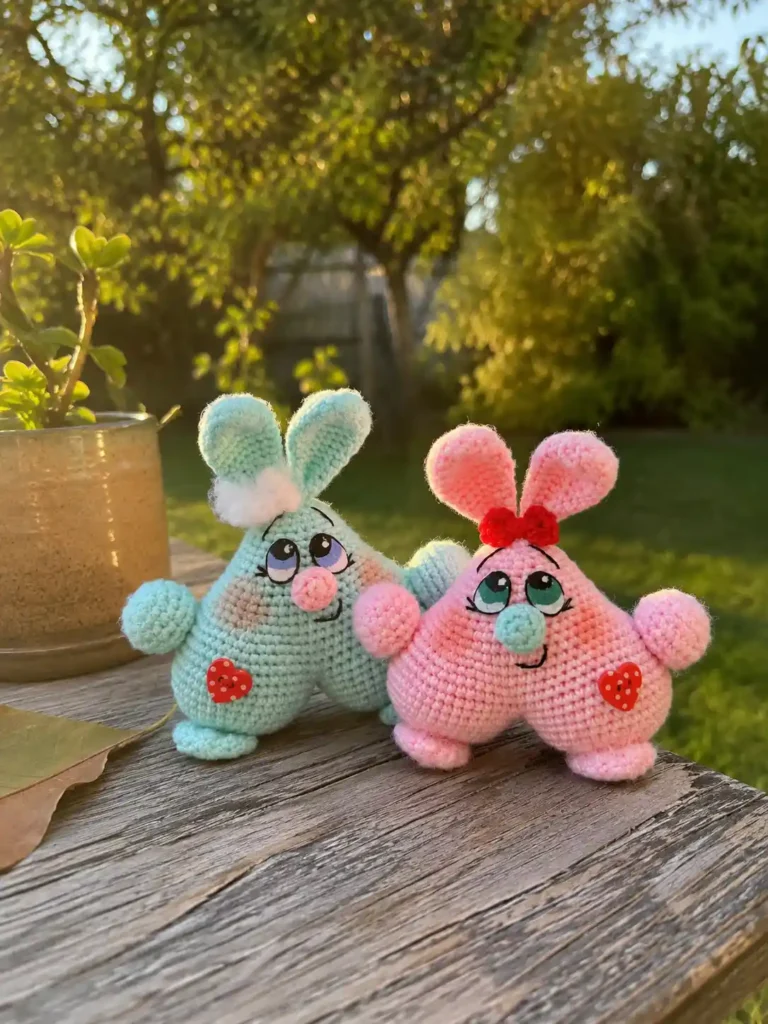
- Sew the nose right at the center of the heart, in the little dip between the two lobes.
- Sew the lower paws to the base of the heart.
- Sew the ears at the top, on either side of the center dip.
- Sew the tail to the back of the body.
- Sew the upper paws to the sides, just below the ears.
🩷 Chloe’s Detail Tip: Pin every piece in place first and step back before you sew a single stitch. Ears especially — even a tiny tilt to one side changes the whole expression, so check it from straight on, not just from above.
Making It Extra Cute — Finishing Details for Your Valentine Heart Bunnies
This is where it goes from “sweet little heart shape” to “I cannot put this down.” Truly, the face is everything here.
Cut two small ovals from the thin white felt and paint on the eyes with your acrylic paint. Let them dry completely — resist the urge to rush this part — then glue them on either side of the nose, checking the spacing one more time before you commit.
For the outline, bring your Iris thread out right at the eye, apply a small amount of clear craft glue around the edge with your toothpick, and press the thread into place so it hugs the felt eye perfectly. Bring the needle out at the second eye and repeat, so both sides match.
Then embroider the eyelashes, tiny eyebrows, and a soft little mouth with the same thread. This part takes a little extra love, but it’s also the part that gives each bunny its own personality — some end up looking a little shy, some look like they’re mid-laugh, and that’s part of the charm.
Sew the heart button onto the chest of each bunny, right where a real, tiny heart would be. Give the ears, paws, and tail a gentle once-over with your slicker brush so the acrylic yarn blooms into a soft, brushed texture instead of sitting flat.
For the boy, sew the fluffy forelock at the top of the head so it flops just slightly over one side. For the girl, sew the little red bow at the top instead, angled so it sits proudly above her face. Making both at once means you end up with a matching pair — and somehow that makes them even sweeter.
Our sewing amigurumi parts tutorial is a great refresher if you want extra guidance on keeping every piece secure and even, especially since this pattern has quite a few small parts to attach.
Chloe’s Final Look
I set these two side by side on my windowsill and just… stared for a solid five minutes. That little heart-shaped body, the soft painted eyes, the bow tilted just so on her head and his forelock flopped over one eye — I may have squealed a little. Try making a whole set in different pastel shades, one heart-colored pair per shelf, and watch them become the thing everyone reaches for first. 🩷
If you love the idea of a bunny shape but want something a little more classic for everyday cuddling, our amigurumi bunny pattern is another favorite worth trying. And if you’re building out a little holiday shelf, our Easter egg amigurumi pairs beautifully alongside these two for a soft seasonal display.
FAQ
What is the best yarn to use for this valentine heart bunnies amigurumi pattern?
A DK/Light Worsted (3) acrylic or cotton blend works best. It keeps the tiny stitches crisp and defined, which is crucial for capturing the smooth heart shape.
How long does it take to crochet these heart bunnies?
This project takes an estimated 4 to 6 hours. This includes crocheting all the tiny parts, sewing them together, and allowing the painted felt eyes to dry completely.
Are these crochet heart bunnies suitable for beginners?
This pattern is rated as Intermediate. It requires joining two separate pieces (the heart cups) into one continuous round and involves detailed facial embroidery and hand-painted elements.