Crochet Frog Keychain Free Pattern — Amigurumi Guide
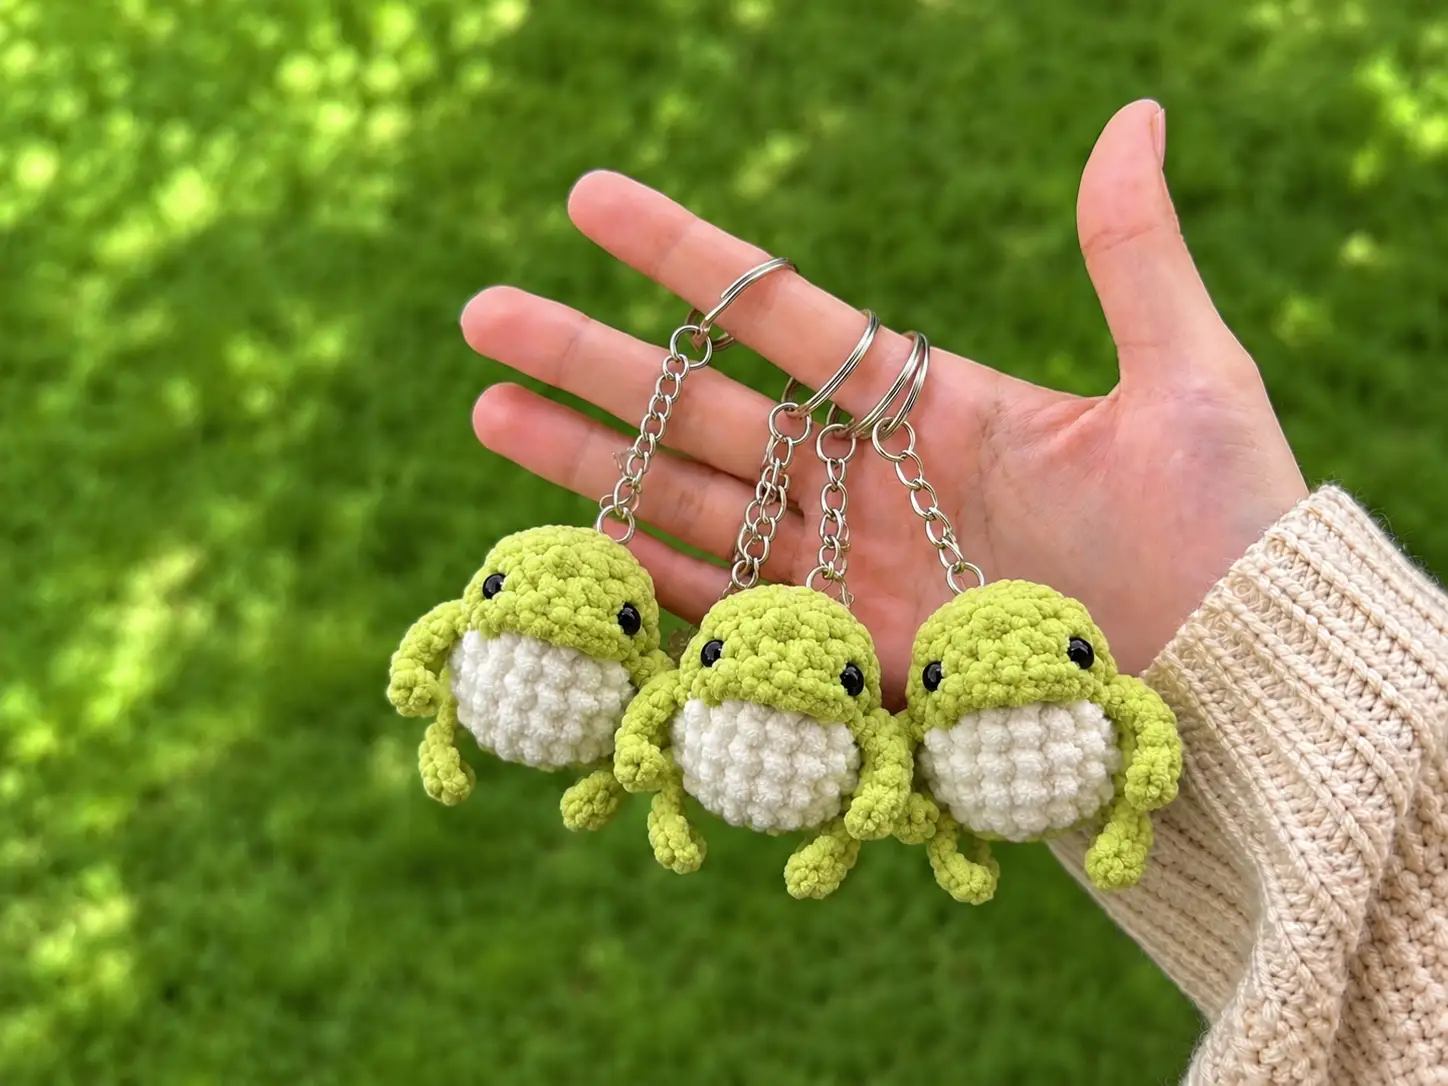
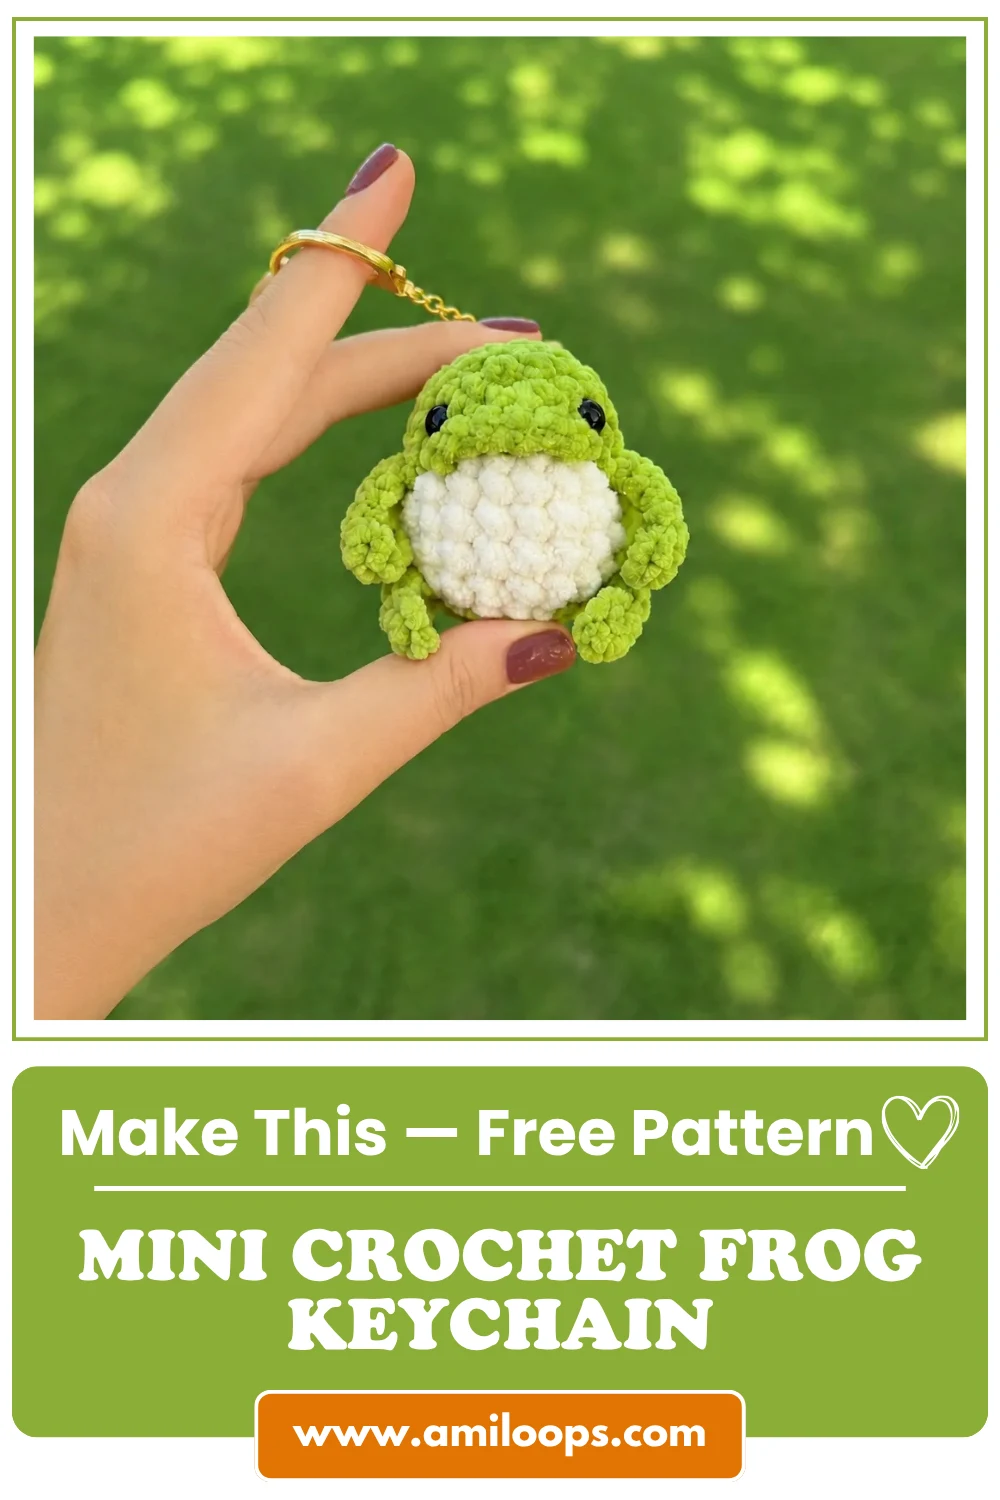
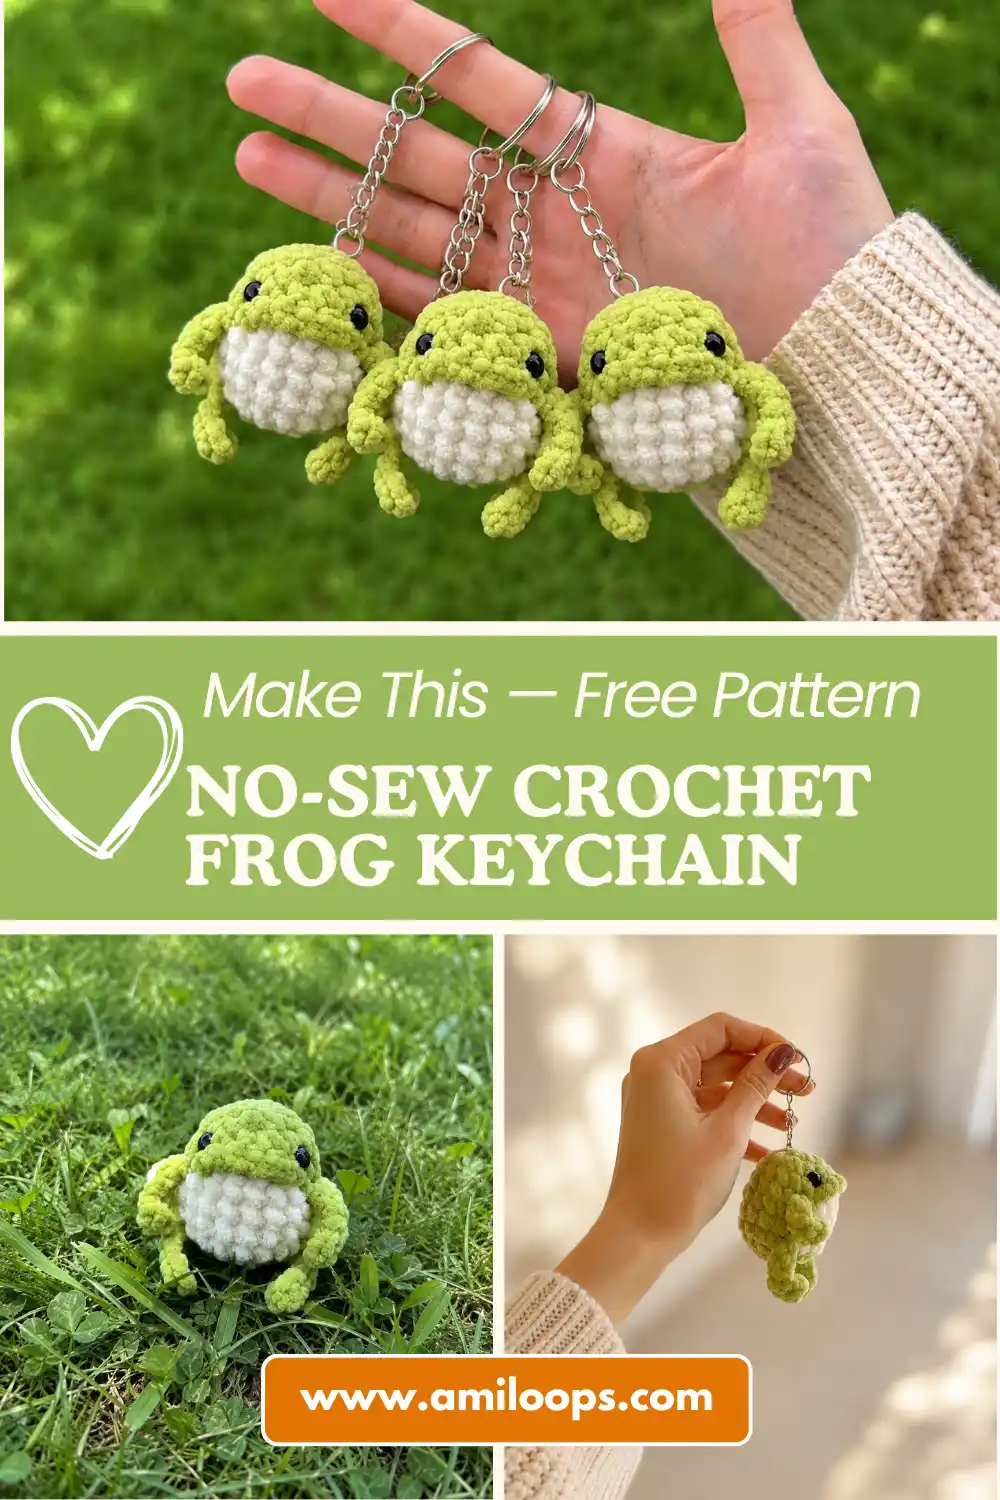
This crochet frog keychain free pattern came together on a slow afternoon when I wanted something small enough to finish in a single sitting. I love how the chenille yarn gives him that soft, squishy texture while the two-tone belly panel keeps the shaping interesting. You’ll build the whole body in continuous rounds, with the legs crocheted directly into place as you go — no separate sewing required. Grab your hook and let’s get started.
📋 Pattern Quick Stats
- Difficulty: Beginner-Friendly
- Finished Size: Compact, one-sitting size (exact measurement not specified in the original pattern)
- Hook Size: G/6 (4.0 mm)
- Yarn Weight: Bulky (5) — chenille/velvet
- Techniques: magic ring, invisible decrease, color changes, safety eyes
- Estimated Time: 2-3 hours
Materials for This Crochet Frog Keychain Free Pattern
This little guy works up quickly in chenille, which gives him that soft, velvety finish without much bulk. Here’s what you’ll need:
- Chenille yarn in a main color — the original pattern uses YarnArt Dolce; a great US alternative is Bernat Baby Velvet, both classified as Bulky (5) on the Craft Yarn Council yarn weight system. The pattern doesn’t specify an exact shade, so pick whatever main color you like — green is the classic choice for a frog, but this works just as well in pastel or novelty colorways.
- A small amount of white chenille yarn for the belly panel
- A small amount of black yarn for the mouth
- Hook: G/6 (4.0 mm)
- 8mm safety eyes, or glue-on eyes (see the safety note below before you choose)
- Polyester fiberfill stuffing
- Tapestry needle and scissors
- Stitch marker, to track the start of your rounds
- Optional: a small keyring or lobster clasp, if you want to finish this as an actual keychain. This isn’t part of the original pattern’s materials list — it’s my own suggestion for turning the finished frog into a keychain, so grab one that feels sturdy enough for the size of your piece.
💡 Emma’s Tip: If you’re using glue-on eyes instead of locking safety eyes, this piece becomes a display or decorative keychain rather than something appropriate for young children — glued components and small hardware can be a choking hazard. Take a look at the U.S. Consumer Product Safety Commission guidance on toy safety before deciding who this little frog is for.
Abbreviations
| Abbreviation | Meaning (US Standard) |
|---|---|
| mr | magic ring |
| sc | single crochet |
| inc | increase (2 sc in one stitch) |
| inv dec | invisible decrease |
| sl st | slip stitch |
| ch | chain |
| (x) | total stitch count at the end of the row |
Special Techniques You’ll Use in This Pattern
This is a genuinely approachable pattern, but a couple of techniques are worth reviewing before you start.
Every round begins with a magic ring — if you haven’t worked one before, or just want a refresher, our step-by-step magic ring tutorial walks through it clearly. It’s the adjustable loop that closes your first round without leaving a hole in the center, and it’s essential for amigurumi.
For the closing rounds, I’ve converted every decrease in this pattern to an invisible decrease. It takes one extra second per stitch compared to a standard decrease, but it leaves no visible gap in your fabric — trust me, it’s worth the extra effort. If you’re new to it, our invisible decrease tutorial breaks it down round by round.
You’ll also want to know how to stuff your amigurumi properly so the shaping stays even and no lumps show through the chenille — this matters even more with a small piece like this one, where every bit of stuffing shows.
If you’re using safety eyes rather than glue-on eyes, take a look at our guide on safely attaching safety eyes before you get to that step — they need to go in before you close and stuff the body.
The Crochet Frog Keychain Free Pattern — Row by Row
Legs (make 4)
💡 Emma’s Tip: These legs aren’t a separate piece you sew on later — you’ll crochet each one directly into the body during Rows 2 and 5. Make all 4 legs first, before you start the body, so they’re ready to attach as you go.
Row 1: ch 6, starting in the 2nd ch from hook: 1 sc, 4 sl st (5)
Fasten off, leaving a short tail if you’d like something to hold onto while attaching. Repeat three more times for a total of 4 legs, then set them aside.
Body
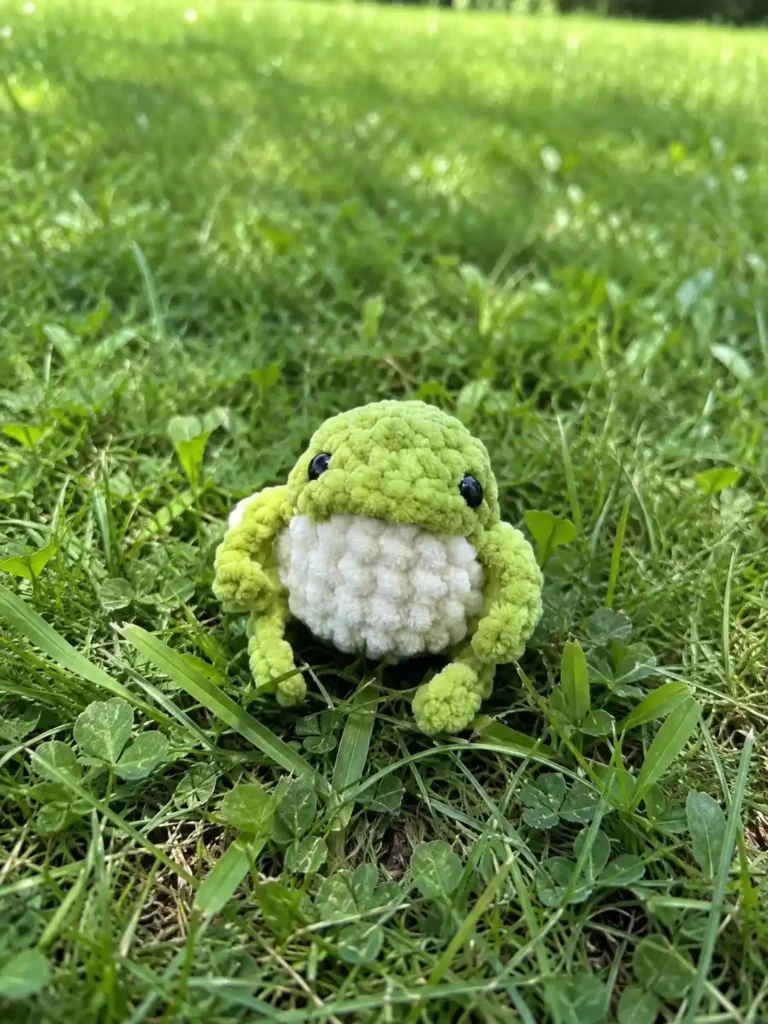
Row 1: 9 sc in mr (9)
Row 2: 2 inc, in one st (1 sc, attach leg, 1 sc), 3 inc, in one st (1 sc, attach leg, 1 sc), 2 inc (18)
💡 Emma’s Tip: This is where your first two legs get anchored into the body. Slot the leg into the stitch the same way you’d work a regular sc, catching the top of the leg’s starting chain along with the body stitch. It feels a little fiddly the first time — take your time with this part, and it’ll click.
Row 3: 5 sc [main color], 8 sc [white], 5 sc [main color] (18)
Row 4: 5 sc [main color], 8 sc [white], 5 sc [main color] (18)
Row 5: 4 sc, 1 sc with leg [main color], 8 sc [white], 1 sc with leg, 4 sc [main color] (18)
💡 Emma’s Tip (Safety Eyes): If you’re using standard safety eyes with plastic washer backs, install them now, before you go any further. Once you start decreasing and stuffing, it’s much harder to get them placed symmetrically.
Row 6: 6 sc [main color], 6 sc [white], 6 sc [main color] (18)
Row 7: 7 sc [main color], 4 sc [white], 7 sc [main color] (18)
💡 Emma’s Tip: Start adding stuffing now, a little at a time, so it has room to settle evenly before the opening closes. Firm but not overstuffed is what you’re after — you want clean stitches with no stuffing peeking through.
Row 8: (1 sc, inv dec) × 6 (12)
Row 9: 6 inv dec (6)
Finish stuffing firmly, close the opening, and weave in your ends.
Assembly Tips for This Crochet Frog Keychain Free Pattern
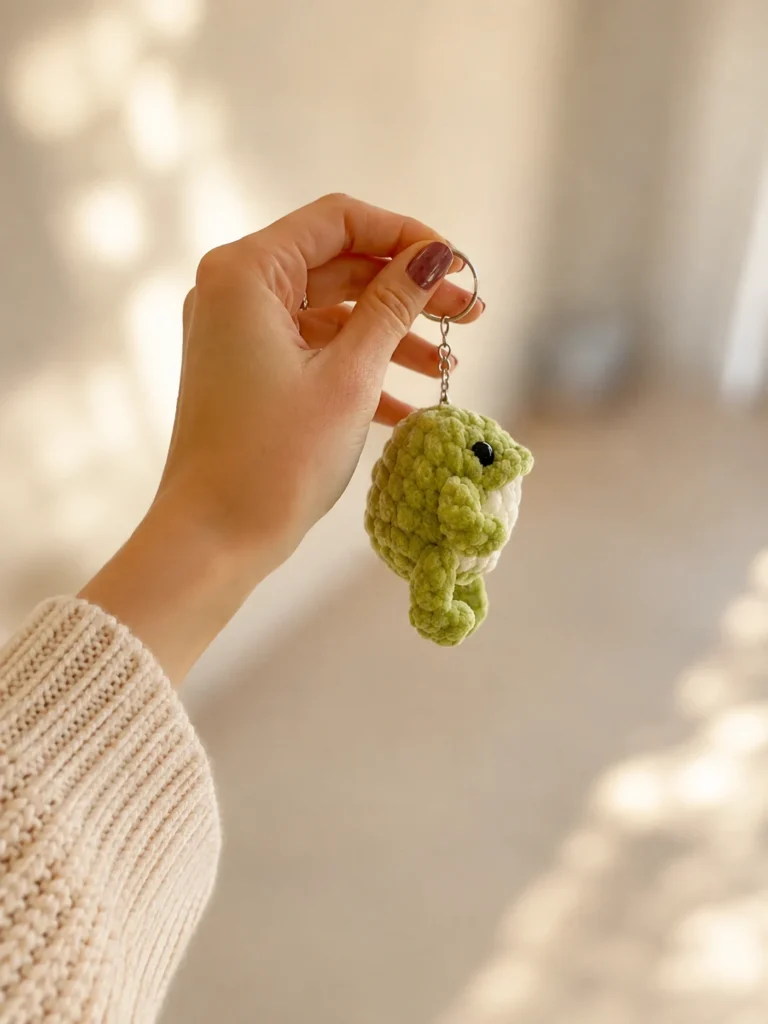
There’s no separate sewing step here, which is part of what makes this such a quick project — the legs are built directly into Rows 2 and 5, so once the body is stuffed and closed, the shaping is essentially done.
- Make all 4 legs before starting the body, so they’re ready when you reach Row 2.
- Attach the first pair of legs while working Row 2, spacing them evenly on either side of the increases.
- Attach the second pair while working Row 5, keeping them roughly aligned below the first pair so the frog sits evenly.
- If you’re adding a keyring, weave it into place near the top of the body — around the closing point at Row 9 — before you weave in your final ends. Stitch through a few sturdy stitches so the weight of a set of keys doesn’t pull it loose over time.
Finishing & Details
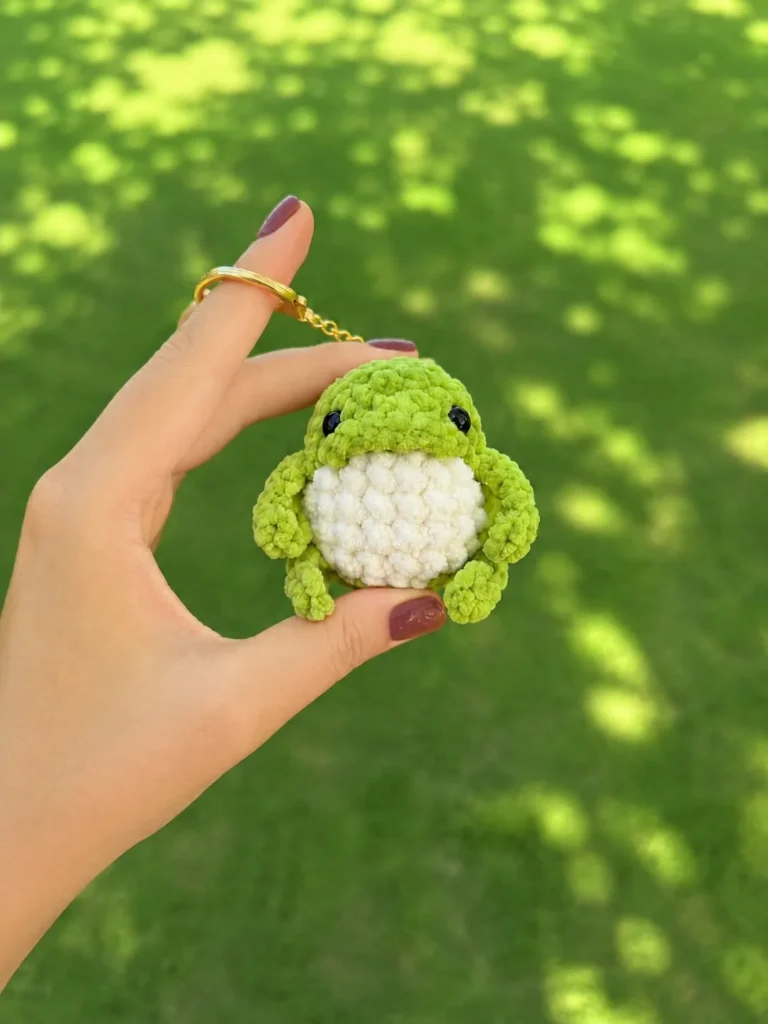
Mouth: Using black yarn, surface crochet a line of 6 sc across the front of the face for the mouth (or embroider it, if you prefer a straight stitch instead of surface crochet). Weave in the ends securely once you’re happy with the shape.
Eyes: If you’re using glue-on eyes, attach them symmetrically above the mouth line once the glue-appropriate surface is clean and dry. If you installed safety eyes back in Row 5, they’re already secure and you can skip this step.
And that’s it — your frog is ready.
Emma’s Note
I really enjoyed how fast this one worked up — the chenille does a lot of the visual heavy lifting, so even with a simple stitch count, the finished frog looks polished. If your tension runs tight like mine, you’ll find the chenille forgiving in a way that fine cotton isn’t, so don’t stress over perfect uniformity here. Take your time attaching the legs in Rows 2 and 5 — that’s the only part that asks for a little patience. Happy hooking! 🧶
FAQ
What yarn is best for this crochet frog keychain free pattern?
A bulky (weight 5) chenille or velvet yarn is ideal. It works up quickly and gives the amigurumi frog a soft, squishy, and velvety finish without adding too much bulk.
How long does it take to crochet this frog keychain?
Since it requires no separate sewing and is quite compact, most crocheters can finish this project in a single sitting, typically taking about 2 to 3 hours.
Can beginners make this amigurumi frog pattern?
Yes! It relies on basic stitches and involves crocheting the legs directly into the body as you work, which completely eliminates the often tricky step of sewing parts together.