Free Easter Egg Crochet Pattern — Mini Amigurumi with Basket
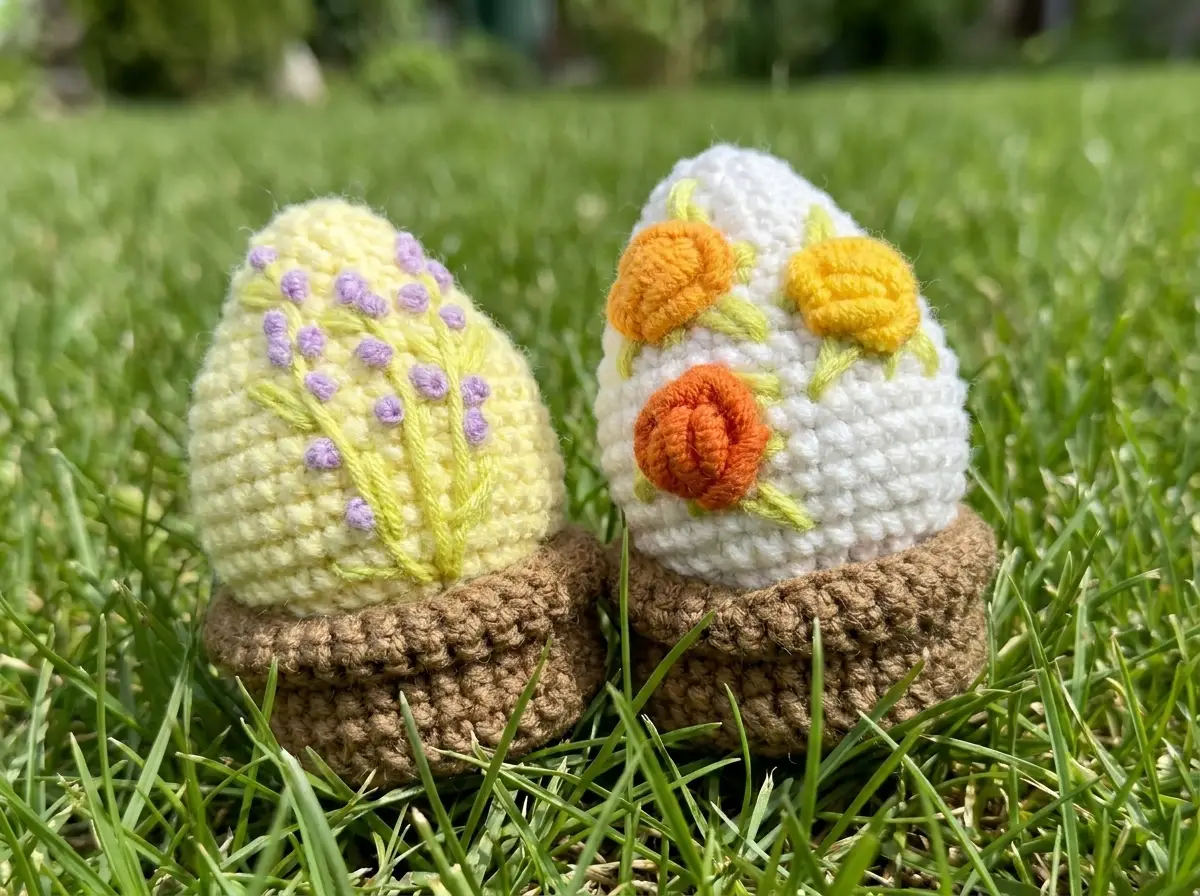
This free easter egg crochet pattern is the exact kind of project your scrap bin was waiting for — two small pieces, under 70 yards of DK yarn total, and the finished result looks like you put in a lot more effort than you actually did. The egg sits in its own little crocheted basket, which you make from the same yarn in a contrasting color. No safety eyes, no complicated shaping, and you can decorate each egg differently every single time. Grab whatever DK scraps you’ve got. This one goes fast.
🧶 What You’ll Need From Your Stash
- 💰 Yarn Needed: ~65 yards total (egg: ~35 yds, basket: ~22 yds, embroidery accent: ~8 yds)
- 🎨 Colors: light yellow or white for the egg, brown for the basket, small scraps in any colors for embroidery
- 🪝 Hook: 2.0mm (US Steel 4)
- ⏱️ Time: 2–3 hours
- 📏 Finished Size: approx. 2.5 in tall (egg); 1.5 in tall (basket) — varies with yarn and tension
- 💡 Difficulty: Beginner
- 🎁 Great For: Easter baskets, seasonal décor, gift toppers, holiday sets, market items
Materials for This Easter Egg Crochet Pattern
This is a true scrap project. You’re looking at two small pieces worked in DK weight yarn — the kind of half-used skeins that pile up after every other project.
- Yarn (Egg): approximately 35 yards of DK / Light Worsted (weight 3) in light yellow, white, or any pastel color you have on hand. The original uses YarnArt Jeans; good US alternatives include Drops Muskat, Paintbox Simply DK, or any CYCA #3 DK weight cotton or cotton-blend yarn you already own.
- Yarn (Basket): approximately 22 yards of the same weight in brown, tan, or any earthy tone from your stash.
- Yarn (Embroidery): small amounts — under 10 yards combined — of any colors for decorating the egg. Embroidery floss, leftover fingering weight, or thin yarn scraps all work here.
- Hook: 2.0mm (US Steel 4). The tight gauge is intentional — it keeps stuffing from showing through the stitches.
- Polyfill stuffing: a small pinch. Seriously, a small pinch. This is a 2.5-inch egg, not a throw pillow.
- Tapestry needle: for weaving in ends and embroidery.
- Stitch marker: one is enough for both pieces.
🧶 Scrap Check: You need less than two yards of each embroidery color — check the very bottom of your scrap bin. Those knotted little wisps you’ve been saving? That’s exactly what goes here.
Abbreviations
| Abbreviation | Meaning |
|---|---|
| mr | magic ring |
| sc | single crochet |
| inc | increase — 2 sc worked into the same stitch |
| dec | invisible decrease — insert hook through front loops only of next 2 stitches simultaneously, yarn over, pull through, yarn over, pull through 2 loops |
| sl st | slip stitch |
| FLO | front loop only — work into the front loop of each stitch only |
| ( ) × | repeat the instructions in brackets the stated number of times |
| ( ) | total stitch count at end of row |
Note on dec: Wherever the pattern says “dec,” use the invisible decrease method listed above. It eliminates the visible gap that the standard sc2tog leaves behind — essential for keeping your egg’s surface smooth.
Smart Crafter Tips
Start both pieces the same way — then they go in completely different directions. The egg and the basket both open with a magic ring and expand to 36 stitches using identical increase rounds. After Row 6, they diverge completely. If you’ve never made a magic ring, our magic ring tutorial walks you through it step by step — it takes about two minutes to learn and closes completely, so there’s no hole in the center of your egg top.
The basket’s Row 7 is the one to pay attention to. You’ll work 36 slip stitches around the entire round — this creates a decorative ridge that mimics the look of a woven basket rim. Then in Row 8, you insert your hook behind the slip stitch row (into the unworked loops from Row 6) to continue crocheting the basket walls. It sounds fiddly the first time, but it becomes obvious once you’re holding the piece. That ridge is what makes the basket look finished rather than just flat.
Stuff the egg gradually, not all at once. Because this piece is small and worked on a tight 2.0mm hook, overstuffing distorts the shape fast. Add a small amount of polyfill around Row 14–15, then top up just before you close the last round. Our guide on how to stuff amigurumi properly covers exactly how much is enough — the short answer is: less than you think.
Make color substitution easy on yourself. The egg and basket are separate pieces with no color changes mid-row. That means you can use any two colors from your stash that read as “egg” and “base” — pale blue and terracotta, mint and wicker, lavender and natural. The pattern doesn’t care. Three leftover pastel skeins from different brands? Make three different eggs and they become a set.
If you’re new to reading pattern abbreviations, our guide to reading amigurumi patterns is a quick reference that covers every symbol used here.
Easter Egg Crochet Pattern — Step by Step
Part 1: The Egg (×1)
Yarn: DK weight in your chosen egg color (light yellow, white, or any pastel).
Starting method: magic ring
🧶 Scrap Check: This entire piece uses approximately 35 yards. A partial skein leftover from almost any DK project is more than enough. Don’t open a new one.
Row 1: 6 sc in mr (6)
Row 2: 6 inc (12)
Row 3: (1 sc, inc) × 6 (18)
Row 4: 1 sc, inc, (2 sc, inc) × 5, 1 sc (24)
Row 5: (3 sc, inc) × 6 (30)
Row 6: 2 sc, inc, (4 sc, inc) × 5, 2 sc (36)
Rows 7–11: 36 sc (5 rows) (36)
Row 12: 2 sc, dec, (4 sc, dec) × 5, 2 sc (30)
Row 13: 30 sc (30)
Row 14: (3 sc, dec) × 6 (24)
Row 15: 24 sc (24)
Row 16: 1 sc, dec, (2 sc, dec) × 5, 1 sc (18)
Row 17: 18 sc (18)
Row 18: (1 sc, dec) × 6 (12)
Row 19: 12 sc (12)
Row 20: 6 dec (6)
Stuff as you go. Add the first small amount of polyfill around Row 14, then top up just before the final decrease round.
Finishing: Thread your tapestry needle through the front loops of all 6 remaining stitches from Row 20, pull tight to close the opening completely, and weave the yarn tail inside the piece. Do not cut until the tail is fully hidden.
Part 2: The Basket (×1)
Yarn: DK weight in brown, tan, or any earthy color.
Starting method: magic ring
🧶 Scrap Check: The basket uses approximately 22 yards. If you’ve got a brown or tan partial skein from any previous project — a bear ear, a teddy body, a log cabin square — that’s exactly the right amount.
Row 1: 6 sc in mr (6)
Row 2: 6 inc (12)
Row 3: (1 sc, inc) × 6 (18)
Row 4: 1 sc, inc, (2 sc, inc) × 5, 1 sc (24)
Row 5: (3 sc, inc) × 6 (30)
Row 6: 2 sc, inc, (4 sc, inc) × 5, 2 sc (36)
Row 7: 36 sl st (36)
This slip stitch row creates the decorative basket rim ridge. Work each sl st snugly but not so tight that you can’t get your hook behind the row in the next step.
Row 8: 36 sc — insert hook behind the sl st row (into the unworked loops from Row 6) (36)
You’re essentially crocheting “through” the slip stitch layer, picking up the loops from Row 6 that weren’t used. The slip stitch ridge will sit on the outside of the basket as a decorative rim. This is easier than it sounds — just tilt the piece slightly to see the loops behind the ridge.
Rows 9–12: 36 sc (4 rows) (36)
Row 13: 36 sc FLO (36)
Working this row through the front loop only creates a fold line at the top edge of the basket wall — the unused back loops become a small visible ridge on the outside that gives the basket a finished, defined rim. Don’t skip it.
Row 14: 36 sc (36)
Finishing: Cut yarn and fasten off. Weave in and hide both yarn tails (starting tail and ending tail) on the inside of the basket. No stuffing required.
Assembly
- Finish the egg first. Confirm it’s firmly stuffed — the egg should hold its oval shape without dimpling when you press it gently. If it collapses, add a little more polyfill before closing. Once closed, hide the yarn tail completely inside the piece.
- Clean up the basket. Weave in both yarn tails on the inside. The basket doesn’t need stuffing — it sits flat. Run your finger around the inside to check that no tails are poking through.
- Decorate the egg before placing it. Embroidery and beadwork are much easier to do while the egg is in your hand, not sitting in the basket. Embroider flowers, geometric lines, dots, zigzags — whatever you’ve got scrap floss for. Even a simple running stitch in a contrasting color around the middle looks intentional and finished. There’s no wrong answer here.
- Place the egg in the basket. Do not sew them together. The egg sits inside the basket and is meant to be removable — this is part of what makes it giftable and reusable. The basket’s Row 13 FLO ridge creates a natural shelf that keeps the egg from sliding around.
That’s the complete assembly. Two pieces, no sewing required between them. Our guide to fastening off and weaving in ends has a clean technique for hiding tails in small amigurumi if you’re finding them tricky to bury.
Stretch It Further
💡 Stretch It Further: Make three eggs in different pastels — pale yellow, mint, and lavender — using the exact same pattern. Give each one a different embroidery motif: flowers on one, simple stripes on another, dots on the third. Arrange them in the same brown basket (or three matching baskets) and you’ve got an Easter table centerpiece that used up three partial skeins and cost almost nothing. Total yarn across all three eggs: under 110 yards. Add a small kraft box and a piece of tissue paper, and that’s a handmade gift that looks like you planned it for weeks.
The basket pattern also works as a standalone piece. Skip the egg entirely and use it as a small holder for a ring, a button collection, or a set of earrings. Make them in natural cotton and they function as little organizing bowls on a dresser. A set of three in neutral tones — cream, tan, brown — sells well at craft markets at $4–6 each.
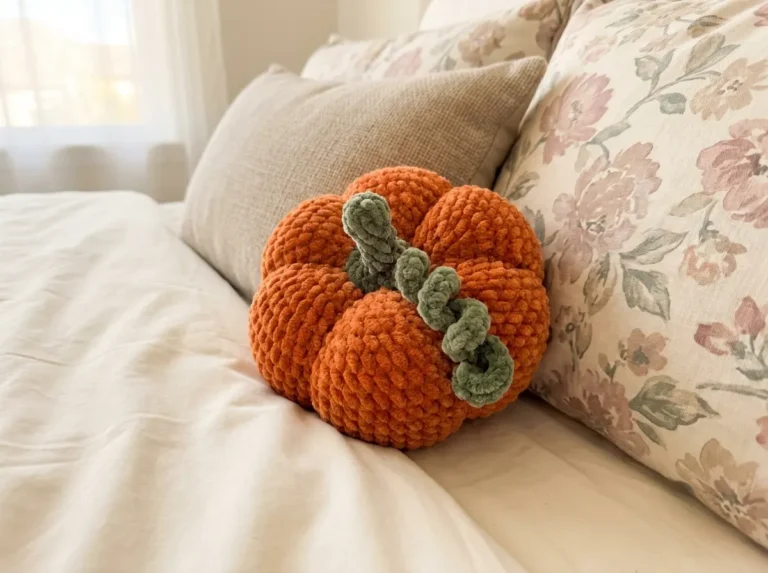
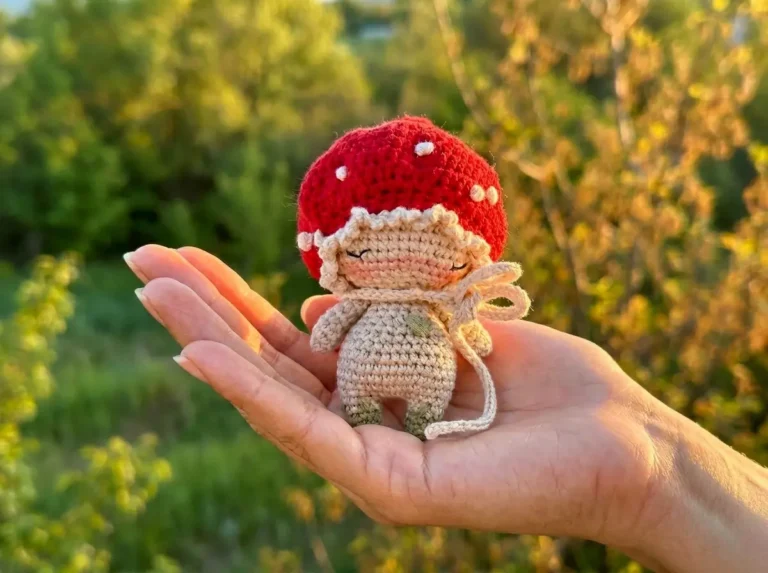
Want to keep going with small seasonal pieces? Our free crochet pumpkin amigurumi uses the same DK weight and a very similar shape — same scrap-friendly format, different season. Or try our tiny beret mushroom pattern for another quick decorative piece that works from leftover yarn.
Mia’s Take
Two pieces, about 65 yards total, zero wasted yarn — and what you end up with is something that genuinely looks like a considered handmade gift. The embroidery is what makes each egg feel personal, and since you’re using scraps for that part too, no two will ever look the same. Make a set of three in different colors this week, tuck them into a small box, and you’ve already handled someone’s Easter gift without buying a single thing you didn’t already own. That’s the whole point. 🧶
What weight of yarn is best for this easter egg crochet pattern?
This pattern is specifically designed for DK weight / Light Worsted (weight 3) cotton or cotton-blend yarn, making it perfect for utilizing leftover scraps.
Do I need to sew the amigurumi egg and the basket together?
No, the egg is designed to be removable. The basket’s Row 13 FLO ridge creates a natural shelf that keeps the egg stable and securely in place.
What size hook should I use for this mini amigurumi egg?
A 2.0mm hook (US Steel 4) is recommended. The tight gauge is essential to prevent the polyfill stuffing from showing through your single crochet stitches.