Free Mini Unicorn Crochet Pattern — Palm-Sized & Squishy
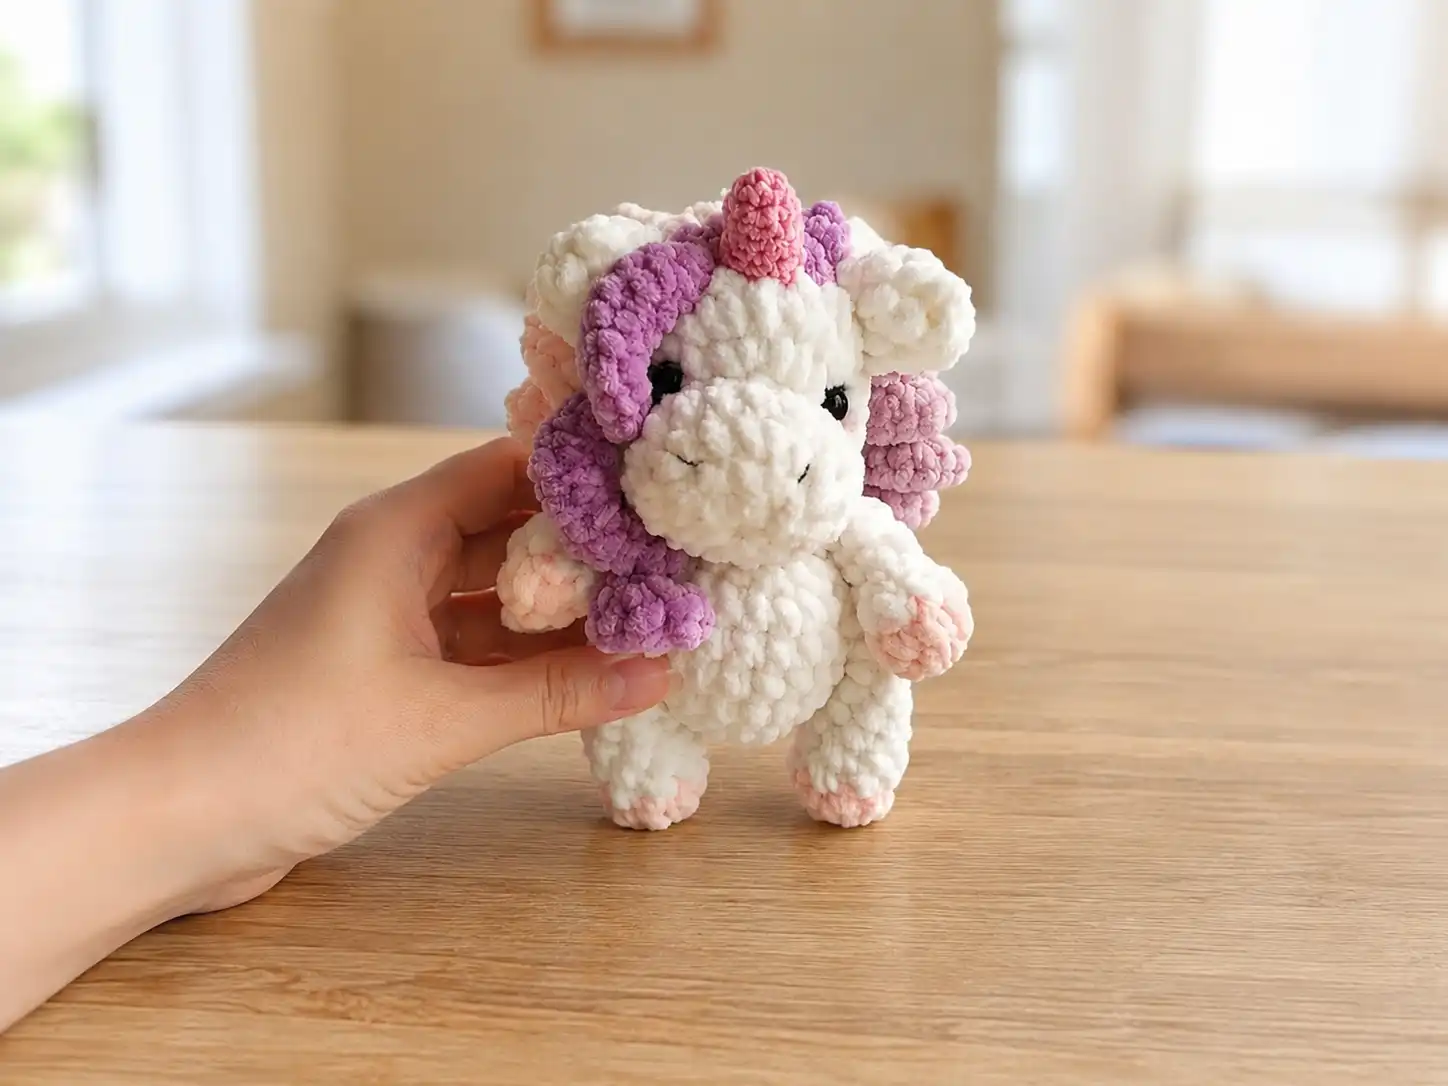
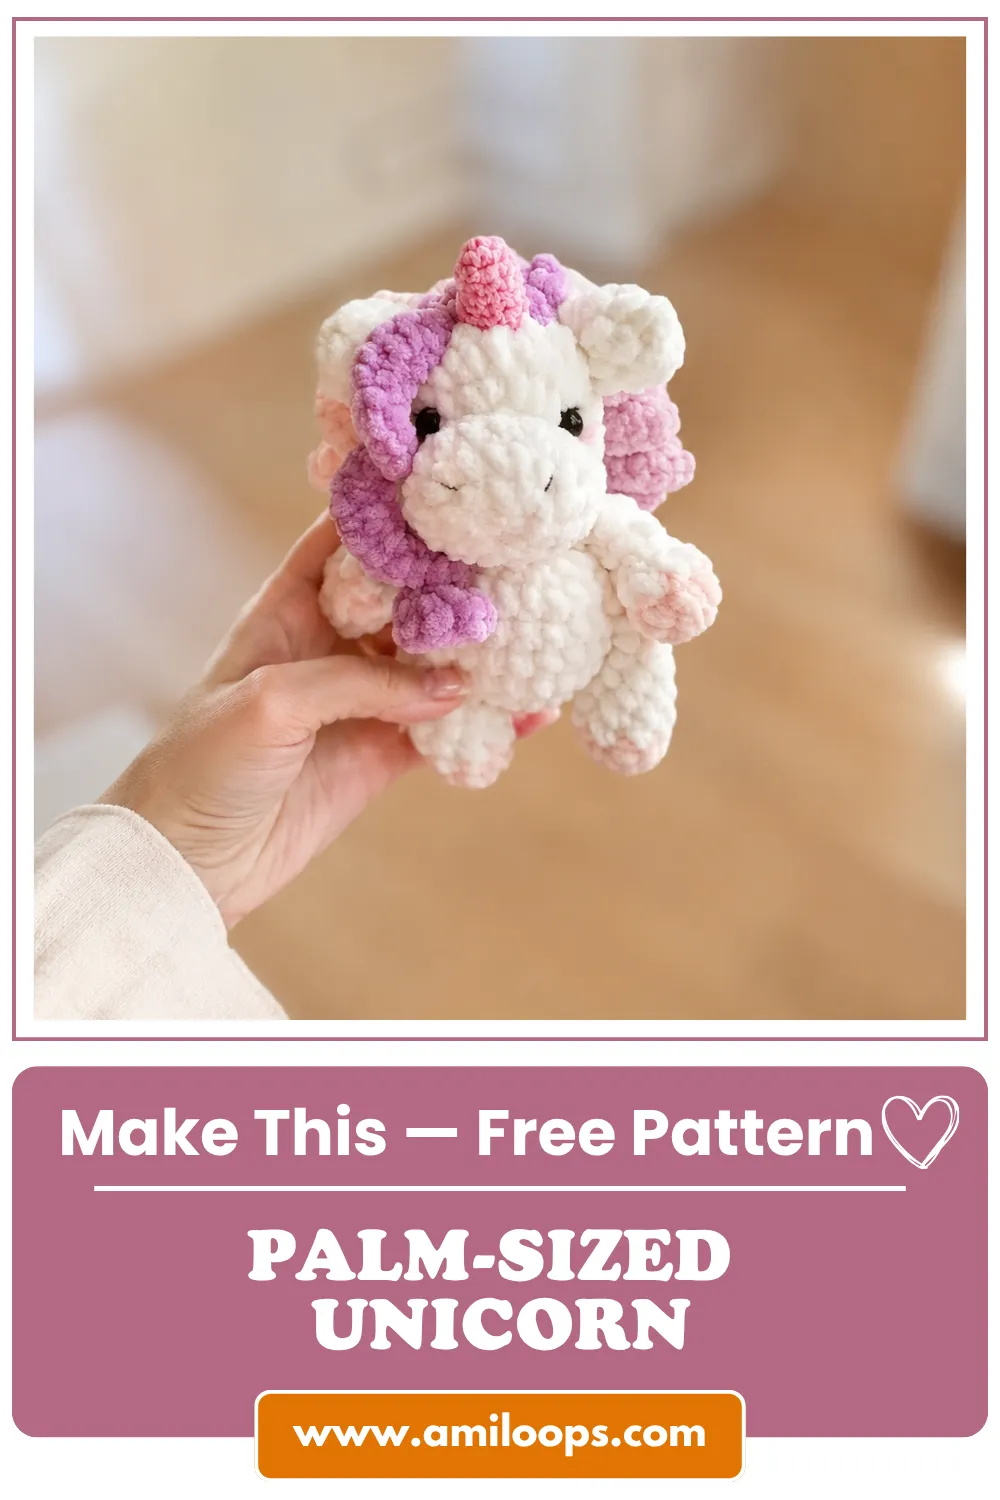
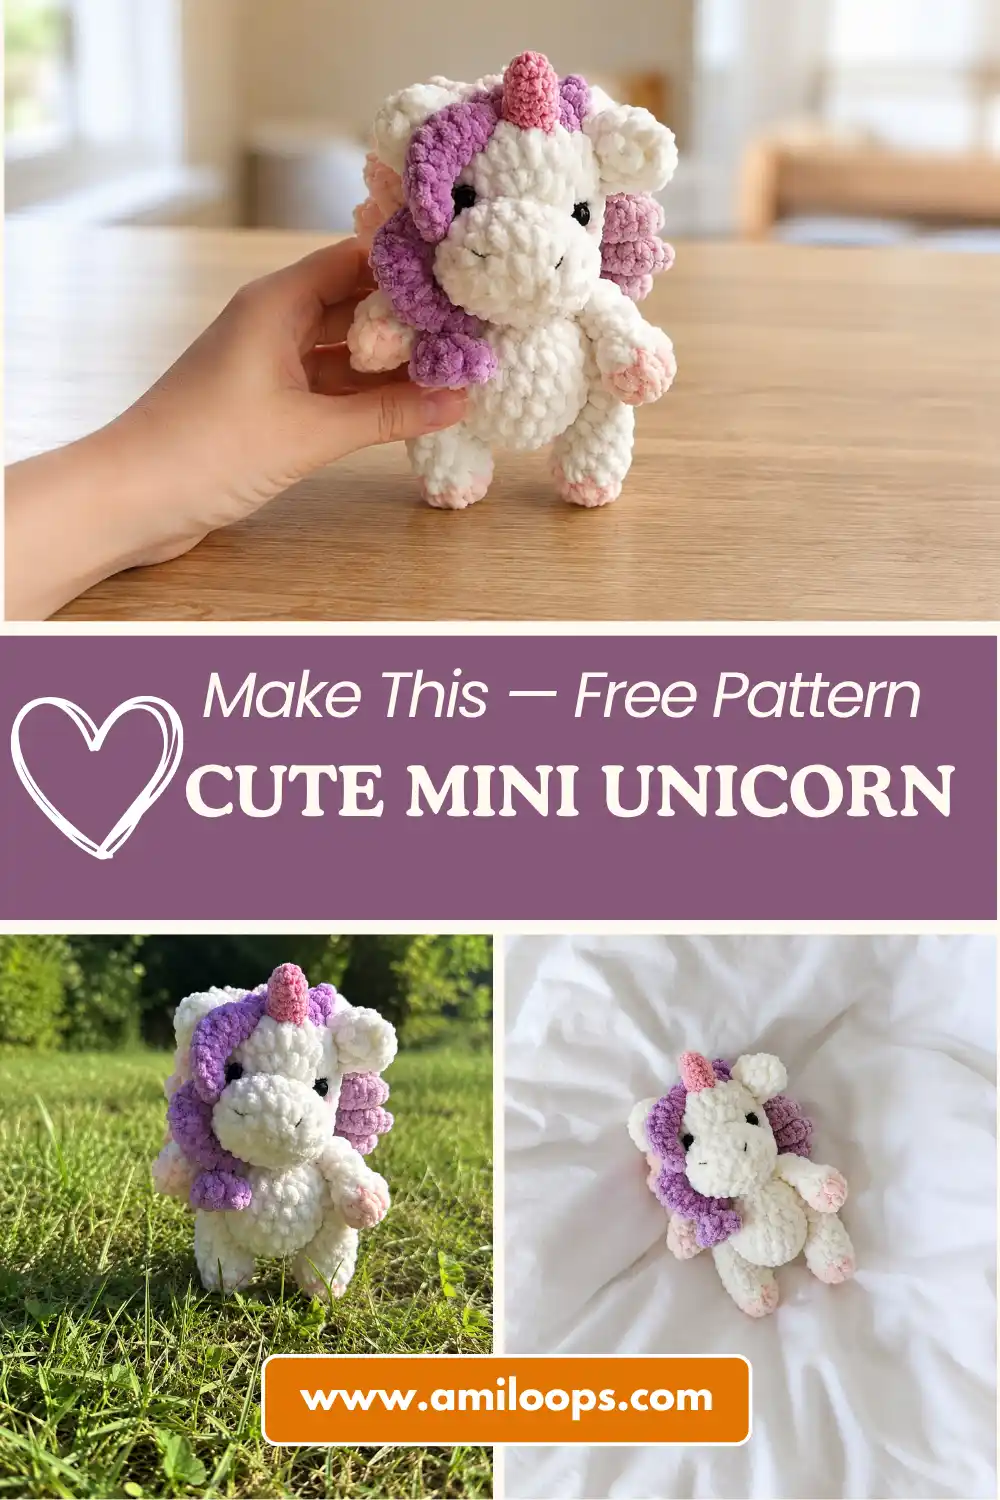
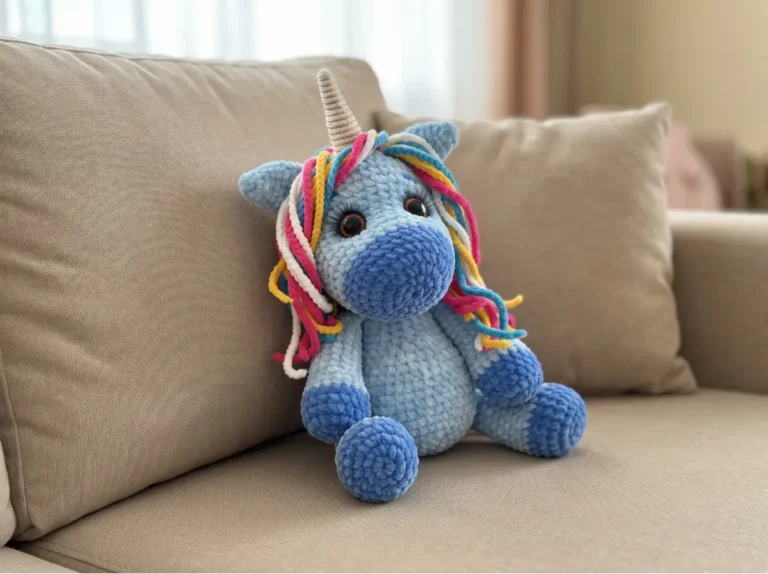
This free mini unicorn crochet pattern is basically pure joy in yarn form — tiny, palm-sized, and honestly the cutest thing you’ll make this week. It’s worked in soft chunky chenille, and here’s the fun part: the arms and legs join right into the body as you go, so there’s zero sewing there. A few small pieces do need attaching after, but nothing scary. Grab your hook — let’s make a unicorn.
🧶 Why You’ll Love This Pattern
- ⭐ Difficulty: Easy–Intermediate — more small pieces than my usual quick projects, but every technique is simple
- ⏱️ Time: 3-4 hours total, probably over a couple of sittings (this one’s got more pieces than my usual one-evening projects, but each piece is fast)
- 🪡 Sewing: Some — the arms and legs crochet right into the body as you go, no sewing there! But the ears, horn, mane, and head do need sewing on.
- 🧵 Yarn: Chunky chenille for the body — soft, squishy, and fast to work up
- 💰 Yarn needed: Less than 1 skein of your main color, plus small amounts of a couple of accent colors
What You’ll Need for Your Mini Unicorn Crochet Pattern
Here’s your shopping list. Don’t stress about matching it exactly — chenille is forgiving, and I promise your unicorn will still look amazing with a substitute.
- Chenille yarn (Bulky, Weight 5): Himalaya Dolphin Baby, or a US alternative like Bernat Baby Velvet or Premier Parfait. You’ll need less than half a skein of your main color, plus small amounts of 2-3 accent colors for the mane and legs. Grab these at Joann, Michaels, or Hobby Lobby.
- DK/Light Worsted cotton (Weight 3): YarnArt Jeans, or a US alternative like Drops Muskat or Paintbox Cotton DK. You only need a small amount — this is just for the horn.
- Two 8mm safety eyes — check out our safety eye tutorial if you’ve never installed a pair before. It’s easier than it looks.
- Fiberfill stuffing
- Tapestry needle for sewing the pieces together, plus a regular sewing needle and matching thread if you want to try the optional face sculpting at the end
- Hook: the original pattern didn’t specify a size, so here’s my honest estimate — around 6.0mm (approx. US J/10) for the chenille pieces, and a smaller 3.5mm (approx. US E/4) for the horn since it’s a thinner yarn. Work up a few stitches first and size down if things look loose — you want your stitches tight enough that stuffing won’t peek through.
This chenille is a Bulky (5) weight — thick, squishy, and part of why this whole project works up so fast.
Abbreviations You’ll See in This Pattern
| Abbreviation | What It Means |
|---|---|
| sc | single crochet — the basic stitch you’ll use for almost everything here |
| inc | increase — 2 single crochets worked into the same stitch, adds width |
| dec | invisible decrease — combines 2 stitches into 1 with no visible gap (the good kind of decrease) |
| mr | magic ring — the adjustable loop you start most pieces with |
| ch | chain — just a basic starting chain |
| sl st | slip stitch — used here to close off a round |
A Few Tips Before You Start This Mini Unicorn Pattern
- New to the magic ring? It sounds fancy, but it’s really just an adjustable loop that closes up tight so there’s no hole at the center. Our magic ring tutorial walks you through it in under two minutes.
- This pattern uses a lot of decreases, especially shaping the head. Use the invisible decrease method instead of a standard decrease — it keeps everything smooth with no weird gaps.
- You’ll be sewing a few pieces on at the end — the ears, horn, mane, and head. If sewing makes you nervous, our sewing guide breaks it down step by step. Pin everything in place before you commit to a single stitch — trust me on this one.
Let’s Make This Mini Unicorn Crochet Pattern
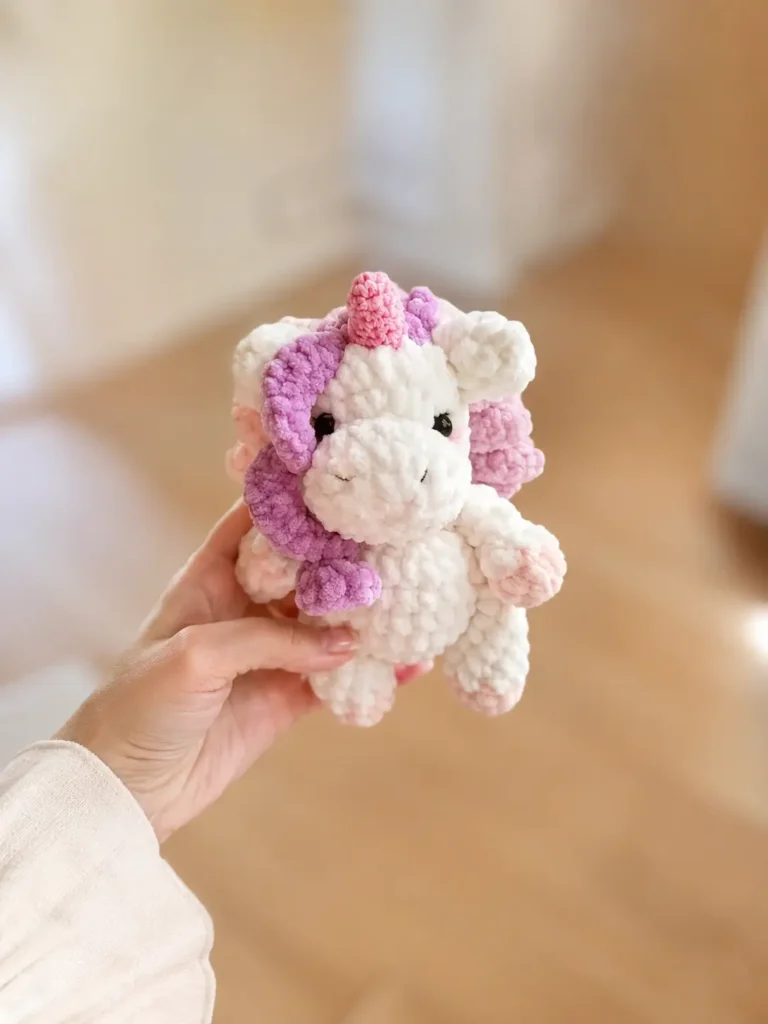
Arms (Make 2)
Start with your main color, then switch to an accent color partway through.
Row 1: 6 sc in mr (6)
Row 2: (1 sc, inc) × 3 (9)
Switch to your accent color here.
Rows 3-7: 9 sc each round (9)
Don’t stuff this piece — leave it soft. Flatten the opening and join it closed by working 4 sc through both layers (4).
🎉 See? Not so scary, right? Two arms down. These little guys don’t get sewn on later either — you’ll crochet them straight into the body in a bit.
Legs (Make 2)
Row 1: 6 sc in mr (6)
Row 2: (1 sc, inc) × 3 (9)
Switch to your accent color here.
Row 3: 9 sc (9)
Row 4: (1 sc, dec) × 3 (6)
Rows 5-7: 6 sc each round (6), then slip stitch to close.
Stuff just the bottom portion of each leg — leave the top open and unstuffed so it’s easy to join into the body later.
Ears (Make 2)
Row 1: 3 sc in mr (3)
Row 2: 3 inc (6)
Row 3: (2 sc, inc) × 2 (8)
Rows 4-6: 8 sc each round (8)
Row 7: (1 sc, inc) × 4, then slip stitch to close (12)
Leave a long tail for sewing later — set these aside for now.
Horn (Make 1)
Work this piece in your DK-weight cotton.
Row 1: 3 sc in mr (3)
Row 2: 3 sc (3)
Row 3: 3 inc (6)
Row 4: 6 sc (6)
Row 5: (2 sc, inc) × 2 (8)
Set this little cone aside too — it gets sewn on after the head is done.
🎉 You’re halfway there! Every small piece is done. Everything left is bigger and honestly more satisfying to watch grow.
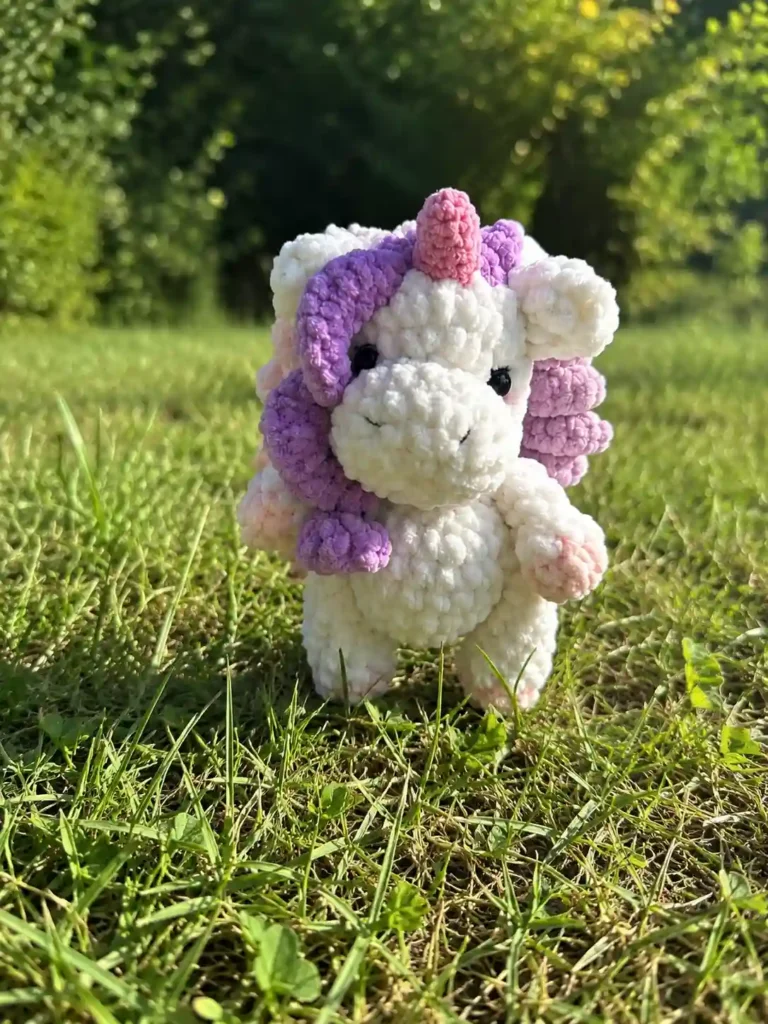
Body (Make 1)
Row 1: 6 sc in mr (6)
Row 2: 6 inc (12)
Row 3: (1 sc, inc) × 6 (18)
Row 4: (5 sc, inc) × 3 (21)
Row 5: 21 sc (21)
Row 6: 5 sc, then hold a leg against the body and work 3 sc through both layers to join it, 5 sc, join the second leg the same way with 3 sc, 5 sc (21)
Row 7: 21 sc (21)
Row 8: (5 sc, dec) × 3 (18)
Row 9: (1 sc, dec) × 6 (12)
Row 10: 2 sc, then hold an arm against the body and work 4 sc through both layers to join it, 2 sc, join the second arm the same way with 4 sc (12)
Row 11: (2 sc, dec) × 3, then slip stitch to close (9)
Stuff the body firmly as you go, especially before closing it up in Row 11.
🎉 Okay, this part is so satisfying. Watching the arms and legs lock into the body without picking up a sewing needle? That’s the good stuff.
Mane (Make 5)
Work these in your accent colors — mix and match for a rainbow effect if you’d like.
Row 1: 26 ch (26)
Row 2: Starting in the 2nd chain from your hook, inc in every stitch across (50)
Make 5 of these strands total. They’ll curl naturally, which is exactly what you want for a mane.
Head (Make 1)
Row 1: 6 sc in mr (6)
Row 2: 6 inc (12)
Row 3: (1 sc, inc) × 6 (18)
Rows 4-5: 18 sc each round (18)
Row 6: 7 sc, 4 inc, 7 sc (22)
Row 7: 7 sc, (1 sc, inc) × 4, 7 sc (26)
Rows 8-9: 26 sc each round (26)
Row 10: 1 sc, (4 sc, dec) × 4, 1 sc (22)
Row 11: 1 sc, (3 sc, dec) × 4, 1 sc (18)
Row 12: (1 sc, dec) × 6 (12)
Row 13: 6 dec, then fasten off, leaving a long tail for sewing (6)
Insert your safety eyes during Row 6 — one between the last sc and the first inc, and the second one after finishing Row 9, between the last inc and the sc. Stuff the head firmly before closing.
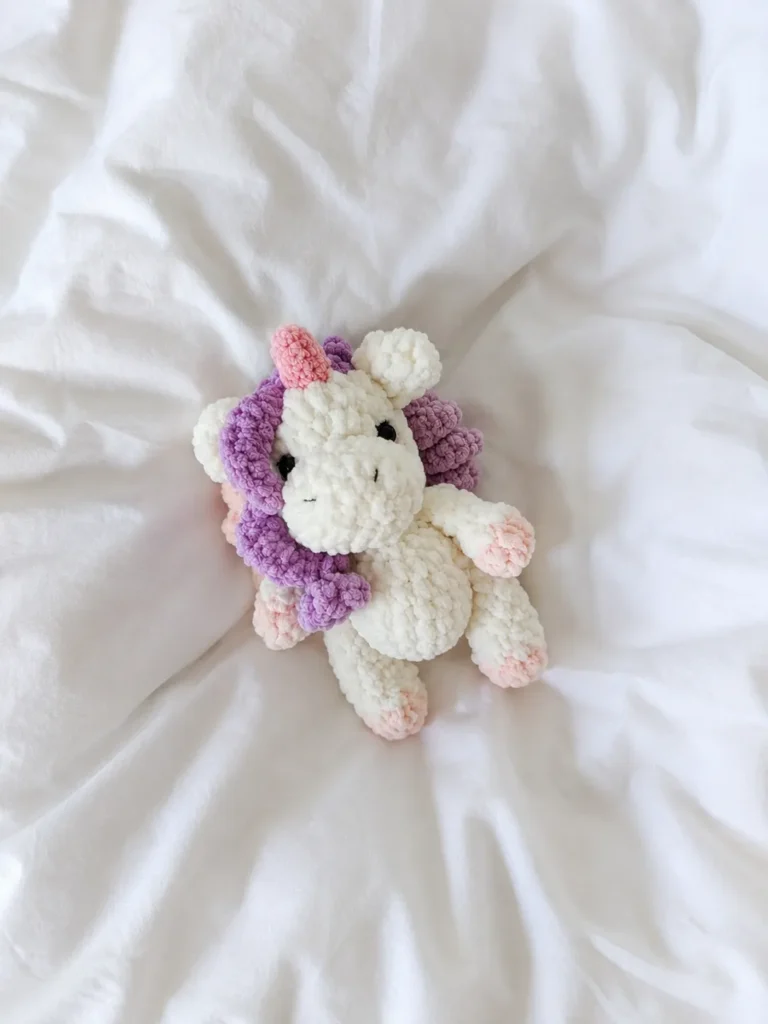
Assembly: Putting Your Mini Unicorn Crochet Pattern Together
This is the only part with real sewing, so take your time and pin everything first.
- Sew the ears onto rows 9-10 of the head, spacing them 5-6 stitches apart.
- Sew the horn between rows 7-8-9, right in the middle of the head, between the ears.
- Sew the 5 mane strands along the back of the head and down the neck.
- Sew the head onto the body.
🎉 Look at that! Four sewing steps and you’re done — way less than most amigurumi with this many pieces. You’ve got this.
Optional: A Little Extra Sculpting
This part is totally optional, but it adds subtle shaping around the chin and muzzle for a cuter, more expressive face. Using matching thread and a sewing needle, bring the thread out at the chin, pass it through a few points around the muzzle, and pull gently to cinch the shape before knotting it off. The exact placement is easiest to follow visually, so use the reference photos for this pattern as your guide rather than guessing — a little trial and error here is totally normal. You can also embroider on tiny eyebrows and nostrils if you want to take the face even further. Skip this step entirely if you’d rather keep things simple — your unicorn will still be adorable either way.
You Did It!
You did it! Seriously — a whole unicorn, made mostly without a sewing needle in sight. If this was your first time joining pieces as you crochet, that’s a real skill you just picked up, not just a cute toy. Tag us if you share it — I want to see every single accent-color combo. And if you’re craving something bigger and fluffier next, check out our chenille unicorn plush for your next project. 🧶
FAQ
What yarn is best for this mini unicorn crochet pattern?
Bulky weight (5) chenille yarn like Himalaya Dolphin Baby or Bernat Baby Velvet works best for a soft, squishy finish.
How long does it take to crochet this mini unicorn?
It typically takes about 3 to 4 hours, making it a great weekend project.
Is there a lot of sewing required?
No! The arms and legs are crocheted directly into the body as you go. You only need to sew the head, ears, horn, and mane.