Materials for This Free Halloween Ghost Amigurumi Pattern
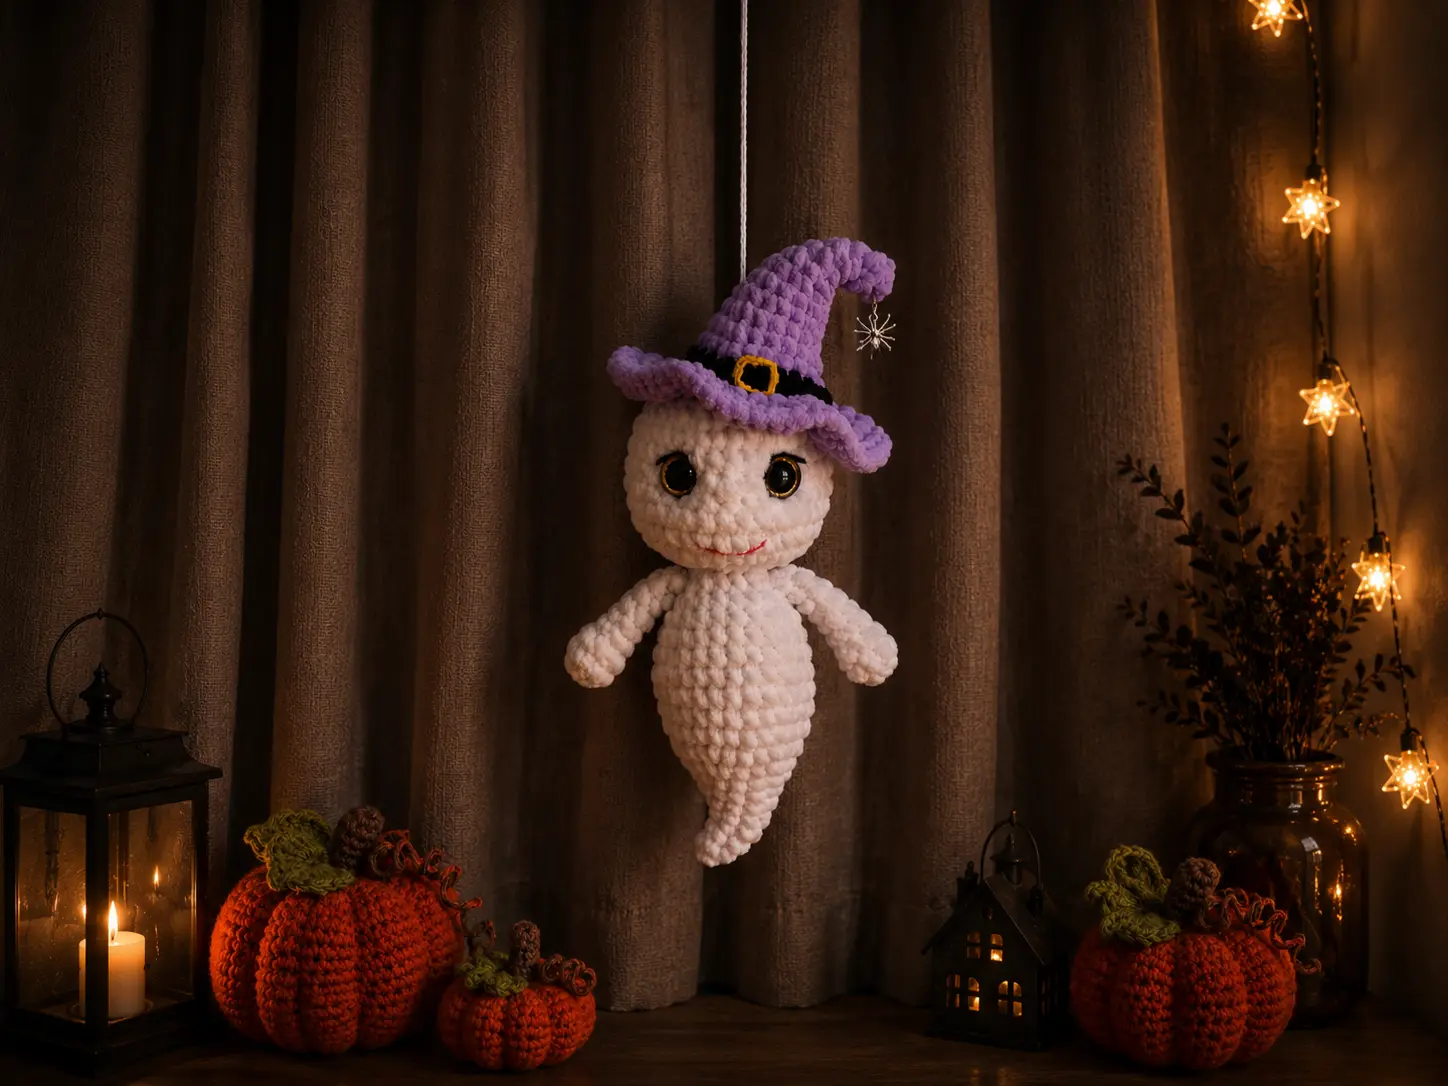
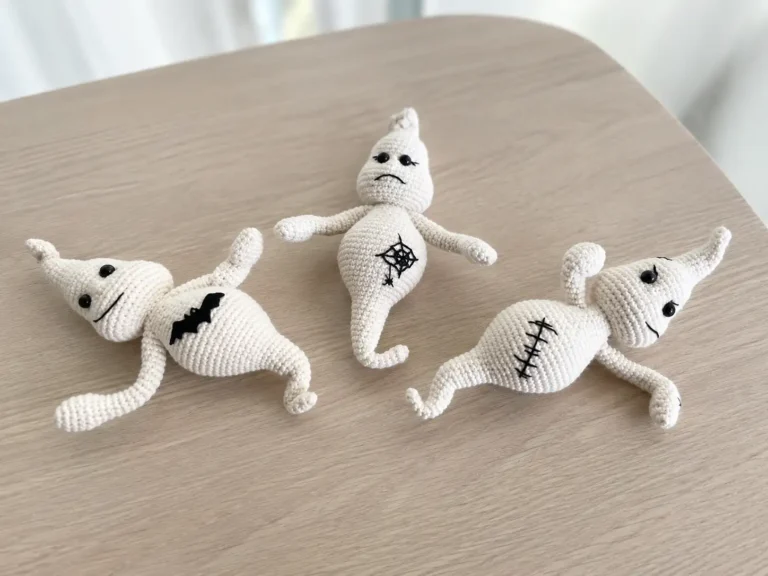
This little witch-hatted ghost has been sitting in my “make this for October” folder for weeks, and I finally sat down with my hook and got it done. What I love about this free Halloween ghost amigurumi pattern is how much personality comes through in such a compact shape — the tiny arms, the pointed hat, that sweet embroidered face. I kept my tension tight throughout so the chenille fabric stays dense and the safety eyes sit securely. Grab your hook and let’s get into it.
📋 Pattern Quick Stats
- Difficulty: Intermediate (estimated — not specified in the original pattern)
- Finished Size: Approximately 6 in tall (estimate — exact measurement not provided in the source pattern)
- Hook Size: 3.5mm (US E/4)
- Yarn Weight: Bulky (5) chenille, with a DK (3) accent yarn for embroidery
- Techniques Used: magic ring, invisible decrease, increase, color changes, safety eye placement, sewing, embroidery
- Estimated Time: 3-5 hours
You’ll need:
- Bulky (5) chenille yarn in white, purple, and a small amount of black (the original pattern uses YarnArt Dolce; Bernat Baby Velvet is a great US-accessible substitute with the same soft, plush finish)
- A small amount of DK/Light Worsted (3) yarn for embroidering the eyelids and mouth (Paintbox Cotton DK or Drops Muskat work well here, or swap in embroidery floss if you prefer more definition in your stitches)
- Cotton sewing thread for attaching the arms and hat
- 3.5mm (US E/4) crochet hook
- 16mm glitter safety eyes
- Polyester fiberfill stuffing
- A tapestry needle for sewing and weaving in ends
- A sewing needle for the embroidered details
The chenille yarn here falls into the Bulky (5) category on the Craft Yarn Council yarn weight system, which is what gives this ghost its soft, squishy finish. Because chenille has a bit of a halo to it, I like to work slightly tighter than usual so the stitch definition doesn’t get lost — you’ll thank yourself later when you’re placing the safety eyes precisely.
Abbreviations Used in This Pattern
| Abbreviation | Meaning |
|---|---|
| ch | chain |
| mr | magic ring |
| sc | single crochet |
| inc | increase |
| inv dec | invisible decrease |
| sl st | slip stitch |
Special Techniques You’ll Need
This is a friendly intermediate project, but there are a few techniques worth reviewing before you start.
Every part begins with a magic ring, which gives you a fully closed center with no gap — essential for amigurumi. If you haven’t worked one before, our step-by-step magic ring tutorial walks through it slowly.
For decreases, I always use the invisible decrease rather than a standard sc2tog. It closes cleanly with no visible hole, which matters a lot on a small piece like this ghost’s head and body shaping. If the term is new to you, our invisible decrease tutorial breaks down exactly how to work it.
The hat switches between purple and black partway through, so you’ll want to be comfortable with a clean color change. Our guide to changing colors in amigurumi covers how to avoid that little jog where colors meet.
Finally, once the head is finished, you’ll be sewing the arms and hat in place. If seaming isn’t your strong suit yet, our tutorial on sewing amigurumi parts together is worth a look before you get started.
💡 Emma’s Tip: Keep your invisible decreases consistent in direction throughout a round — it keeps the shaping symmetrical, which really shows on a piece this size.
Free Halloween Ghost Amigurumi Pattern — Body and Head
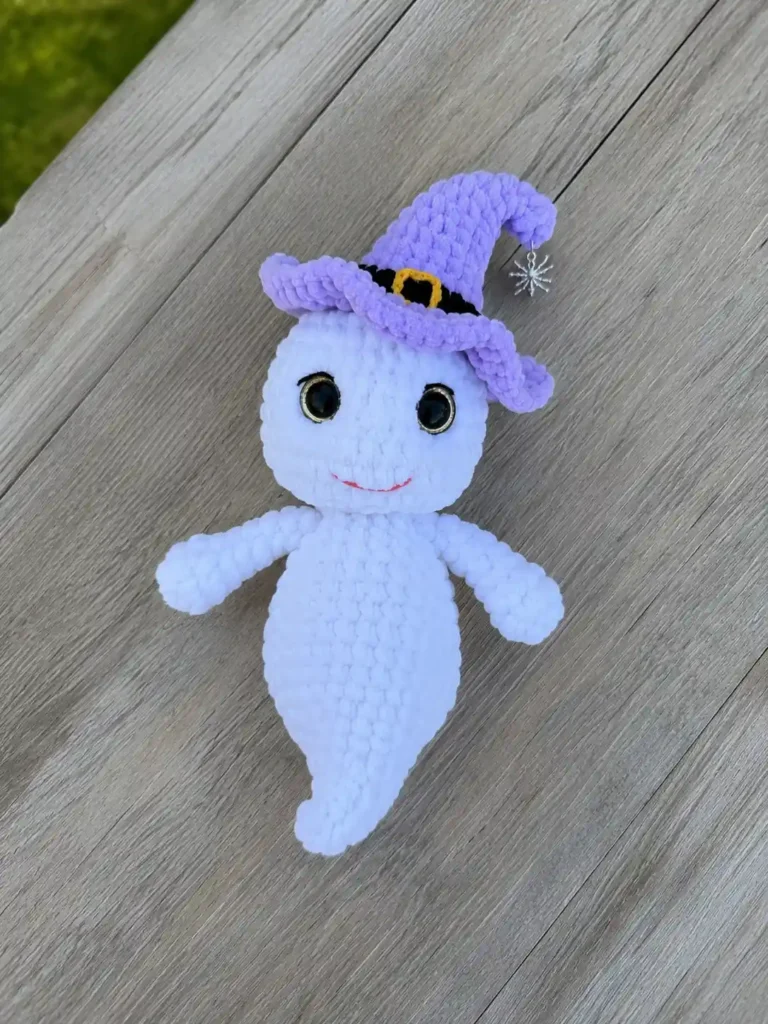
The body and head are worked as one continuous piece in white, starting from the base of the body and ending at the top of the head. Rows 1-20 form the body, and the head begins at Row 21.
Row 1: 6 sc in mr (6)
Row 2: 6 sc (6)
Row 3: inc, 5 sc (7)
Row 4: inc, 2 sc, 2 sl st, 2 sc (8)
Row 5: 1 sc, inc, 6 sc (9)
Row 6: (2 sc, inc) * 3 (12)
Row 7: (3 sc, inc) * 3 (15)
Row 8: (4 sc, inc) * 3 (18)
Row 9: (2 sc, inc) * 6 (24)
Row 10: (3 sc, inc) * 6 (30)
Rows 11-14: 30 sc (4 rows) (30)
Row 15: (8 sc, inv dec) * 3 (27)
Row 16: 27 sc (27)
Row 17: (7 sc, inv dec) * 3 (24)
Row 18: (6 sc, inv dec) * 3 (21)
Row 19: (5 sc, inv dec) * 3 (18)
Row 20: (1 sc, inv dec) * 6 (12)
💡 Emma’s Tip: Start adding stuffing to the body once you finish Row 19 or so — it’s much easier to get an even shape while you still have room to work your hand inside.
Row 21: inc * 12 (24)
Row 22: (3 sc, inc) * 6 (30)
Row 23: (4 sc, inc) * 6 (36)
Rows 24-29: 36 sc (6 rows) (36)
💡 Emma’s Tip: This is where you’ll place the safety eyes — between Rows 27 and 28, with a distance of 5 sc between the two eyes. Take a moment to hold the piece up and check the placement from the front before you snap the backs on. Once they’re in, they’re in.
Row 30: (4 sc, inv dec) * 6 (30)
Row 31: (3 sc, inv dec) * 6 (24)
Row 32: (2 sc, inv dec) * 6 (18)
Row 33: (1 sc, inv dec) * 6 (12)
Row 34: inv dec * 6 (6)
Finish stuffing the head firmly, then fasten off and close the opening. Weave in your ends securely — our guide to fastening off and weaving in ends has my go-to method for a seam that won’t work loose over time.
Hat
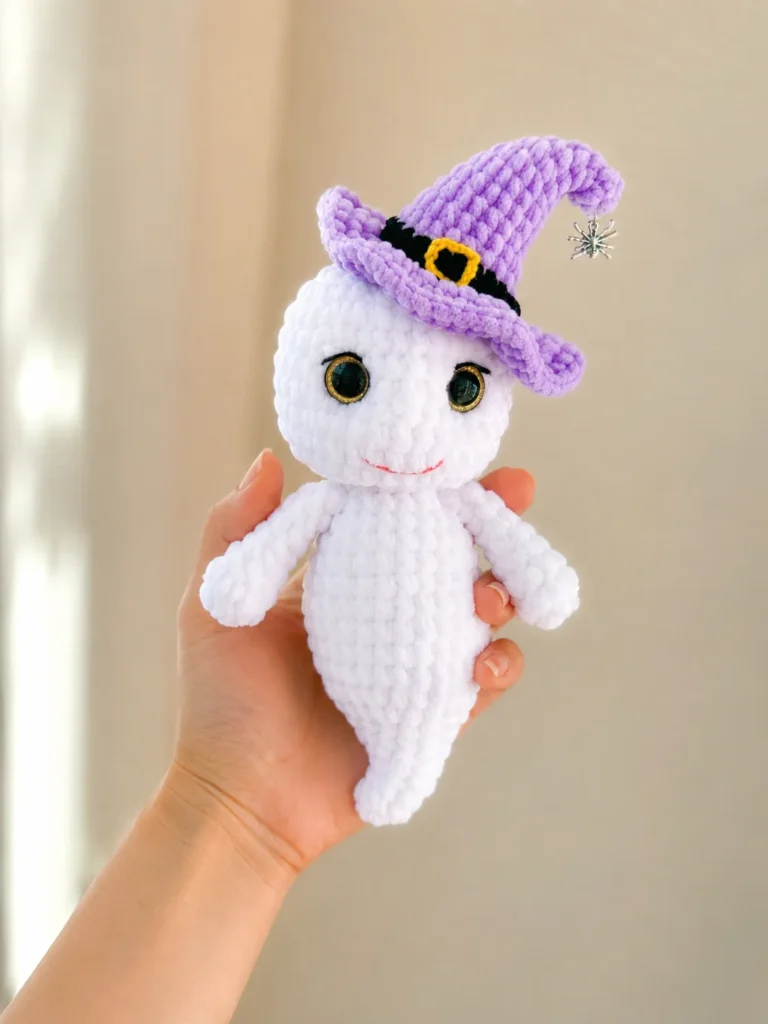
The hat is worked in purple, with a black section forming the band near the brim, starting from the pointed tip and working down to the wide brim.
Row 1: 4 sc in mr [purple] (4)
Row 2: 4 sc (4)
Row 3: inc, 1 sc, 2 sl st (5)
Row 4: 1 sc, inc, 1 sc, 2 sl st (6)
Row 5: 1 sc, inc * 2, 1 sc, 2 sl st (8)
Row 6: 2 sc, inc * 2, 2 sc, 2 sl st (10)
Row 7: 1 sc, inc, 4 sc, inc, 1 sc, 2 sl st (12)
Row 8: 3 sc, inc, 2 sc, inc, 3 sc, 2 sl st (14)
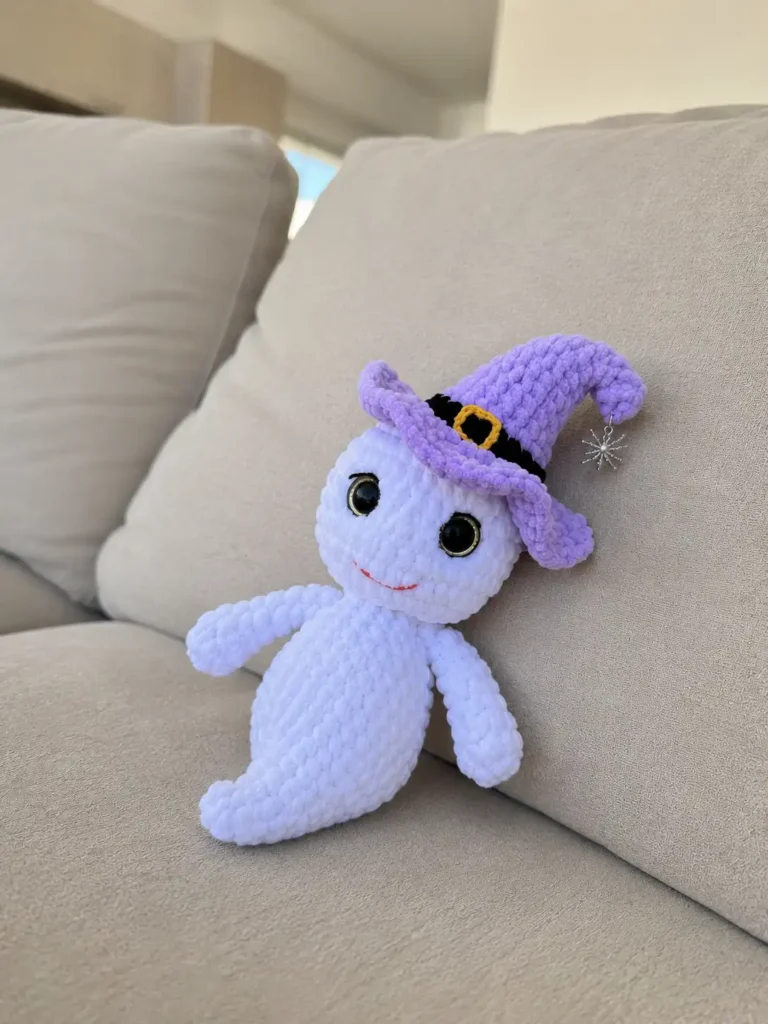
Row 9: 2 sc, inc, 6 sc, inc, 2 sc, 2 sl st (16)
Row 10: 4 sc, inc, 4 sc, inc, 4 sc, 2 sl st (18)
Row 11: (5 sc, inc) * 3 (21)
Row 12: (6 sc, inc) * 3 (24)
Row 13: (7 sc, inc) * 3 [black] (27)
Row 14: (8 sc, inc) * 3 [black] (30)
Row 15: inc * 30 [purple] (60)
Rows 16-17: 60 sc (2 rows) [purple] (60)
Change to black right before starting Row 13, then switch back to purple right before Row 15. Fasten off and weave in your ends.
💡 Emma’s Tip: The repeated “2 sl st” at the end of Rows 3-10 forms the little seam detail along the back of the hat’s crown — don’t skip them, even though it’s tempting once you’re moving quickly through a round.
Arms (make 2)
Row 1: 8 sc in mr (8)
Rows 2-3: 8 sc (2 rows) (8)
Row 4: 2 sc, inv dec * 2, 2 sc (6)
Rows 5-8: 6 sc (4 rows) (6)
Fasten off, leaving a long tail for sewing. These arms are small and don’t need stuffing — they hold their shape from the tight tension alone, which is exactly what you want for a piece this size.
Assembly
- Insert the 16mm safety eyes into the head between Rows 27 and 28, spacing them 5 sc apart. Do this while you’re still crocheting the head, before you finish stuffing and closing it.
- Sew the arms to the body between Rows 19 and 20, one on each side, using the sewing needle and cotton thread.
- Place the finished hat on top of the head and sew it in place around the base.
Because safety eyes have a locking washer backing, they’re a secure choice once installed correctly. If this piece will end up somewhere little hands can reach it, it’s worth reviewing the U.S. Consumer Product Safety Commission’s guidance on small parts and toy safety standards.
Finishing & Face Details
The face is where this little ghost really comes to life. Using your DK-weight embroidery yarn or floss:
- Embroider the eyelids and lashes in black or dark thread directly above each safety eye
- Add a small white accent stitch just beneath each eye
- Stitch a small pink or red mouth just below the eyes
Finish the hat by crocheting a small slip-stitch buckle directly onto the black band, using a contrasting gold or yellow yarn.
💡 Emma’s Tip: Embroider the face before you attach the hat — it’s much easier to control your needle when the head isn’t obstructed.
Emma’s Note on This Free Halloween Ghost Amigurumi Pattern
There’s something satisfying about a pattern this compact — every round earns its place, and there’s no wasted shaping anywhere in the body or hat. If your invisible decreases are looking a little uneven the first time through, don’t panic — just take it slow on the next round and let your tension settle. This one’s begging for a little friend on the shelf, so if you’re in a seasonal mood, take a look at our crochet snowman pattern or our amigurumi reindeer next. Happy hooking! 🧶
FAQ
What yarn is best for crocheting this Halloween ghost amigurumi?
A Bulky (Weight 5) chenille yarn like Bernat Baby Velvet is ideal for giving the ghost a soft, squishy, and plush texture. You will also need a small amount of DK (Weight 3) cotton yarn or embroidery floss for the facial details.
How long does it take to crochet this Halloween ghost?
This project takes approximately 3 to 5 hours to complete, depending on your crochet speed and experience with seaming and facial embroidery.
Can beginners make this ghost amigurumi pattern?
This is a friendly intermediate pattern, but confident beginners can make it if they are comfortable working with magic rings, invisible decreases, color changes, and basic amigurumi assembly.