Free Grinch Amigurumi Crochet Pattern — Scrap-Bin Holiday Softie
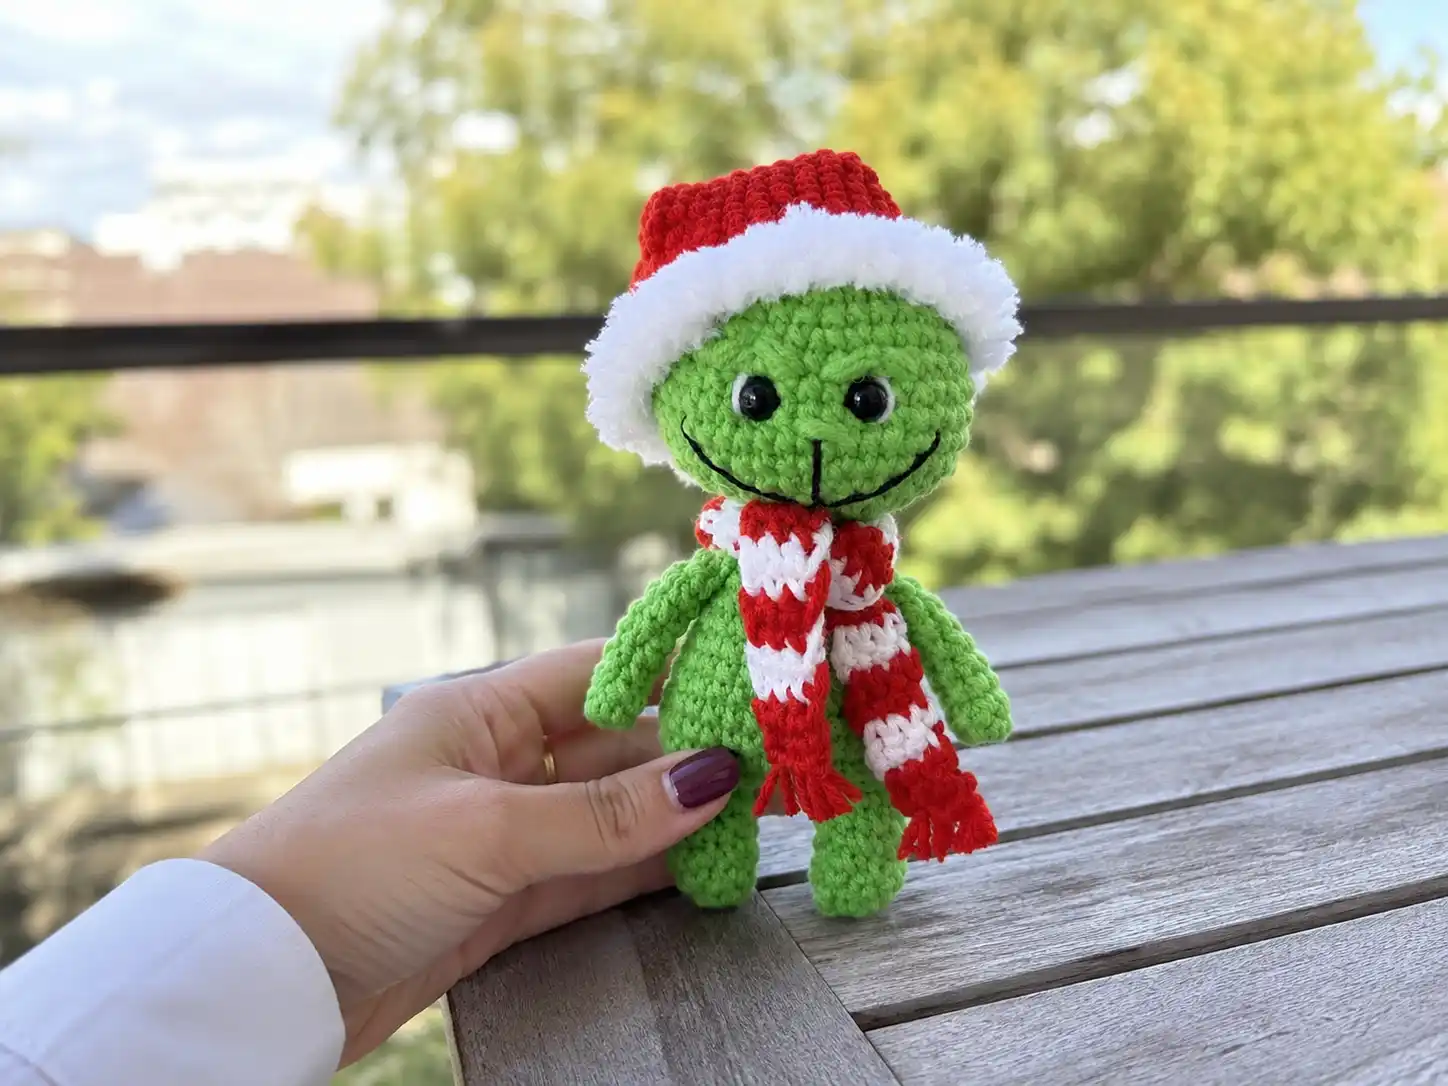
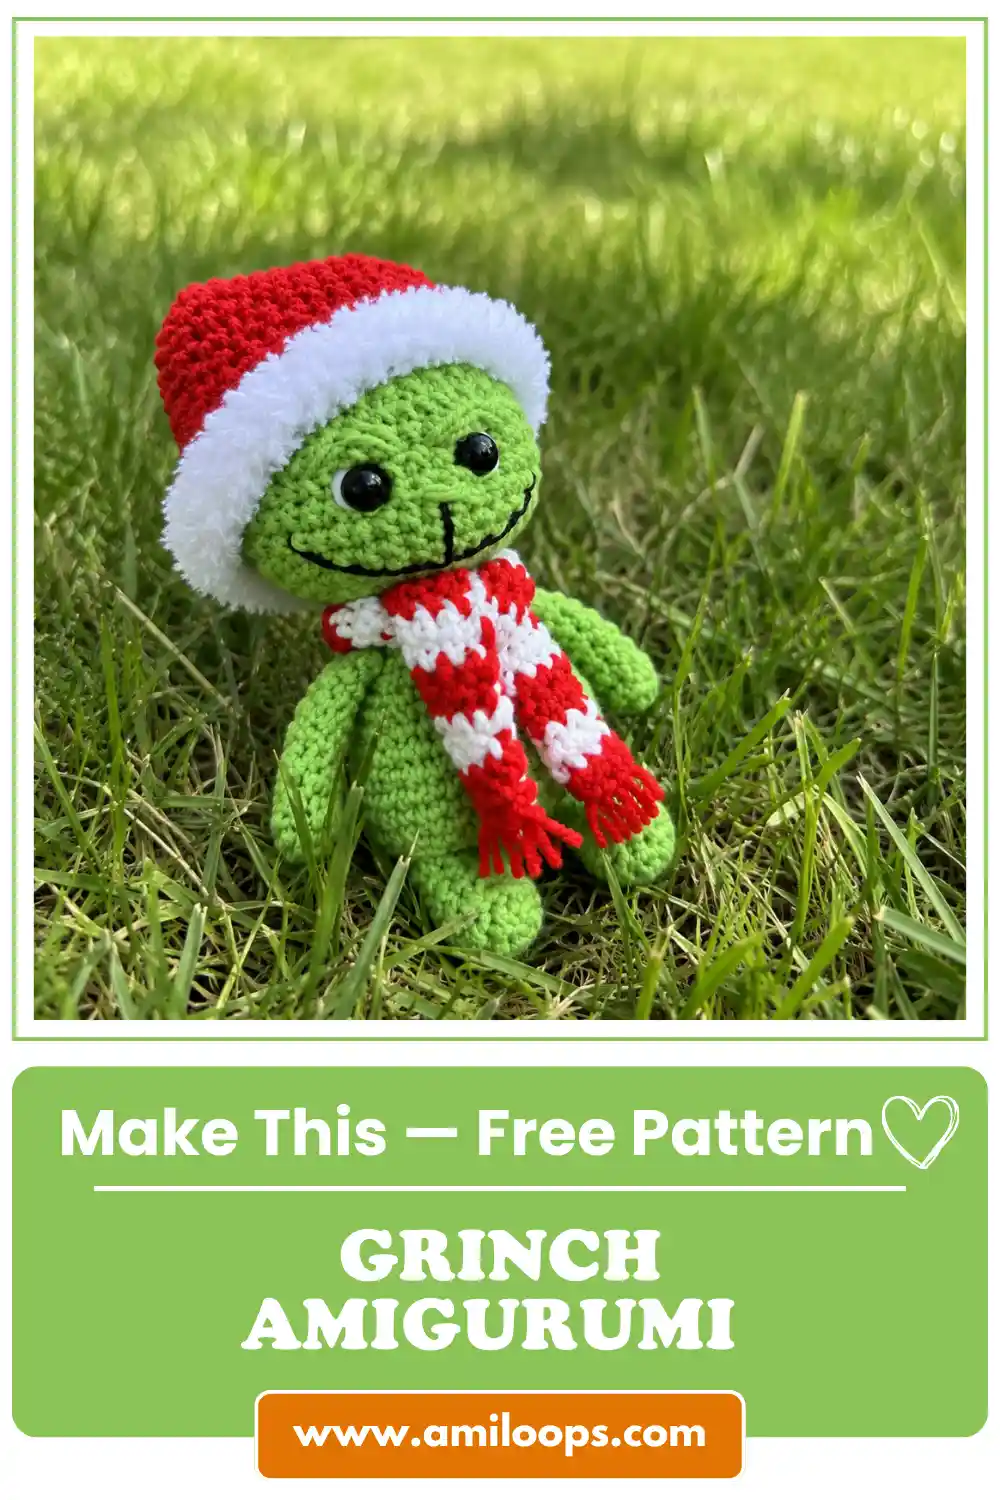
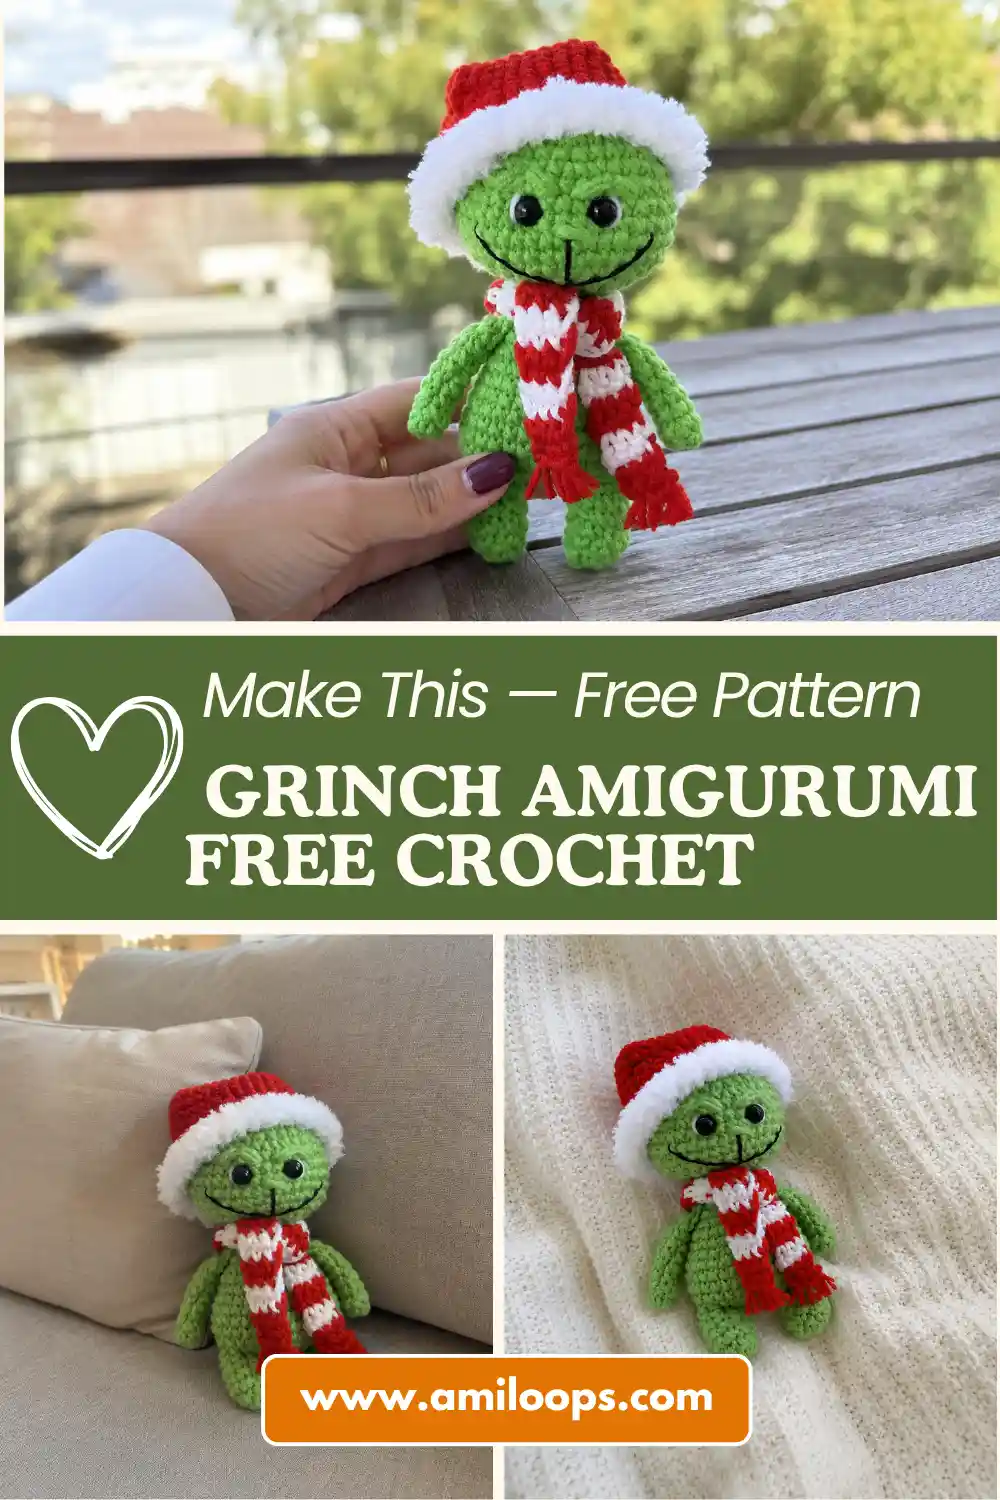
This free Grinch amigurumi crochet pattern is exactly the kind of project that turns three half-used DK skeins into something genuinely giftable — green, red, and white, pulled straight from your stash. It’s built entirely from single crochet rounds with no fancy stitches, just a lot of small, satisfying pieces that come together over an evening or two. Grab your hook. This grumpy green guy is worth the yarn.
🧶 What You’ll Need
- 💰 Yarn Needed: ~60-90 yds green (main color), ~20-30 yds red, ~10-15 yds white, a few inches of black thread
- 🎨 Colors: green, red, white (or any DK-weight scraps close to these — a Christmas-adjacent green and a Santa red are all that really matter)
- 🪝 Hook: 3.5mm (US E/4) — not specified in the original pattern, but this is the standard match for DK weight
- ⏱️ Time: 4-5 hours across a few sessions (more parts than most patterns, but none of them are hard)
- 📏 Finished Size: approximately 6 in (15 cm) seated — estimated from the stitch counts, not stated in the source
- 💡 Difficulty: Intermediate (several small parts plus embroidery, but every stitch is basic sc/inc/dec)
- 🎁 Great For: holiday gifts, shelf display, stocking stuffers, market tables in December
Materials for This Grinch Amigurumi Crochet Pattern
Nothing here needs to come from a fresh skein if your stash has DK-weight leftovers in the right colors.
- Green DK yarn — approximately 60-90 yards for the head, legs-body, and both arms. This is your main color, so it’s the one piece you actually want to check you have enough of before you start. Any DK/Light Worsted (3) acrylic or cotton-acrylic blend works — you don’t need the exact brand from the original pattern.
- Red DK yarn — approximately 20-30 yards for the hat and the scarf’s red stripes.
- White DK yarn — approximately 10-15 yards for the pom-pom, the hat’s brim round, and the scarf’s white stripes. A fuzzy or brushed white (like the original pattern’s Alize Softy) gives the pom-pom a nicer texture, but a plain smooth white works fine too.
- Thin black thread — just a few inches, for the mouth embroidery. Regular sewing thread or embroidery floss both work.
- 6mm safety eyes — one pair. If this is going to a child, it’s worth a quick look at the CPSC’s toy safety guidance before you finalize placement, since safety eyes need to be properly locked in place for younger kids.
- Stuffing — a small handful, more than you’d think for a piece this size since the head and body both hold their shape better with a firm fill.
- Stitch marker, tapestry needle, scissors.
This yarn falls under DK / Light Worsted (3) weight — light enough to keep the small parts from looking bulky, but sturdy enough to hold shape without a liner.
Abbreviations Used in This Pattern
| Abbreviation | Meaning |
|---|---|
| ch | chain |
| mr | magic ring |
| sc | single crochet |
| inc | increase (2 sc in same stitch) |
| dec | invisible decrease |
| FO | fasten off |
Smart Crafter Tips for Your Grinch Amigurumi
If you haven’t worked a magic ring before, every single part of this pattern starts with one — it’s worth two minutes to get comfortable with it before you start the head. Our magic ring tutorial walks through it step by step.
Every decrease round in this pattern should be worked as an invisible decrease, not a standard sc2tog — it closes cleaner and won’t leave a gap where stuffing peeks through. If you’ve never worked one, our invisible decrease guide covers it in under two minutes.
Here’s a trick that saves you a color change headache: on the hat and scarf, carry your unused color loosely up the inside instead of cutting and rejoining every time — you’ll use a little more yarn but save yourself a dozen tiny ends to weave in later. Our guide to changing colors shows both methods so you can pick what works for the amount of scrap you’re working with.
The legs-body piece is worked as one continuous section with no seam down the middle — resist the urge to add a extra round “just to be safe.” The stitch counts in this pattern are tight, and the shaping only works out if you follow them exactly.
How to Crochet the Grinch Amigurumi — Free Pattern
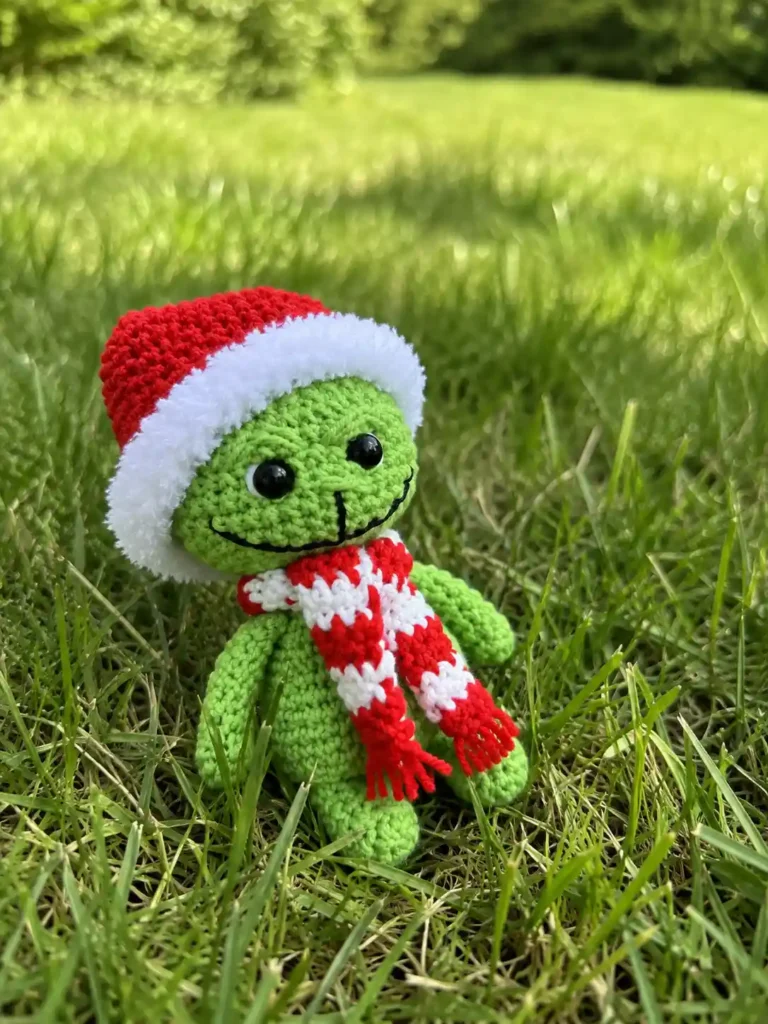
Head (make 1)
Row 1: mr 6 sc (6)
Row 2: 6 inc (12)
Row 3: (1 sc, inc)*6 (18)
Row 4: (2 sc, inc)*6 (24)
Row 5: (3 sc, inc)*6 (30)
Row 6: 30 sc (30)
Row 7: (4 sc, inc)*6 (36)
Row 8: 36 sc (36)
Row 9: 8 sc, (1 sc, inc)*3, 11 sc, (1 sc, inc)*3, 5 sc (42)
Rows 10-11: 42 sc (42)
Row 12: (5 sc, dec)*6 (36)
Row 13: (4 sc, dec)*6 (30)
Row 14: (3 sc, dec)*6 (24)
Row 15: (2 sc, dec)*6 (18)
Row 16: (1 sc, dec)*6 (12)
Cut the yarn, leaving a long tail for sewing. Insert the 6mm safety eyes between rows 9 and 10, with 3 sc of space between them.
🧶 Scrap Check: The head is the single biggest user of green in this whole pattern — if you’re working from multiple small leftover balls, use your largest one here so you’re not joining mid-round.
Legs and Body (make 1)
Make two legs identically first:
Row 1: mr 6 sc (6)
Row 2: (1 sc, inc)*3 (9)
Rows 3-5: 9 sc (9)
Fasten off and cut the yarn on the first leg. Crochet the second leg the same way, but don’t cut the yarn this time — instead, chain 3 and join to the first leg with a slip stitch to begin working the body in one continuous piece.
Row 6: 9 sc along the leg, 3 inc along the chain, 9 sc along the second leg, 3 inc along the chain (30)
Rows 7-10: 30 sc (4 rows) (30)
Row 11: (3 sc, dec)*6 (24)
Rows 12-13: 24 sc (24)
Row 14: (2 sc, dec)*6 (18)
Rows 15-16: 18 sc (18)
Row 17: (1 sc, dec)*6 (12)
Row 18: 12 sc (12)
Stuff firmly, then fasten off and cut the yarn.
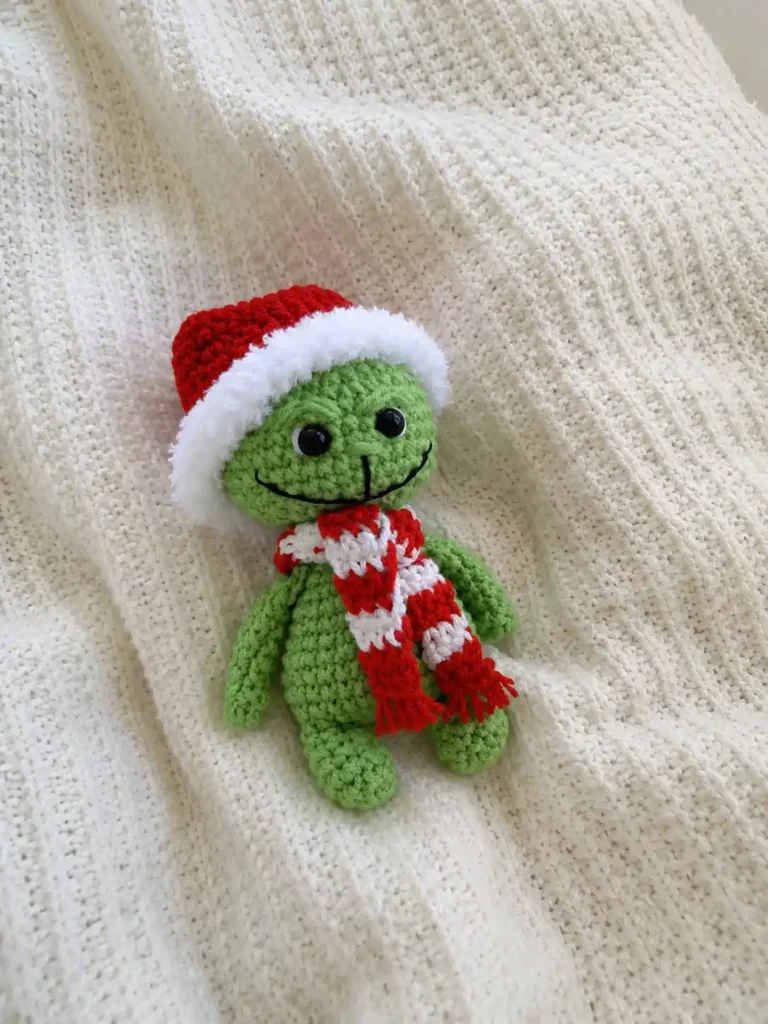
Arms (make 2)
Row 1: mr 6 sc (6)
Rows 2-8: 6 sc (7 rows) (6)
Don’t stuff these. Fold the tube flat, then work 3 sc through both layers to close the end. Cut the yarn, leaving a tail for sewing.
🧶 Scrap Check: Both arms combined use barely any yarn — this is a perfect spot to use up the very last few yards of a leftover green ball before you move on to a new one for the head.
Hat (make 1, red + white)
Row 1: mr 6 sc (6)
Row 2: (1 sc, inc)*3 (9)
Row 3: 9 sc (9)
Row 4: (2 sc, inc)*3 (12)
Rows 5-6: 12 sc (12)
Row 7: (3 sc, inc)*3 (15)
Rows 8-9: 15 sc (15)
Row 10: (4 sc, inc)*3 (18)
Rows 11-12: 18 sc (18)
Row 13: (5 sc, inc)*3 (21)
Row 14: 21 sc (21)
Row 15: (6 sc, inc)*3 (24)
Row 16: (7 sc, inc)*3 (27)
Row 17: (8 sc, inc)*3 (30)
Row 18: (9 sc, inc)*3 (33)
Row 19: (10 sc, inc)*3 (36)
Row 20: (11 sc, inc)*3 (39)
Row 21: (12 sc, inc)*3 (42)
Row 22: switch to white — 42 sc (42)
Pom-Pom (make 1, white)
Row 1: mr 6 sc (6)
Row 2: 6 sc (6)
Cinch the remaining stitches closed and sew to the point of the hat.
Scarf (make 1, red + white)
Chain 4, then crochet starting from the 2nd chain from the hook, working in turning rows with a ch 1 at the end of each row.
Rows 1-2: 3 sc, red (3)
Rows 3-4: 3 sc, white (3)
Rows 5-6: 3 sc, red (3)
Keep alternating 2 rows white and 2 rows red until the scarf reaches your desired length, ending on red. Cut 6 pieces of red yarn, about 1 cm each, and knot them along both short ends to make a fringe. Trim evenly.
Assembly
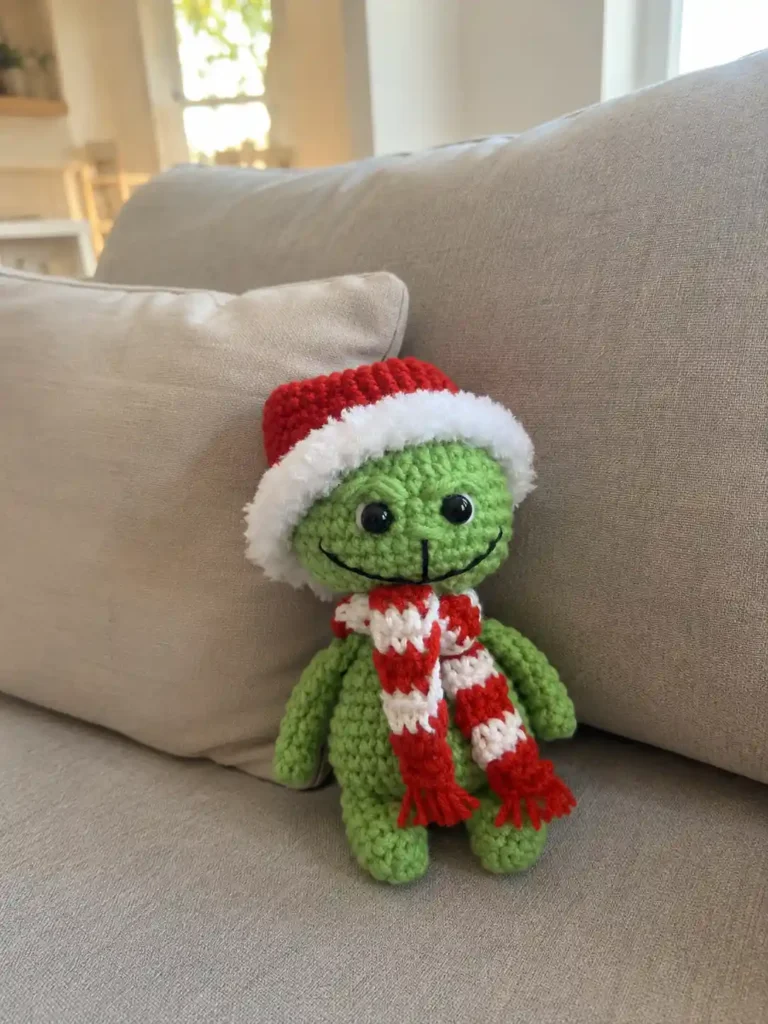
- Sew the head to the top of the body.
- Sew the arms in place between rows 17 and 18 of the body.
- Sew the pom-pom to the point of the hat, then set the hat on the head.
Face Details
- Embroider the nose with green yarn between rows 10 and 11 of the head — 3-4 stitches, spaced 2 sc apart.
- Embroider the whites of the eyes in white with a single stitch at each eye.
- Embroider the eyebrows in green as a small triangle shape, 4-5 stitches per side.
- Embroider the mouth with thin black thread, using the marker pins from your reference photo as your guide points — one side between rows 11-12, the other between rows 14-15.
- Add a straight line of black thread running from the bottom of the mouth up to the nose.
💡 Stretch It Further: Swap the red hat and scarf for any other color combo — this same green base works for a generic “grumpy holiday creature” in literally any palette you’ve got leftover, no character reference required. Make three in slightly different greens (they don’t need to match) and you’ve got a set for a holiday market table. Total yarn cost on this one, using stash scraps: well under $3.
Mia’s Take
Six small parts, three colors, and one evening of embroidery — that’s genuinely all this takes once you’ve got the pieces sewn together. This is the kind of pattern that’s worth keeping in your rotation every December: it uses up exactly the kind of green and red DK leftovers that pile up after other holiday projects, and it looks like it took a lot more yarn than it did. Make one for the shelf, make three for gifts. Either way, your scrap bin comes out lighter. 🧶
FAQ
What yarn is best for this Grinch amigurumi?
Any DK or light worsted weight acrylic or cotton-acrylic blend works perfectly. It’s an excellent project for using up leftover green, red, and white stash yarn.
Can beginners make this Grinch amigurumi pattern?
Yes! While there are several small parts to assemble and some basic embroidery involved, every single piece is made using fundamental crochet stitches like single crochet, increases, and invisible decreases.
How long does it take to crochet this Grinch amigurumi?
It generally takes about 4 to 5 hours across a few sessions to crochet all the parts and assemble them, making it a great weekend project.