Joe Gardner Amigurumi Crochet Pattern: A Soul-Inspired Fan Figure
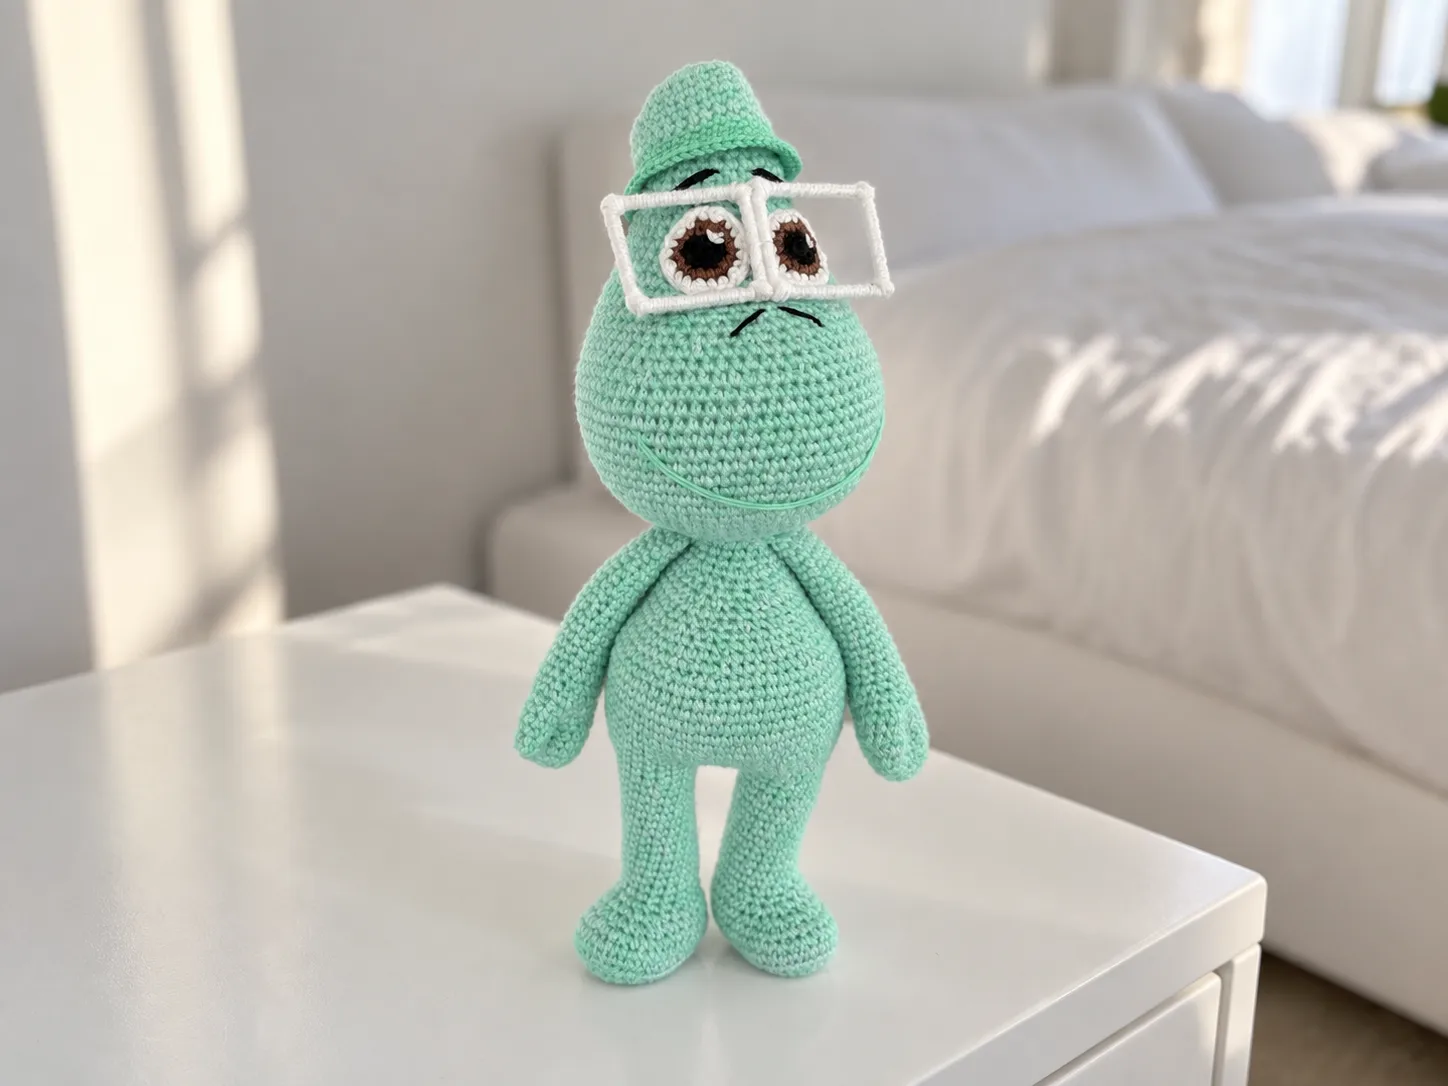
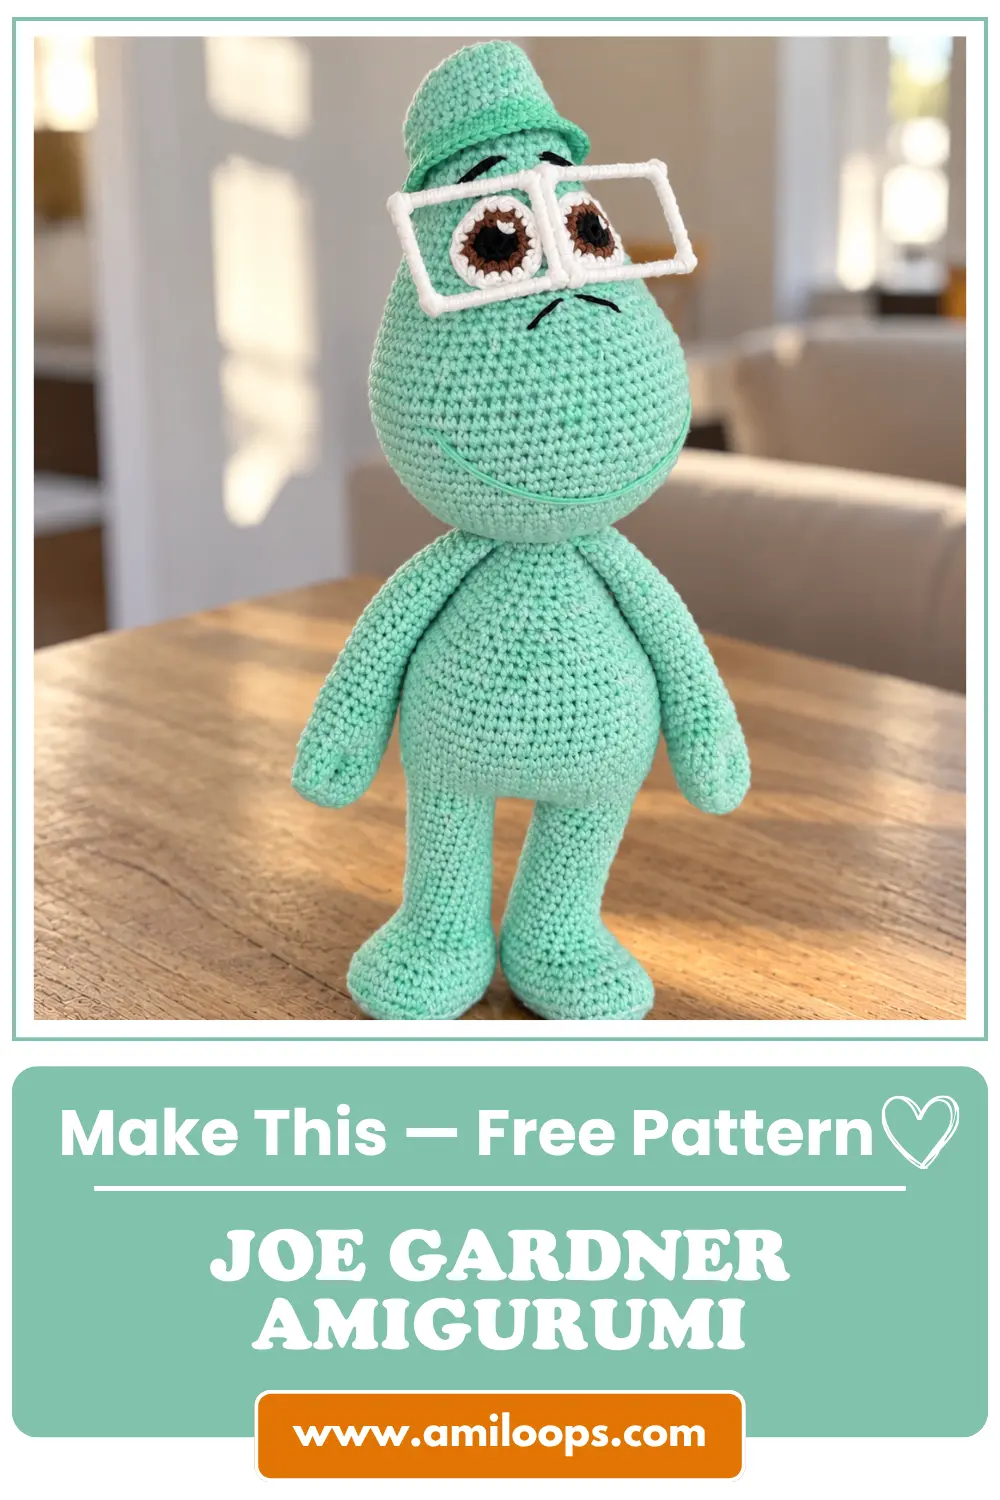
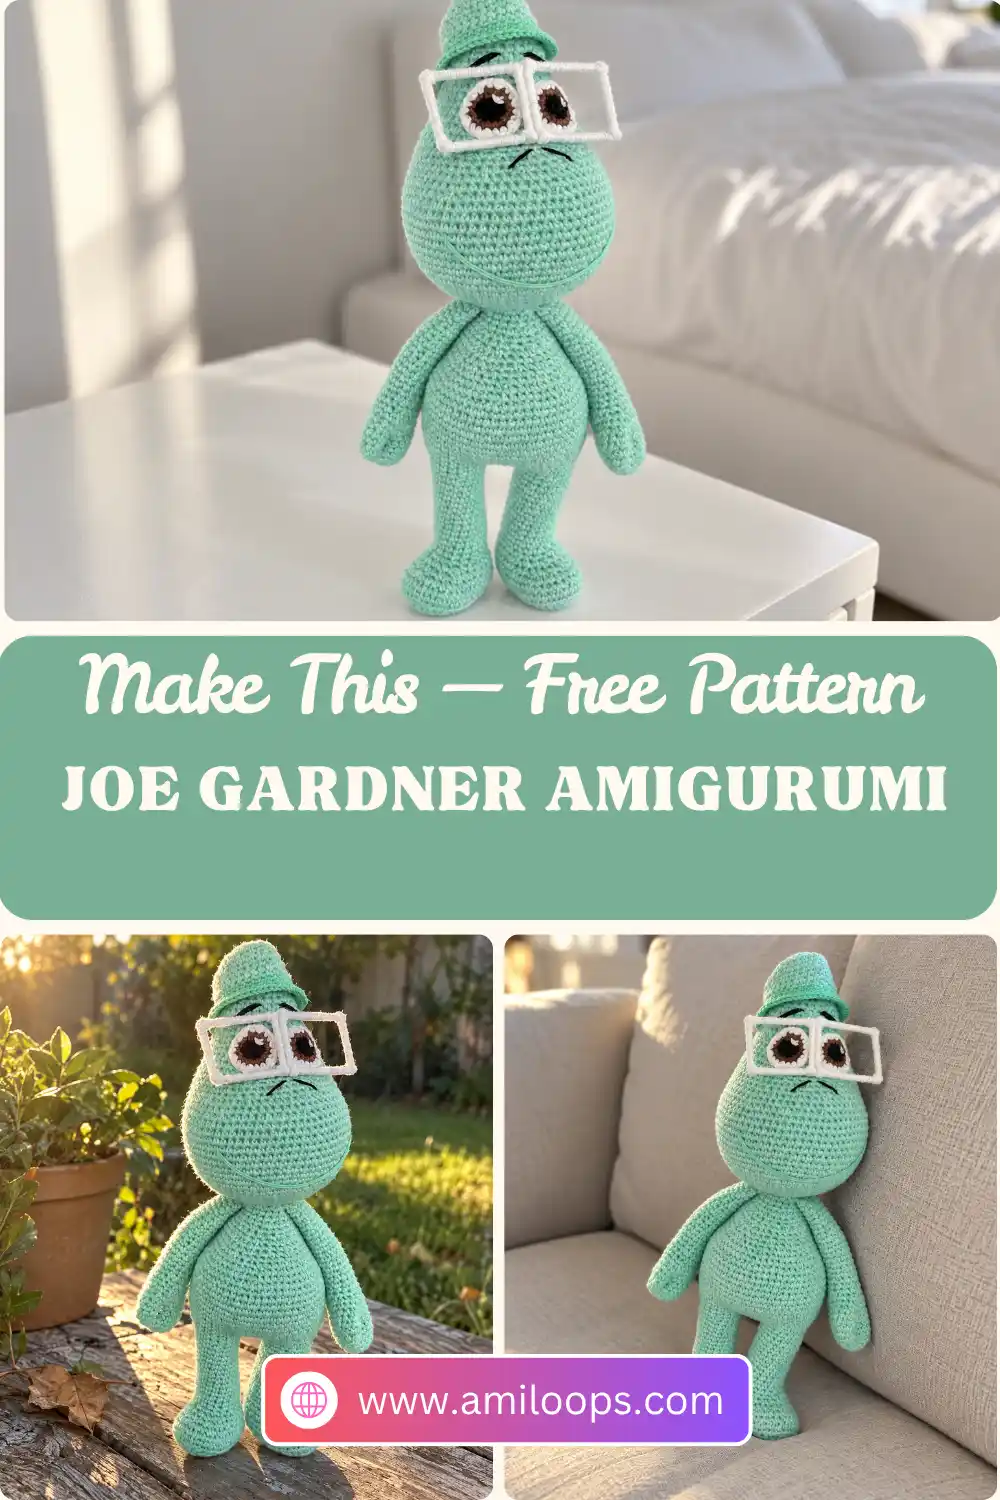
This Joe Gardner amigurumi captures the soul-world look of the jazz pianist from Pixar’s Soul: a big head that tapers toward a small hat, layered eyes in black, brown and white, an embroidered smile, nose and eyebrows, and a pair of glasses made from wooden skewers wrapped in white yarn.
Almost everything is single crochet worked in rounds. The fun is in the shaping: the legs continue straight into the body, each hand gets a small separate finger that is crocheted right into it, and the head uses grouped decreases and exact round numbers to place every facial feature.
This is an unofficial fan-made figure inspired by Pixar’s Soul, written here in US crochet terms.
Materials Abbreviations Head Eyes Legs Body Arms Hat Assembly Glasses and face FAQ
Before your first stitch: Joe is made from separate pieces. You make a head, two eyes, two legs that continue into the body, two arms with a small finger piece each, and a hat. The glasses are built from cut wooden sticks rather than crocheted.
One round count for legs and body: Each leg runs from Rnd 1 to Rnd 25. The body picks up the numbering at Rnd 26 and continues to Rnd 50. When you reach Rnd 26, you are not starting a new piece; you are joining the legs and carrying on.
Gather your materials
- Main yarn: for the head, body, legs, arms and hat. The finished sample uses one mint-green yarn for all of them.
- Eye yarn: black, brown and white.
- Embroidery yarn: for the smile, nose and eyebrows. The sample’s eyebrows and nose are black.
- Glasses yarn: any white yarn.
- Stuffing
- Wooden skewers: about 2–4, for the glasses.
- Superglue
You will also need a crochet hook that suits your yarn, a yarn needle for sewing and embroidery, and something to cut the skewers. The pattern leaves the yarn weight and hook size up to you.
Abbreviations used
| Abbreviation | Meaning |
|---|---|
| MR | magic ring |
| ch | chain |
| sc | single crochet |
| st(s) | stitch(es) |
| inc | increase (2 sc in the same st) |
| dec | decrease (work the next 2 sts together into 1) |
| BLO | back loop only |
| Rnd(s) | round(s) |
The stitch names follow standard US terms, and you can compare them with the Craft Yarn Council’s crochet abbreviations list. MR is this pattern’s own shorthand for the magic ring. Numbers in parentheses at the end of a round are the stitch totals.
Head
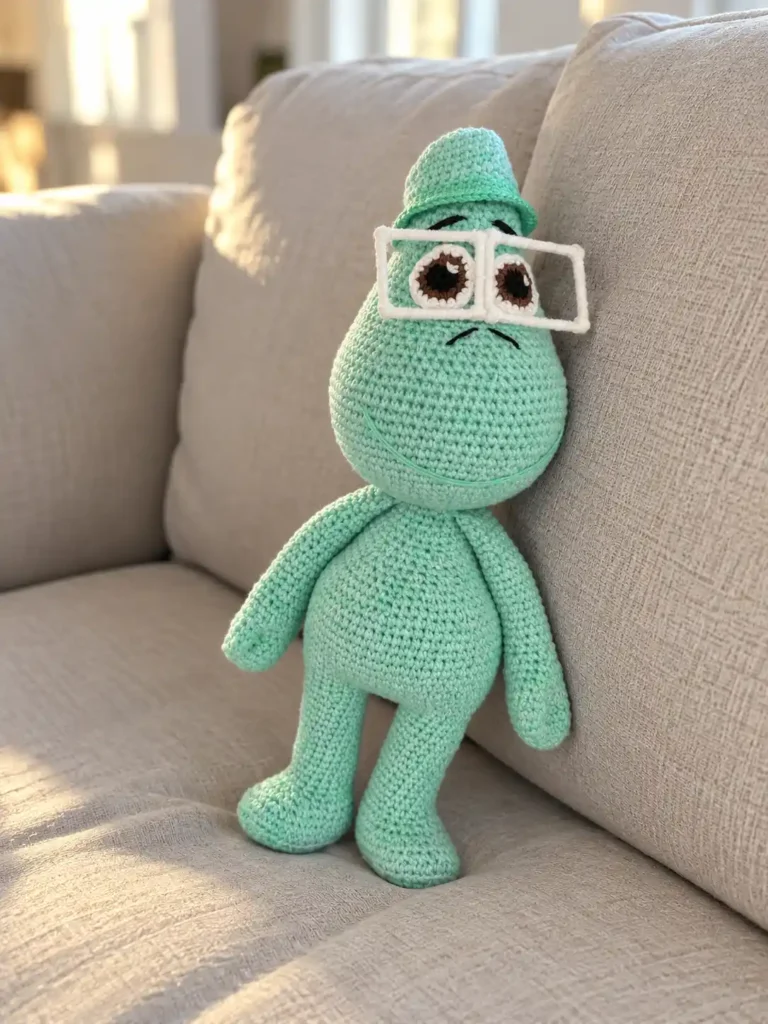
The head starts with a magic ring. If you’d like a refresher, see how to crochet the magic ring step by step.
Rnd 1: 6 sc in MR (6)
Rnd 2: Inc in each st around (12)
Rnd 3: [1 sc, inc] 6 times (18)
Rnd 4: [2 sc, inc] 6 times (24)
Rnd 5: [3 sc, inc] 6 times (30)
Rnd 6: [4 sc, inc] 6 times (36)
Rnd 7: [5 sc, inc] 6 times (42)
Rnd 8: [6 sc, inc] 6 times (48)
Rnd 9: [7 sc, inc] 6 times (54)
Rnd 10: [8 sc, inc] 6 times (60)
Rnd 11: [9 sc, inc] 6 times (66)
Rnds 12–22: 66 sc
Rnd 23: [9 sc, dec] 6 times (60)
Rnd 24: 60 sc
Grouped decreases: Rnds 25 and 27 don’t spread their decreases around the whole round. Each one works 18 plain sc, groups all six decreases in the middle, then finishes with 18 plain sc. Count the first 18 stitches carefully so both groups line up on the same side of the head.
Rnd 25: 18 sc, [2 sc, dec] 6 times, 18 sc (54)
Rnd 26: 54 sc
Rnd 27: 18 sc, [1 sc, dec] 6 times, 18 sc (48)
Rnds 28–29: 48 sc
Rnd 30: [6 sc, dec] 6 times (42)
Rnds 31–32: 42 sc
Rnd 33: [5 sc, dec] 6 times (36)
Rnds 34–35: 36 sc
Rnd 36: [4 sc, dec] 6 times (30)
Rnds 37–38: 30 sc
Rnd 39: [3 sc, dec] 6 times (24)
Rnds 40–42: 24 sc
Rnd 43: [2 sc, dec] 6 times (18)
Rnd 44: [1 sc, dec] 6 times (12)
Rnd 45: 6 dec (6)
Stuff the head firmly, finishing before the last opening gets too small to reach. Fasten off and cut the yarn.
Eyes (make 2)
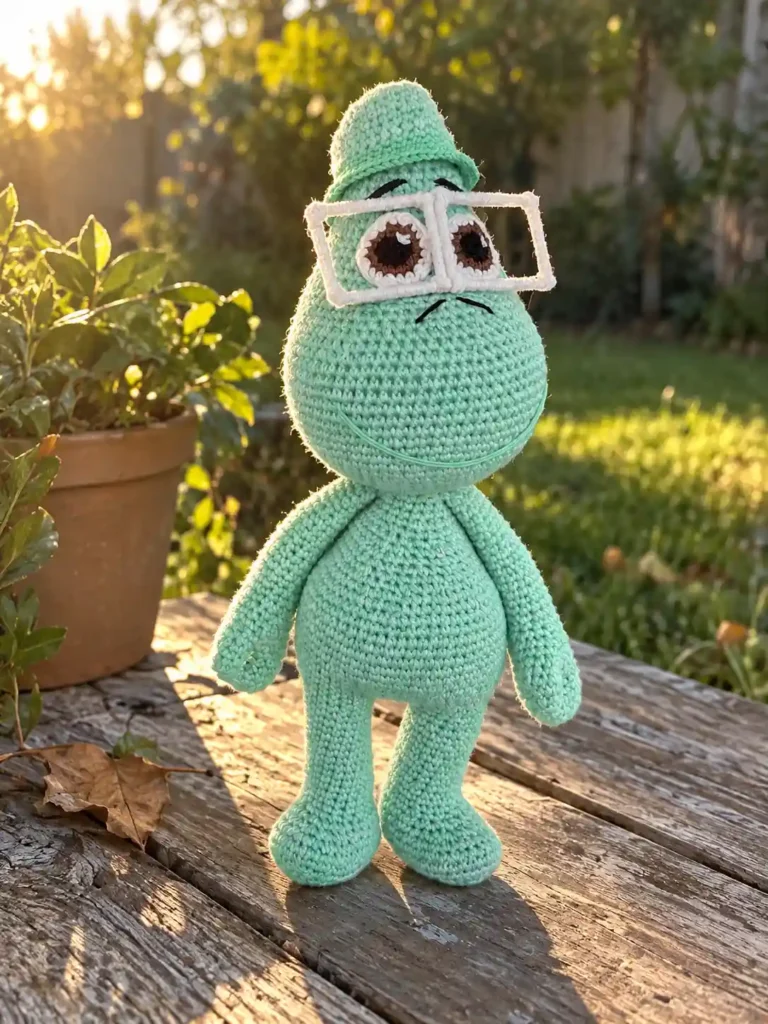
Each eye builds from the center outward: a black center with one white increase for the highlight, a brown round, then a final round that switches from brown to white after the first stitch. Start with black.
Rnd 1 (black): 6 sc in MR (6)
Rnd 2: 5 inc in black, 1 inc in white (12)
Color change: Switch to brown for Rnd 3. For tips on clean switches, see how to change colors in amigurumi.
Rnd 3 (brown): [1 sc, inc] 6 times (18)
Rnd 4: 1 sc in brown. Switch to white: 1 sc, inc, [2 sc, inc] 5 times (24)
Fasten off, leaving a yarn tail for sewing. Sew the eyes onto the head between Rnds 29 and 35. If you’re new to attaching pieces, see how to sew amigurumi parts together.
Legs (make 2)
Each leg starts with an oval sole worked around both sides of a foundation chain. Ch 8 (7 chains for the base plus 1 more).
Rnd 1: Inc in the 2nd ch from hook, 5 sc, 6 sc in the last ch. Continue along the other side of the chain: 5 sc, inc (20)
Rnd 2: 2 inc, 5 sc, 6 inc, 5 sc, 2 inc (30)
Rnd 3: [1 sc, inc] 2 times, 22 sc, [inc, 1 sc] 2 times (34)
Rnd 4: 11 sc, [1 sc, inc] 6 times, 11 sc (40)
Back loop round: Rnd 5 is worked in back loops only. The unused front loops stay on the outside as a ridge around the edge of the sole.
Rnd 5: Working in BLO, sc in each st around (40)
Rnd 6: 2 inc, 38 sc (42)
Rnd 7: 42 sc
Rnd 8: 14 sc, [1 sc, dec] 6 times, 10 sc (36)
Rnd 9: 36 sc
Rnd 10: 2 dec, 7 sc, [1 sc, dec] 6 times, 7 sc (28)
Draft note: Rnds 11–12 need clarification before working them. Instruction pending clarification.
Rnd 11: 7 sc, 6 dec, 7 sc
Rnd 12: [2 sc, dec] 6 times (17)
Rnds 13–25: 17 sc (13 rnds)
Stuff firmly. For tips on even filling, see how to stuff amigurumi without lumps.
Body
Joining the legs: From the leg with the working loop, ch 2, then continue onto the second leg. Rnd 26 works 17 sc around one leg, 2 inc across the ch-2, 17 sc around the other leg and 2 inc across the other side of the ch-2.
Rnd 26: 17 sc, 2 inc, 17 sc, 2 inc (42)
Rnd 27: [6 sc, inc] 6 times (48)
Rnd 28: [7 sc, inc] 6 times (54)
Rnds 29–37: 54 sc (9 rnds)
Rnd 38: [7 sc, dec] 6 times (48)
Rnd 39: 48 sc
Two-sided shaping: Rnds 40 and 42 place their decreases in two groups of three, with 24 plain sc between them. Keep that center stretch of 24 sc in the same place on both rounds.
Rnd 40: [2 sc, dec] 3 times, 24 sc, [2 sc, dec] 3 times (42)
Rnd 41: 42 sc
Rnd 42: [dec, 1 sc] 3 times, 24 sc, [dec, 1 sc] 3 times (36)
Rnds 43–44: 36 sc
Rnd 45: [4 sc, dec] 6 times (30)
Rnd 46: 30 sc
Rnd 47: [3 sc, dec] 6 times (24)
Rnds 48–50: 24 sc
Stuff firmly. Fasten off, leaving a long yarn tail for sewing.
Arms (make 2)
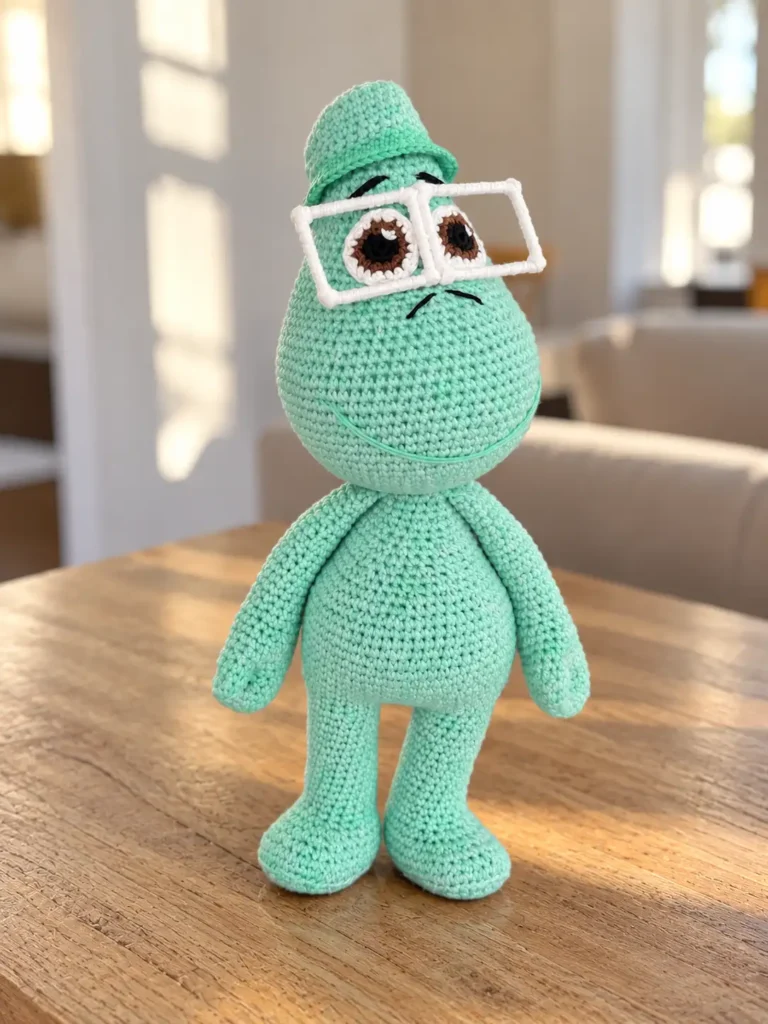
Each arm has two pieces: a small finger (Part 1) and the hand and arm (Part 2). Make the finger first, because Part 2 crochets it into the hand in Rnd 8.
Part 1 (finger)
Rnd 1: 6 sc in MR (6)
Rnd 2: [1 sc, inc] 3 times (9)
Rnds 3–5: 9 sc
Cut the yarn and set the finger aside.
Part 2 (hand and arm)
Rnd 1: 6 sc in MR (6)
Rnd 2: Inc in each st around (12)
Rnd 3: [3 sc, inc] 3 times (15)
Rnds 4–7: 15 sc
Adding the finger: In Rnd 8, hold the finger against the hand and work around its 9 open stitches as part of the round. The hand’s 15 stitches and the finger’s 9 stitches become one round of 24.
Rnd 8: Sc in the next 5 sts of Part 2, sc in the 9 sts of Part 1, then sc in the remaining 10 sts of Part 2 (24)
Rnd 9: [2 sc, dec] 6 times (18)
Rnds 10–11: 18 sc
Rnd 12: [1 sc, dec] 6 times (12)
Rnds 13–14: 12 sc
Stuff the arm to slightly above the middle. Flatten the opening and work 6 sc through both layers to close it.
Hat
Like the legs, the hat starts with an oval worked around both sides of a foundation chain. Ch 7.
Rnd 1: Inc in the 2nd ch from hook, 4 sc, 3 sc in the last ch. Continue along the other side of the chain: 5 sc (14)
Rnd 2: 2 inc, 4 sc, 3 inc, 4 sc, inc (20)
Draft note: Rnds 3–4 need clarification before working them. Instruction pending clarification.
Rnd 3: [1 sc, inc] 2 times, 4 sc, [1 sc, inc] 3 times, 5 sc, inc
Rnd 4: 27 sc
Rnd 5: [2 sc, inc] 2 times, 4 sc, [2 sc, inc] 3 times, 7 sc, inc (33)
Rnd 6: 33 sc
Rnd 7: [2 sc, inc] 2 times, 8 sc, [3 sc, inc] 3 times, 7 sc (38)
Rnds 8–11: Sc in each st around (38)
Draft note: Rnd 12 needs clarification before working it. Instruction pending clarification.
Rnd 12: 2 sc, inc
Rnd 13: [6 sc, inc] 4 times, [7 sc, inc] 2 times
The hat ends after Rnd 13. If you plan to sew it in place, leave a yarn tail when you fasten off.
Putting Joe together
Head and body: The head is placed with its starting magic-ring end at the bottom, below the smile at Rnds 12–18. Use the body’s long tail to sew the open top of the body to the underside of the head.
Arms and hat: The pattern doesn’t give round positions for these pieces. In the finished sample, the arms sit at the sides of the upper body and the hat sits on the narrow top of the head.
Glasses and face details
Joe’s glasses are a small craft project of their own. You cut and glue wooden sticks into two frames, wrap them in yarn, join the frames and sew the glasses onto the head.
- You need about 2–4 wooden skewers. Cut 4 equal sticks 4 cm (just over 1½ in) long and 4 sticks 3–3.5 cm (roughly 1¼–1⅜ in) long.
- Glue the sticks with superglue into two rectangular frames, each made from two long and two short sticks.
- Brush a little glue on the sticks so the yarn will stick, then wrap them with any white yarn.
- Glue the two frames together and sew the glasses onto the head.
A careful finish: Because the glasses are made from cut wooden sticks and superglue, this version of Joe is best treated as a decorative figure and kept away from young children.
Mapping the face: Every facial feature is placed by head round number. From the lowest round to the highest, the smile sits at Rnds 12–18, the nose starts at Rnd 27, the eyes go between Rnds 29 and 35, and the eyebrows start at Rnd 39. Marking those rounds with stitch markers or scrap yarn before you embroider helps you check the spacing.
- Smile: from Rnd 18 to Rnd 12, 21 sts wide.
- Eyebrows: from Rnd 39, go down 3 rnds and over 3 sts. Leave 2 sts between the eyebrows.
- Nose: from Rnd 27, go down 2 rnds and over 2 sts, with 1 st between.
Questions about this project
Why does the body start at Round 26?
The legs and body share one round count. Each leg is worked through Rnd 25. Then you ch 2 and join the legs in Rnd 26: 17 sc around one leg, 2 inc across the ch-2, 17 sc around the other leg and 2 inc across the other side of the ch-2, for 42 stitches. The body continues through Rnd 50.
How does the finger join the hand?
Make the small finger first and cut the yarn. In Rnd 8 of the hand, sc in the next 5 stitches of the hand, sc in the finger’s 9 stitches, then sc in the remaining 10 stitches of the hand, for 24 stitches. Rnd 9 then decreases to 18.
How do the three eye colors fit together?
Each eye starts in black. Rnd 2 works five increases in black and one in white. Rnd 3 is worked in brown. Rnd 4 starts with 1 sc in brown and then switches to white for the rest of the round. Sew the eyes between Rnds 29 and 35 of the head.
What are Joe’s glasses made from?
They are made from wooden skewers. Cut 4 sticks 4 cm long and 4 sticks 3–3.5 cm long, then glue them with superglue into two frames. Brush on a little glue, wrap the sticks in white yarn, glue the two frames together and sew the glasses onto the head.
Where do the smile, nose and eyebrows go?
The smile runs from Rnd 18 to Rnd 12 and is 21 stitches wide. The nose starts at Rnd 27 and goes down 2 rounds and over 2 stitches, with 1 stitch between. The eyebrows start at Rnd 39 and go down 3 rounds and over 3 stitches, with 2 stitches between them.