Free Duckling Amigurumi Pattern — Scrap-Friendly Mini Duck Family
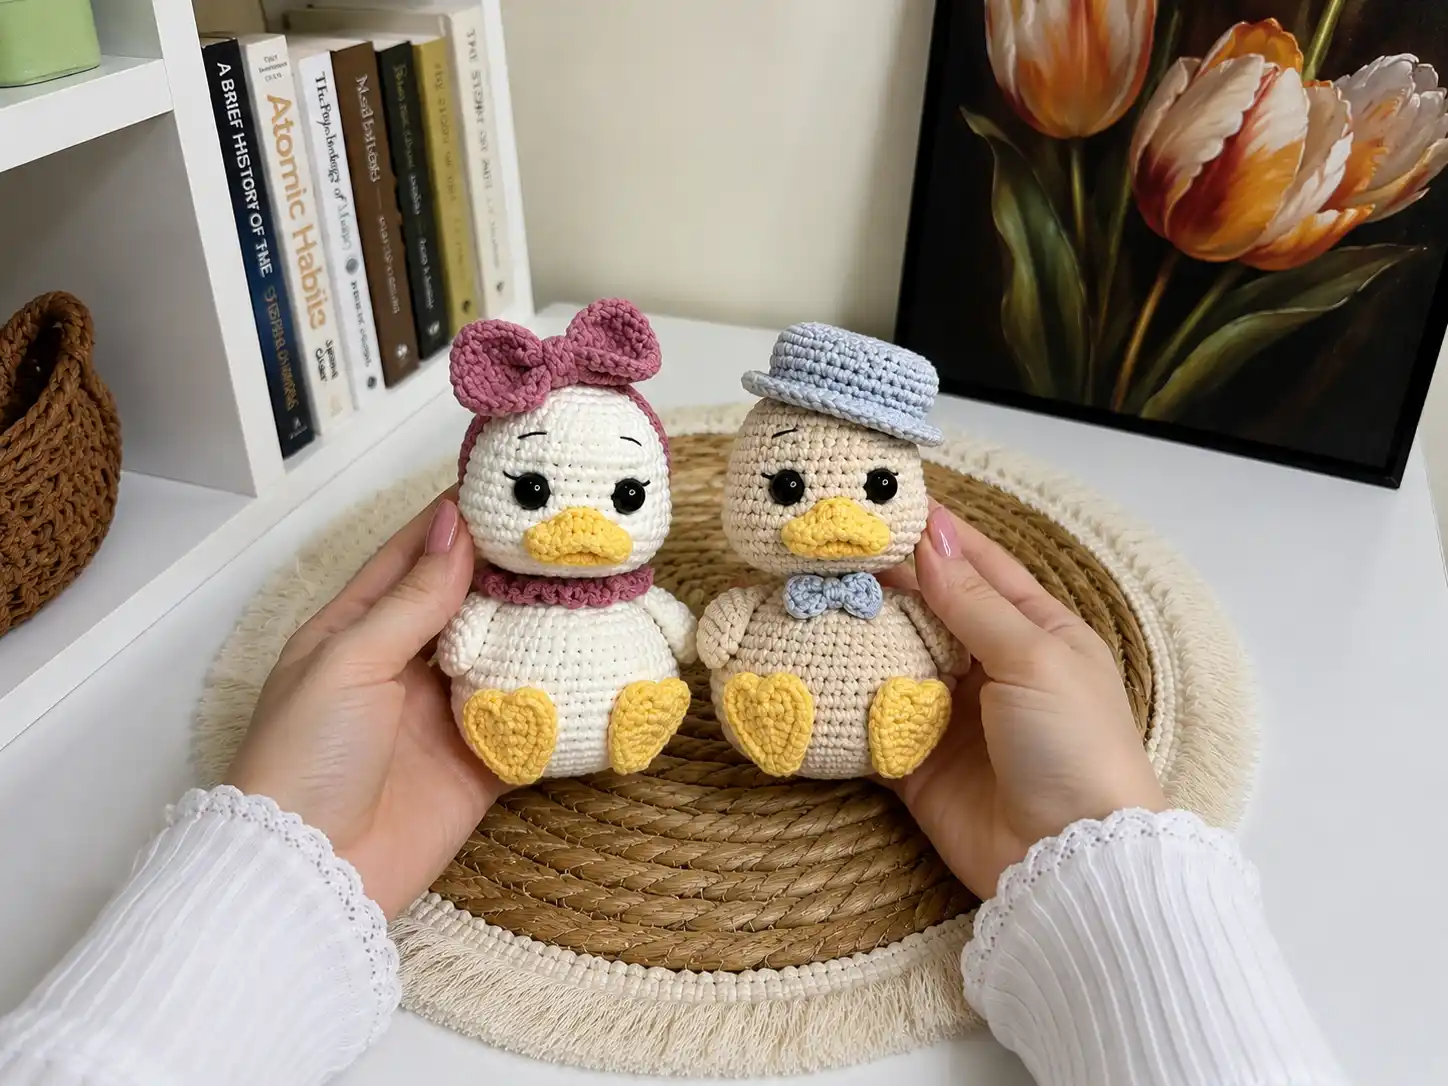
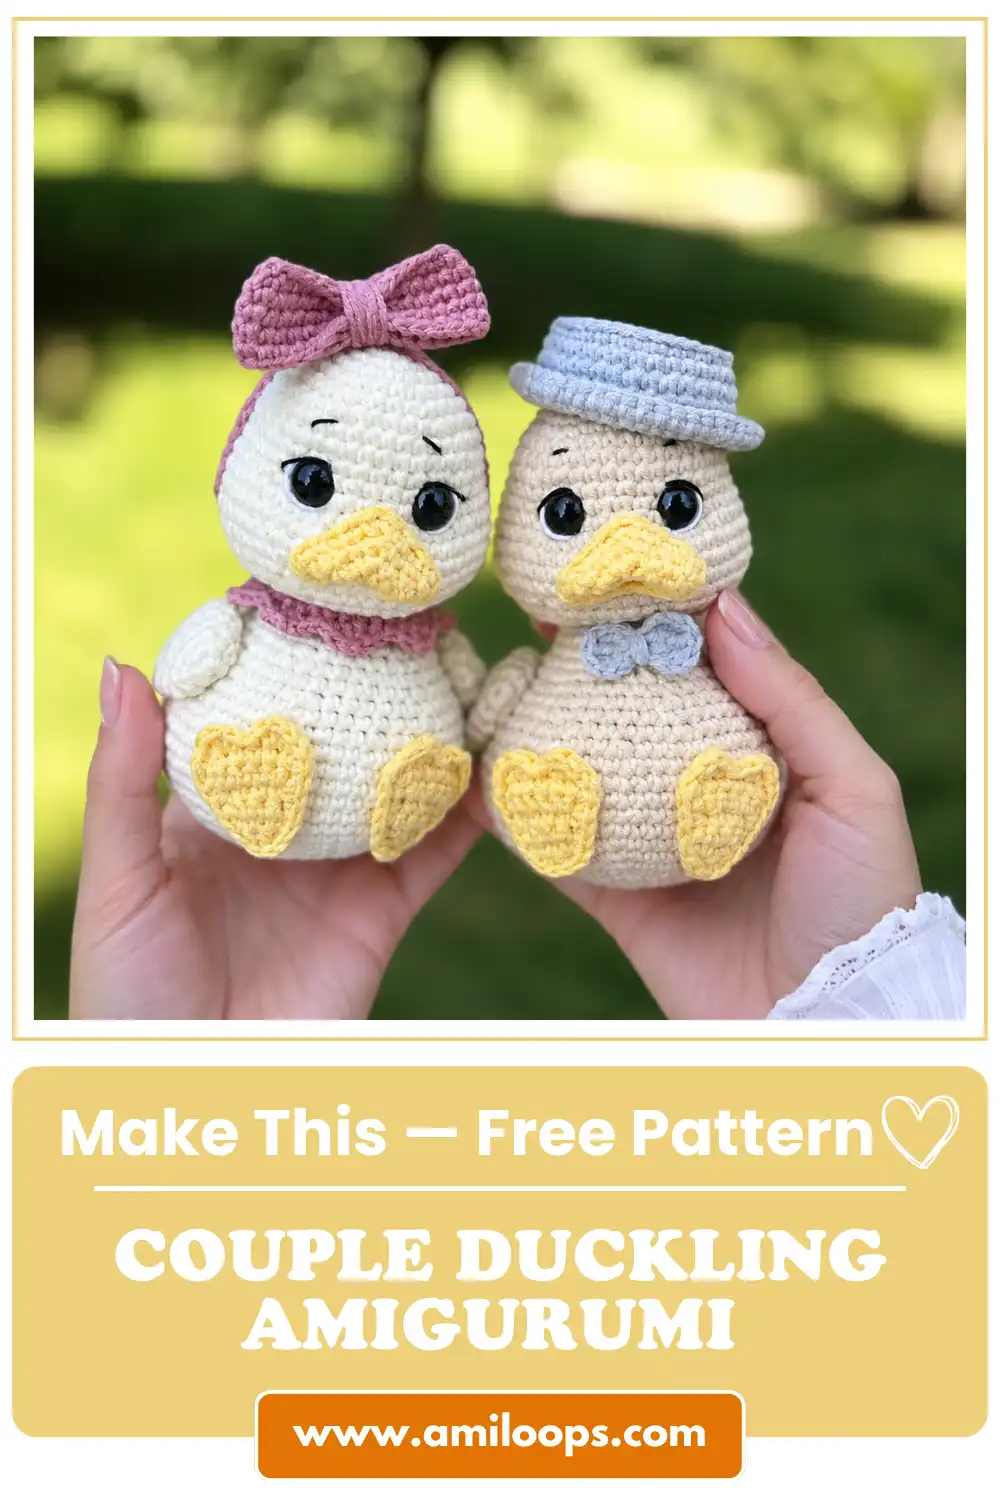
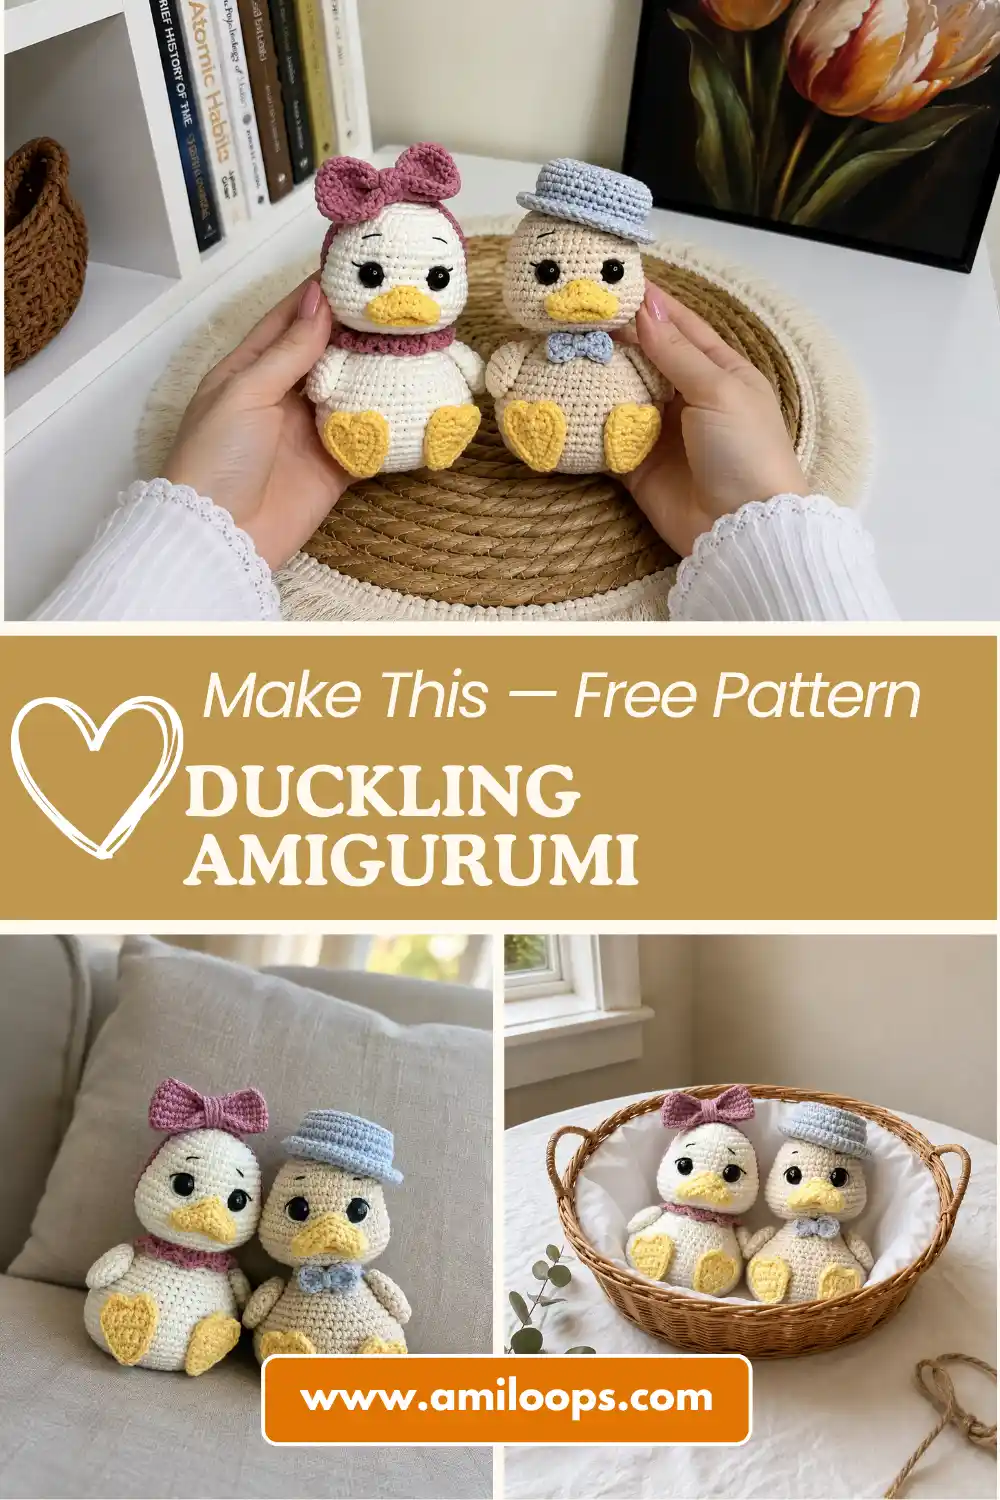
This duckling amigurumi pattern free guide is built exactly for a scrap bin like mine — it turns leftover yellow DK yarn plus small amounts of orange, gray, and one accent color into a full duckling, dressed as a girl with a collar and bow or a boy with a bow and hat. Nine small pieces, no full skeins required. Grab your hook and let’s use up that yellow.
🧶 What You’ll Need
- 💰 Yarn Needed: ~140-155 yds yellow (head, body, wings) + ~15 yds orange (beak and all 4 legs) + 10-35 yds of an accent color for whichever accessories you make (collar + bow for a girl, or bow + hat for a boy). These are estimates based on the stitch counts — the original pattern doesn’t print exact yardage, so treat them as a shopping guide, not gospel.
- 🎨 Colors: yellow (main), orange (beak and legs), gray (hat — the designer’s own photo notes call for gray here), plus one or two accent scraps for the collar and bows, or similar shades from your stash
- 🪝 Hook: Steel US 4 (2.0 mm) — or 1.75 mm if you crochet loosely (there’s no exact US steel equivalent for 1.75 mm, so just size down and check your gauge)
- ⏱️ Time: 4-6 hours total, spread across pieces — this is a “finish one part a night” kind of project
- 📏 Finished Size: Not specified by the original designer. At this fine gauge, expect a small, palm-sized duckling
- 💡 Difficulty: Intermediate
- 🎁 Great For: gifts, Easter baskets, nursery shelves, baby shower favors, or a boy-and-girl gift set
Materials for This Duckling Amigurumi Pattern Free Guide
The original pattern calls for YarnArt Jeans, a DK/Light Worsted (3) weight cotton-acrylic blend (50g/160m per skein). If that’s not in your stash, any DK weight yarn you already have works — Drops Muskat and Paintbox Cotton DK are close US-available substitutes, but honestly, any medium-weight scrap in the right color family will do. This falls under DK/Light Worsted (3) weight on the standard yarn weight chart, so match anything in that range and your gauge will land close enough.
- Approximately 140-155 yds of yellow DK yarn for the head, body, and wings (or similar from your stash)
- A small amount (~15 yds) of orange DK yarn for the beak and all four leg pieces
- A small amount of gray DK yarn for the boy’s hat, if you’re making that version
- A small amount of an accent color for the collar and bow (girl version) or the bow (boy version) — this is scrap-bin territory, mix and match freely
- Safety eyes, 8 mm
- Fiberfill stuffing
- Steel hook, US 4 (2.0 mm), or 1.75 mm for a looser tension
- Scissors
- A yarn needle for sewing parts together and shaping the eye indentations
Nothing here needs to come from a fresh skein except maybe the yellow, and even that can be pieced together from more than one leftover ball — I did exactly that and you’d never know from the finished duckling.
Abbreviations Used in This Duckling Amigurumi Pattern
| Abbreviation | Meaning |
|---|---|
| mr | magic ring |
| sc | single crochet |
| dc | double crochet |
| dec | decrease |
| inc | increase |
| ch | chain |
| turning ch | turning chain |
| hdc | half double crochet |
| tr | treble crochet |
| sl st | slip stitch |
Smart Crafter Tips for This Duckling Amigurumi Pattern
Five of these nine pieces — the head, body, both wings, and the hat — start the same way: a magic ring. If you’re still tying a slipknot and hoping for the best, it’s worth the two minutes to get this right, since a loose center hole is the easiest way to waste stuffing time later. Our magic ring tutorial covers it start to finish and it’s simpler than it sounds.
Every shaping row in this pattern uses a standard “dec.” I always swap this for an invisible decrease instead — same stitch count, no visible gap in the fabric. It matters even more here because this duckling is worked at a tight 2.0 mm gauge, where every gap shows. Our invisible decrease guide walks through the swap in under two minutes, and it’s a one-for-one replacement everywhere the pattern says “dec.”
The head calls for 8 mm safety eyes inserted between rows 11 and 12, spaced 7 sc apart — do this before you stuff or close anything. If you’re making this for a child, it’s worth knowing that safety eyes are designed with a locking washer for a reason; the U.S. Consumer Product Safety Commission has guidance on toy safety standards if you want the full picture. Our own safety eye tutorial covers the mechanics of getting them locked in straight the first time, since redoing an eye after stuffing is not a fun afternoon.
How to Crochet the Duckling Amigurumi Pattern
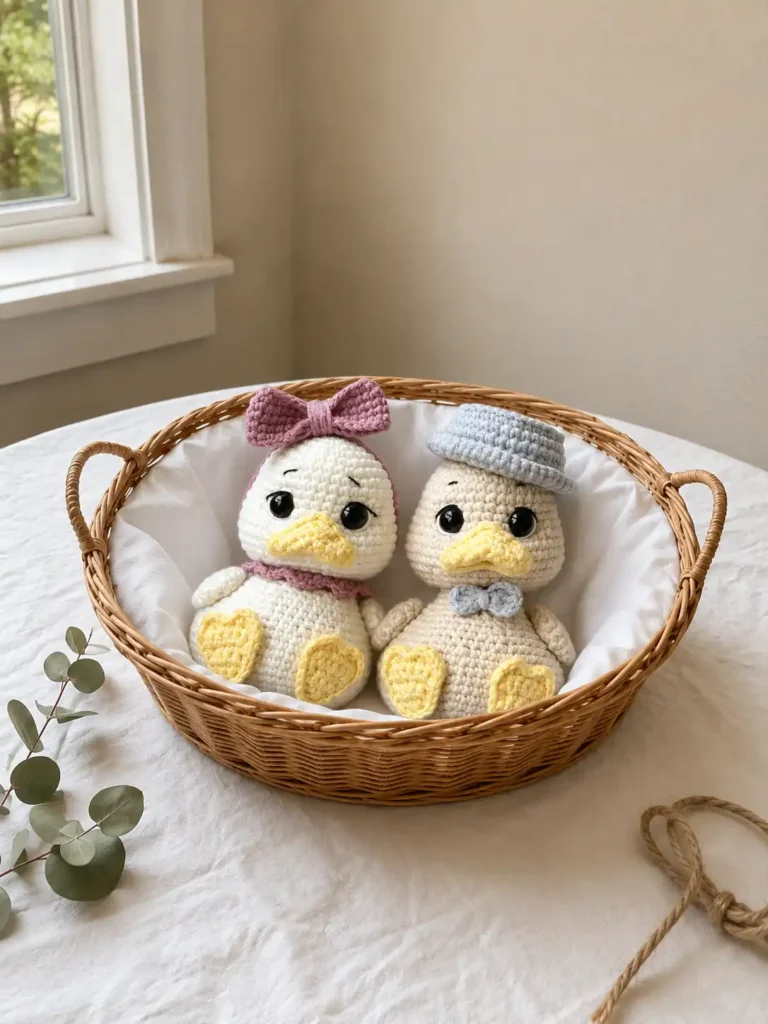
Head (×1)
Yarn: yellow. Start: magic ring.
Row 1: 6 sc in mr (6)
Row 2: 6 inc (12)
Row 3: (1 sc; inc) * 6 (18)
Row 4: (2 sc; inc) * 6 (24)
Row 5: (3 sc; inc) * 6 (30)
Row 6: (4 sc; inc) * 6 (36)
Row 7: (5 sc; inc) * 6 (42)
Row 8: 42 sc (42)
Row 9: 42 sc (42)
Row 10: (5 sc; dec) * 6 (36)
Row 11: (5 sc; inc) * 6 (42)
Row 12: (6 sc; inc) * 6 (48)
Row 13: (7 sc; inc) * 6 (54)
Row 14: 54 sc (54)
Row 15: 54 sc (54)
Row 16: 54 sc (54)
Row 17: (7 sc; dec) * 6 (48)
Row 18: (6 sc; dec) * 6 (42)
Row 19: (5 sc; dec) * 6 (36)
Row 20: (4 sc; dec) * 6 (30)
Row 21: (3 sc; dec) * 6 (24)
🧶 Scrap Check: Insert the safety eyes between rows 11 and 12, spaced 7 sc apart from each other. Do this now, before you stuff — it’s the one step you can’t undo cleanly later.
Finishing: Stuff with fiberfill and leave a tail for sewing.
Body (×1)
Yarn: yellow. Start: magic ring.
Row 1: 6 sc in mr (6)
Row 2: 6 inc (12)
Row 3: (1 sc; inc) * 6 (18)
Row 4: (2 sc; inc) * 6 (24)
Row 5: (3 sc; inc) * 6 (30)
Row 6: (4 sc; inc) * 6 (36)
Row 7: (5 sc; inc) * 6 (42)
Row 8: (6 sc; inc) * 6 (48)
Row 9: (7 sc; inc) * 6 (54)
Row 10: (8 sc; inc) * 6 (60)
Row 11: (9 sc; inc) * 6 (66)
Rows 12-16: 66 sc (66)
Row 17: (9 sc; dec) * 6 (60)
Row 18: 3 sc; dec; 6 sc; dec; 6 sc; dec; 5 sc; dec; 1 sc; dec; 1 sc; dec; 5 sc; dec; 6 sc; dec; 6 sc; dec; 3 sc (51)
Row 19: 24 sc; 2 dec; 23 sc (49)
Row 20: 3 sc; dec; (5 sc; dec) * 6; 2 sc (42)
Row 21: 42 sc (42)
Row 22: (5 sc; dec) * 6 (36)
Row 23: (4 sc; dec) * 6 (30)
Row 24: 30 sc (30)
Row 25: (3 sc; dec) * 6 (24)
Row 26: 24 sc (24)
Row 27: 24 sc (24)
🧶 Scrap Check: This is the biggest piece by far — budget most of your yellow yardage here. Rows 12-16 hold steady at 66 sc, so that stretch alone eats a good chunk of yarn. Finishing isn’t specified by the designer beyond this point, so leave a generous tail for sewing when you get there.
Beak (×1)
Yarn: orange. Start: ch 5 + 1 turning ch.
Row 1: inc; 1 sc; 3 sc in one st; 1 sc; 3 sc in one st; 4 sc (14)
Row 2: 3 sc in one st; 3 sc; 3 sc in one st; 3 sc; 3 sc in one st; 5 sc (20)
Row 3: 1 sc; 3 sc in one st; 5 sc; 3 sc in one st; 5 sc; 3 sc in one st; 6 sc (26)
🧶 Scrap Check: This tiny piece takes only a few yards of orange. A single leftover bobbin from another project is more than enough — no need to open a new skein for this.
Finishing: Not specified by the designer — leave a tail for sewing to the face.
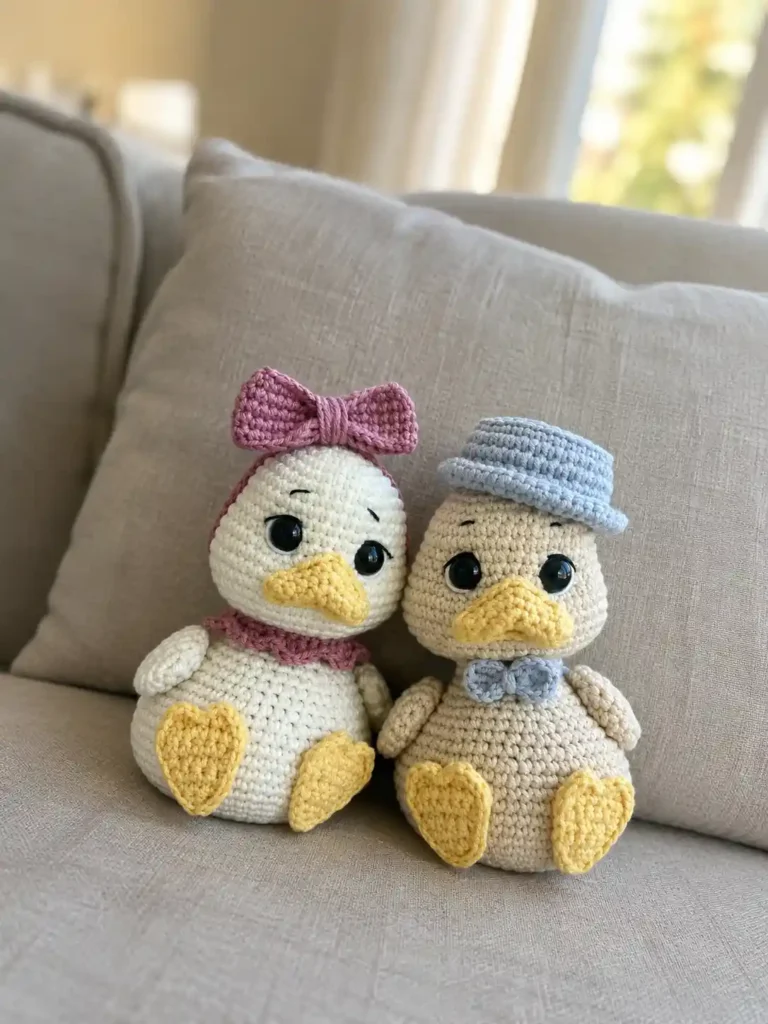
Legs (×4 pieces)
Yarn: orange. Start: ch 2 + 1 turning ch.
Row 1: from the second ch from hook 2 sc (2)
Row 2: 2 inc (4)
Row 3: 4 sc (4)
Row 4: 4 sc (4)
Row 5: inc; 2 sc; inc (6)
Row 6: 6 sc (6)
🧶 Note: Crochet in turning rows, ending each row with ch 1 (turning chain). Place two pieces together and crochet around with sc; when you reach the top (toes), work: 1 sc; (1 hdc, 1 dc, 1 hdc) in one st; 2 sl st; (1 hdc, 1 dc, 1 hdc) in one st; 1 sc.
Finishing: Fasten off, cut yarn, weave in ends.
Wings (×2)
Yarn: yellow (or a contrast scrap for a two-tone wing). Start: magic ring.
Row 1: 6 sc in mr (6)
Row 2: 6 inc (12)
Row 3: 12 sc (12)
Row 4: (2 sc; inc) * 4 (16)
Row 5: 16 sc (16)
Row 6: 16 sc (16)
Row 7: (2 sc; dec) * 4 (12)
Row 8: 12 sc (12)
Row 9: 12 sc (12)
Row 10: (1 sc; dec) * 4 (8)
Row 11: (2 sc; dec) * 2 (6)
Row 12: (1 sc; dec) * 2 (4)
🧶 Scrap Check: Both wings together use roughly 15-20 yds. If you’ve got a leftover ball of yellow from the head or body, that’s plenty — no need to touch a fresh skein.
Finishing: Close the opening. Weave in ends.
Collar for a Girl (×1)
Yarn: accent color of your choice. Start: ch 35 + 1 turning ch.
Row 1: 35 sc (35)
Row 2: (1 sc; (1 dc; ch 2; 1 dc) in one st; 1 sc; 1 sl st) — repeat all to the end of the row
🧶 Note: Crochet in turning rows. Leave a yarn tail to tie the finished piece on the duckling.
Finishing: Leave a second yarn tail to tie the finished piece on the duckling.
Bow for a Girl (×1)
Yarn: accent color of your choice. Start: ch 30, join the chain into a ring.
Rows 1-5: Crochet in a round 5 rows of 30 sc (30)
🧶 Note: Separately crochet a chain and try it on your duckling’s head to check the length before attaching.
Finishing: Attach the chain to the bow and wrap it around the middle of the bow with thread. Fasten off, cut yarn, weave in ends.
Bow for a Boy (×1)
Yarn: accent color of your choice. Start: ch 4.
Row 1: Into the first “main stitch” crochet 3 tr, then ch 3 and sl st into the “main stitch.” Again ch 3 and crochet into the “main stitch” 3 tr, then ch 3 and sl st into the “main stitch.”
🧶 Scrap Check: This tiny bow takes only a couple of yards — the smallest leftover ball in your bin will cover it.
Finishing: Wrap yarn around the middle of the bow, leaving yarn tails to tie the bow onto the duckling.
Hat for a Boy (×1)
Yarn: gray (per the designer’s own photo notes). Start: magic ring.
Row 1: 6 sc in mr (6)
Row 2: 6 inc (12)
Row 3: (1 sc; inc) * 6 (18)
Row 4: (2 sc; inc) * 6 (24)
Row 5: (3 sc; inc) * 6 (30)
Row 6: (4 sc; inc) * 6 (36)
Rows 7-11: 36 sc (36)
Row 12: (5 sc; inc) * 6 (42)
Row 13: (6 sc; inc) * 6 (48)
Row 14: (7 sc; inc) * 6 (54)
🧶 Note: Before row 7, start working in the inner loops of the circle as you go up. Before row 12, crochet the brim by bringing the stitches out so the row sits perpendicular to the crown.
Finishing: Fasten off, cut yarn, weave in ends.
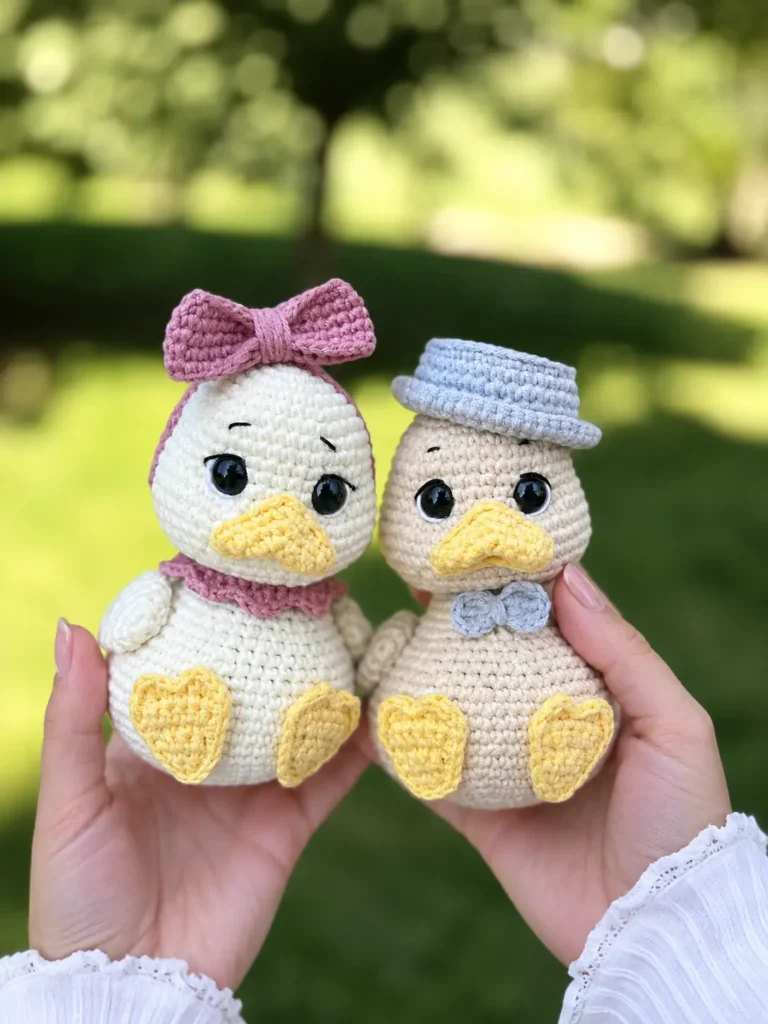
Assembling Your Duckling
Assembly is straightforward once every piece is done — the trick is pinning before you commit to sewing.
- Sew the head to the body.
- Sew the beak on at the level of rows 12-18 on the head. Pin it in place first before you start sewing — it’s much easier to adjust a pin than a stitched beak.
- Make the eye indentations.
- Embroider the eyebrows and eyelashes.
- Sew the wings on at the level of rows 4-11 on the body.
- Sew the legs on, pinning them in place first.
- Decorate: for a girl, tie the collar around the neck using its yarn tails and attach the bow to the head. For a boy, tie the bow around the neck using its yarn tails and attach the hat to the head.
First time sewing amigurumi parts together? Our guide to sewing amigurumi parts covers how to keep seams tight and invisible, which matters more than usual here since the pieces are small and any gap shows.
💡 Stretch It Further: Make the full set — one girl duckling with the collar and bow, one boy with the bow and hat — and you’ve got a matching pair from one round of scraps. Swap the accent color between the two so they coordinate without being identical, and you’ve got a ready-made gift set for a nursery shelf or a baby shower. If ducks are already your thing, our free crochet duck pattern makes a fun grown-up companion to set next to this duckling, and our scrap-friendly goose couple set uses the same “make it a pair” approach if you want to keep the barnyard theme going.
Mia’s Take
Nine small pieces, under 15 yds of orange, and a whole lot of yellow doing the heavy lifting — that’s what this duckling actually costs. What I like about it is the choice built right in: dress it as a girl or a boy without touching the pattern for the head, body, wings, or legs. Make one of each and you’ve got a matching pair for less than the price of one skein bought new. That’s the kind of stash math I’m always chasing. 🧶
FAQ
What yarn is best for this duckling amigurumi pattern?
A DK/Light Worsted (3) weight cotton-acrylic blend like YarnArt Jeans is recommended, but any scrap DK yarn from your stash will work perfectly.
How long does it take to crochet this duckling?
It takes approximately 4 to 6 hours in total, making it an excellent multi-evening project.
What size hook do I need for this amigurumi duckling?
You will need a Steel US 4 (2.0 mm) hook, or a 1.75 mm hook if you tend to crochet loosely, to ensure tight stitches without gaps.